6. 3D Scanning and printing
Hero Shot
Group Assignment:
- Test your design rules for your 3D printers.
Here is a group assignment link
The group assignment link has also been embedded to my page below.
Individual Assignment:
- Design and 3D print an object (small, few cm3, limited by printer time) that could not be made subtractively.
- 3D scan an object (and optionally print it).
3D Scanning:
Structured Light.
Structured light scanning is a fascinating 3D scanning technology that allows us to capture detailed information about the shape and surface of objects.
3D scanner emits this structured light pattern using a projector.
Simultaneously, a camera captures frame after frame of the distorted light patterns as they reflect from the object.
The scanning software analyzes these patterns to reconstruct the object’s surfaces in digital 3D.
THE DEVICE:
For the 3D scanning we used itseez3D software.
itseez3D software Download here

Here am being scanned.
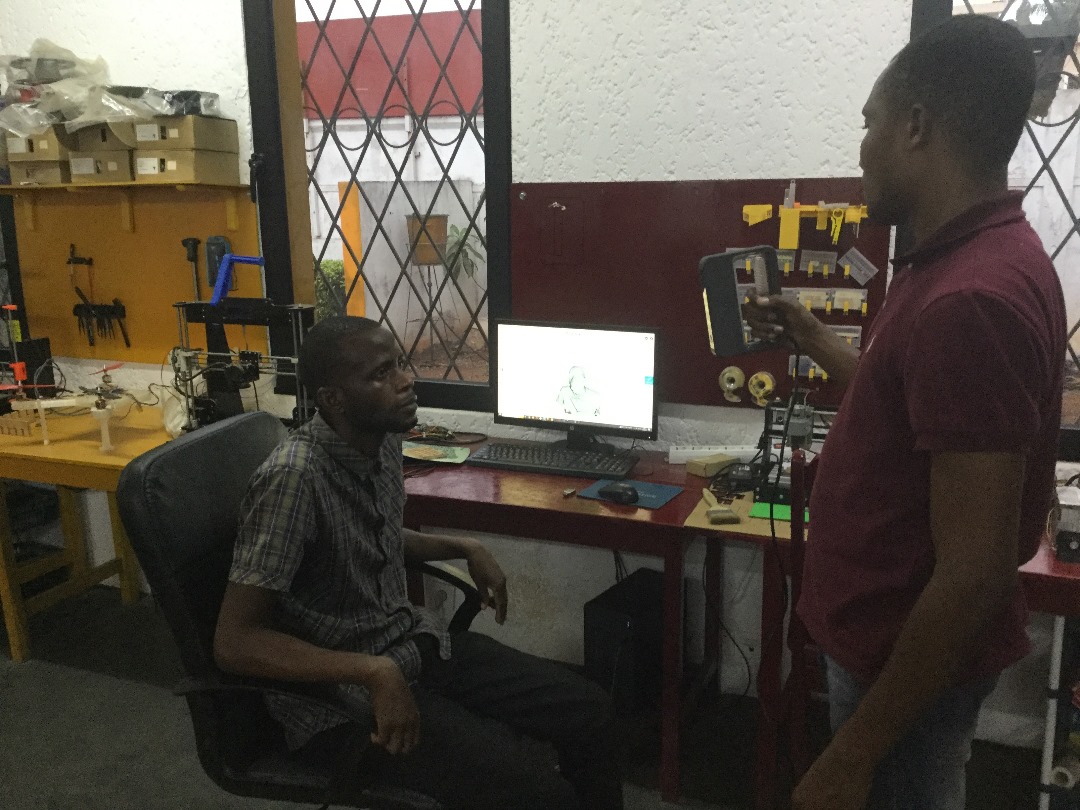
You can observe the outcome. Very cool technology.

Here I am scaling it to get ready for printing.

3D Printing:

3D design:
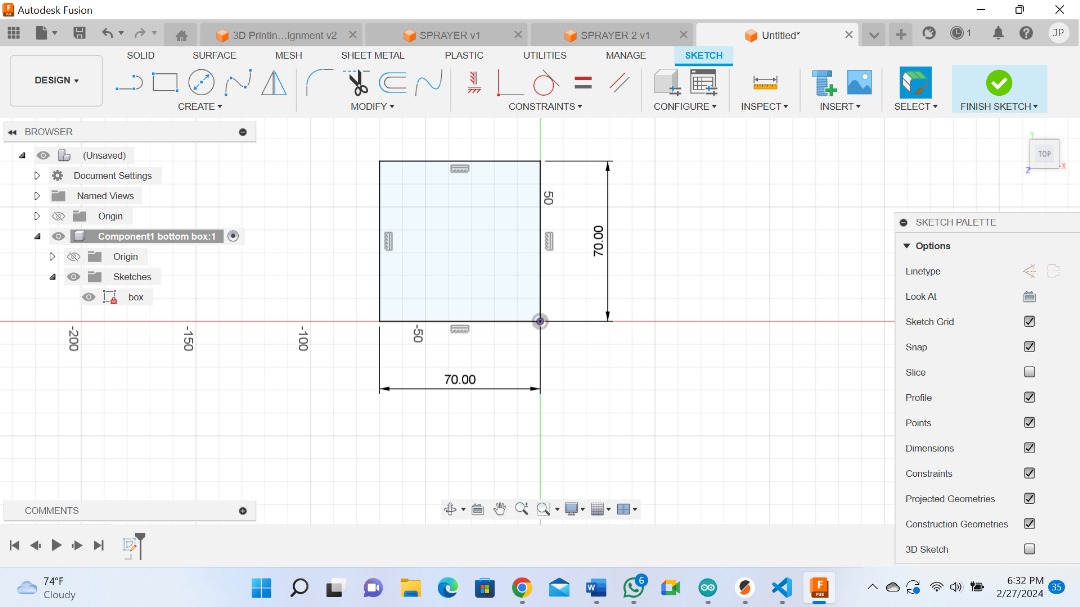
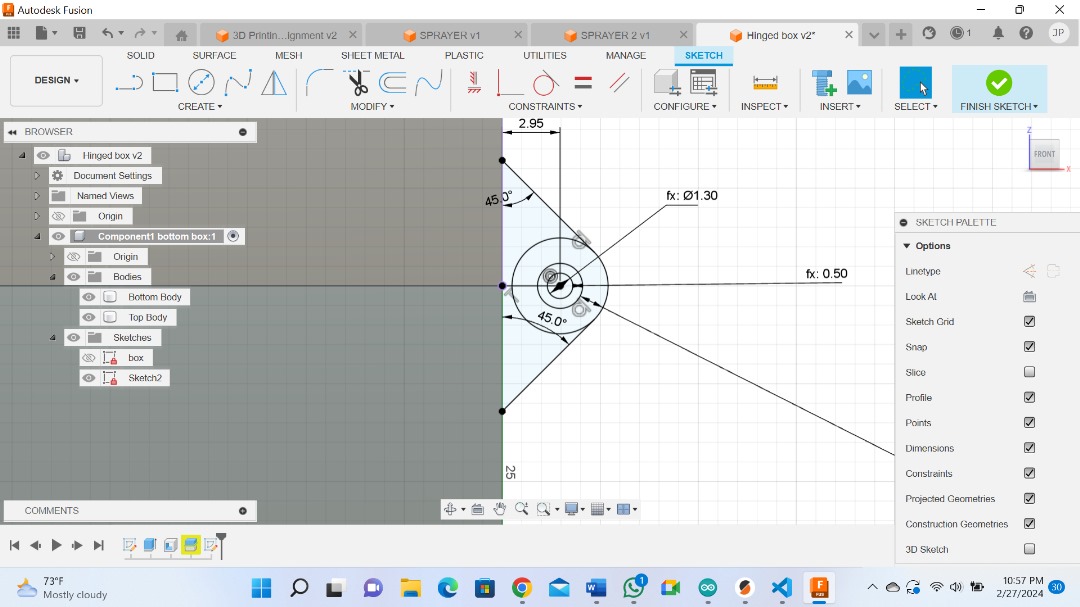
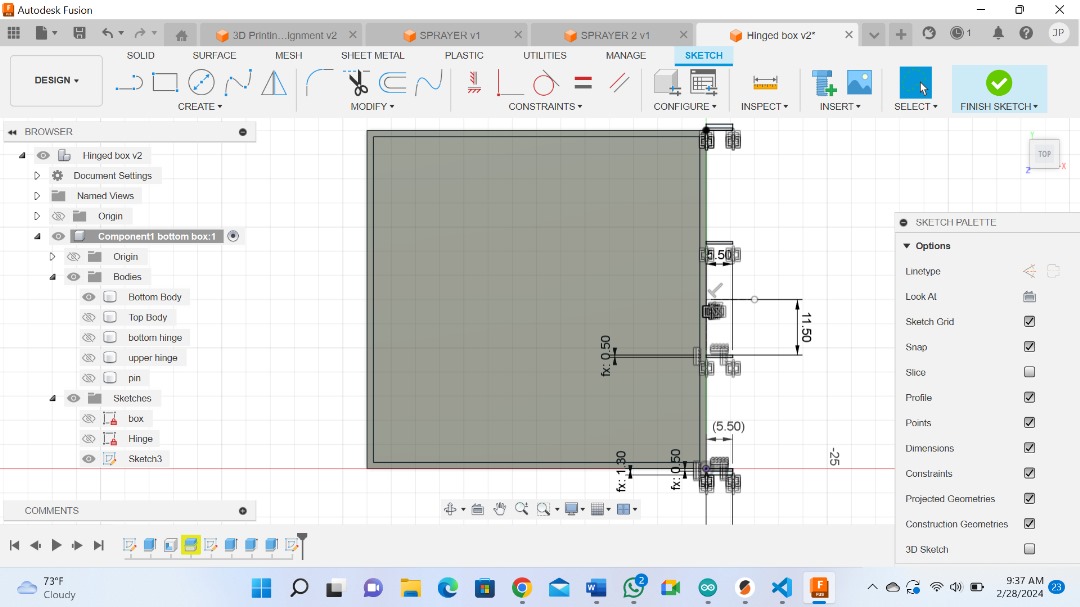
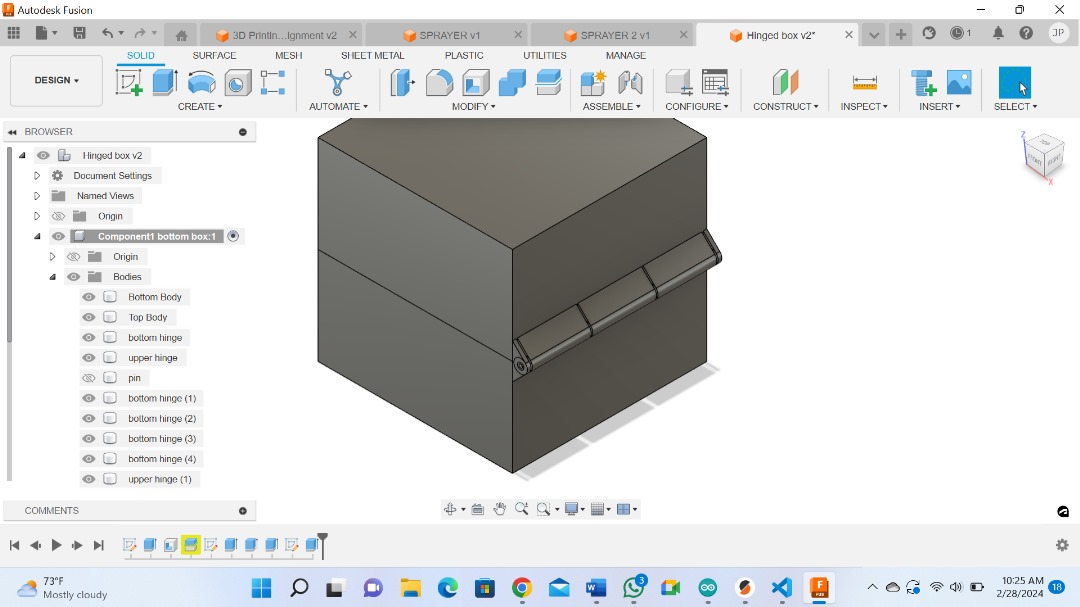
For my design I chose to use Fusion 360.
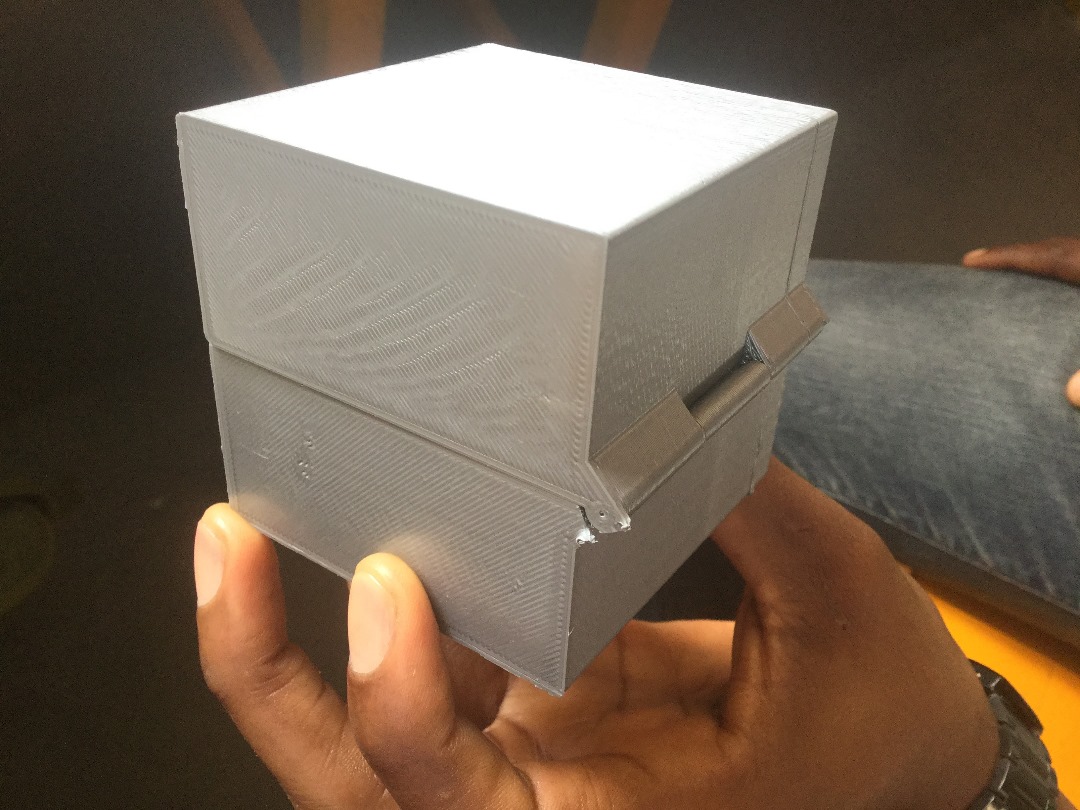
Here I have modelled electronics box that will be used for my final project.


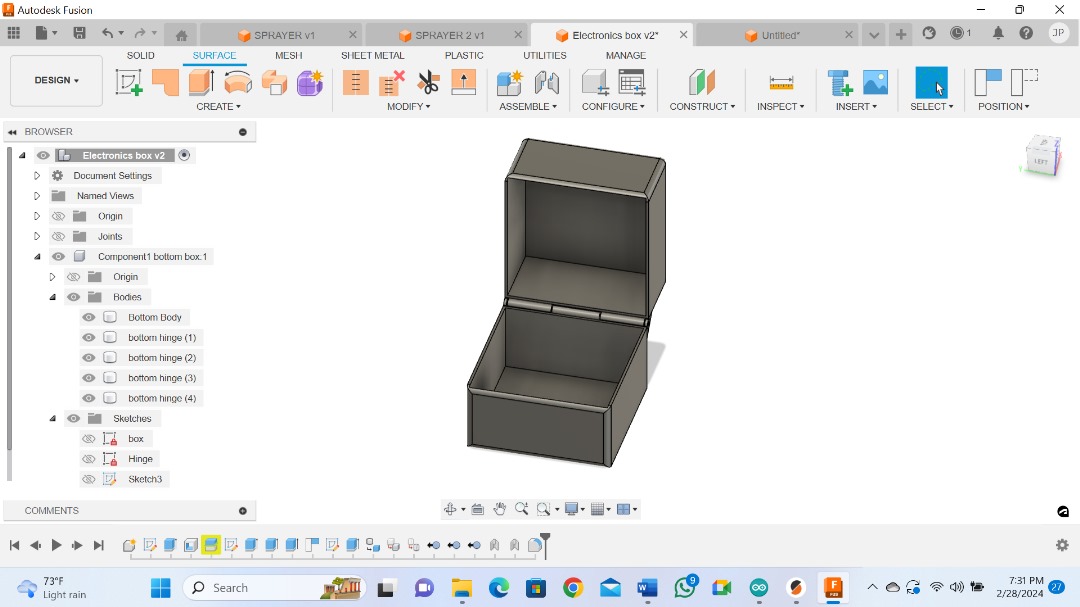
After exporting and saving my files in .stl format, we are now ready to 3D print using our prusa 3D printer.
The printer uses PrusaSlicer software.
So, first I download and install Prusaslicer software.
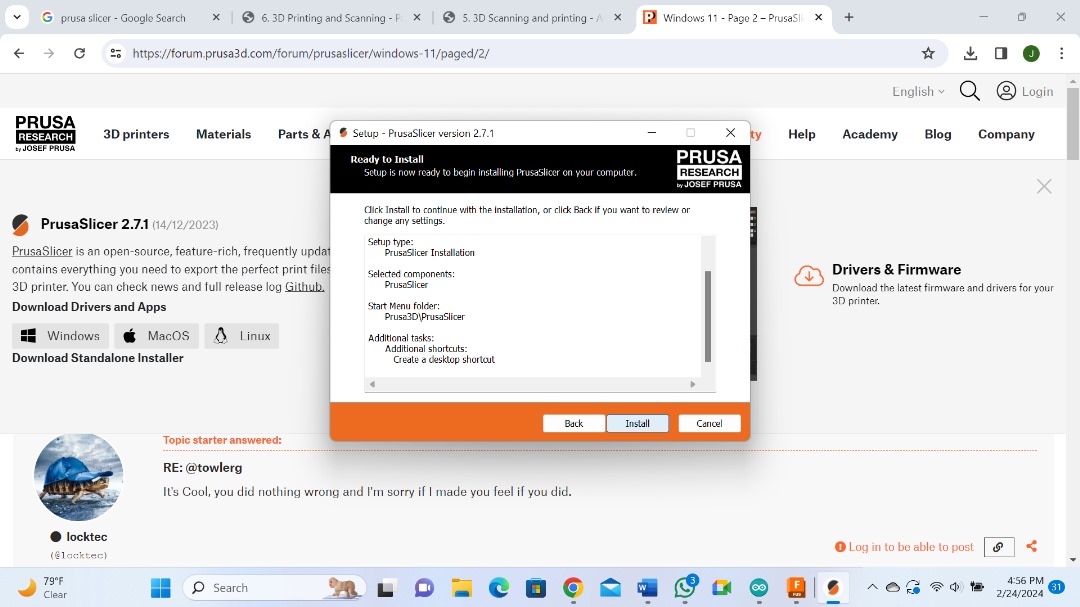
Download Software here.
Now the printing process.
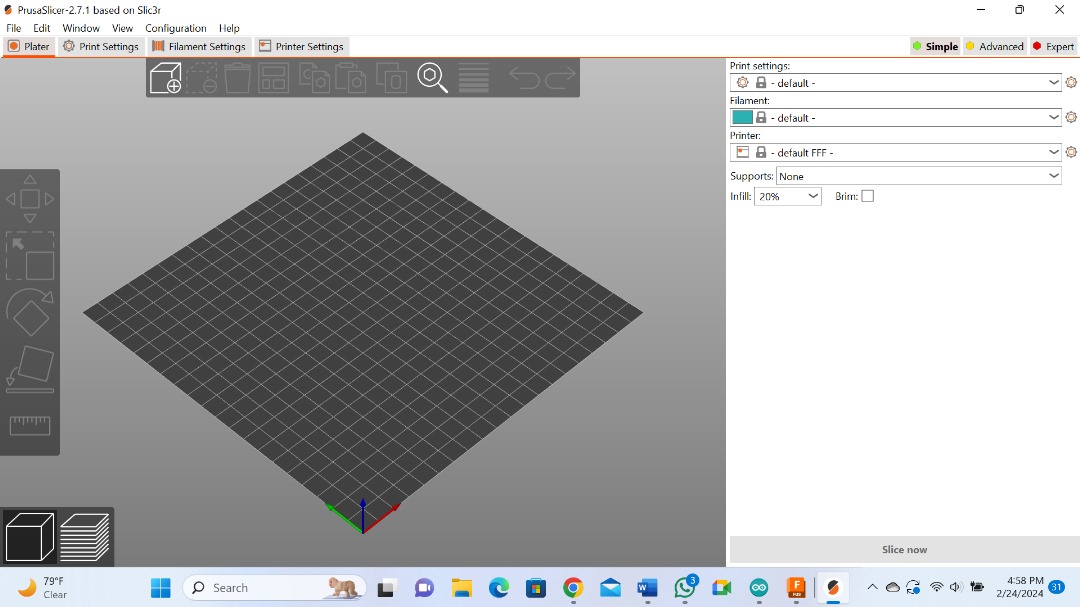
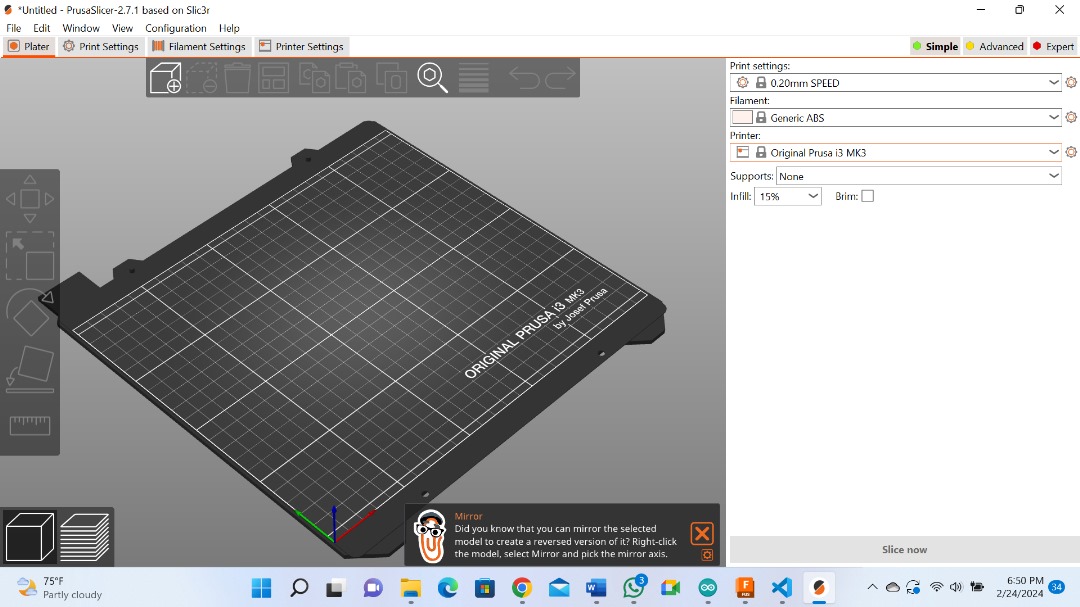
If you first open your PrusaSlicer Software this is how it looks.
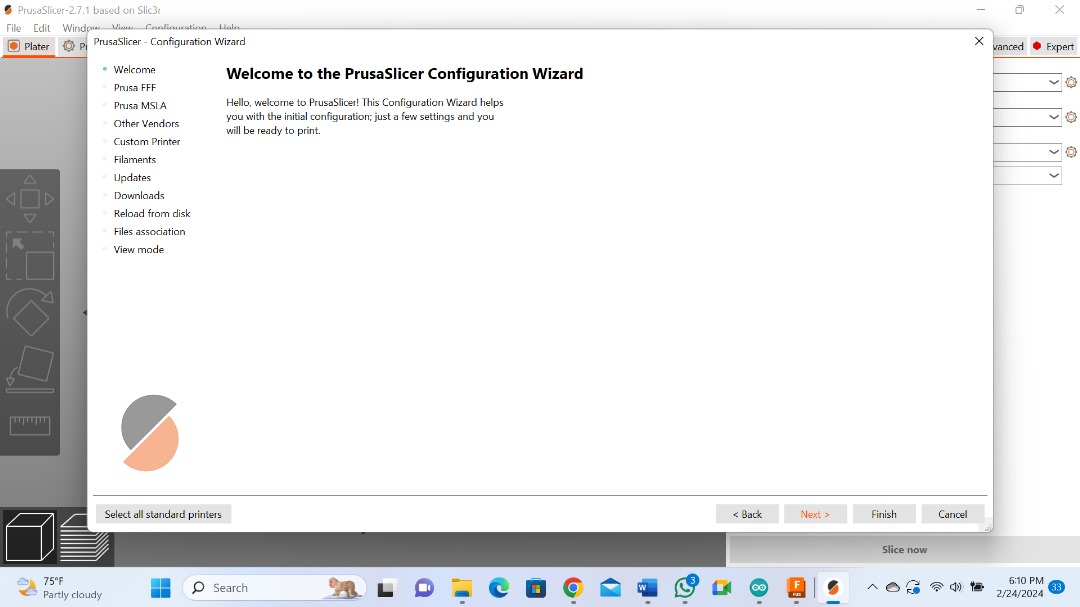
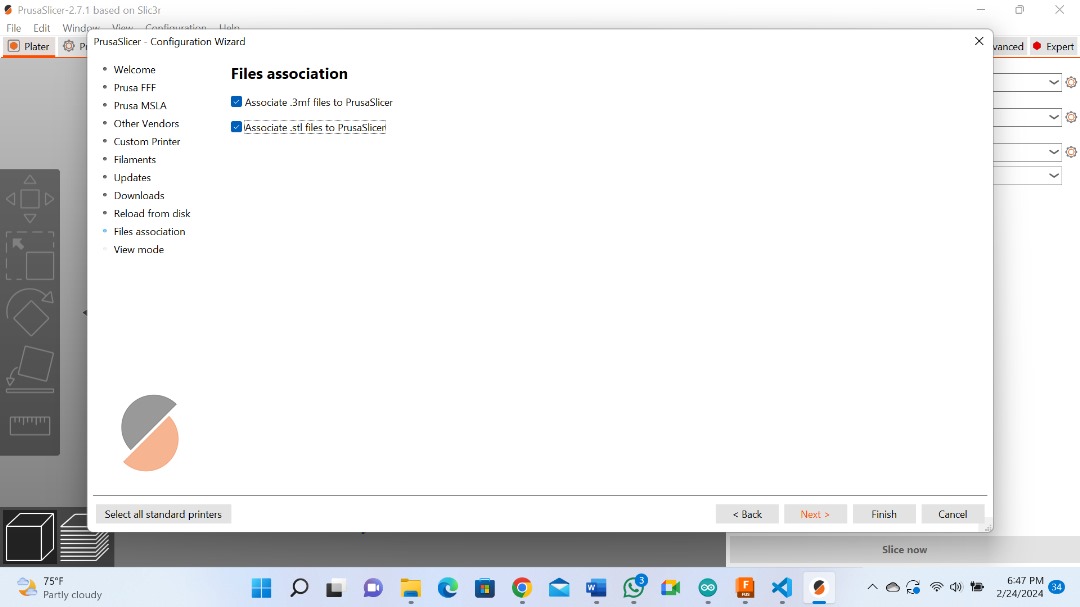
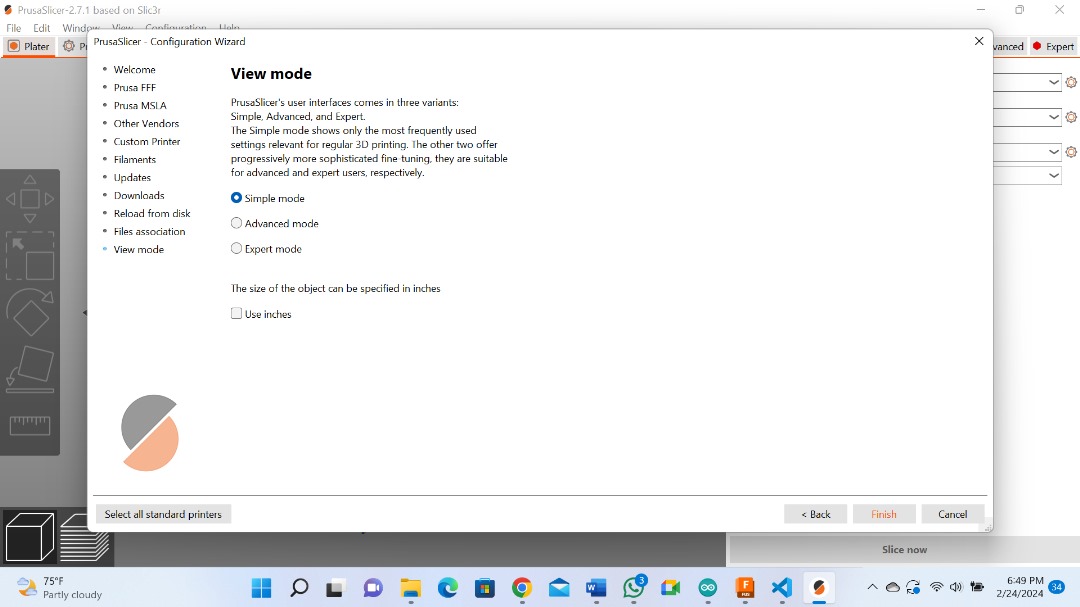
Here the software want us do the initial configuration on the PrusaSlicer configuration wizard. Click next.
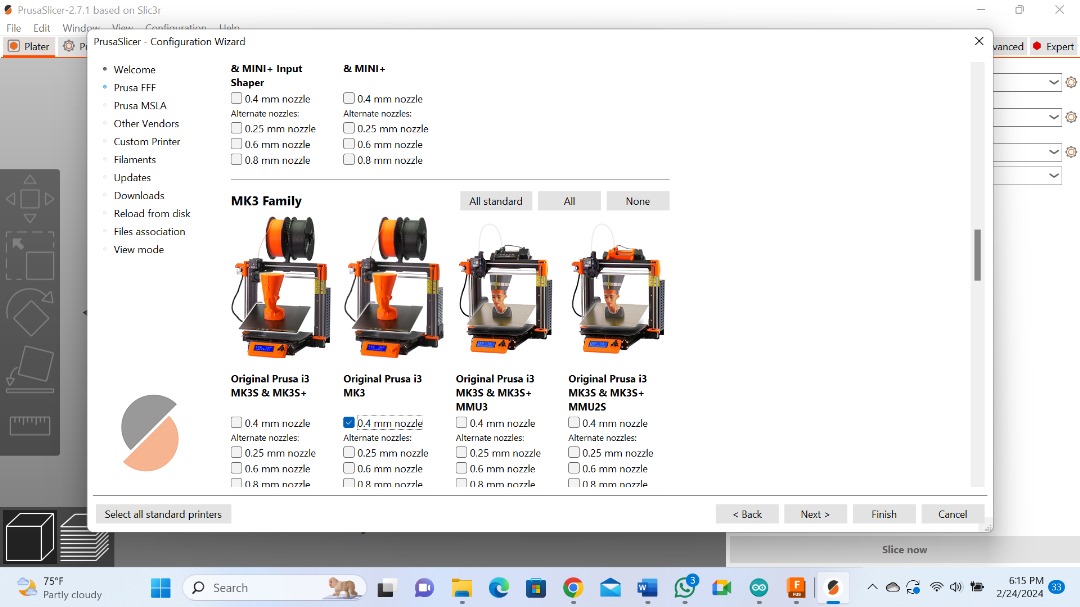
here you select the printer you want to use with this software. In my case I chose MK3 because that is the printer in our Lab and click next.
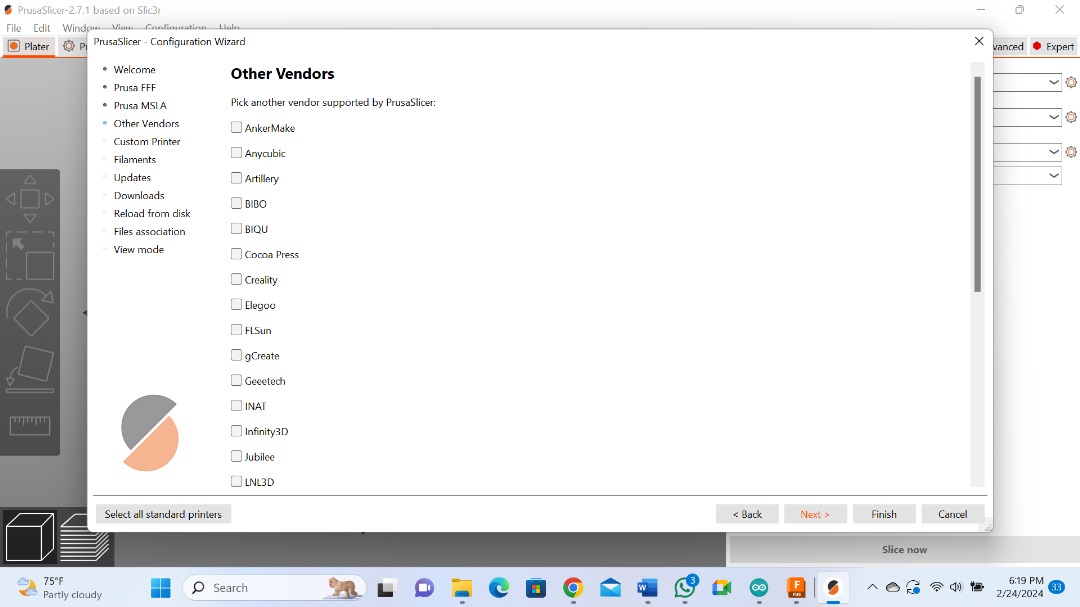
Below you can add another printer if you want to add. In my case I dont have another printer so I just click next.
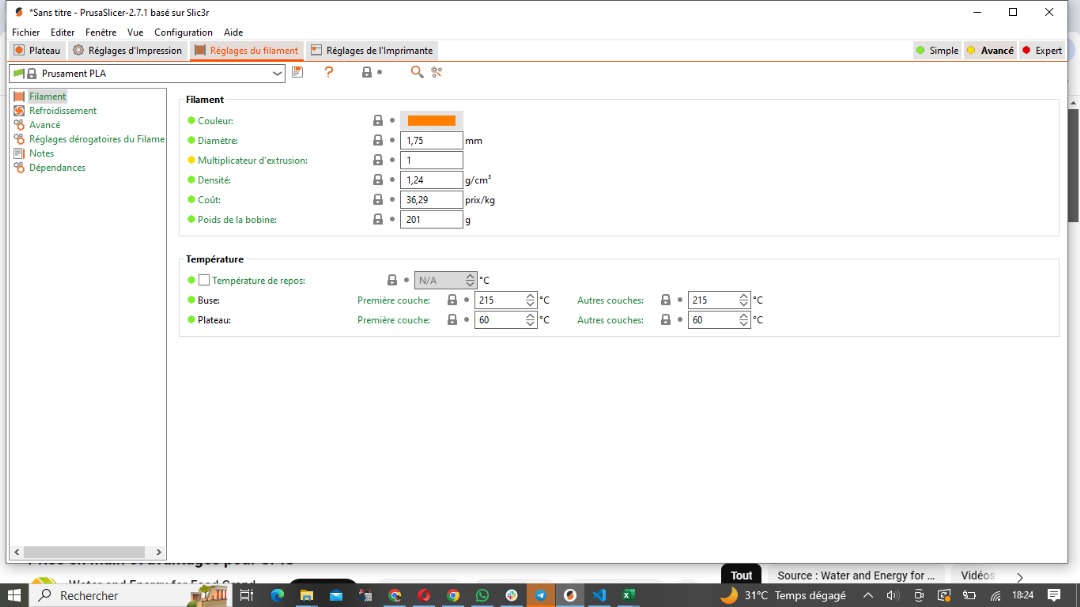
On the Filament profile, you are able to dowload presets for things like temperature and speed for different filament you will use.
You can select whichever filament you are going use regulary. But you can always change the specific setting anytime you change the filament.

Click finish and go back to the work area.
Here is my original MK3.
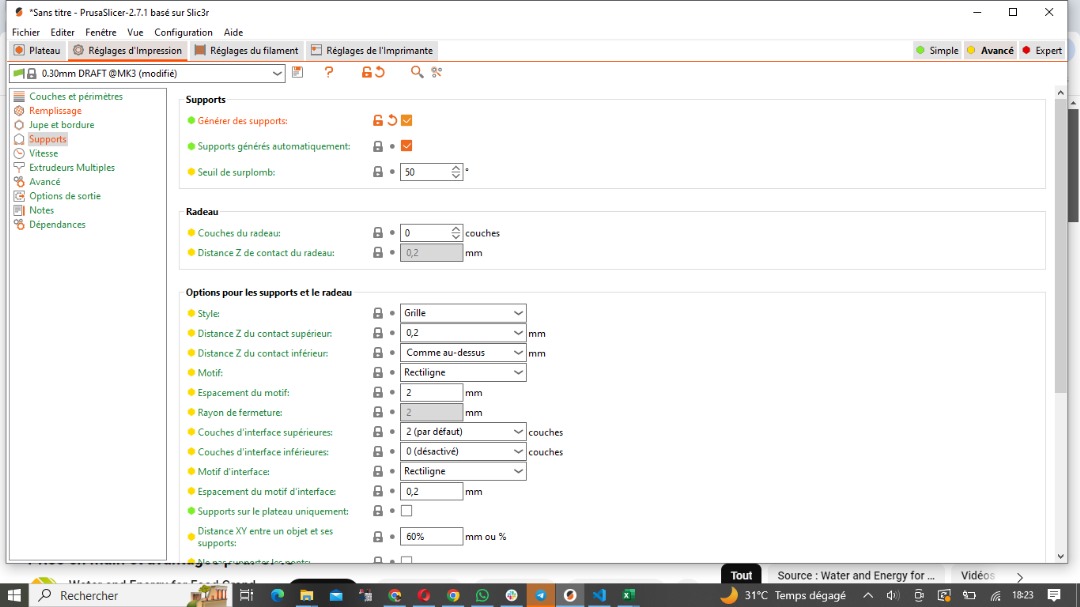
Print settings:
The first option is the layer Height. This defines how far the extruder will move up and how much it needs to extrude per layer.
First layer Height is same feature but only referencing the very first layer.
The perimeter is the amount of outer layer.
infil is how 3D printing creates strong structures.
0% is almost holal. Higher infi is required for strong models.
Slicing
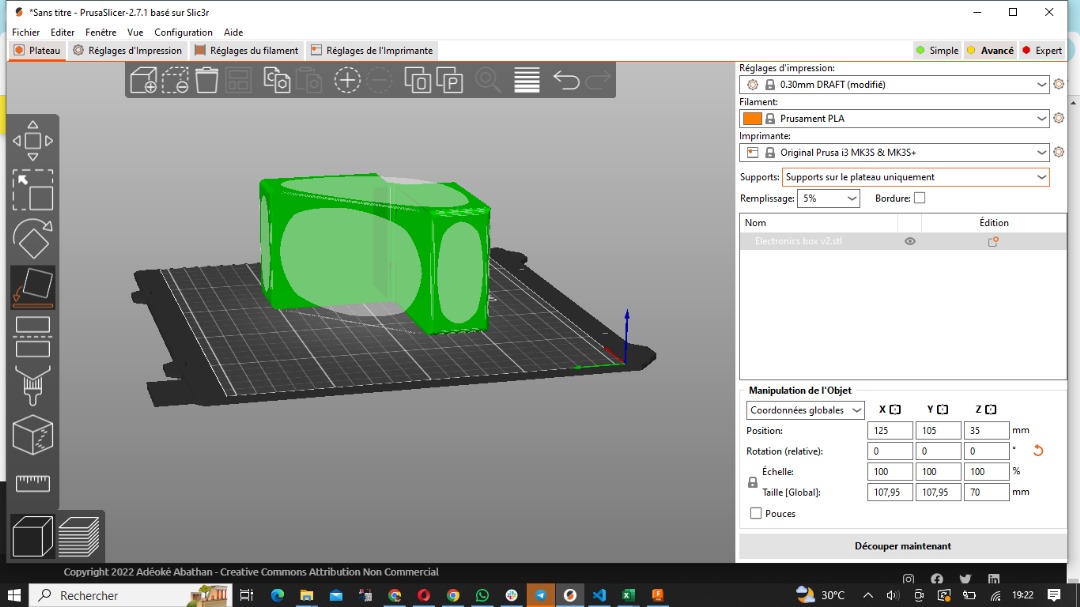

Files
What went well/what went wrong
Generally everything went well. This was a very interesting week learning 3D scanning and Printing in the same week. All these technologies were very new to me and very fascinating.
However, I aborted my first production process after I was tipped by Paul, our mentor, that my model can be made by also using subtractive method. So, I changed the design.
Below is the first model I designed and later abandoned.
