3. Computer Aided design
This week I worked on defining my final project idea and started to getting used to the documentation process.
This week’s assignment;
-
To model the final project.
-
Evaluate 2D and 3D Computer Aided Designing
-
Mention computer Aided Design tools.
-
Compress images.
2D MODELING:
Parts of the 2D
Raster vs Vector
To design a 2D image, it is important to know that we have two types of image format:
-
The raster format (jpg, gif, png…)
-
The vector format (ai, eps, svg…)
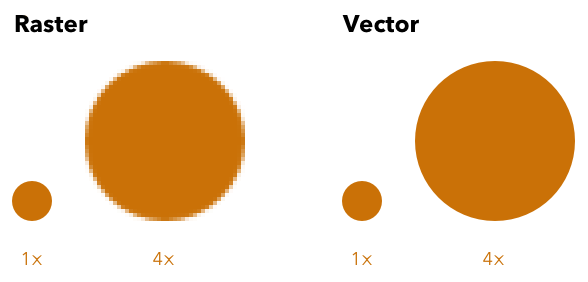
The main difference between these two formats is that a vector image can be enlarged without losing its quality, whereas a raster image loses its sharpness when enlarged.
The raster image (or bitmap):
It is composed of small points called “pixels” that we do not see with the naked eye. When a raster image is enlarged, this image is no longer visible to the naked eye. When a raster image is enlarged, it becomes blurred because the pixels come out, these are the squares that appear on the screen.
The vector image:
It is composed of lines of segments that are linked together by mathematical formulas. It is a system of proportionality and coordinates. Thanks to vectorization, each element has a well-defined place which prevents the image from being distorted.
Inkscape
This is the software I have chosen to learn 2D this week.

Inkscape is a free and powerful vector drawing software for Windows and Mac that allows you to create graphics in a way similar to Adobe Illustrator.
This software generally works with the creation and editing work of different types of artworks, illustrations, charts, diagrams and many more.
You can download it here
After installing and opening the software , this is what you first see.

Then I followed what my predecessor did to create a svg file as practice for next week vinyl cutter assignment to make a sticker for my laptop. So, I downloaded the png logo of TEVETA on their website.

After downloading the logo, I opened it in Inkscape by going to the File>Open tab.

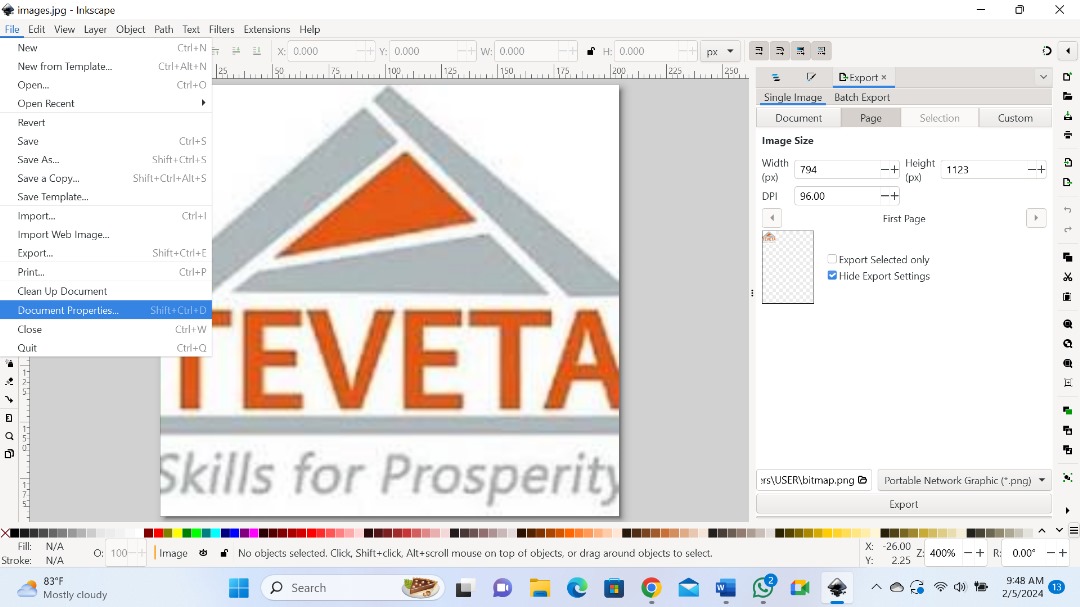
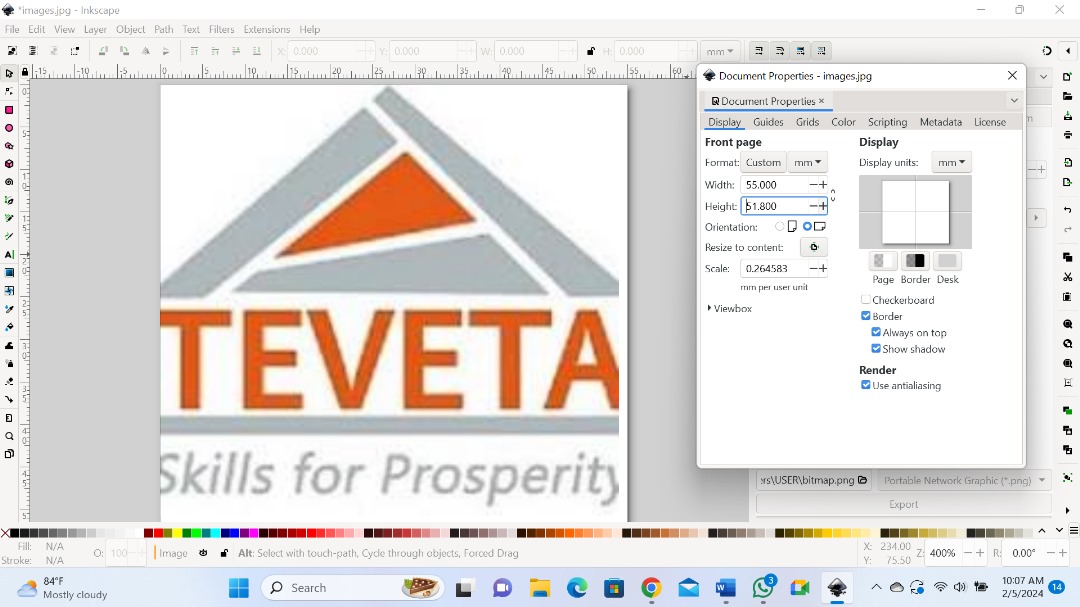
As the image is to be pasted on my computer, it is important to resize it so that it fits with the size of my PC. To this I clicked on the tab file>Document properties.

I used 55.000 mm as height and 51.800mm as for width.
The next step, I created a trace Bitmap which allows me to transform the image into several editable shapes. To do this, I clicked on the Path>Trace bitmap tab and validate in the window that opens.

When I click the Ok button, a second image exist above the initial Image
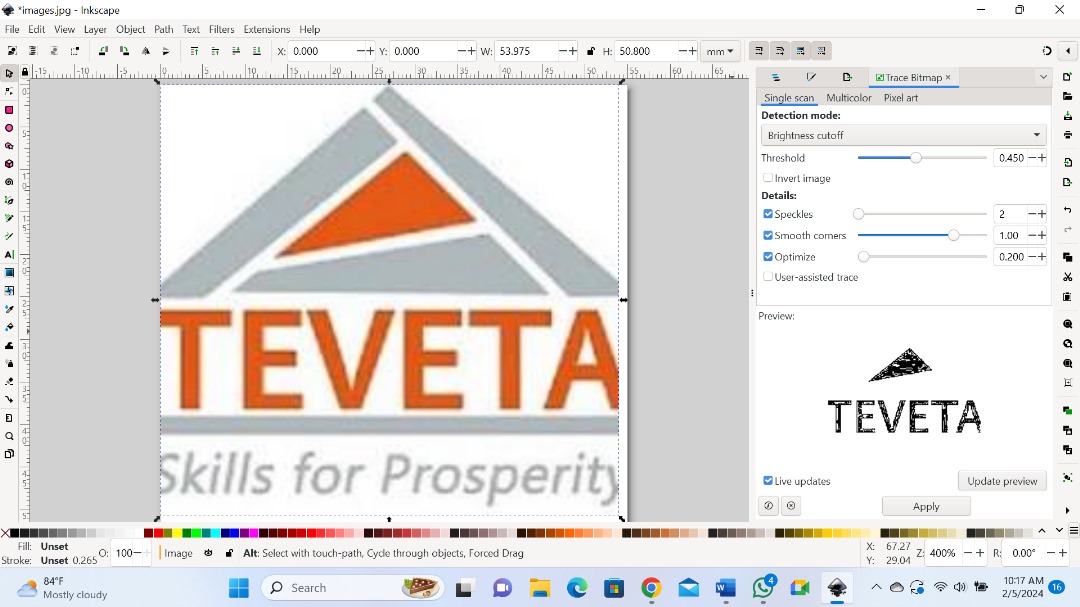
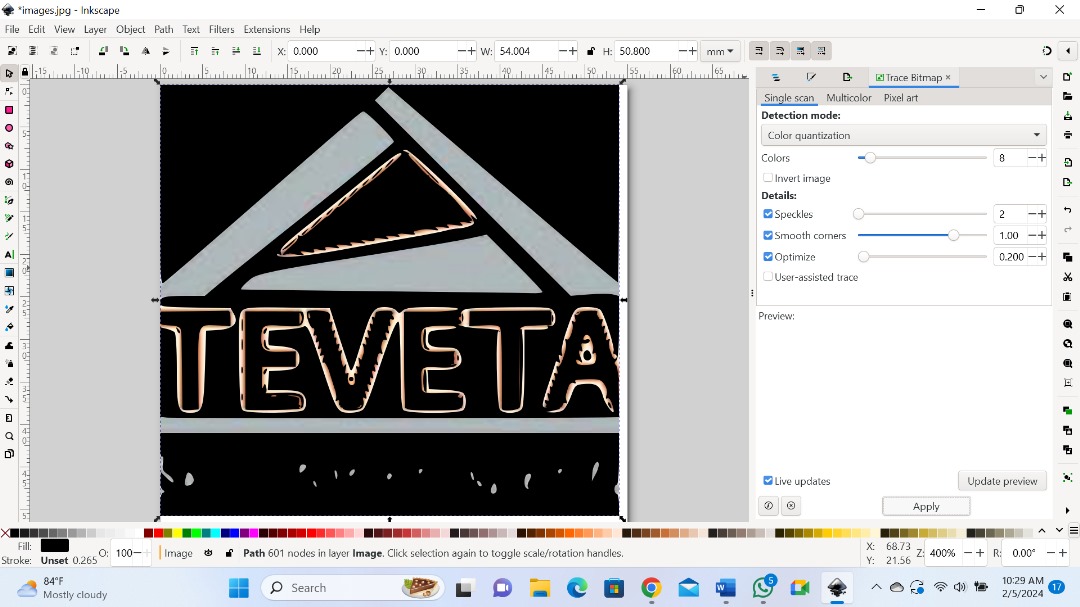
By doule clicking on the new Image, we can see the different shapes that makes up the image. Now I can save the Image as a svg file, but I can still play around with the Image to modify it to my liking.
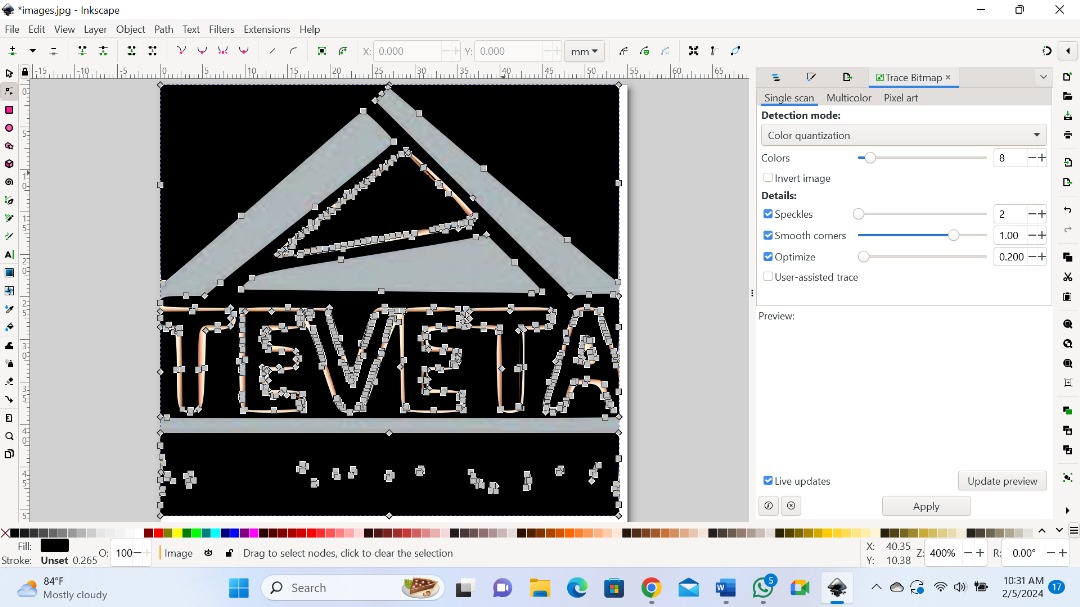
To change the image, I must move the little squares. But for now, I will just leave it the way it is. But I will keep on practicing to get myself familiarized with the other tools as well.
We can see that the original shape is still beneath the image. I can delete it by selecting it and click on the delete button.
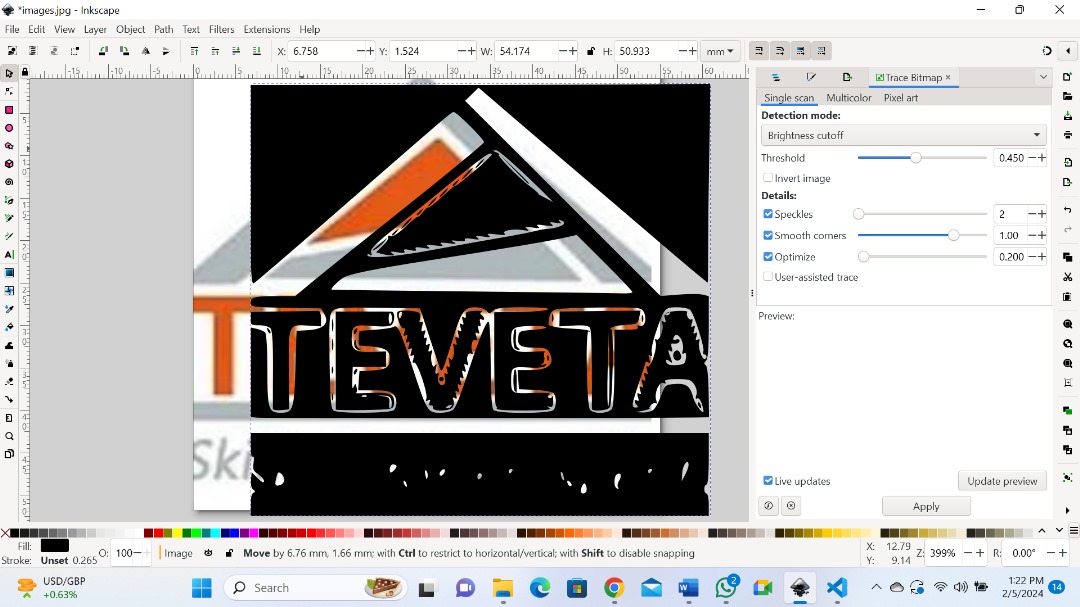
Then comes a clear one like this.

To save my work in svg file, I go to File>Save as ….. and in the window choose extension to svg.

And by clicking this is what comes.
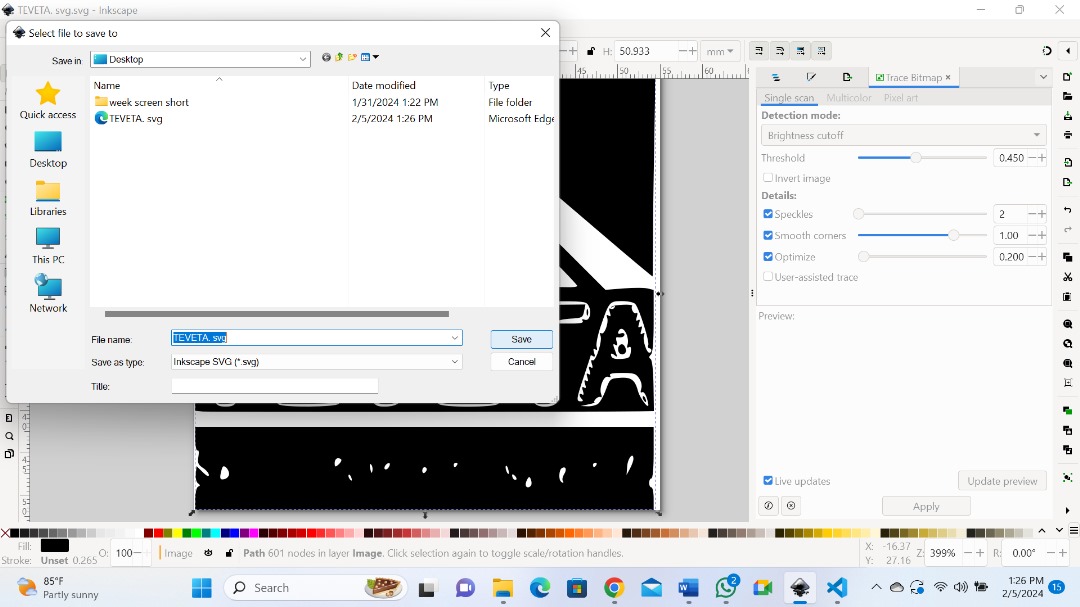
IMAGE COMPRESSION:
In the documentation of each week’s assignment, we use images to better explain what we have done.
However, it is important to compress these images to reduce their size before pushing them to GitLab.
To do this I used gimp software (which is an open-source graphic editor that you can download at this link to which I added BIMP Plugin, downloadable at this Bimp link.
After installing gimp in additional to its bimp plugin, we open gimp and go to the file tab and click on the Batch Image Manipulation Plugin sub-tab.

After clicking, the Bimp window opens as shown in the image below.

Now to compress the image I selected the image by clicking on the Add button, and then choose the output folder which the compressed image will be saved.
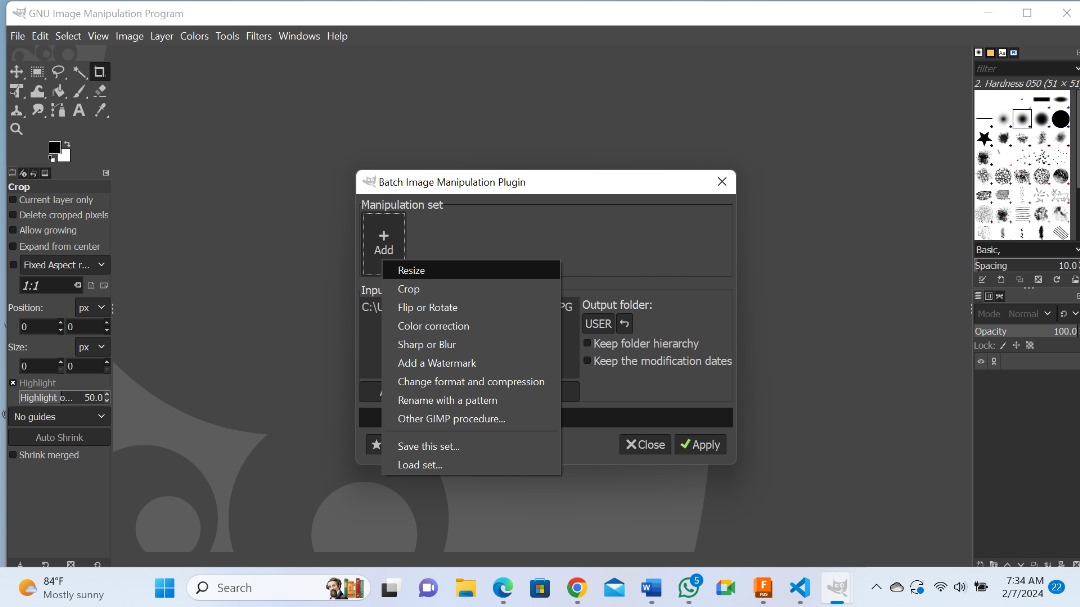
Then I clicked on + Add button on the left Top conner where there is Manipulation set.
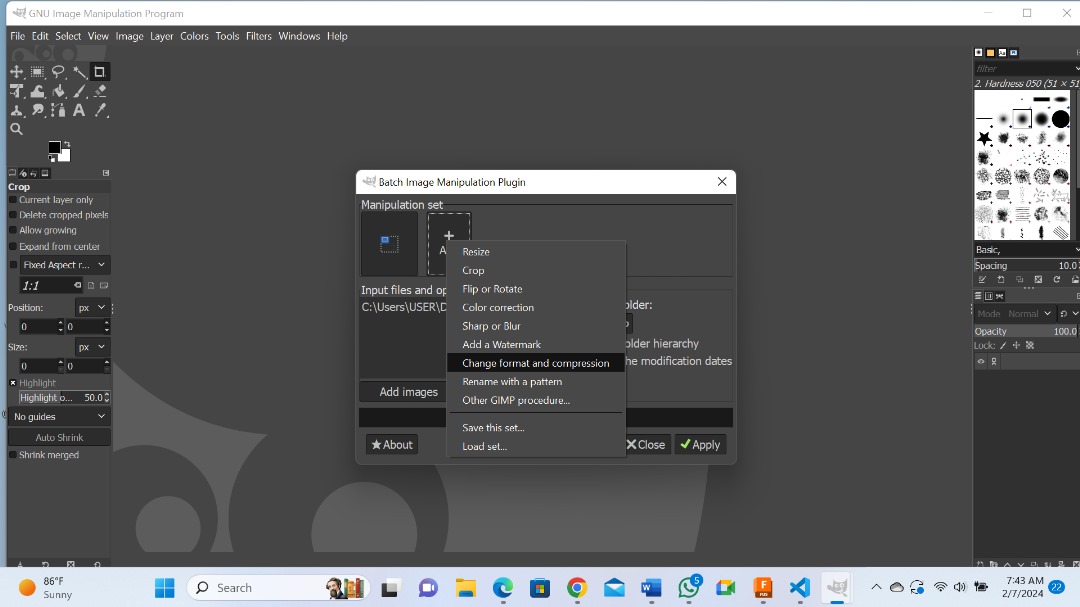
By clicking on that you get a pop up menu and my interest is to resize the image, change format and compress.
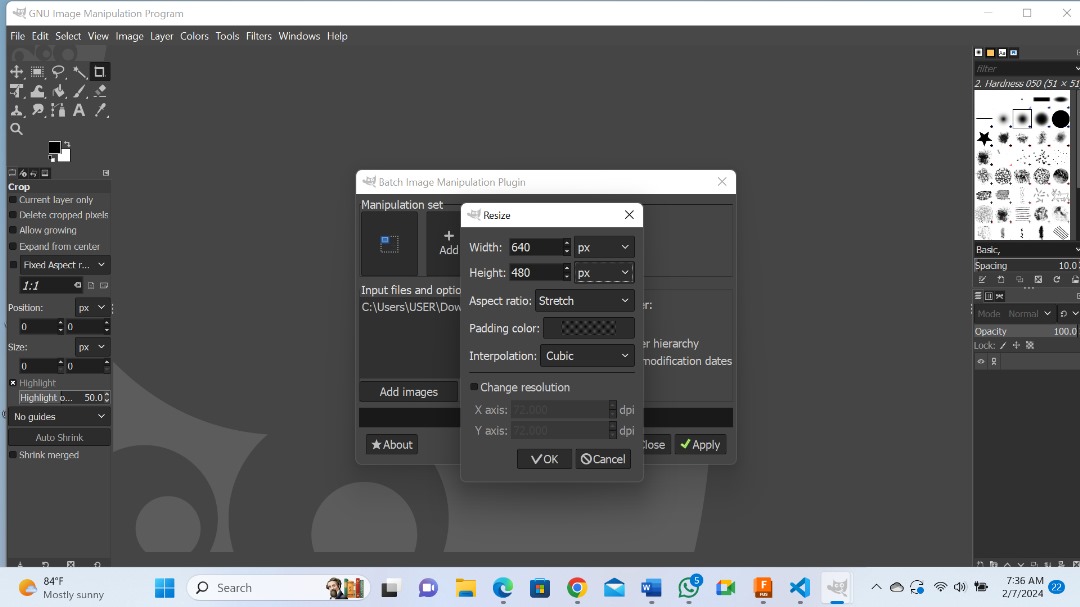
The settings for resizing the image are shown below:
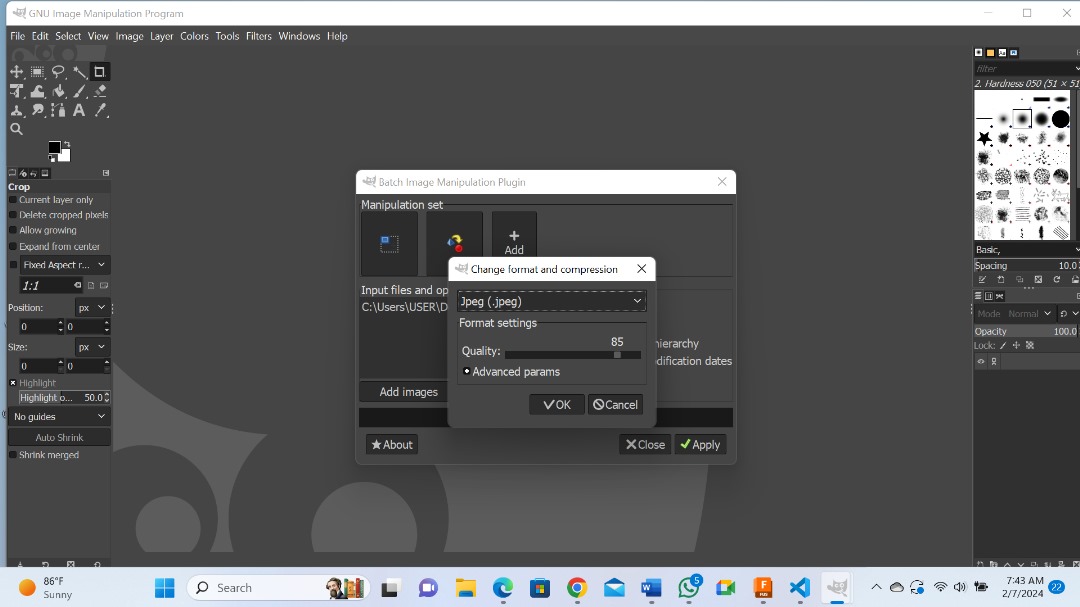
Here are the format change and compression parameters.
There we can change the format and compress the image the way we want.
3D MODELING:
PART OF 3D MODELING:

My work on 3D will involve me modeling a Can, its cover, an interface box. So, as we can see my modeling will include several parts.
In fact, I will be modeling one by one till I finish them all.
To begin with, I will model the Can which will be housing water and the solar pump. On its side it is where the interface box will be with the embedded electronics.
For the 3D modeling, I chose to use the AUTODESK Fusion 360. But to use it, all Fabacademy students were provided with a license because it is not totally free.
To start, we must install it on our computer and to do this we must first download the software. You can download the trial version here.
To learn how to use the software, I followed several tutorials on youtube.
After opening the Fusion 360 software, this is how it looks like.
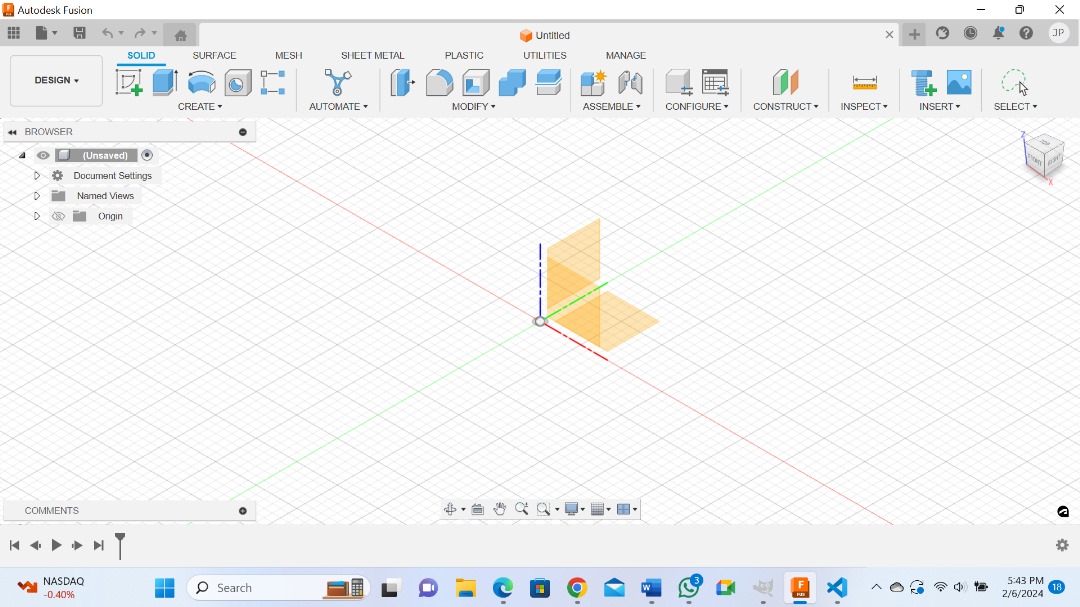
So, for the Can that I want to model, I started with a sketch with all constraits and I continue from here.


Now I continue with the sketch of the watering Can which is the main component.

After making the sketch, I made a 20mm extrusion of my 2D plan.
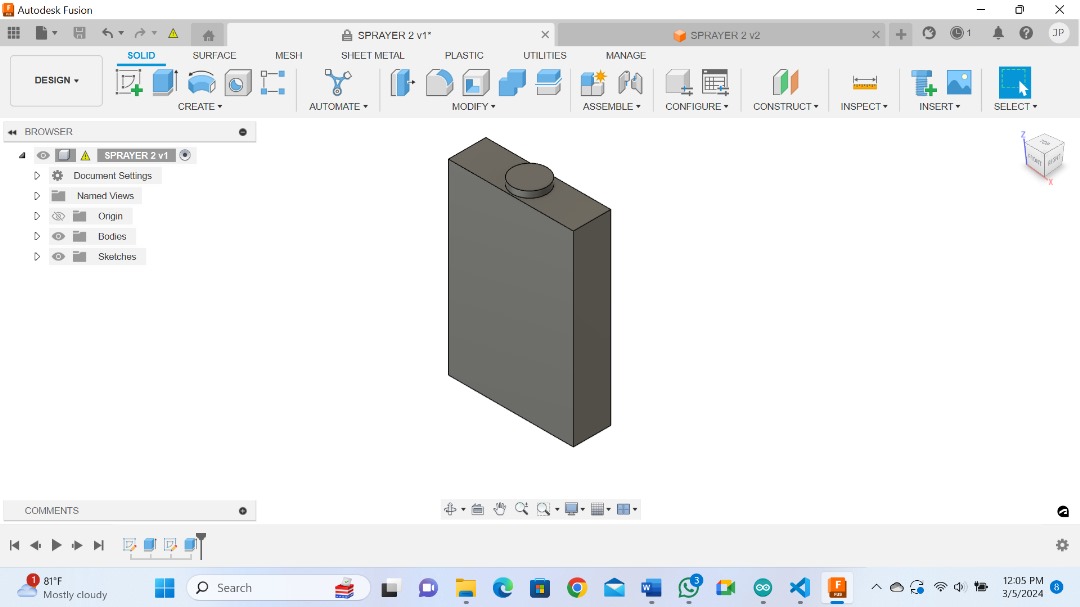
After creating the box, I applied some features like fillet just to make it look neat. I also made two holes, one for the switch on the interface and the one at the bottom is for outlet pipe to the Nozzle.
.
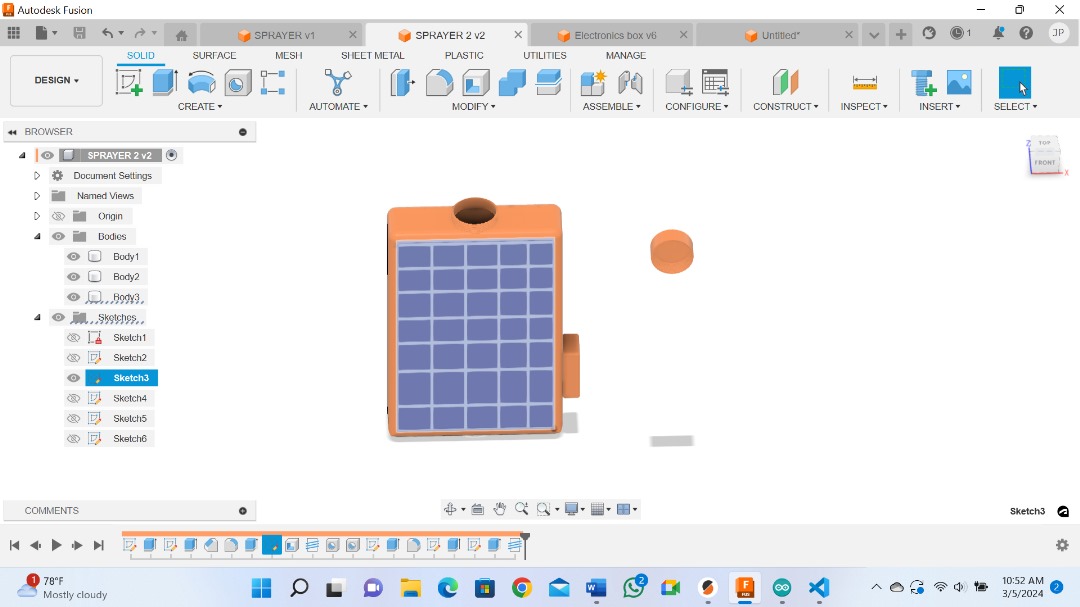
Then I shelled it and applied some colors as you can see.
And finally, I made its cover.
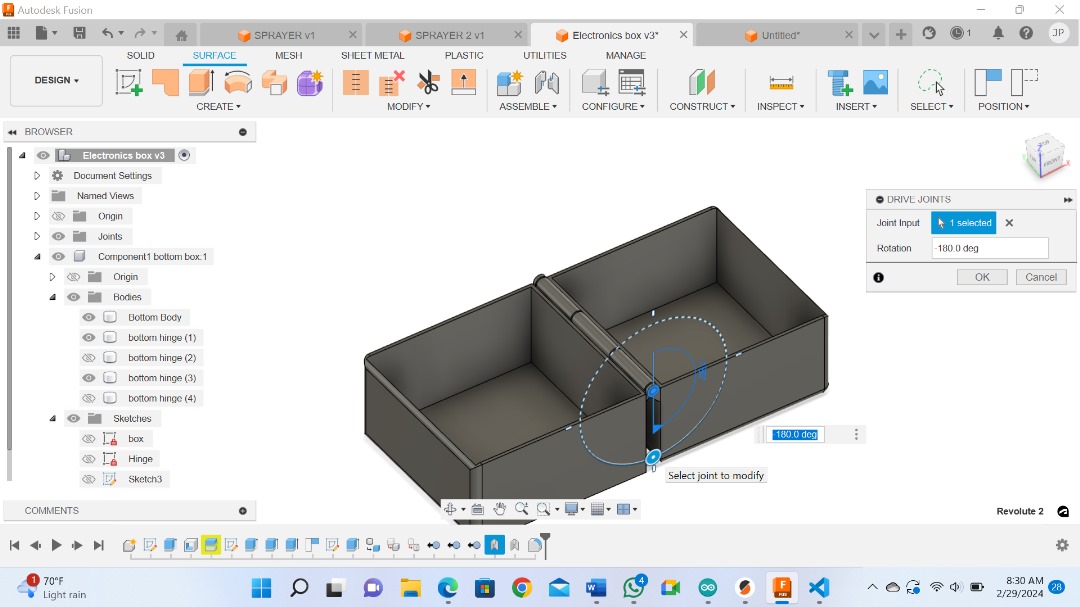
Electronics box
Next I decided to design the electronics box. Actually it is a Parametric design.

Here is the sketch.
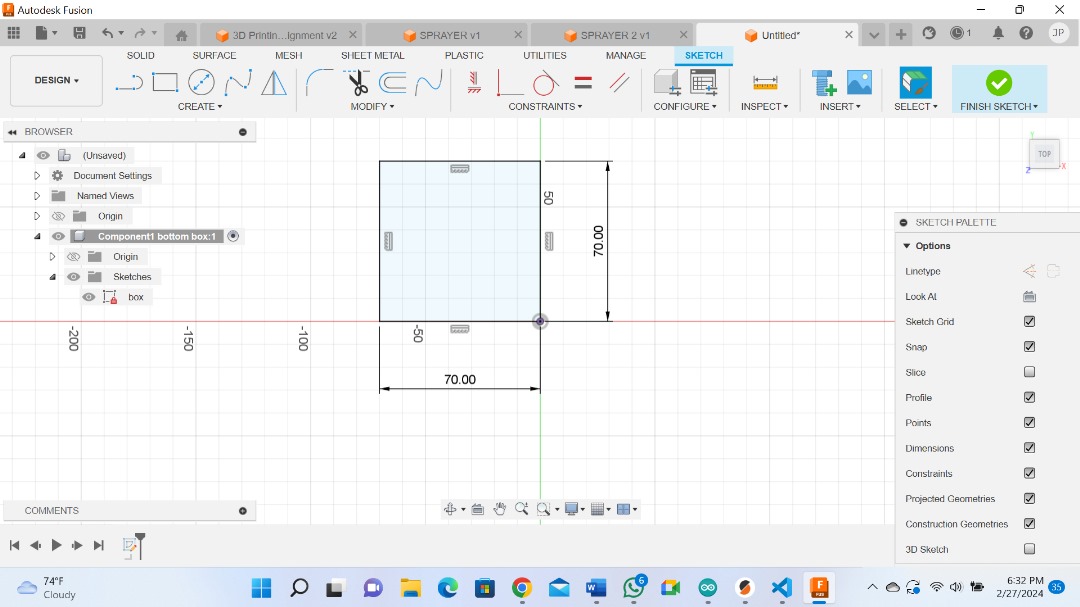
Then I designed Hinges.
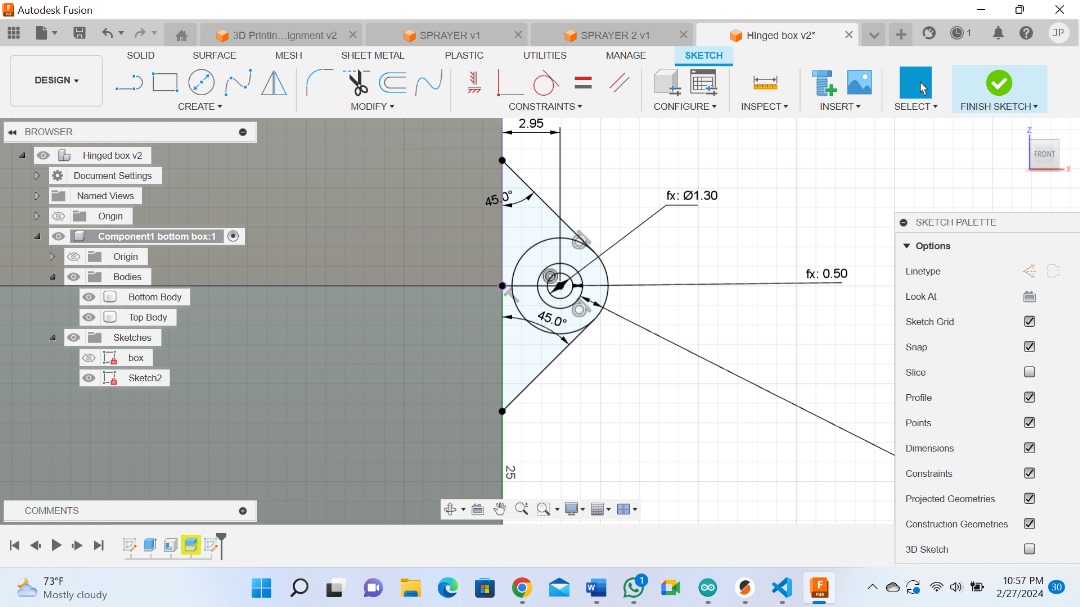
Now Here is the outcome. We have our box.

Files:
What went well/ what went wrong
Generally everything went well. This week much of the things I learnt was new to me. Starting from Fusion 360, Inkscape all was for my first time. But to me learning new skills is a blessing and I was very happy. I can not hesitate to say Fusion 360 gave me a tough time at the very beginning that I it took me hours to come up with a visible model.