4. Computer controlled cutting
Hero Shot
GROUP ASSIGNMENT:
-
Do your lab’s safety training.
-
Characterize your lasecutter’s focus, power, speed, rate, kerf, joint clearance and types.
The group assignment link is here
INDIVIDUAL ASSIGNMENT:
This week we were individually assigned to;
-
Cut something on the vynilcutter.
-
Design, lasercut, and document a parametric construction kit, accounting for a lasercutter Kerf, which can be assembled in multiple ways, and for extra credit include elemets that aren’t flat.
LASER CUTTING:

Designing and Laser-cutting a parametric press-fit construction kit.
Step 1 Modelling:
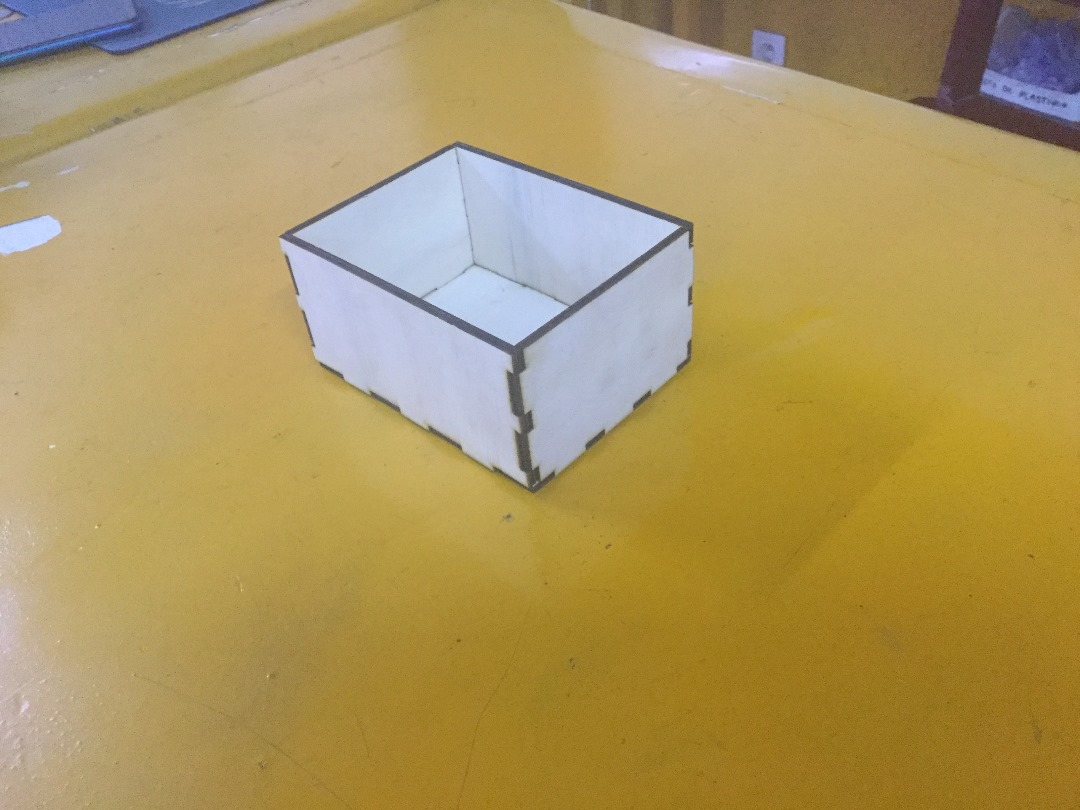
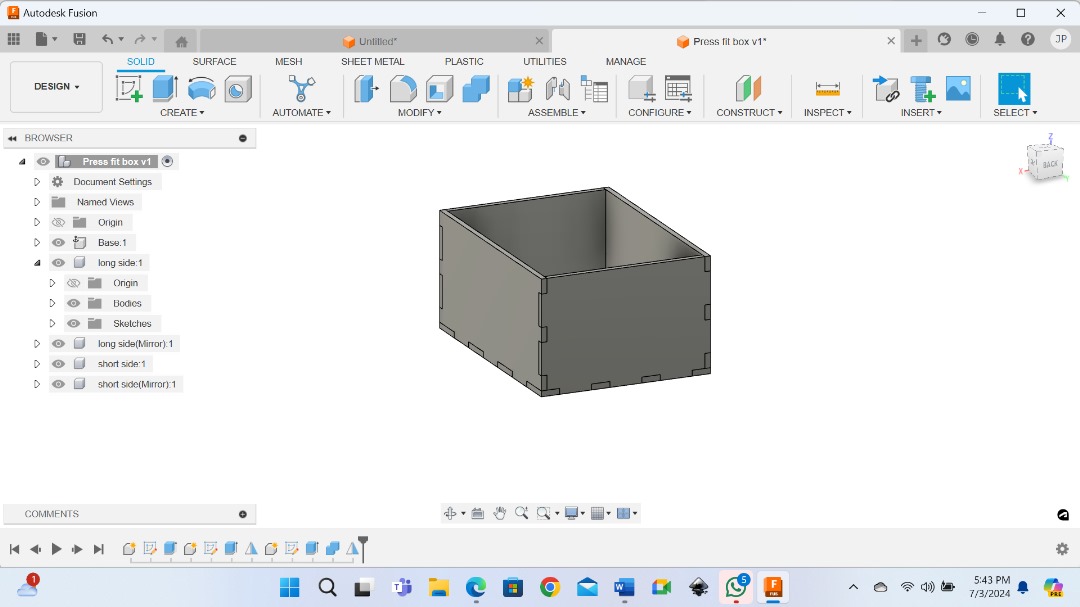
I decided to model a box resembling the electronics enclosure that will be used for my final project.
In my final project, I will have a water sprayer and beside it there will be an electronic enclosure which is a box. So, to get myself familiar with Laser cutting, I modelled this box.
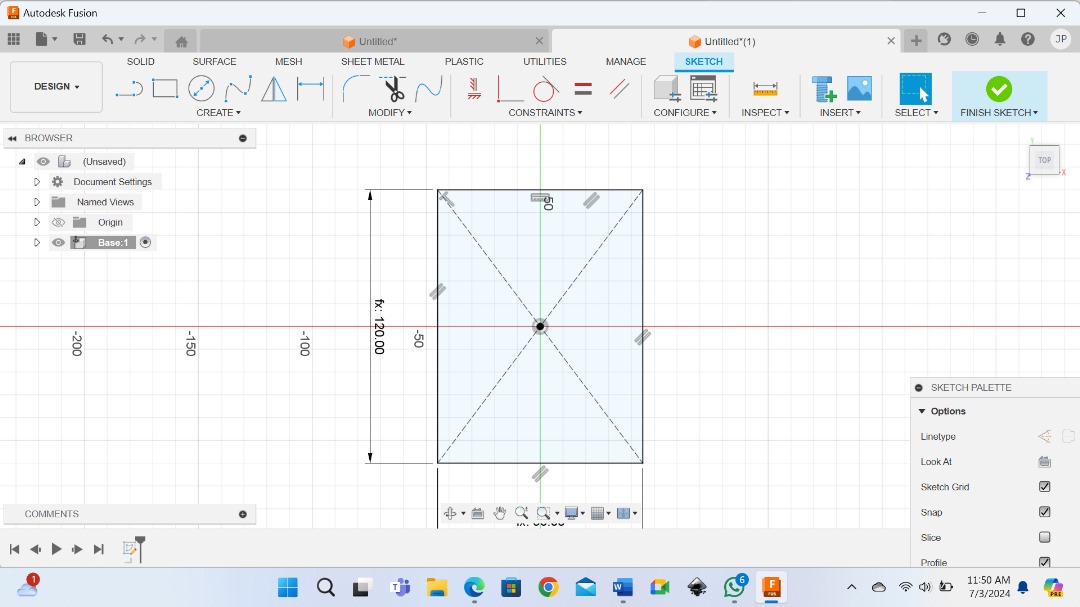
I modeled this box using fusion 360.
Here are few images.

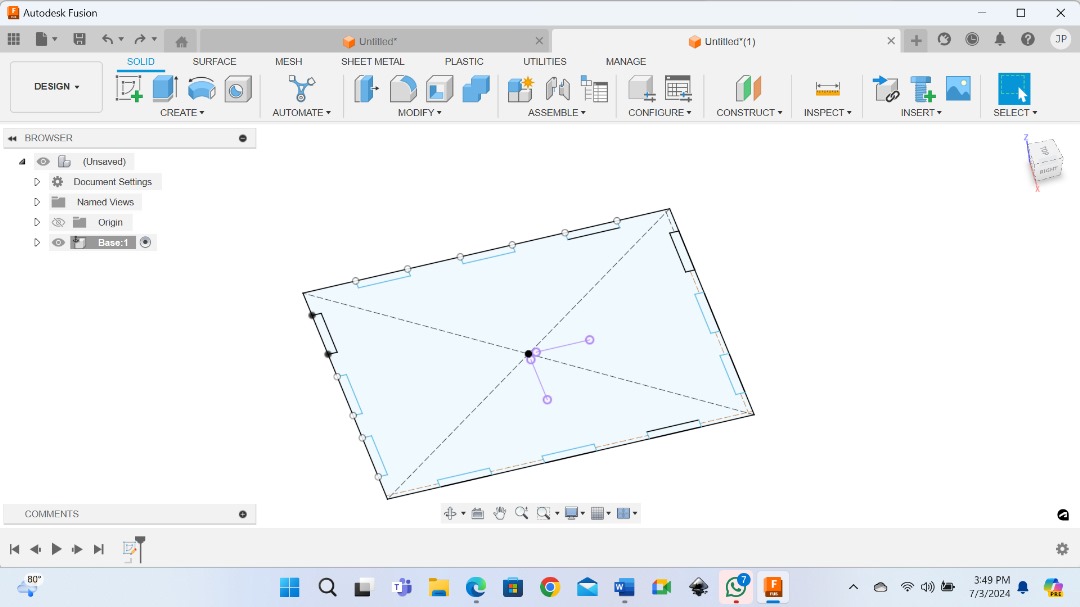

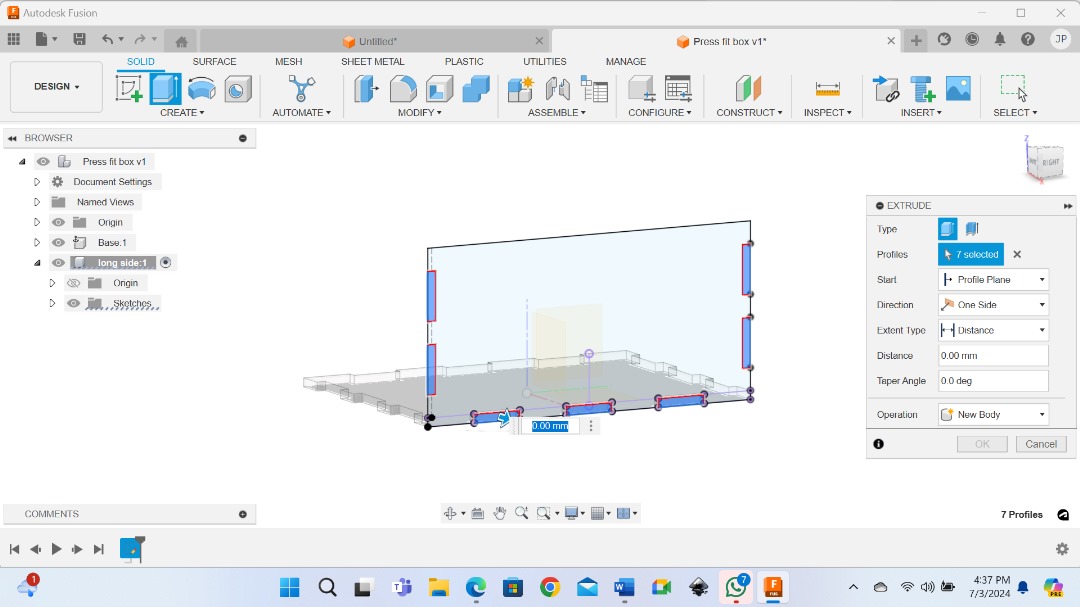

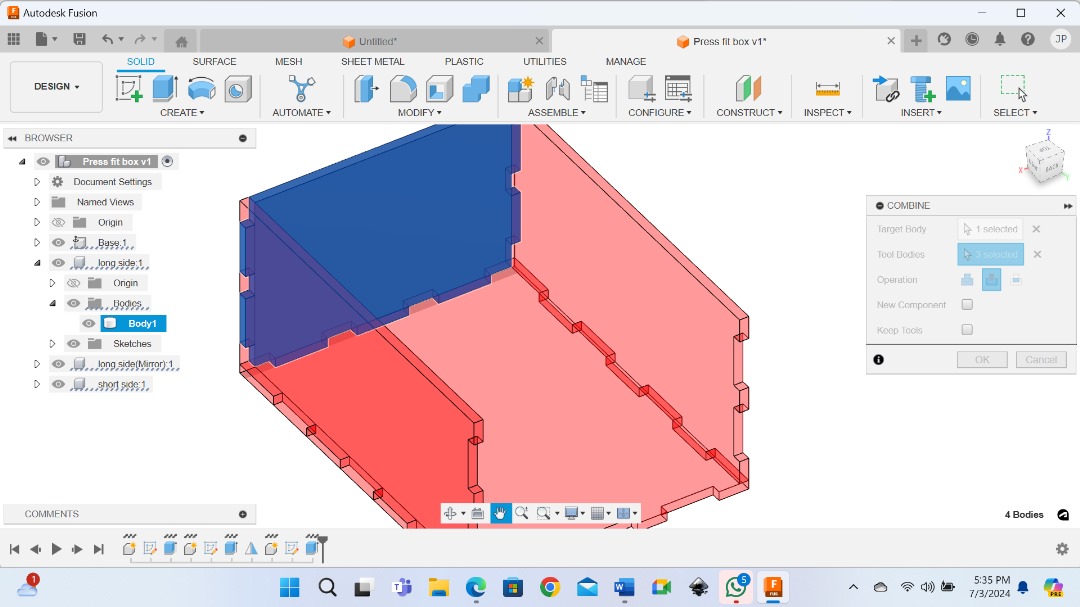
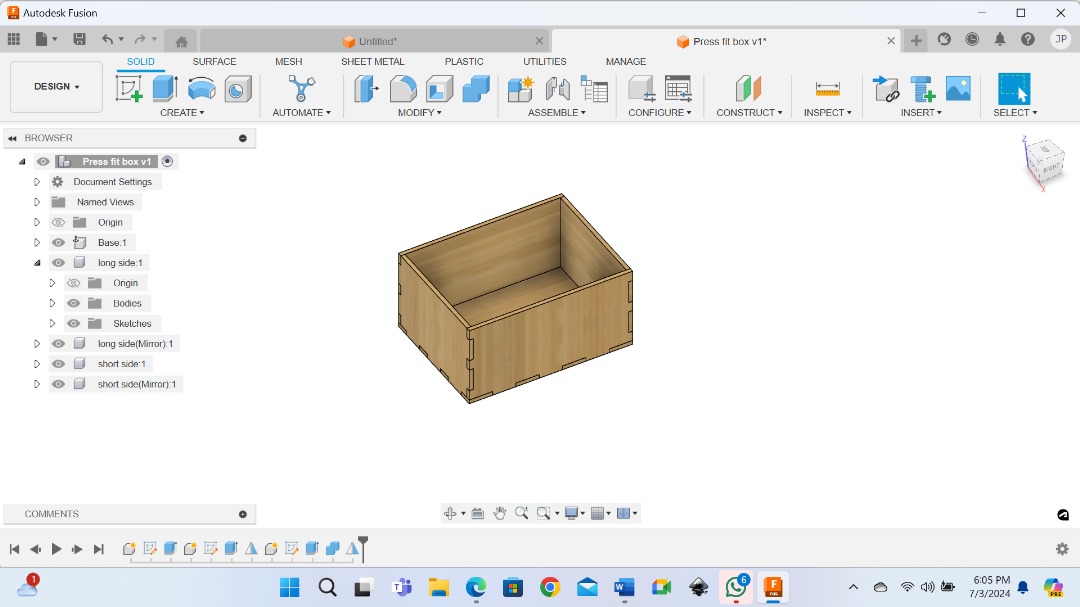
Parameterization:
Now as you can see my design is parametric. so, now if I go to change parameters, or if I want to make changes, it is easy. I can make it bigger or taller and it will keep updating and match whatever I type.
This helps you whenever you want to go back and change values the rest of your design will update to reflect the changes made.
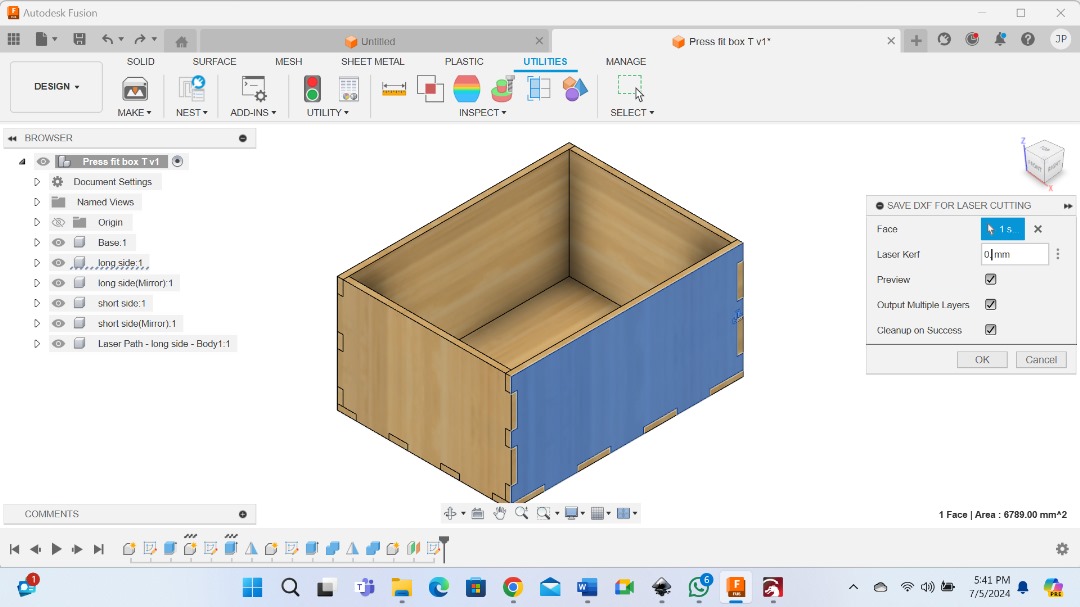
Exporting DXF files in fusion 360:
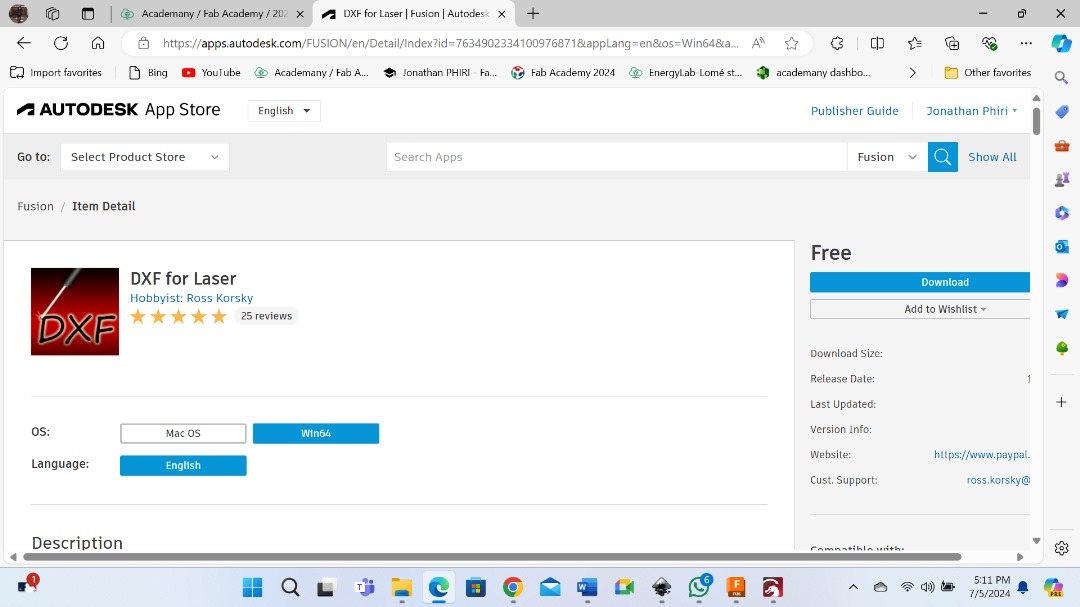
First you need to download and install the plugin/script dxf for laser cut. You can download it from here.
Then go back to fusion 360.
Click Utilities> Addins> Script and addins. Again click Addins> double click DXF 4laser to add it.
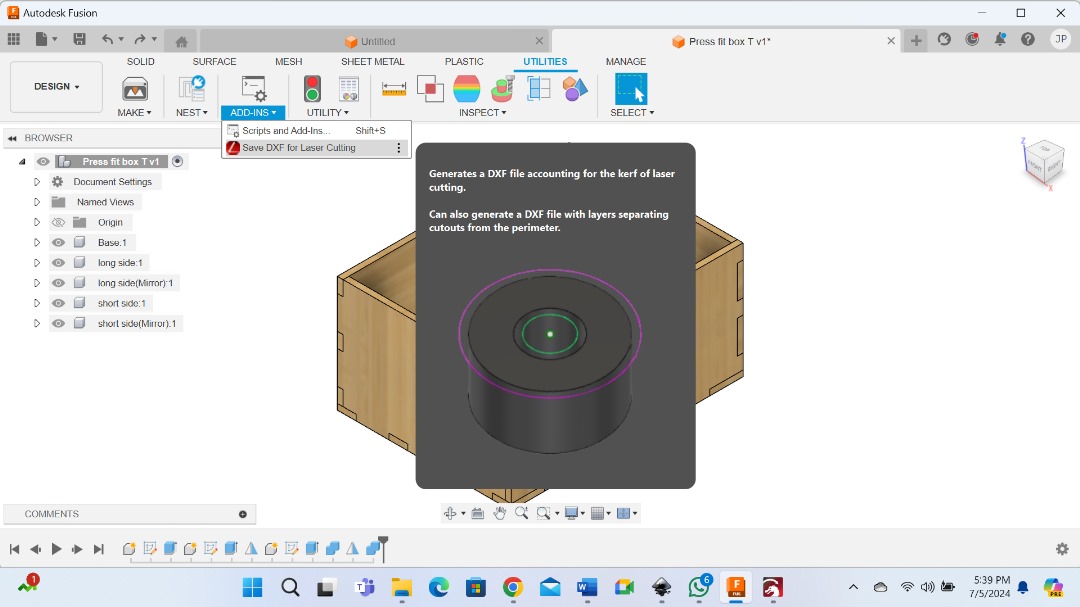
Then after, go to create> Save DXF to laser cut and select the face you want to export. Set the kerf to 0, select the output folder and export.
Step 2 Loading files to software.
Now I need to import a file. I use Rightburn software to control the lasercutter.
I downloaded Lightburn here
When you open Lightburn this is how it looks.
Then go to file> import and it will take you to the folder directory where you choose the files you want.

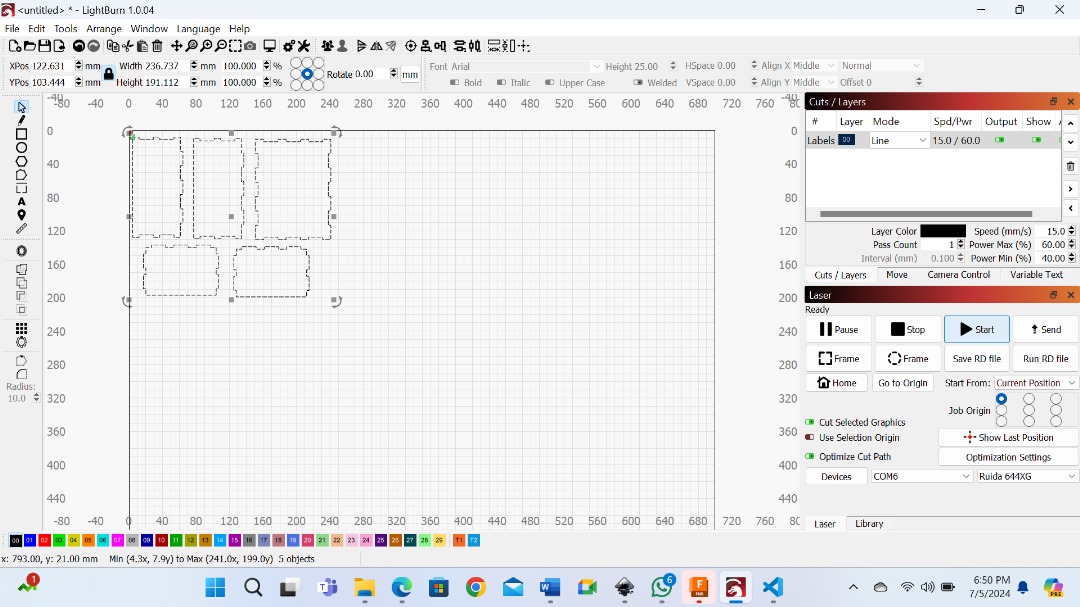
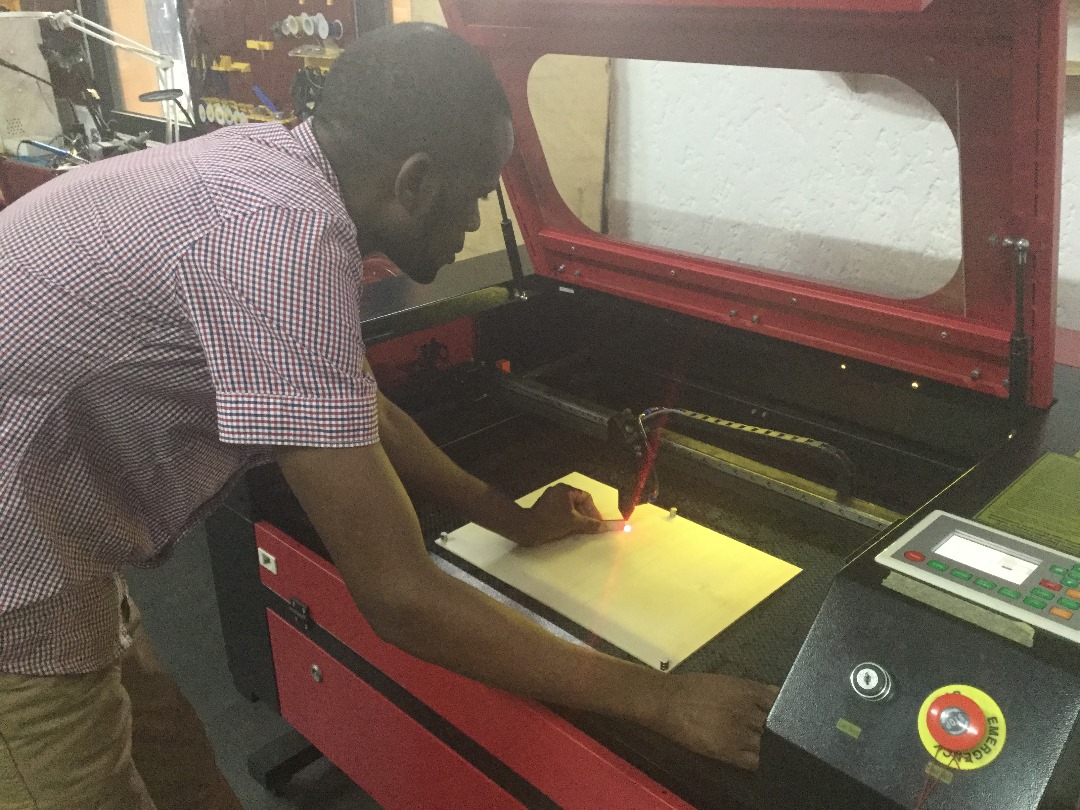
So, the first thing will be to calibrate the distance between the laser and the material to cut.
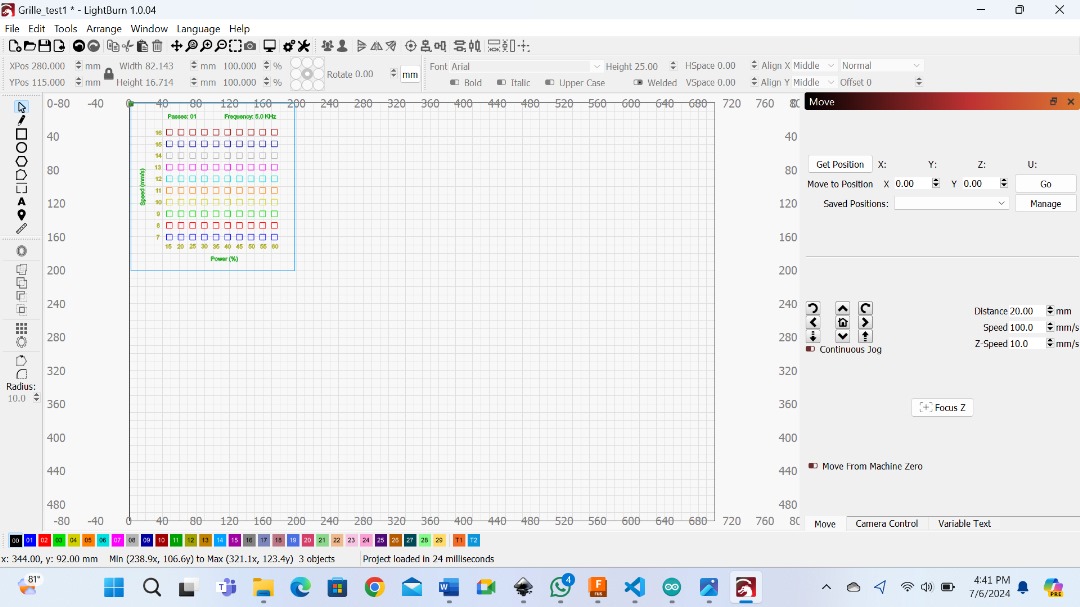
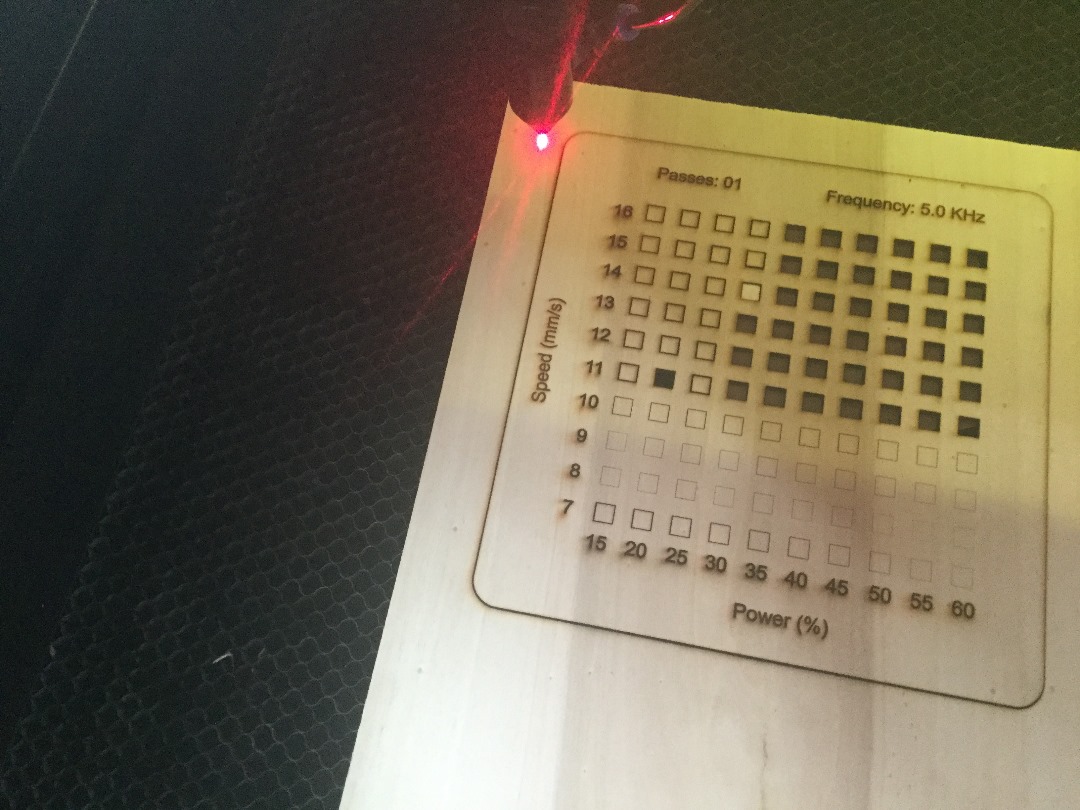
Then we need to do some Grill test. This will help to determine the best cutting parameters.
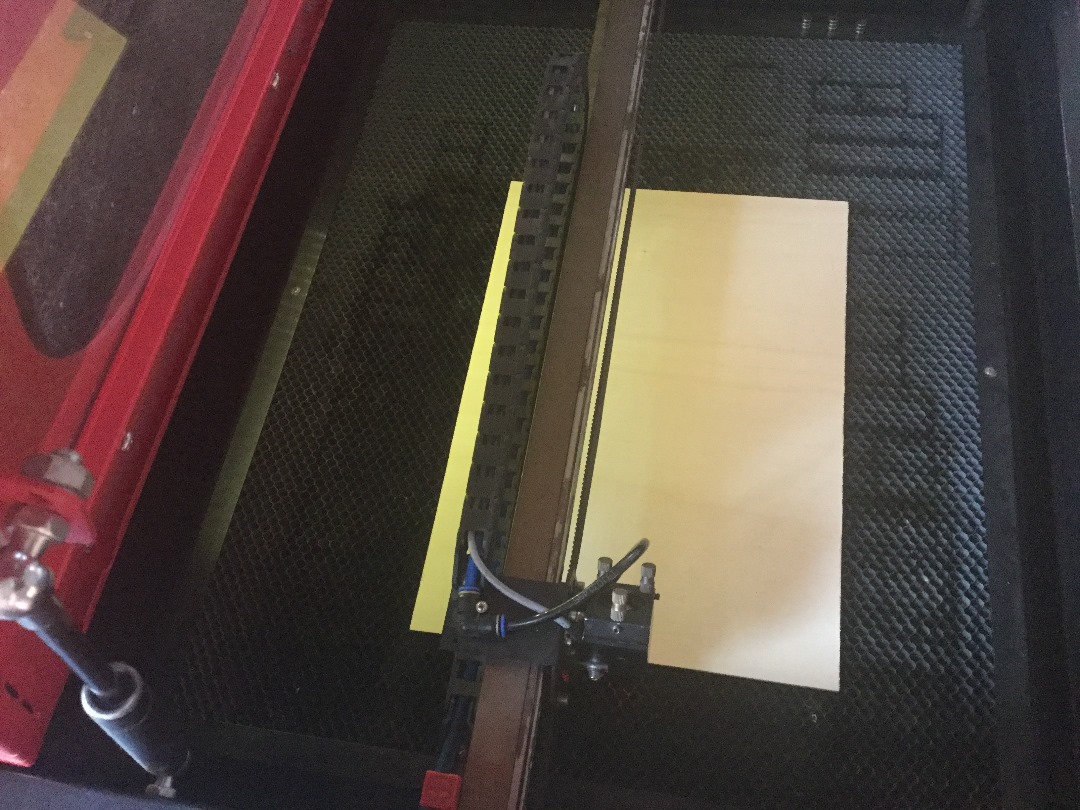
Now we can proceed to cut our box.
And here we are that’s our box.
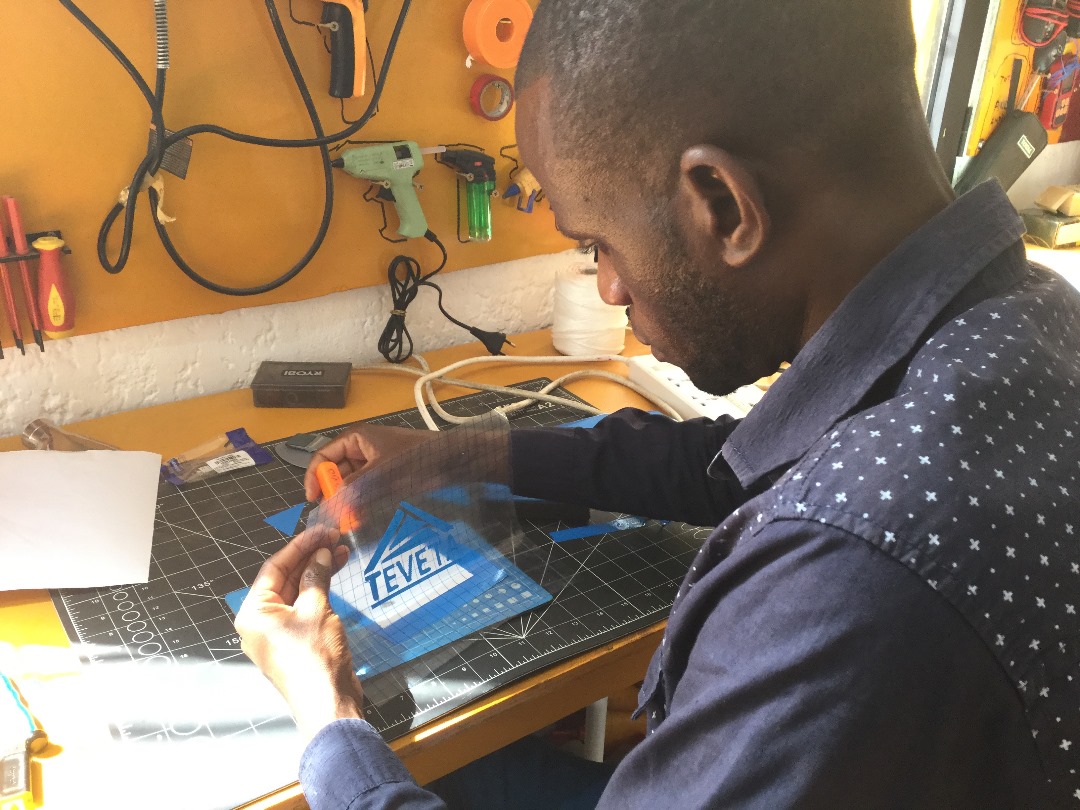
VINYLCUTTiNG:
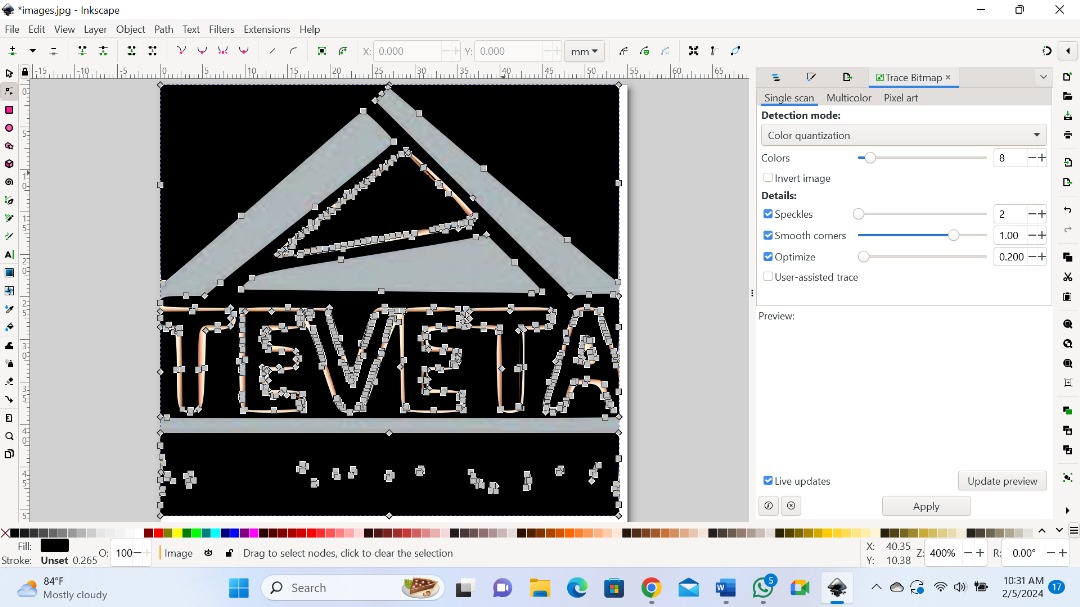
For the vinyl cutter, I used the svg file that I created last week. In fact, I already have an image that I created using Inkscape last week from my computer aided design assignment.
If you are more curious about svg file, click here
So, I exported this file to the computer which communicates with our Vinyl cutter. The computer uses SignMaster CUT 3.5 software to control the Vinyl cutter.
After opening the SignMaster this is what you first see.
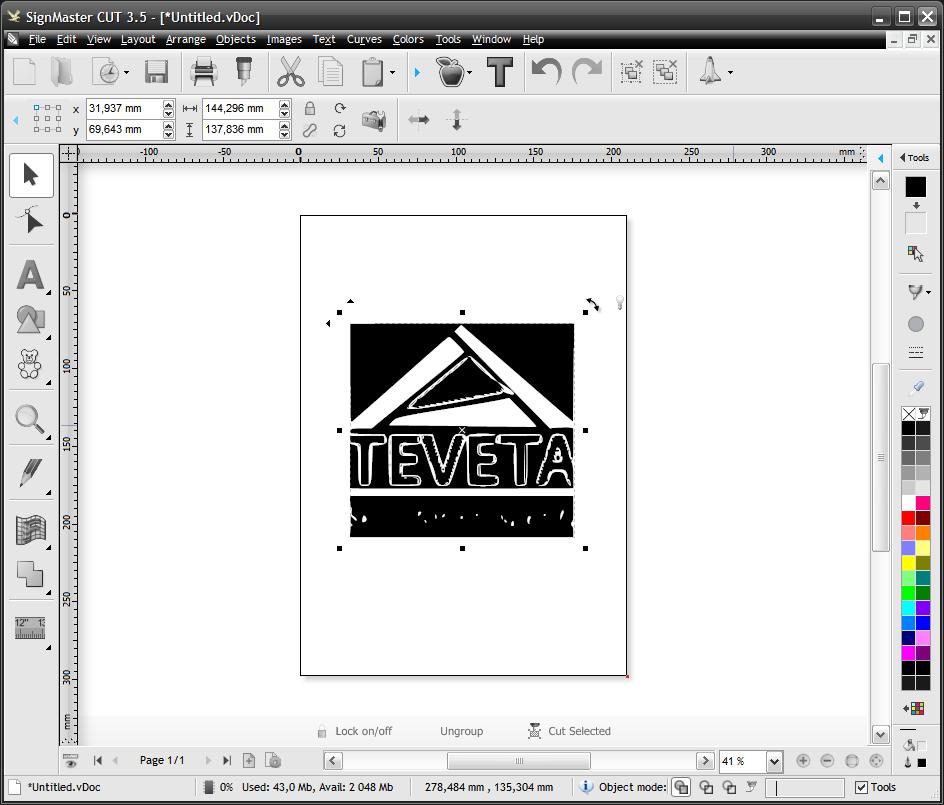
Then I go to file > Open> New document.

I dragged my svg file there and clicked to paste it.
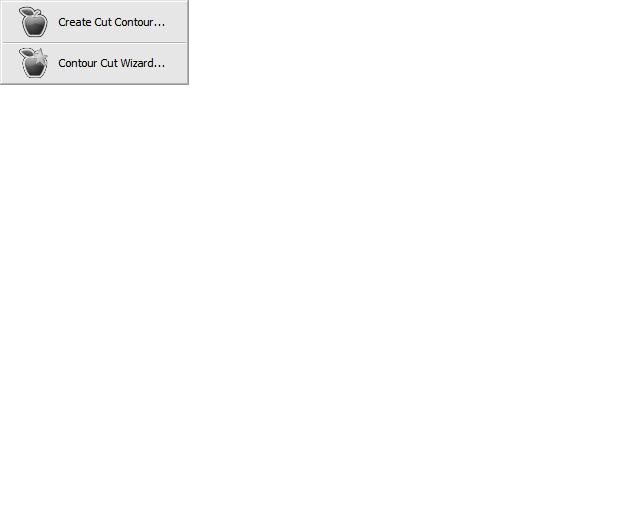
After orienting it appropriately, I clicked on the cut contour Icon placed on top of the screen and selected contour cut wizard.
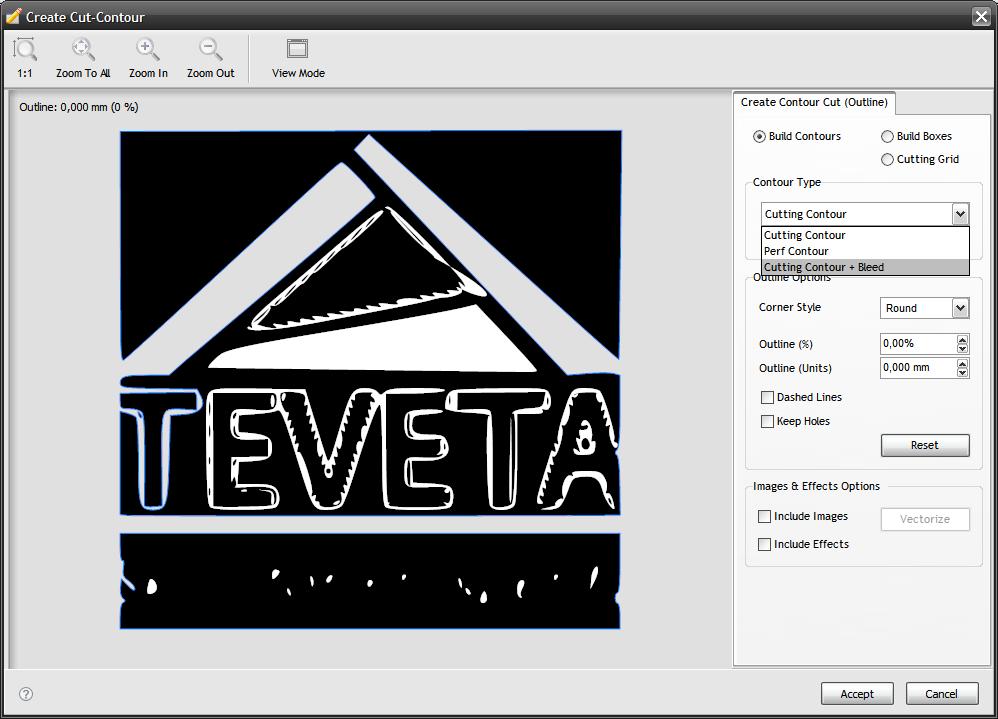
After that it takes you to choose type of contour and I clicked on cutting contour + bleed.
Then below the same page I click Accept.
That took me to the following page and I clicked on build.

And on the following page just click skip if you want or you can click different view.

If you click view cut only that is what you see.
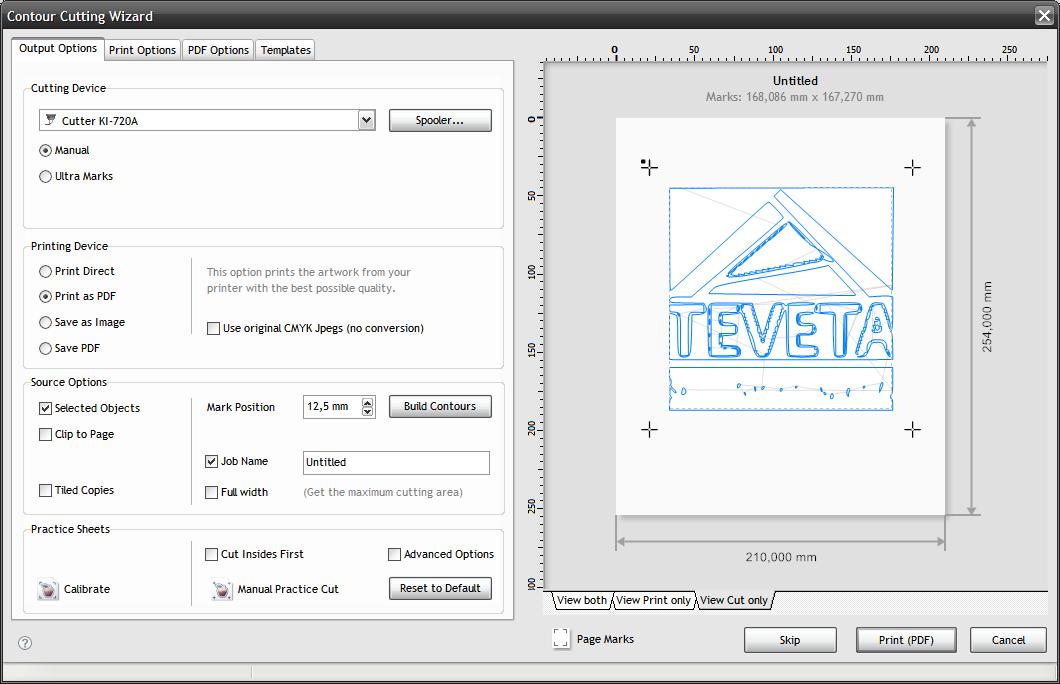
After bieng satisfied, you can skip.
I went back to click the bit Icon on top of the screen and now I can observe my image alignment with the vinyl cutter.
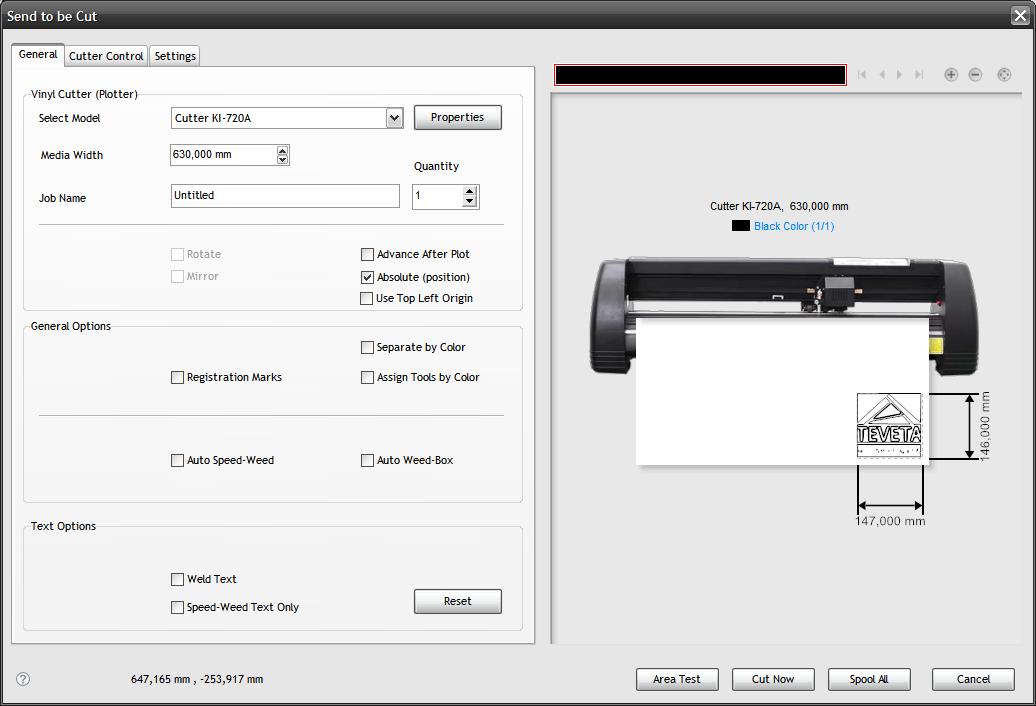
first I clicked on Area Test to test the Vinyl cutter cut area.
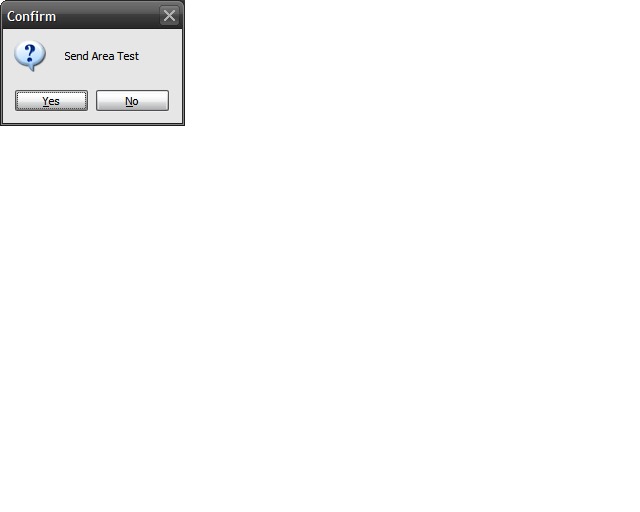
Before you say yes to send Area Test, make sure your Vinyl cutter machine is ON, and that proper parameters are set. Then click yes to send area test.
And from there, if you are satisfied with the area test click cut now.
And finally click Yes to proceed with cutting
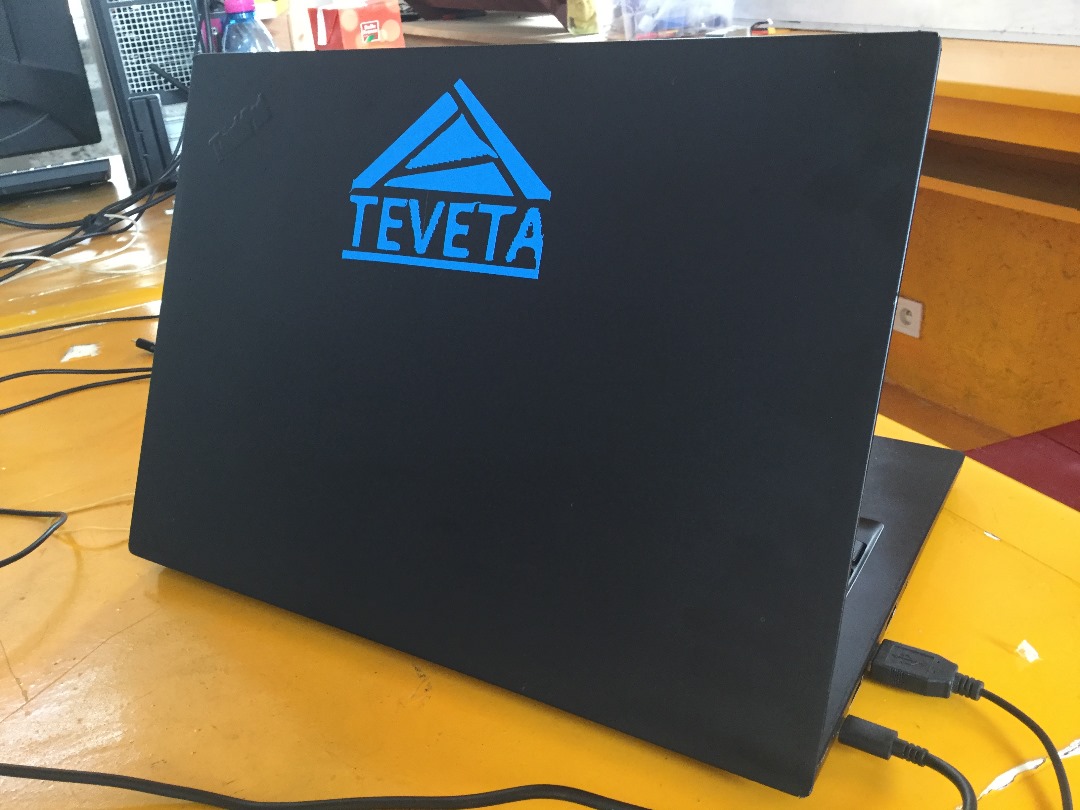
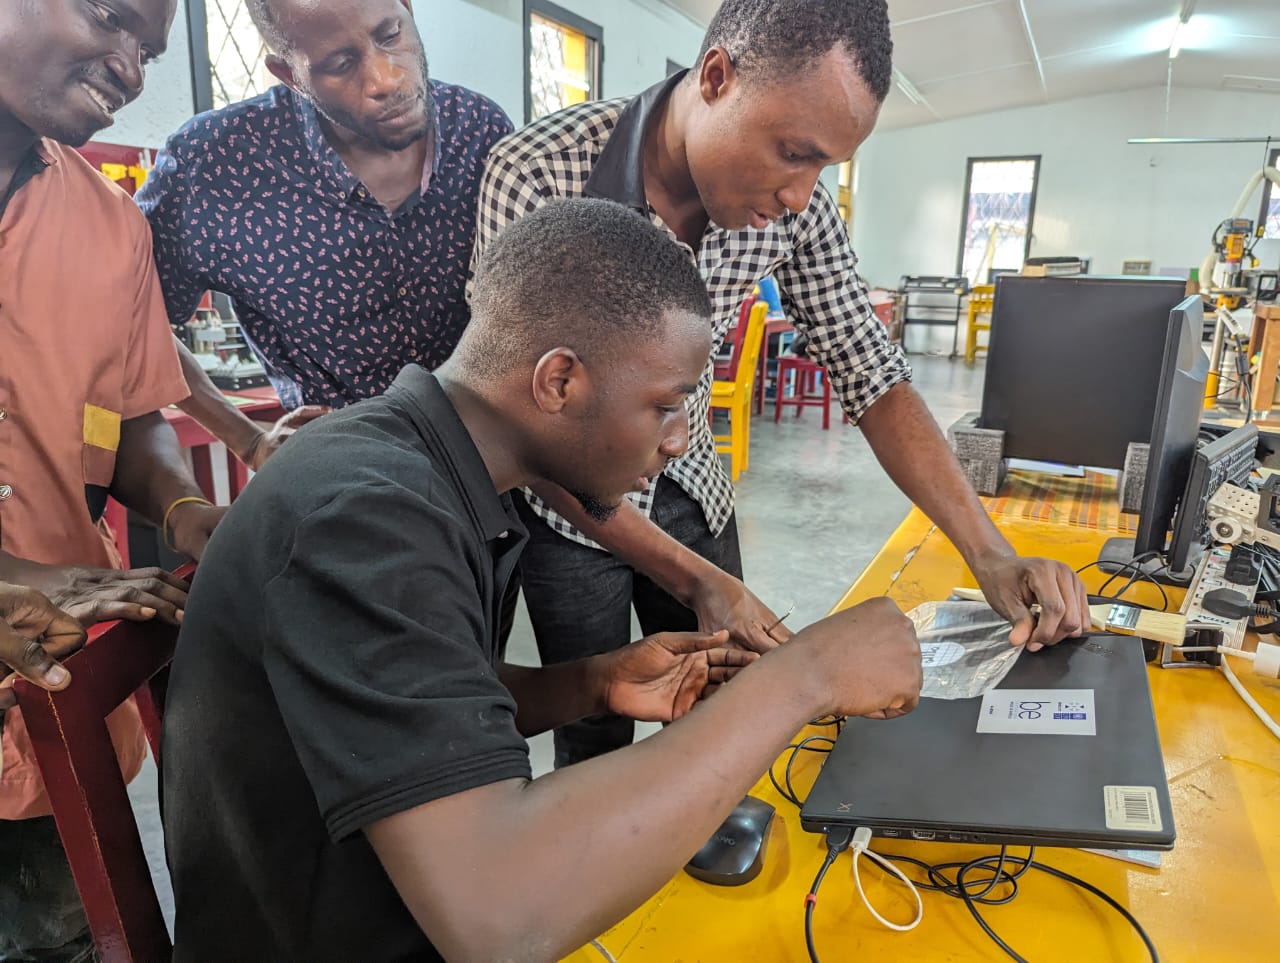
And here is the logo from the cut I just need to do some final touches to make it neat.
Here I go I want to place it on my Laptop.

And finally, I made it!
Files:
What went wrong/What went well.
Generally everything went well. Learning new technics is what I have ever been doomed for, and this week has been a rewarding week for me. However, since everything was new to me, I need to keep on practicing just to be more familiar with the technology. The only observation I had is that conducting Area Test before cutting is crucial as it provides assurance of the outcome. Also prevent unnecessary material wastage.