2. Computer Aided Design
2D Design
GIMP
- Downloaded and installed GIMP on my PC to learn about raster based 2D design software.
- Tutorial-Simple Floating Logo
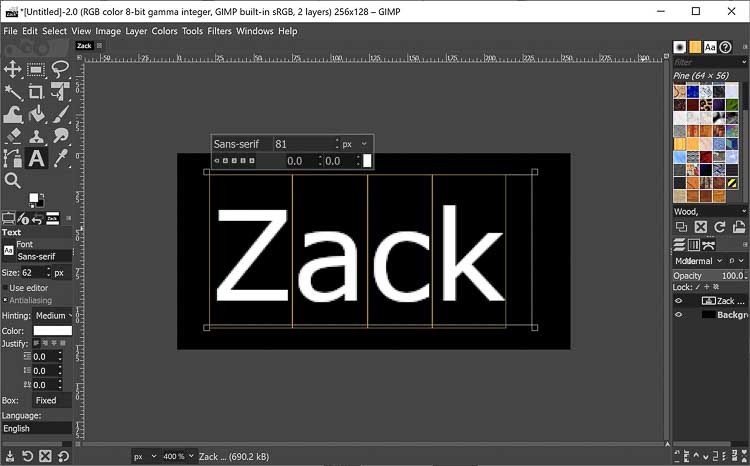
- Setup canvas-simple and straightforward
- Adjust colors-simple and straight forward again
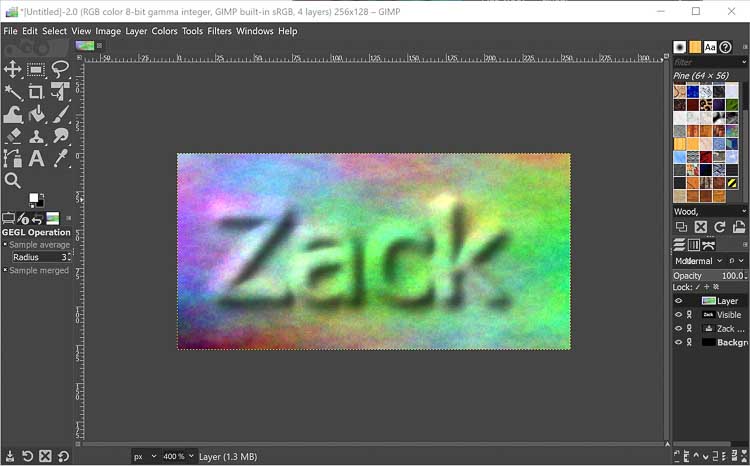
- Added text
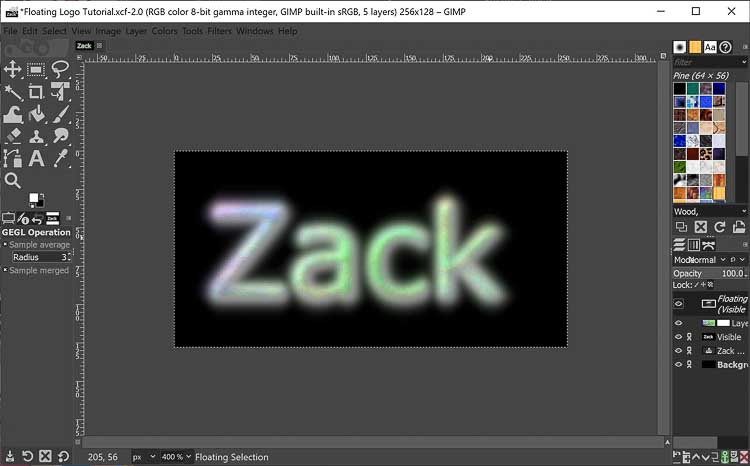
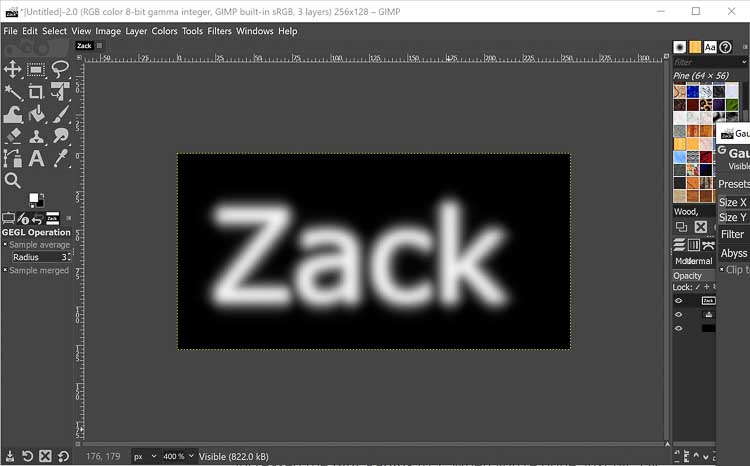
- Added Layer along with Gaussian Blur
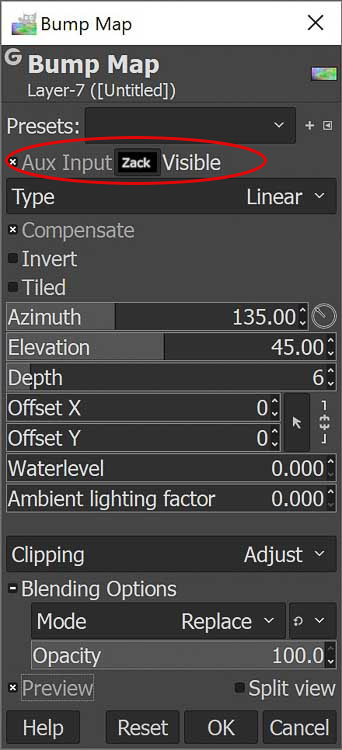
- Added ‘plasma’ layer for bump map.
- The bump map was challenging because I couldn’t figure out how to add the input layer because the tutorial and my UI didn’t match up. Fortunately, Griffin was able to help me understand where I was going wrong.
- Bump map works.
- Added layer mask to the plasma bump map for neat effect of only having the plasma later cover the blurred text.
1.
-
Learning-My overall impression is that this is a decent open source piece of raster based photo editing software, but the UI is very clunky and detracts from the experience of using it. After some searching, I found a YouTube tutorial GIMP in Less Than 10 Minutes:Beginners Guide that seems much better than the tutorials on the GIMP site.
-
Things to Improve-I had a very hard time reading the menu fonts on my monitor because they were so small. Online searching found a tutorial from Davies Media Designs about how to Increase GIMP UI Font and Icon Sizes. While not hard to do in the end, it took more effort than it should have to adjust the font size. It required navigating to a configuration file deep in the AppData folder and making a simple numerical adjustment to the default font size from 11 to 15 pixels.
Cuttle
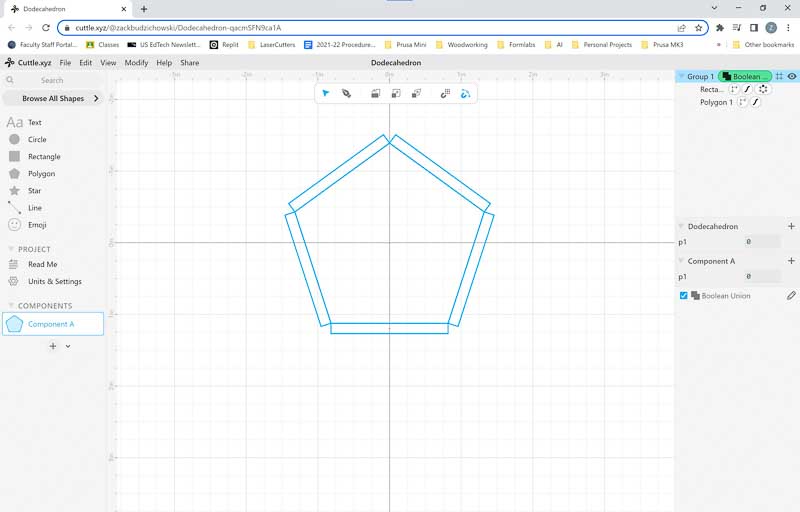
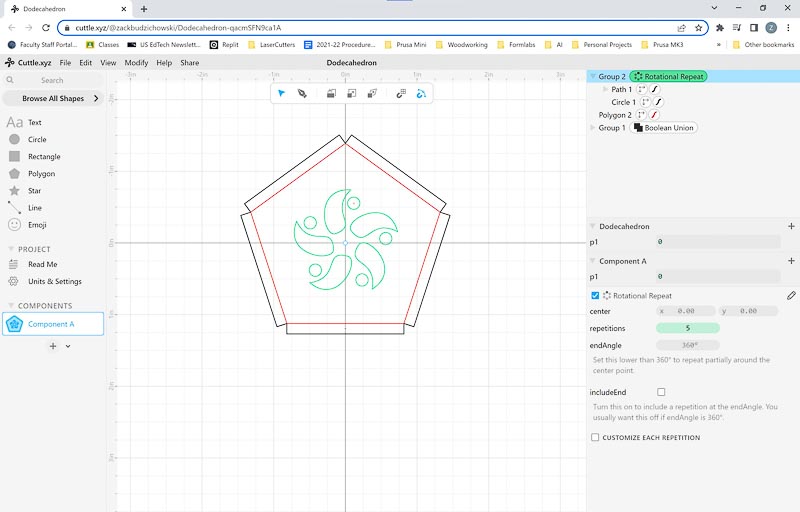
- Making a dodecahedron candleholder Tutorial
- Open Cuttle Editor
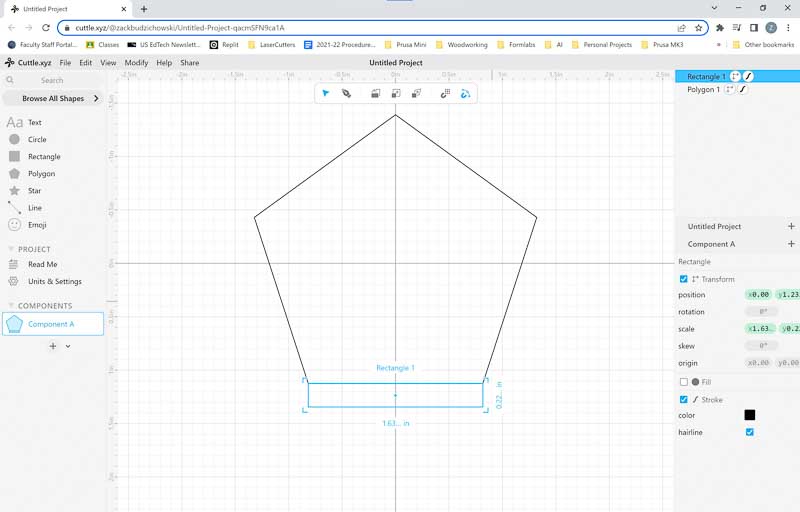
- Make pentagon using the polygon tool. The tool has a slider allows the user to specify how many sides are on the polygon.
- Move and scale pentagon. The controls are very intuitive and easy to use with slider bars and geometry snapping.
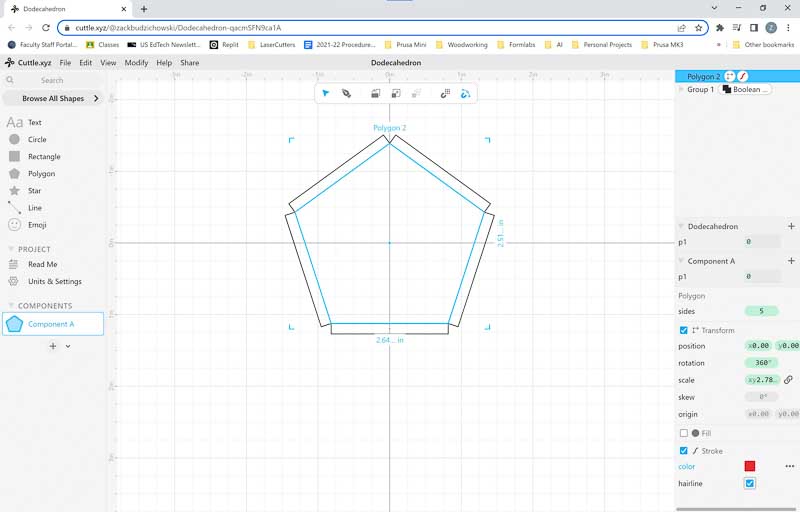
- Rotational Repeat. This feature allowed me to copy and rotate the rectangle around the pentagon quickly.
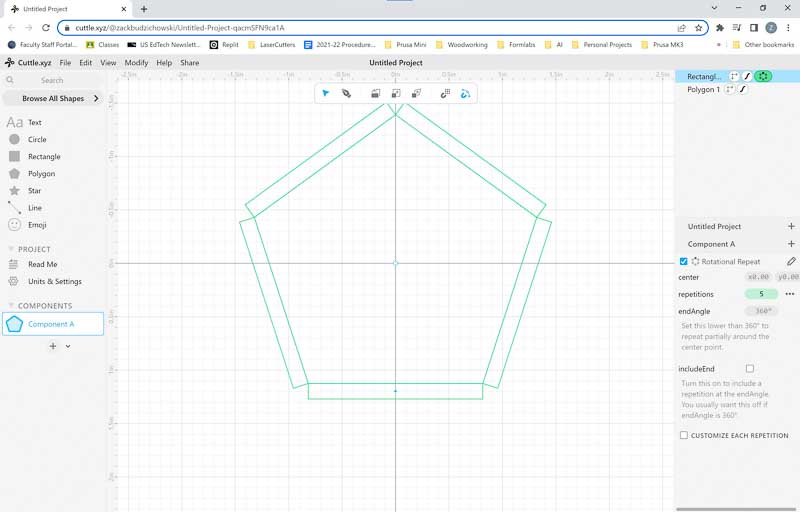
- Using the Boolean Union tool, I ‘fused’ the geometries of the pentagon and rectangle together to make a flap.
- Added pentagon outline back in the geometry to make a score line that could be used to fold the flap for gluing.
-
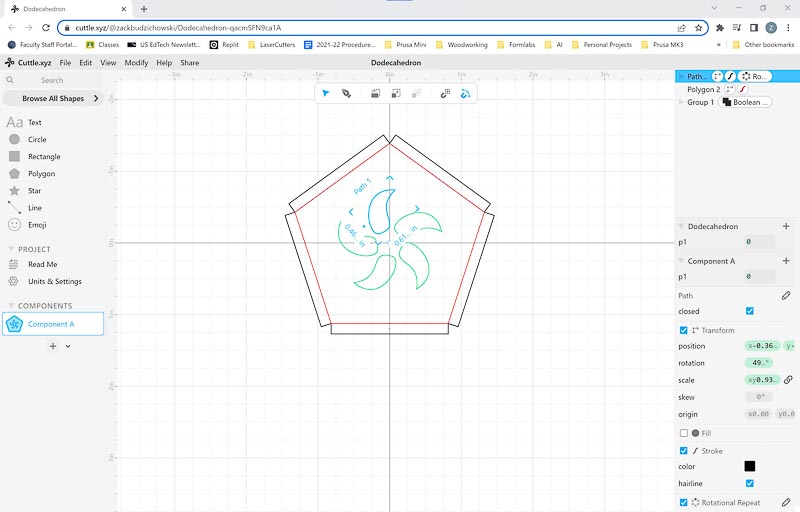
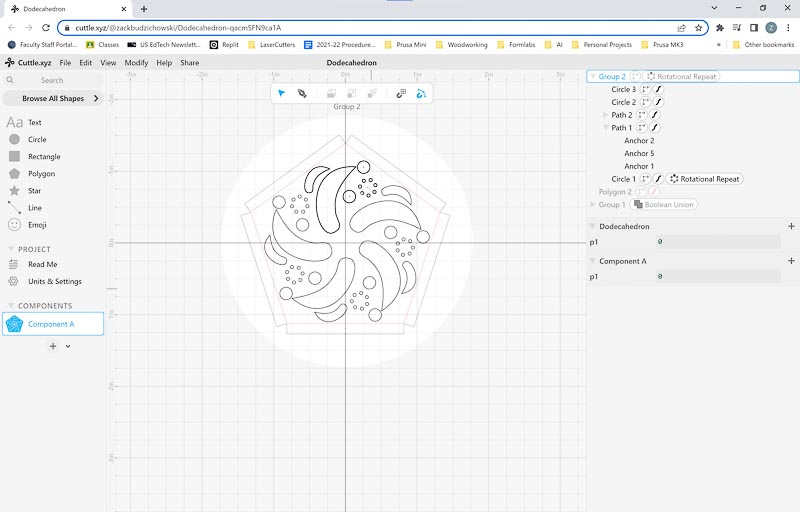
Adding a design to the dodecahedron candleholder Tutorial Part 2
- Bézier curves. Here’s a short article about the history and math behind Bézier curves. The math behind these curves are what allows curved lines, geometric shapes, and scalable fonts among other things to be represented on the computer.
- Learned about how anchor points and handle effect the shape of Bézier curves. Eventually was able to a paisley type design. The neat thing is that the parametric nature of the software allowed me to make a change to one of the paisleys and the changes occurred in all of them simultaneously.

-
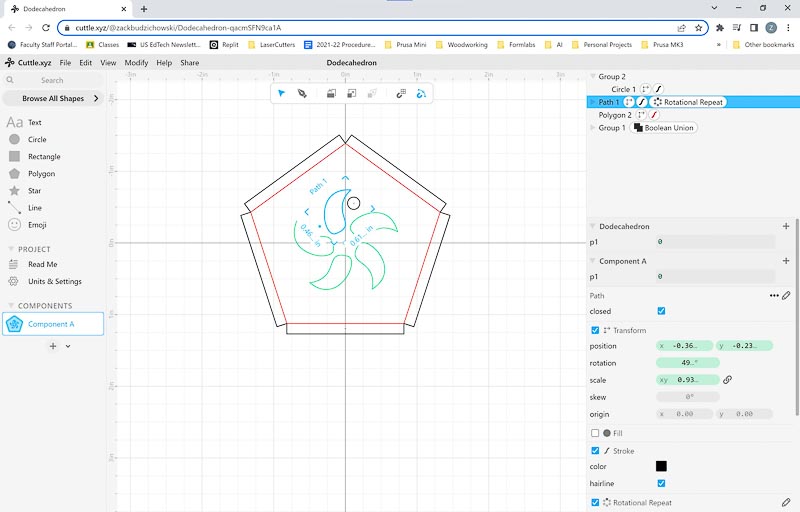
I added a circle to the design and then grouped it with the Rotational Repeat, and it worked flawlessly.
-
-
Followed the tutorial and added a few more items that demonstrate the parametric nature of the program. The trick was to have the proper item selected in the right-hand menu to get the pattern to repeat correctly.
-
Learning-The Cuttle software was very easy to use and had a nice UI that was readable. It also helped that the video tutorials were easy to follow.
-
Things to Improve-overall not much to say here. I have a fair amount of practice to do before I get proficient with the Bézier curves, but it will happen eventually.
3D Design
Fusion 360
-
Fusion 360 is a standard 3D modeling software that is common in industry. I’ve been working with it for a little while in preparation for this class. I’ve done some Kevin Kennedy tutorials here
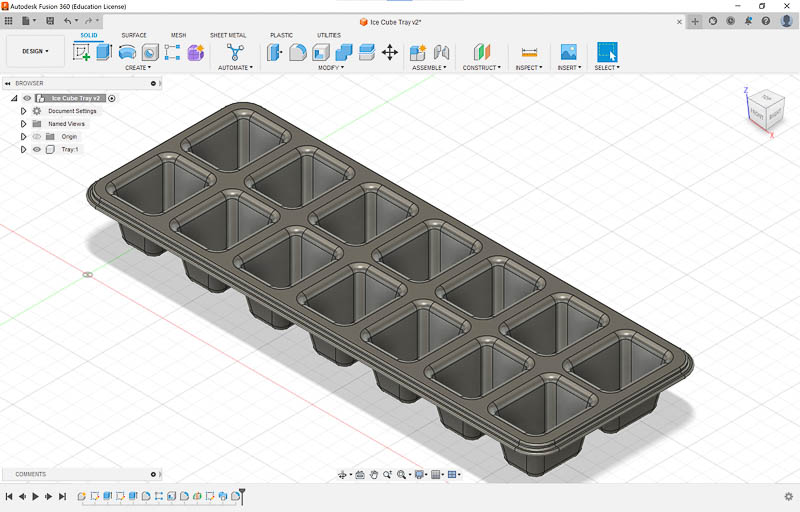
- I am including this tutorial to make an ice cube tray because it included a number of useful skills.
- Make a sketch in the XY plane and extrude in the positive Z
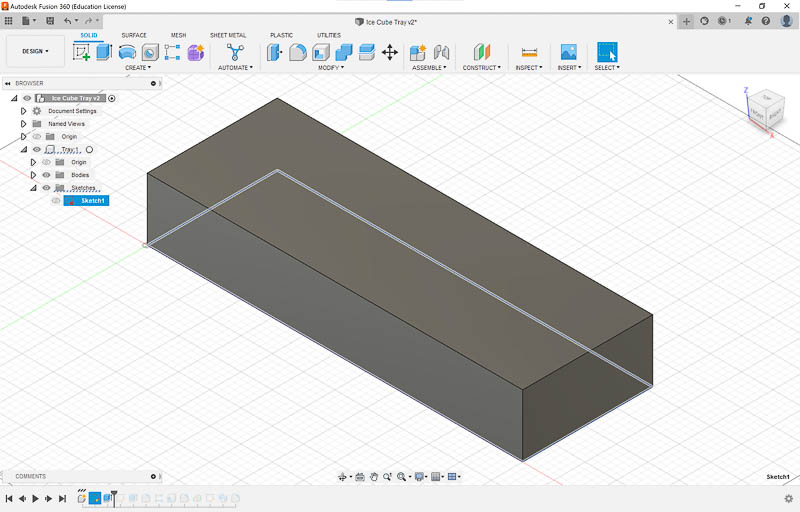
- Use a tapered extrusion in the negative Z to make the cutout for ice.

- Filet the extrusion and use the rectangular pattern to fill out the tray.

- Use the Shell command to set the thickness of the tray.
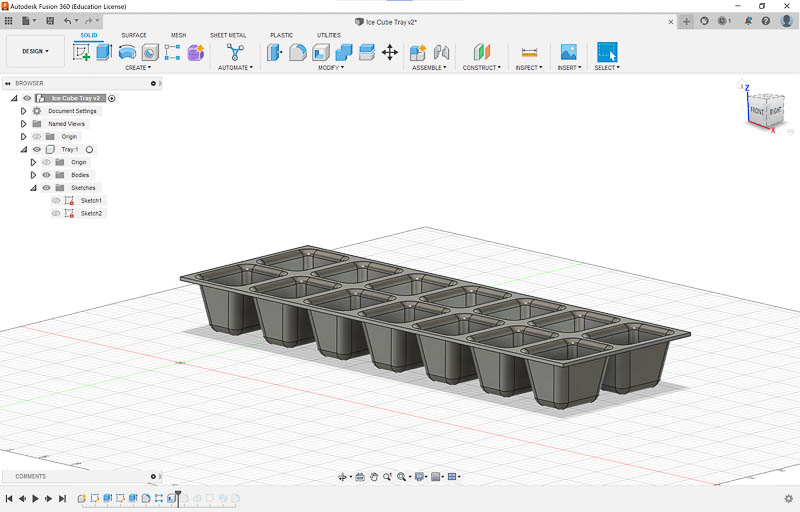
- Create a midplane and profile to create a lip around the tray.
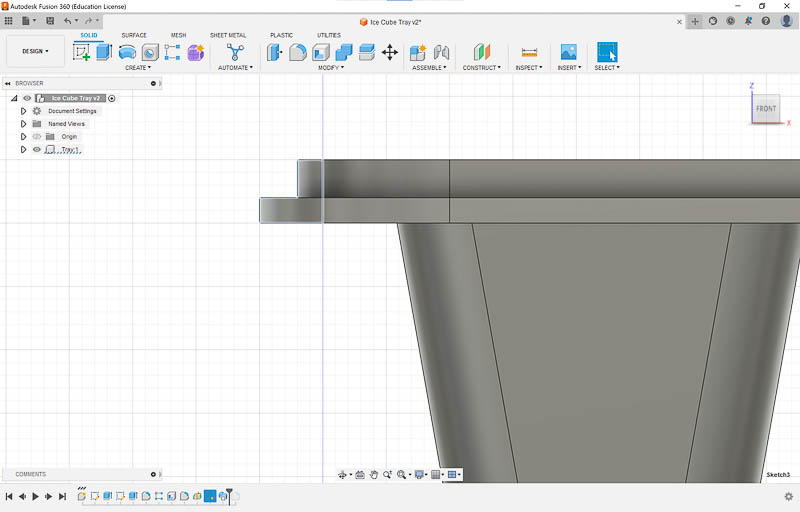
- Finally made a fillet on the lip as a final touch.
- Make a sketch in the XY plane and extrude in the positive Z
- I am including this tutorial to make an ice cube tray because it included a number of useful skills.
-
Learning-Fusion360 is a powerful 3D modeling program. Initially, the most challenging part of learning how to use the parametric features of Fusion360 was learning to navigate the views necessary to complete various tasks. One of the most useful skills I learned was how to use the middle mouse button to pan and zoom. Once I learned that skill, I was able to quickly navigate the model interface and make changes/corrections.
-
Things to Improve-As the course continues I hope to learn to use Fusion360 to build and simulate assemblies for my final project.
-
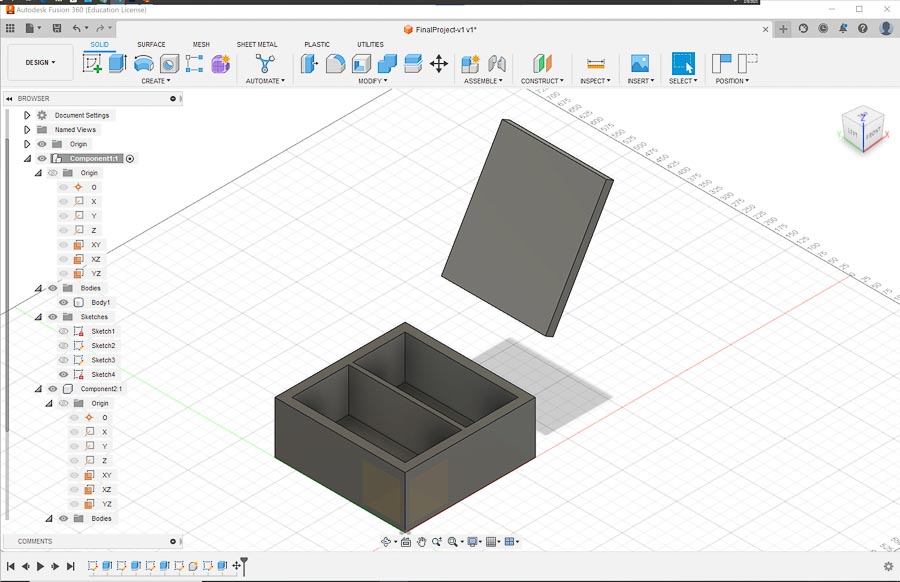
Here is a screenshot of a rough layout of my final project in Fusion 360. It’s quite rough, but I will improve it as we progress through the course.
-
Link to my Fusion360 file.
SolidEdge
-
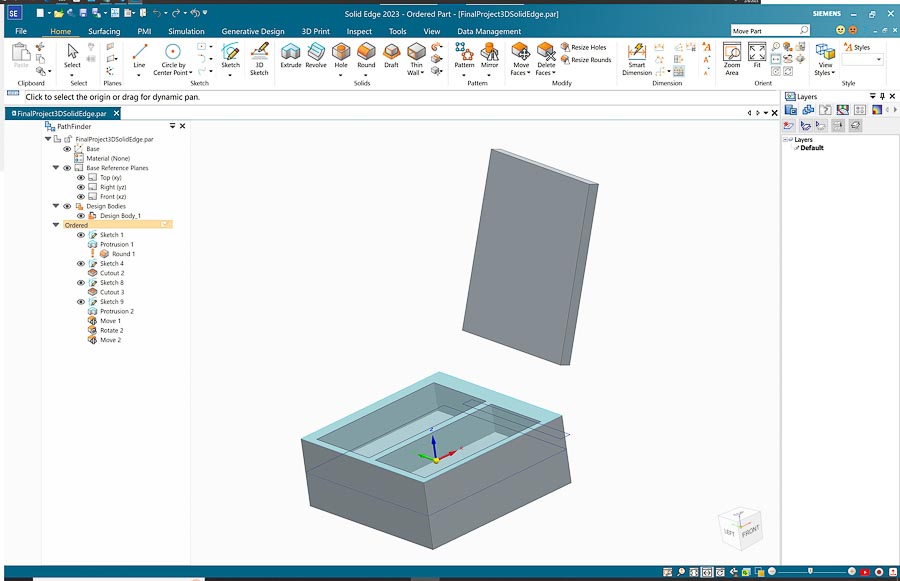
As my 2nd 3D modeling program, I decided to investigate an additional commercial 3D modeling software that is available to students and educators free of charge, so I downloaded and installed the Educator edition of Siemens SolidEdge. Link
-
Rough sketch of my final project in SolidEdge.
-
While SolidEdge is an excellent program and has all the features I would need to do the project, I think I will stay with Fusion360 and also experiment with SolidWorks also to round out my CAD knowledge.
-
Link to my SolidEdge file.