18. Final project construction
This week I worked on constructing my pieces of my final project.
Work
If you want to see the construction of my Container go here. If you want to see my creation of my Circuit board/motor code go here.
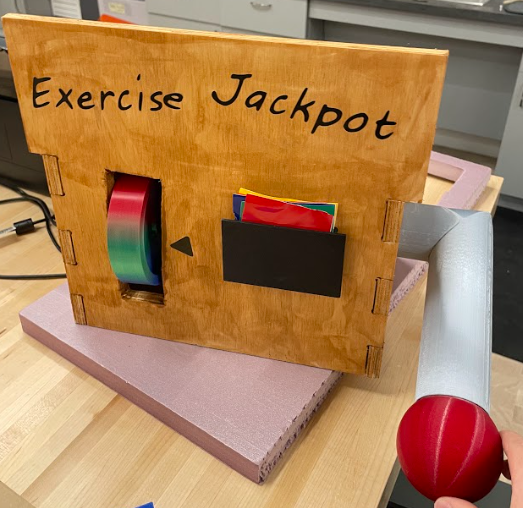
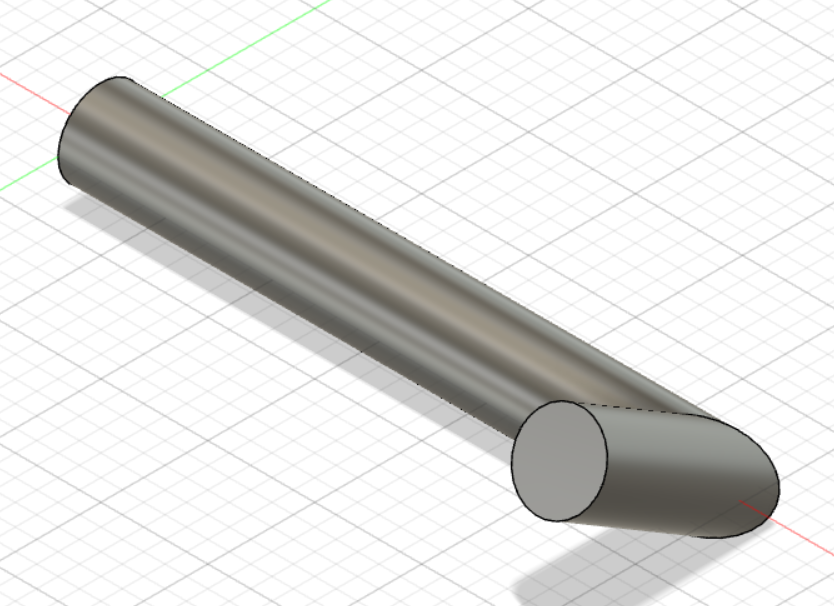
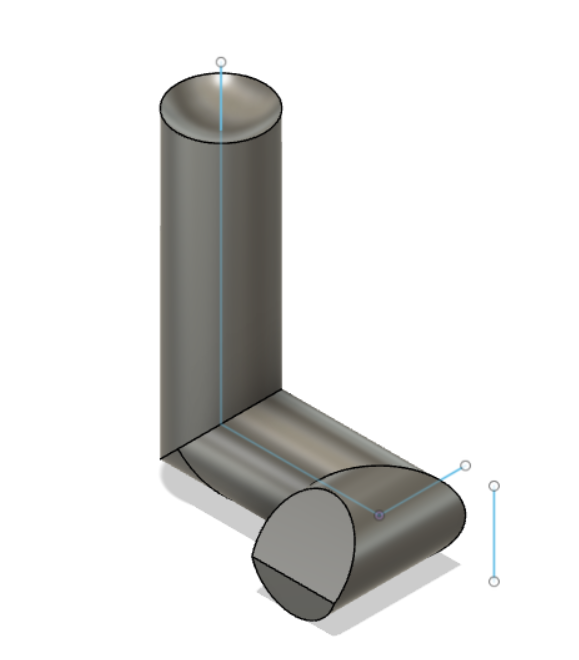
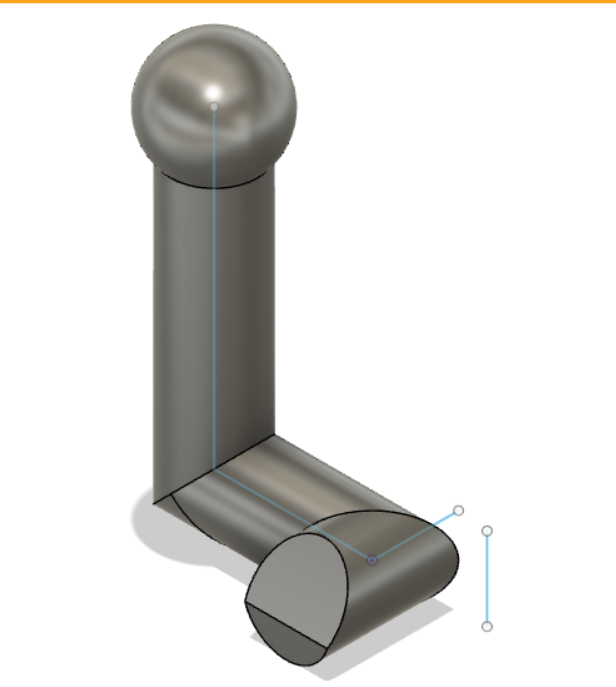
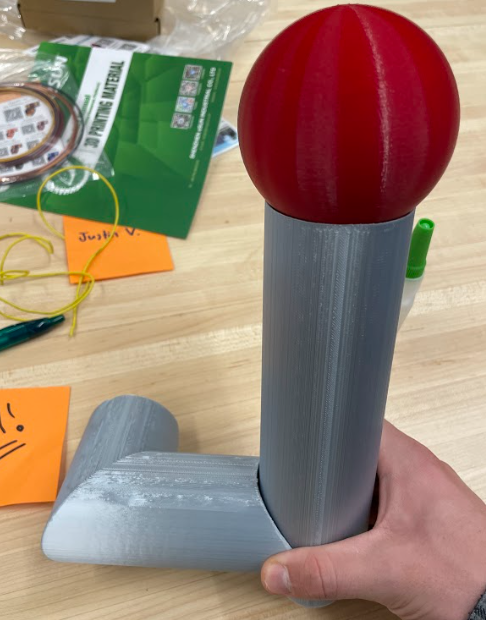
The creation of the lever was quite simple I started by testing out the pipe tool with simple lines which gave me the intended effect on the first try. After getting the basic concept down all I had to do was map out how my lever would be shaped, break up parts, angle off the end of the lever, and give it a handle which in this case is a ball.
Next I made the wheel for my slot machine and the extender piece that connects it to my moto. This was also straight forward I made a simple circle design and extruded until I got the desired effect. The circle was broken up into six pieces so when added together the six pieces make a complete circle.
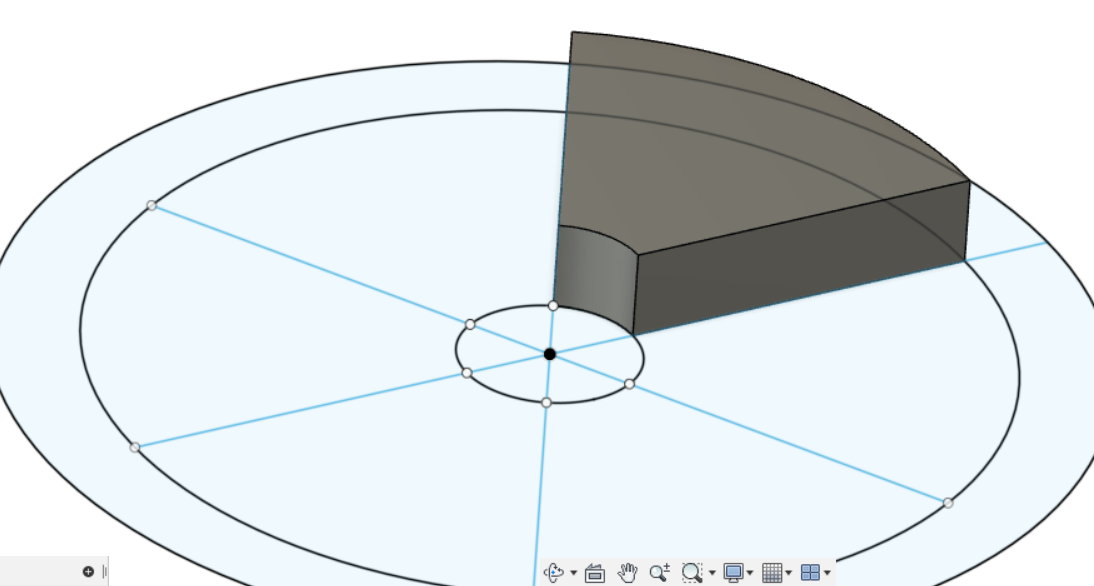
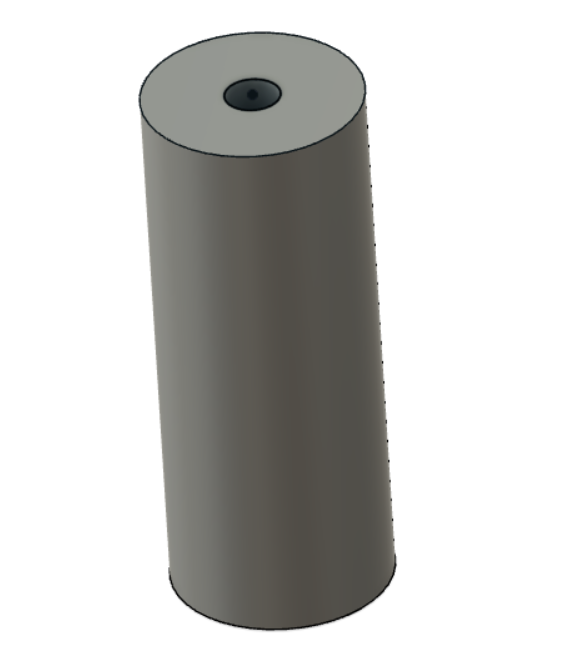
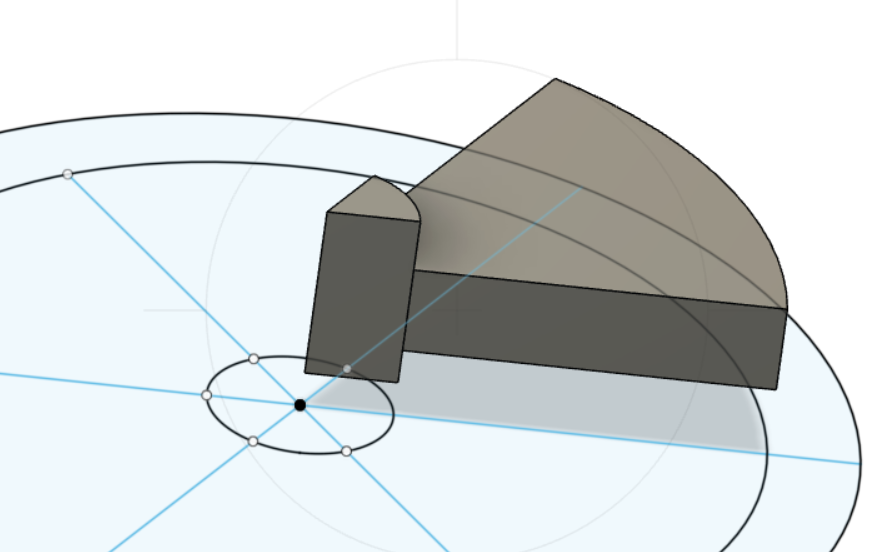 With the wheel completed all I had to do was use the center circle to map out the correct diameter for the piece. Then after extruding the piece all I had to do was make an opening in the center for the stepper motor.

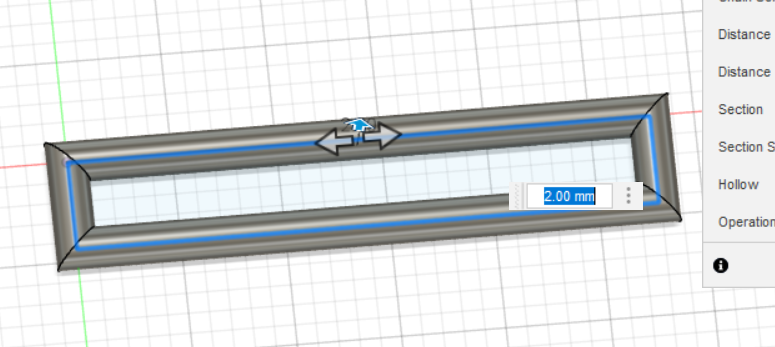
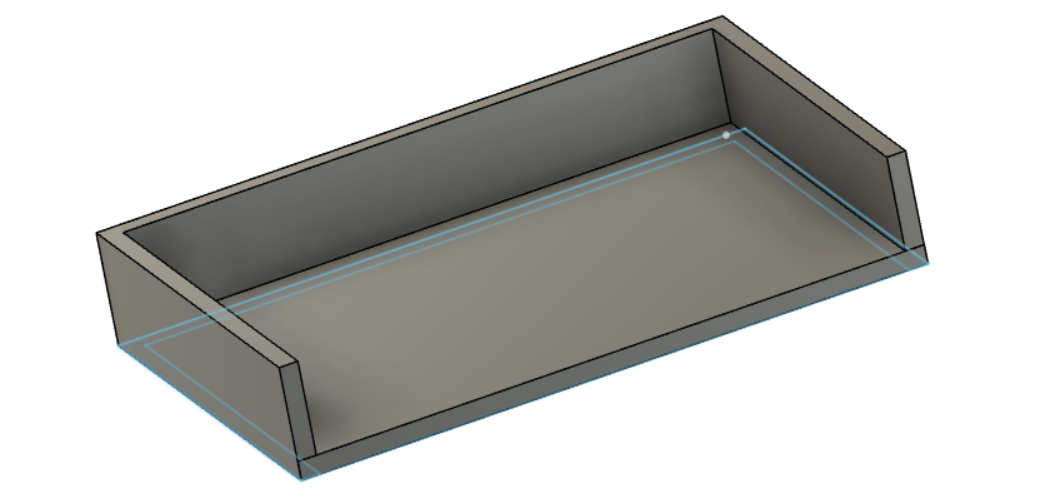
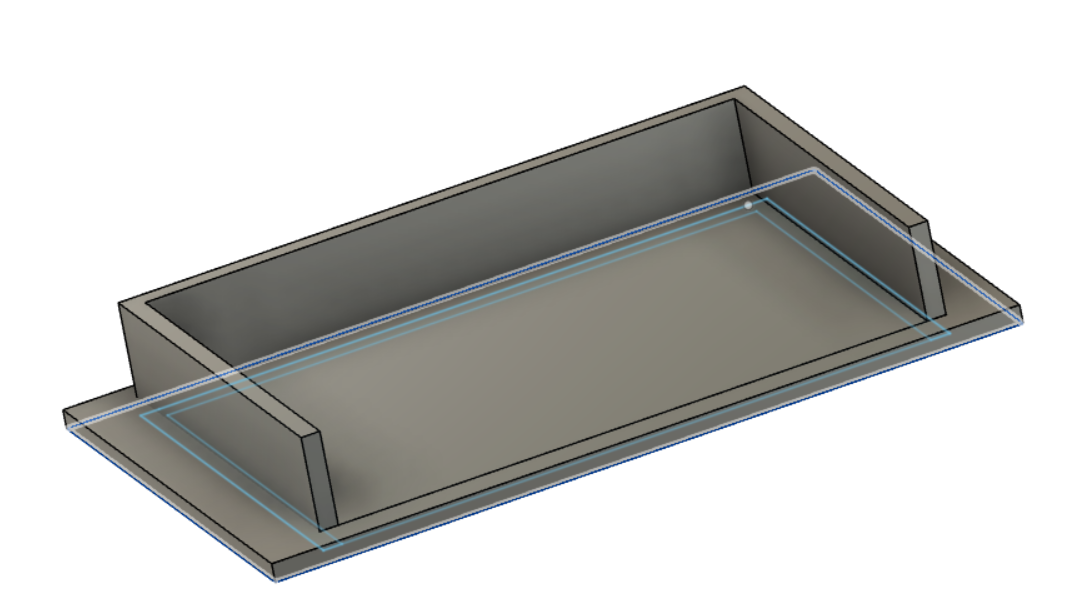
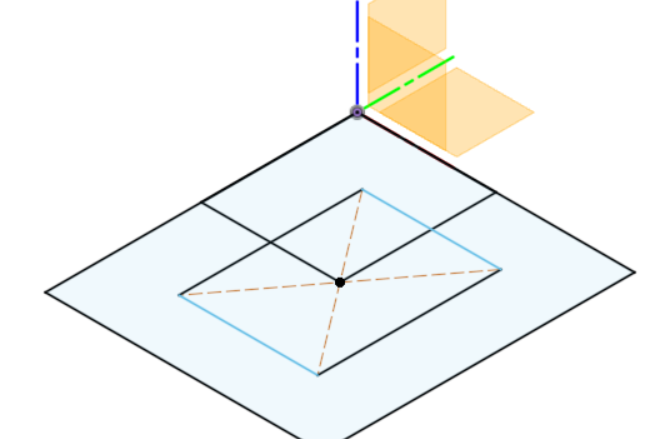
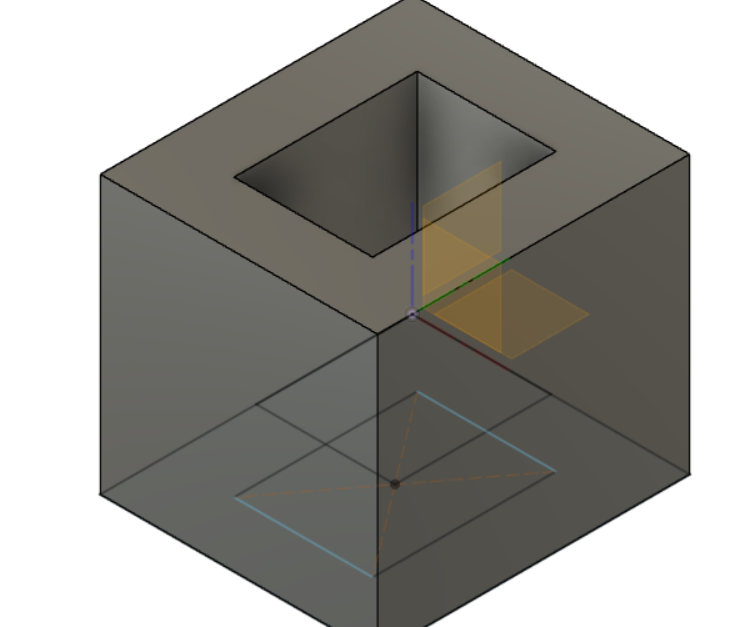
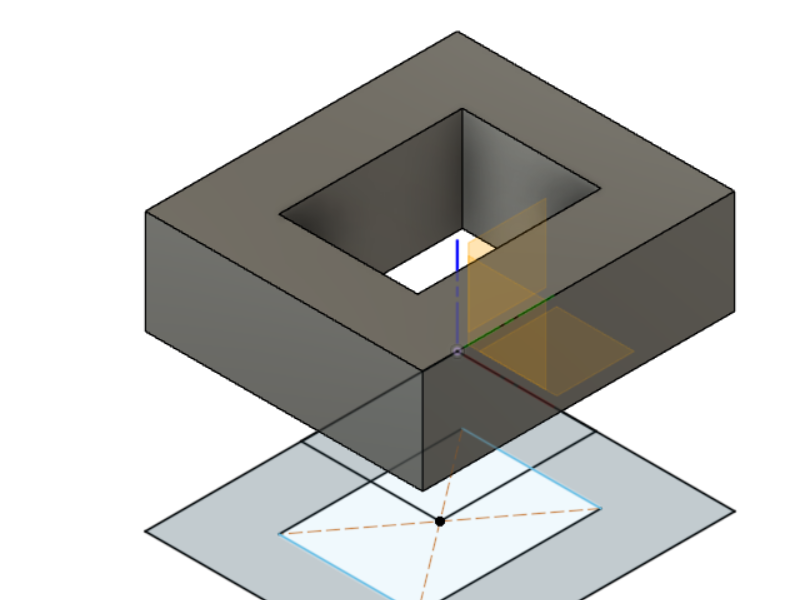
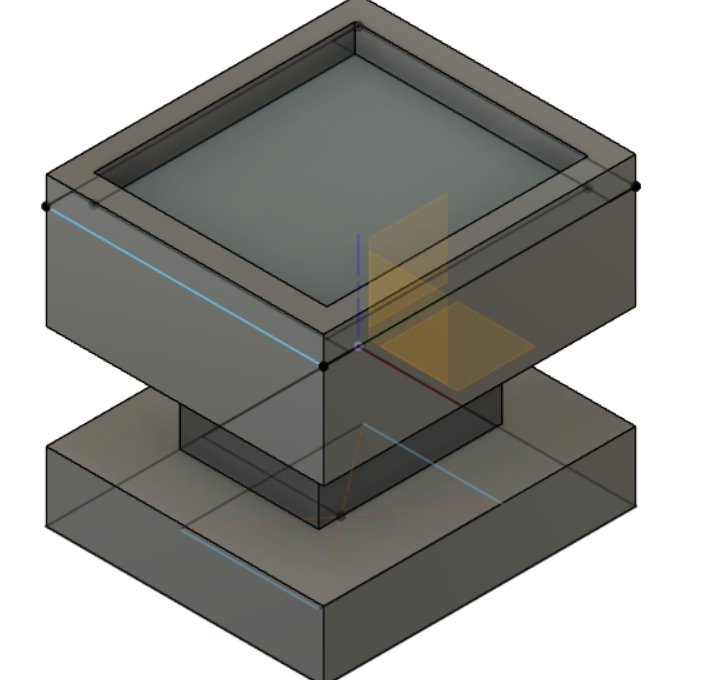
The next piece I would make would be the card container for my open face slot. This piece is the same dimensions as my lcd screen I was unable to impliment so it is interchangable if I ever change my mind. I first took the length and width of my lcd screento get the base, I extrude it slightly and sketch out some walls for the container to be extruded.
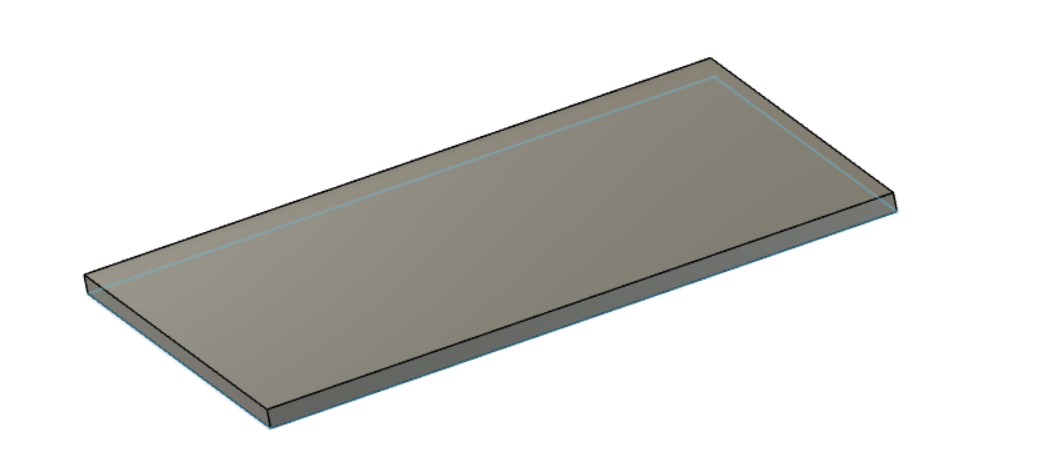
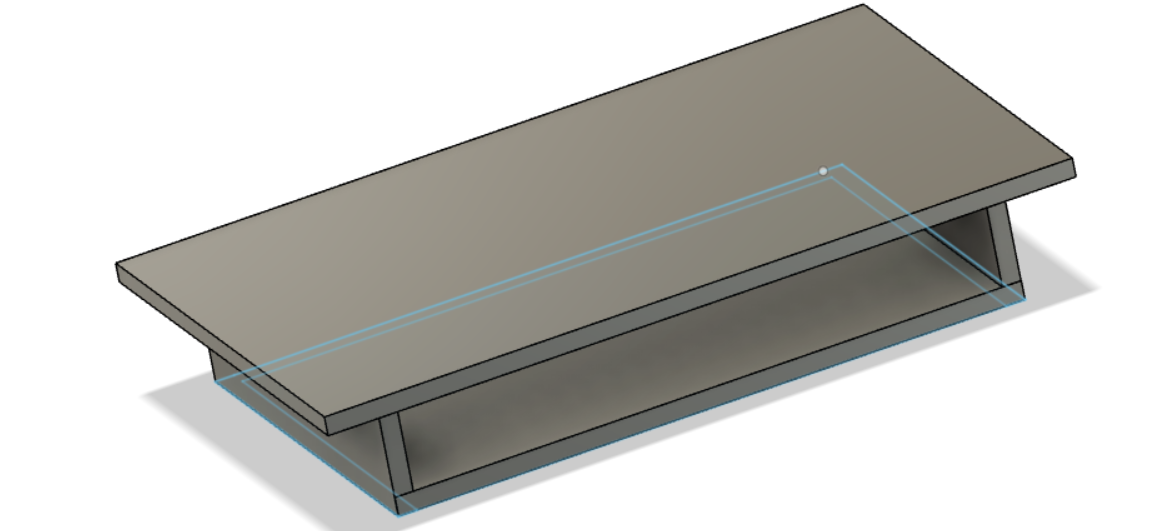
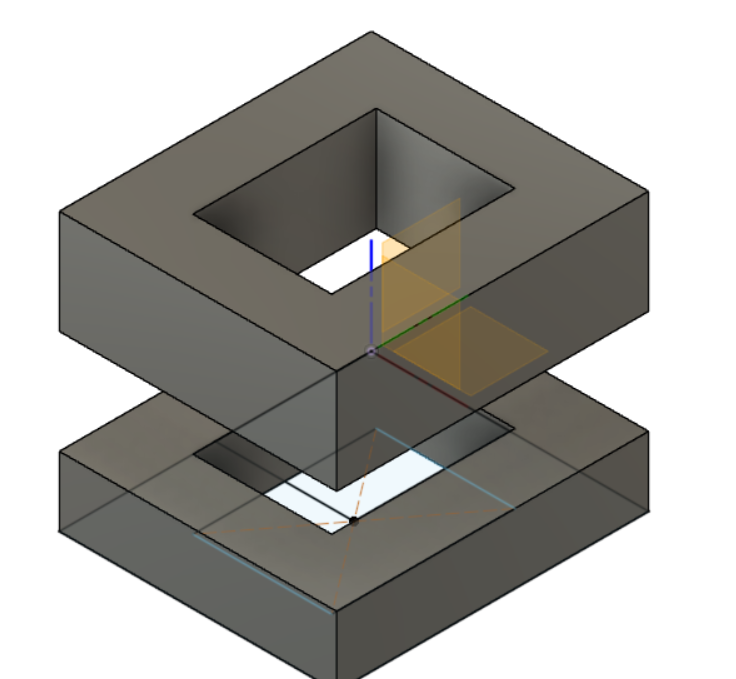
 with the walls complete I sketch out a slightly larger rectangle that I will use to fill in some empty space on my machine. I extrude it and lift it to the empty portion of the container to finish this design.
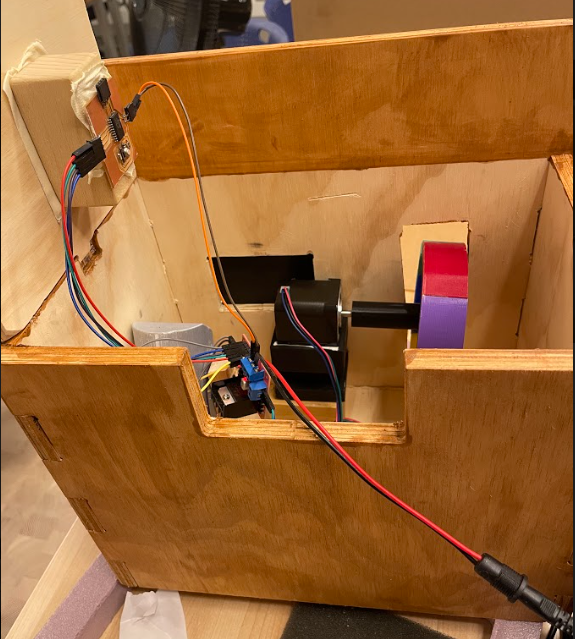
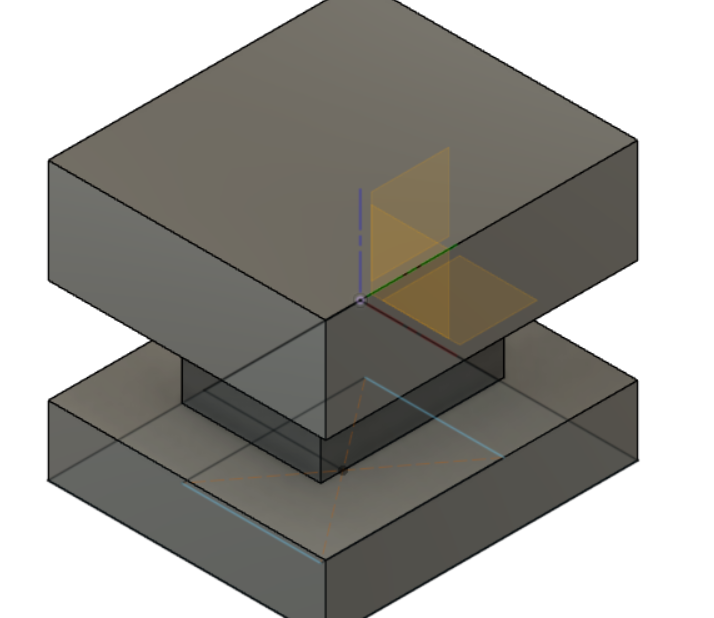
The next and final fusion design I do is for the platform for my stepper motor. The platform’s base is larger than the stepper motor itself all I did was create two boxes one to work as the two bases and one to hold them together. I completed the basic platform with extruding but I would then go and make walls that roughly pimch into the perameters of the stepper motor and then the platform is complete.
I would print out the lever to start and seal all the pieces together before I realized I accidentally printed a piece in reverse. So I would unseal the lever by tearing the piece off which is something I figured out I would need to do to fit the lever in my machine and I properly printed the piece.

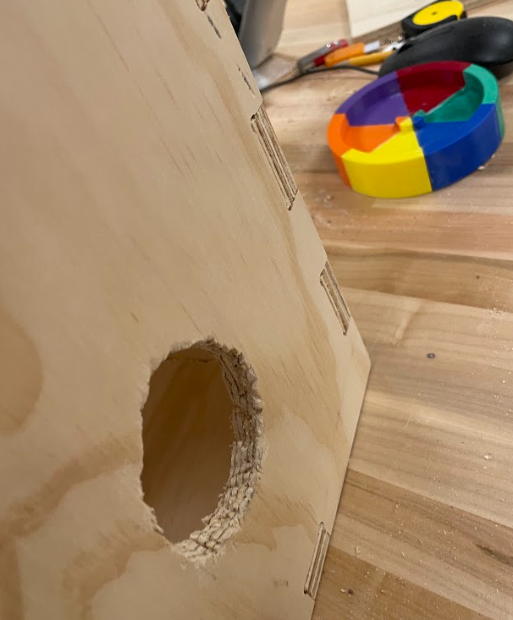
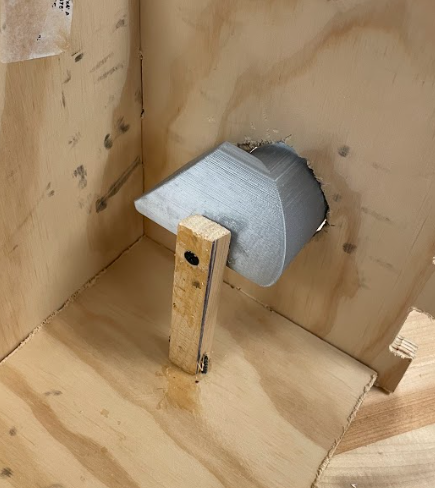
 Unfortunatley the initial hole was slightly too small so I had to spend time manually entending the opening which after a lot of cutting and sanding was large enough to fit the lever piece. I would fit and seal the lever together to permantley set up the lever in my machine. For extra piece of mind I took a piece of wood and drilled it both into my lever and my container to ensure a fixed range of motion.
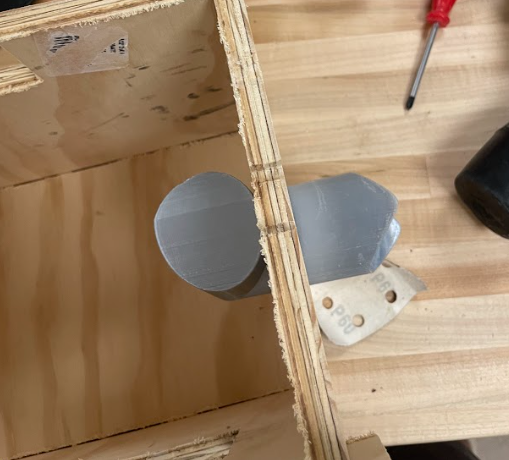
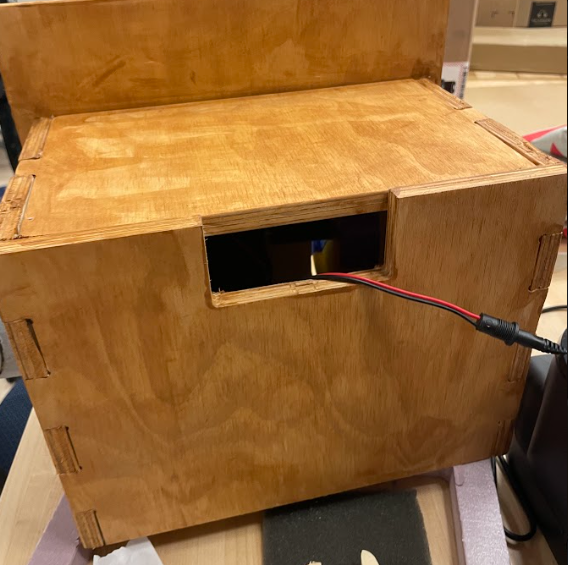
 With this the basic shell is complete!

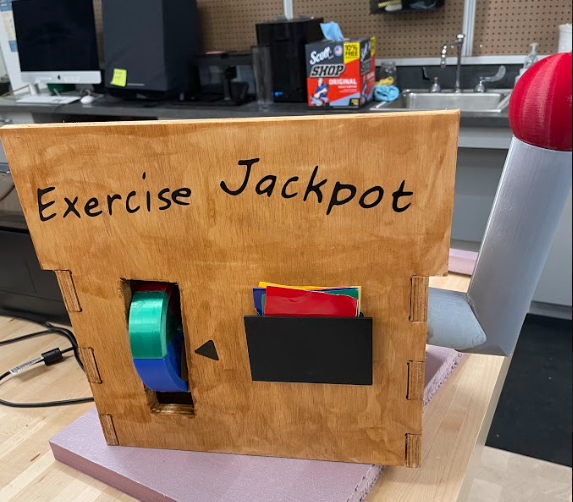
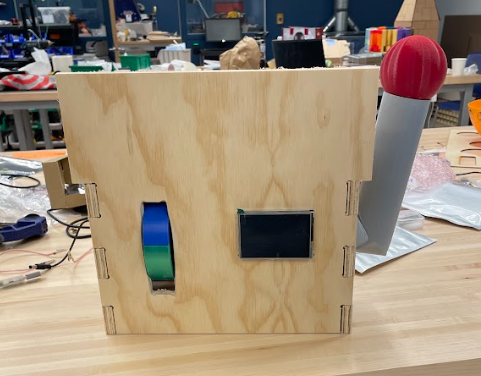 The next things I did was 3D print the other parts I needed and work on the aesthetics of the project. I installed the platform, card holder and the circuit board so that all the moving pieces would interact properly with eachother and then I worked on the look of the piece. I sanded down all the edges to make the project look more complete, viynl cut some stickers, and stained the container to make it look less bland. and with all this the project was complete!