8. Computer controlled machining
This week I worked on learning how to use the CNC router in addition to miling out a design that I would go onto use for my Final Project
Group Work
Individual Work
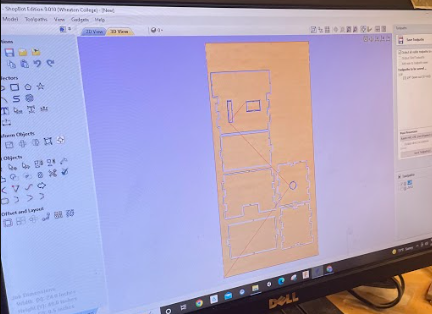
I started by going into Fusion360 to draft up the design for a box. I would extrude the pieces to 0.5 inches to simulate the thickness of the wood I would be using. After connecting each piece as they would fit after being cut I had found some issues overlooked with sizing so I quickly adjusted the size on the sketch layer until it would fit.
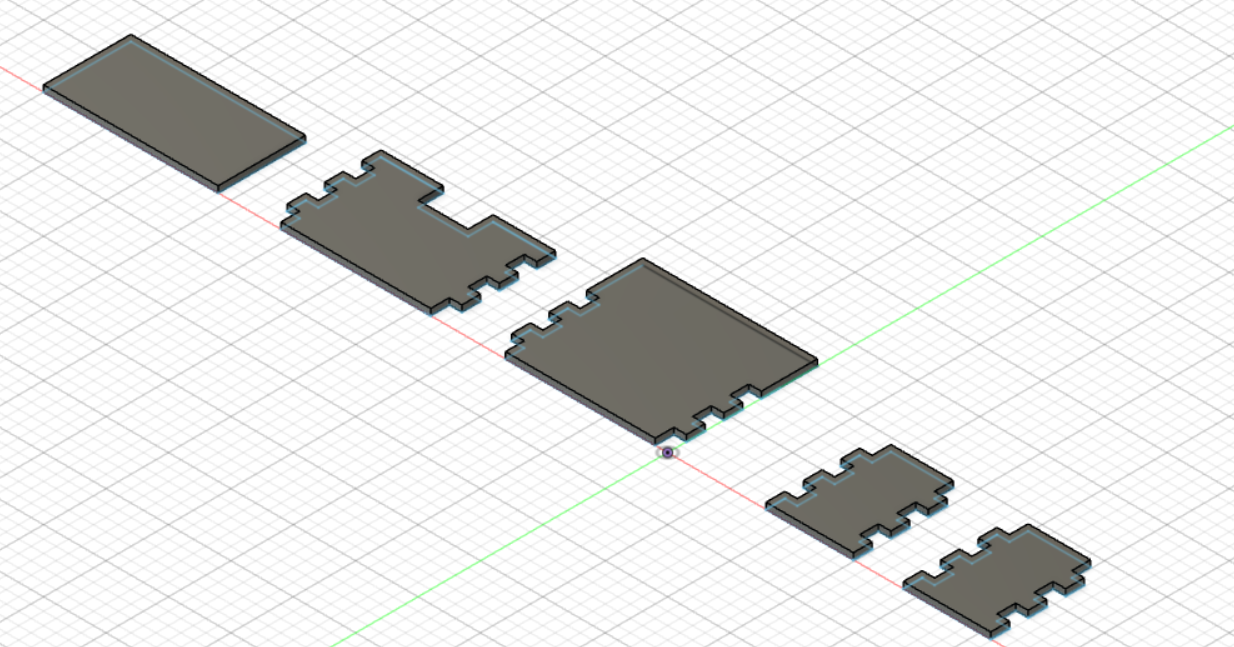
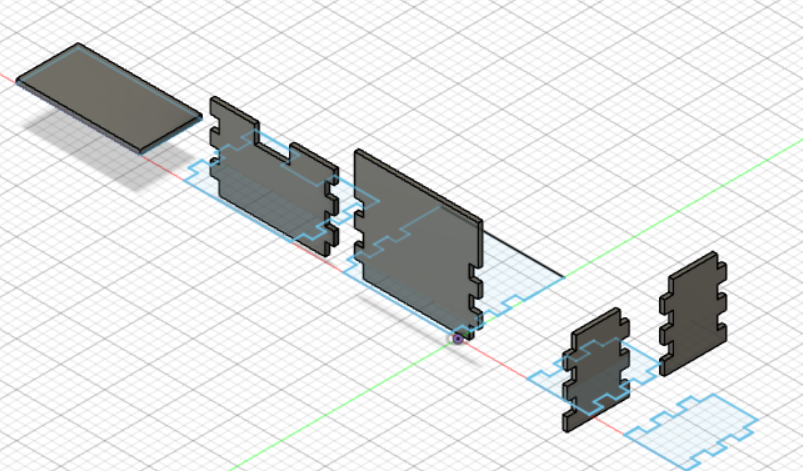
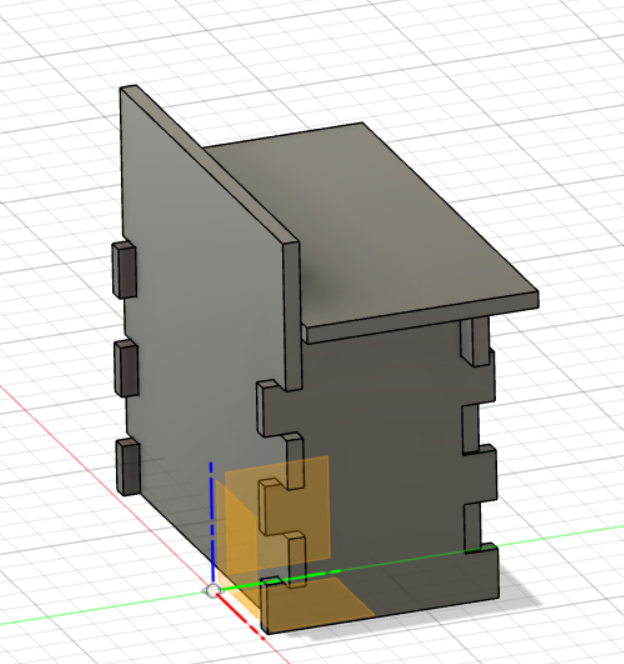
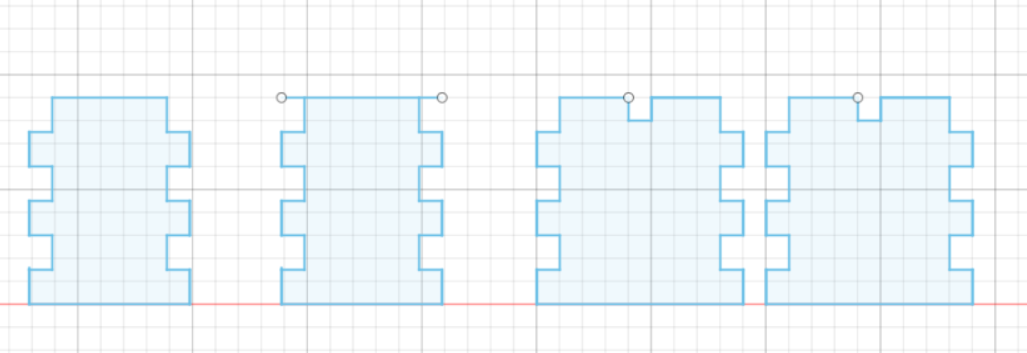
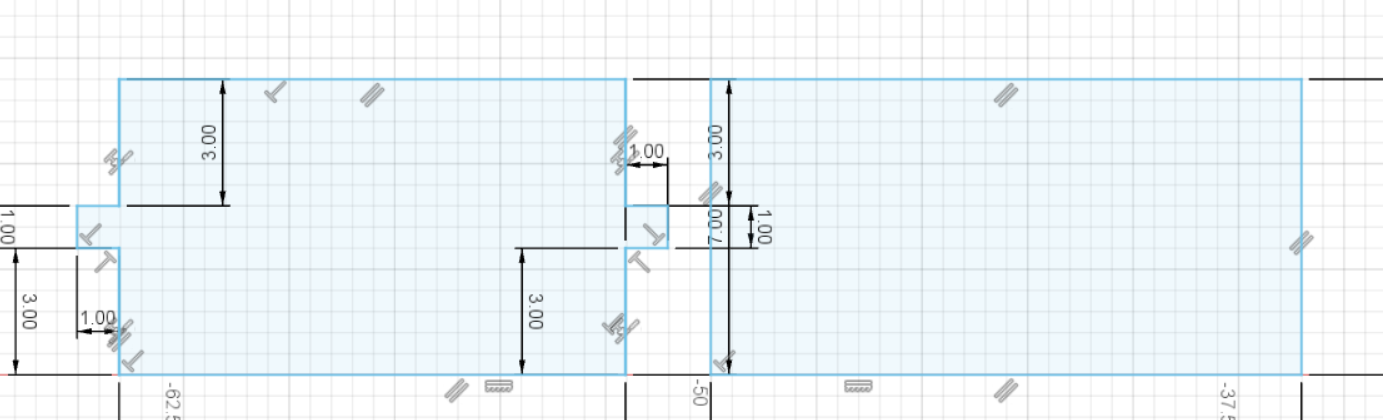
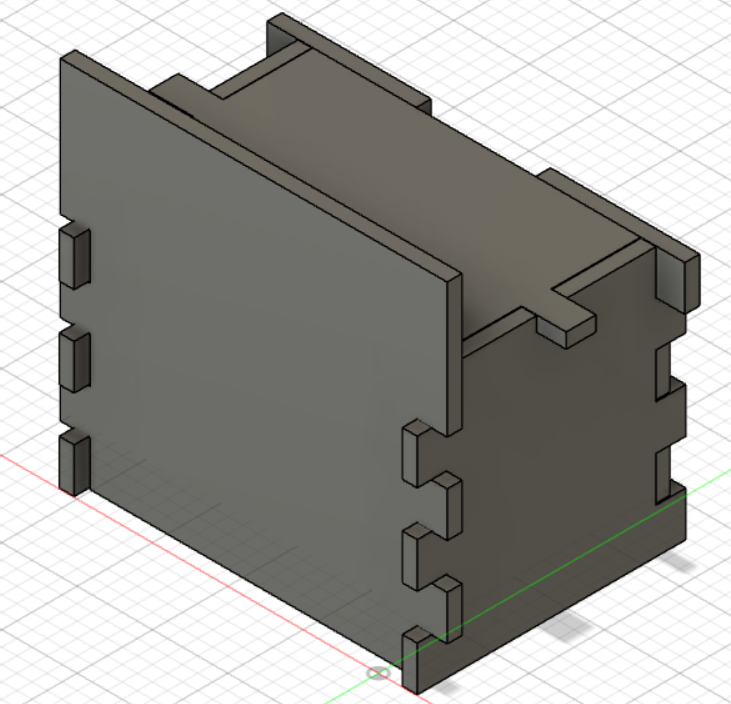
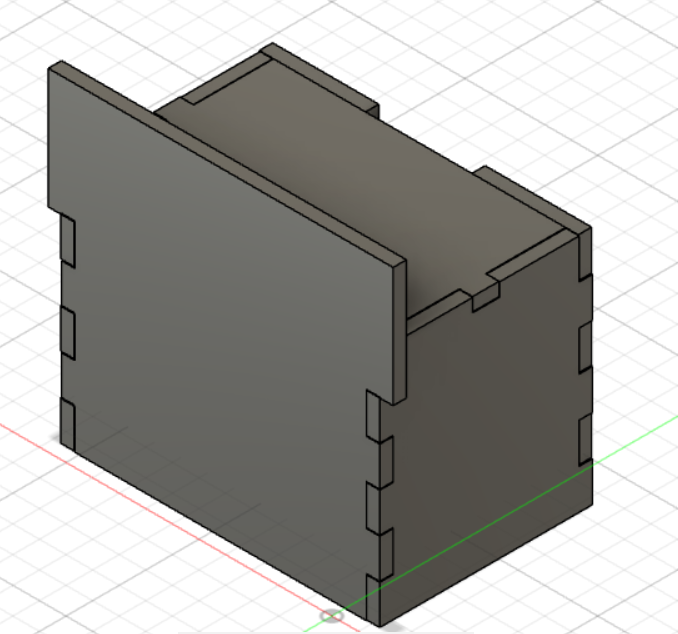 With the box properly sized and constructed in Fusion360 I used the extrude tool to cut the pieces until the box became sleeker in design. Luckily before I cut I checked in with one of my teachers and they made sure that I extruded the corners where pieces would meet by -1/64 of an inch. I simply laid out all my pieces and did the extruding necessary in addition to setting my pieces up to make a .DXF file for my cnc machine. This created a new sketch layer of the faces of each of my pieces to ensure any changes I made would be preserved. I also added sketches of openings on the required pieces to fit what I need for my final project’s features.
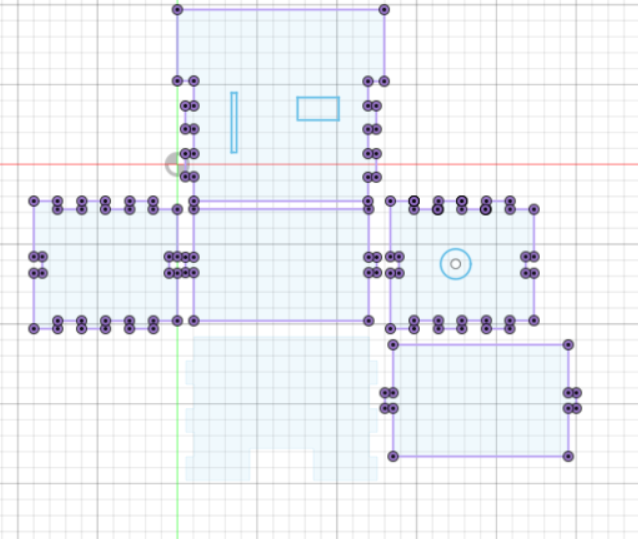
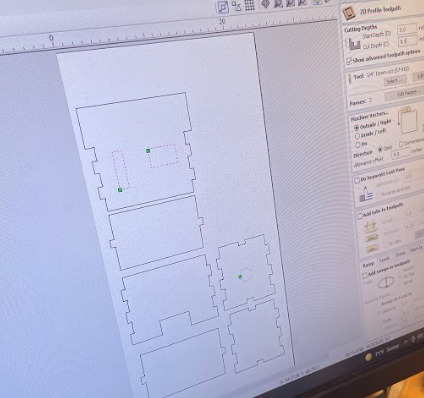
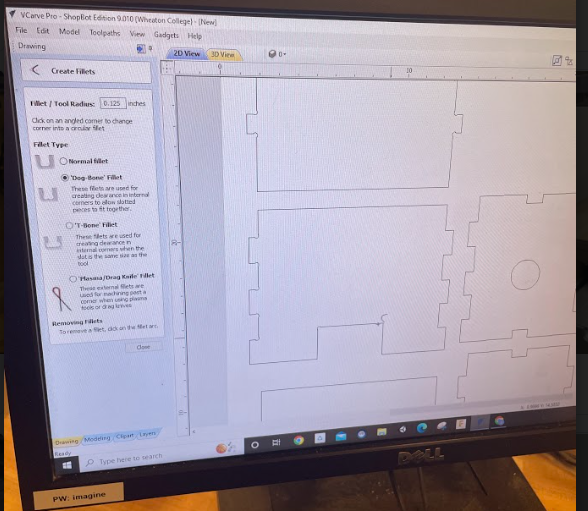
After I transferred the files to Vcarve I set up my file properly with the help of Brandon Whitter one of my professors. I would do things like organize each shape to fit on the board and fillet the corners to let my pieces fit together.
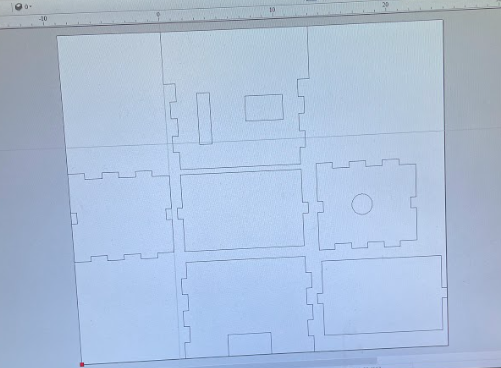
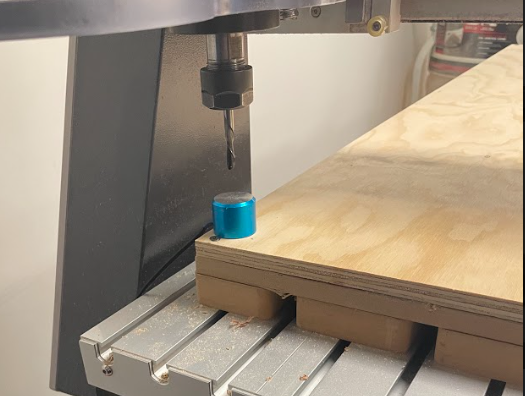
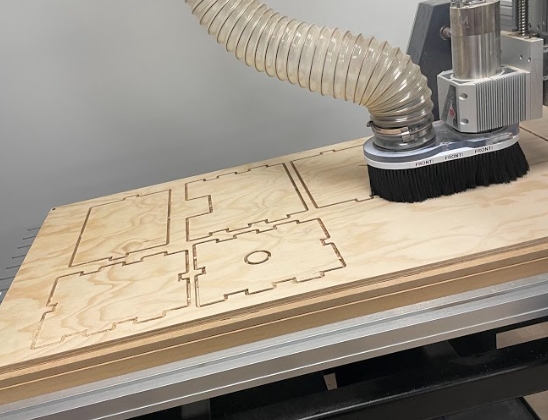
 After setting up the file we transferred it to a usb to allow for a transfer to our machine. All I had to do here was drill my material into place, set up my origin and the bit I will be using. After prepping everything I would turn on the vacuum and upload my file to start the cnc process.
 The process started by using a smaller bit to remove the internal pieces before cutting the outlines. The reason why the stubs are there is so that when the CNC machine would mill these pieces wouldn’t just sit there rattling around damaging the cut or the machine. I would then change the bit to the proper one for the outline cuts and start the CNC process once more.
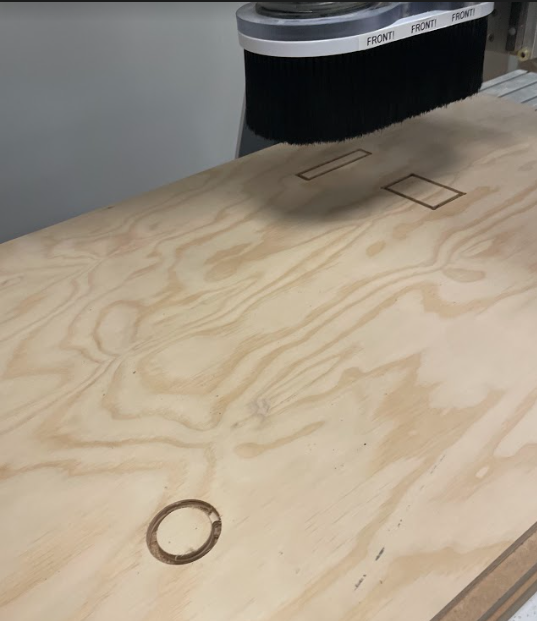
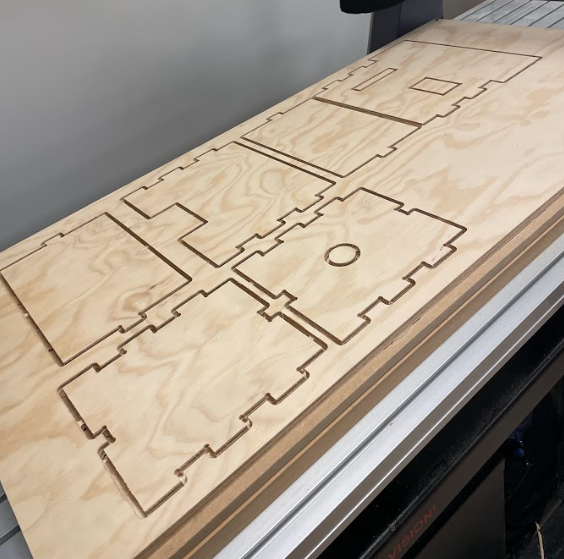
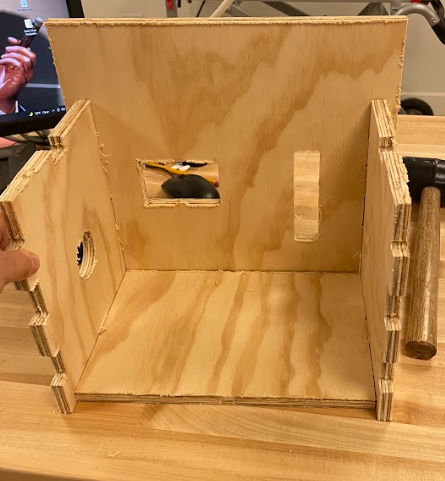
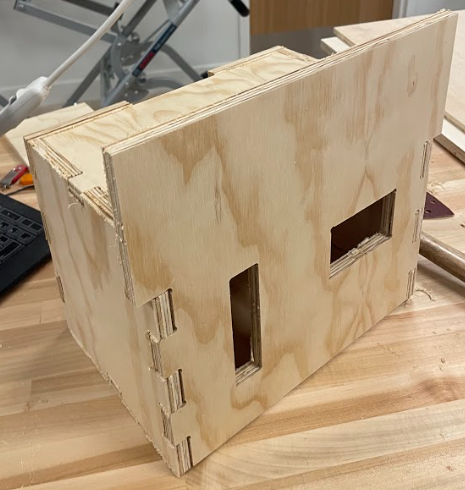
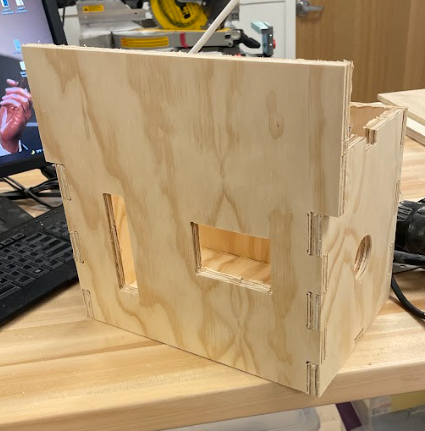
The pieces were milled out successfully now all I needed to do was remove the stubs with an electric saw to get my pieces. With the pieces removed I had the very fulfilling process of not having to connect all the pieces with any adhesive substances because I designed all the pieces to be able to fit together snugly with force. The only thing I had to do now is get a mallet and just hit the pieces until they fit the way I intended.