4. Computer controlled cutting
This week I worked on learning how to use the viynl cutter and the laser cutter.
Learning
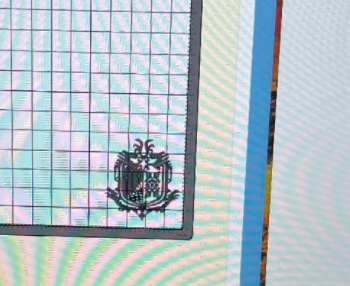
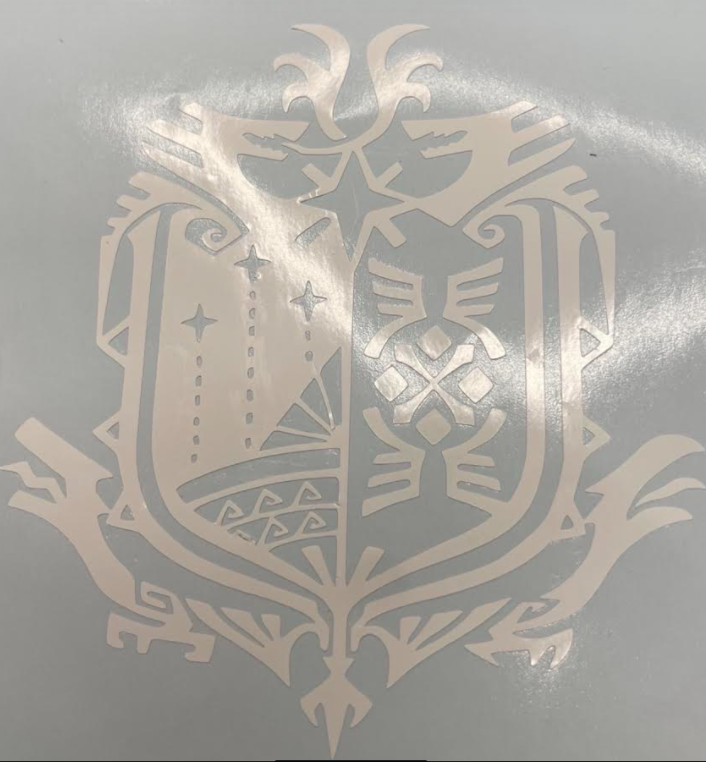
I am rather familiar with both the laser cutter and the viynl cutter so this week I had been retaught things about each machine. While we were learning we had the opportunity to make our own stickers so I made the logo to one of my favorite games Monster Hunter World. I started by getting a simple transparent file of the logo and imported it to the program SureCutsALot where I placed it in the bottom right corner before cutting it in order to preserve vinyl and I simply pressed the cut out button.
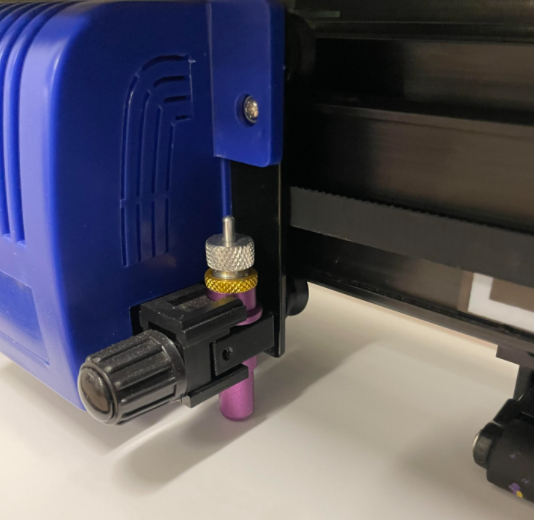
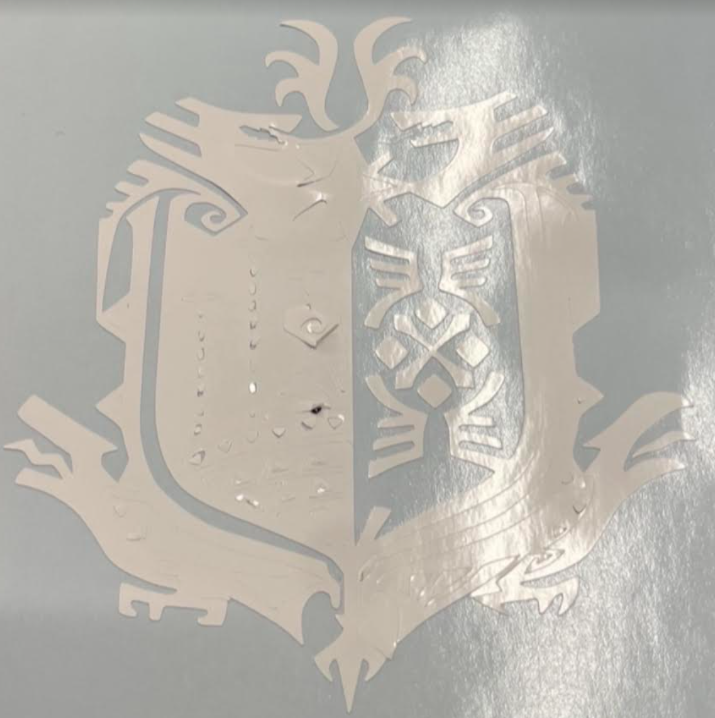
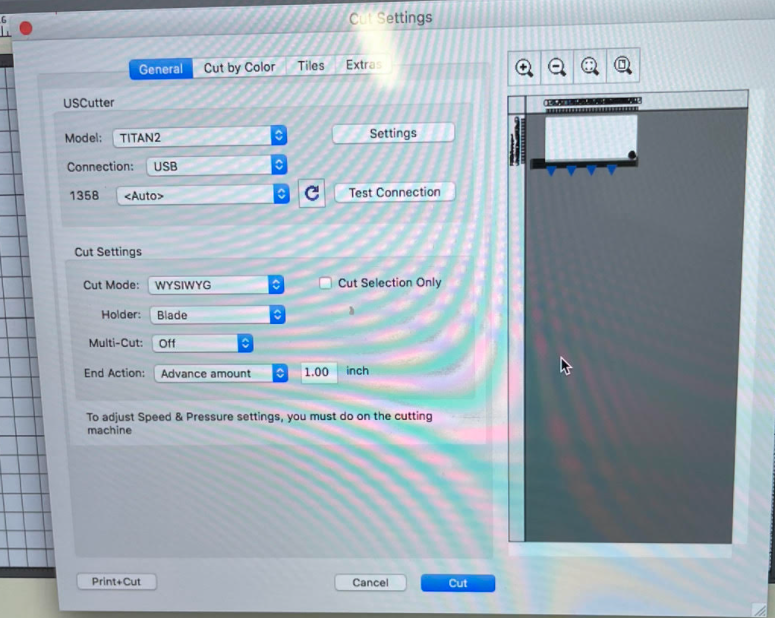 This transferred the information to the USCutter machine where I set up the speed power and origin to where and how it would cut. After the cutting was complete I started peeling off the excess viynl to get the desired sticker.
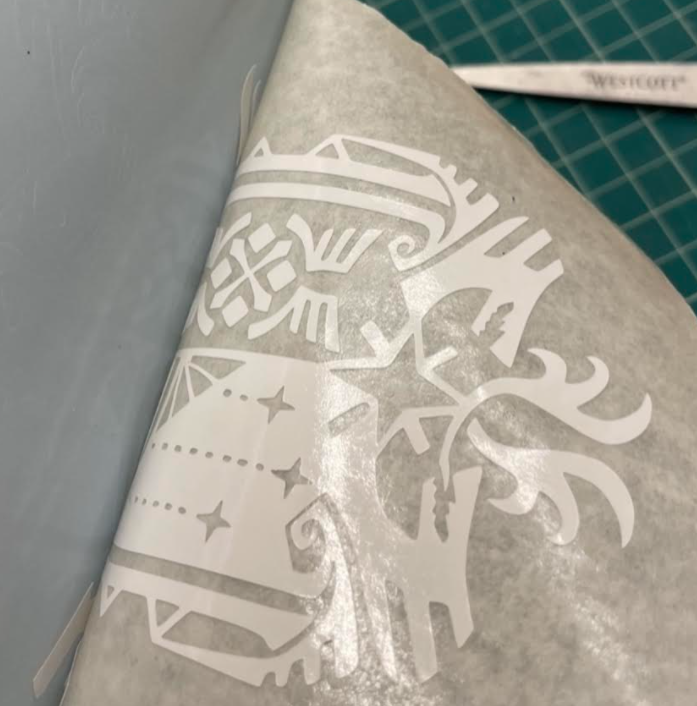
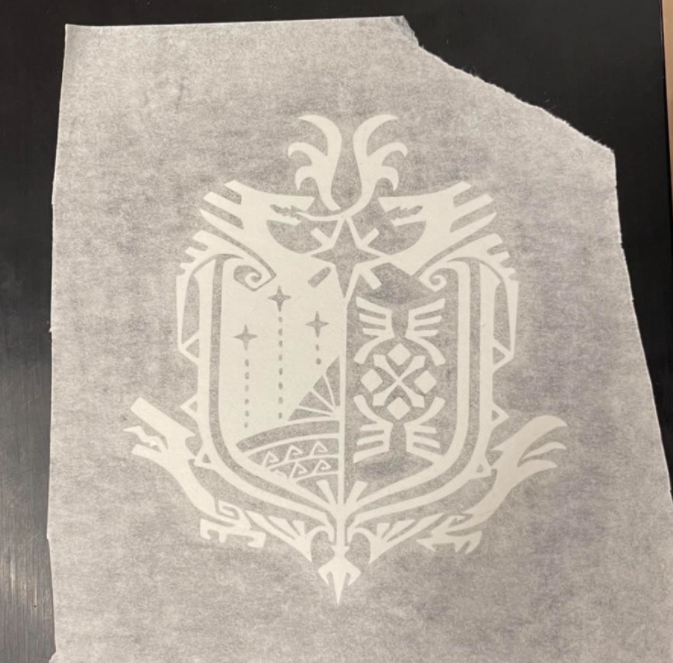
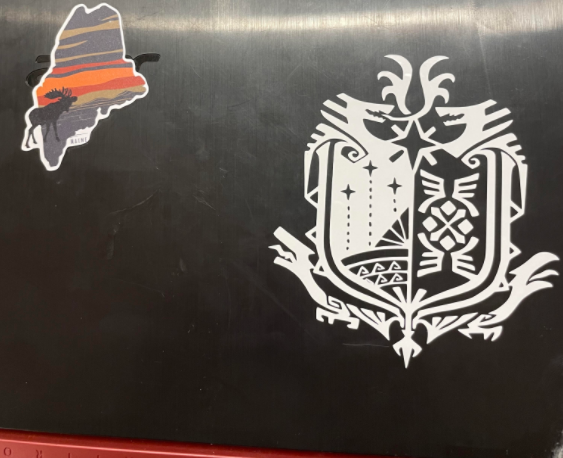
 This next step I used transfer tape to peel off the sticker from its original backing so that I may transfer it to my laptop cover. The transfer was quite simple. I just placed the transfer tape to the spot I wanted, flattened it and peeled.

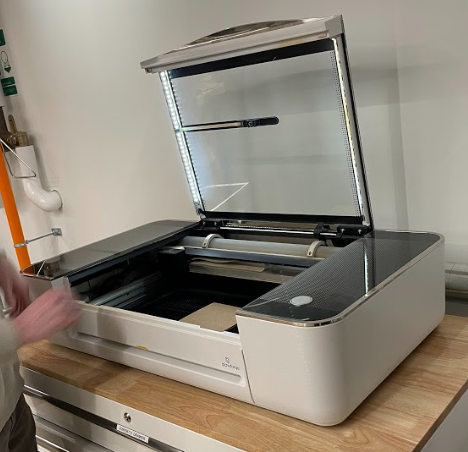
We had also learned about laser cutting with the glow forge. This program is rather simple all you need to do is insert your material into the laser bed, upload the image to cut, mess with the placement/size, and print. All of this is done on the glowforge website it is super easy.
Useful links
Process
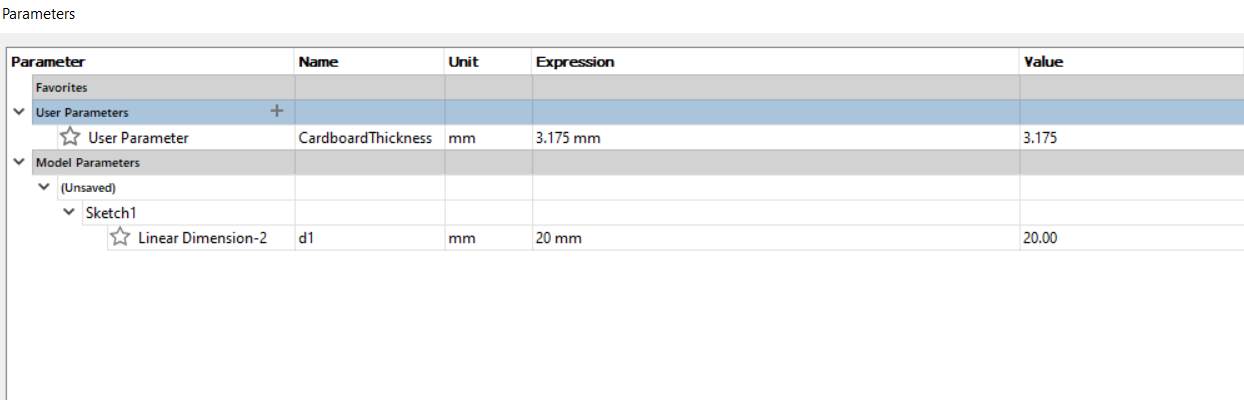
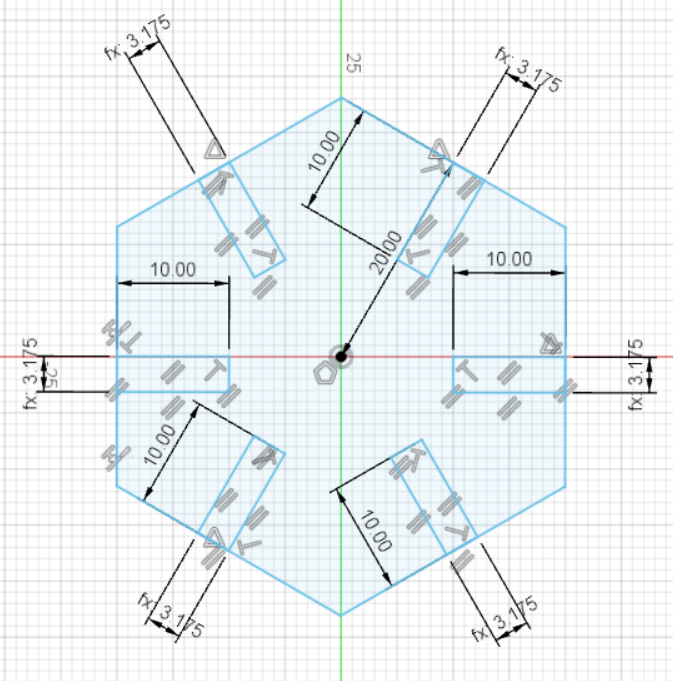
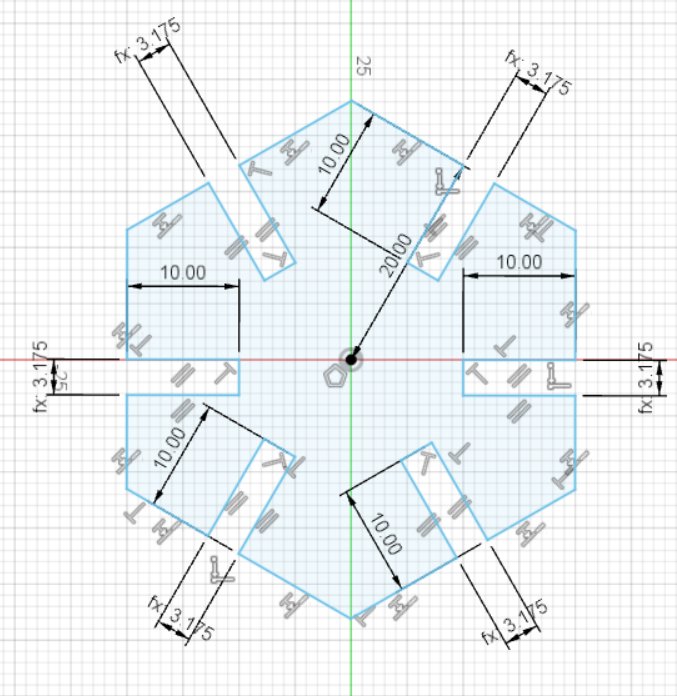
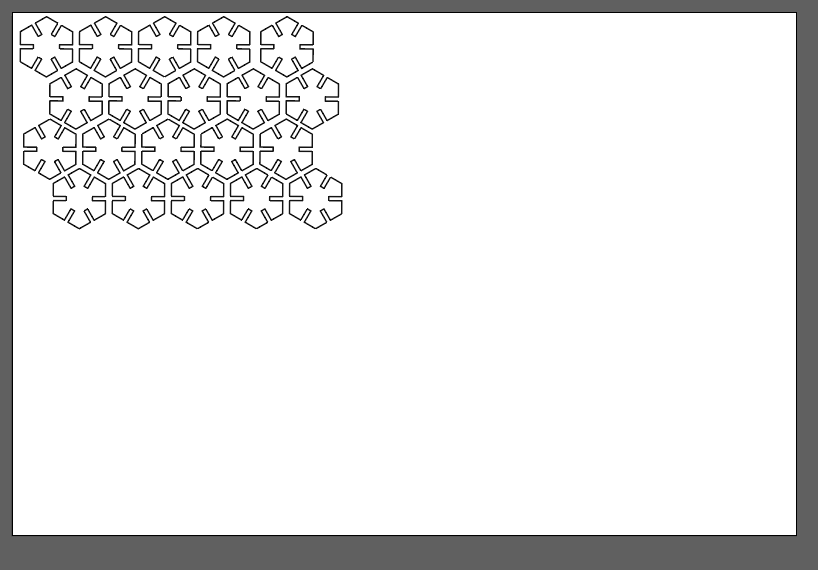
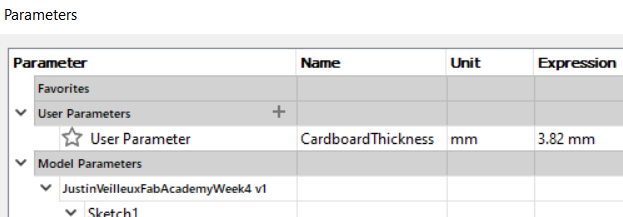
I will be creating laser cut cardboard pieces that can stick together within each other. I started by opening up Fusion 360 in order to start the designing process. I began by creating a basic polygon that I added the parameters of cardboard thickness so that the pieces I will create will be able to stick together.

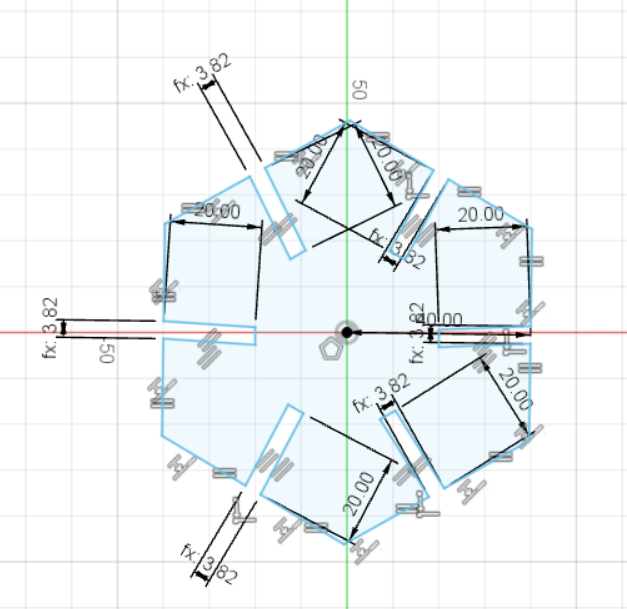
 Afterward I created rectangle openings the width of the coardboard and the length of half of the diameter which in this case is 20mm. Each of the rectangles aren’t centered to their respective sides so I used the cut tool to remove the line intersecting the polygon sides and then used the equal tool to center the rectangles.
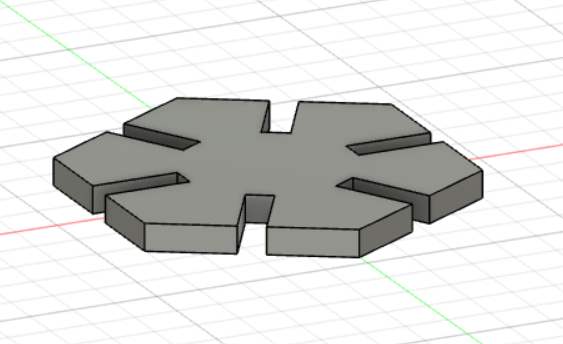
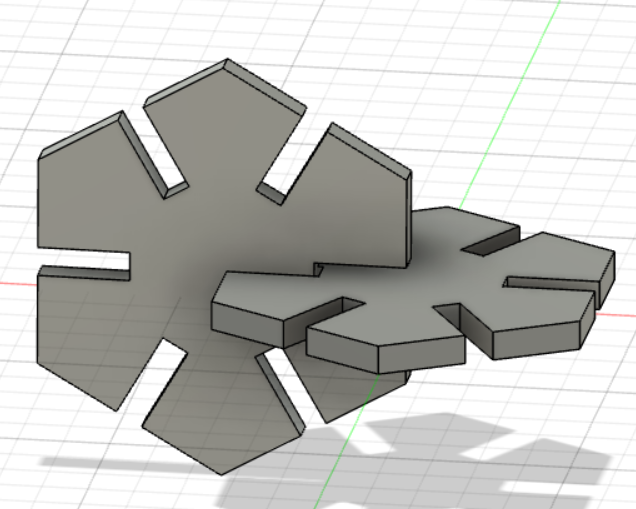
 The next step I did was to extrude the sketch to the designated thickness and I copied the extruded piece just to test how they fit together.
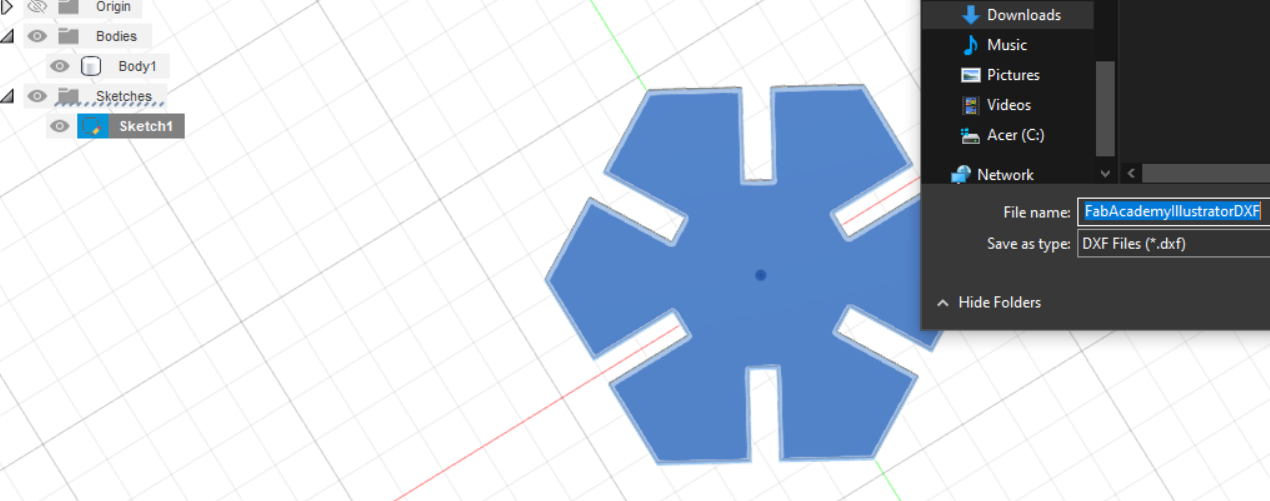
 With this I converted the sketch to a DXF file thanks to the tutorial I have linked above. The file I opened on Adobe Illustrator and I multiplied the one sketch to 20 and saved the file as a SVG so that I may utilize it on the glowforge laser cutter.
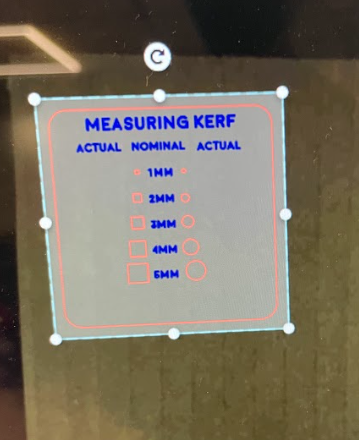
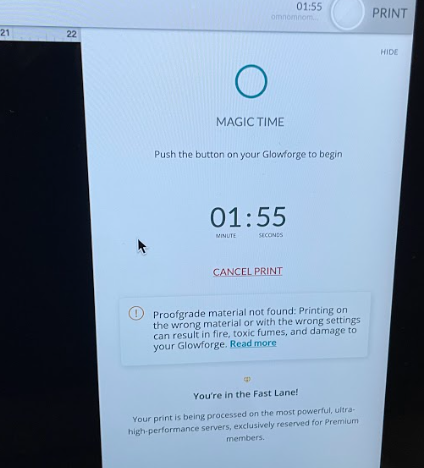
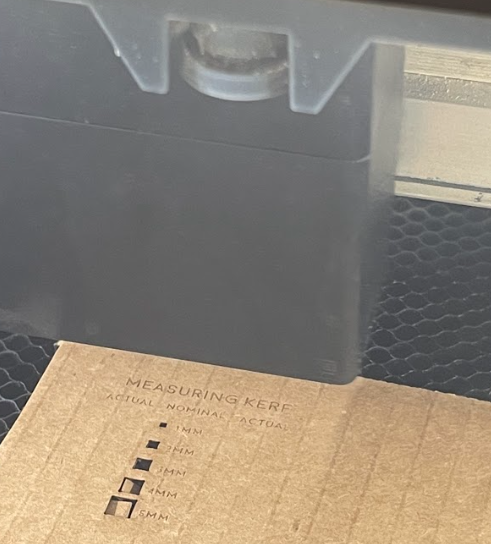
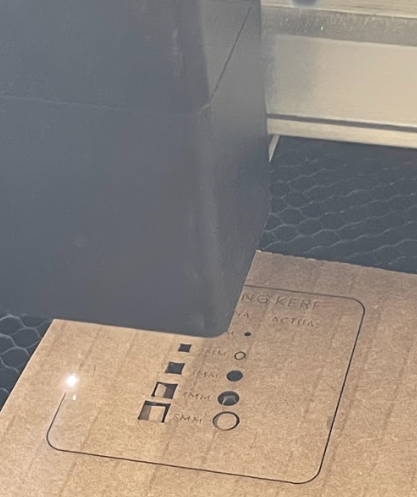
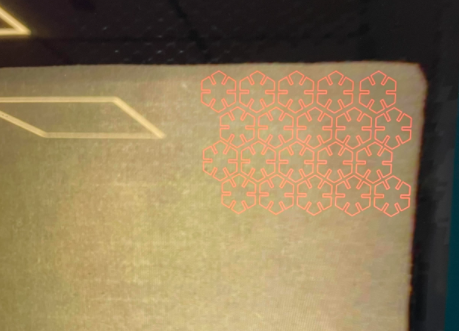
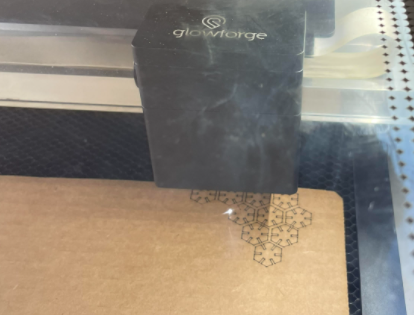
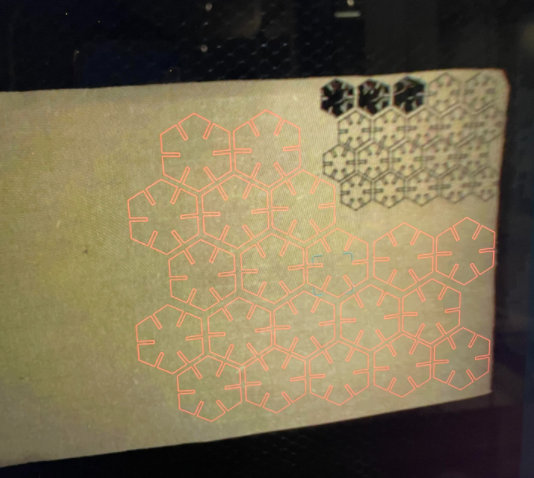
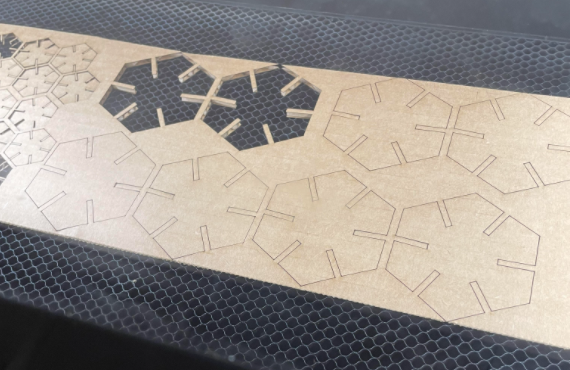
 Afterward I uploaded the SVG file to glowforge and inserted the cardboard into the laser cutter. There were some adjustments made to allow the file to be correctly placed to the desired place on the cardboard. The laser cutter was then prepped to cut and the pieces were ready to test.
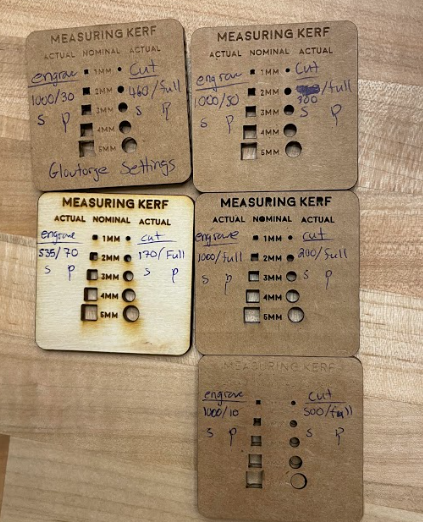
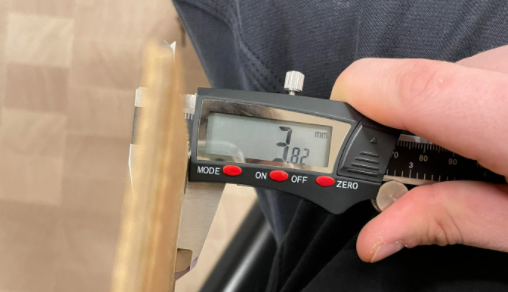
 The slots in between were way too small so I corrected by enlarging the actual polygon in addition to remeasuring the cardboard since I just used the standard I remembered during our in lab teaching session. The parameters being updated I went back and redid the process all over again.
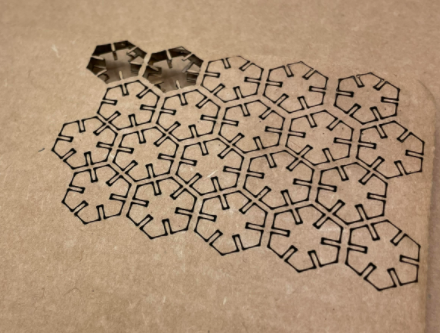 The slots once again were too small and we measured it as roughly under half of the designated size so instead of wasting more material we sized up the pieces by the correct margin and cut 2 in order to test how they fit. Luckily this time it succeeded and I was able to cut all the pieces I could on the remaining cardboard.
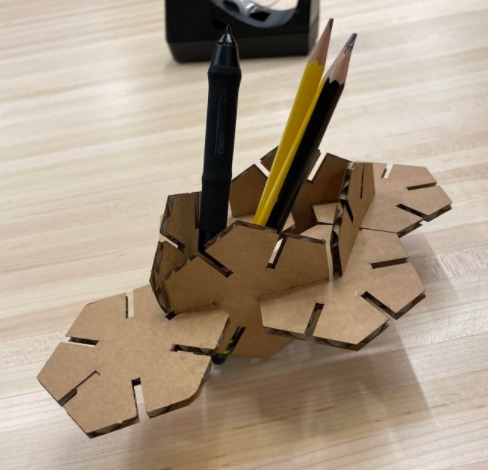
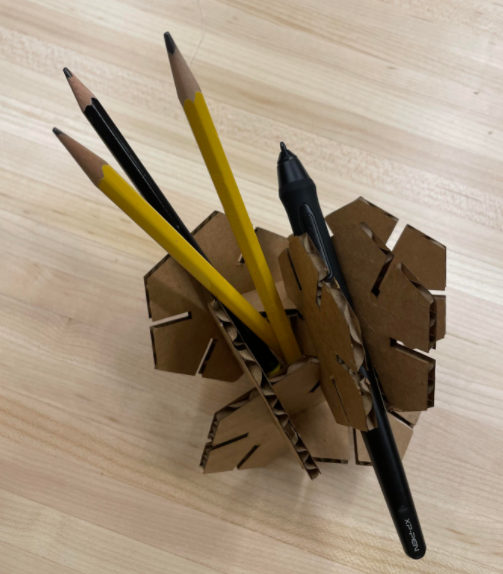
With all the pieces complete I decided to build a makeshift pencil holder since I didn’t have the desired 20 pieces but rather 8. This came in 2 different designs with the second one being much more stable and not being hollow which allowed for my pencils and pens to fit comfortably.
