6. 3D Scanning and printing
This week we learned how to use a 3D printer and were tasked on designing and printing an object that cannot be made subtractively. Additionally we had to scan a 3D object (with the option of printing it)
Group Work
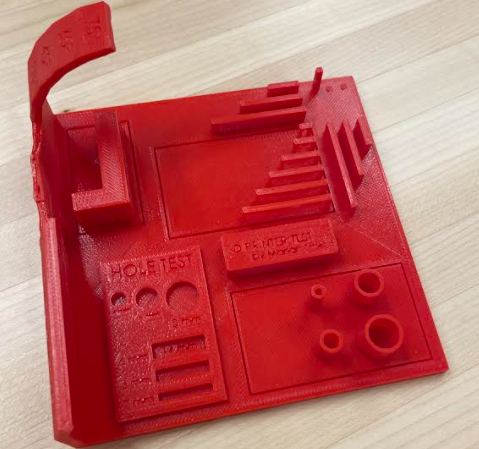
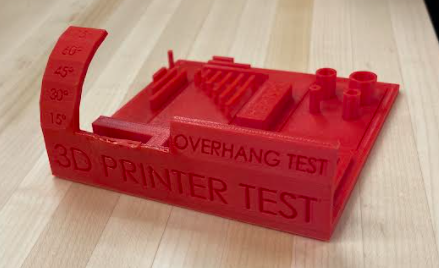
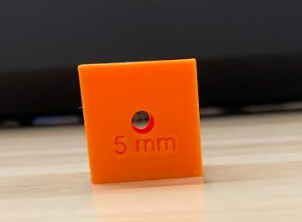
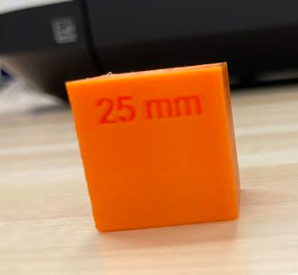
This week we had learned how to use the MK3, MK3S, and the MK3S+ 3D printers that we have in our lab. In short you design your 3D model send it to a program that will turn the file into a G-Code that will be put into a graphics card that will be plugged into the printer for use. Before printing there are prepartions in place such as loading your printing material and heating the machine up so it may print. It is a good rule of thumb to stay for the first 30 minutes of the print as that’s the highest possibility of a mistake occuring. In tandem with that we learnt the difference between a subtractive design and a 3D printer design, that difference being 3D printers can create shapes and object in places that would be difficult to subtract them whether it be the angle, size, or opening. In addition to that we learned the capabilites of the 3D printers and were given examples of different things the printer could do:
Process
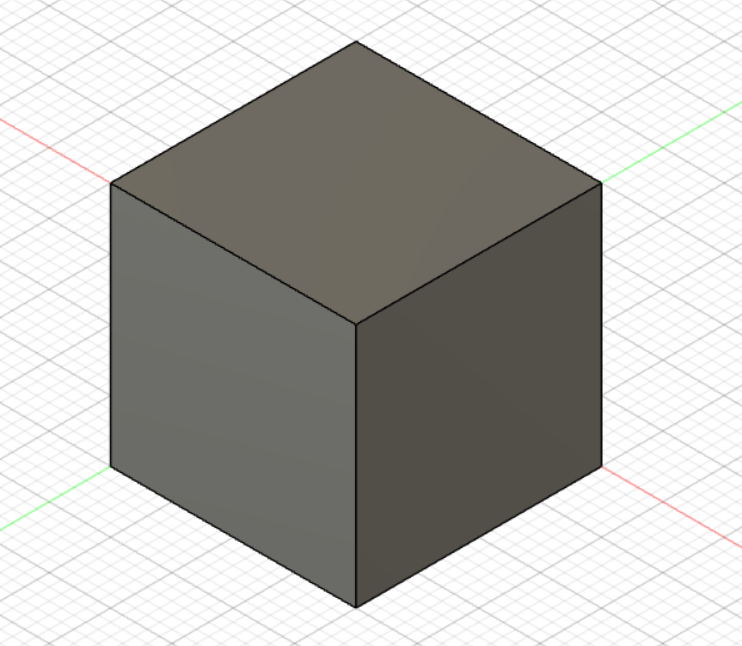
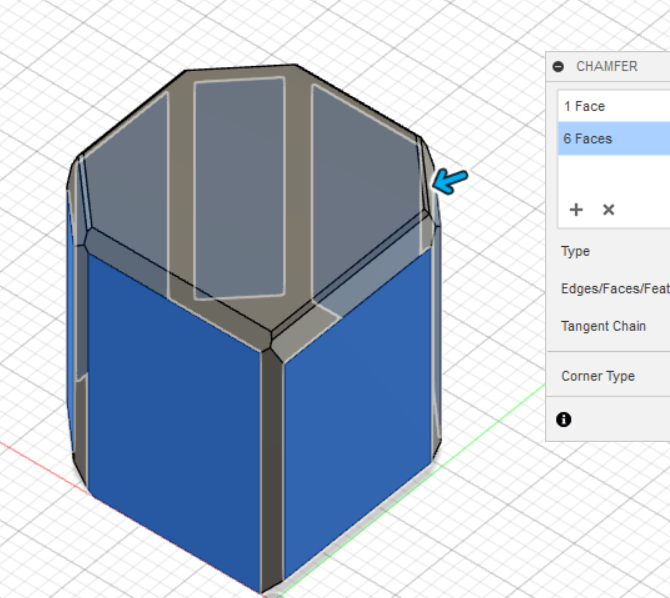
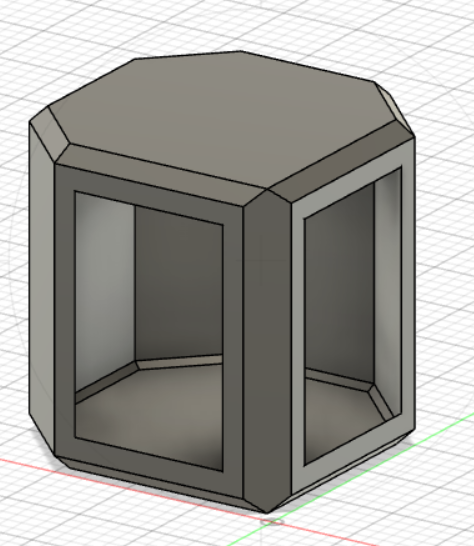
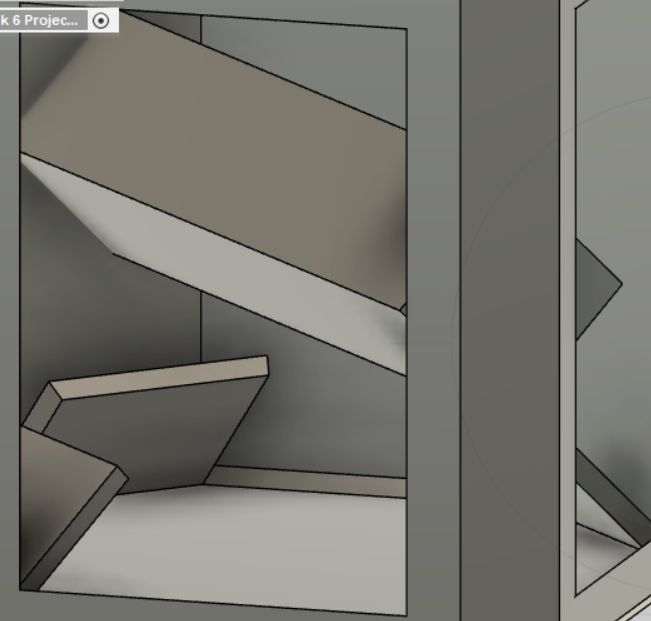
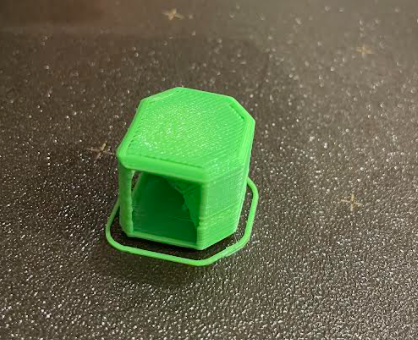
I started the process of designing my object through simple experimentation until I found something I liked. It started with a 20 x 20mm cube that I used the chamfer tool on in order to slice off three of the 4 corners of the cube in addition to the intersecting lines found on each face to create the slop like concept. After that I used the shell tool to hollow out the insides and create two openings.
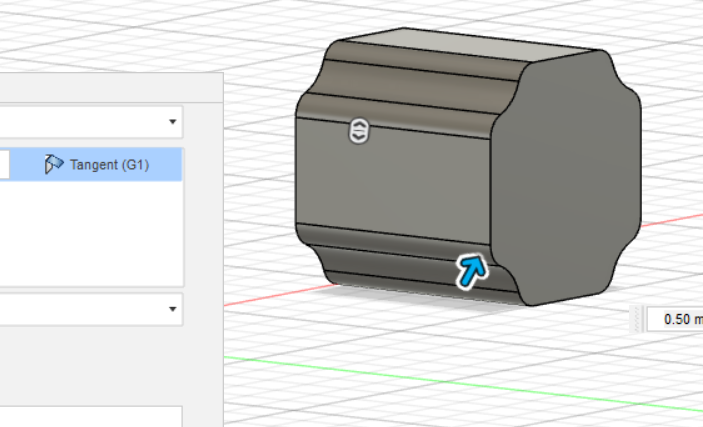
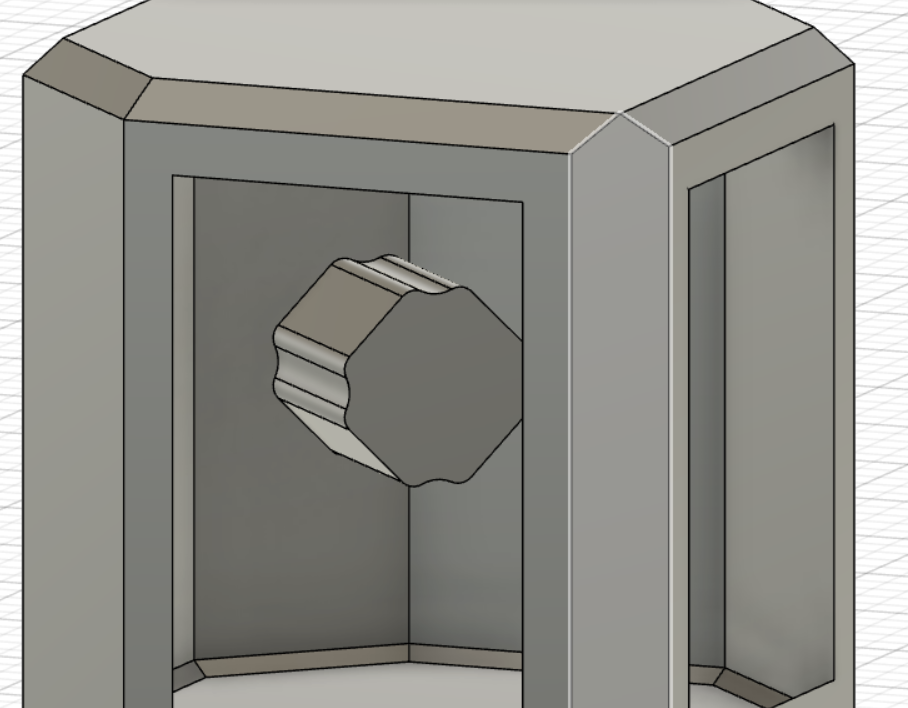
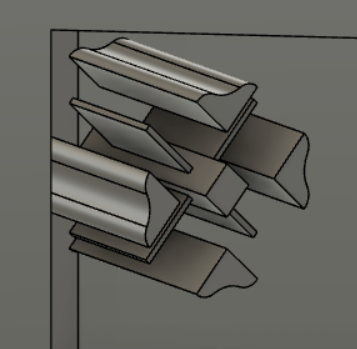
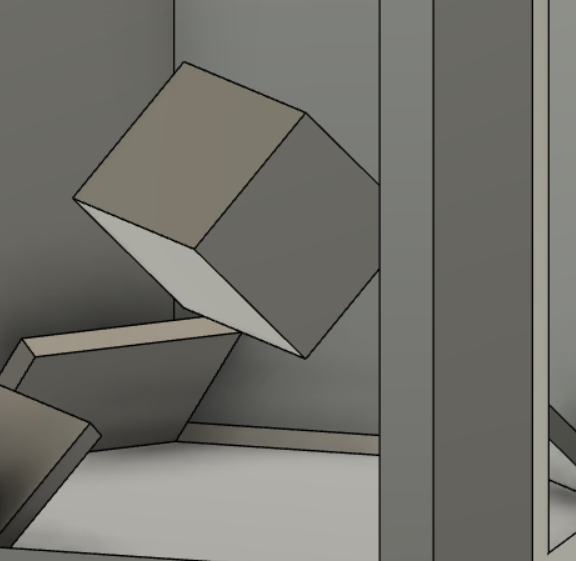
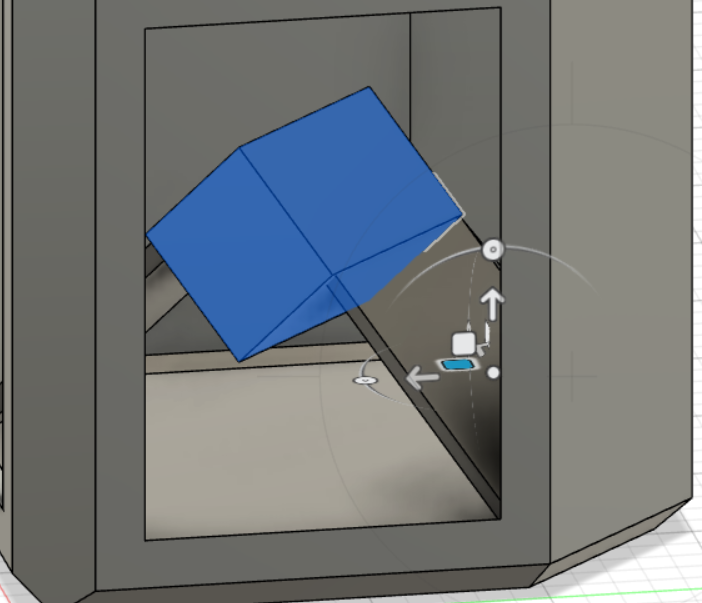
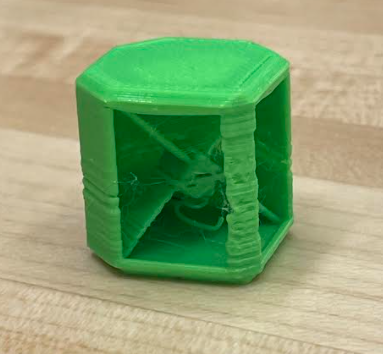
Next I made a smaller 5 x 5mm cube that I would put inside the “box” I had constructed. Before that I used the tangent tool to test a random shape that I could potentially use. After putting it in the box I tested things further by doing thin extrudes on the four flat sides. I never ended up using this design point but it inspired me to extrude three of the bottom corners to connect to the cube.
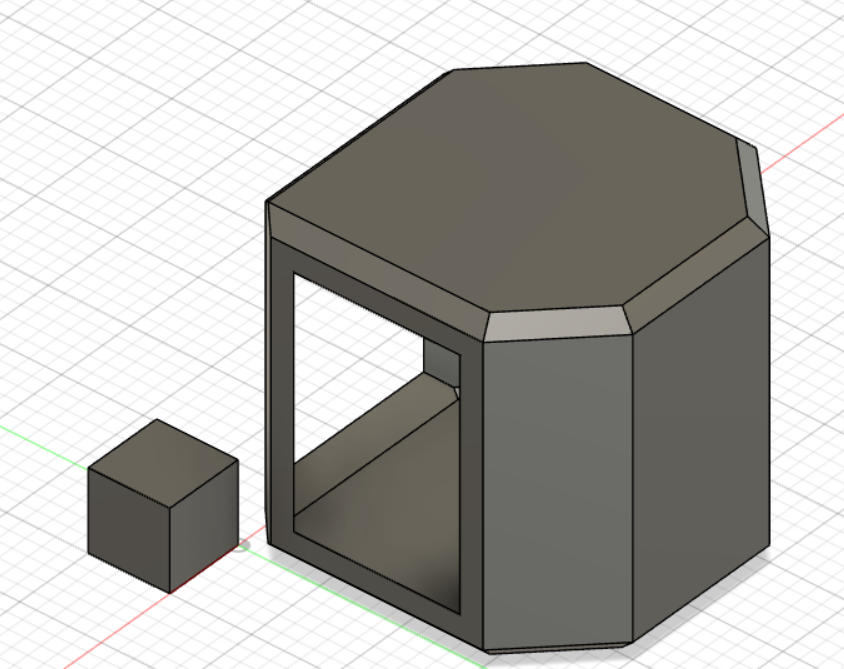
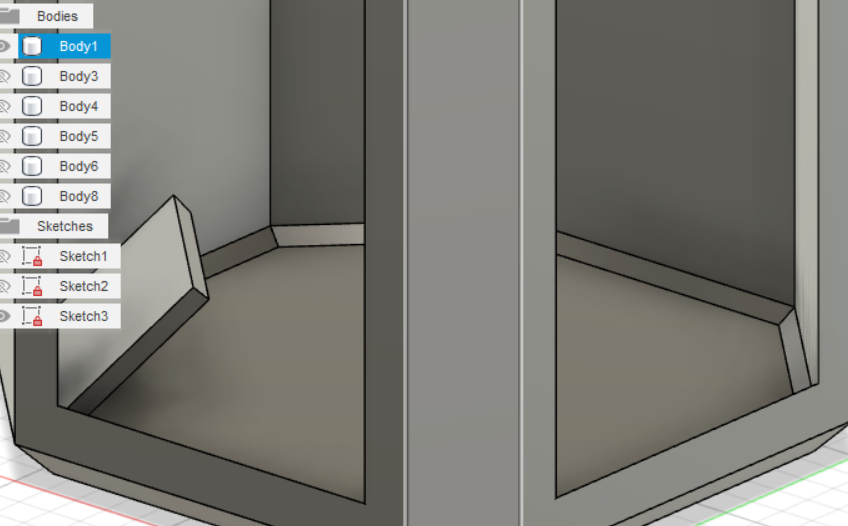
I messed around slightly with the shape but I ended up defaulting to the cube. With the cube set in place I extruded each side further until they all connect in addition to two sides from the top of the box.
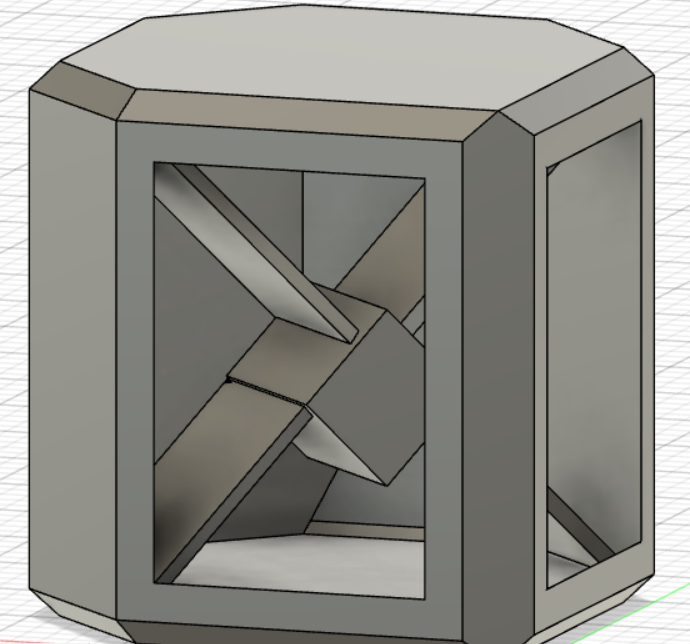
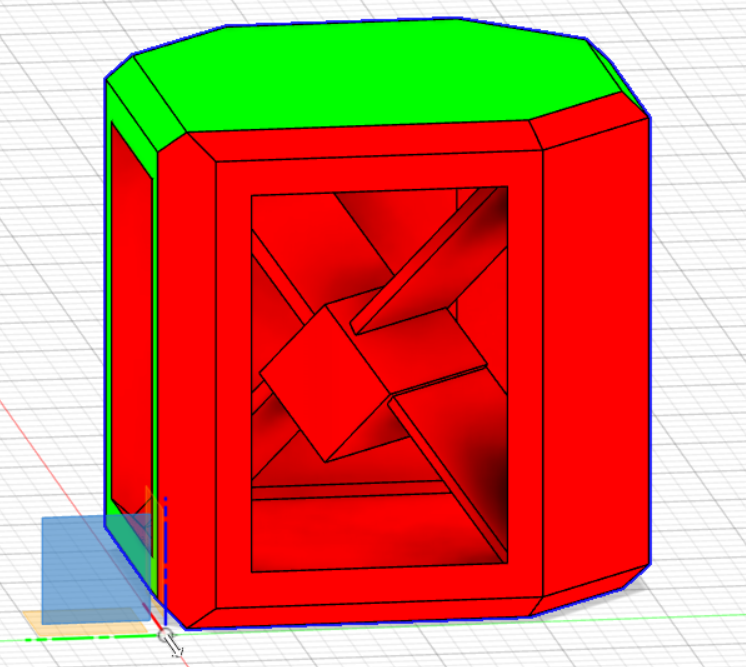
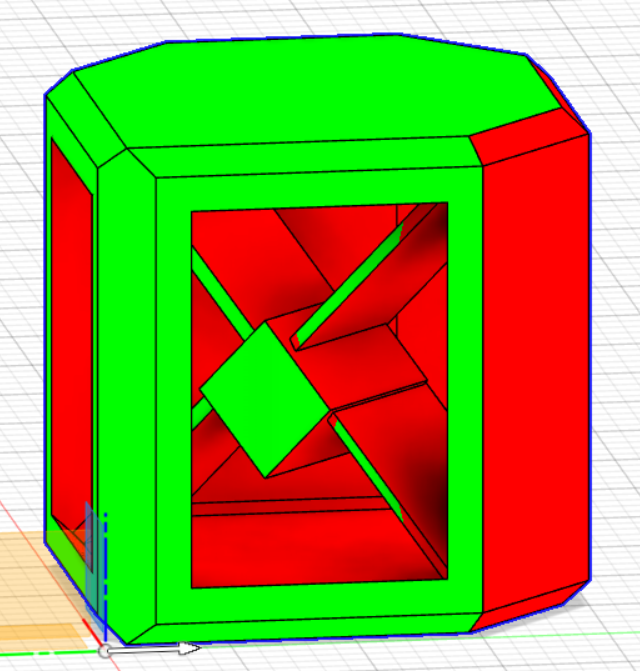
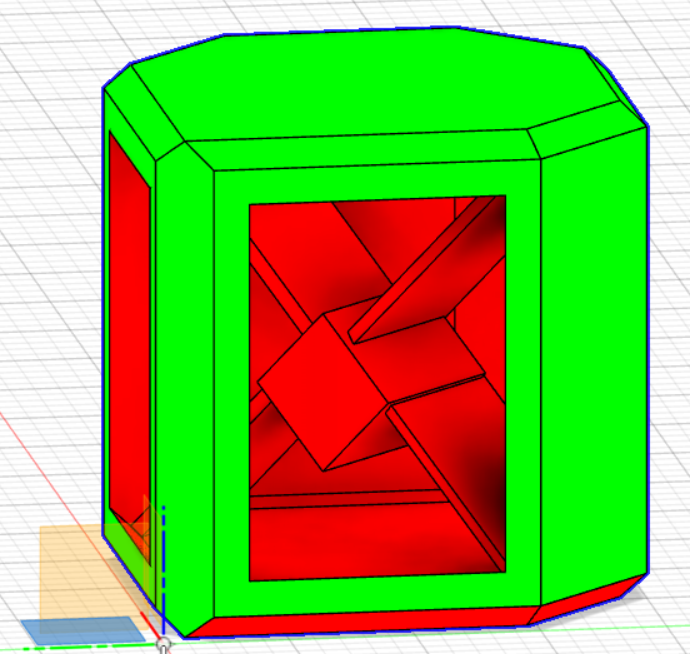
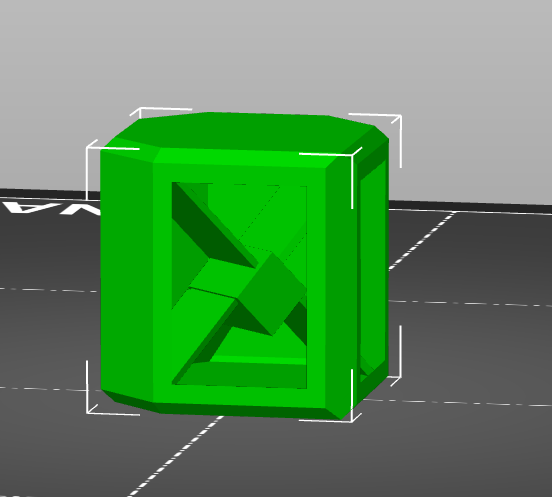
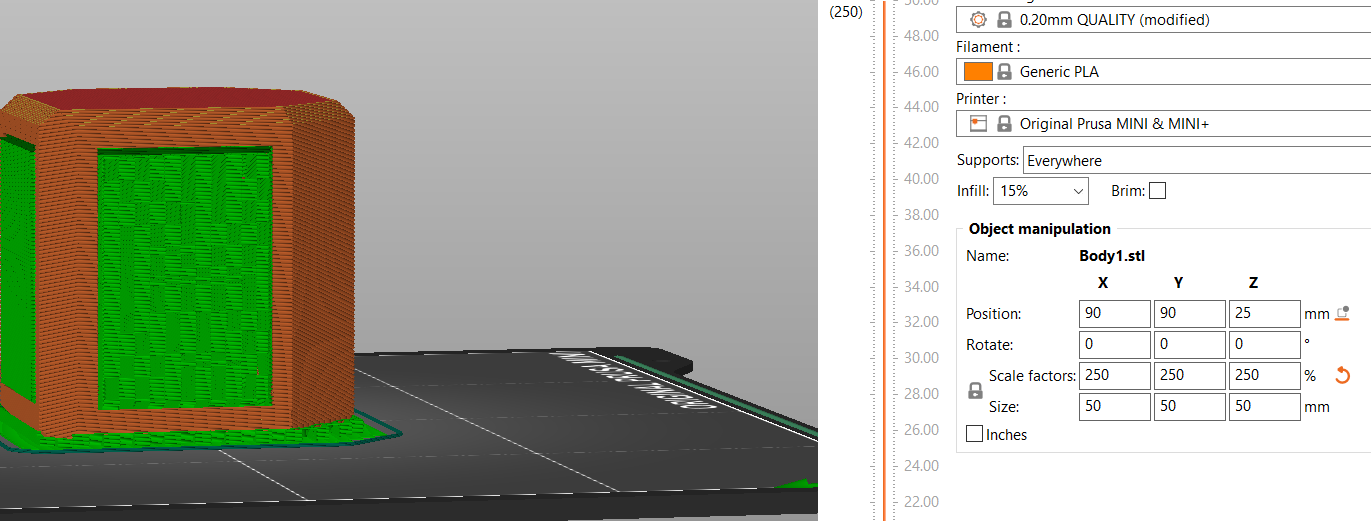
The box was then completed so I tested the accessibility in the utilities section using the accessibility analysis function. This allowed me to check which pieces of the design could be subtracted from of the three planes which gave me an idea of whether or not my design would be subtractable. The green indicates a subtractable piece of the design while the red indicates the opposite. The final design I created is not completely subtractable from what the analysis shows. Granted there is a slim chance that someone skilled enough could pull it off but not consistantly successful if at all.
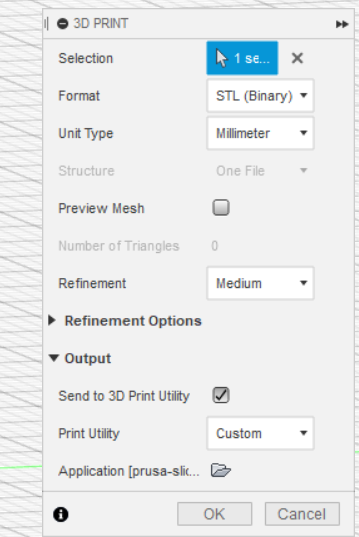
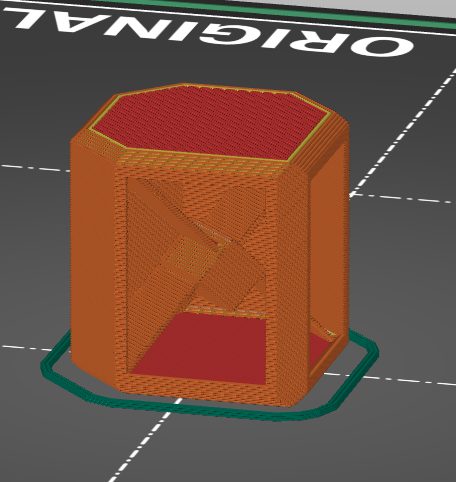
The design having passed the parameters set for this week I went on to print my piece. In order to do so I had to send my design to the program PrusaSlicer. PrusaSlicer would allow me to make a file I could plug into a graphics card that I would plug into the 3D printer. Having that said I uploaded the file from Fusion 360 by using the 3D Print option and it opened itself in PrusaSlicer. I tested how the piece would look in the preview section and I “uploaded the g-code” which made my file that I would put on the graphics card to allow the piece to print.
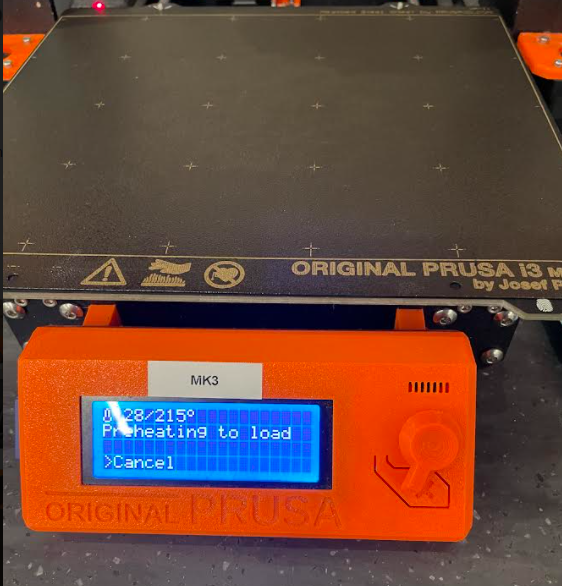
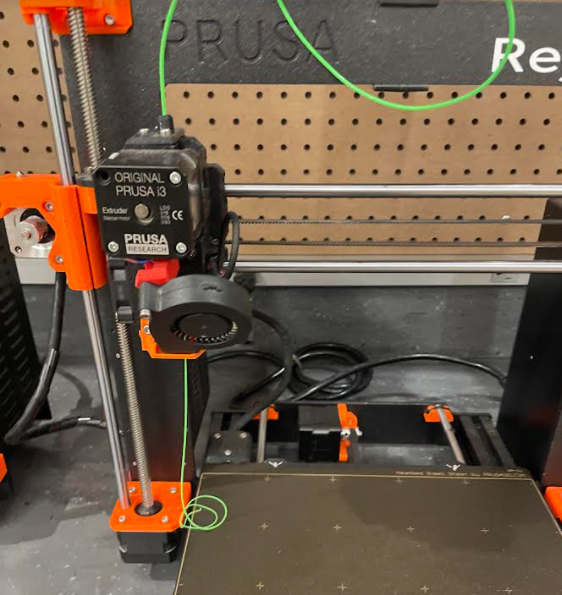
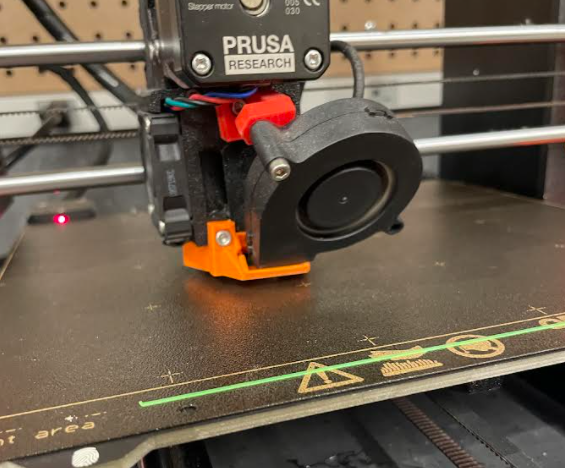
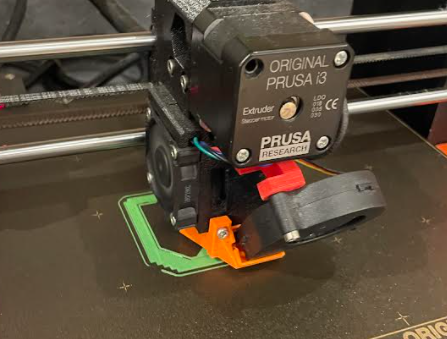
 To begin my print I had to do a few preparations such as preheating the machine and loading my material. Once loaded the plastic will push through the printer to ensure you have the right color. After confirming that’s correct I simple select my file to print and I just wait for the printer.
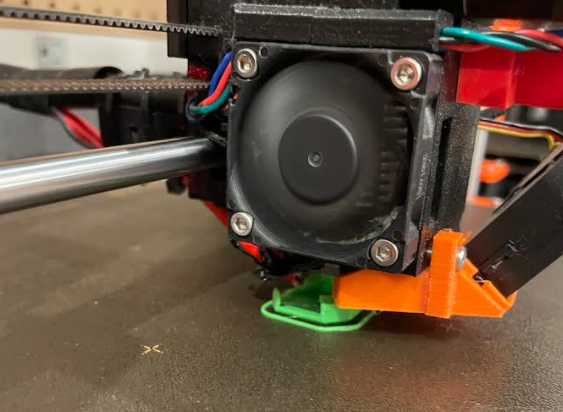

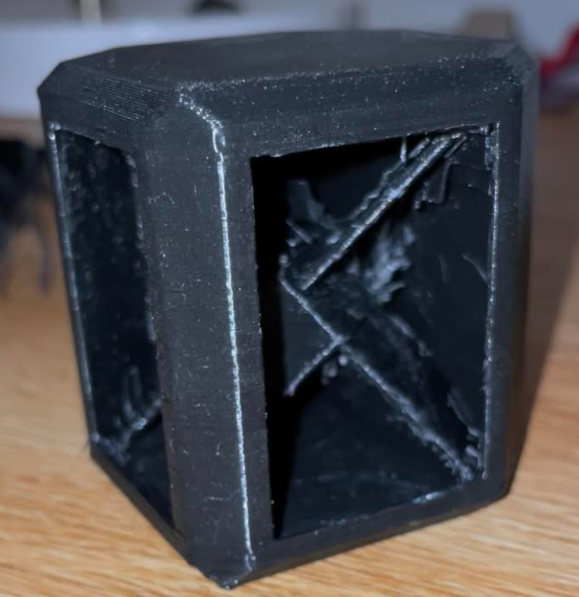
The initial print was “successful” though I felt like it could be improved upon both in scale and in how clean the piece printed. I went back into PrusaSlicer and increased the scale by roughly 250%. I was advised to try out giving my piece supports as I had forgotten to do so earlier and I gave the maximum amount just so I wouldn’t have to worry. The print at first was rather successful but since it was an over night print I was unaware that at some point in the night my piece lifted off the plate and was ruined.
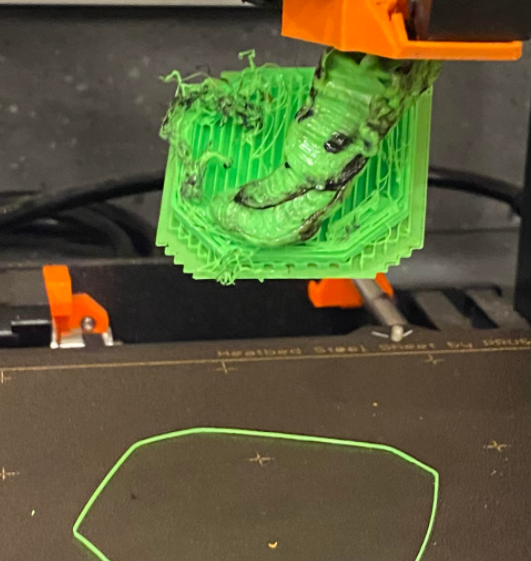
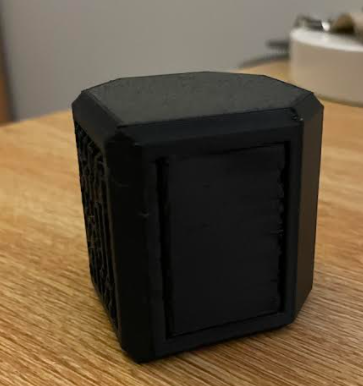
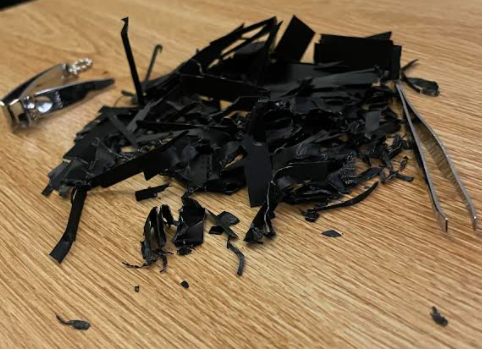
I just did a simple fix of adding glue to ensure the print holds onto the print. With the successful print I went onto removing all the excess plastic used to support the print. In short this process too a long time with all the small areas I had to get into with tweezers. The positive of this however gives credence to the lack of subtractablity the piece has.
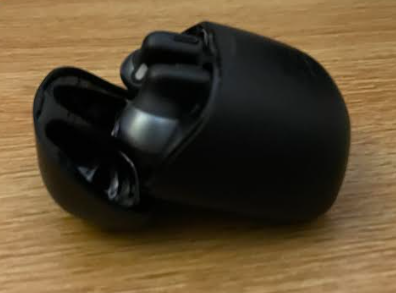
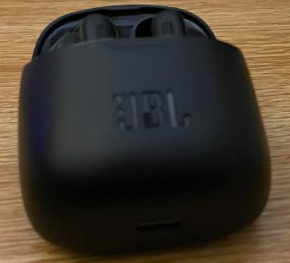
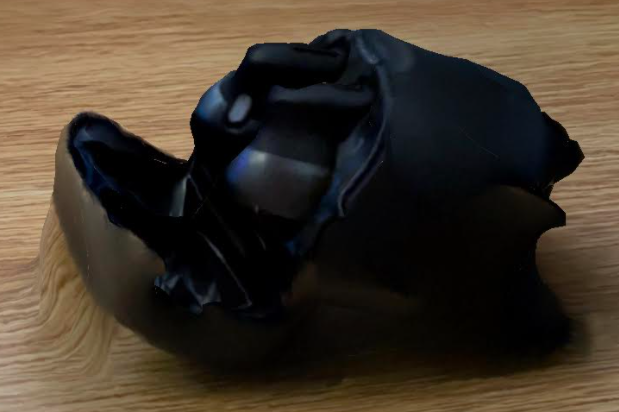
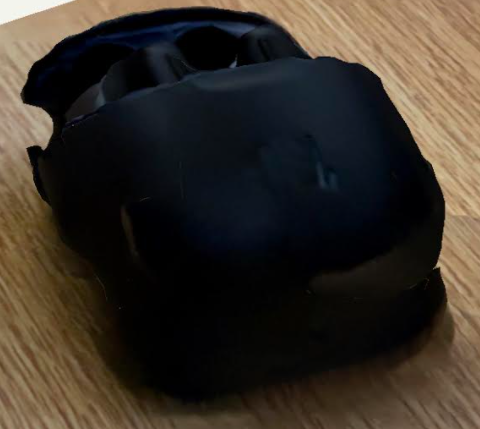
The final thing I did was make a 3D scan. The program I used to scan was Polycam on the iphone. Unfortunatley I didn’t have a LiDAR camera so I had to improvise with pictures surrounding my object. The object in this case being an open headphones case.
Here’s what the object looked like before the scan:
 And here’s what the scanned model looks like:
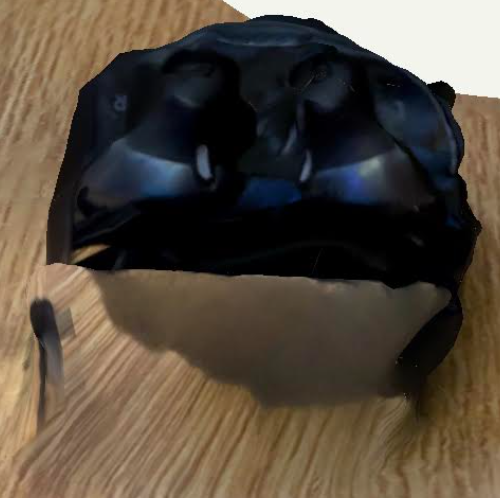
While the scan isn’t perfect with the materials I had on hand this was the best I could do.