12. Mechanical Design group project
This week I worked on brainstorming machine designs, finalizing a machine concept, discussing features of the machine, and dividing the work for the machine to properly work as a group.
Group Work
We started by getting together with a white board and just shouting out potential ideas and concepts we could feasibly create. From there we voted on each concept and narrowed it down until we got to one concept. The concept we decided on was a vending machine. From there we decided on the specifics of what could make the vending machine work.
The specfics of it are as follows: The vending machine will be set on some form of spinning platform, a pushing system to push items through the door, areas to hold items to be pushed out, a screen to display flavors and buttons to choose items, and a place to dispense items. With this being done we divided the works, I worked on the area holding our items which in this case were coffee cups.
My part

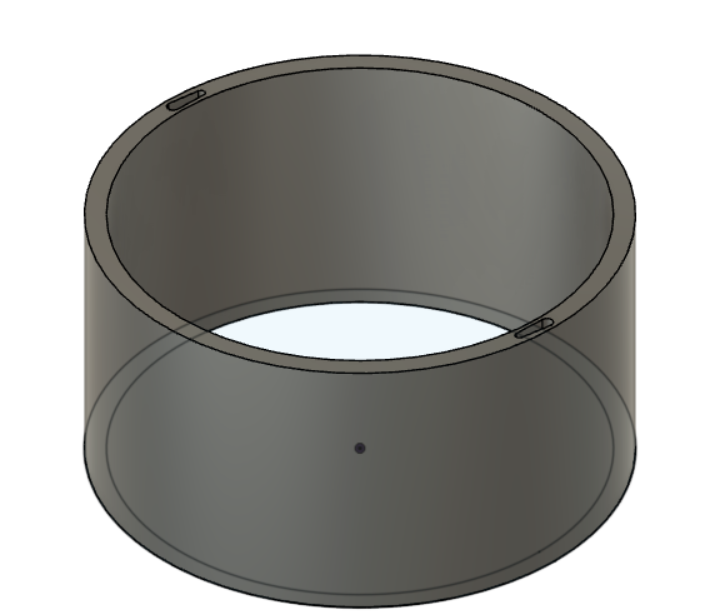
I started by making a design which essentially was two tubes that would rotate to lock themselves into place. The reason for this was to make a design that we could continually extend in order to A. not surpass the limits of the 3-D printers while designing my part and B. adjust the height as we see fit. I would go into fusion360 to make this design with little issue. The first issue arrived after printing the first test designs. The openings I had created were too small for the 3D printers to properly make while keeping the walls fully intact. Additionally the peg design I created would easily snap off when I touched it.

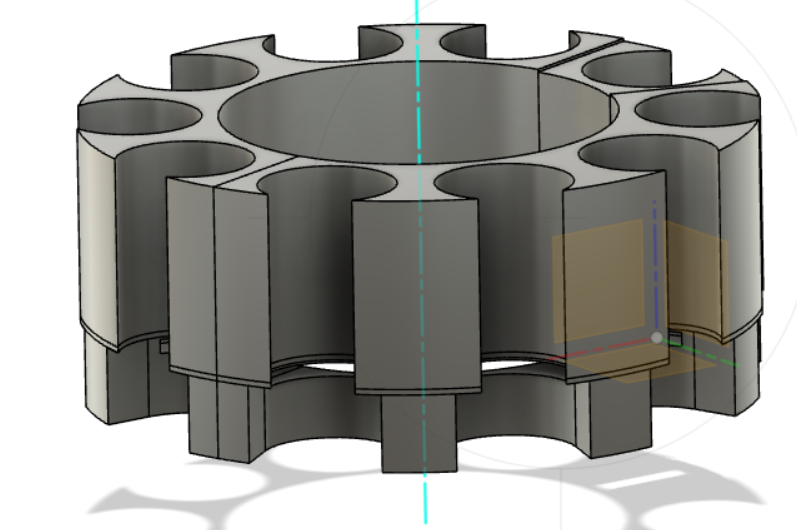
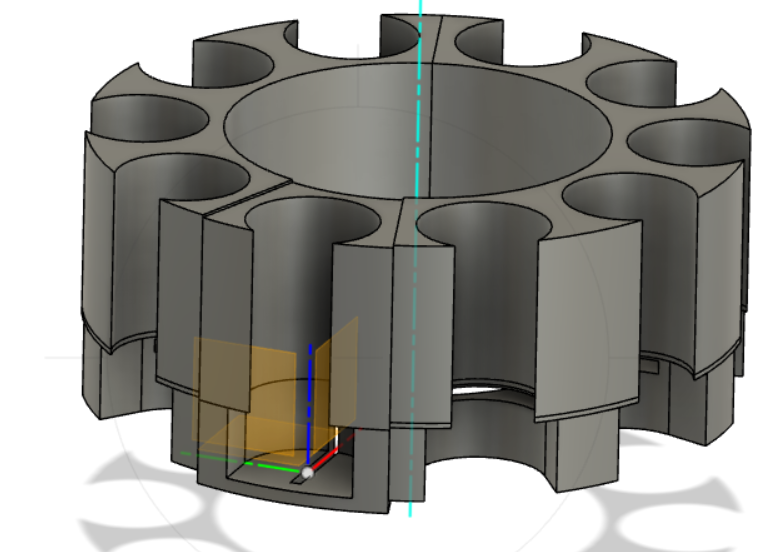
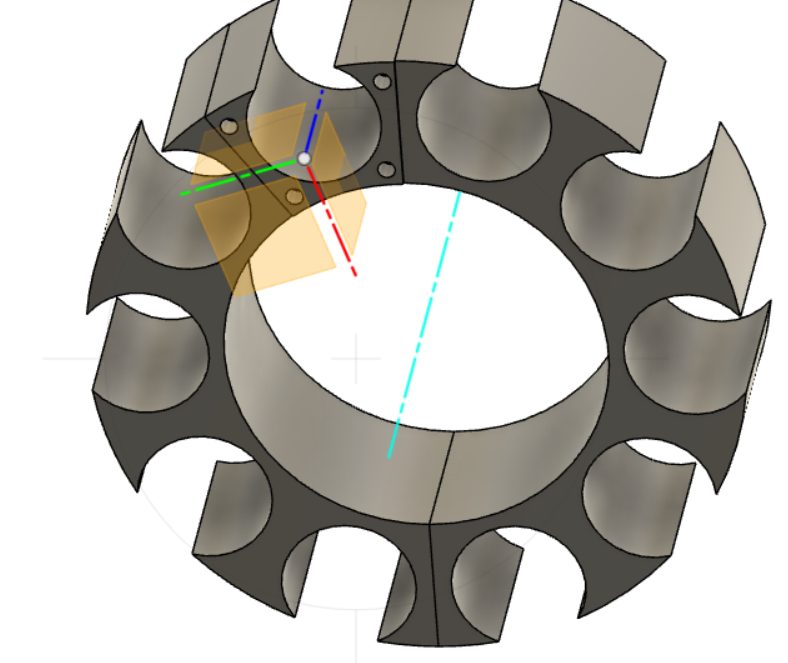
 I had to go back to the drawing board before I could make my planned third piece of the tube but I never ended up doing that. The reason for this being I had a meeting with a group member I had to align parts with they where creating the pusher design and mocked up a simple design for the carousel. We had decided to scrap my tube idea and I took on the task of modifing and test printing the design. I started by isolating a single section of the carousel in order to print it. Before creating a test print it had been decided to modify the design to allow a laser cut piece to be stacked ontop of the block replacing the section that would create the opening of the pusher to go through. We removed the top and made a section where pegs would be placed to allow the laser cut piece to sit on our 3D printed part. This would both save material and utilise 2 machines. Part way through printing the pusher we attempted to make go back and forth had failed to we changed the design to suit it. The new pusher piece is much more simple than our previous pushing mechanism it was just a section of laser cut acrylic that would spin on a motor. All I needed to do from here is make an opening in the middle that would allow for the pusher to hit our K-cups. With that step complete I had created pegs that would allow our extendor pieces to comfortably sit and contain our k-cups so they could only be pushed out of the bottom.
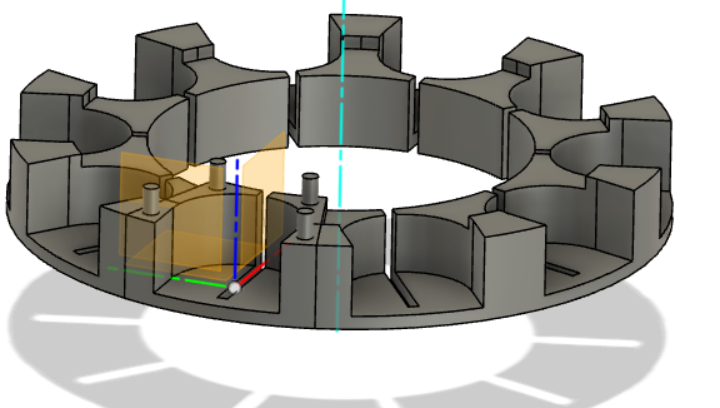
 With this I tested out the pieces on the 3-D printer. They were successful so I could move onto mass producing them. The set up of our carousel is simple the piece I had isolated at the beginning was part of a circle pattern of 10 all I had to do was print out 10 of these parts and connect them all to make a circle. The process was simple take each part and super glue them to the base plate in order to prevent them from falling off while they rotate. The printing process had some issues due to machine malfunction and running out of certain filament but in the end I got the 10 pieces created and glued onto the plate making my portion of the project complete.


