6. 3D Scanning and printing
This week I tried to learn Cura ultimaker software which is used to slice a 3D model.
Cura
It is an open source slicing application for 3D printers. It was developped by David Braam who was later employed by Ultimaker, a 3D printer manufacturing company.
3D Printer
It is a machine allowing the creation of a physical object from a three dimensional digital model, typically by laying down many thin layers of a material in succession.
## Assignments
Group Assignment:
- test the design rules for your 3D Printer
Individual Assignment:
        - Design and 3D print an object that can not  be made substractively
        - 3D scan an object (printing is optional)
Group assignment
In our fablab, we have used Creality Ender 3

-
Type : Fused Deposition Modeling
-
Nozzle diameter : 0.4 mm
-
Filament type : 1.75 mm PLA 3D filament
-
Printer type : Creality Ender 3
-
Build volume : 220x220x250 mm
Individual assignment
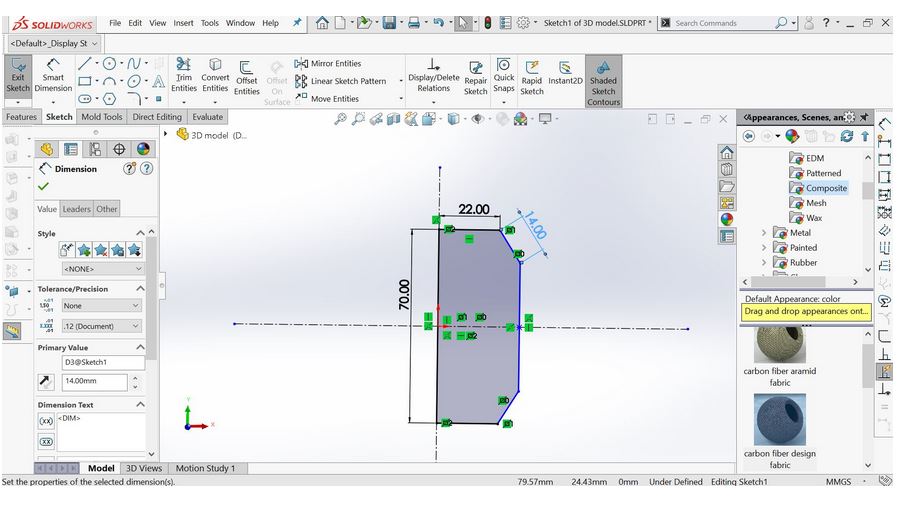
I started by designing a 3D model using SolidWorks as can be seen in the following screenshots. The aim was to design an object that can not be made substractively. Hence, I decided to design a cylindrical structure with the the octagon inside.
I assigned smart dimensions to my design
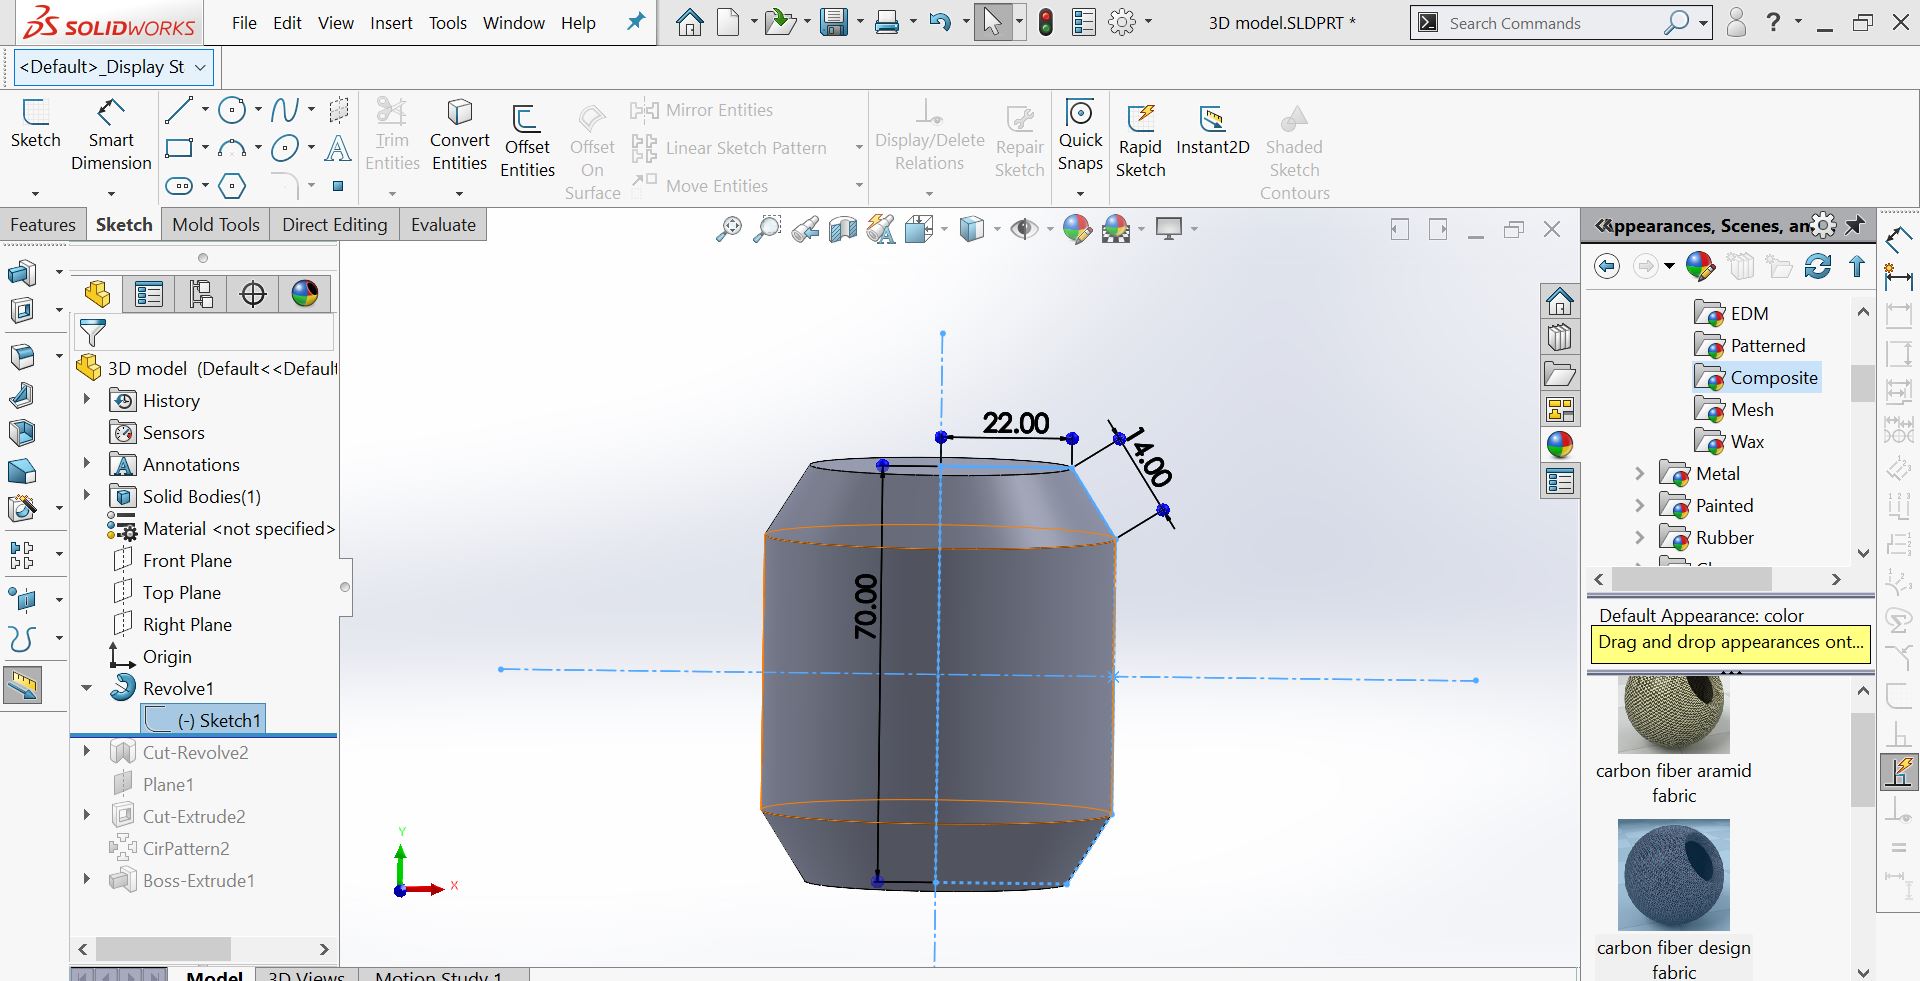
I extruded it to make a 3D model
the inner part was cut to make a hollow like structure as you can see in this cross-sectional part
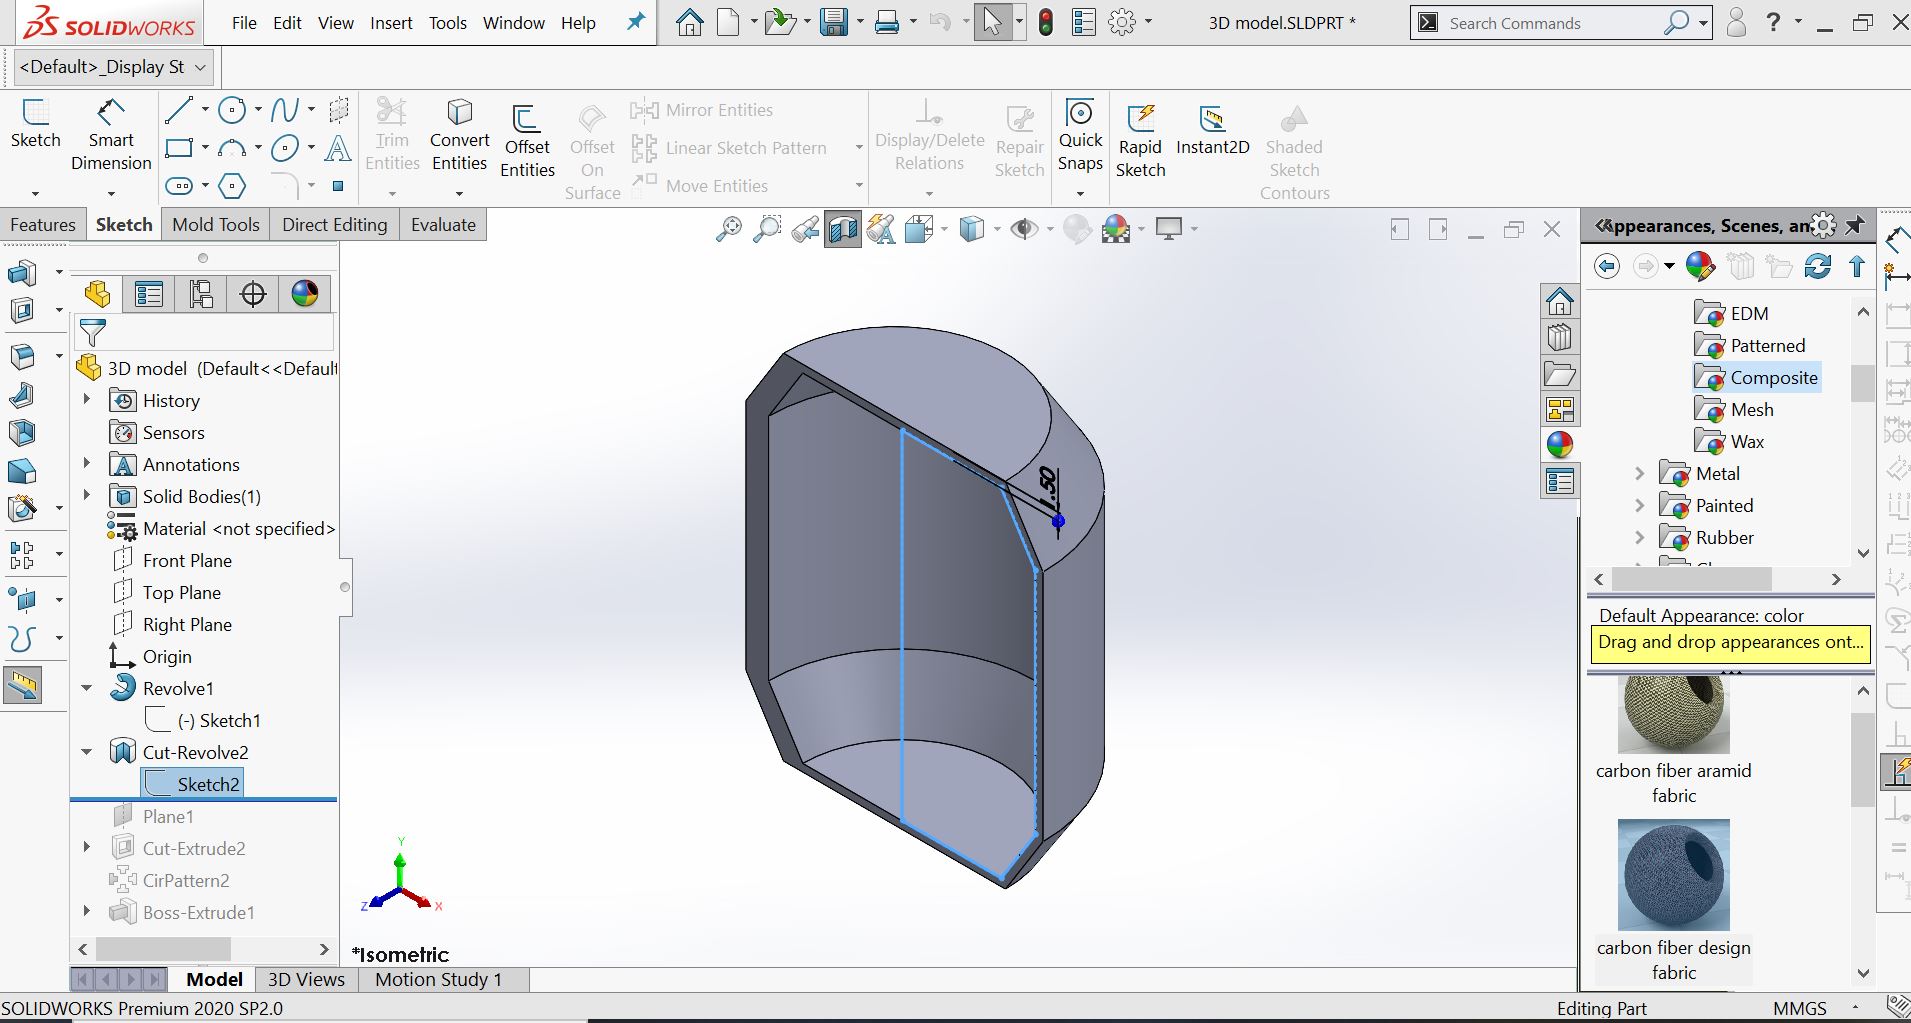
Removal of some parts so as to see the inner part
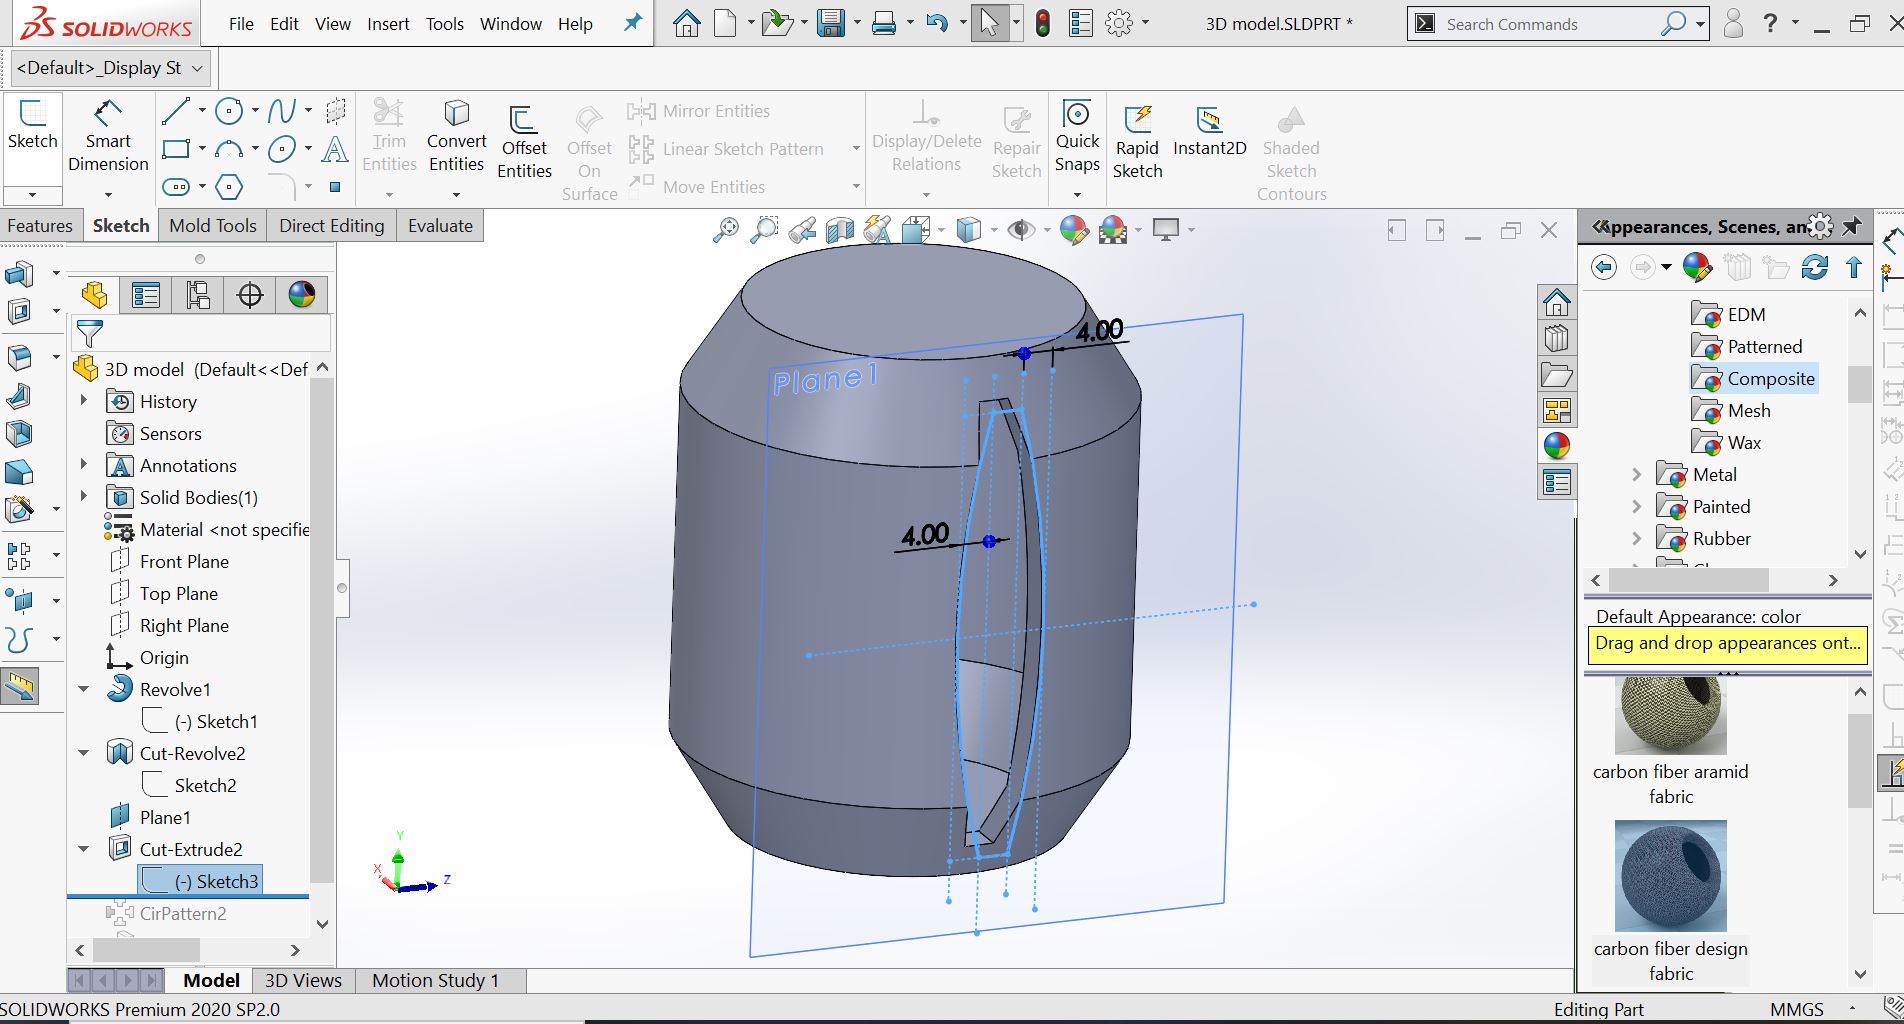
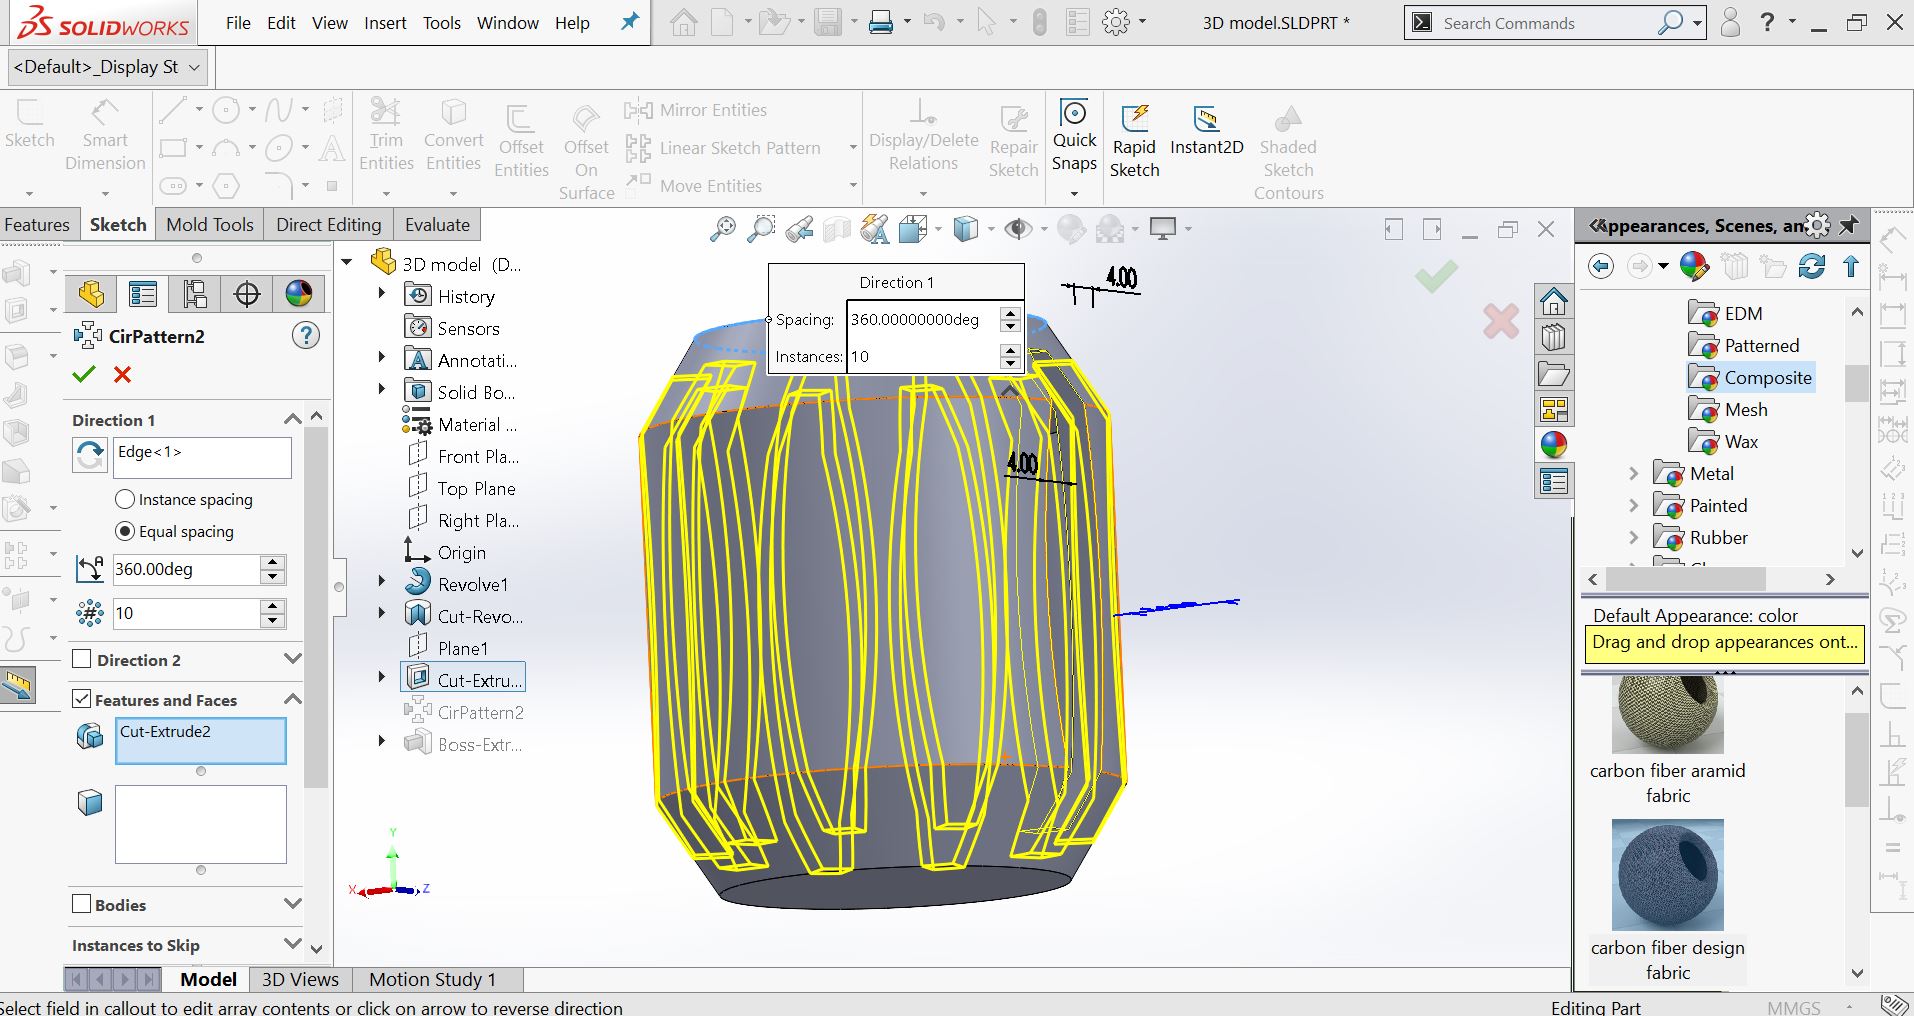
By using mirror entities option, the gap created in the wall was duplicated througout the whole structure
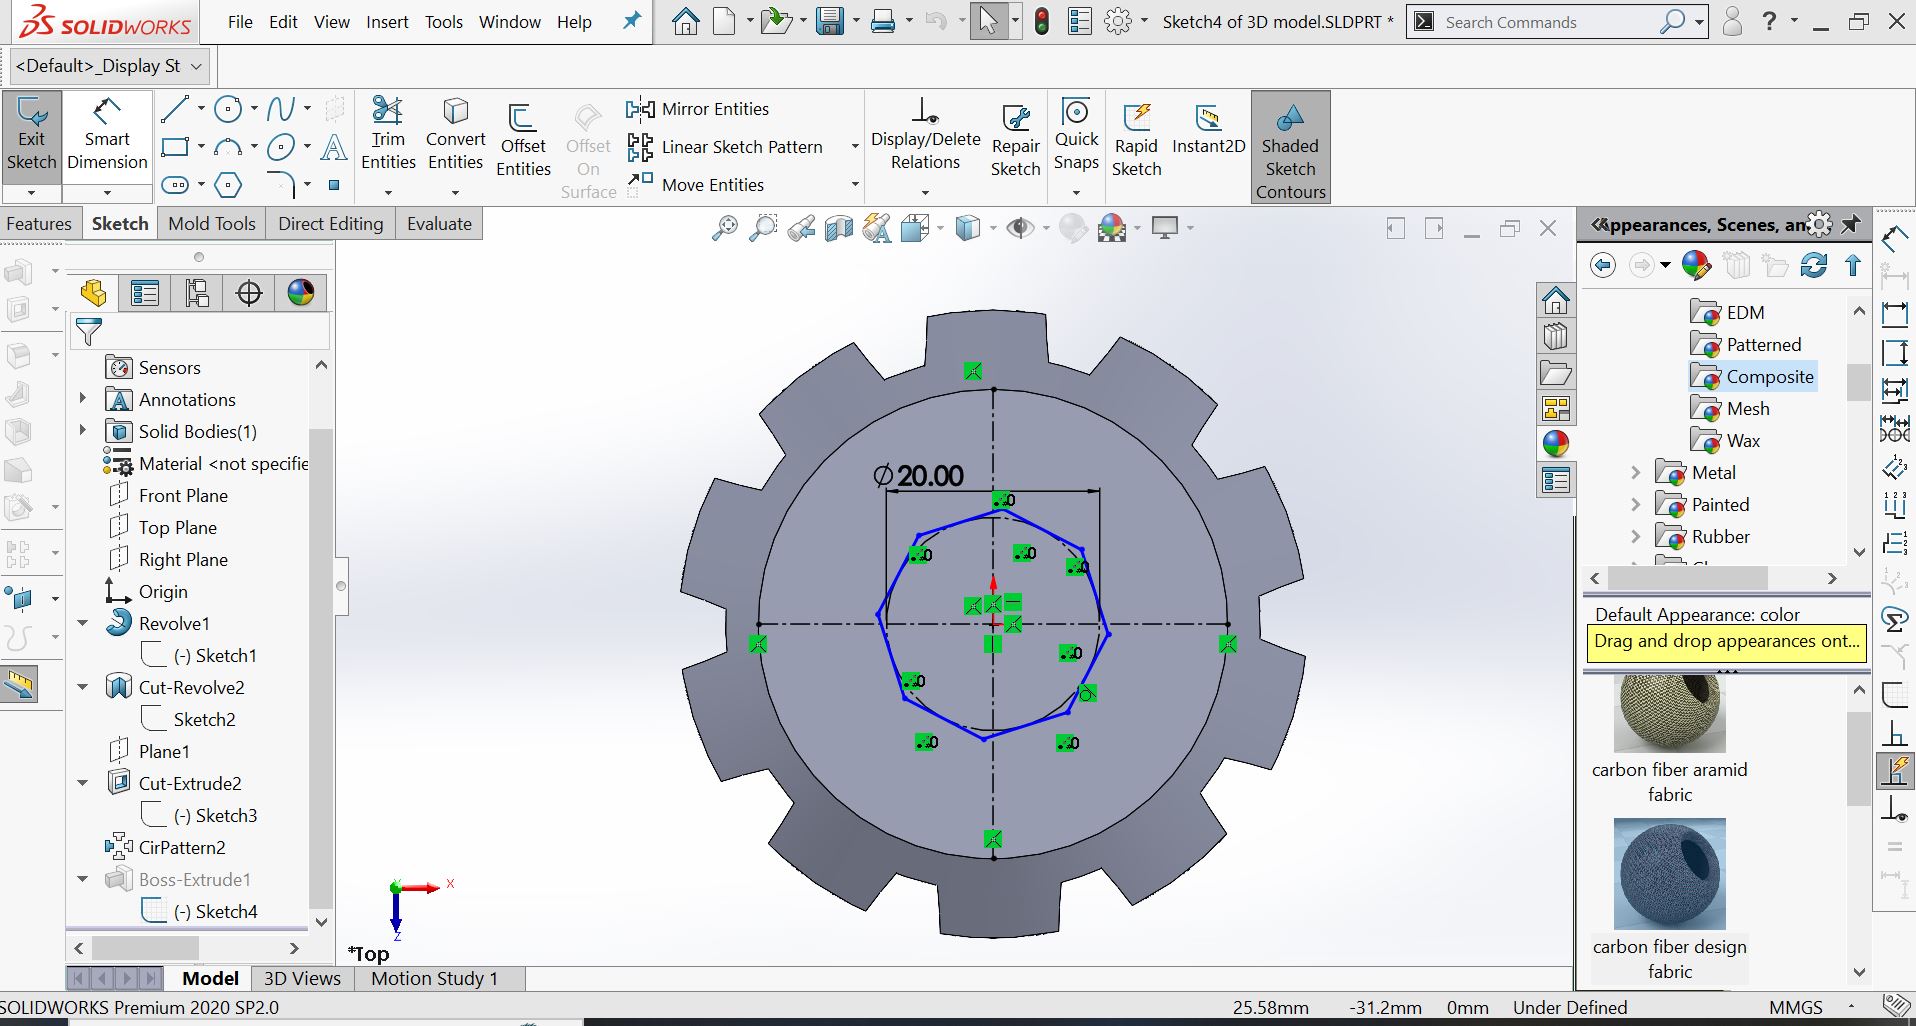
The polygon (octagon) was drawn inside the 3D model
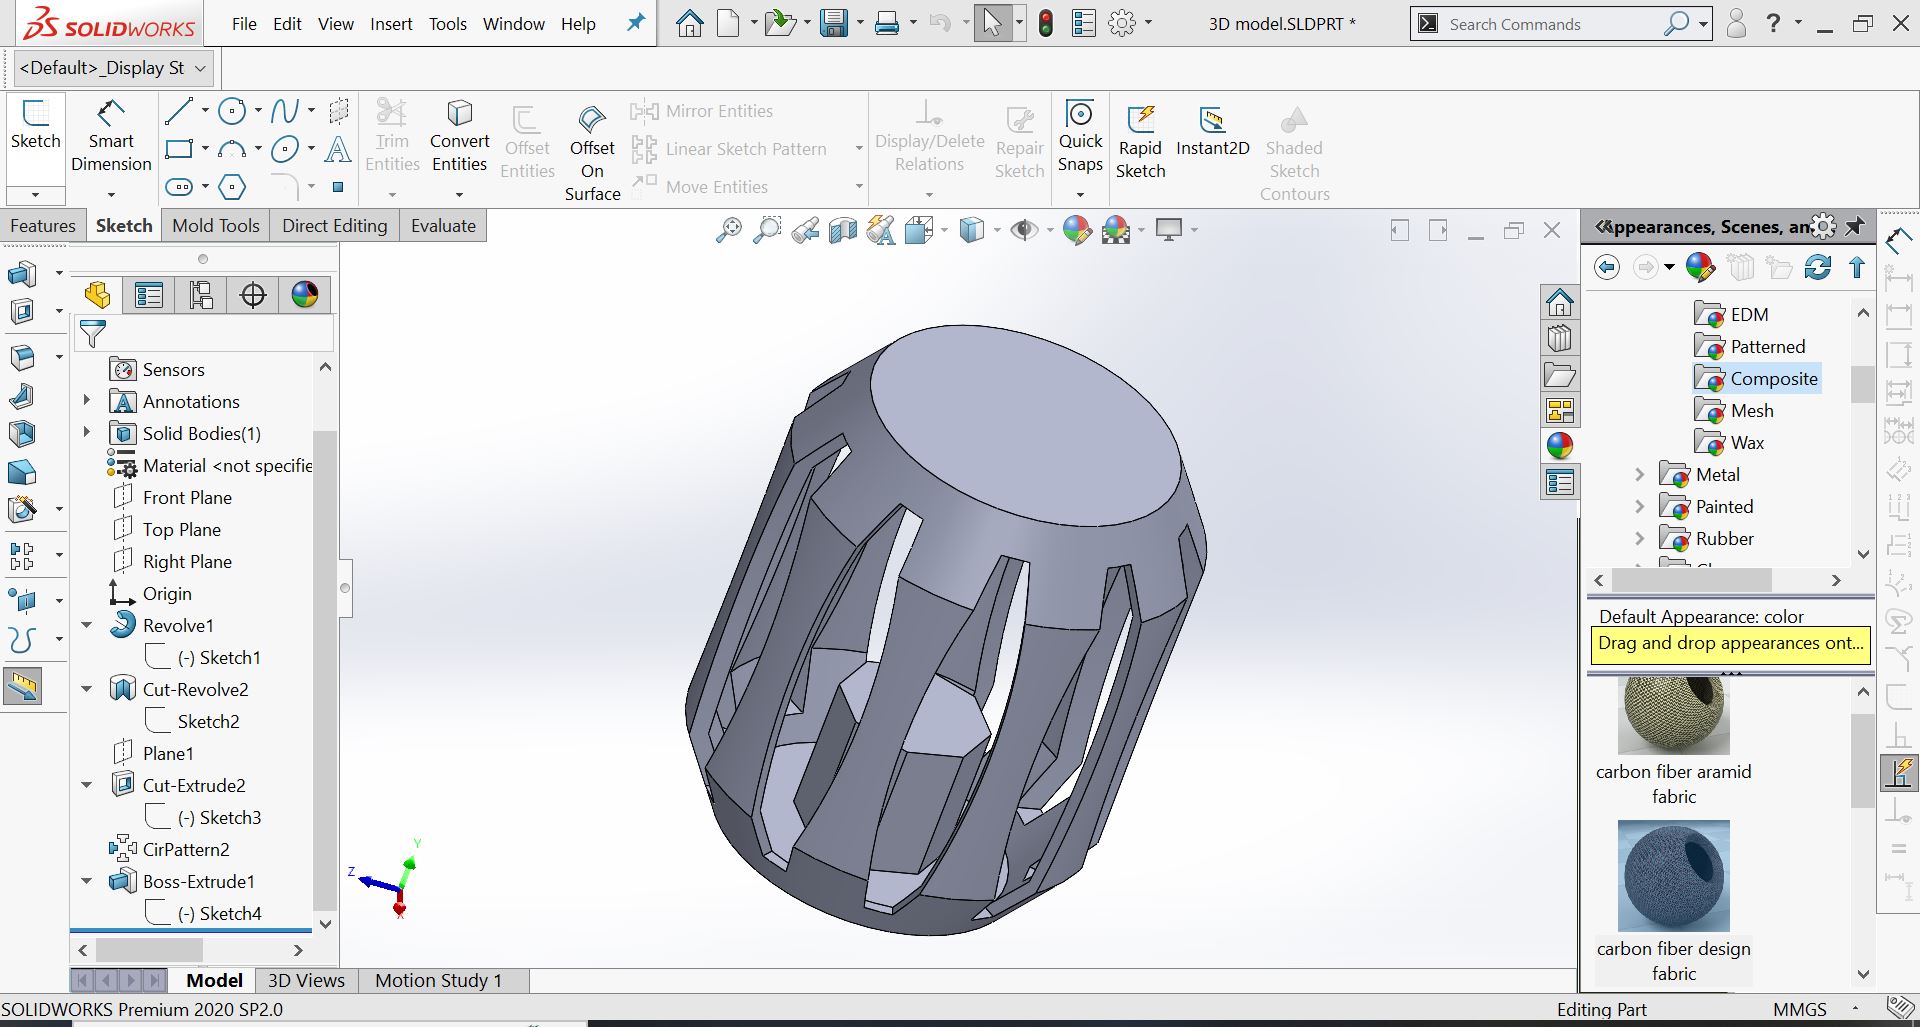
This is how the final 3D model looks like after drawing the polygon inside
After making the design in SolidWorks, I saved it as an STL file and then I exported it in Ultmaker Cura software.
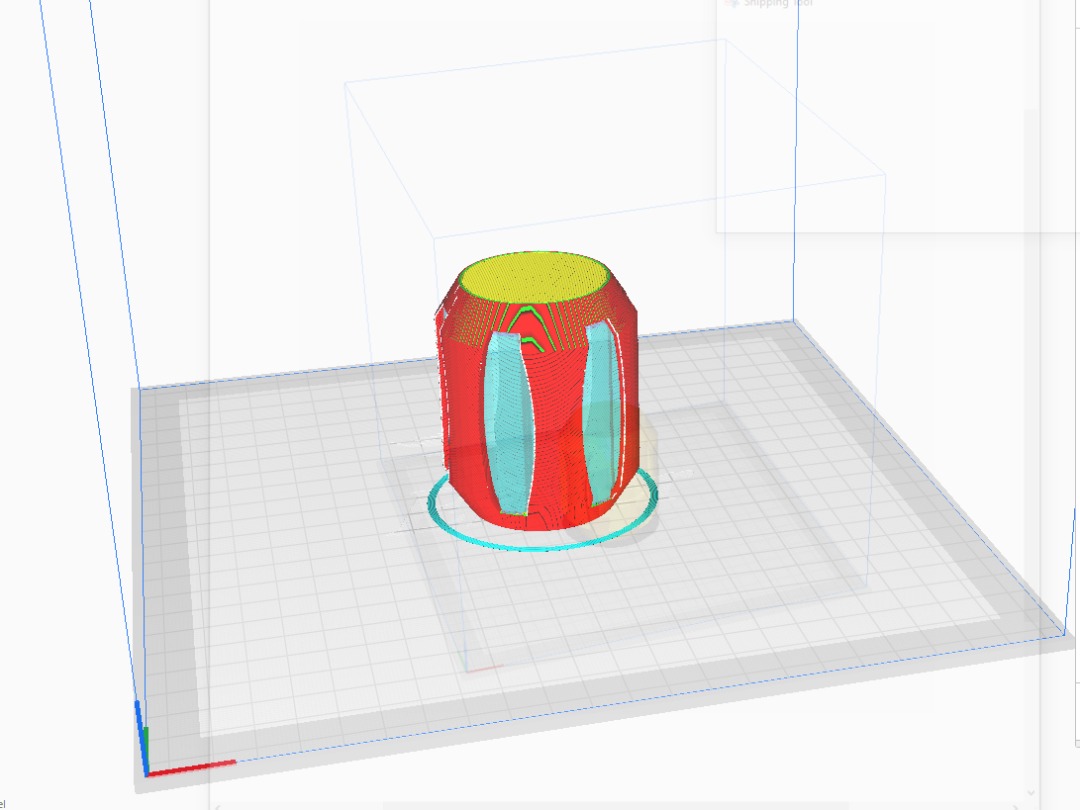
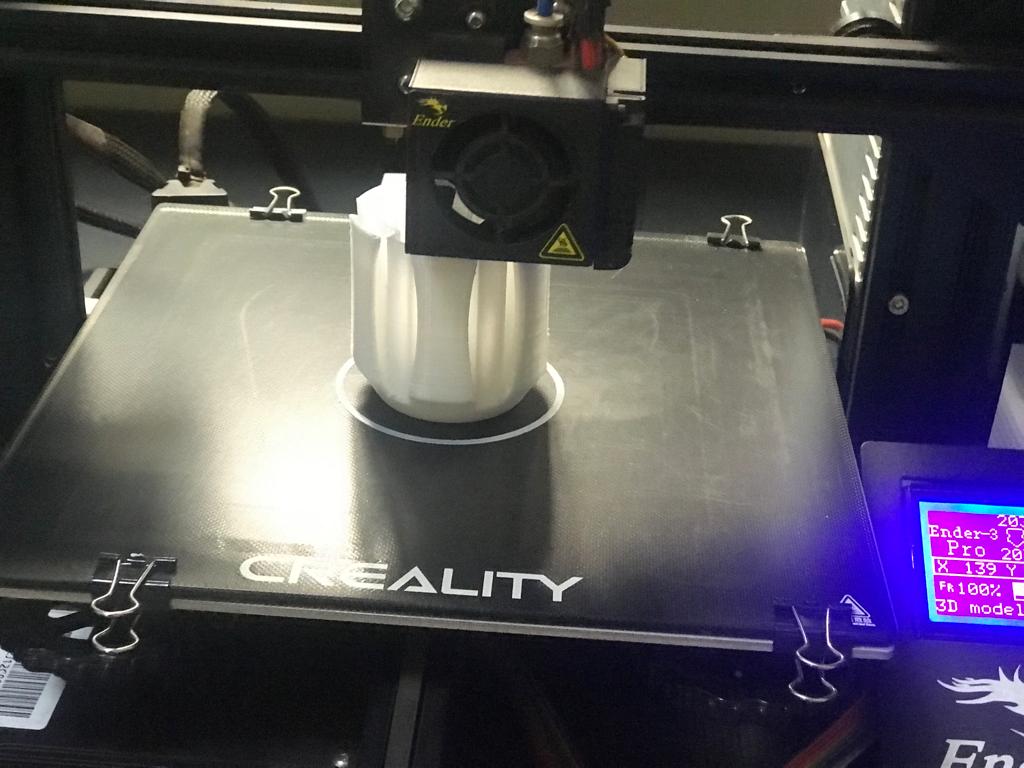
After setting the parameters such as layer height,infill density, printing temperature,etc.. I saved file as a Gcode. The 3D printer started printing the 3D model.

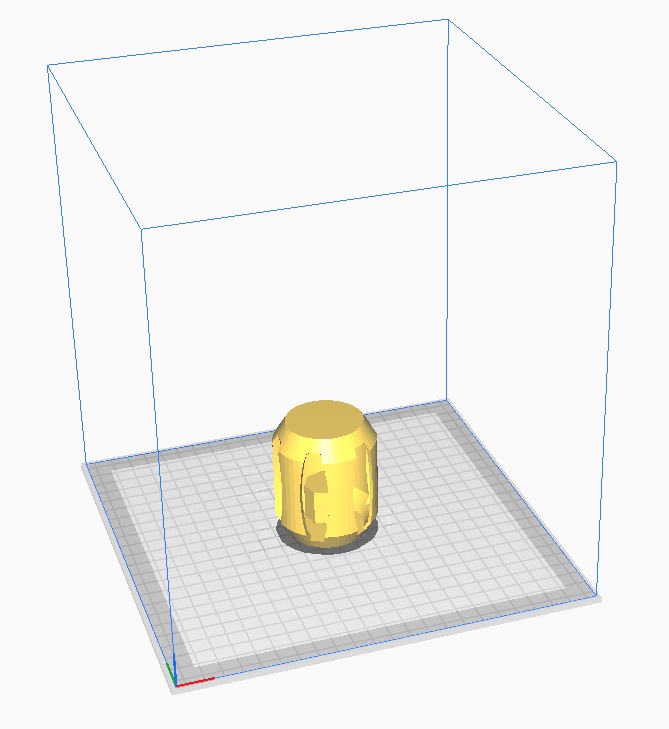
This is how the designed model looked like in a 3D printer
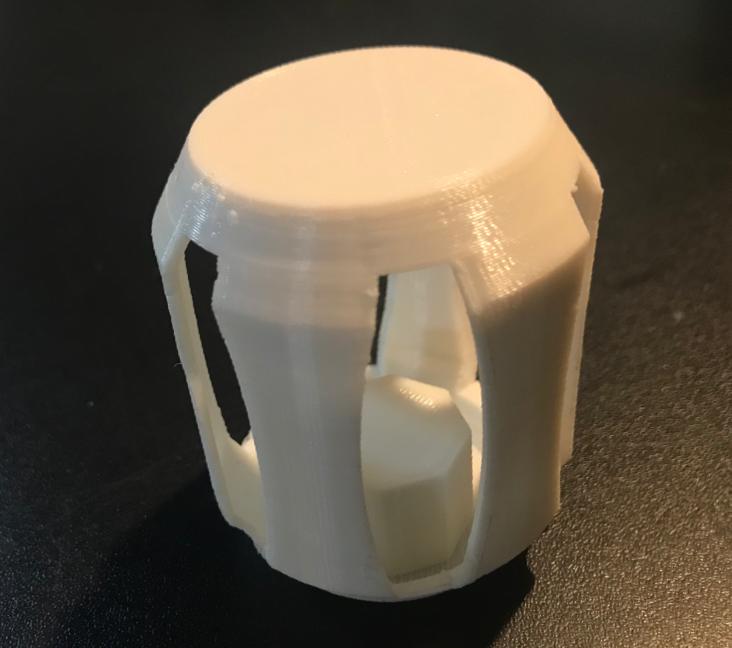
Here is the final 3D model
3D SCANNING
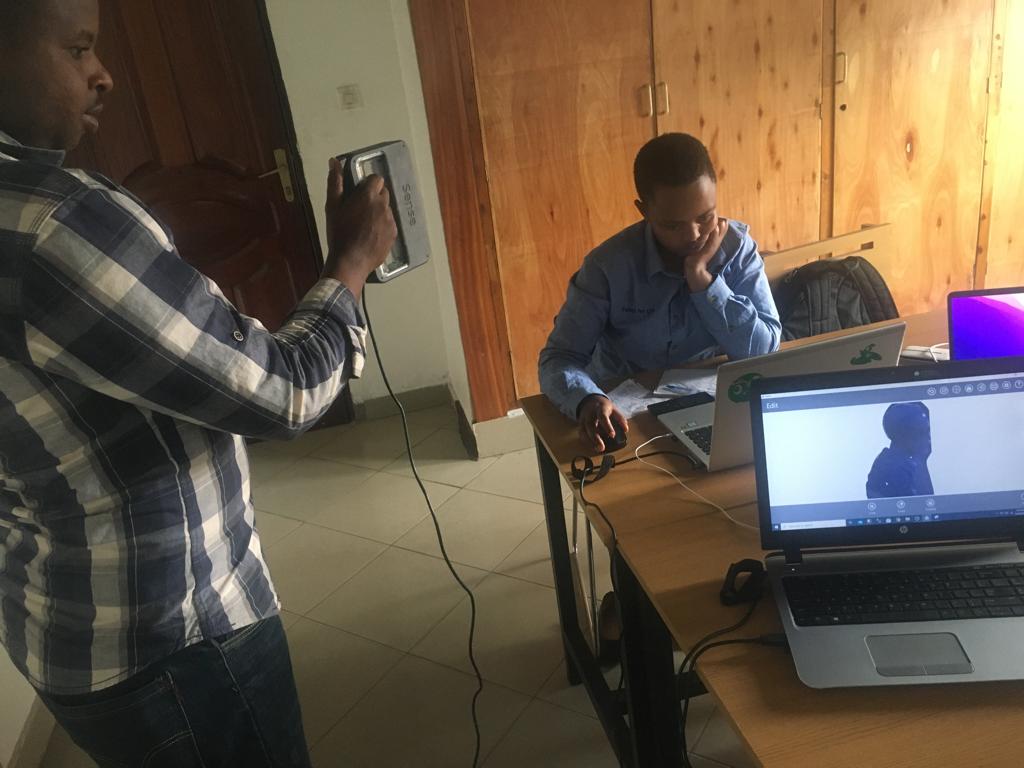
For 3D scanning, I used 3D sense scanner that is available in our Fablab to scan my classmate Joyeuse.
Steps to follow while scanning
-
Connect the scanner to your PC
-
Open Sense 3D scan software
-
Choose what you want to scan either a person or an object and start scanning by clicking start
-
Share your scanned model or save it and print it
Sense software configuration to my PC
Once sense software download and its installation is done, open it and wait for booting.
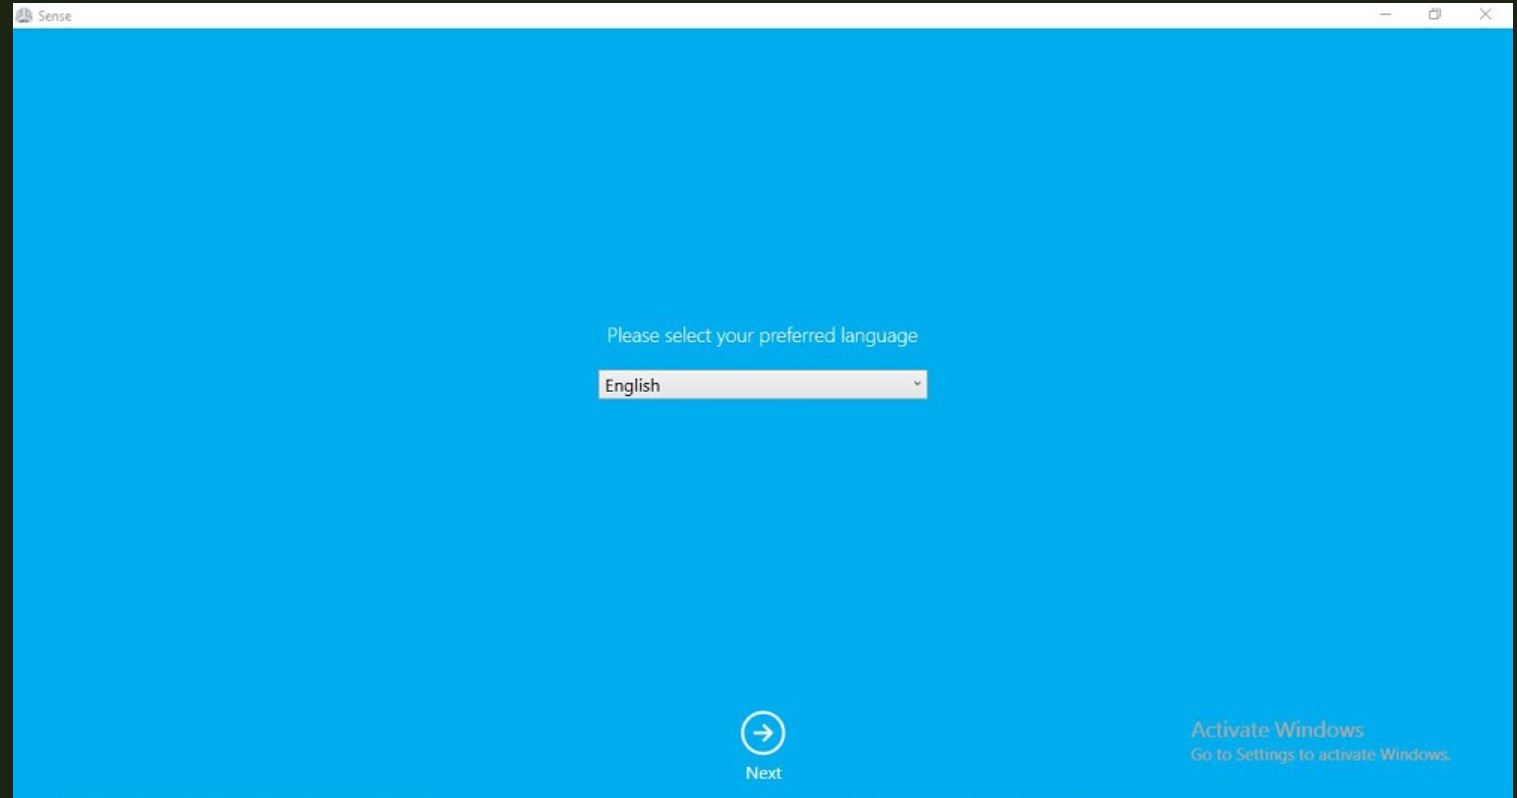
Choose the language you want to use
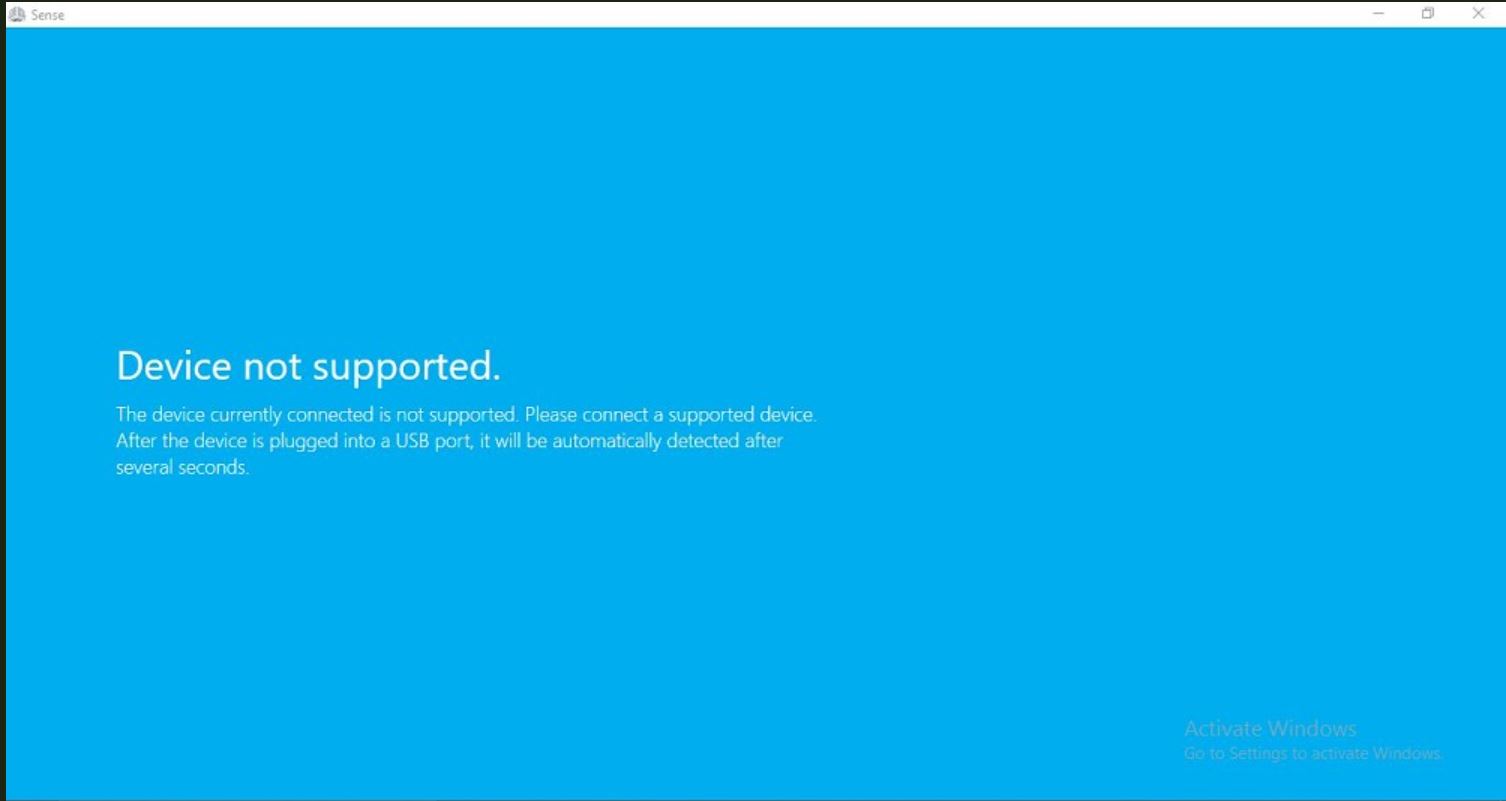
Connect the 3D scanner to your PC and wait few seconds to be connected
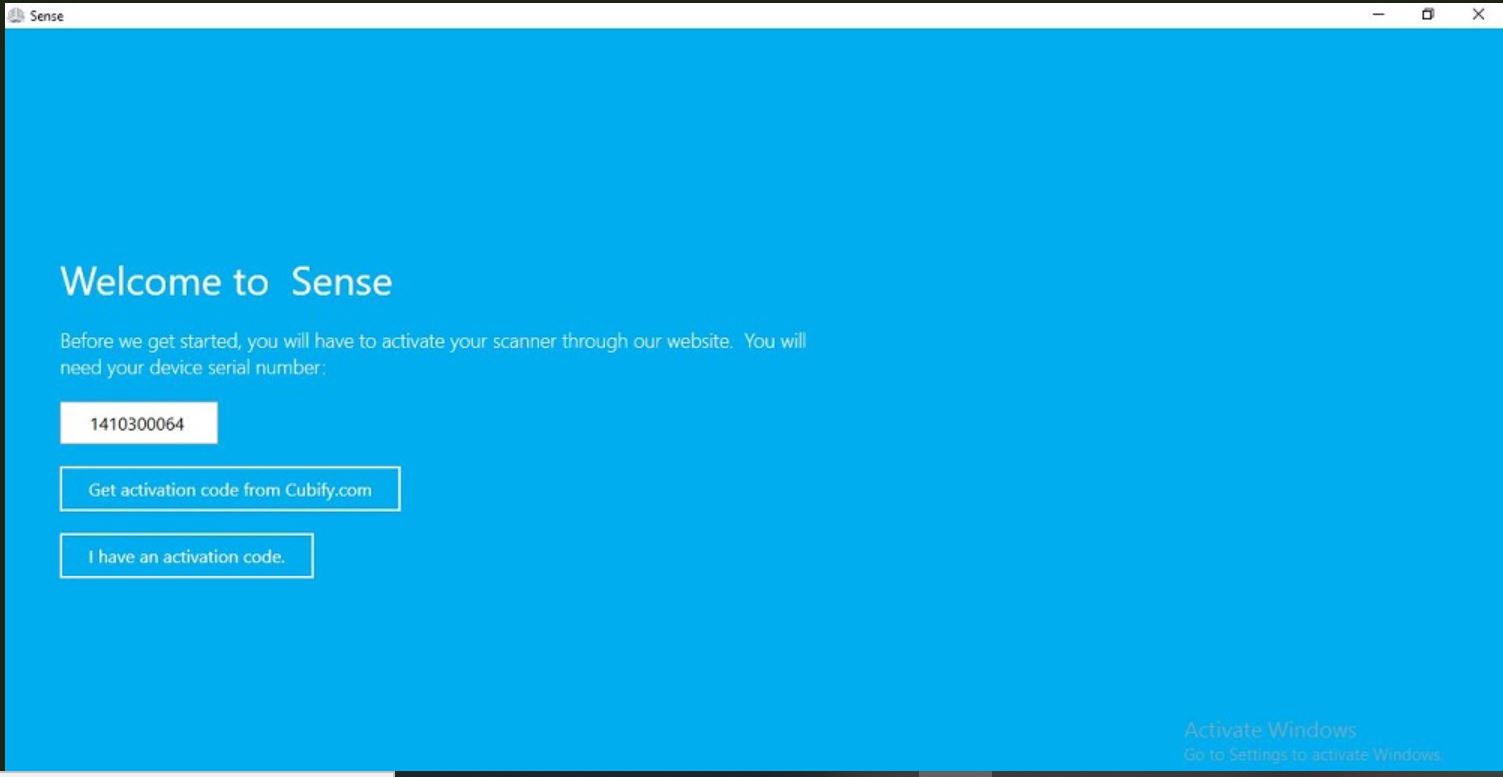
Activate your scanner by choosing I have an activation code
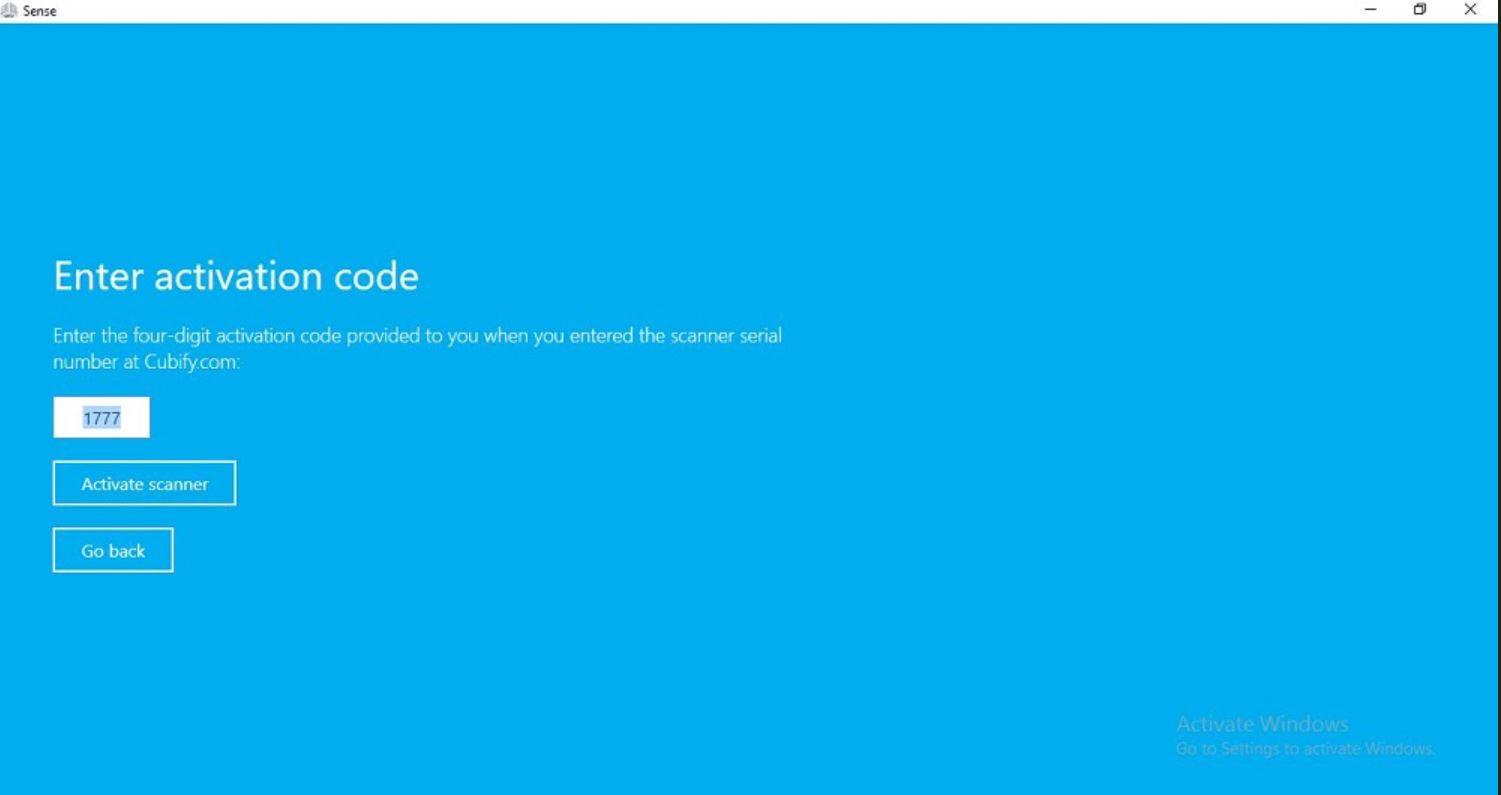
Enter your activation key and click on activate scanner
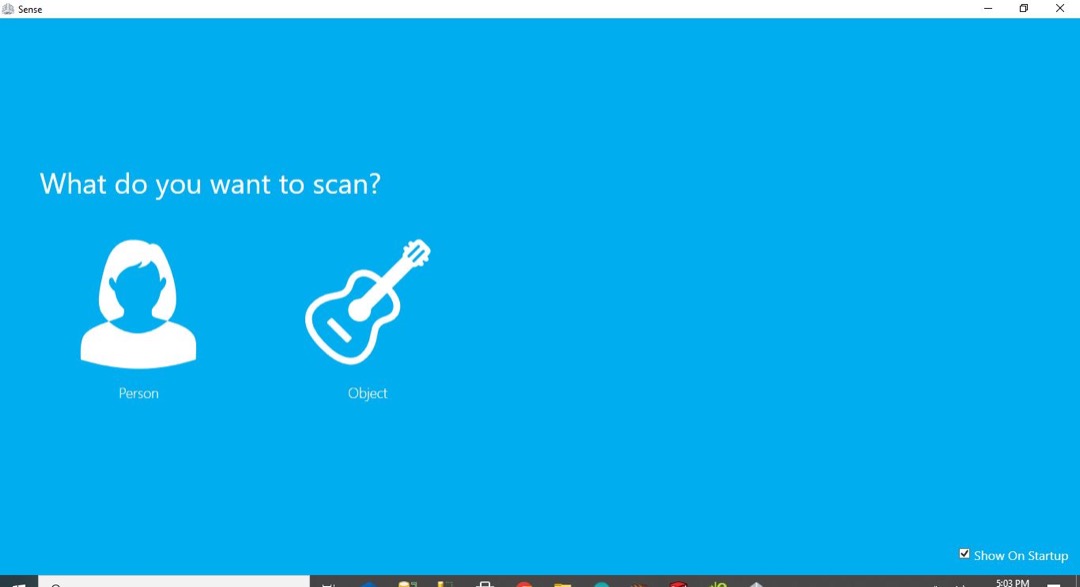
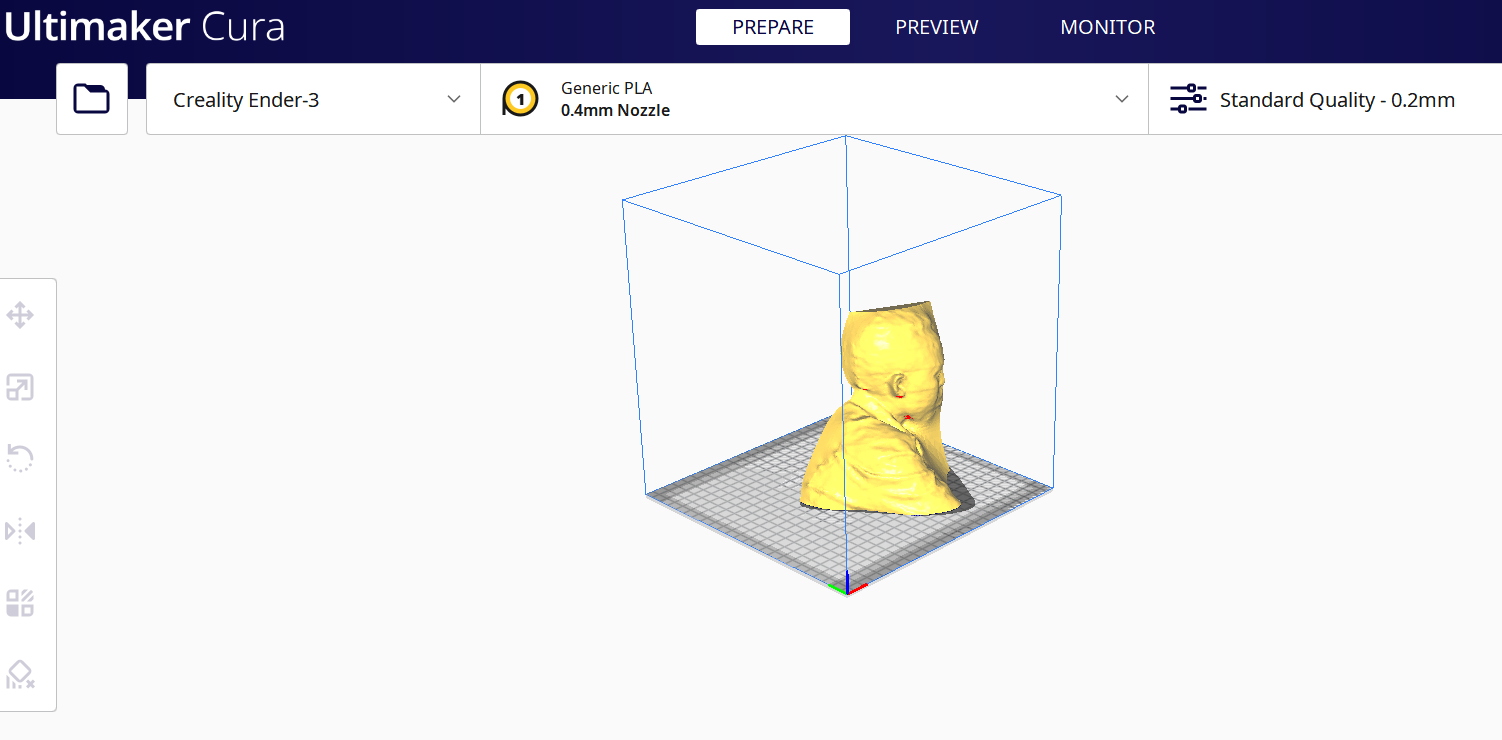
Choose what you want to scan, for my case I have chosen to scan a person. I started scanning my classmate
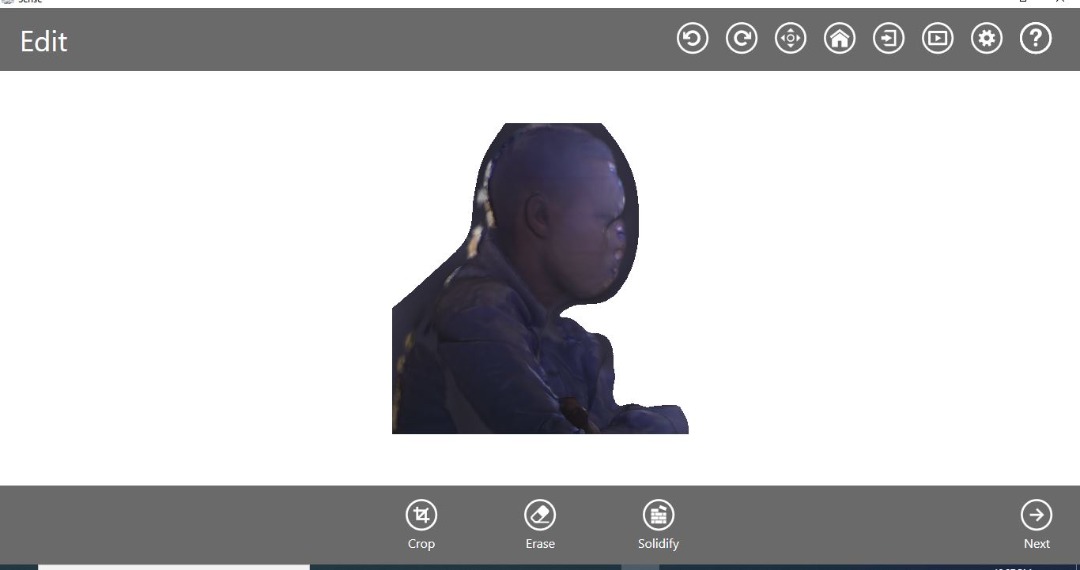
I converted the scanned model in STL file so that the 3D printer can print it.
I didn’t print the scanned model since printing was optional as stated in the assignment.
See original file here