5. Electronics production
This week I worked on electronics production using a milling machine and soldering machine to make an in-house PCB (Printed Circuit Board). The group & individual assignments are as follow:
Group assignment
 characterize the design rules for your in-house PCB production process

  extra credit: send a PCB out to a board house.
Individual assignment
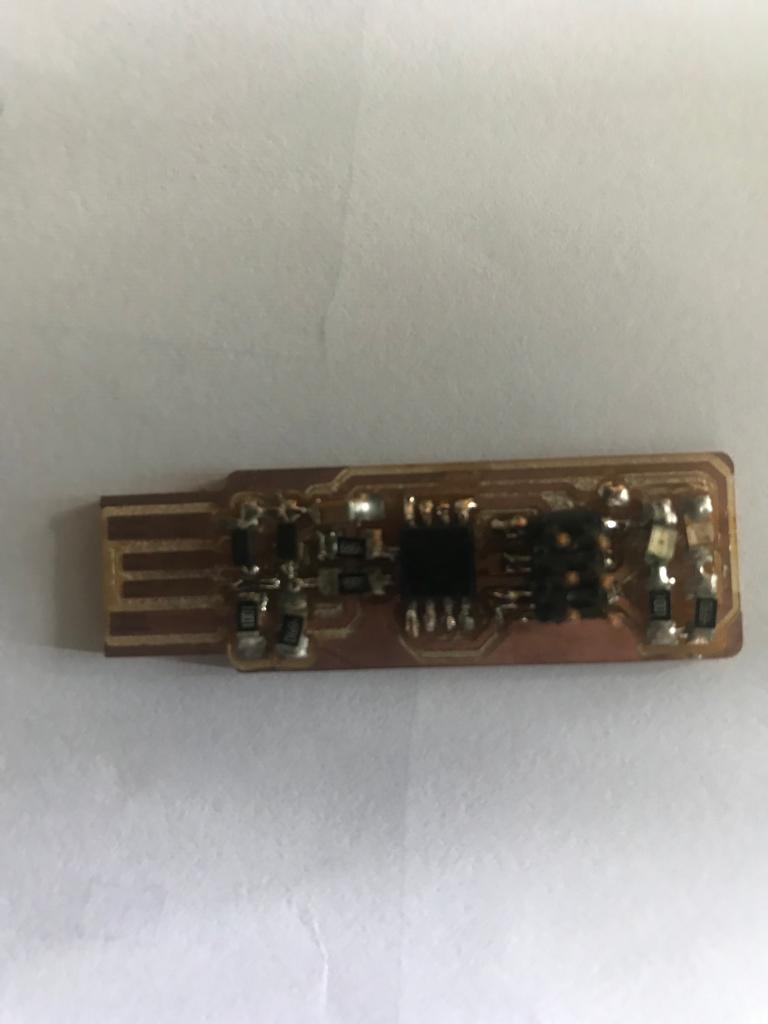
make an in-circuit programmer that includes a microcontroller:
     extra credit: customize the design

     mill and stuff the PCB

     test it to verify that it works

     extra credit: try other PCB processes.
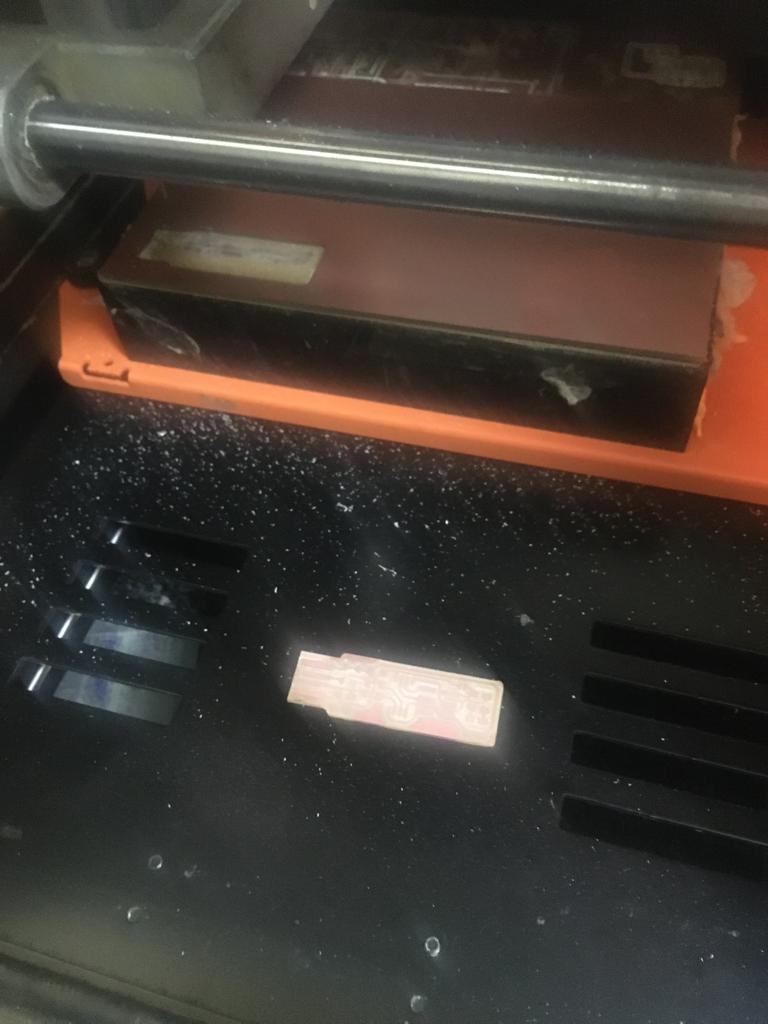
Milling machine description
In our Fablab Rwanda, we have used Roland RSM-20 working with VPanel software for SRM-20.
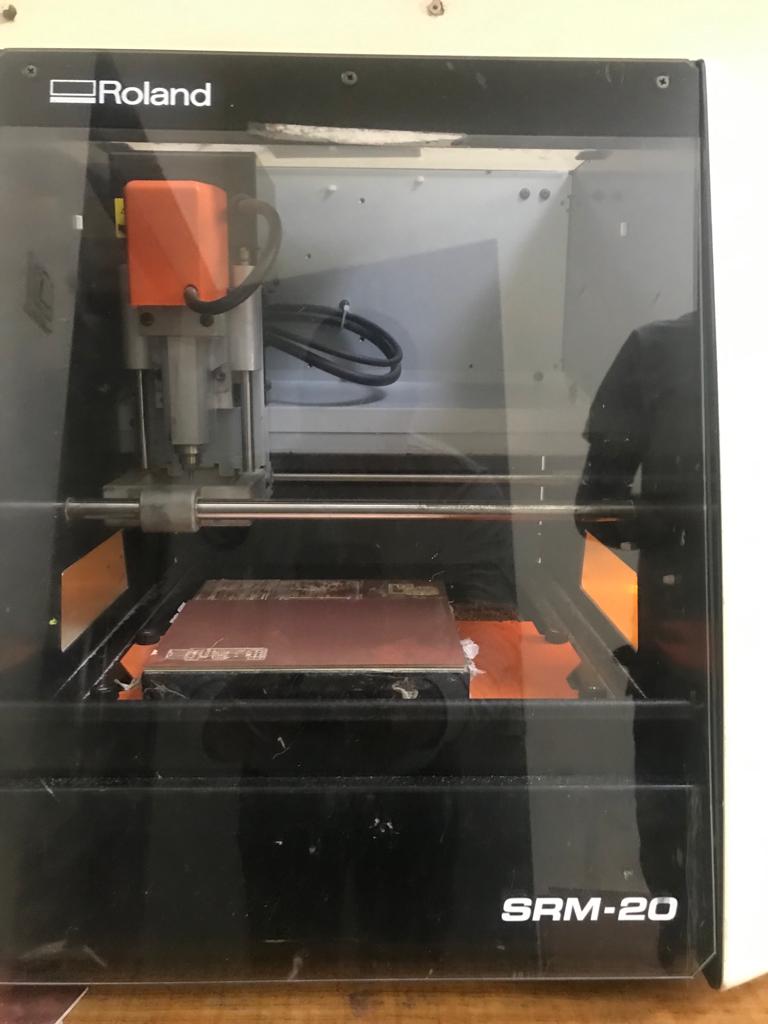
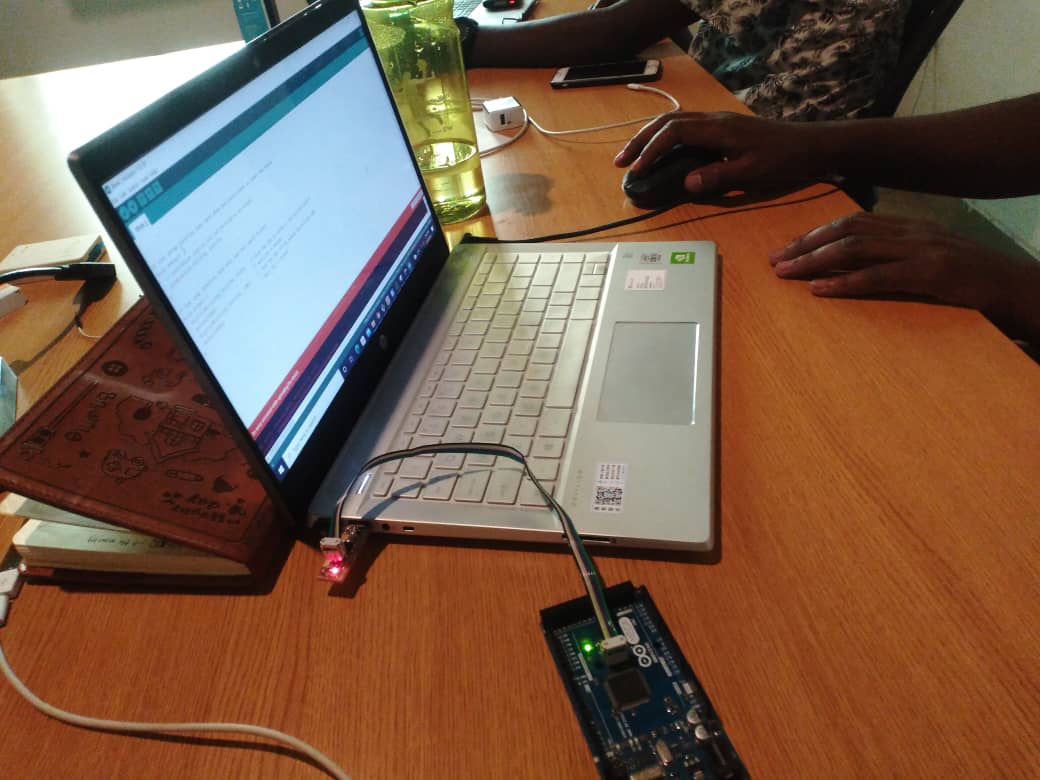
With the help of our local instructor who tought us how to use the milling machine with mods, we tried to mill the the FabTinlyISP of Brian files.
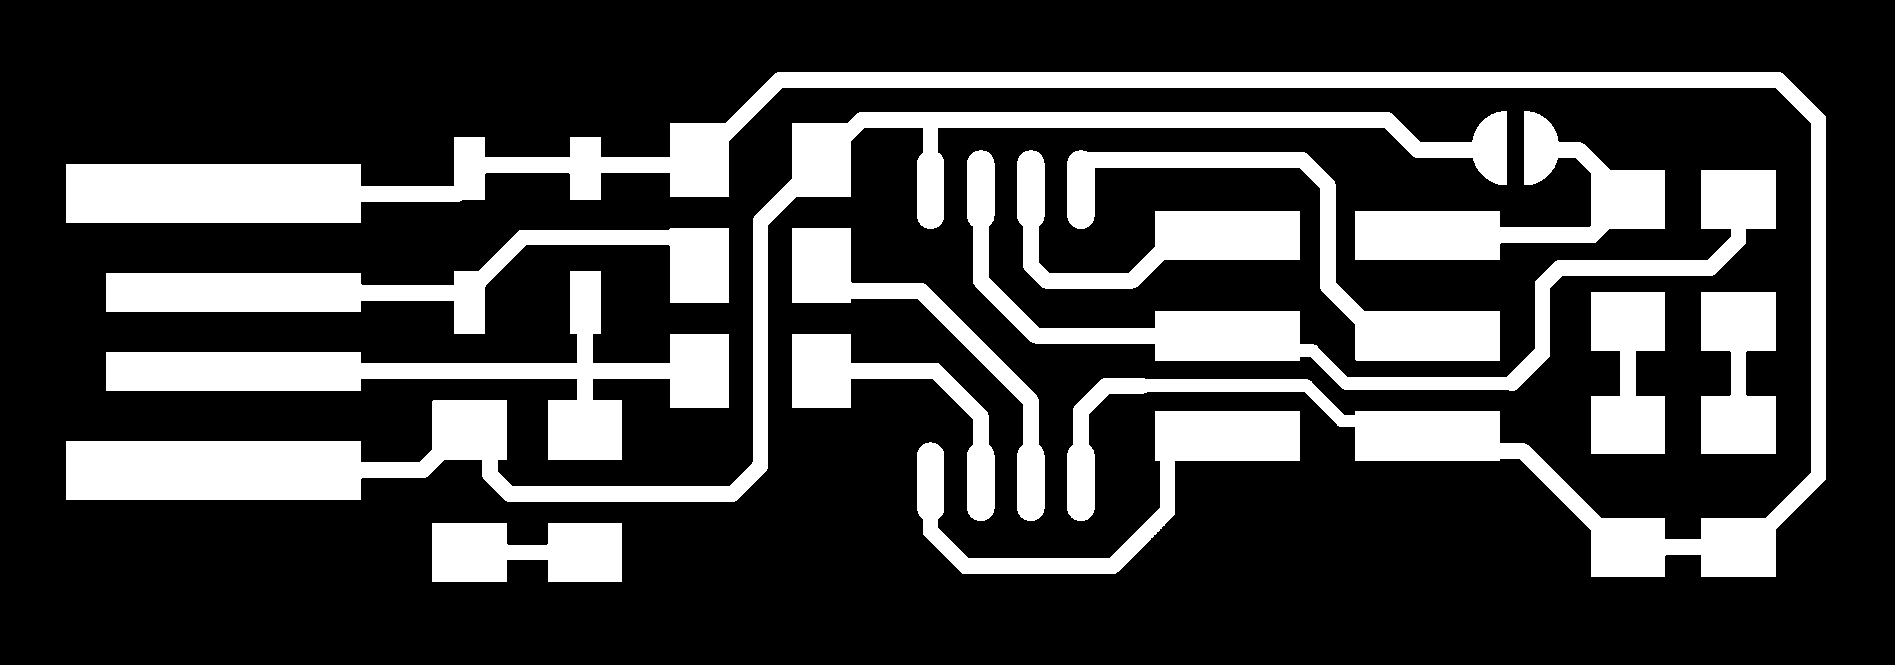

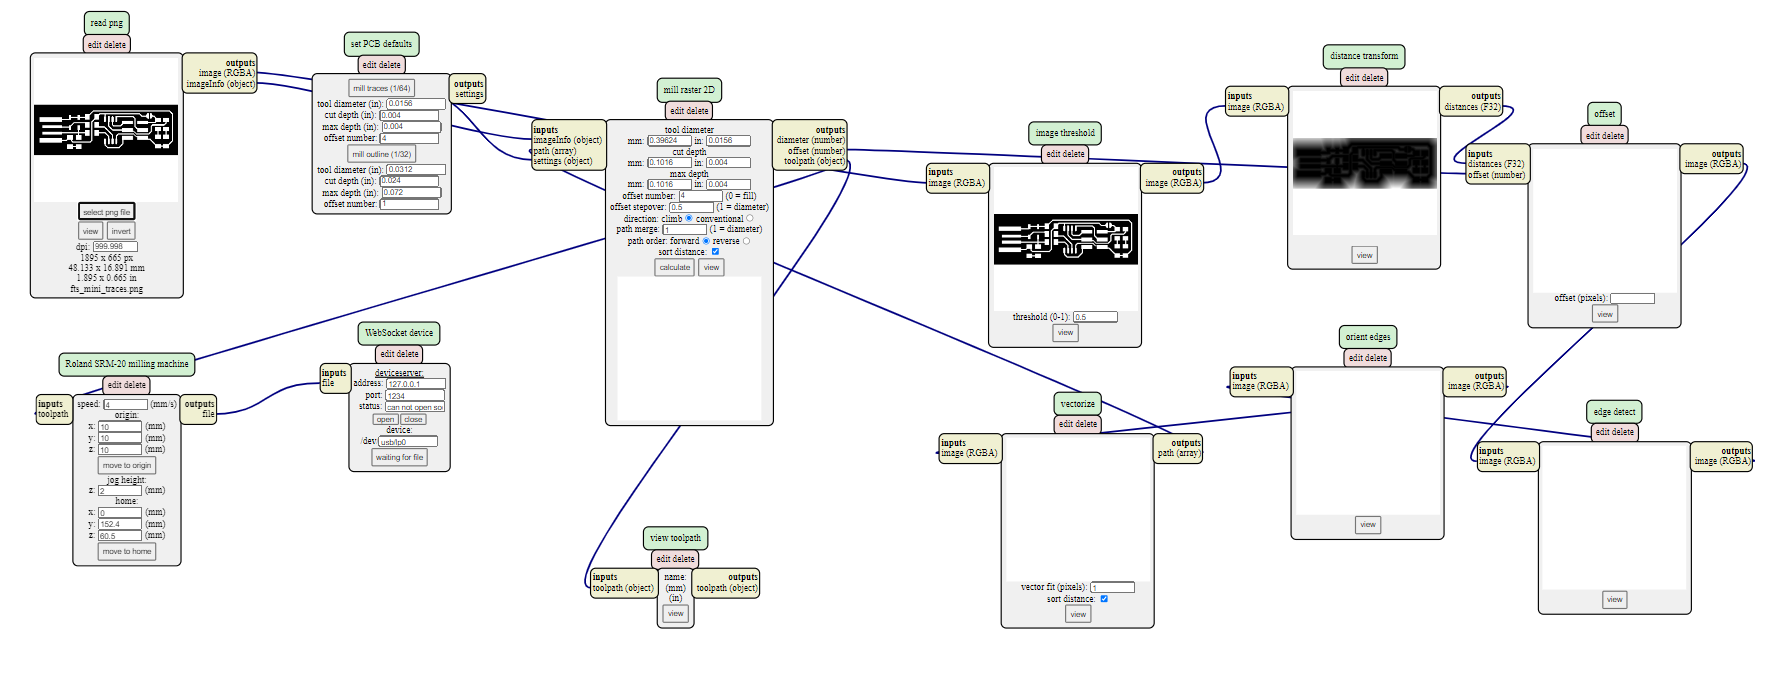
To mill the traces and cut the outer contour we have used 0.4 mm and 0.8 mm mill bits ,respectively.

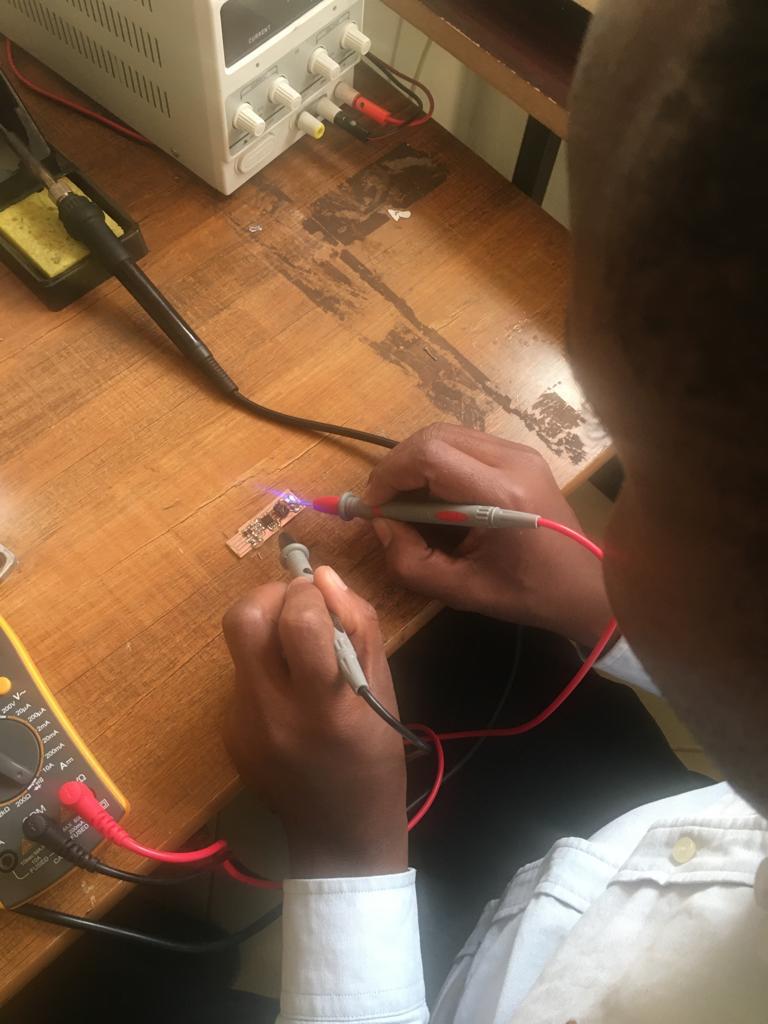
Soldering the PCB
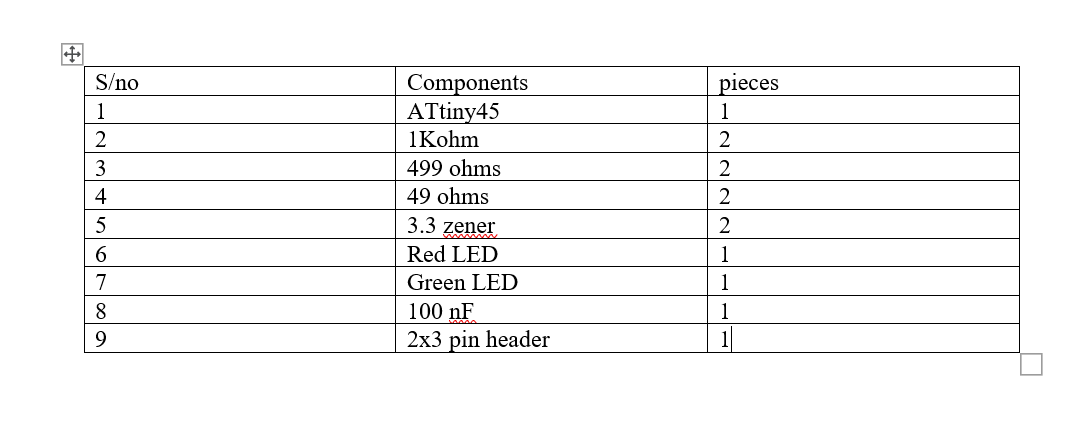
List of electronic components to be used
After soldering all the above mentioned components on the board I checked the continuity using the multimeter to check whether there is any misconnection.
Program the programmer
To program my programmer, I followed Brian’s tutorial as follows:
- Download arduino software
-
Connect the programmer to my PC
-
Check if the programmer is well connected to the PC
-
Run nano makefile to change the programmer into ” atmelice_isp”
-
Download the firmare to be loaded in the programmer
-
Run makeflash in the terminal to erase the target chip.
-
Run make fuses to set up all the fuses except the one that disables the reset pin.