15. Interface and application programming
Goal of the week:
- Write an application that interfaces a user with an input &/or output device that you made
The aim this week is to create a graphical user interface using a programming language.
Our instructor showed us some of the alternatives that could be used and I decided that for my first approach to interface programming I would use Processing.
Processing is a graphics library and IDE based on the Java programming language, first released in 2001 by developers Casey Reas and Ben Fry. Its goal is to simplify computer programming for visual artists, providing new classes and mathematical functions for creating and processing computer graphics. Its IDE, called Sketchbook, uses an abstraction, called a “sketch,” to represent its fundamental Java class.
I found it simple enough thanks to the fact that on Internet you can find lots of interesting tutorial, first of all the ones in the Processing site.
CODING WITH ARDUINO
For my Processing project I decided to use the Hello board combined with a simple serial communication: according to the value received (1, 2 or 3) the LED on my helloboard would have blinked one, twice or three times.
The code was the following one:
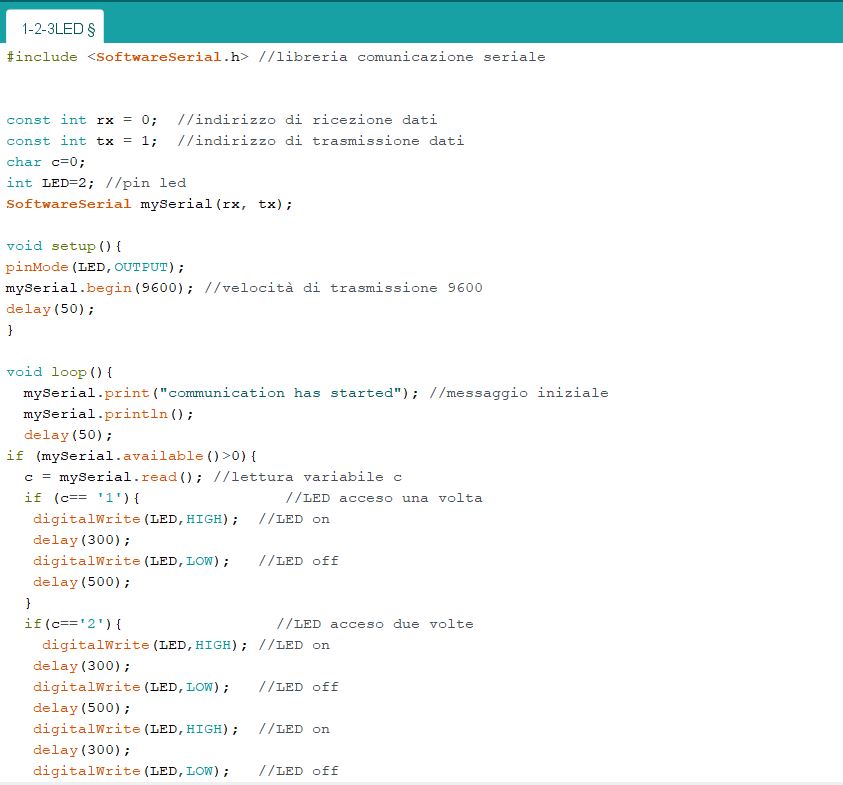
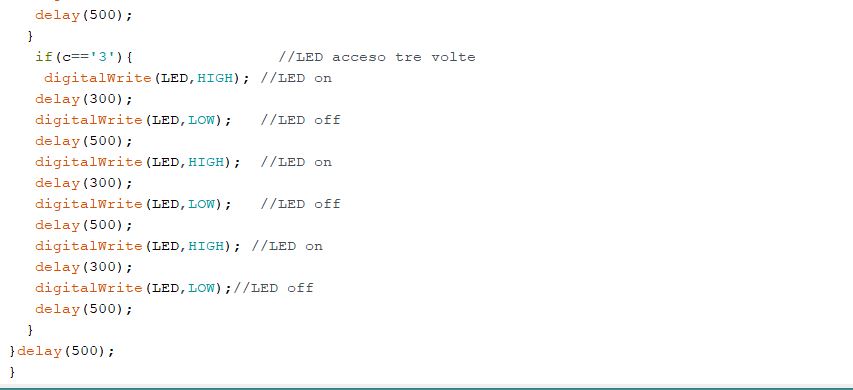
I included SoftwareSerial library for serial communication and I declared RX and TX pins using those which were connected to FTDI headers (0 and 1 in my case). I also set serial baudrate at 9600.
I then set Attiny44 board, 20Mhz external clock and USBTinyISP in Tools options from the toolbar and going through Sketch -> Upload using a programmer At the beginning I couldn’t see the serial monitor so didn’t know if the code was correct or not. After a debugging operation with the help of my instructor we understood that the problem was connected with the USB port.
PROCESSING
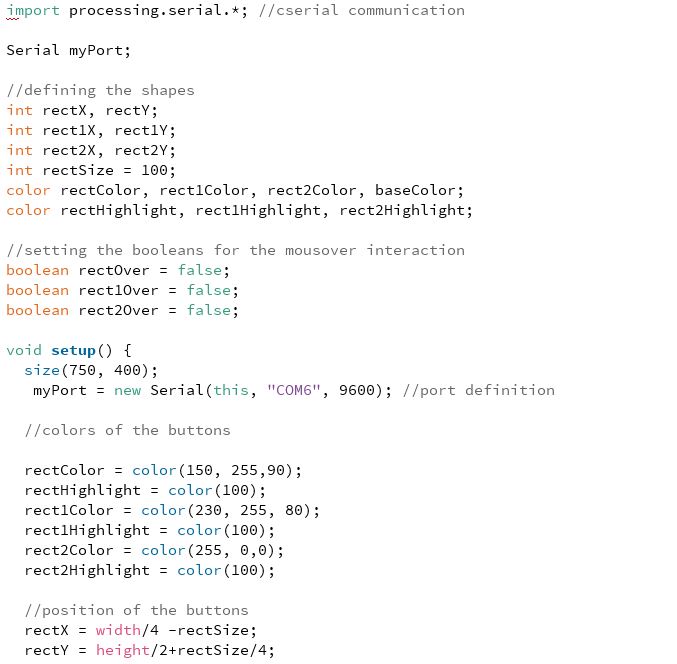
After the debugging phase and being sure that the code was right and working, I went on to study processing. I found it very intuitive and by giving immediate feedback on the code, it allows you to modify it quickly and easily.
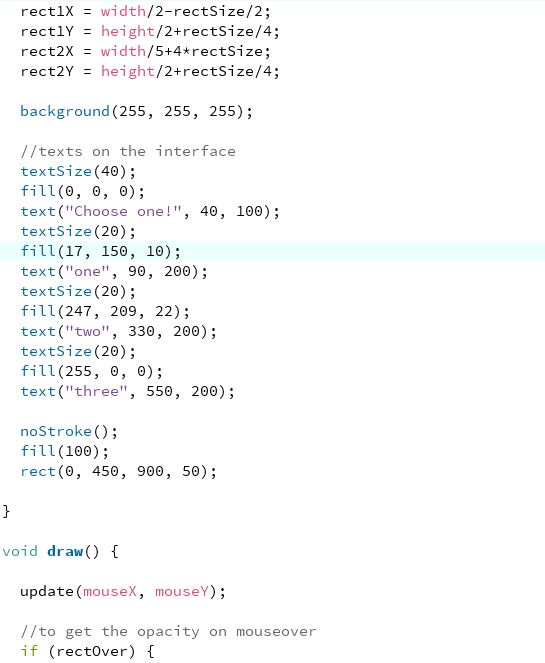
The aim of my interface was to allow the LED to be switched on once, twice or three times. So there will be three boxes that will allow it to be used in this way.
The code is as follows:
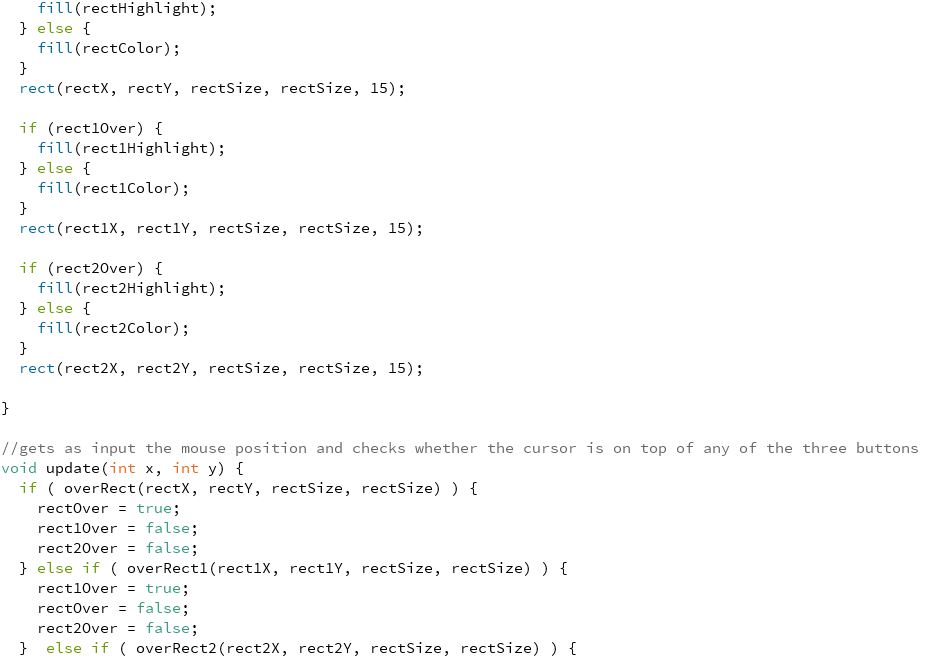
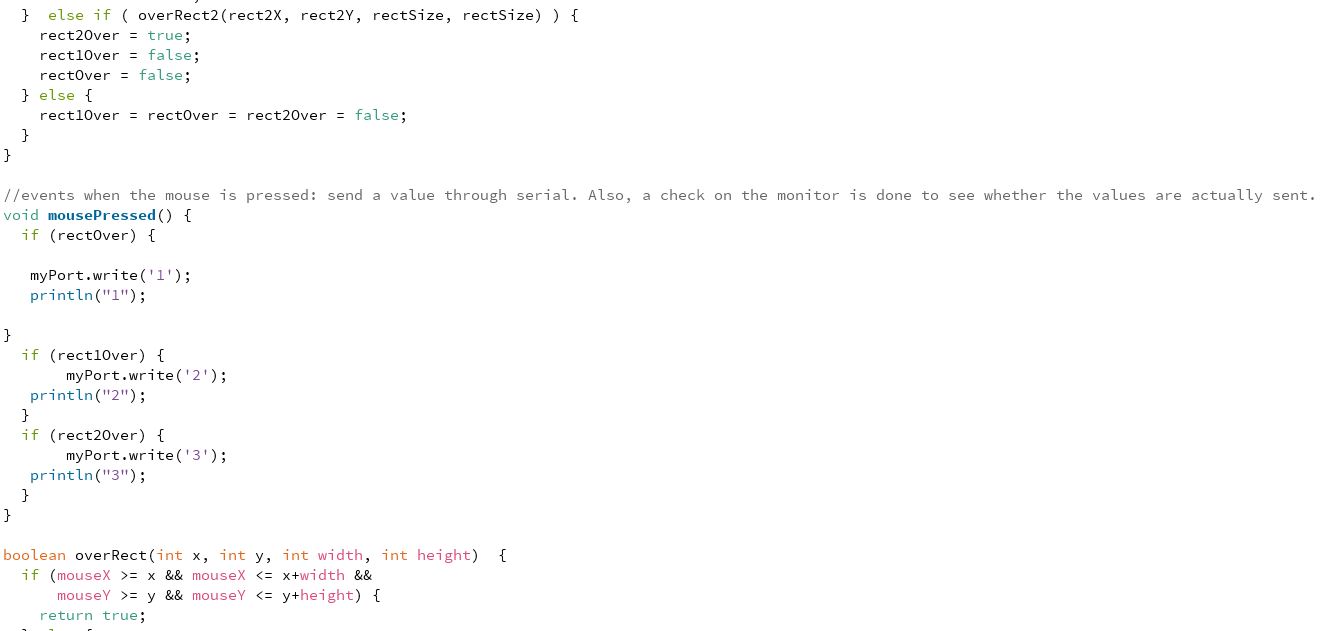
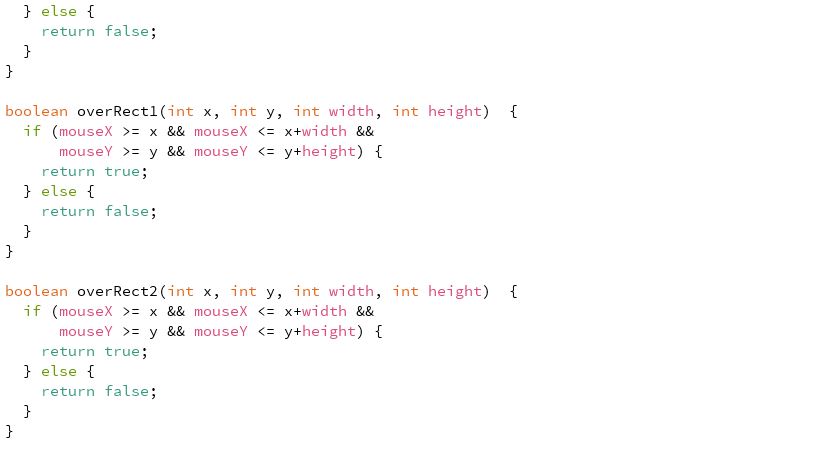
The result can be seen here: