Introduction.
individual assignment
Design a mold around the stock and tooling that you'll be using, mill it (rough cut + (at least) three-axis finish cut), and use it to cast parts
For this assignment I am going to design a two-sided mold, taking as models the 3d scan of my person that I used in the week of printing and 3d scanning for it I use Blender.
About Blender
The creation of a 3D scene needs at least three key components: Models, materials and lights. In this part, the first of these is covered, that being modeling. Modeling is simply the art and science of creating a surface that either mimics the shape of a real-world object or expresses your imagination of abstract objects.
-
Modes
Depending on the type of object you are trying to model, there are different types of modeling. Switching between modes while modeling is common. Some tools may be available in more than one mode while others may be unique to a particular mode.
-
Edit Mode
Edit mode is the main mode where modeling takes place. Edit mode is used to edit the following types of objects:
-
Meshes
-
Curves
-
Surfaces
-
Metaballs
-
Text objects
-
Lattice
You can only modify the mesh of the objects you are editing. To modify other objects you can leave Edit Mode, select another object and enter Edit Mode, or use Multi-Object Editing.
Blender documentation -
Let's do it
- Open Blender and import the stl model.

-
Add a plane that splits the model in half

-
Now in edit mode, press and extrude into one unit (type 1).

-
In edit mode select the Bevel tool (icon) and in tools write 2 in segments and in width
type select percent now drag.

-
Select the top frame, press the letter e (extrude) and write the number 17.

-
Select inner face and extrude -0.99.

-
In object mode copy and paste the model and the copy change the value to z = 180
degrees.

-
To each plane individually add a boolean modifier, in operation select union and select
the object (imported 3d image) and apply.

-
Final design.
To make the design of the mold, it requires a lot of patience and having a state-of-the-art computer, since the use of graphics requires a good graphics card and ram memory. When you are learning like me, mistakes are made, but you should not die trying.

-
Now we just need to export the design, in my case import each plane independently.
After finishing the design, it must be exported to a .stl file and proceed to carry out the cutting process in the milling software (it is convenient to do it in separate files for each side of the mold).
-
Since I do not have a milling machine, I am going to test my 3d printer to see if both
parts are assembled correctly.
I am going to use ultimaker cura, to which the previously exported .stl file can be imported in order to create the model using 3d printing. I use a 3d printer ender3, you just have to adjust the values and ready
-
Printing
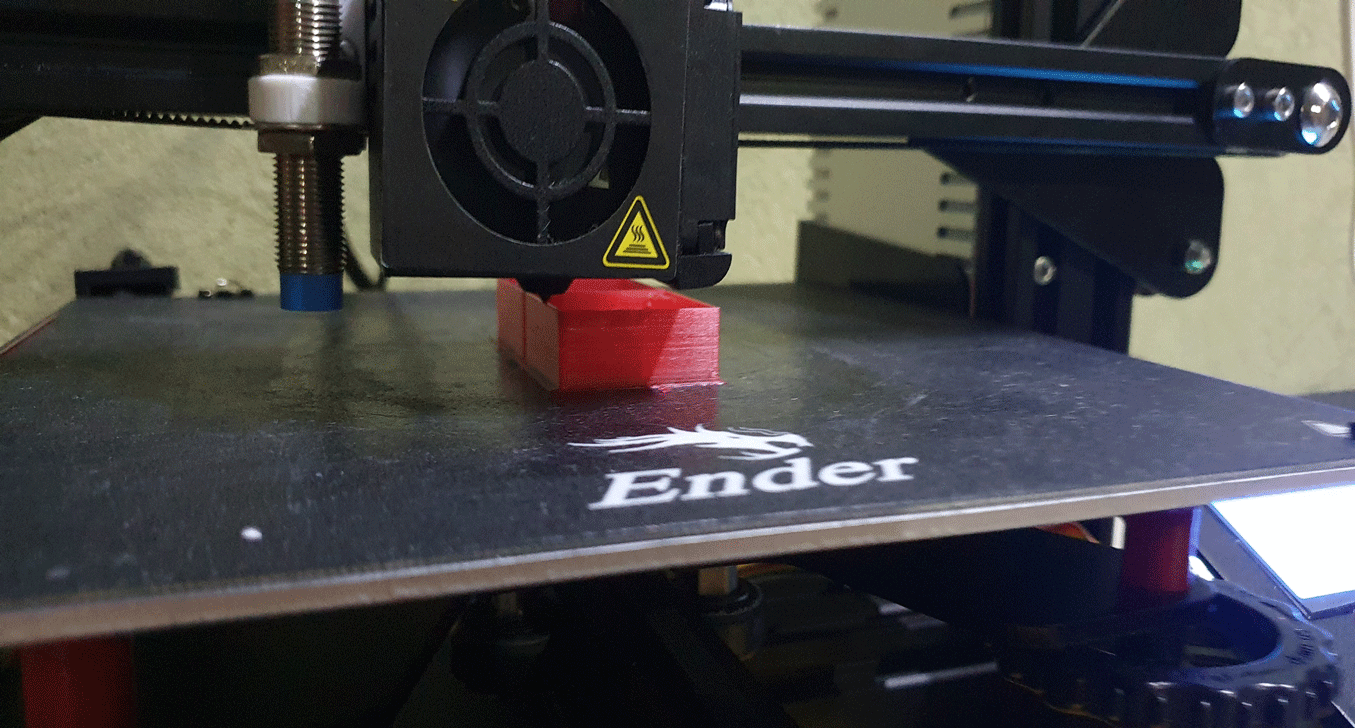
-
After 2 hours of waiting, 2 molds are obtained.
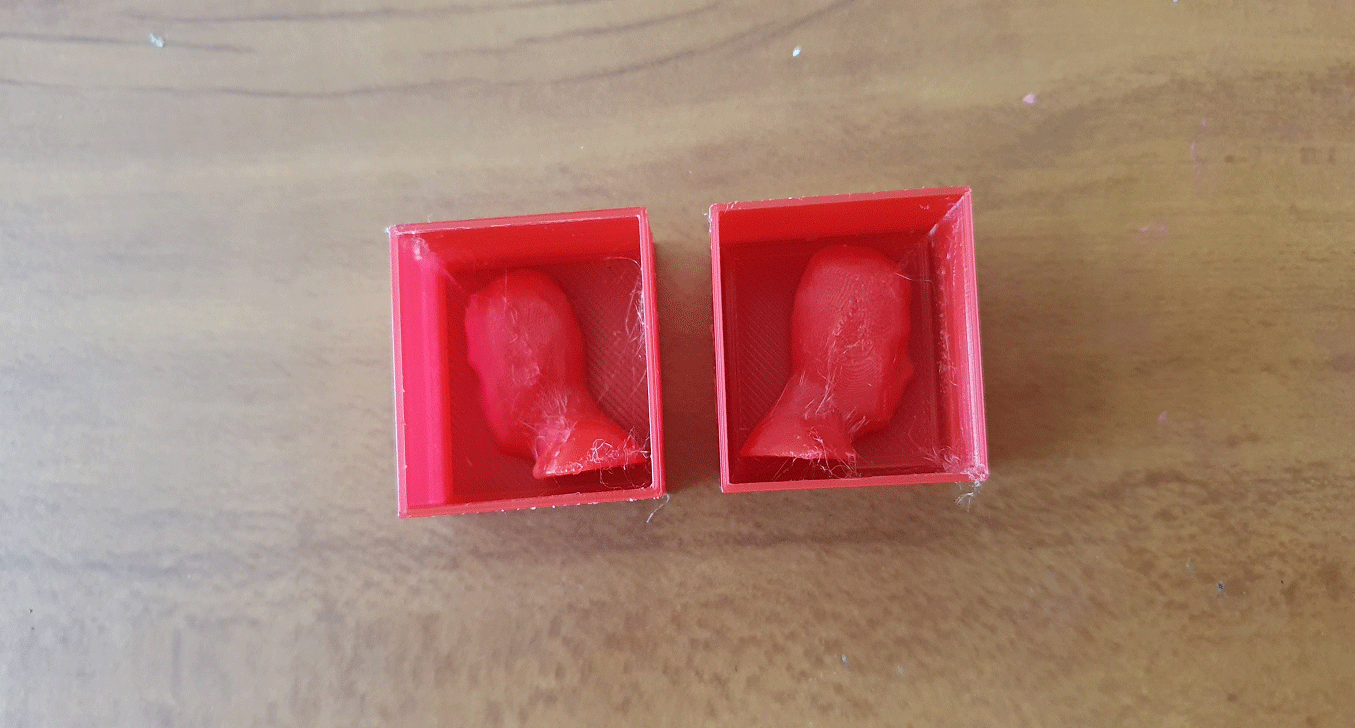
To do the milling I plan to use block moldable wax and for the negative mold I will use platinum silicones from Smooth-Sil.
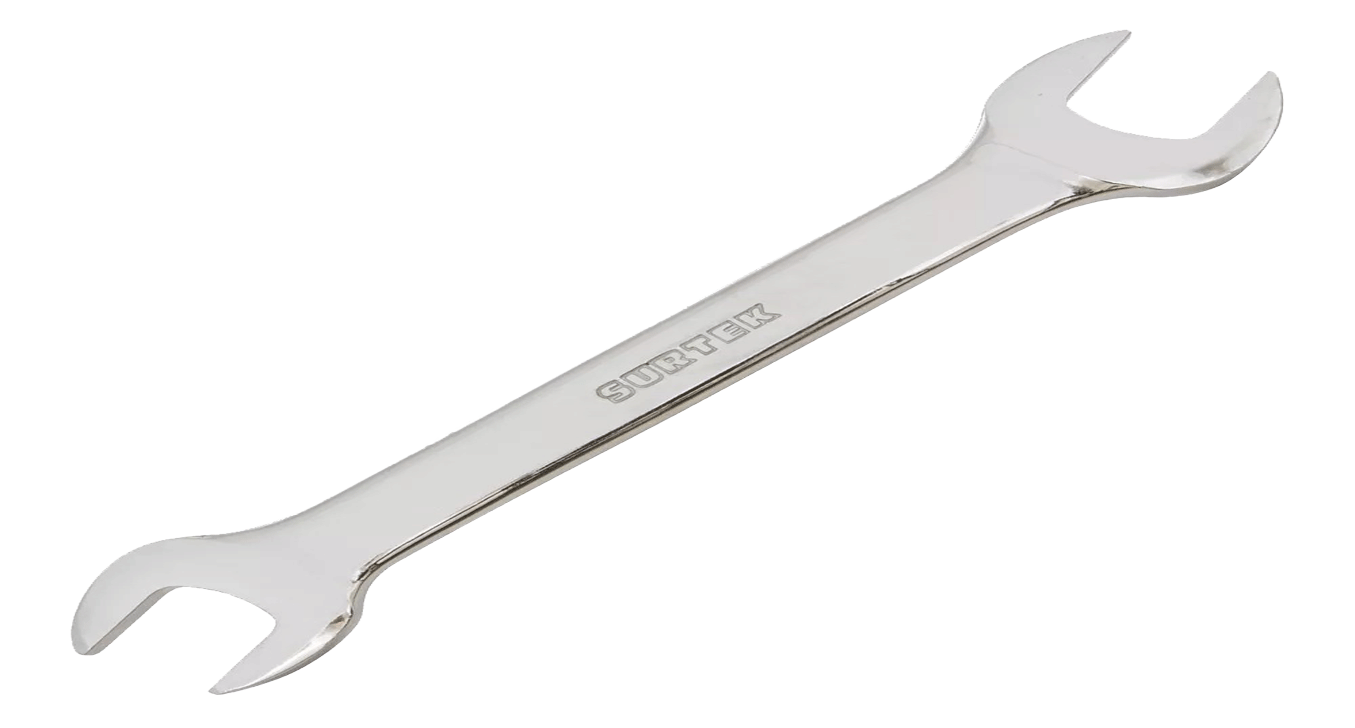
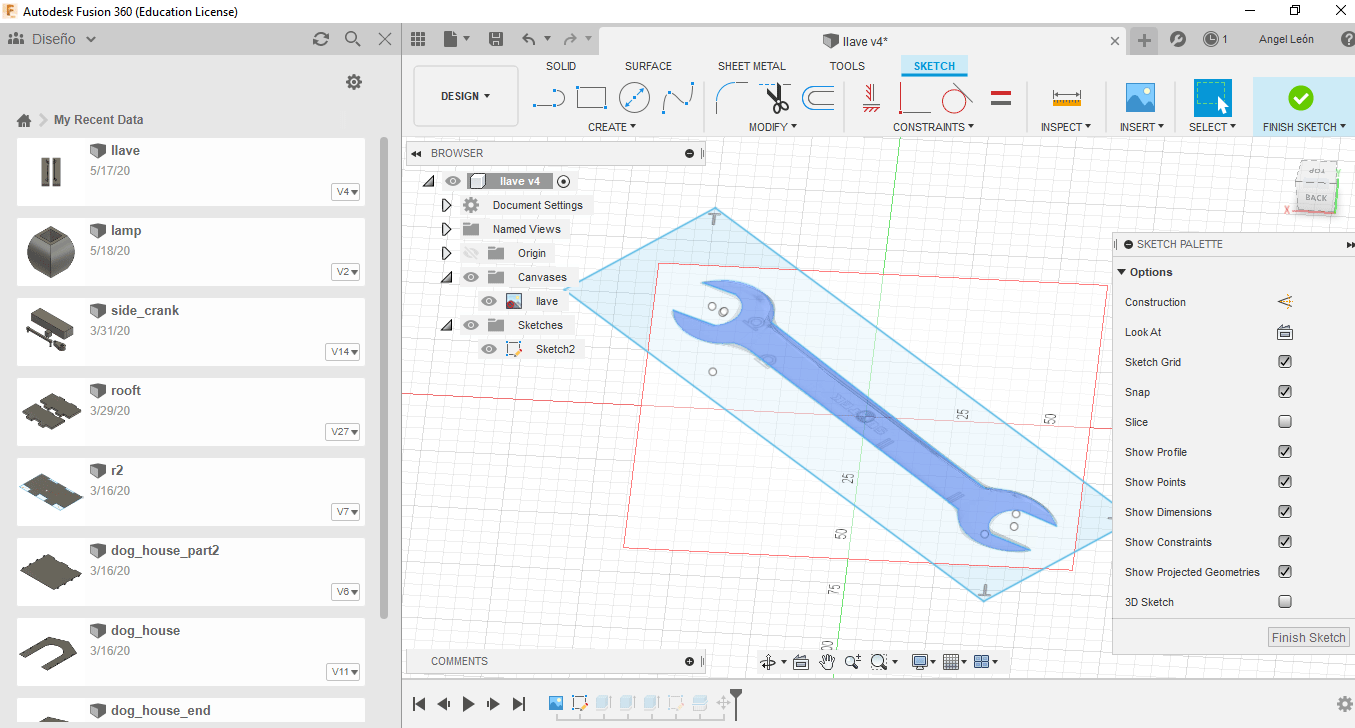
Make another mold of a key for it use fusion 360
-
For this, take the following image as a reference.
-
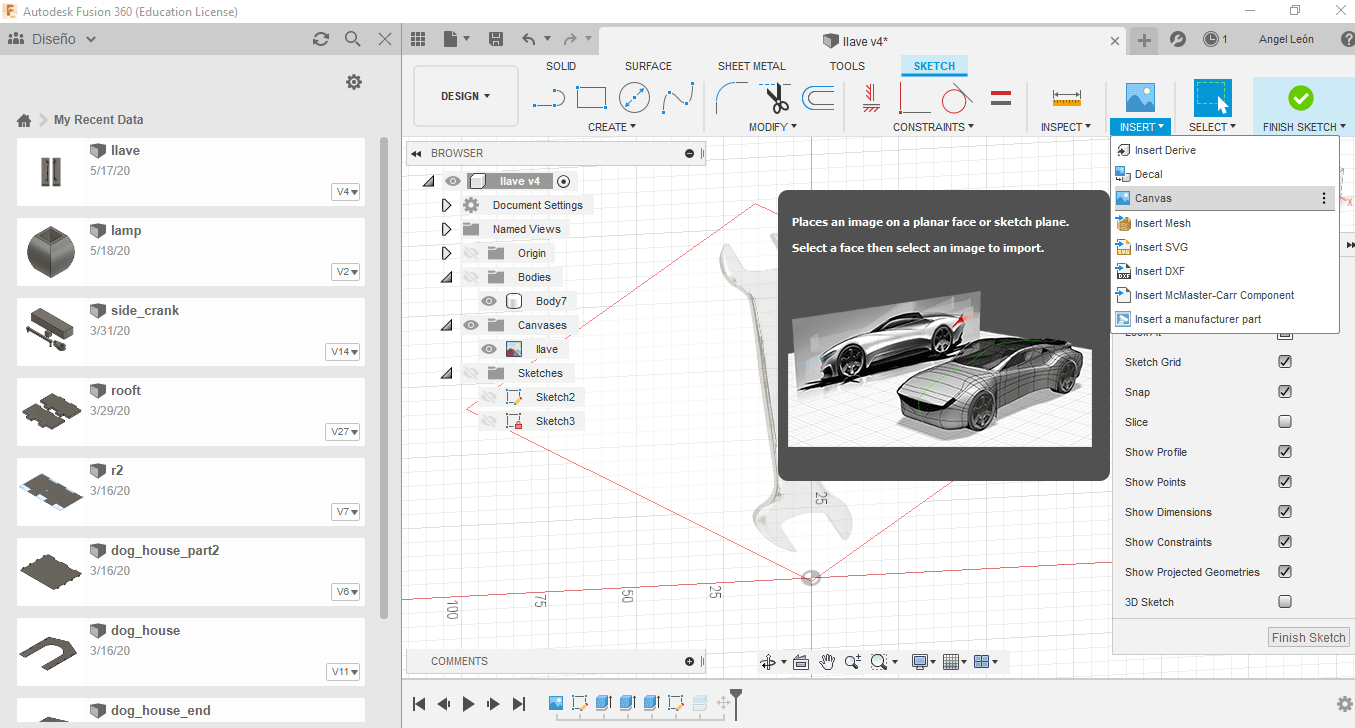
Create new design -> insert -> canvas. This is done to take as reference an image, which
in my case is a key, on which I draw straight lines and curves to achieve the desired
shape.
-
After designing the model, I extrude it (pressing the letter e) giving it a value of 1.2
mm and draw a rectangle so that it covers the entire mechanical key.
-
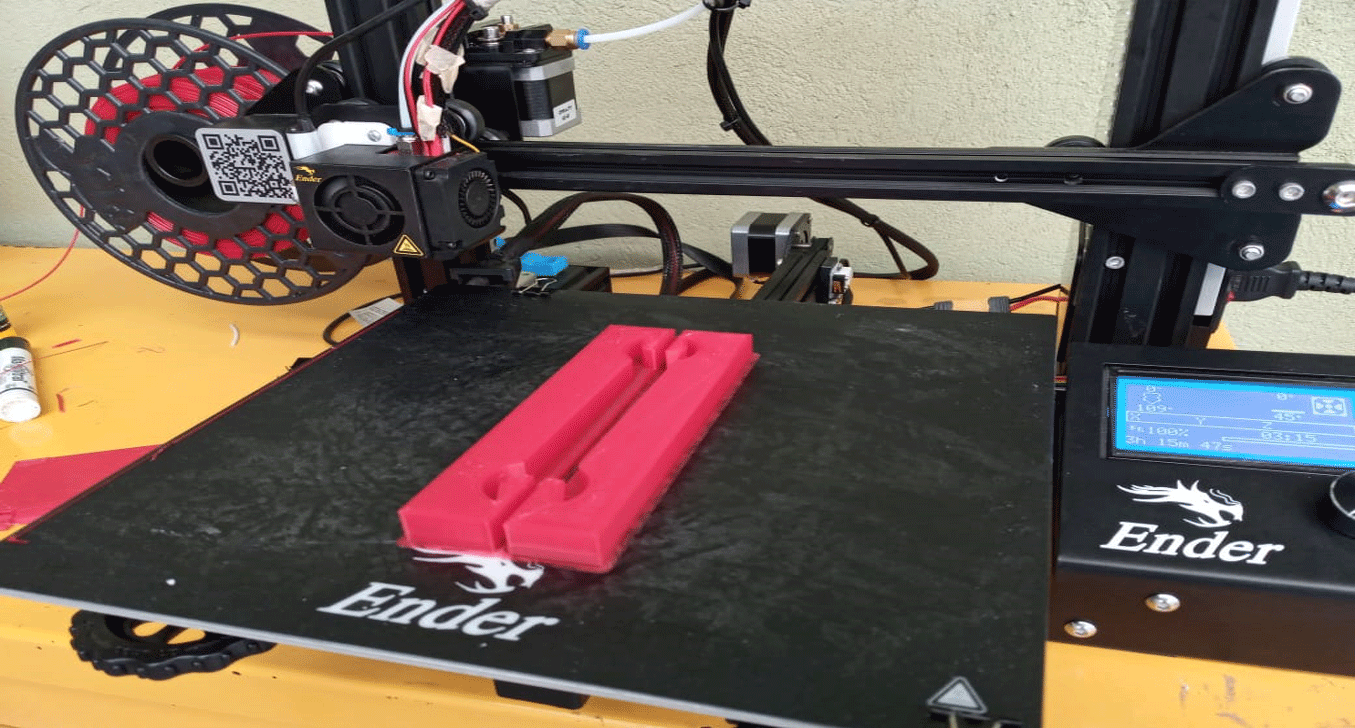
I extrude the rectangle in such a way that it covers the key to create the mold and I
make a cut, to create two pieces, this would be the negative, I did it with the
intention of testing.

-
Printing.
-
Negative mold.

-
All files
here
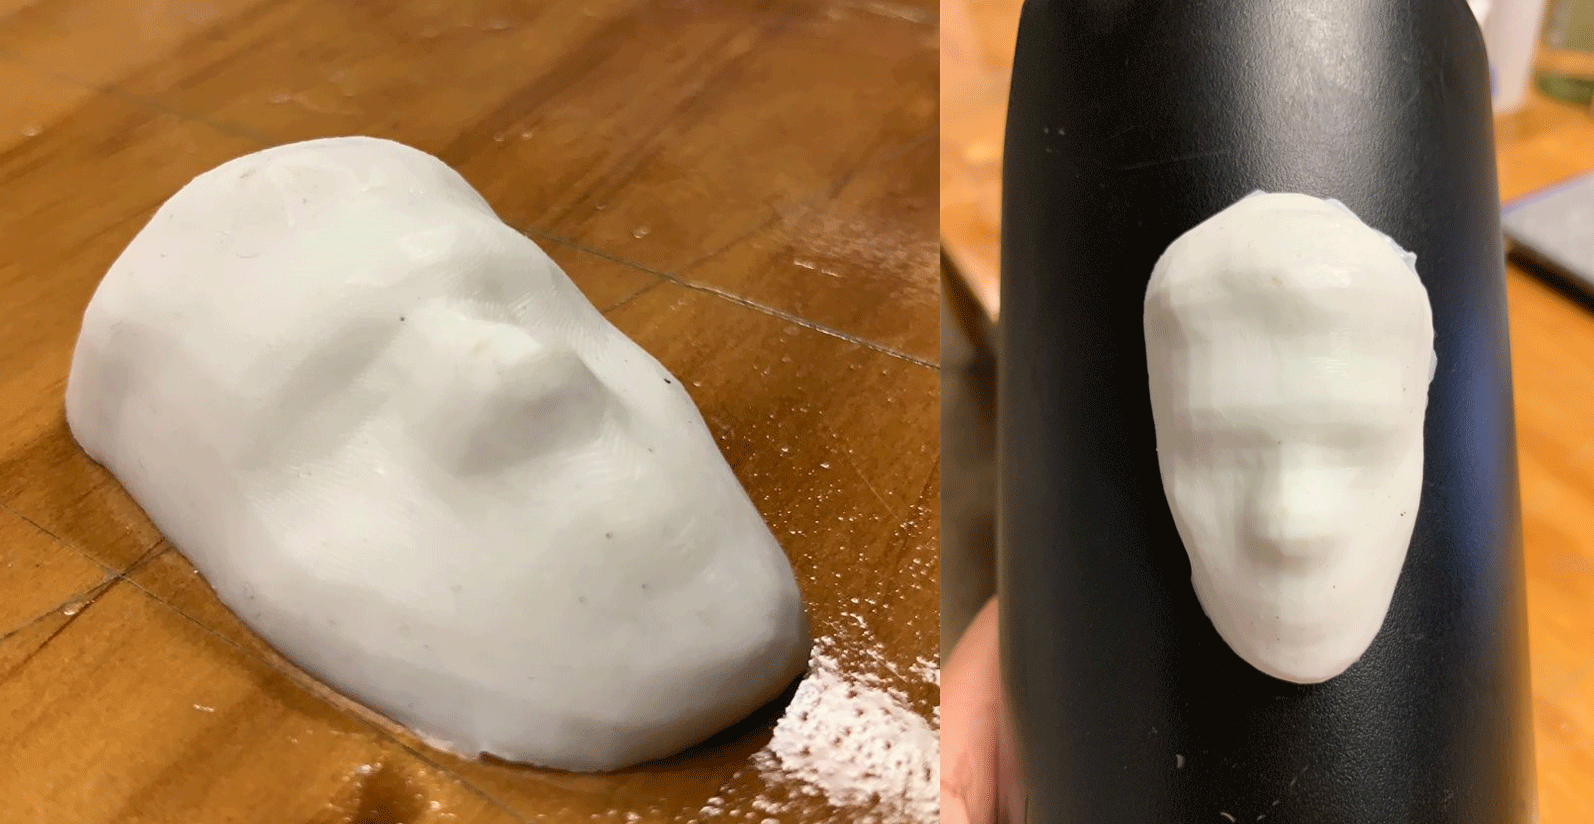
A third idea, in the 3D scanning and printing week, I made the scan of my face, so I am going to make a mold based on my it.
For this you can use a 3d design software.
-
Make wax block prism (10 x 7.5 x 4 cm machinable wax in 3D.

-
Insert the mesh

-
Place the 3D model on the block and rotate it so that it is face down, because only the face mold will be made.
.
-
Do the Boolean difference operation to get the negative of the face in the block.

-
Export in STL to enter the Monofab software.

-
Open model player 4 and import the 3D model in STL.
Select material: Modeling wax
Machine selection: SRM-20
Set position and size of the model.
Place the wax stick and fix it to prevent it from moving.
.
-
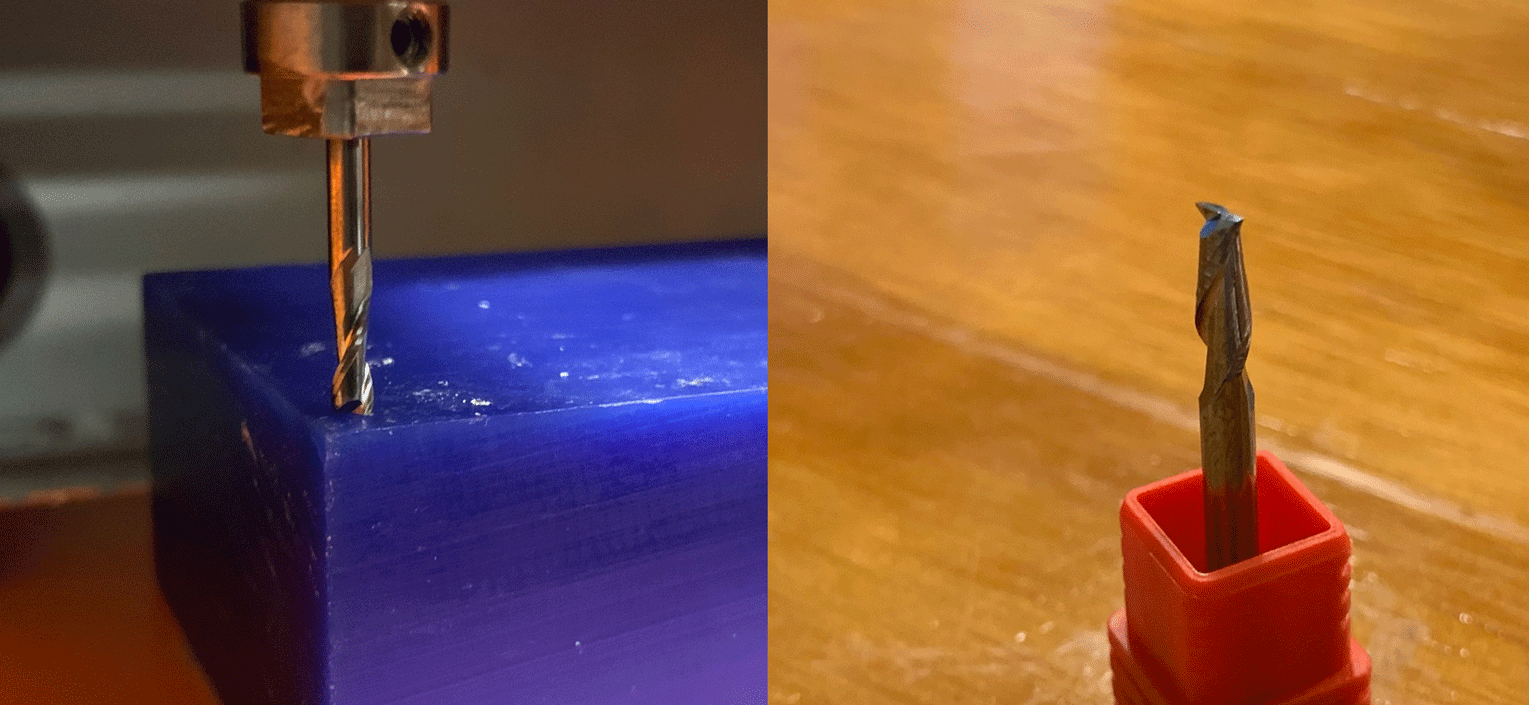
Start new process: roughing using 1/8 "tool.
-
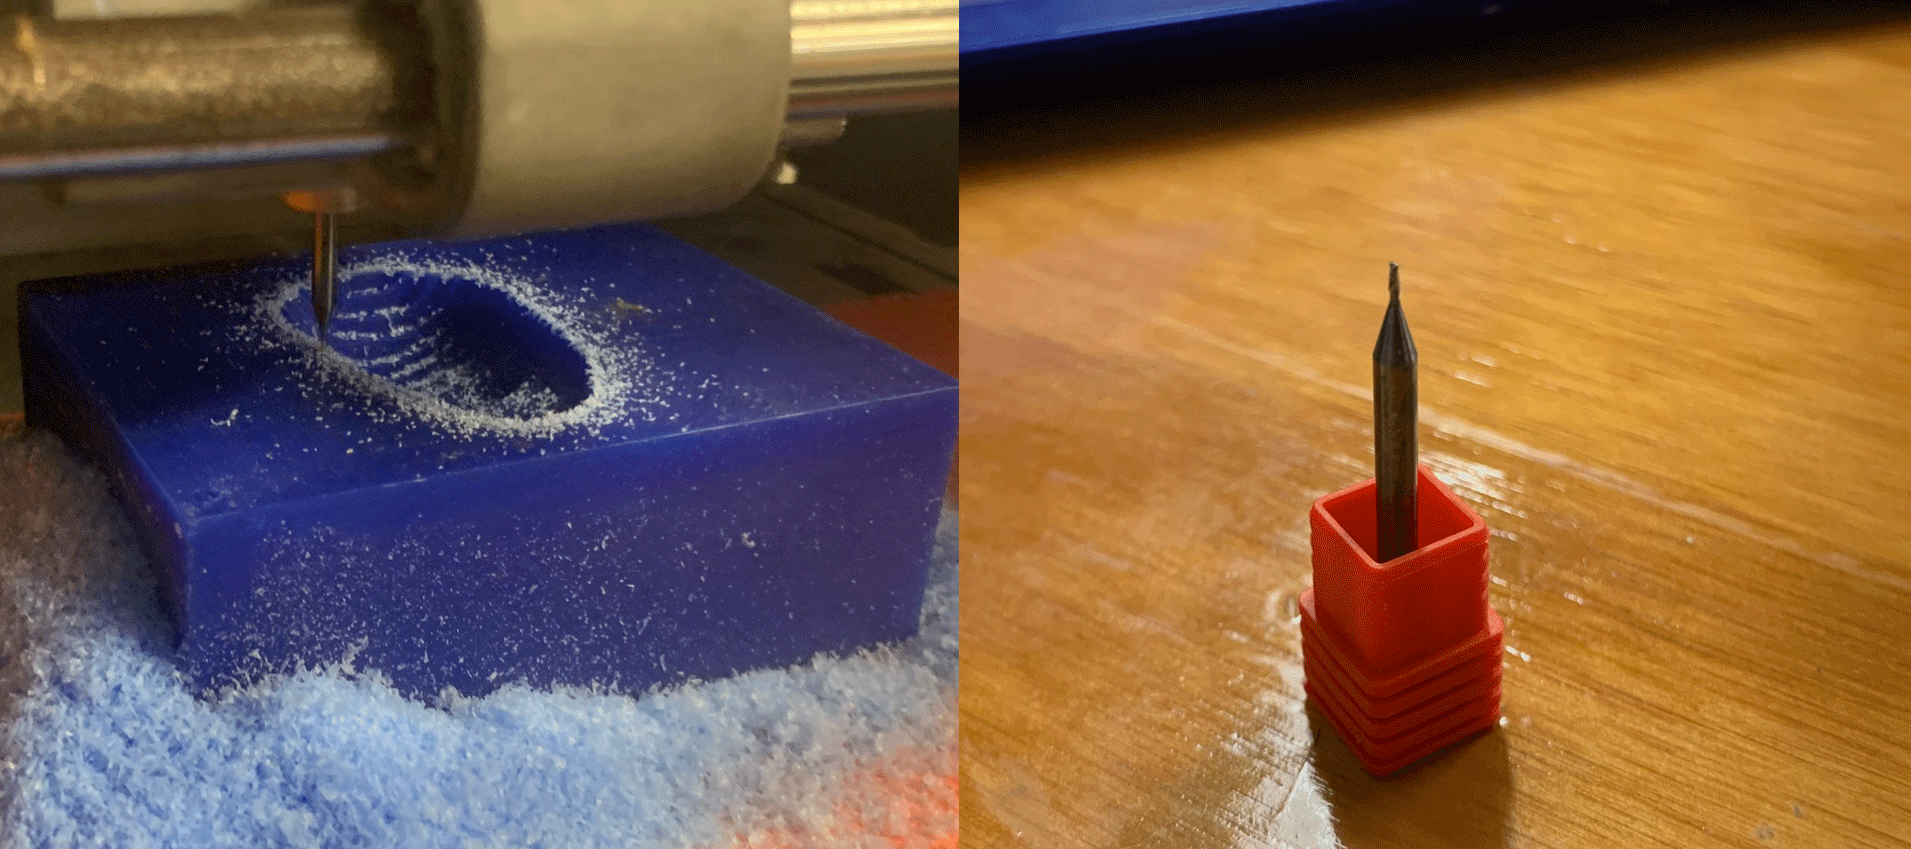
Start new process: Finishing with tool 1/32 "tool
-
Clean mold.
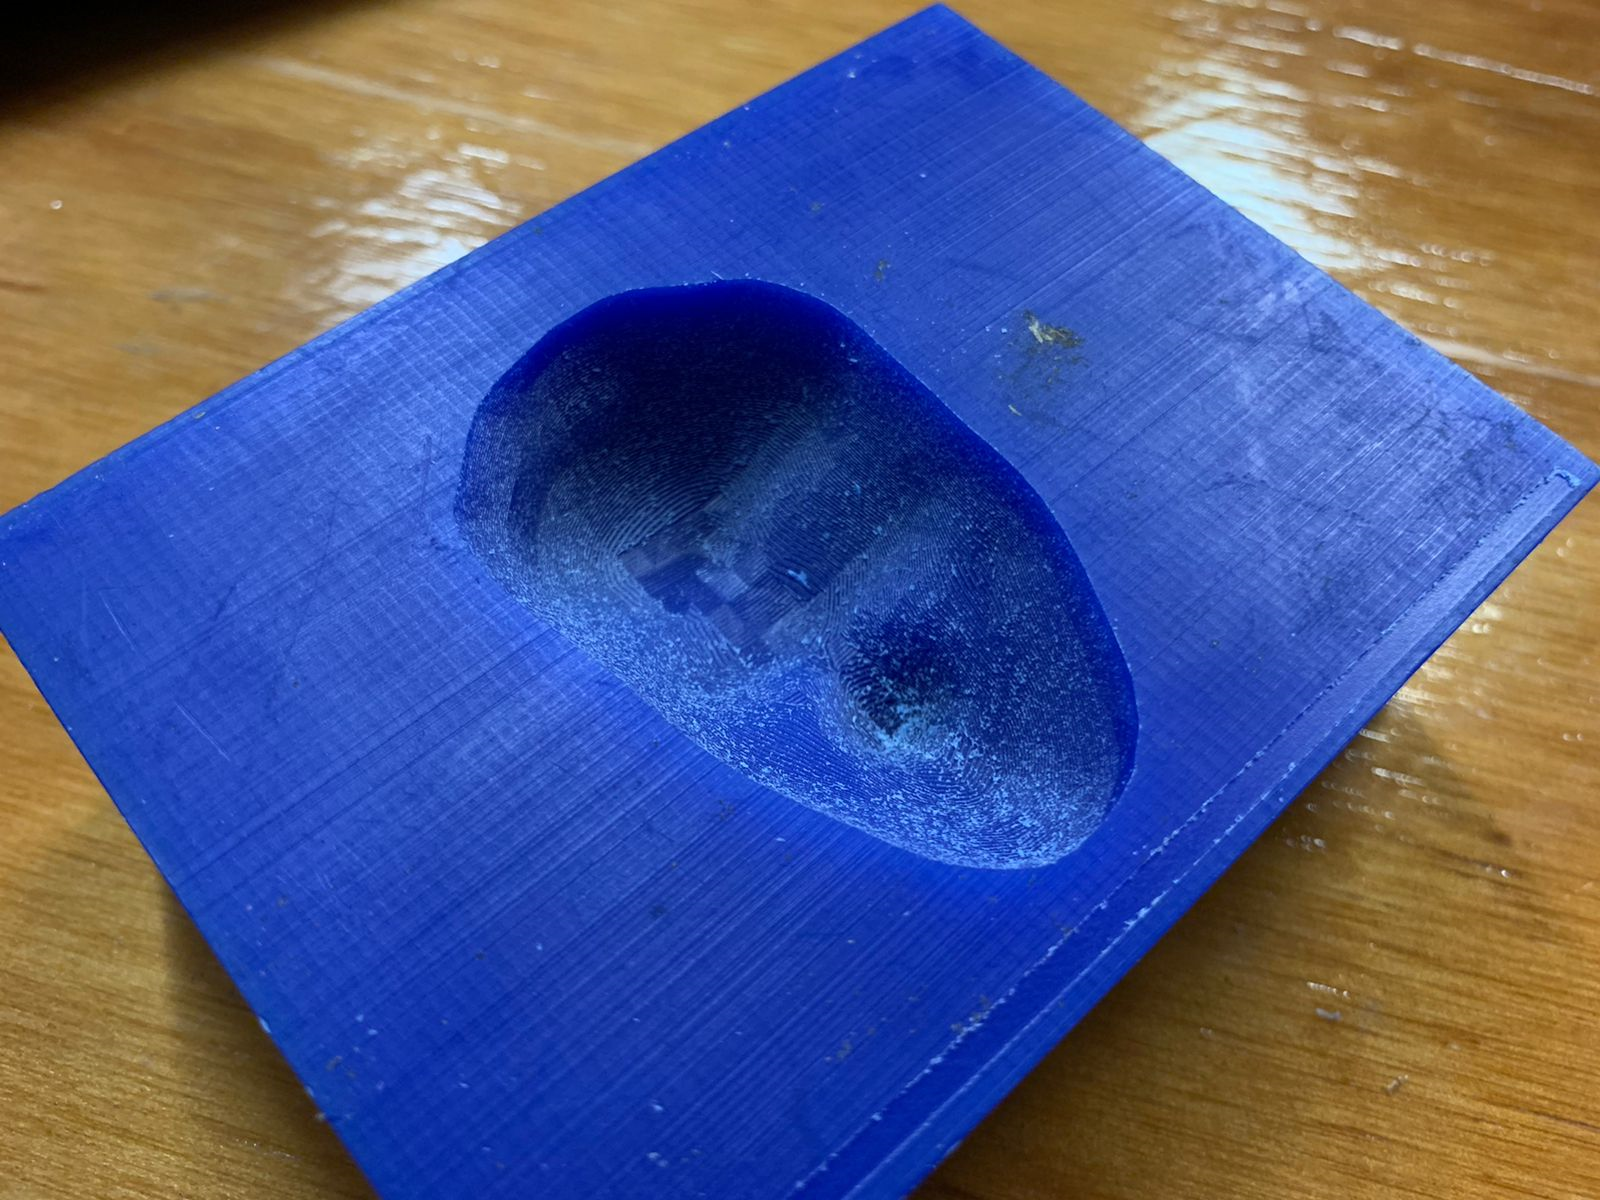
-
Prepare the mold by putting mold release wax.
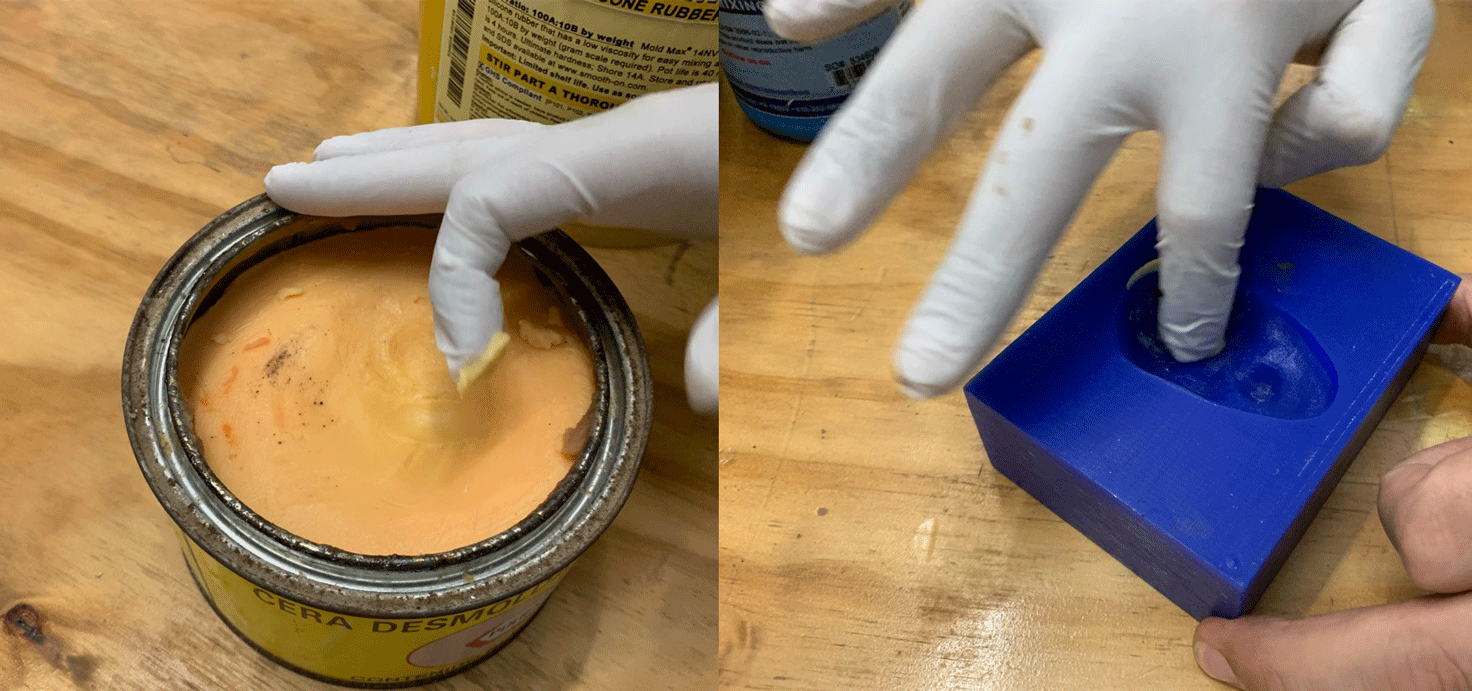
-
Prepare the silicone in the ratio 100A: 10B (110grs in total for this piece).
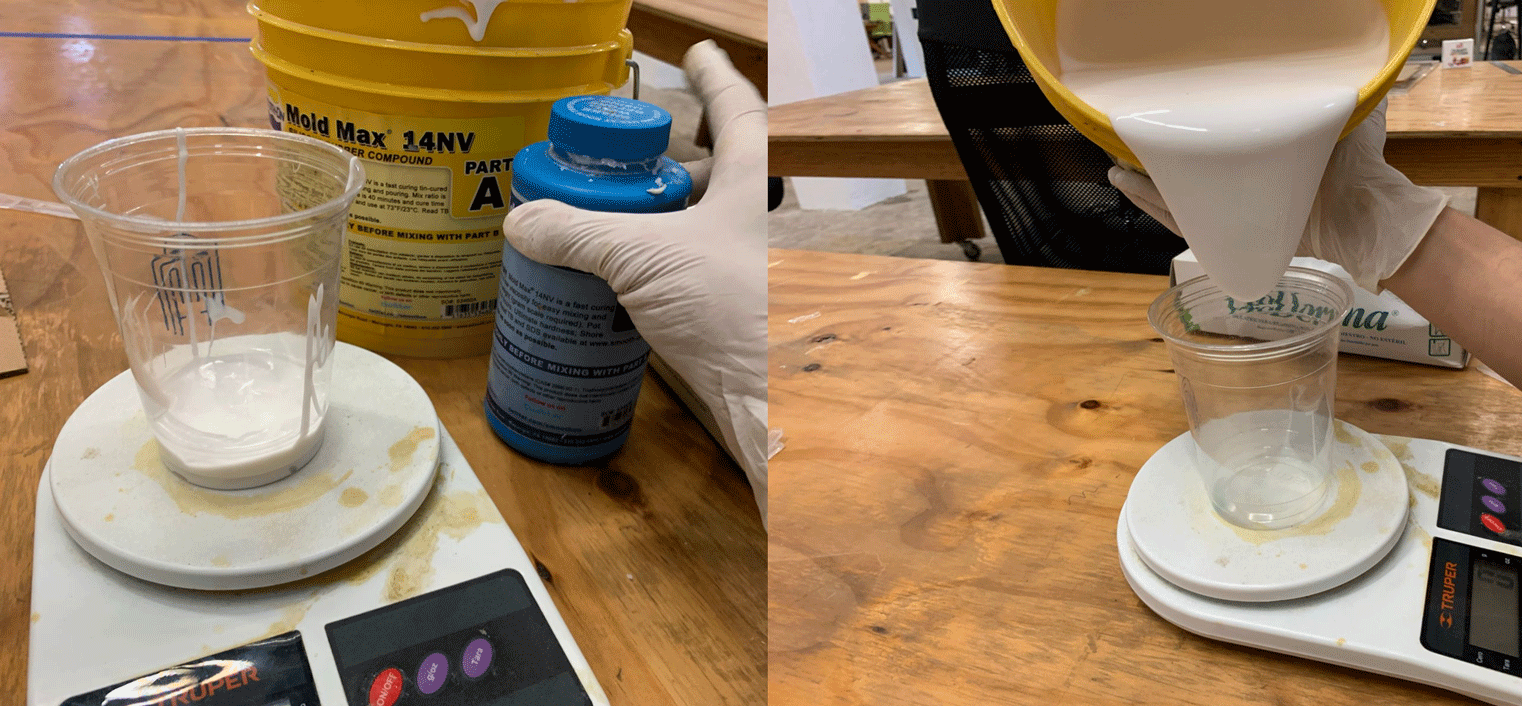
-
Pour into the wax mold, being careful not to spill.
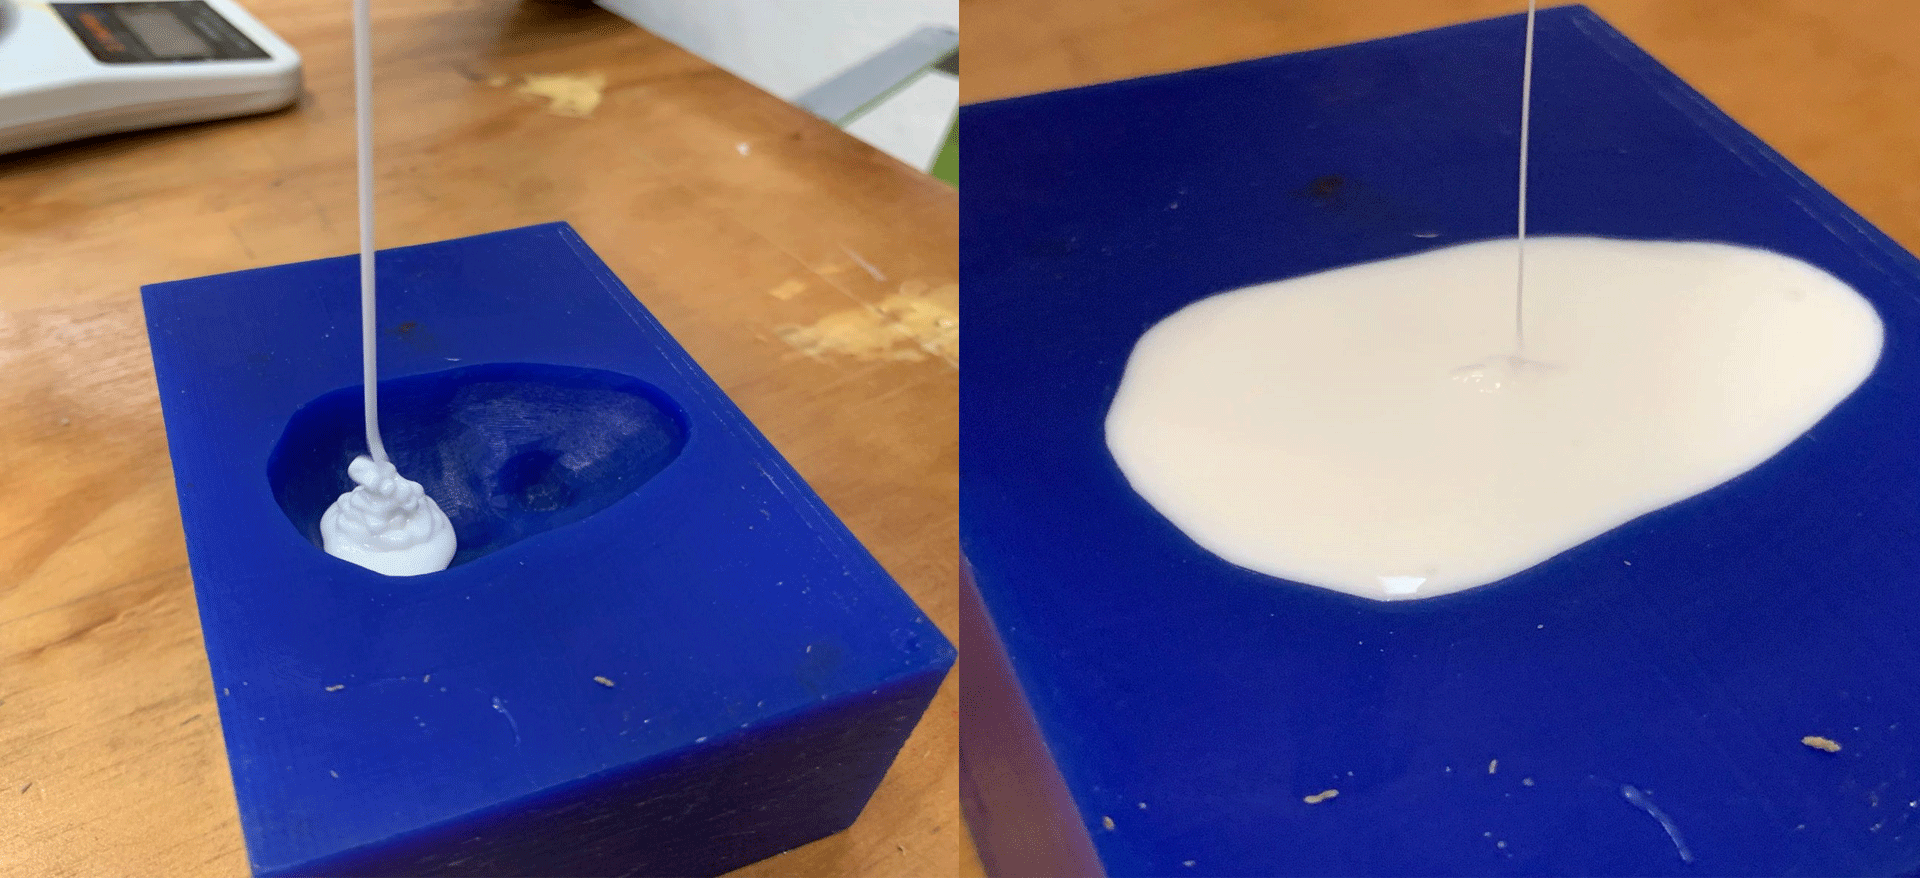
-
Finally the piece is ready.
Group assignment.
Review the safety data sheets for each of your molding and casting materials,
then make and compare test casts with each of them.
For safety in all cases, it is recommended to keep the material out of the reach of
children and follow the indications on the product indicated in the event of any type of
accident, the instructions should always be read, omitting the manufacturer's
recommendations may cause accidents where the only person responsible will be those who
do not take these recommendations into account.
To perform the milling, I will use blue moldable wax, there are a variety of colors, which are detailed in the following table.
Smooth-On Smooth-Sil™ Platinum Silicones cure at room temperature with negligible
shrinkage. With different hardnesses to choose from, Smooth-Sil™ products offer
tremendous versatility and are suitable for making production molds of any
configuration, large or small. These silicones exhibit good chemical, abrasion and heat
resistance. Materials such as plasters, concrete, wax, low-melt metal alloys or resins
(urethane, epoxy or polyester) can then be cast into these silicone rubbers without a
release agent.
| smoothsil940 | |
|---|---|
| Data Sheet |
|