-
01. Principles and practices
-
02. Project management
-
03. Computer-Aided design
-
04. Computer controlled cutting
-
05. Electronics production
-
06. 3D Scanning and printing
-
07. Electronics design
-
08. Computer controlled machining
-
09. Embedded programming
-
10. Input devices
-
11. Applications and implications
-
12. Output devices
-
13. Interface and application programming
-
14. Invention, intellectual property and income
-
15. Networking and communications
-
16. Molding and casting
-
17. Wildcard week
-
18. Machine design
-
19. Project development
-
Glossary
Week 16. Molding and casting
May 20, 2020
Assignment
Group assignment
- Review the safety data sheets for each of your molding and casting materials, then make and compare test casts with each of them
Individual assignment
- Design a mold around the stock and tooling that you'll be using, mill it (rough cut + (at least) three-axis finish cut), and use it to cast parts
Individual assignment
How to use Shopbot for 3D milling
Export your file as an STL format
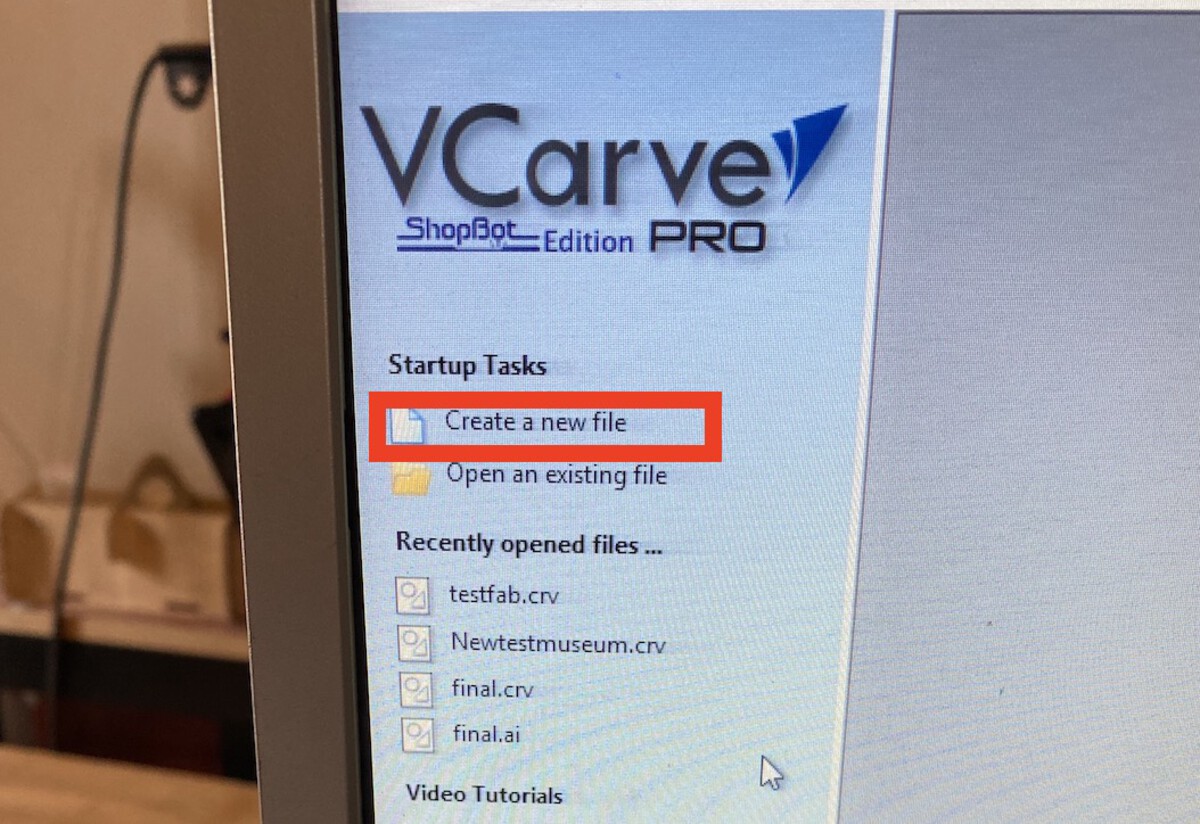
Open VCarve and click Create a new file
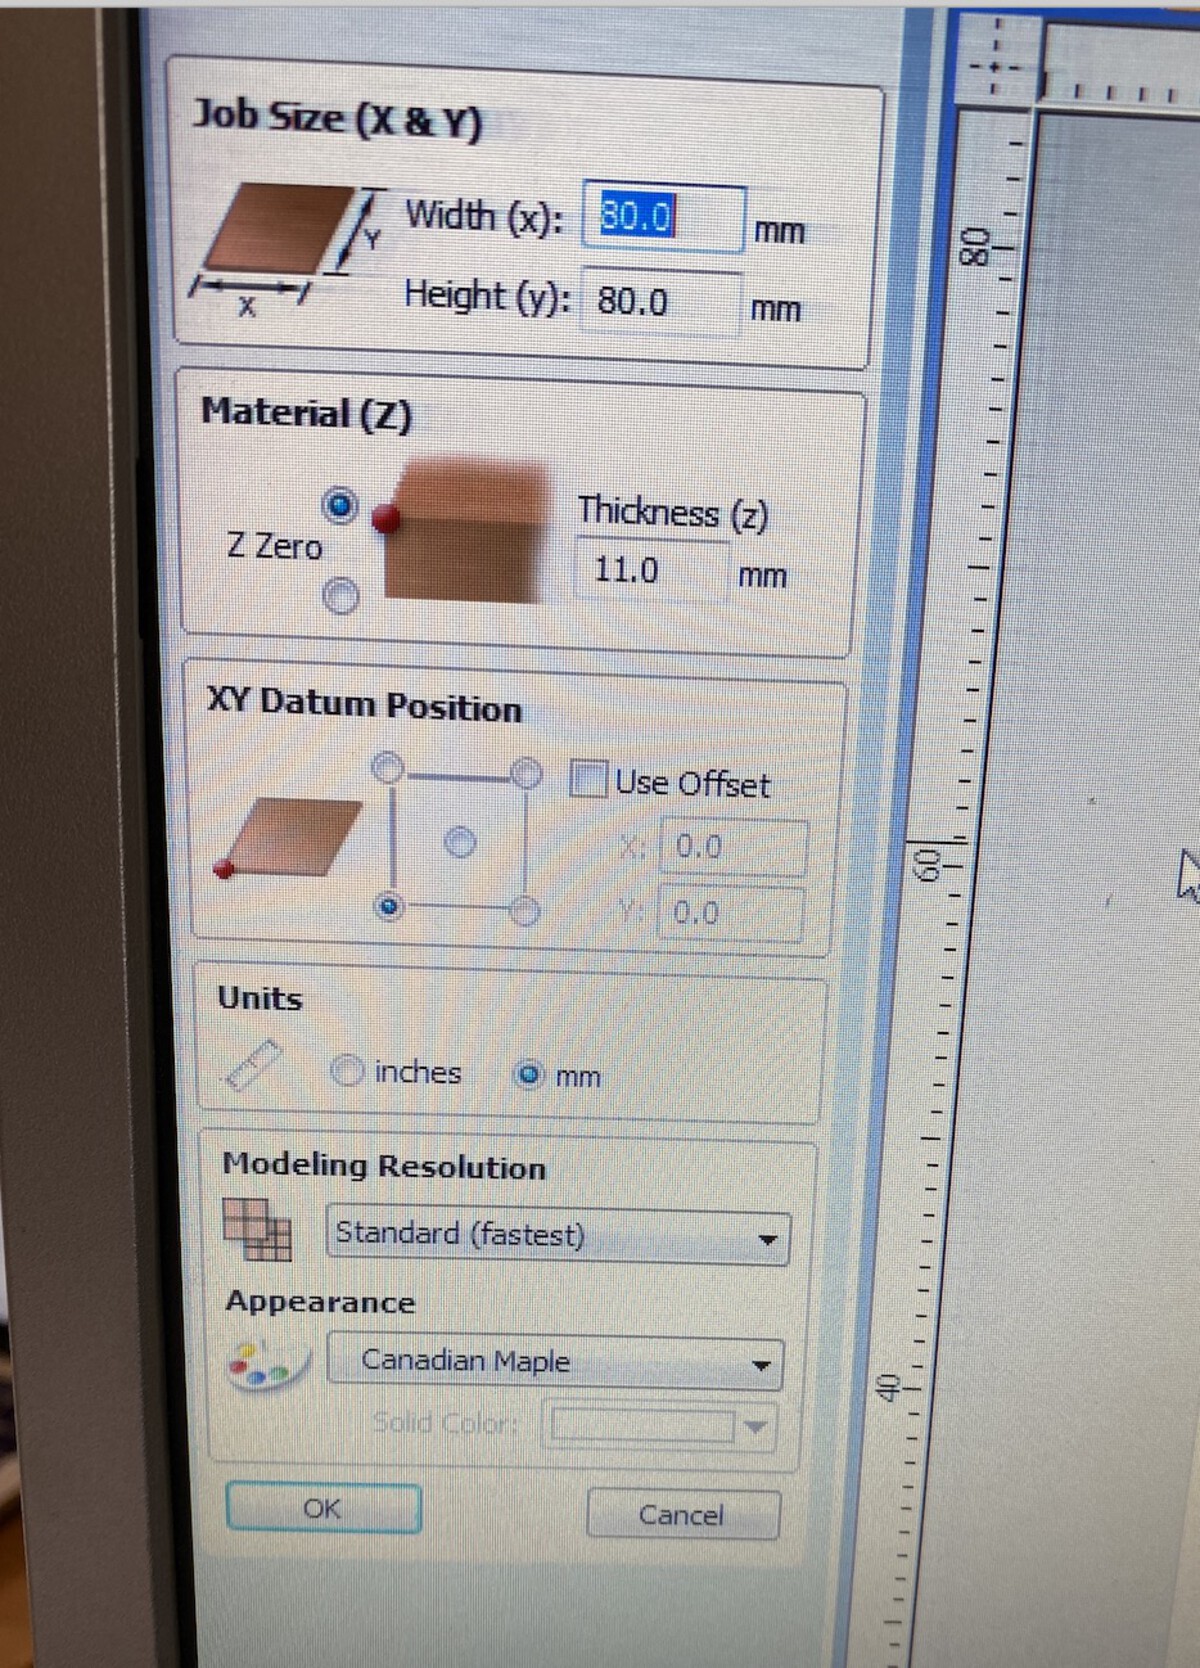
Change the Job Size and the Thickness accoriding to your object dimention. Then, hit the OK button
Go to File > Import > Import Component / 3D model and import your file
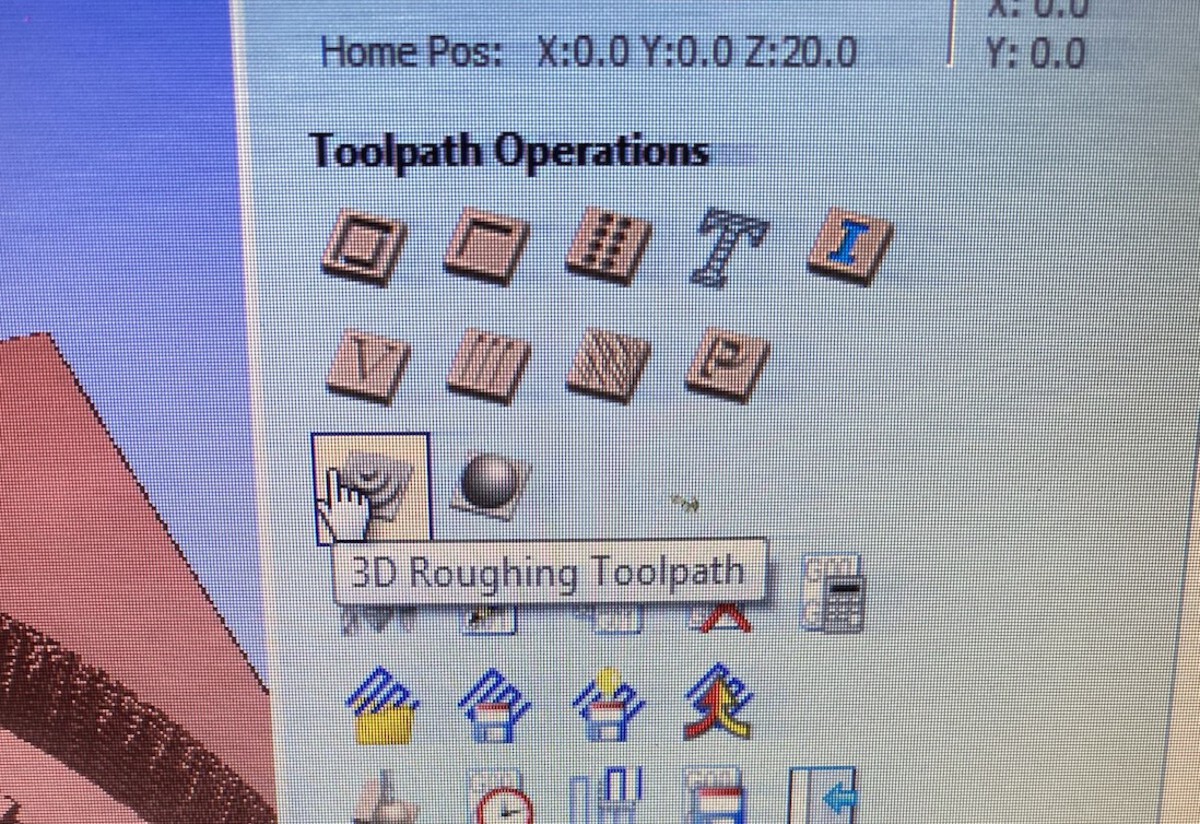
Once the file is imported, click the Toolpath button on the right and click 3D roughing Toolpath
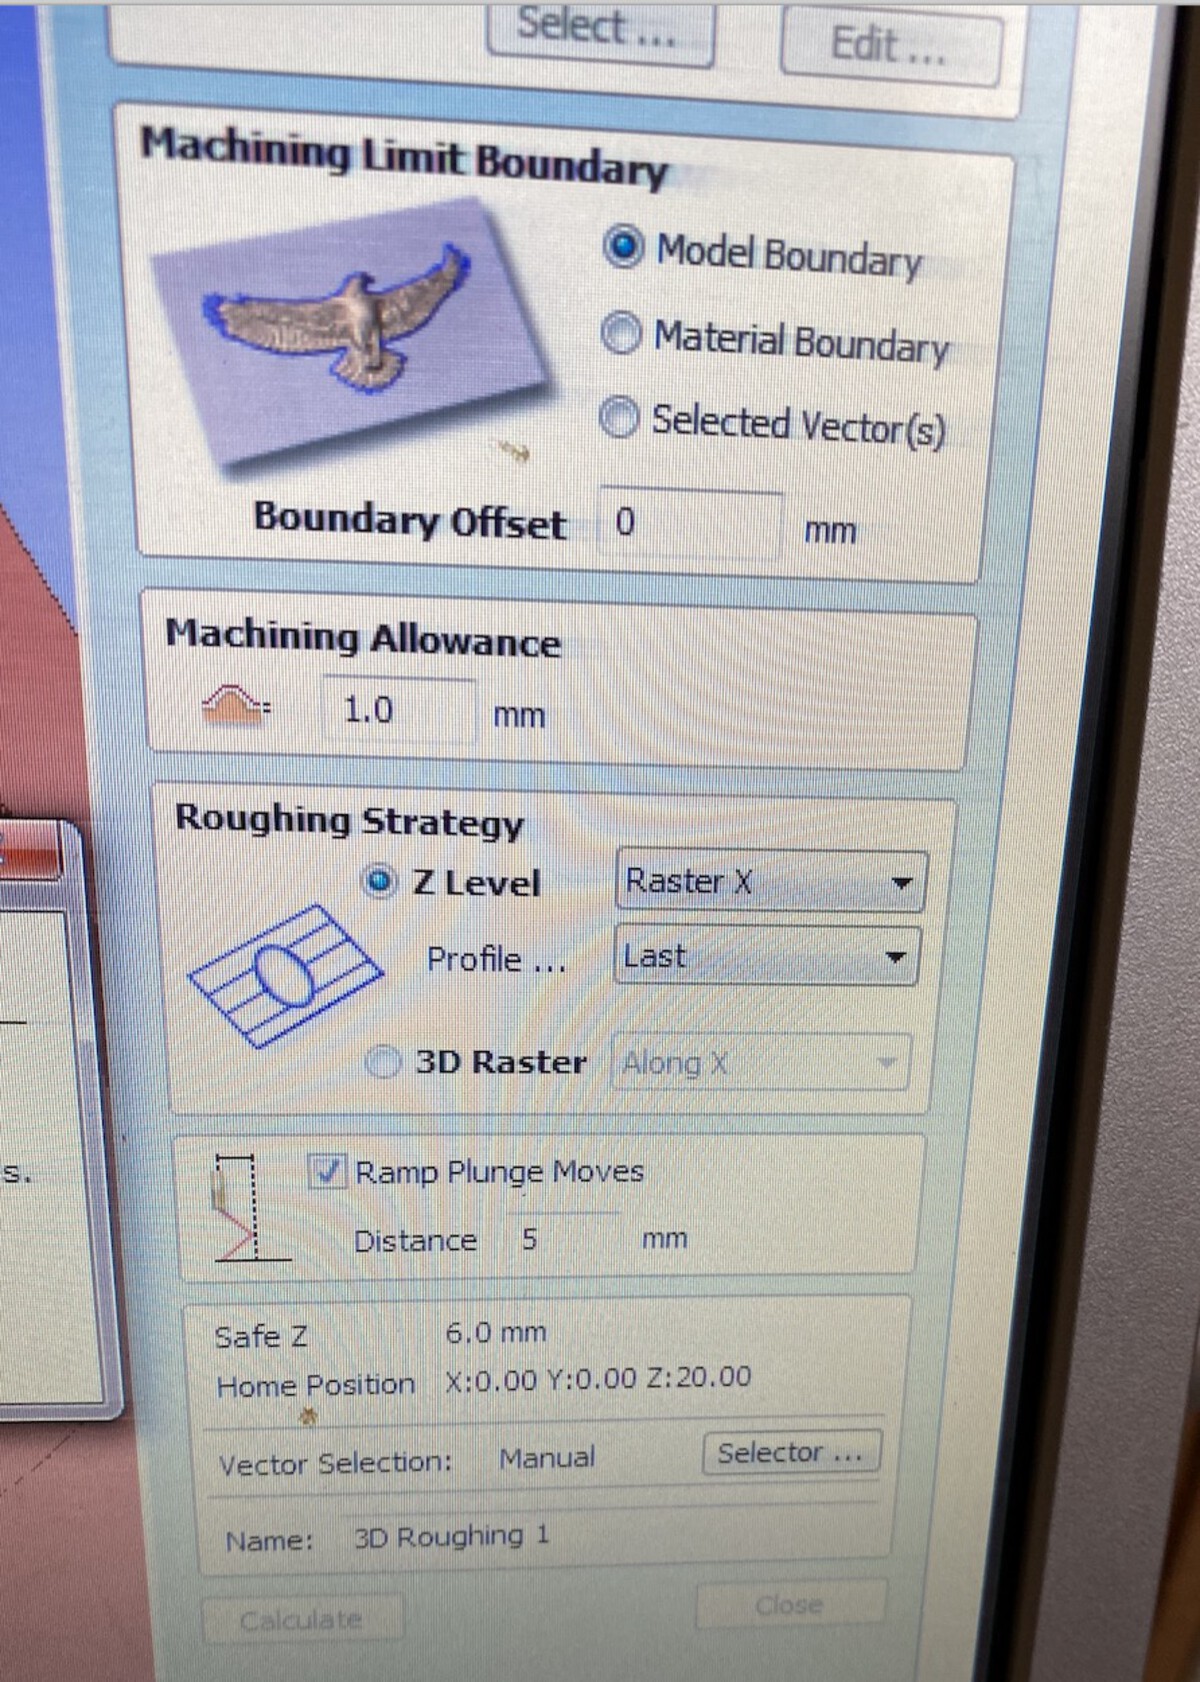
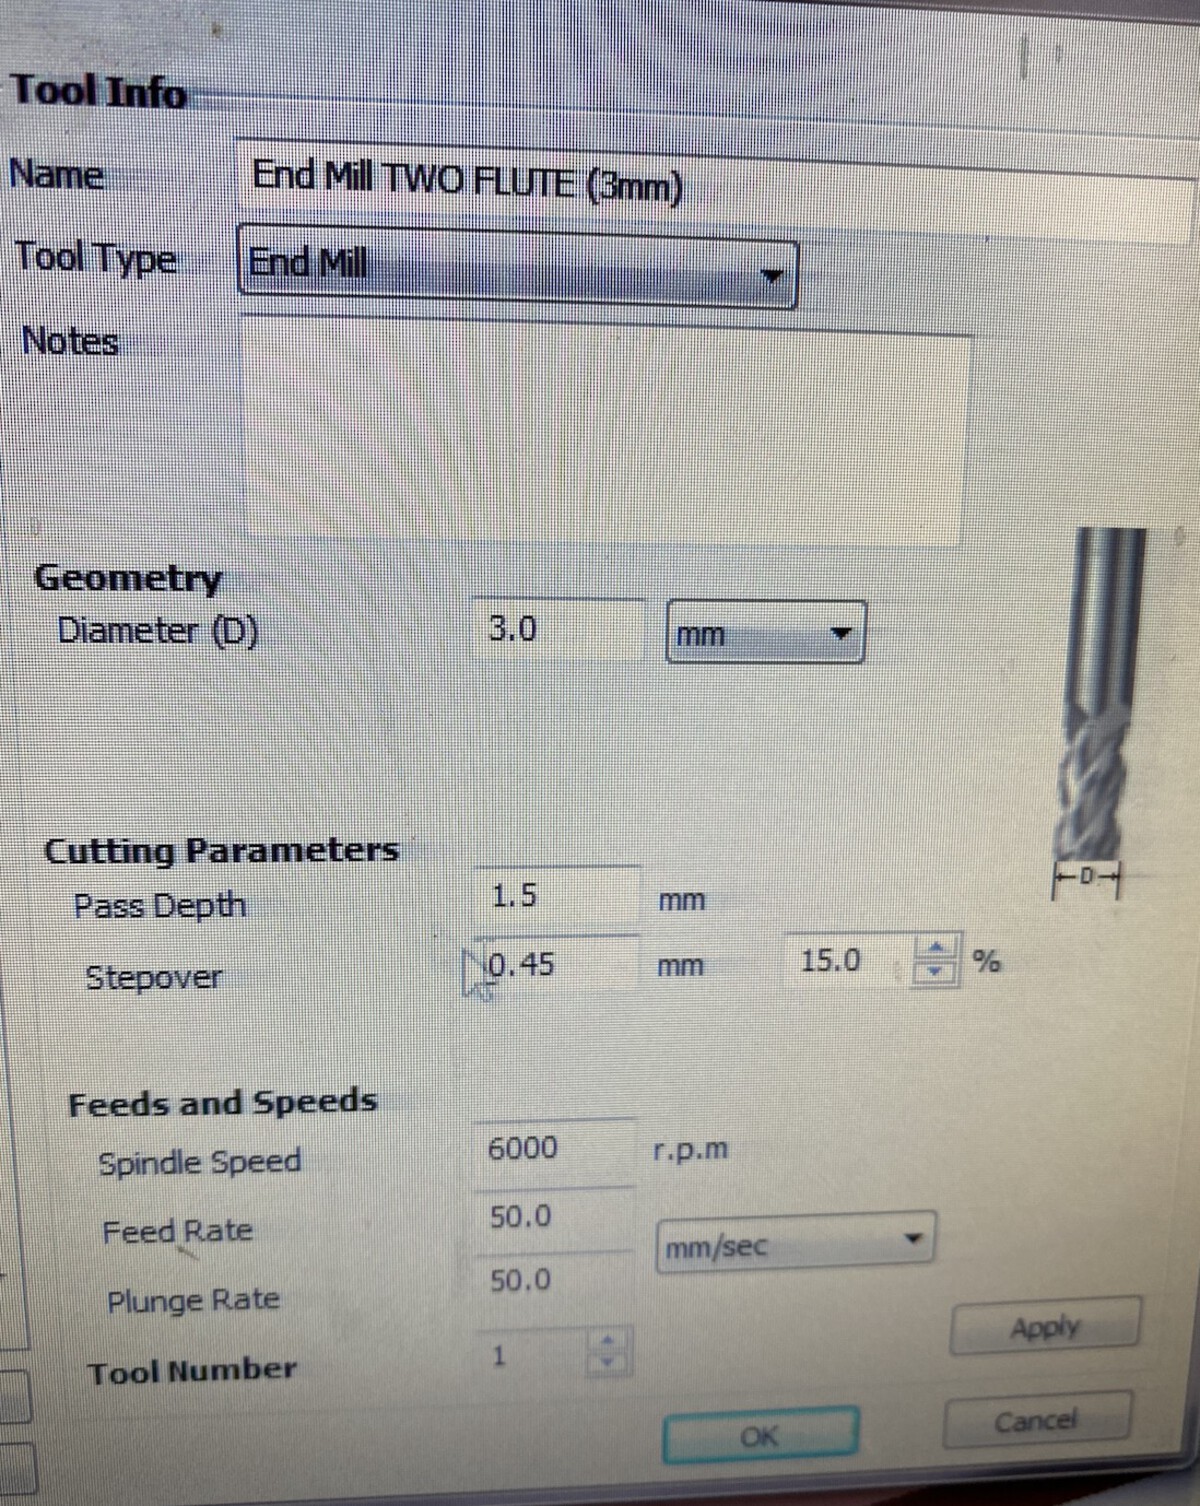
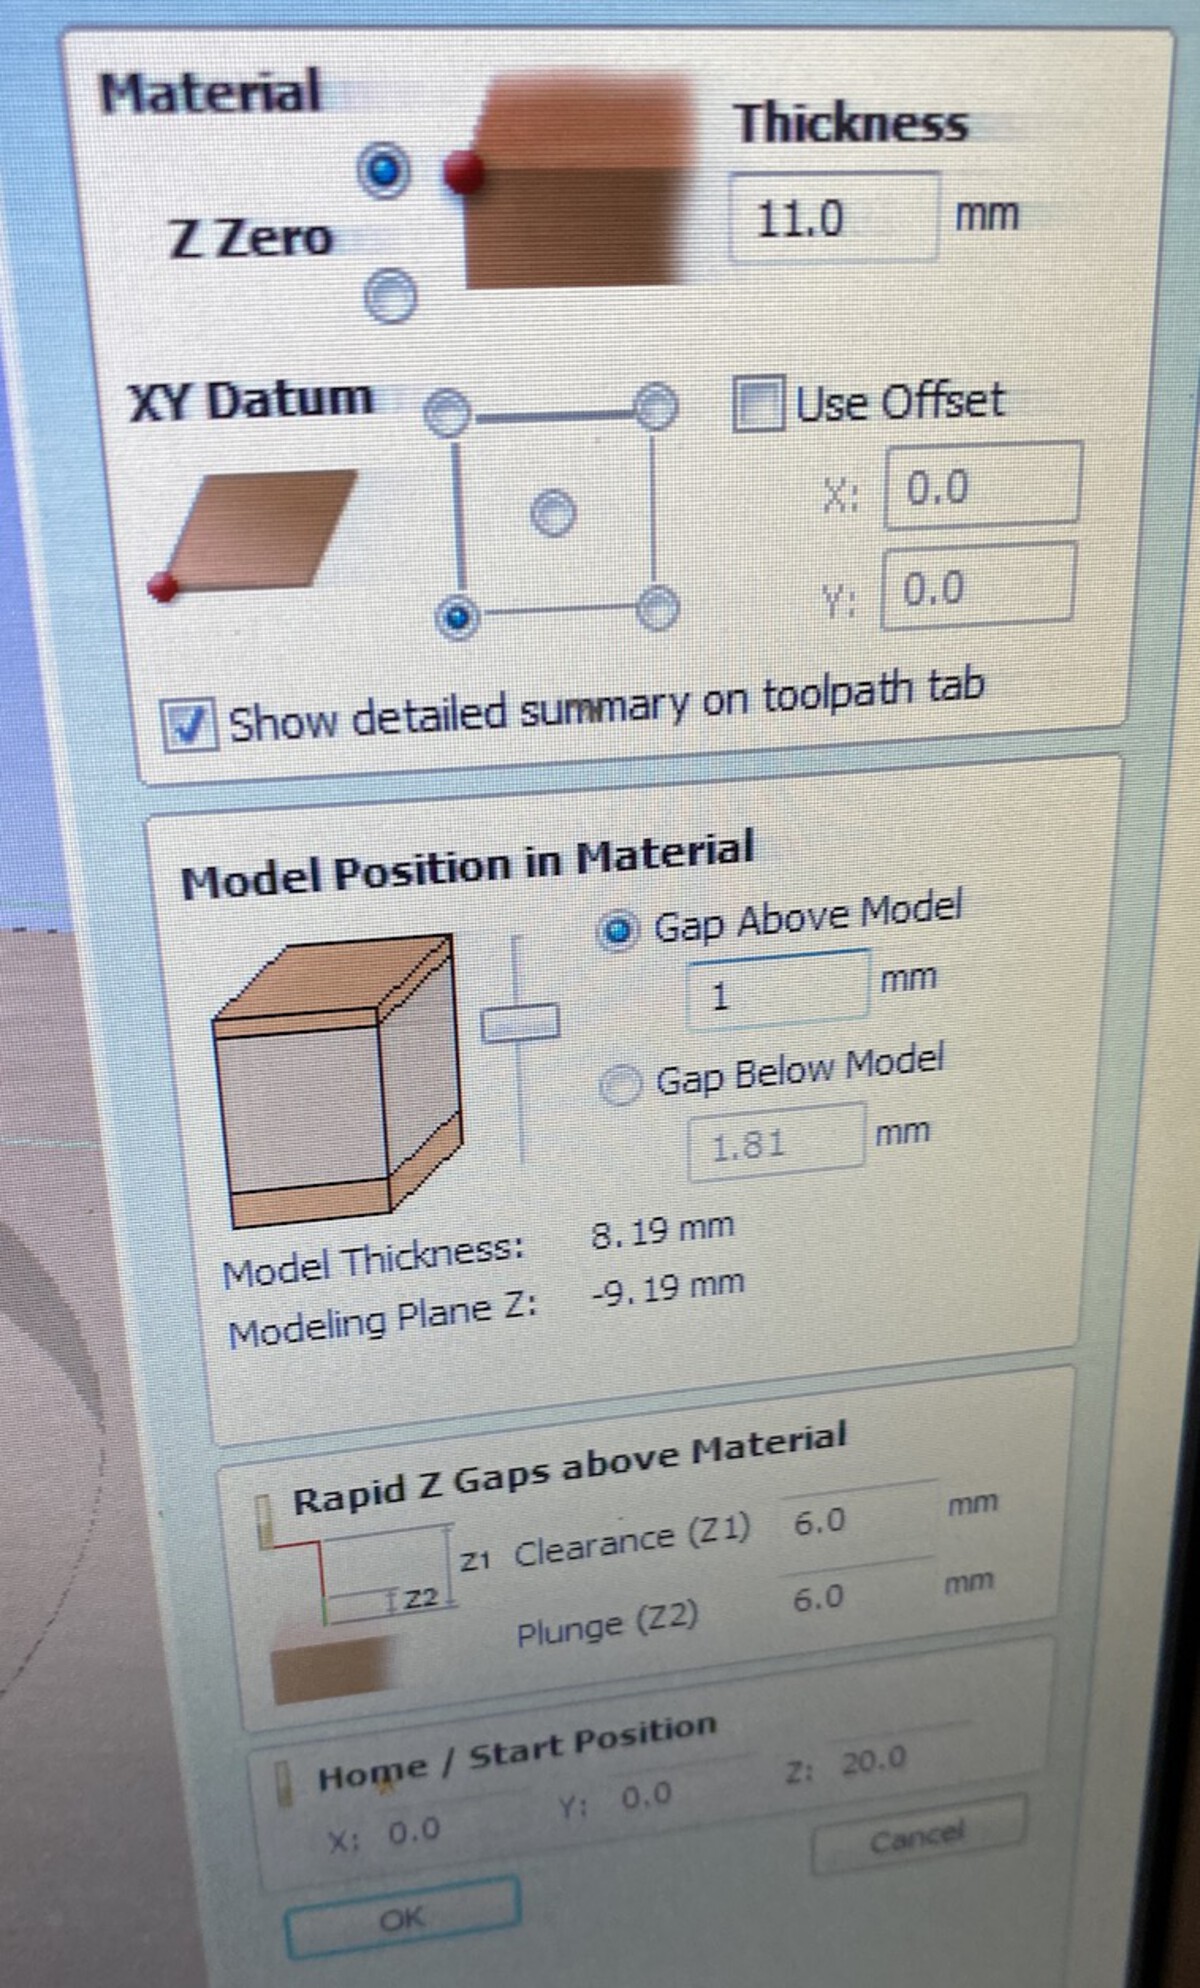
Then, I set the settings like the photo below
You also need to choose which end mill you will be using. I used 3mm, 2 flute end mill for the roughing path. Set the right value for the stepover. For the roughing path, I think even 45 ~ 50 % is fine. I set it as 15% and it was so slow.
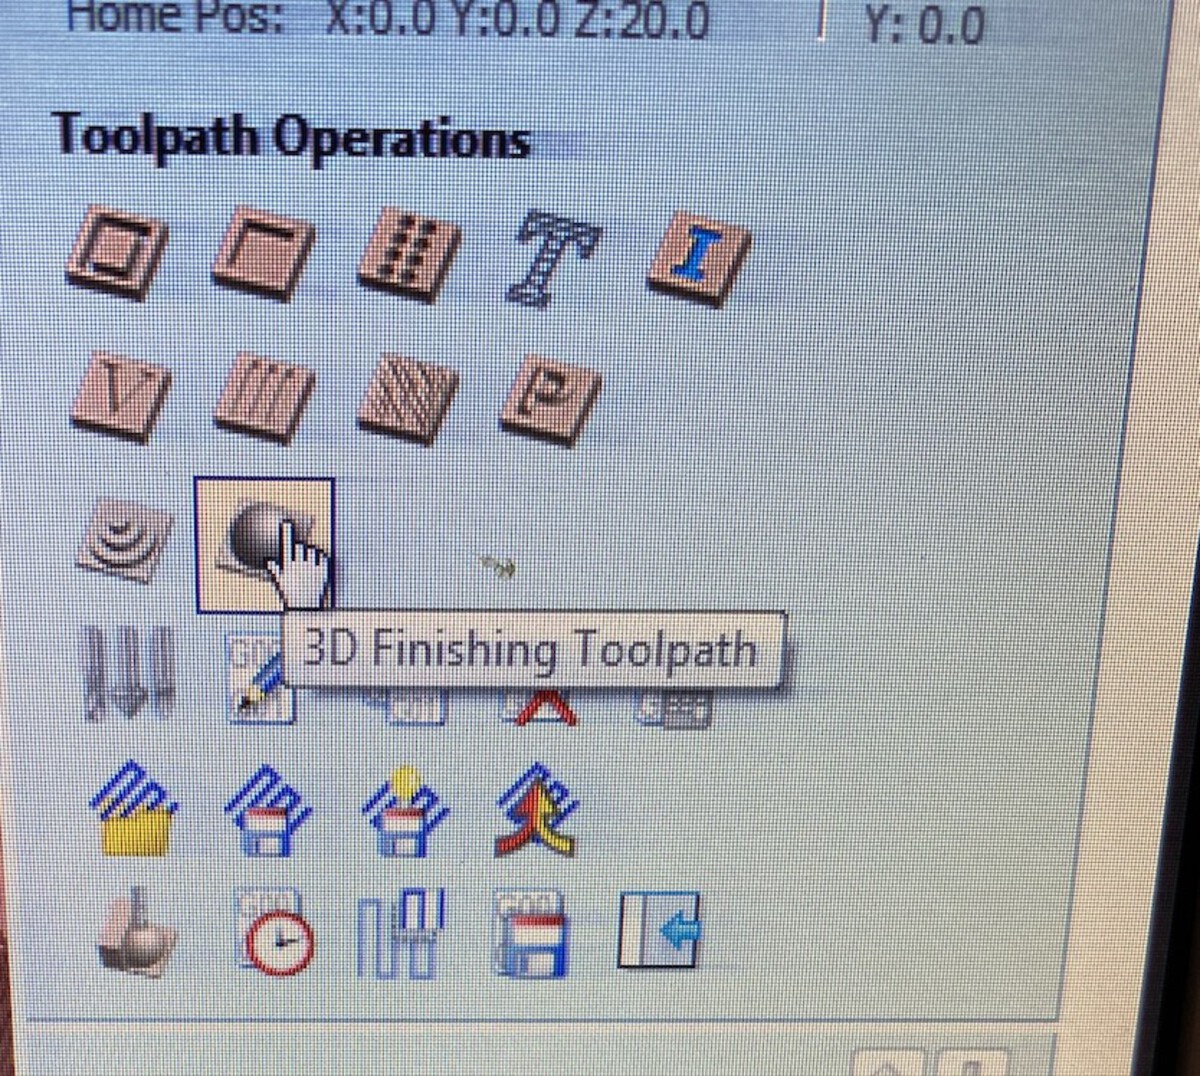
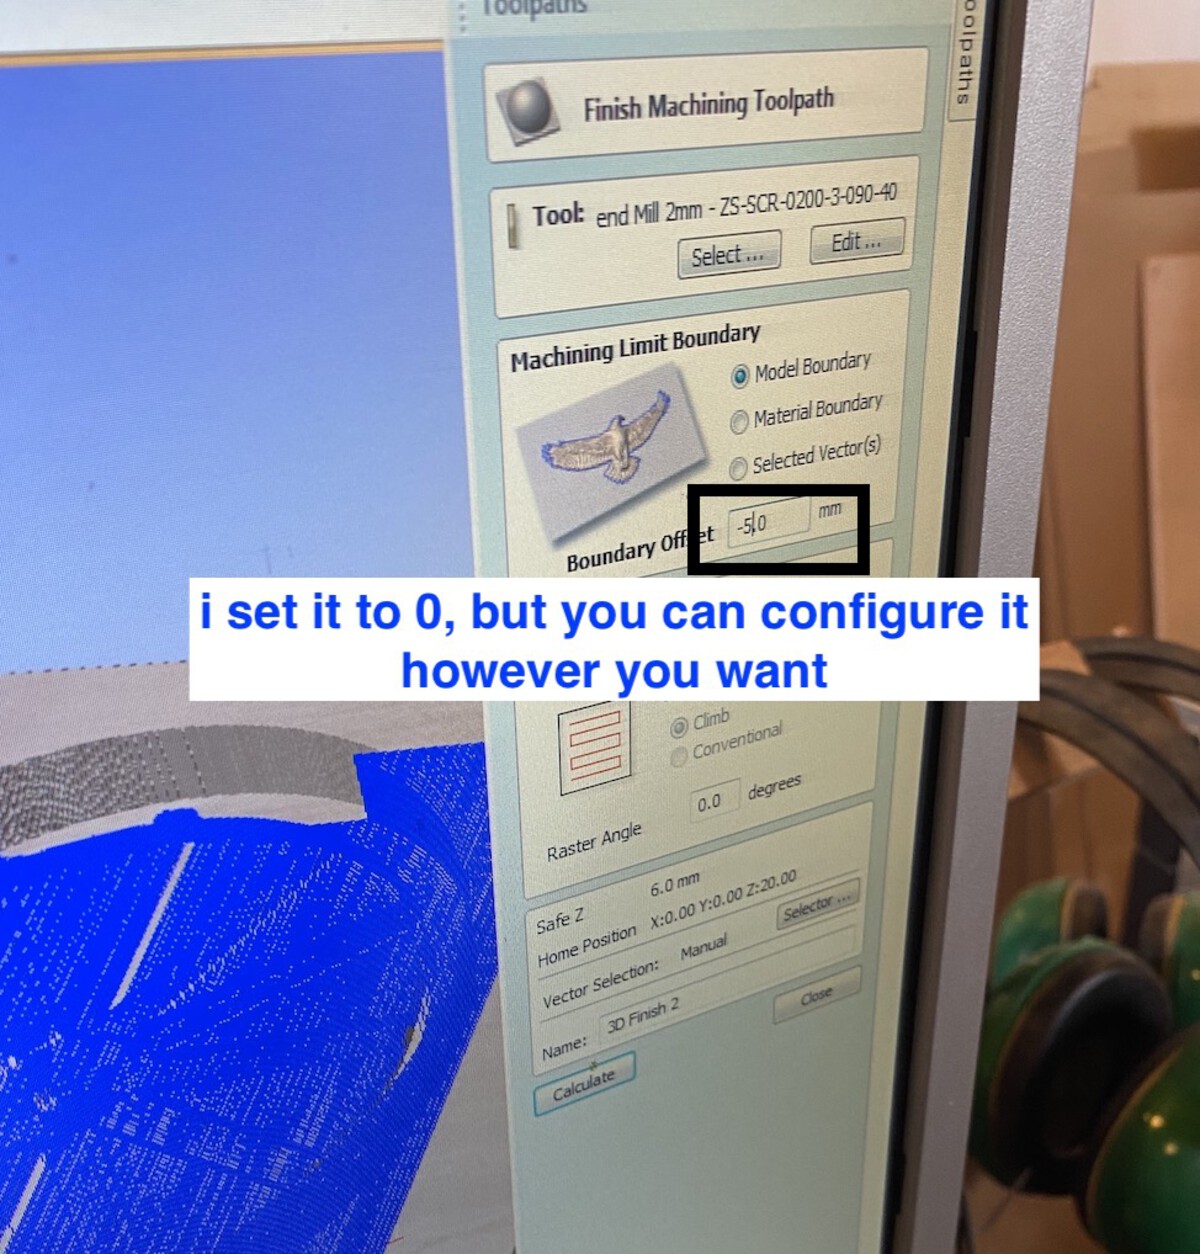
Next, click the 3D Finishing Toolpath button and change the settings as you want. Don't forget to select the end mill you want to use
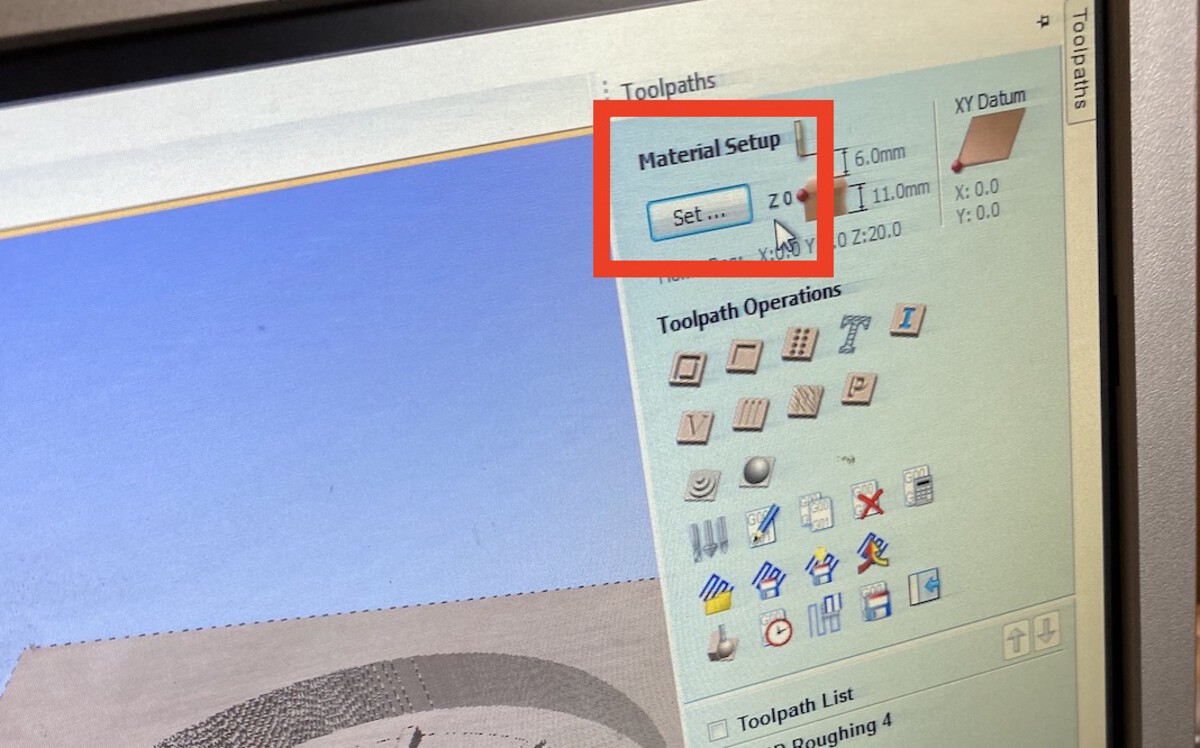
You can also change the Material Setup if needed
If you are going to use different end mills for the roughing and finishing path, you need to export the file separately. If not, you can export it together.
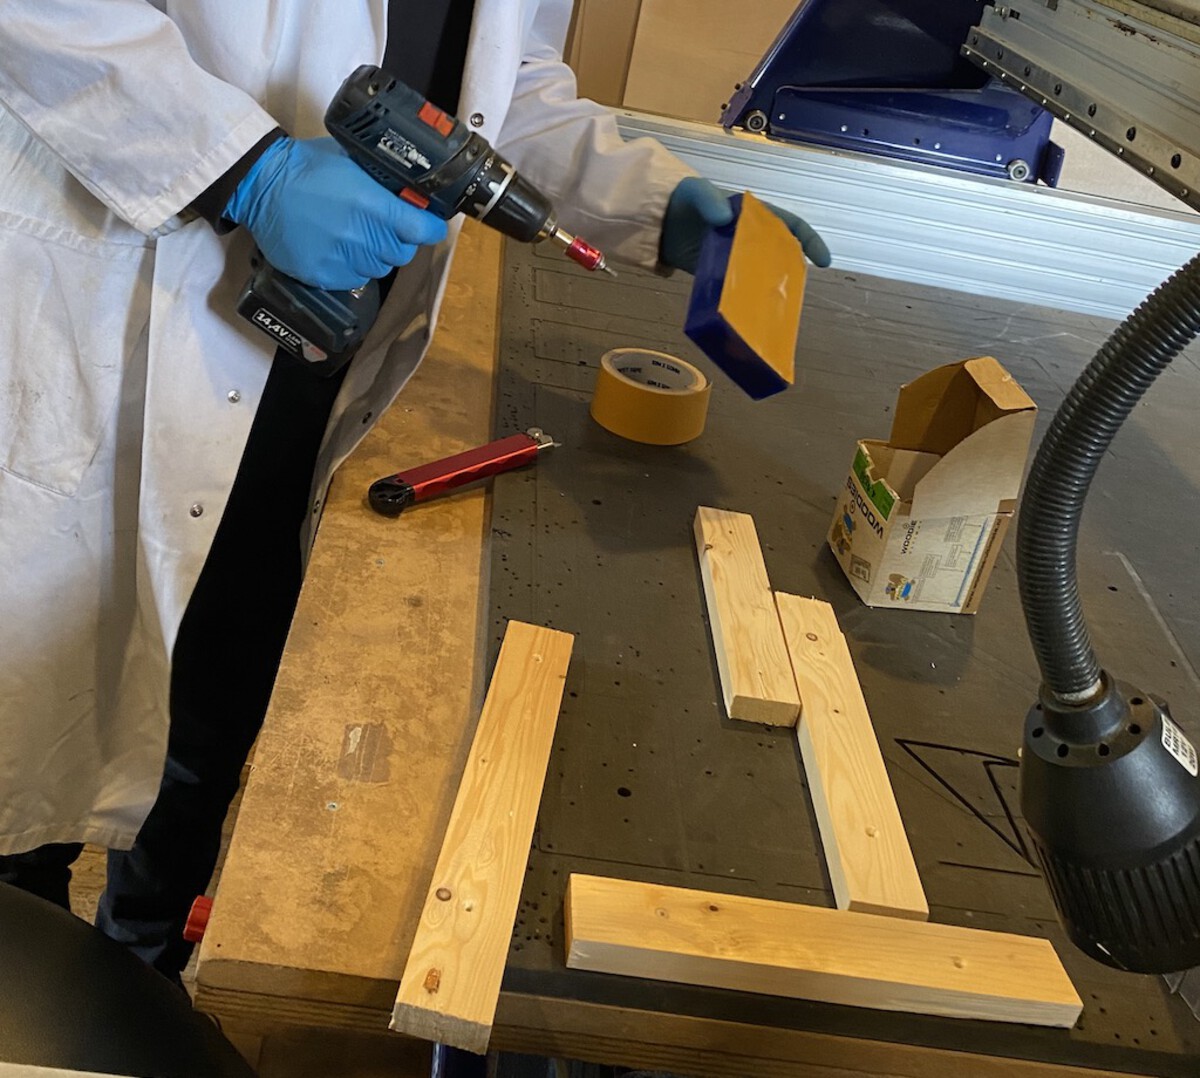
Fix a wax block on the milling table. We used a double sided tape and some pieces of wood to fix it very firmly
Open the Shopbot softeware and set the x, y and z points for the job. I documented how to do this on here
Import the file exported from the VCarve sofeware and start the milling job
Once the job is done, collect the wax residue because we can reuse it by melting it later
Design work
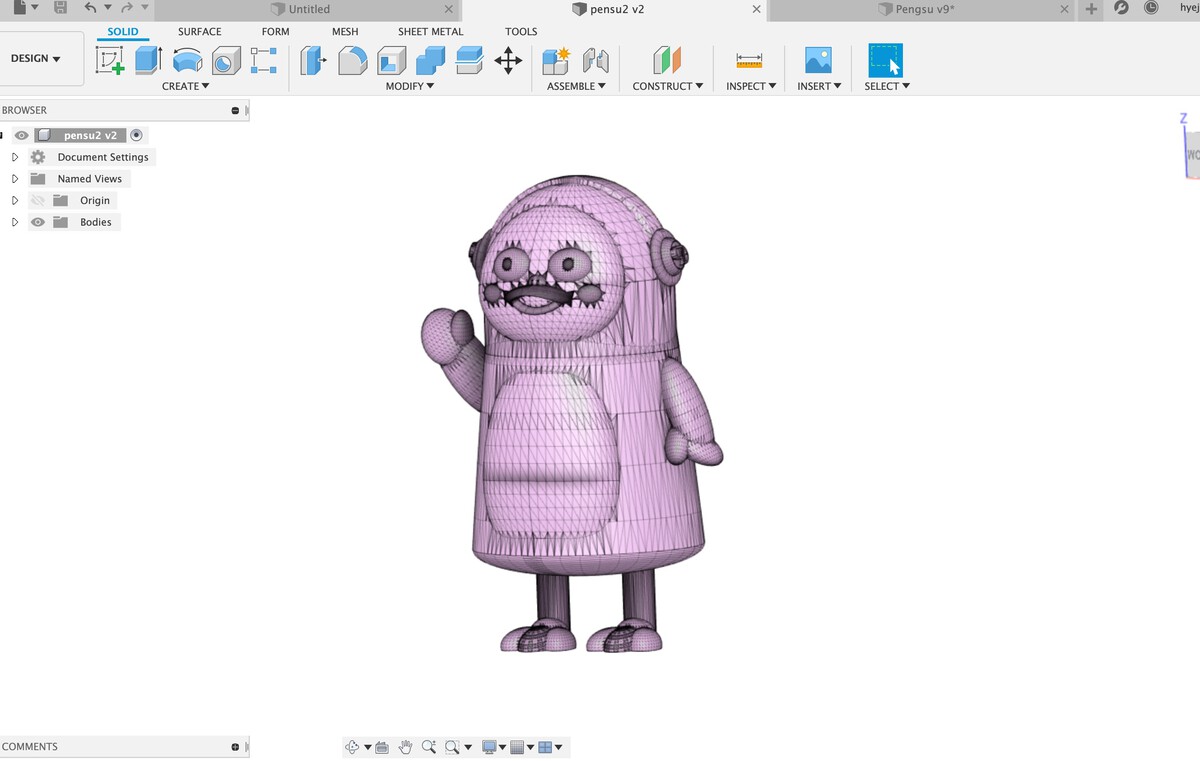
For this week's assignment, I decided to mold and cast my sister's favorite penguin character, named Pengsu.

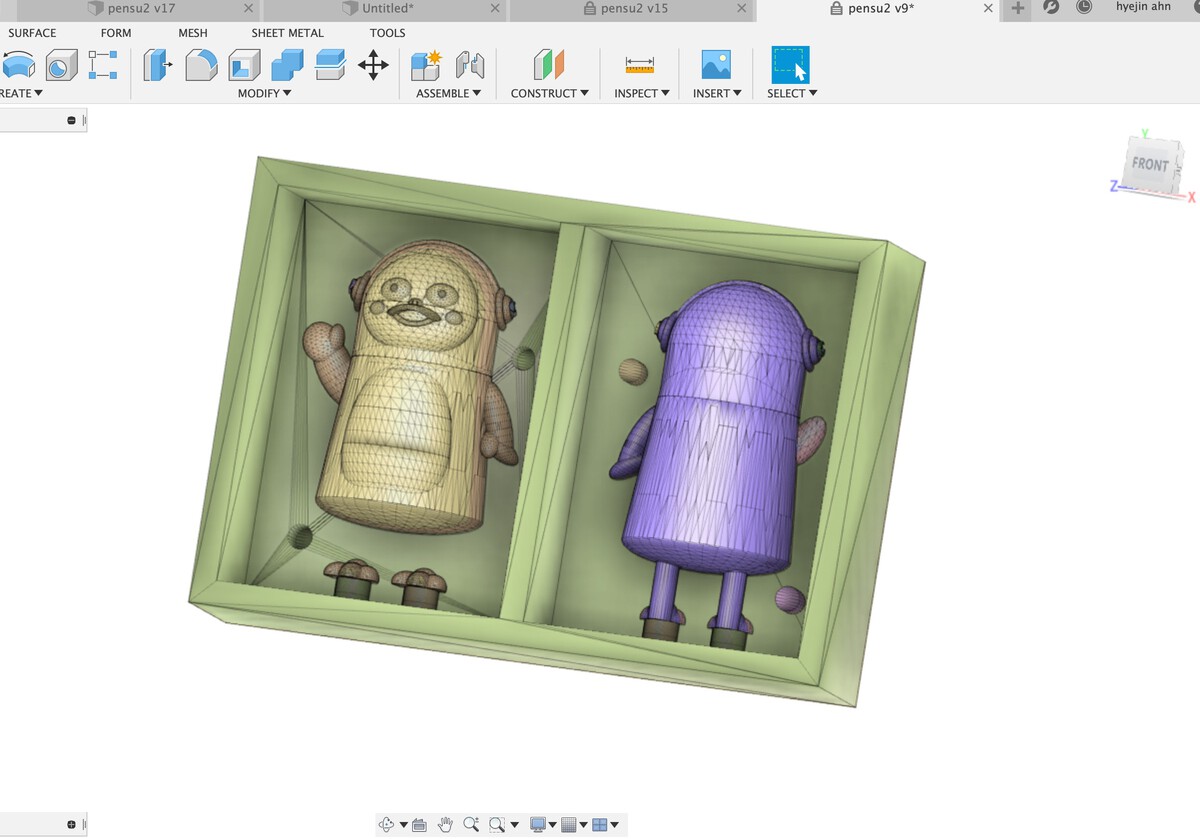
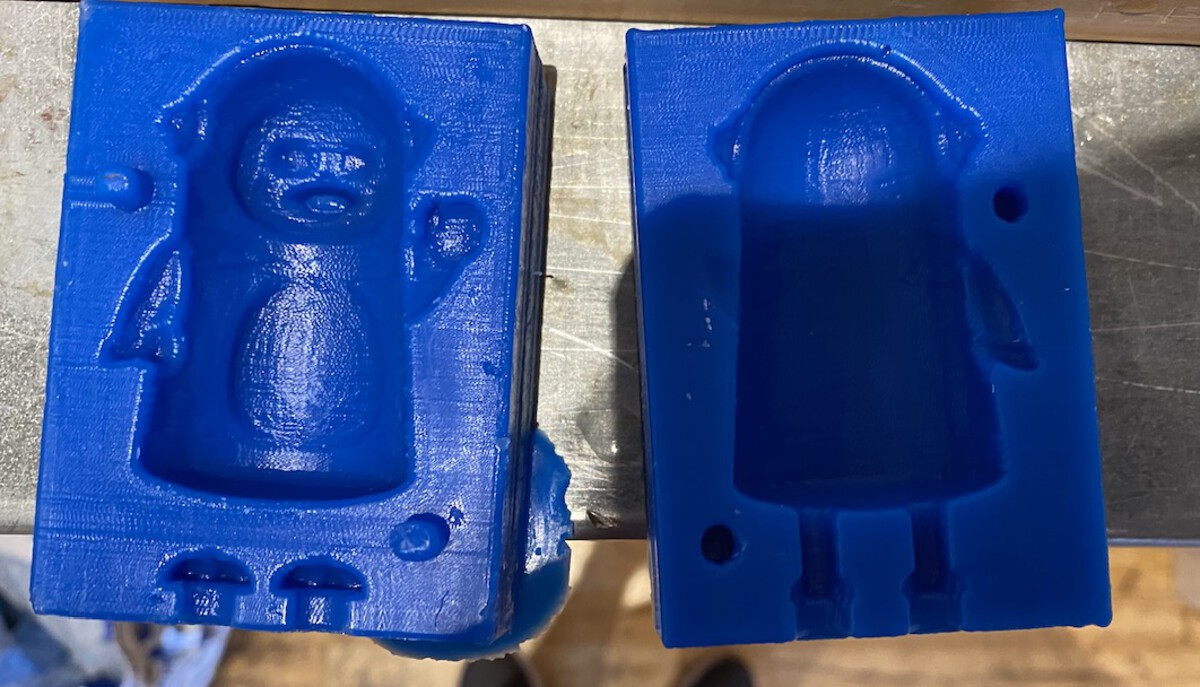
First, I downloaded the Pengsu STL file that I found on the internet. Then, I imported the STL file by clicking Insert > Insert mesh. I splitted the object in half vertically and added cylinder shapes so that the molds could fit together firmly later. At first, I forgot to added the holes to pull the casting material and let the air out. So I added those holes later at the bottom of the figure's feet.
I was ready to use the Shopbot milling machine, but the Shopbot software gave me these warnings and didn't allow me to upload any file to it.
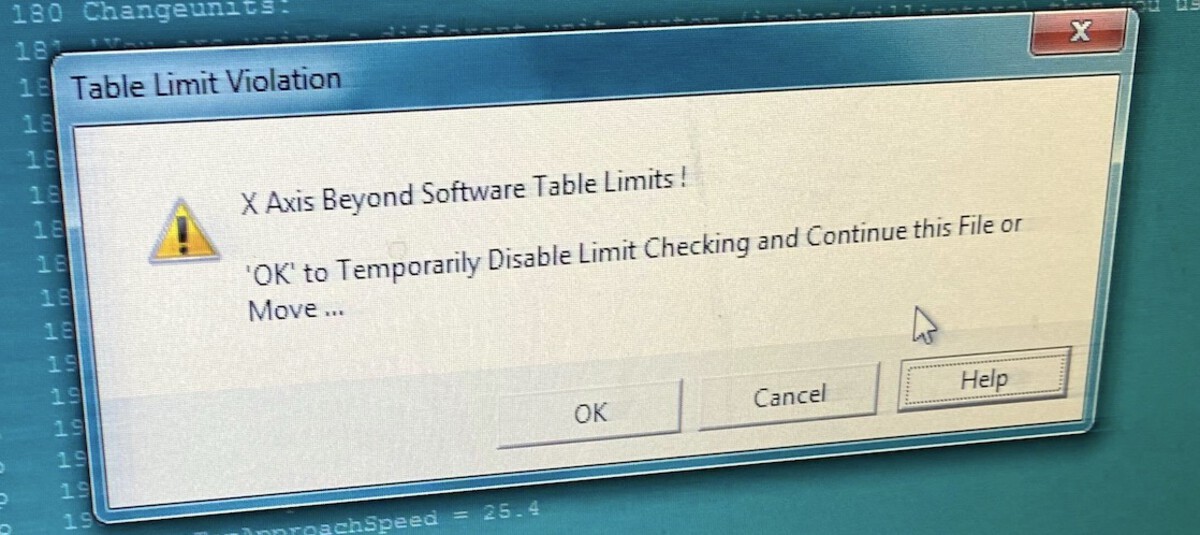

One of our lab manangers tried to fix it but we couldn't figure out how to fix it. So I had to stop and left the lab without milling anything. The next Monday, Henk managed to fix it so I was able to use it on Tuesday.
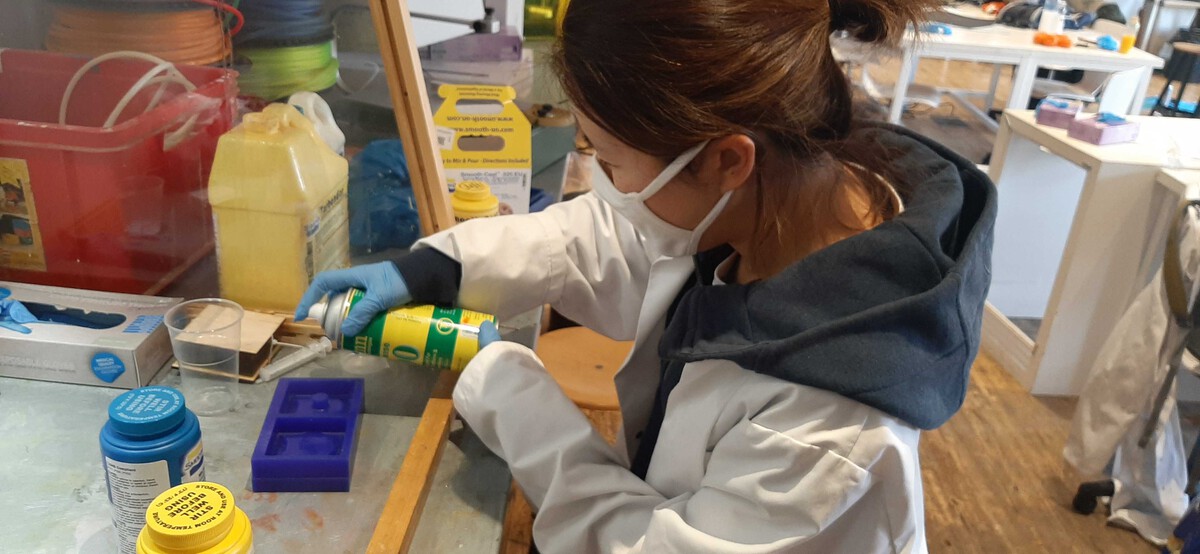
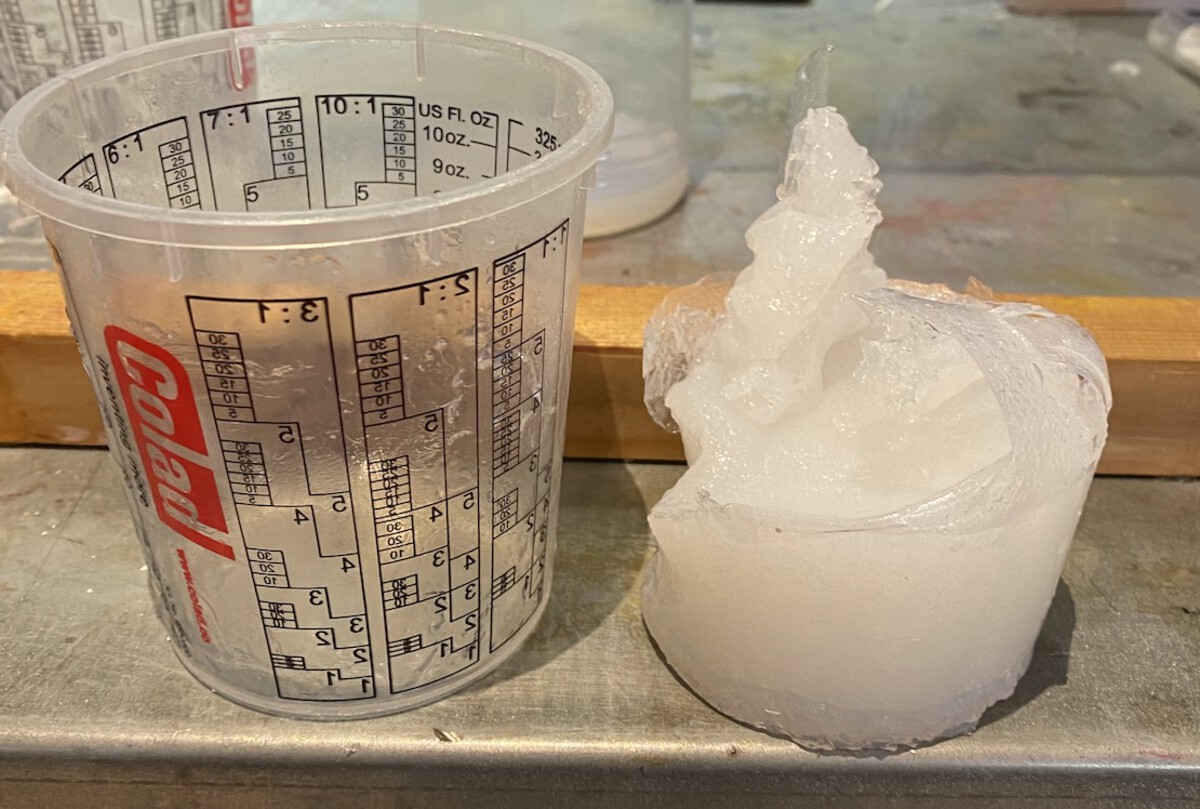
In the meantime, we played with the molding materials we had at the lab. I used Smooth cast 325 to make a mold. First, I sprayed the mold release spray on the mold for the mold (?).
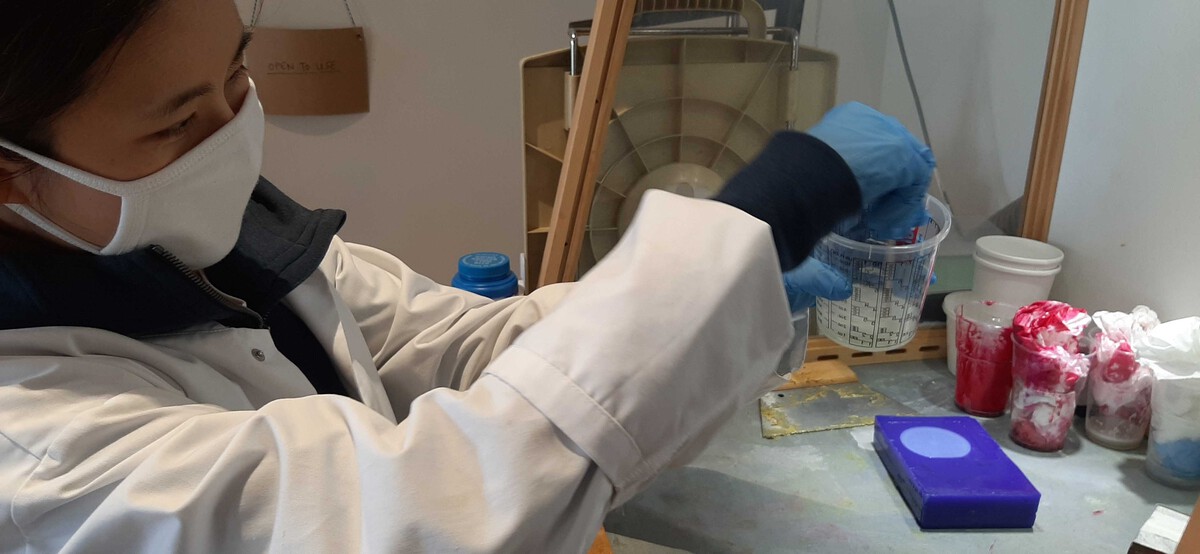
Then, I mixed the part A and B of the Smooth cast 325 with the 1:1 ratio by volume, and stirred it as soon as possible. I tried my best to not to make bubble as much as I could while stirring it. But the result was unsatisfying. There were so many bubbles that it didn't look like a glass at all. I really wanted to get a glass level transparency result. I forgot to wear protection glasses.

Rutger told us how to use the decompression machine. I wanted to use that but the problem was the curing time of Smooth cast 325 was really short, like 10 minutes top.
Milling a mold
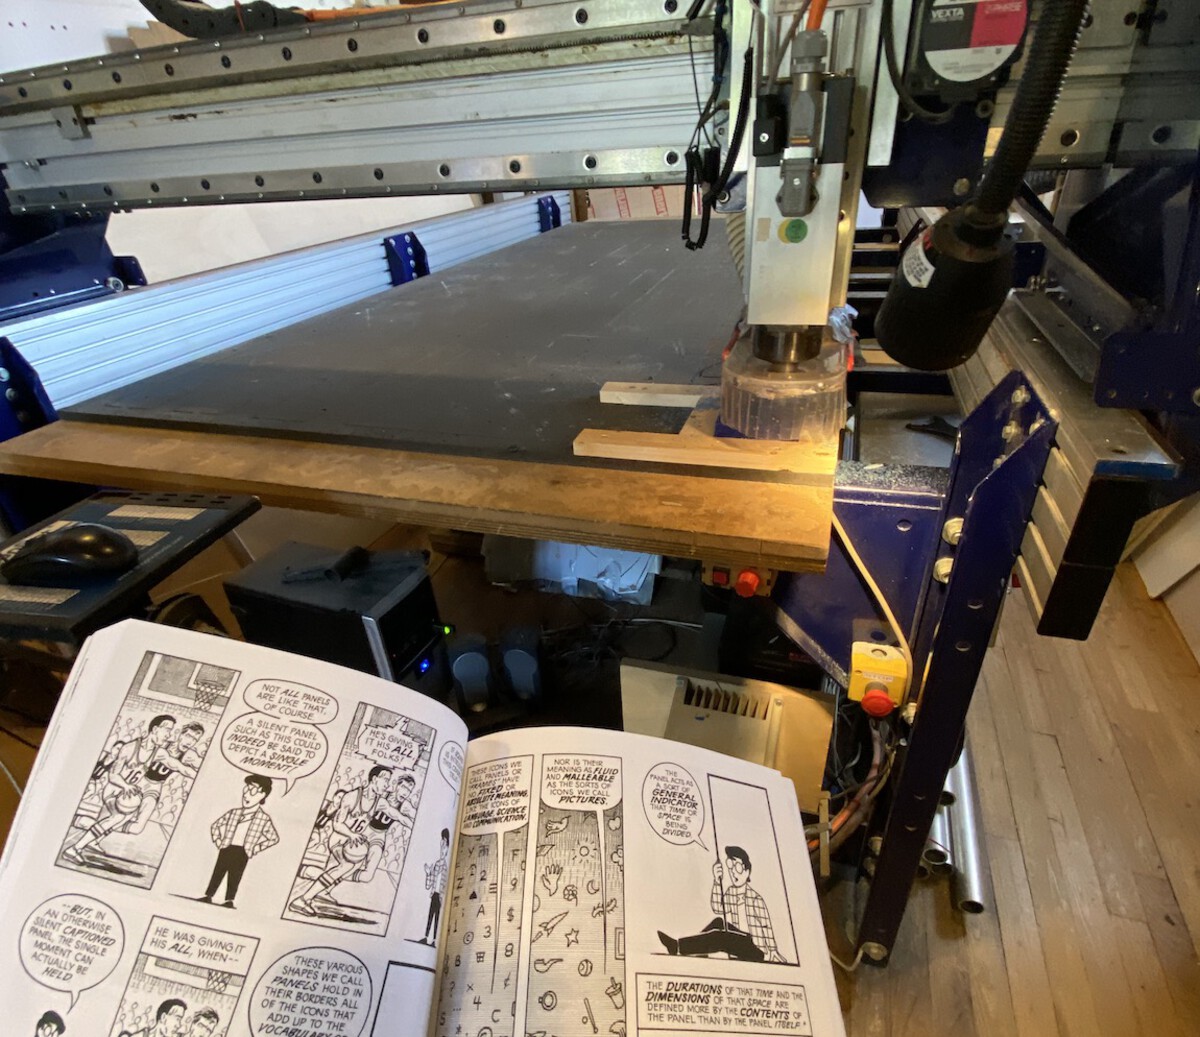
Several days later, I went to the fablab and milled my object. I imported the object file into VCarve and exported the roughing path and finish path files. I used the 3 mm end mill for the roughing path and the 2 mm ball nose end mill for the finish path. The roughing path was taking so long, so I sped up the machine move speed to 100 in the middle of the job. It took around 2.5 hours to finish the roughing path and I was so bored that I read the comic book I brought. (The comic book is called Understanding comics and it's really fun. I highly recommend it.)
The roughing path looked good. Before I ran the rough path, I switched the end mill to the 2mm end mill, and reset the Z origin. I almost forgot to reset the Z value, but the Shopbot program asked me if I change the end mill and reset the Z origin. It was smarter than I thought. I set the move speed to 100 as well and started the job.
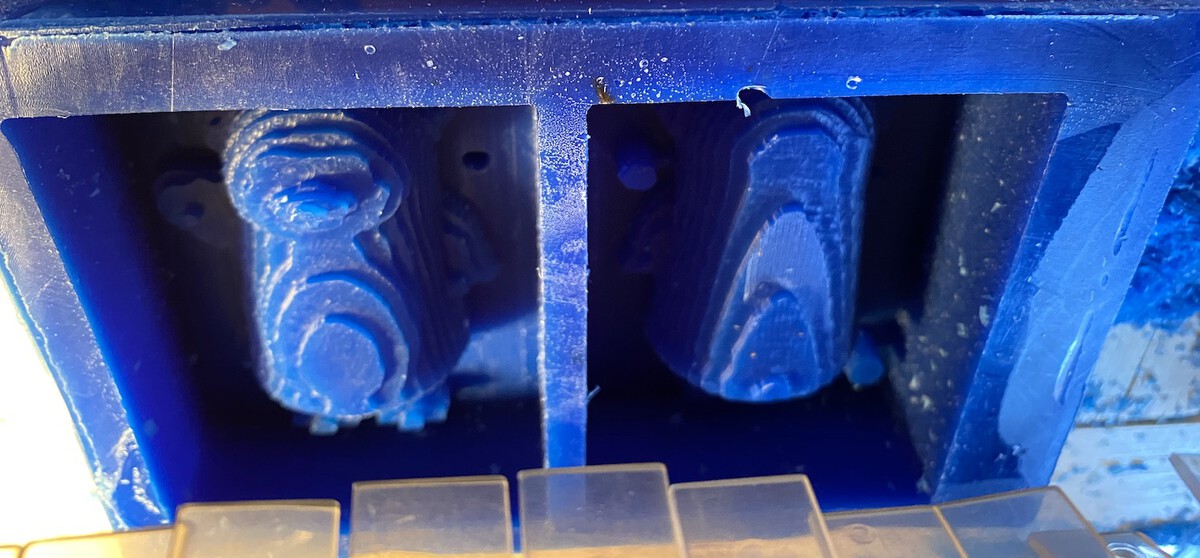
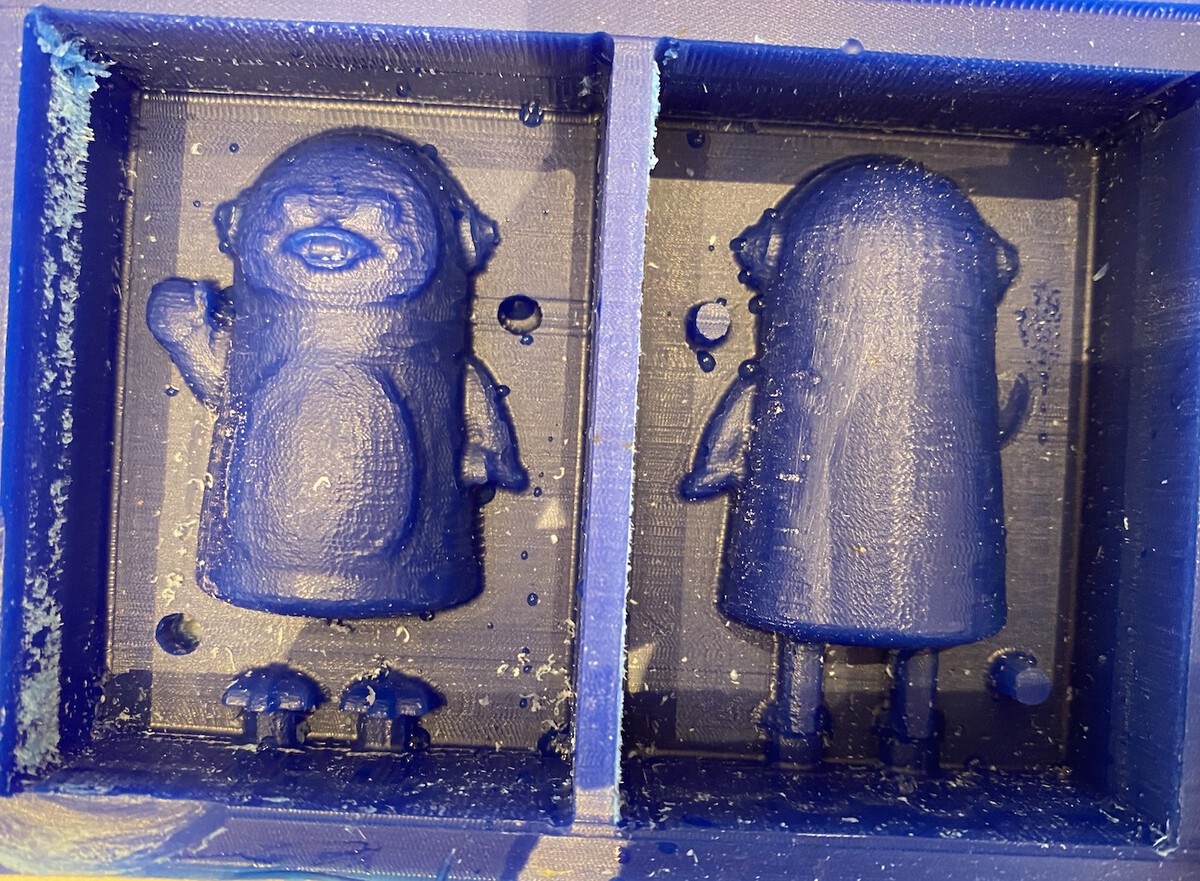
After 1.5 hours, the finish path job was done. It looked nice in general, but the surface wasn't smooth as I expected. I tried to sand it with sand paper and even tried to melt the surface with a lighter, but nothing really made it better. Henk said the other option could be sanding it after casting the object.
Making a silicon mold
To make a mold, I used the silicon that Rutger brought from home. He said the curing time was really short, so I kept that in mind and tried to mix and pour as fast as I can. I mixed the 2 components (1:10 ratio) for 2 minutes and brought it to the decompression machine to remove the bubbles. But... When I took it out from the decompression machine, it was already cured! This is the silicone I used. It has a curing time of 15 minutes.
I didn't know the curing time would be this short. We didn't have enough silicon left, so Harm and I went to the nearby FormX and bought a new silicon molding material, Mold Star 30. We poured it into our wax mold and let it cure until the next day.
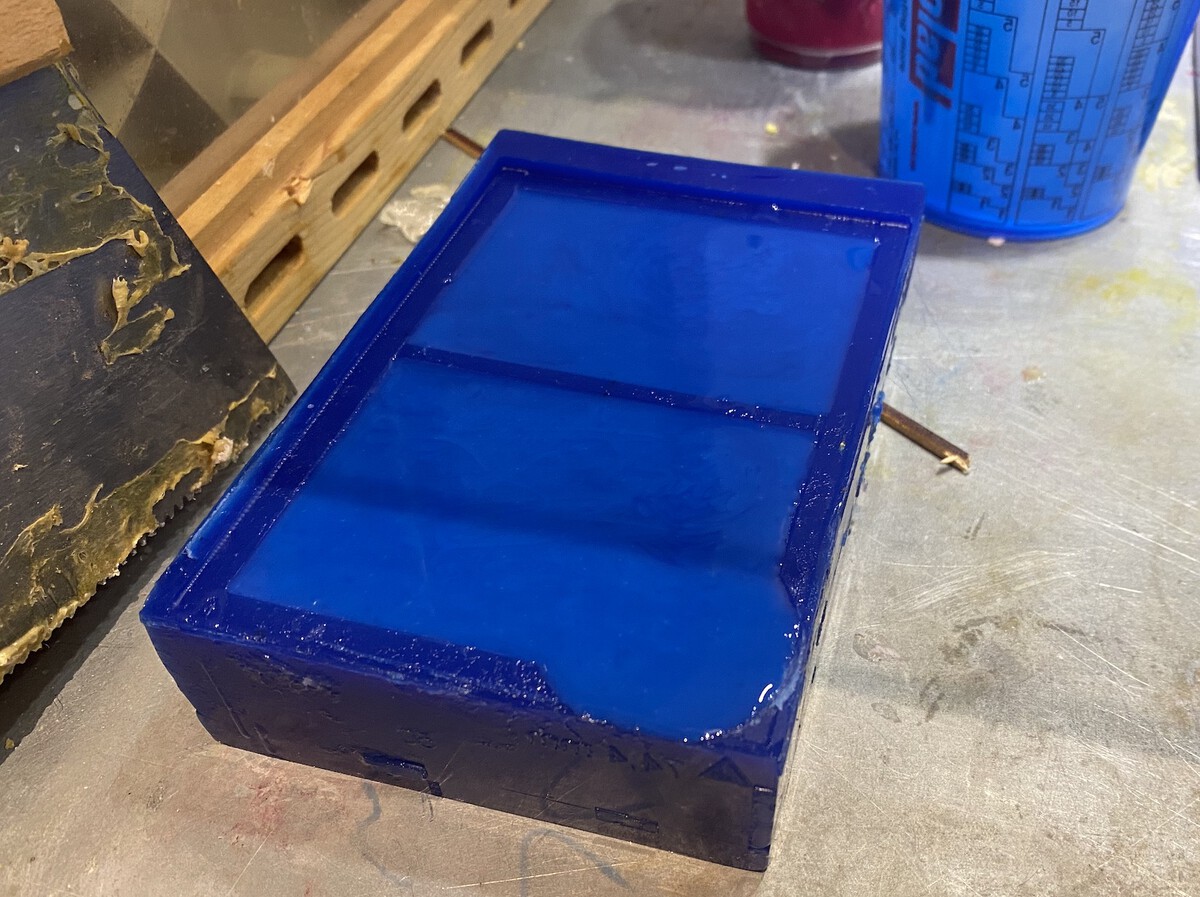
The next day, I went to the lab to check out the silicon mold I made yesterday. It looked great!
Casting
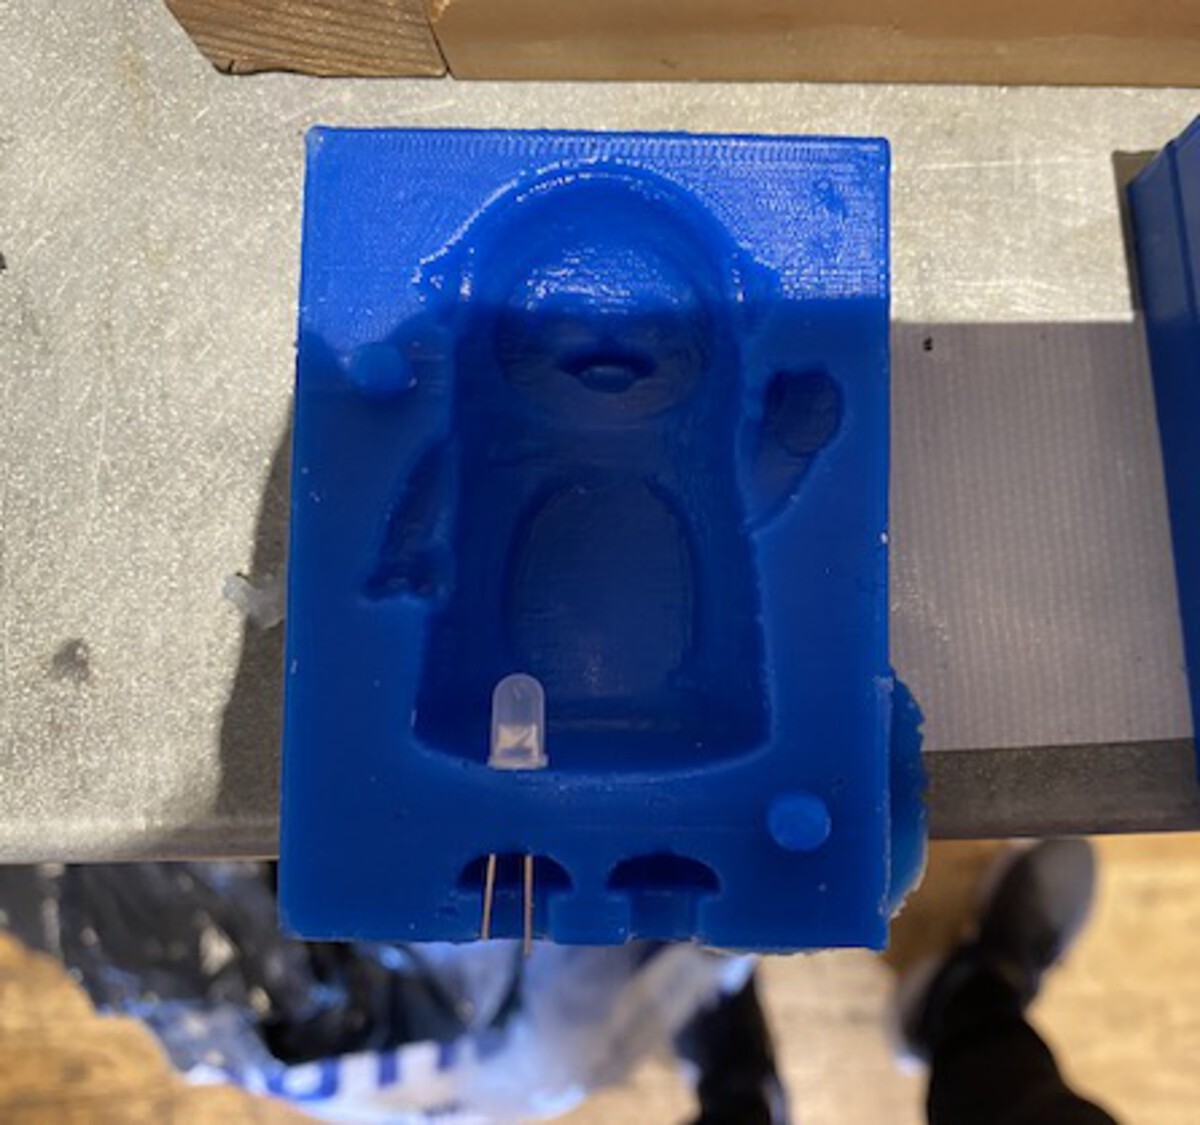
I used the Smooth-Cast 325 since I didn't have enough time until the class. The cure time of this material is around 5 - 10 minutes, so before mixing the A and B liquid, I had to make sure that everything was ready to pour. I mixed the A and B liquid for about 30 seconds and poured it into my mold. It was so fast to be cured that even in the middle of the pouring process, it got sticky. I also wanted to put an LED inside of it, so before closing the mold, I put an LED on its leg.
The first trial turned out to be okay, but the leg part and the back part weren't perfect. On the second trial, I really thought that I poured well, but there was a huge air gap. (The red one) So it came out as a half penguin which was kinda scary, especially because of the color.
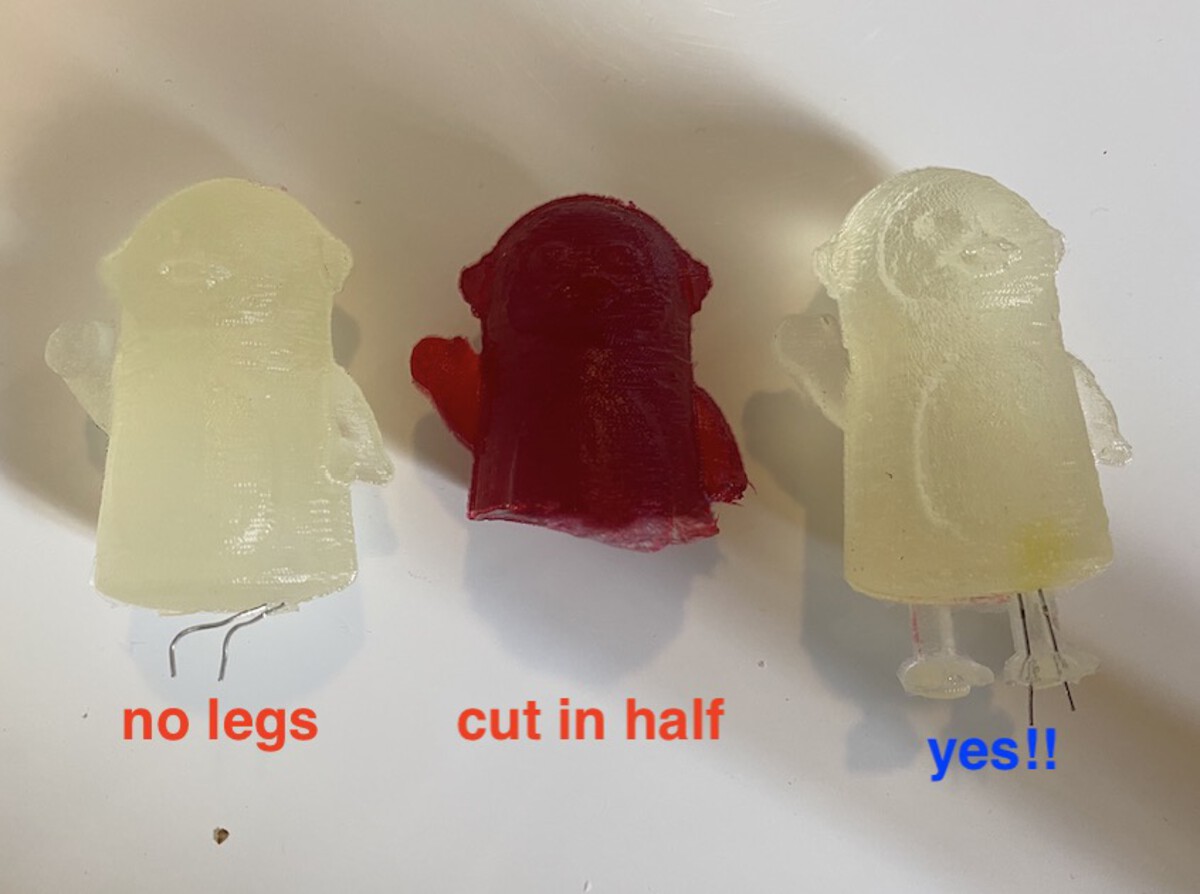
Finally, the last one came out as I expected. Unfortunately, some of the mold part came out with the figure because of the LED I stuck on it. Other than that, it looked nice. And voila!
Group assignment
For this week's group assignment, each of us read different datasheets of molding and casting materials. The detailed group assignment documentation can be found here.
Useful links
Attachments
- pengsu_stl