-
01. Principles and practices
-
02. Project management
-
03. Computer-Aided design
-
04. Computer controlled cutting
-
05. Electronics production
-
06. 3D Scanning and printing
-
07. Electronics design
-
08. Computer controlled machining
-
09. Embedded programming
-
10. Input devices
-
11. Applications and implications
-
12. Output devices
-
13. Interface and application programming
-
14. Invention, intellectual property and income
-
15. Networking and communications
-
16. Molding and casting
-
17. Wildcard week
-
18. Machine design
-
19. Project development
-
Glossary
Week 4. Computer-controlled cutting
Feb 18, 2020
Assignment
Group assignment
- Characterize your lasercutter's focus, power, speed, rate, kerf, and joint clearance
Individual assignment
- Cut something on the vinyl cutter
- Design, lasercut, and document a parametric construction kit, accounting for the laser cutter kerf, which can be assembled in multiple ways, and for extra credit include elements that aren't flat
How to use a laser cutter
The laser cutter we have here is BRM1612. Rutger taught us how to use the laser cutter step by step.
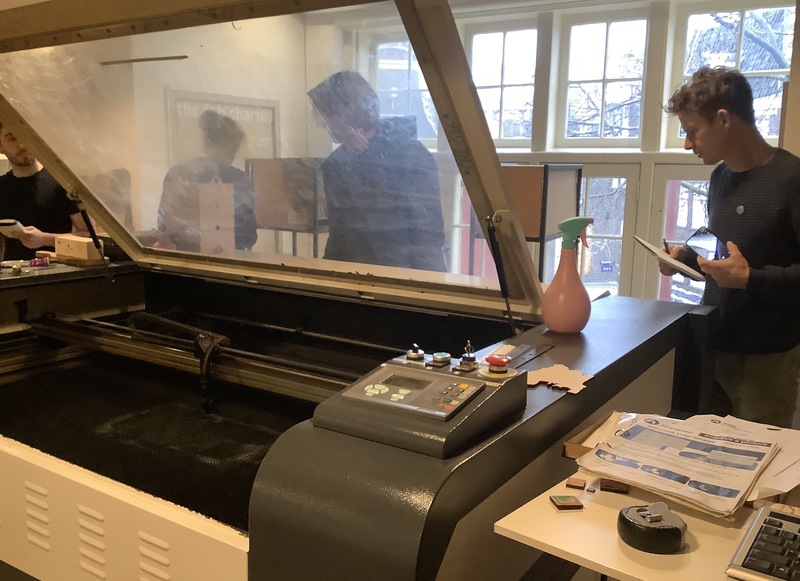
Laser cutter at the Waag
Save your file as .dxf or .ai(CS2) on a USB stick
Plug in your USB stick and import the design
Place a piece of wood on the laser cutter table
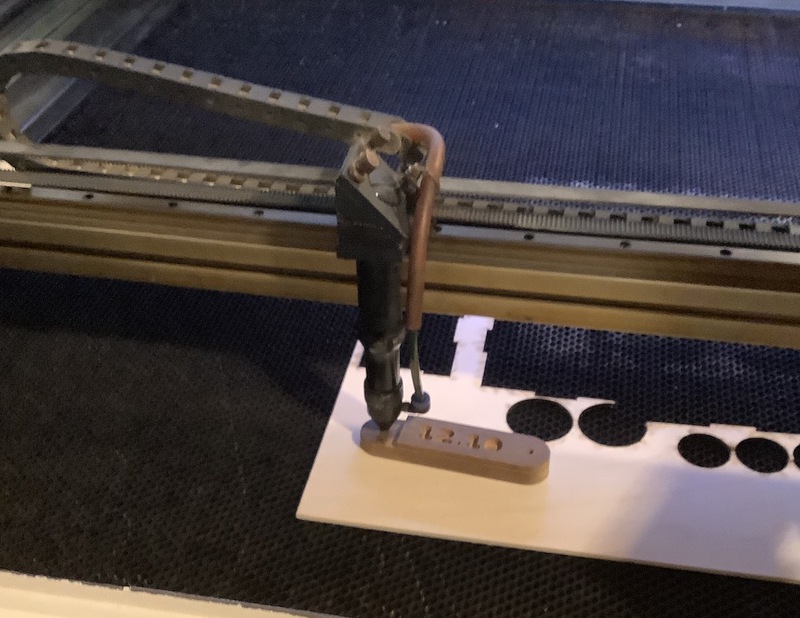
Adjust the distance between laser head and the wood with the tool like the photo below.
Check the dimension of the design by clicking the size button
Zoom out the design to see if the design is located within the working table
Click Edit > Center to table
Select the entire design and click Tools > Unite lines and set the Tolerance to 0.1
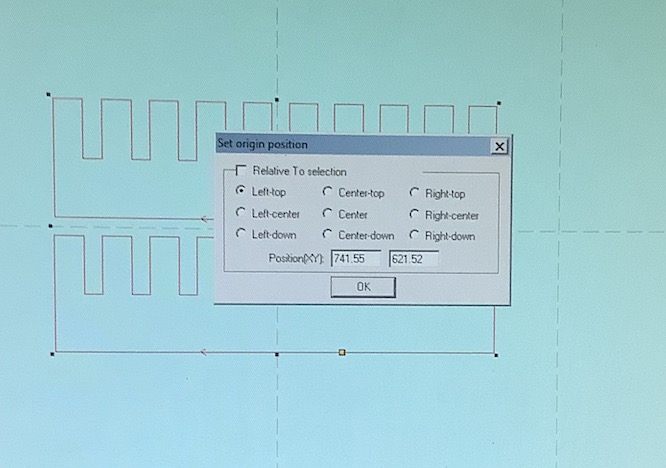
Click Laser > Set laser origin and select left top
Change the cutting settings(cut, engrave, speed, power, etc) as your needs and set the corner power to 20%
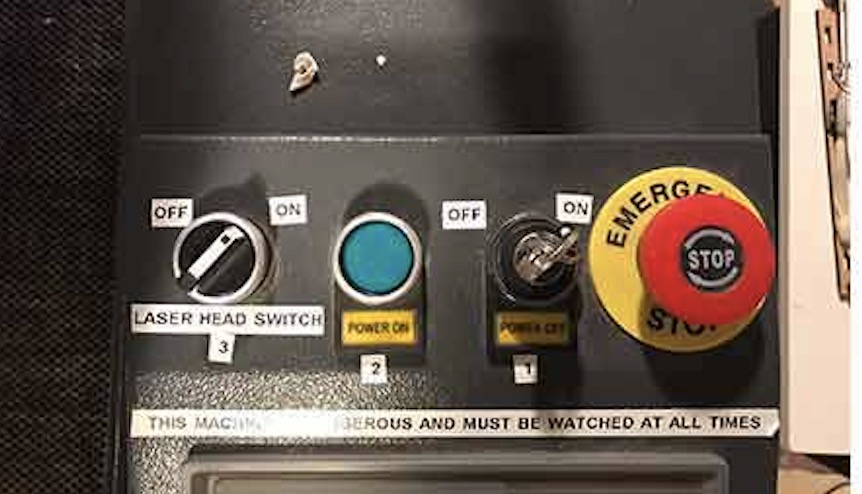
Turn on the three buttons, seen in the picture below
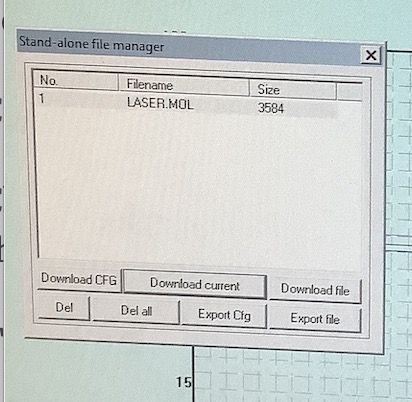
Click the Download button on the right panel of the software
Click the del all button to delete the previous file
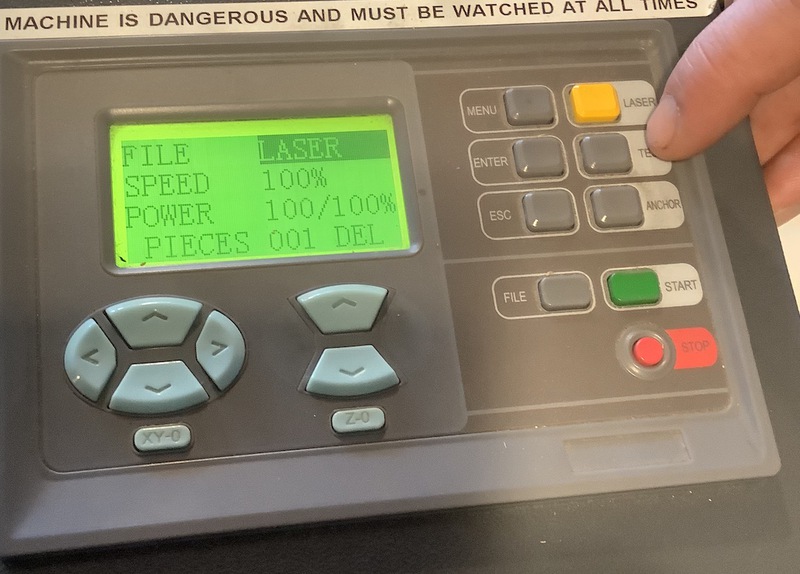
Once it's downloaded, move the laser head to the left top corner of the material on the cutting table
Press the Anchor button on the machine and press Enter
Press the Test button to see the estimated cutting size
Close the lid of the machine
Turn on the exhaust fan
Click the Start button
Checklist for using the laser cutter
- Export file with CS2 version and uncheck all checkboxes (but this method didn't work for me, so I used a different method.
- Unite lines(Tools > Unite lines)
- Delete the previous file and download your file
- Turn on the exhaust fan
- Check if you are using a proper material (e.g. you can't use PVC or MBF)
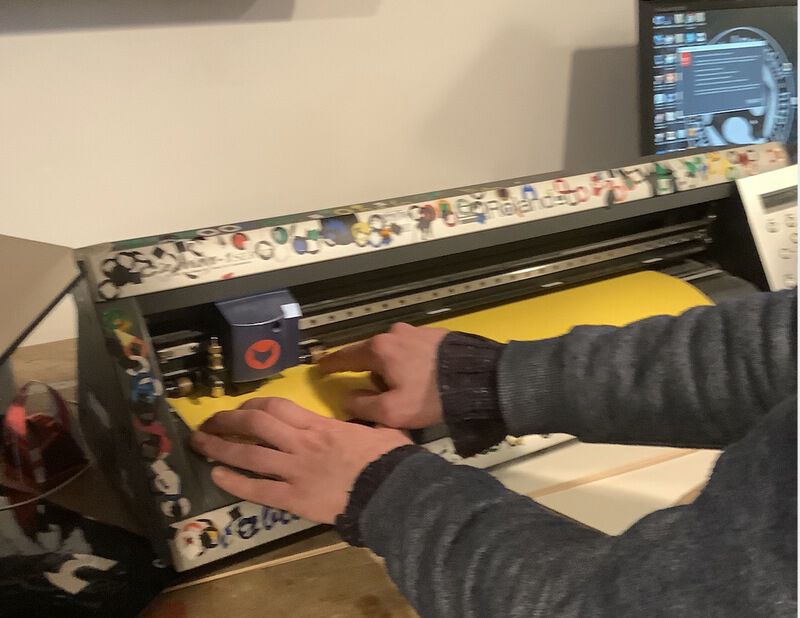
How to use a vinyl cutter
This is the vinyl cutter we have at Waag. It's Roland GX-24. Rutger also taught us how to use the machine step by step. It was easier to use than the laser cutter.
Save your design as .ai or .svg and move it to a USB stick
Turn on the computer next to the laser cutter
Right when the computer is first booting, hit the F2 key to switch to Windows 7
Plug the USB stick in to the computer
After Windows 7 finishes loading, open Adobe Illustrator
Open your design
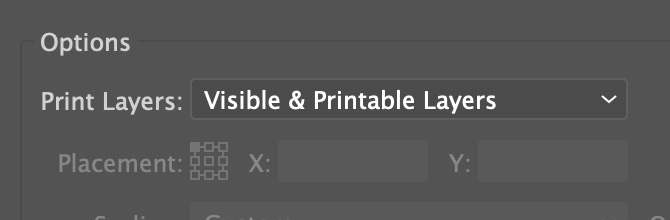
Click the Print button on Adobe Illustrator
Click the left bottom box on the Placement option
Tick the do not scale box
Turn on the vinyl cutter machine and place the vinyl material in the right position
Hold the paper with the handle behind the machine
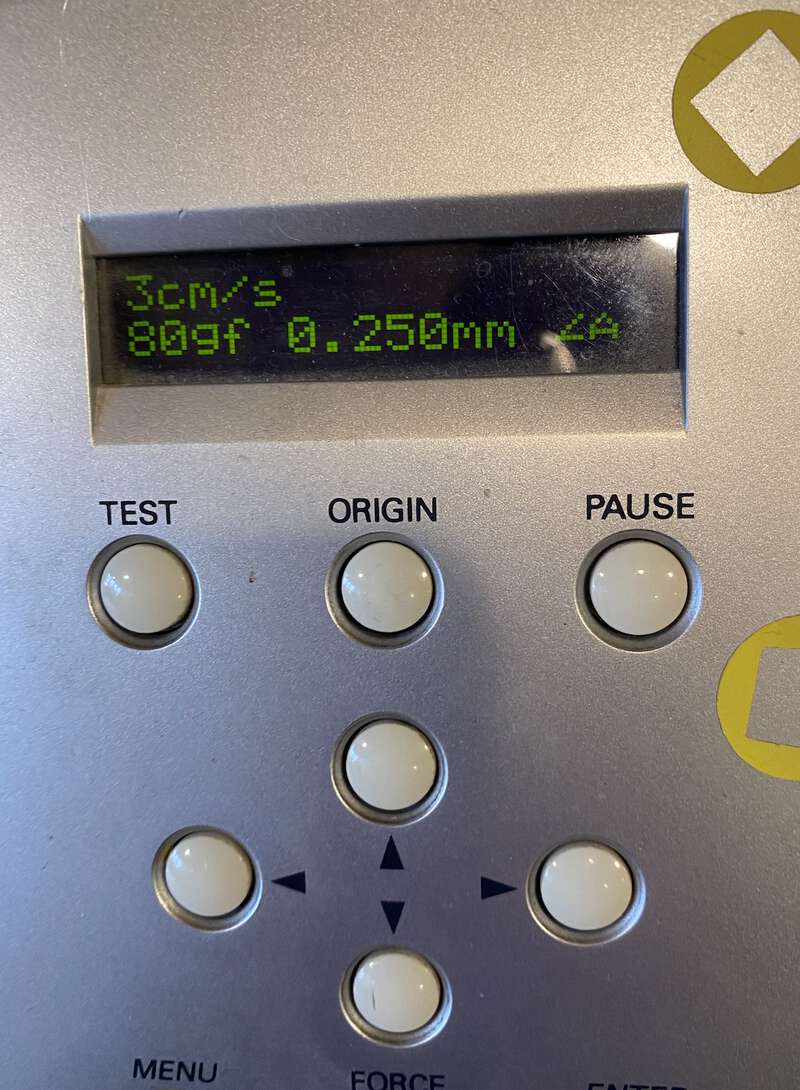
Press the Origin button on the machine and hold it until the text on the screen stops blinking
Then, it will show you the settings. In my case, I used 3cm/s of speed, 80gf of power and 0.250mm.
Hold the Test button until the text on the screen stops blinking and see if the estimated cutting area looks right
Press the Start button
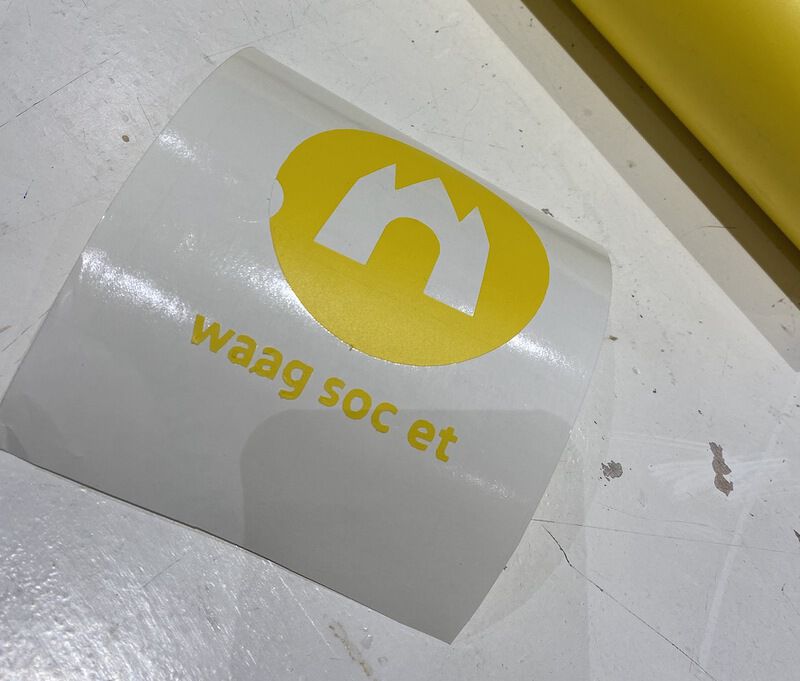
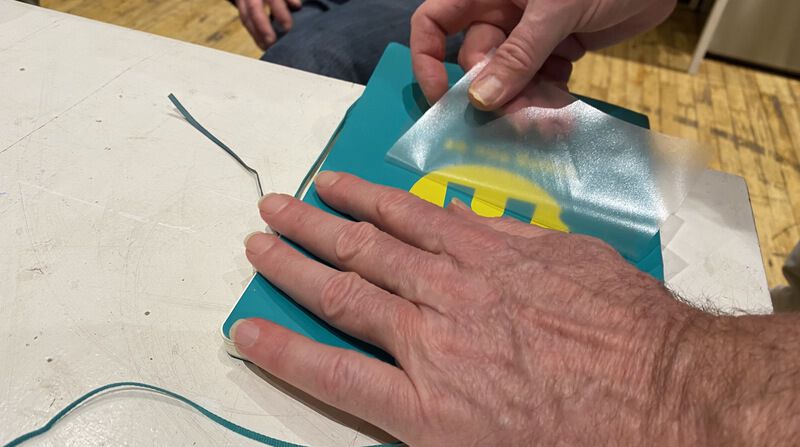
When the cutting is done, move the stickers with a transfer paper
Carefully move the stickers from the transfer paper to the object you want to put on
Checklist for using the vinyl cutter
- Always set 1pt for lines
Group assignment
This week, there was a group assignment. The group documentation can be found here. During the group assignment, we had to figure out our lasercutter's focus, power, speed, rate, kerf, and joint clearance. I mainly worked on the joint clearance part.
Power, speed and kerf
We measured the kerf with various power and speed settings to see if there would be any difference. The result is below.
| total size(mm) | speed | power | total after cut(mm) | result(mm) | number of lines | kerf(mm) | offset(mm) |
|---|---|---|---|---|---|---|---|
| 100 | 15 | 50 | 97.51 | 2.49 | 10 | 0.249 | 0.1245 |
| 100 | 15 | 100 | 96.35 | 3.65 | 10 | 0.365 | 0.1825 |
| 100 | 30 | 50 | 98.63 | 1.37 | 10 | 0.137 | 0.0685 |
| 100 | 30 | 100 | 97.68 | 2.32 | 10 | 0.232 | 0.116 |
As you can see from the table, the kerf is proportion to the power, and inverse proportion to the speed.
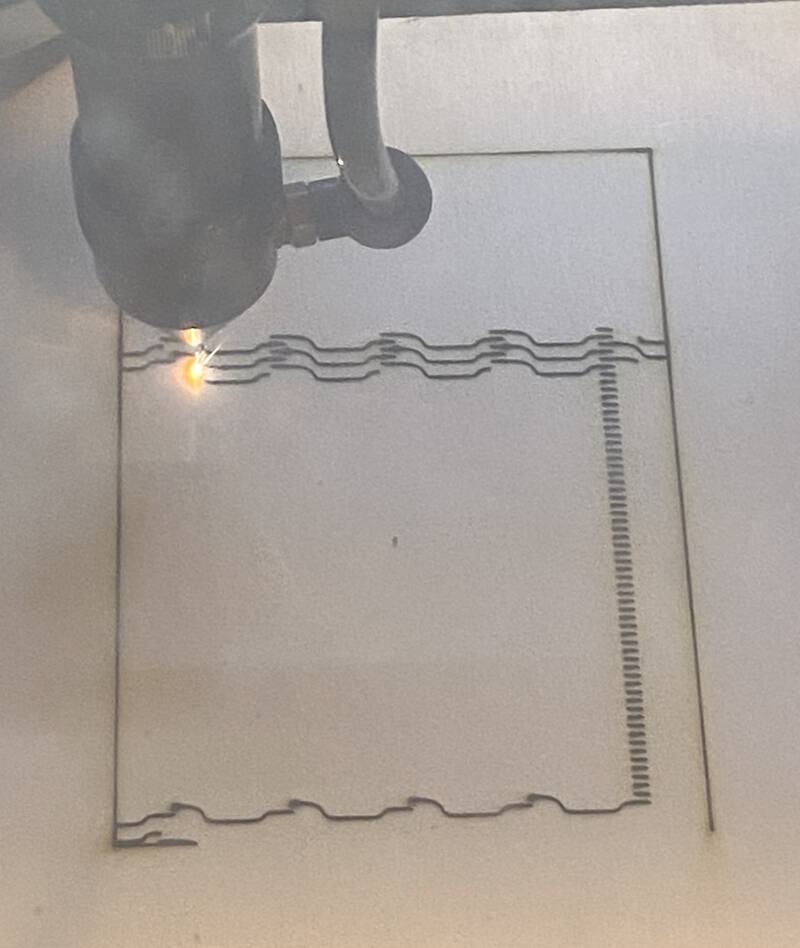
Joint clearance
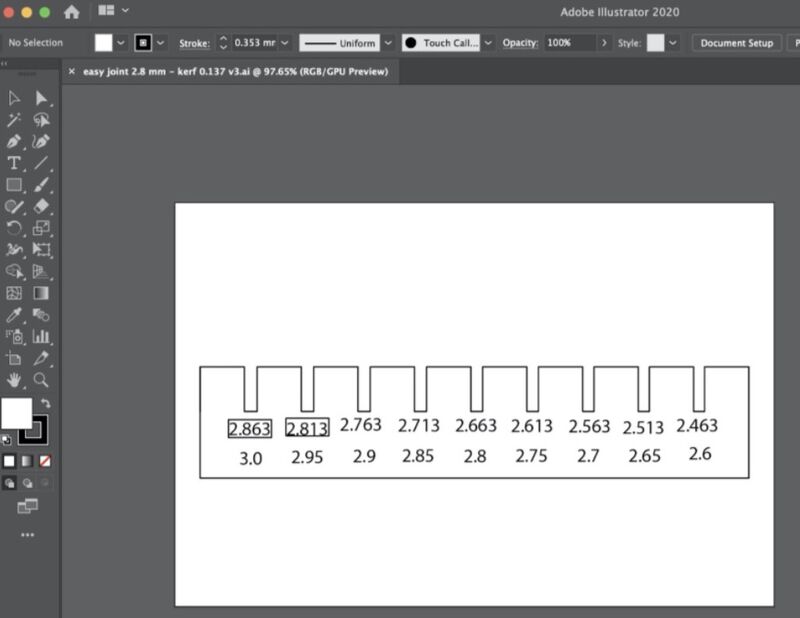
Rinke made this comb design on Fusion 360. At first, we tried to import the .dxf format file. But for some reason, the laser cutter software couldn't read the dxf file. So we moved the file into Adobe Illustrator and turned it into .ai file. We imported the .ai file on the software, and it worked that time.
But there was another problem. We didn't turn the text on the design into a vector graphic, so the program ignored the numbers. We removed the numbers from the design and hand wrote the numbers like the photo below. Later, I figured out how to turn text into vector on Adobe Illustrator.
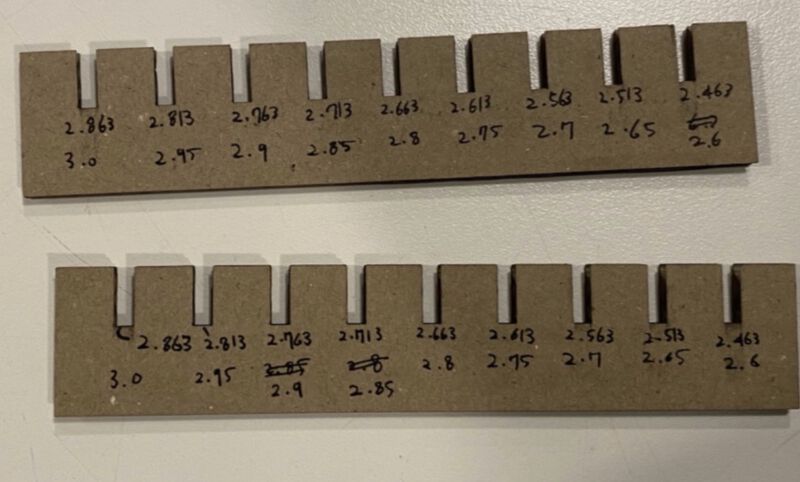
We tested which slot has the tightest fit. The 2.7 slot was too loose, but the 2.65 one made a pretty good grip together. The best one was the 2.6 one. When we first fitted them together, it felt a little bit too tight. But after taking them apart and putting them together several times, they fit perfectly.
Individual assignment 1. Laser cutter
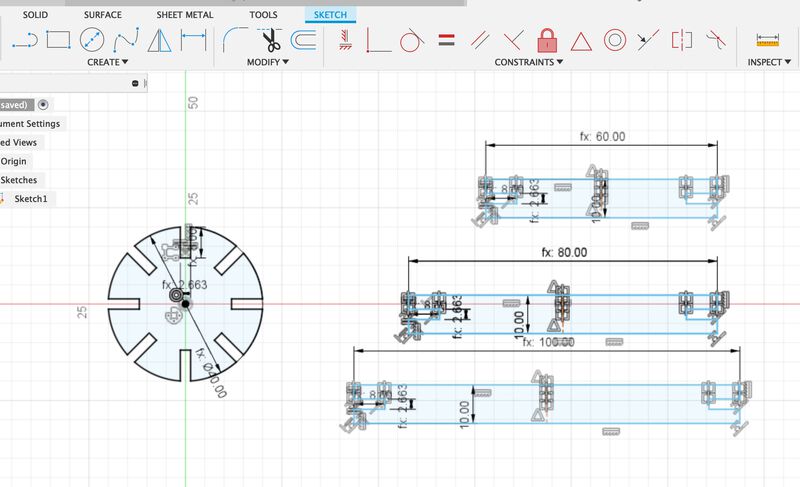
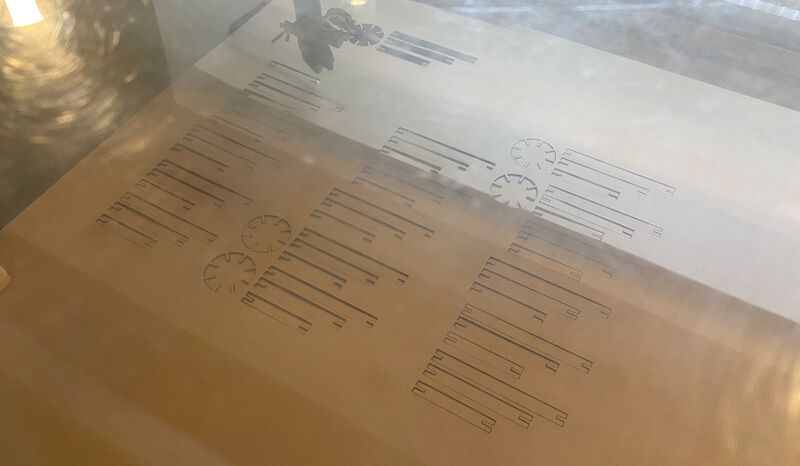
(1) Parametric press kit
This is the design for my parametric press fit kit.
These are the parameters used in the design. I set the kerf as 0.137mm, the value we got from the group experiment. And I set the joint clearance as 0.2mm, the value we got from another group assignment, the comb test.
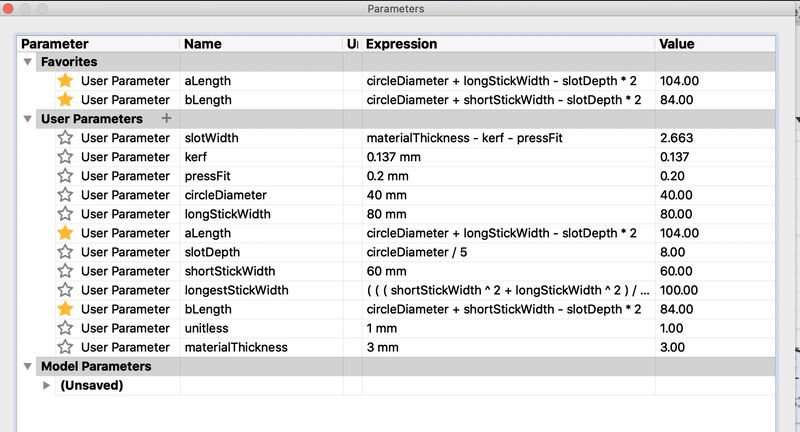
The length of the shortest stick was 60mm, and the middle stick was 80mm and the longest stick was 100mm. I simply used pythagorean theorem to get those numbers. The slot width was the kerf and pressFit value subtracted from the thickness of the material. I ended up not using the aLengh and the bLength in the screenshot so you can just ignore them.
I was a bit scared of using the laser cutter in the beginning, but I became familiar with the machine after using it several times. Now I don't even have to read the instructions I wrote down before. Still, it is very important to be careful and go step-by-step you need when using the laser cutter. Also, you always have to watch the machine standing nearby, when it's cutting something.
For the settings, I set 50 for speed and 30 for power, which was the default value of the sofetware.
After the cutting was done, I played with them for a while. I tried to make different structures, vertically and horizontally. It reminded me of my childhood memories when I played with LEGO blocks.
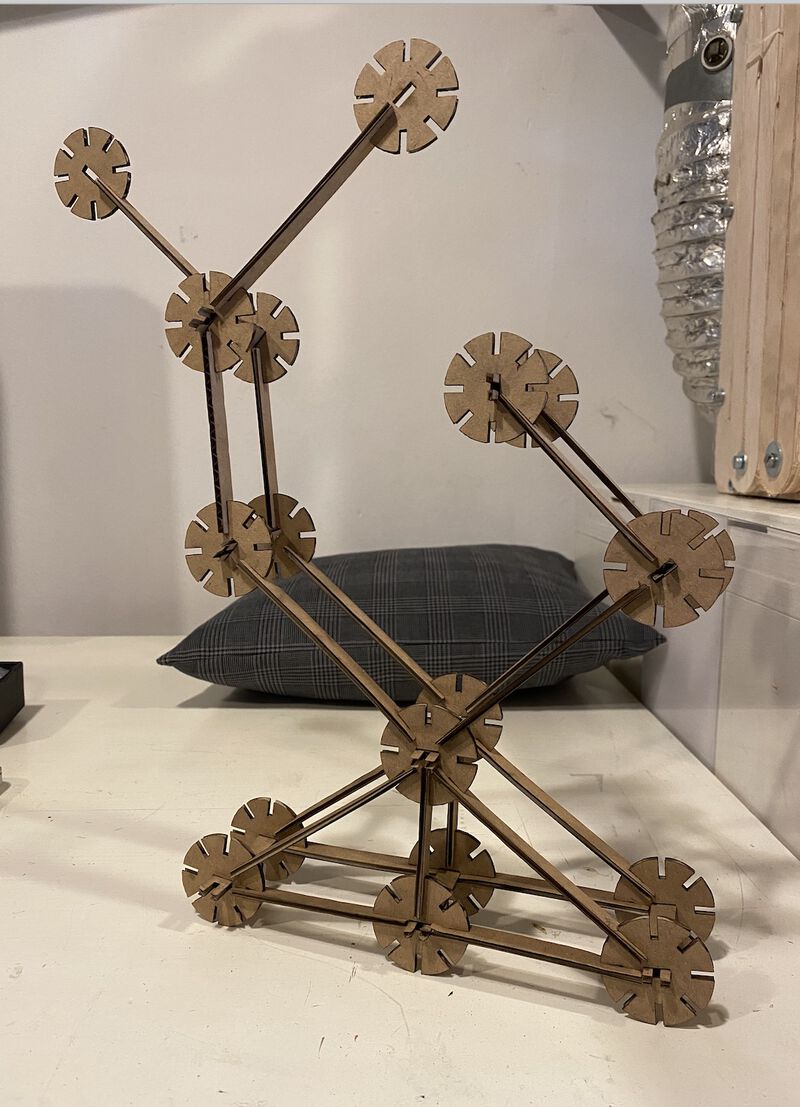

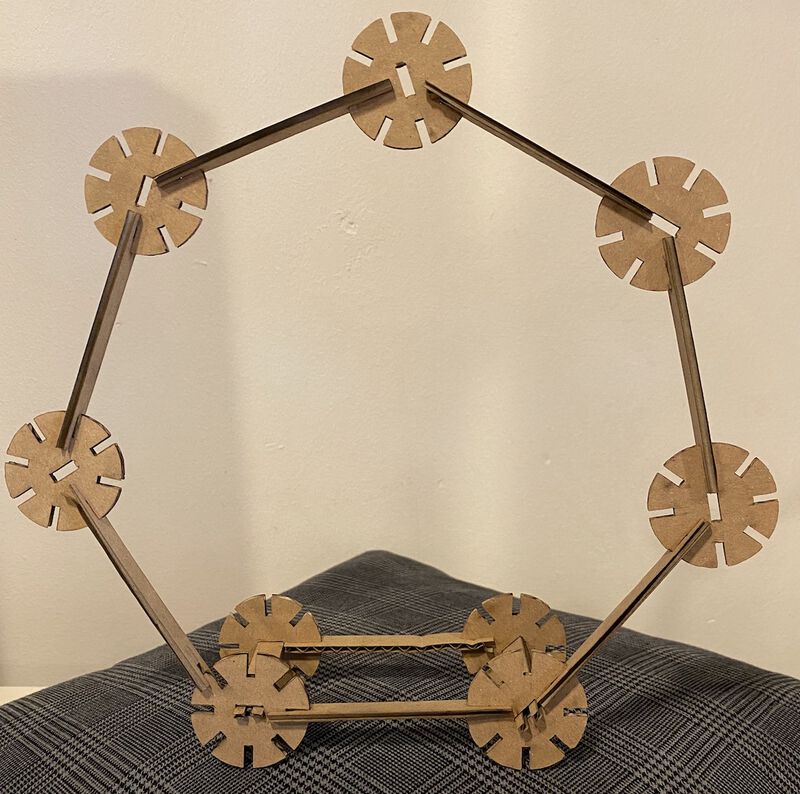
Some of the slots became a bit loose or crumpled, but it was more sturdy than I expected in general.
(2) Living hinge
I also wanted to cut living hinges. I downloaded a template with some living hinges templates and imported it.
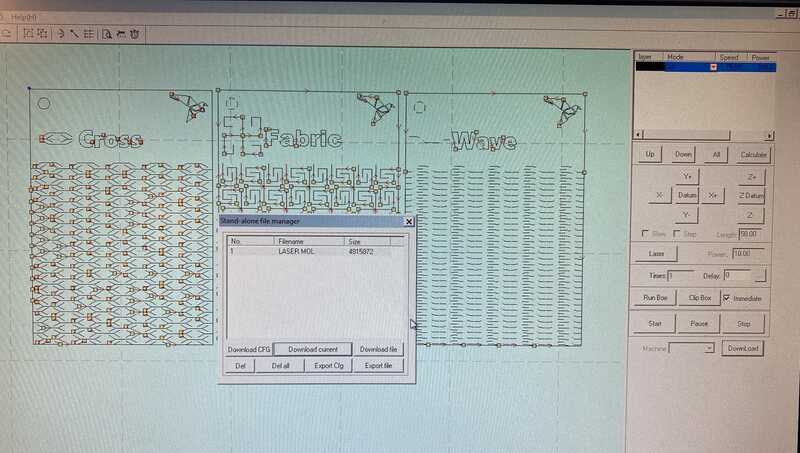
There were 10 living hinges in the file, but I didn't have enough time to cut all of them, so I picked just one. At first, I set the speed to 100 and the power to 75. But the wood didn't get cut, it was only burned.

So I changed the settings to 75 of speed and 100 of power. And it worked well! But my time for the machine was running out, so I had to stop in the middle of the process.

I wanted to see how much it can bend. And…
I killed the living hinge…
I didn't have enough time to experiment with the living hinge this time. I will play with it more when the machine is less busy. I think it's fascinating that you can make a hard material flexible.
(3) An engraved postcard
I also made a postcard with the laser cutter. I was a bit worried that the engraving process might take so long, but it only took around 10 minutes.
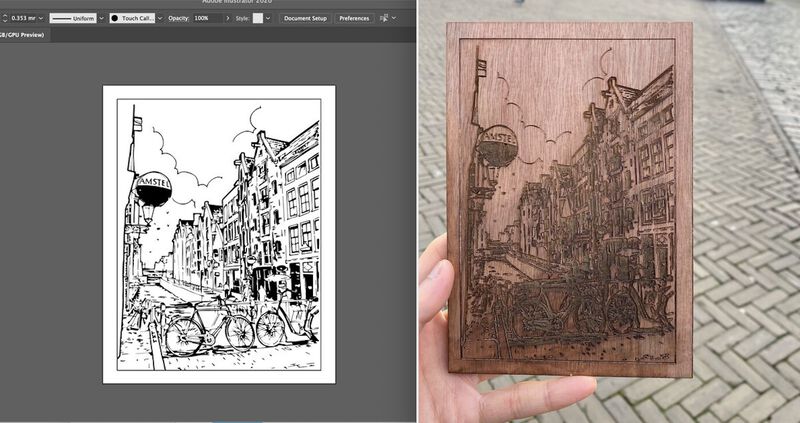
I also engraved a letter behind the wood. Since the wood was a bit curved, the bottom part seemed a bit out of focus. But in general, it looked amazing and my boyfriend loved it :)
Individual assignment 2. Vinyl cutter
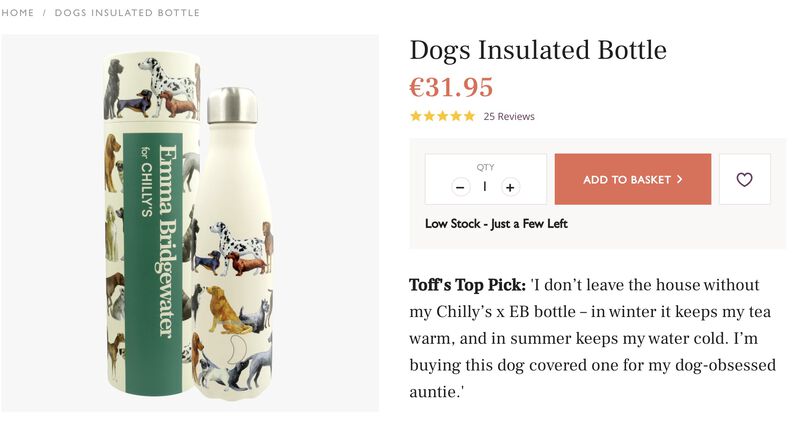
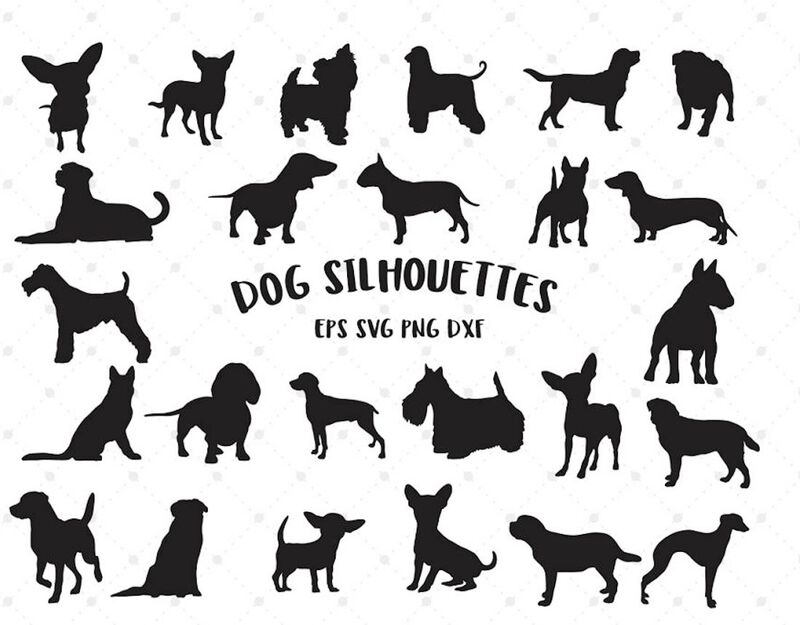
The other day, I saw a girl holding a water bottle on the subway. The bottle was covered with a lot of dogs drawing and I loved it. I googled it right away and found the same water bottle, but it was €31.95! So I decided to make one for myself with the vinyl cutter.
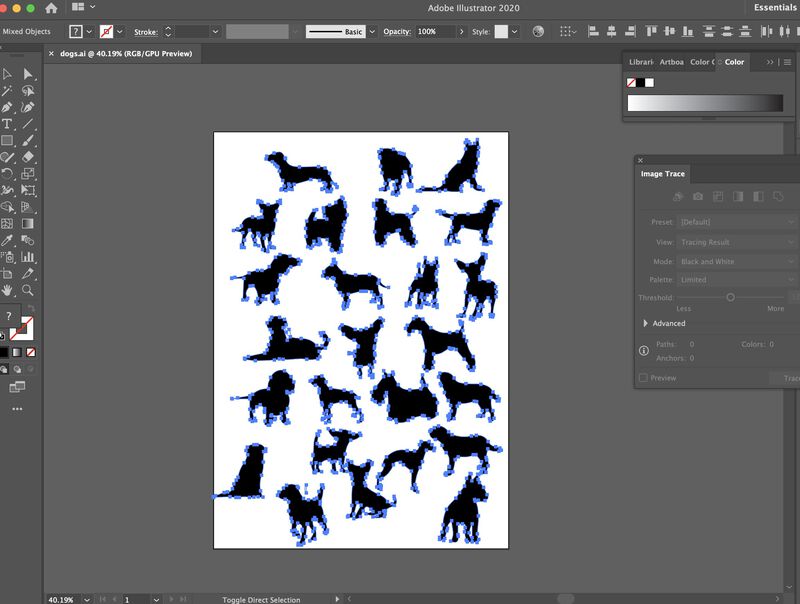
I found this dog silhouette image. I imported it to Adobe Illustrator and turned it into a vector graphic. Then, I deleted the text in the middle. If you don't know how to turn a raster image into vector graphic, this video might help.
I moved the file into my USB stick and cut it with the vinyl machine. After the cutting was done, I put the sticker on my water bottle. I didn't have to use the transfer paper. The sticker pieces were pretty big so I could take them out easily with tweezers.
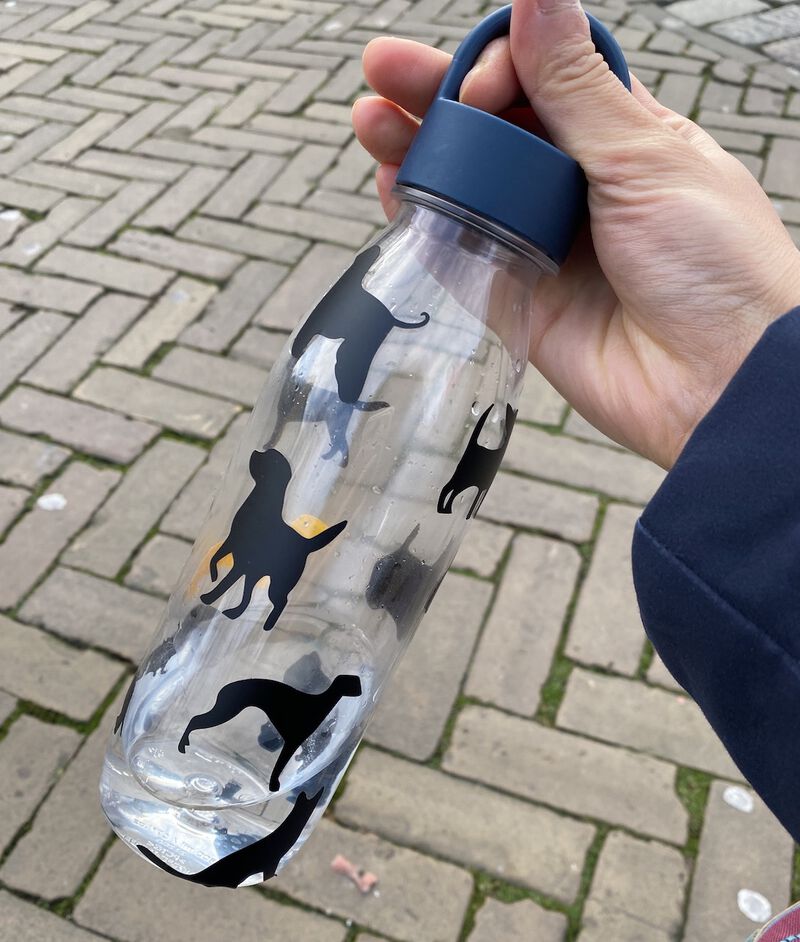
My IKEA water bottle looks much cooler than before!
Issues & How I solved them
Issue 1. How to turn text into vector
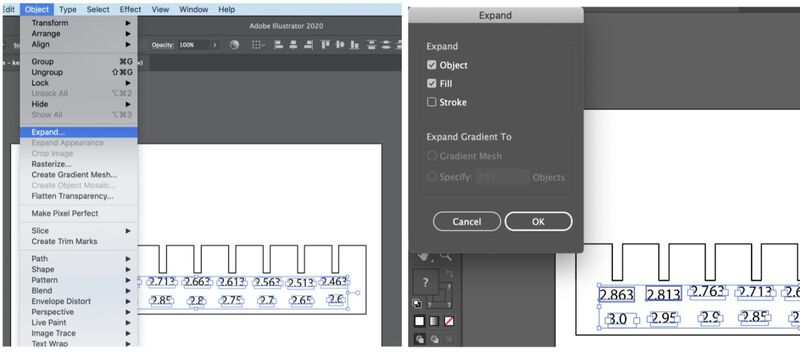
1. Select all the text you want to convert and go to Object > Expand
2. Tick the Object and the Fill box and click the OK button
Then, you will see the text becomes a vector graphic.
Issue 2. The laser cutter software can't read files saved from my Adobe Illustrator
I had trouble importing .ai files saved from my computer. I used Adobe Illustrator 2020 and I followed the instructions about saving files for the laser cutter machine. but I still couldn't import the file to the laser cutter software. Whenever I clicked my files on the software, the entire program just crashed.
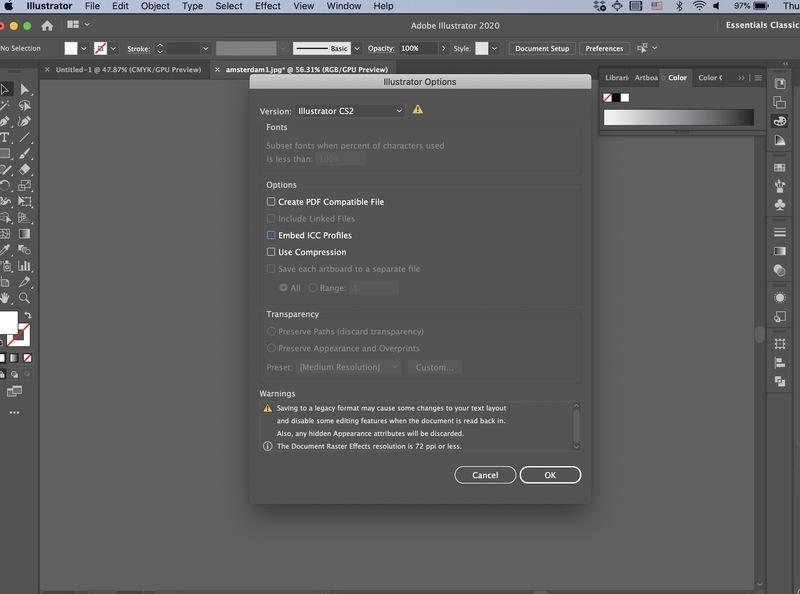
Fortunately, I found a solution. First, I hit the Save button and a popup like below showed up.
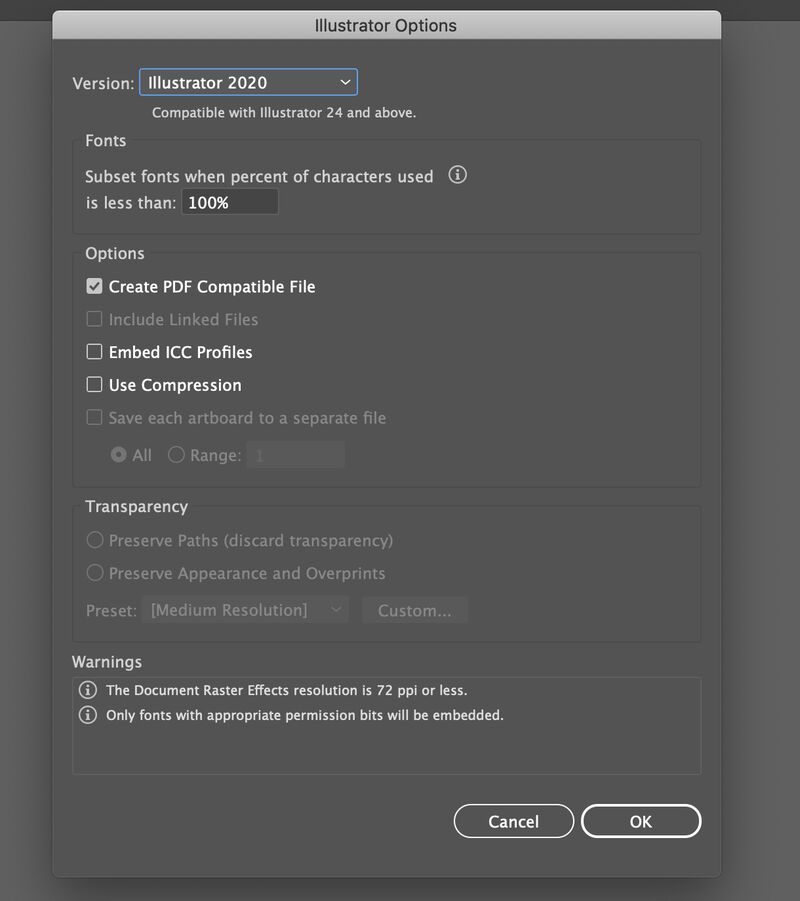
The instructions said that I need to choose Illustrator CS2. But I didn't choose it because the version didn't seem to matter in my case. Then, I ticked the Create PDF Compatible File check box and saved it. After saving the file, I converted it into a .dxf file. I used this website to convert it. After this process, I was able to import my design into the laser cutter software.