-
01. Principles and practices
-
02. Project management
-
03. Computer-Aided design
-
04. Computer controlled cutting
-
05. Electronics production
-
06. 3D Scanning and printing
-
07. Electronics design
-
08. Computer controlled machining
-
09. Embedded programming
-
10. Input devices
-
11. Applications and implications
-
12. Output devices
-
13. Interface and application programming
-
14. Invention, intellectual property and income
-
15. Networking and communications
-
16. Molding and casting
-
17. Wildcard week
-
18. Machine design
-
19. Project development
-
Glossary
Week 17. Wildcard week
May 27, 2020
Assignment
Group assignment
- Produce test coupons for your composite fabrication process(es)
Individual assignment
- Read the safety data sheet (SDS) and technical data sheet (TDS) for the resins that you're using
- Design and fabricate a 3D mold (~ft2) and produce a fiber composite part in it, with resin infusion and compaction
Experiment with cement composite
Aside from this week's assignment, I had an experiment with a cement I bought several weeks ago. I've tried to make something with this cement, and it worked well for when I made something thick. But whenever I tried to make something thin, it broke very easily. I wanted to see if I can make the cement stronger by adding some fabric on it, like reinforced cement.
Reinforced concrete (RC) (also called reinforced cement concrete or RCC) is a composite material in which concrete's relatively low tensile strength and ductility are counteracted by the inclusion of reinforcement having higher tensile strength or ductility. The reinforcement is usually, though not necessarily, steel reinforcing bars (rebar) and is usually embedded passively in the concrete before the concrete sets.
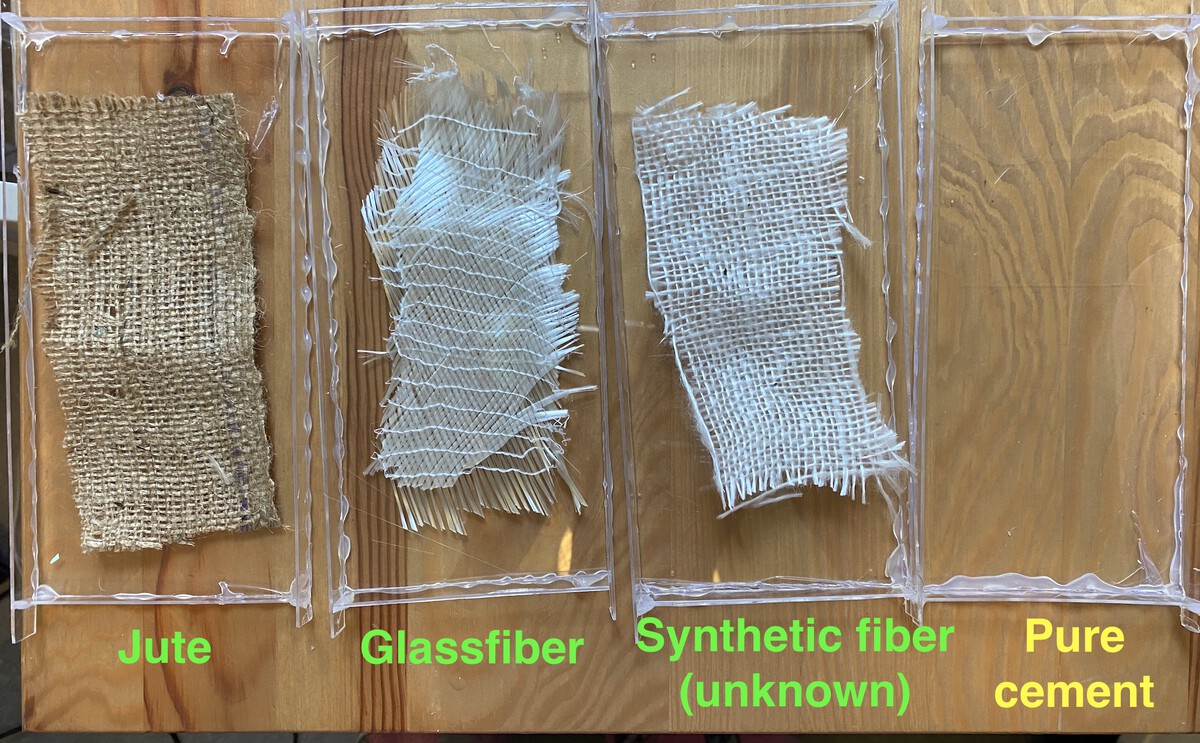
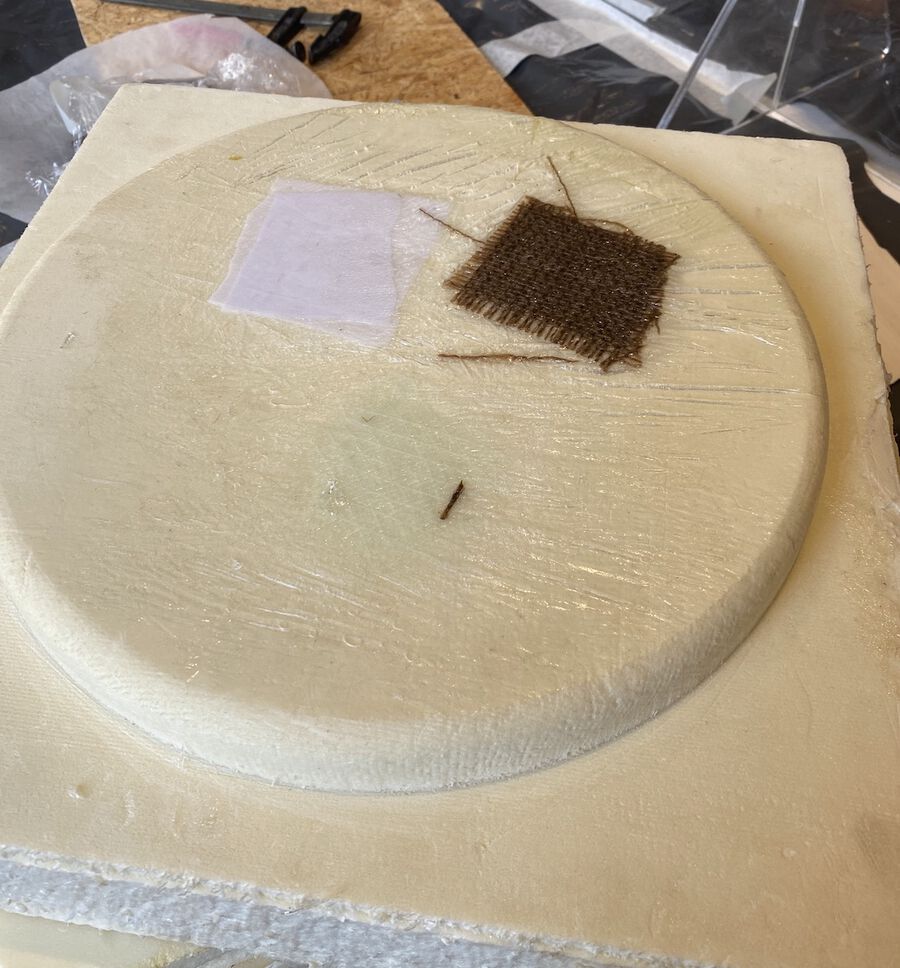
I made 4 molds with an acrylic boards. I used 3 differnt fabrics to conduct this experiment, Jute, glassfiber and unknown synthetic fabric. The last mold was control group.
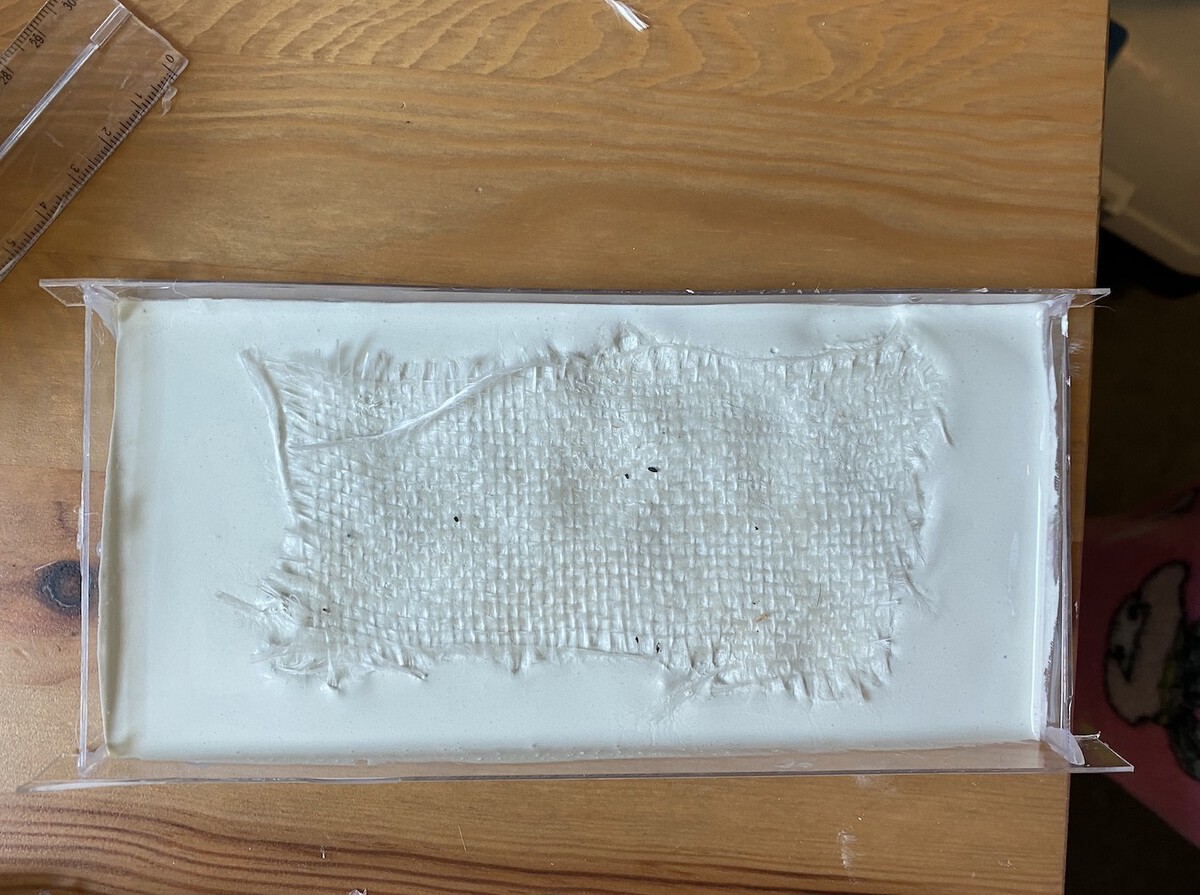
To place the fabric in the middle of the cement mold, I first poured cement upto to the half of the mold, and then placed the fabric on it. And I waited for 2 or 3 minutes and poured the second layer on the top of it. It was pretty fun!
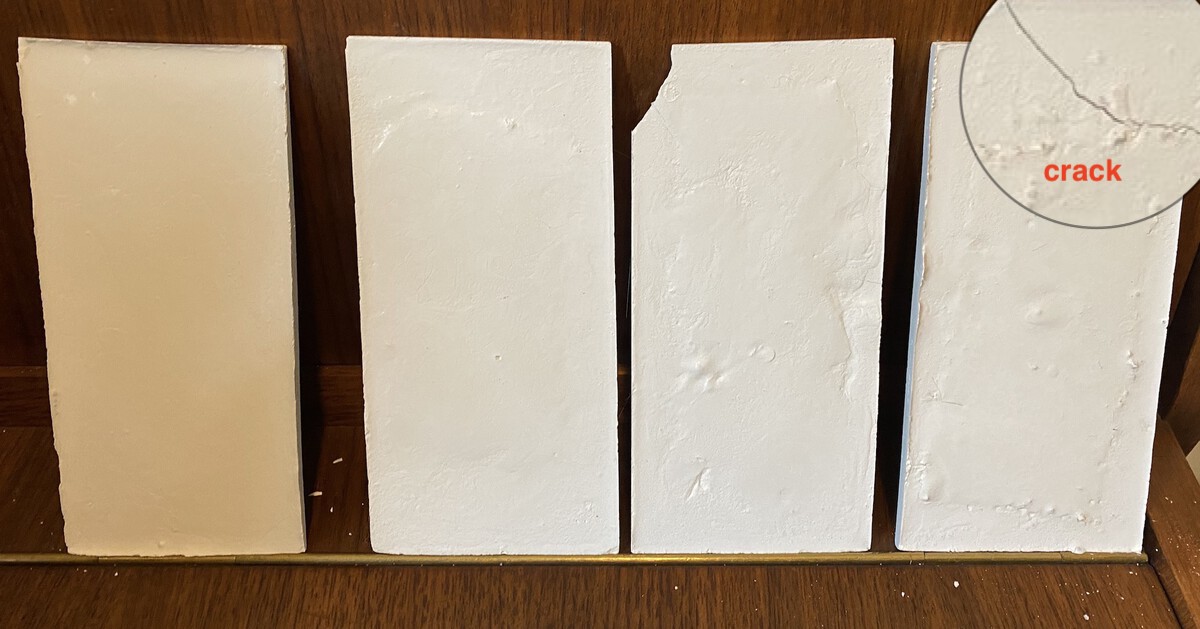
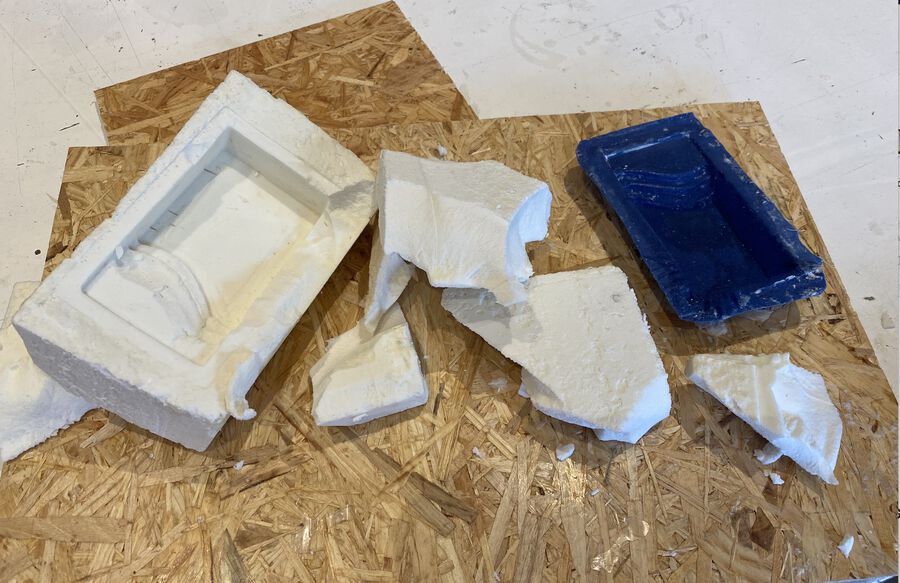
It took a day to get cured. As you can see in the photo above, the last one has a crack on the corner. But because of the jute inside of it, it could stay like that instead of falling out of the panel. I brought them to the lab and tested out how much pressure it can endure. They are very thin, like 5mm thickness, so it was obvious that it couldn't stand that much pressure. I just wanted to see if inserting fabrics would make any differences to the strength of cement.
The moment of truth
On Tuesday, I tested the cement boards with Henk. Before testing them, we needed to find a perfect object to drop on them. Since the panels are pretty thin, the object shouldn't be that heavy. Then, we found a peanut butter plastic jar. It was heavy enough to break something, but not heavy enough to break everything when you drop it. We put a ruler behind it so that we could drop it from the same distance for each panel. We actaully thought that every panel would break anyway because they were so thin, like ±5mm. I dropped the jar from the height of 20cm and the result was amazing!
When the pure cement board shattered, we thought the other boards would break like that as well. But when I dropped the jar on the second board, the one with the glass fiber, it didn't break! I was so surprised how strong it was.
To sum up, the glass fiber board and syntethic fiber board were the strongest ones. I heard a clear crack sound when I dropped the jar on the jute board. The board didn't shattered because of the jute inside of it, but the jute seemed like it really didn't strengthen the board. I think the jute just prevented the board from breaking into peaces by the holding them together.
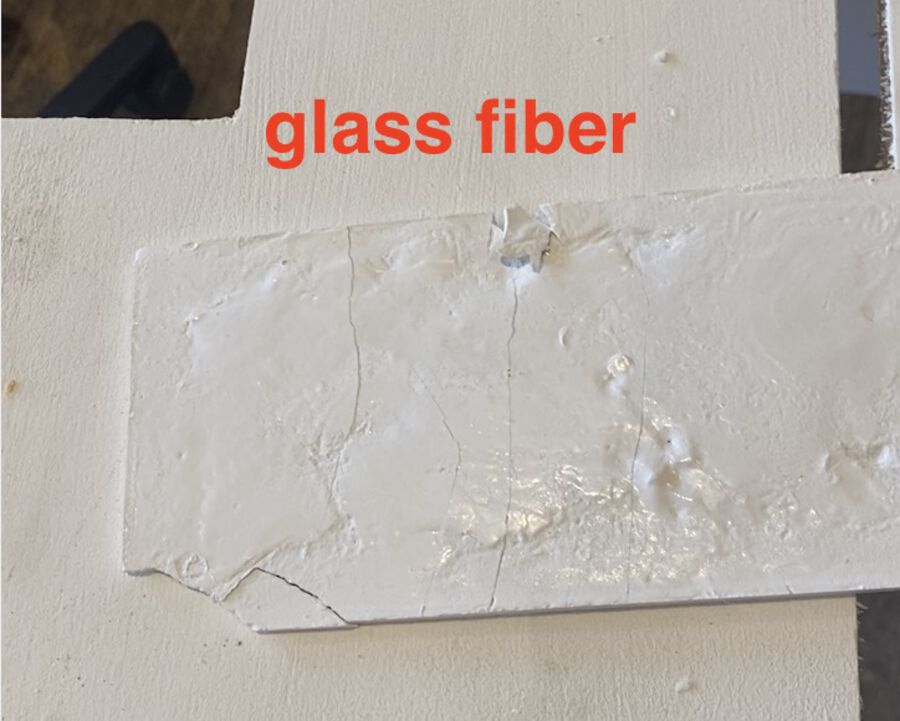
As you can see on the photo above, the glass fiber board had some cracks on the back side, but it didn't totally break. I tried to bend it as hard as I could, but it was really hard to bend it for its thickness. I doubted the strength of composites, but after the experiment, I learned how powerful and sturdy the composites can be. One of my classmates, Nathan, gave me an idea to try cement + epoxy composite as well. Also, Henk said if I used a glass fiber mat weaved in different directions, that would also give a good tension to the cement board.
Individual assignment
What to make
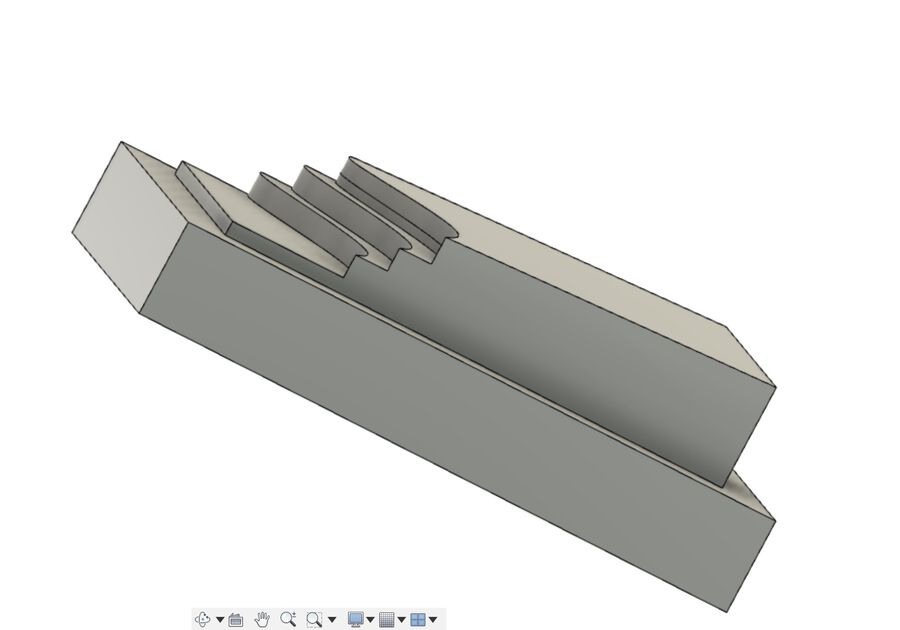
I really didn't know what to make this week. After long consideration, I decided to make a pool for my miniature house so that I could play around it with a water pump I bought several weeks ago. I drew a swimming pool like below on Fusion360. I was going to do it a vacuum compaction way, but Henk said the plastic bag for the vacuum compaction was too sturdy to make a result with such small details. So I ended up making a negative mold for the pool as well. The gap between two molds are 2mm.

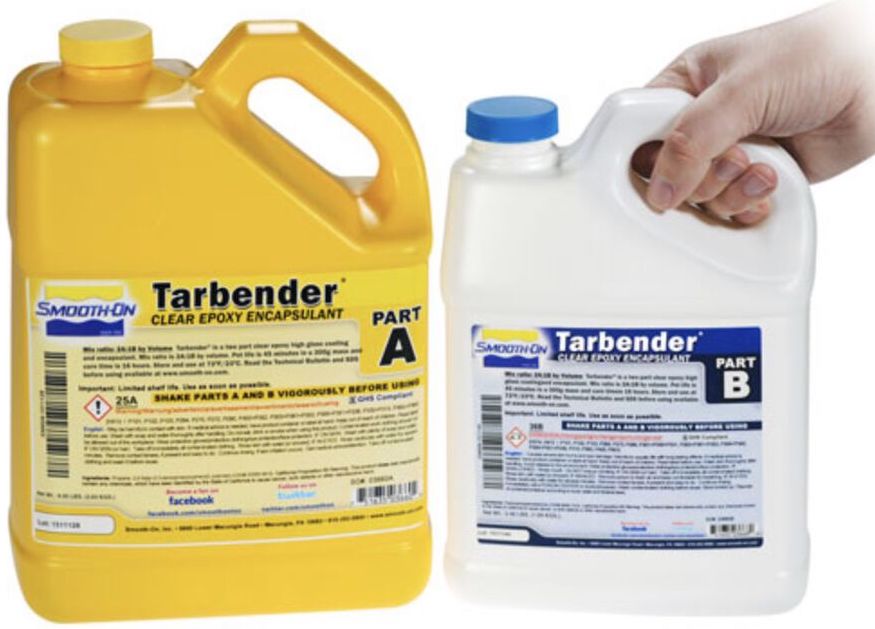
Tarbender clear epoxy encapsulant
To make a composite material, all of us used Tarbender clear epoxy encapsulant. The detailed instructions for this project can be found here. I laid out some of the important features, instructions and warnings below.
- Can be poured or brushed over a variety of surfaces to provide a strong, high gloss coating
- It can be applied over wood, plaster, concrete, foam, fabrics, paper, etc.
- 2A:1B by volume mix ratio - no scale needed
- The containers should be stored and used at room temperature (73° F/23° C).
- Use only in a well ventilated area and avoid breathing fumes. Wearing a NIOSH approved respirator is recommended.
- Mix using a flat edge mixing stick for 2 minutes.
- Subjecting mixture to vacuum will introduce air.
- After Tarbender™ is poured, pass a propane torch (available at any hardware or DIY store) back and forth lightly over surface to dissipate bubbles
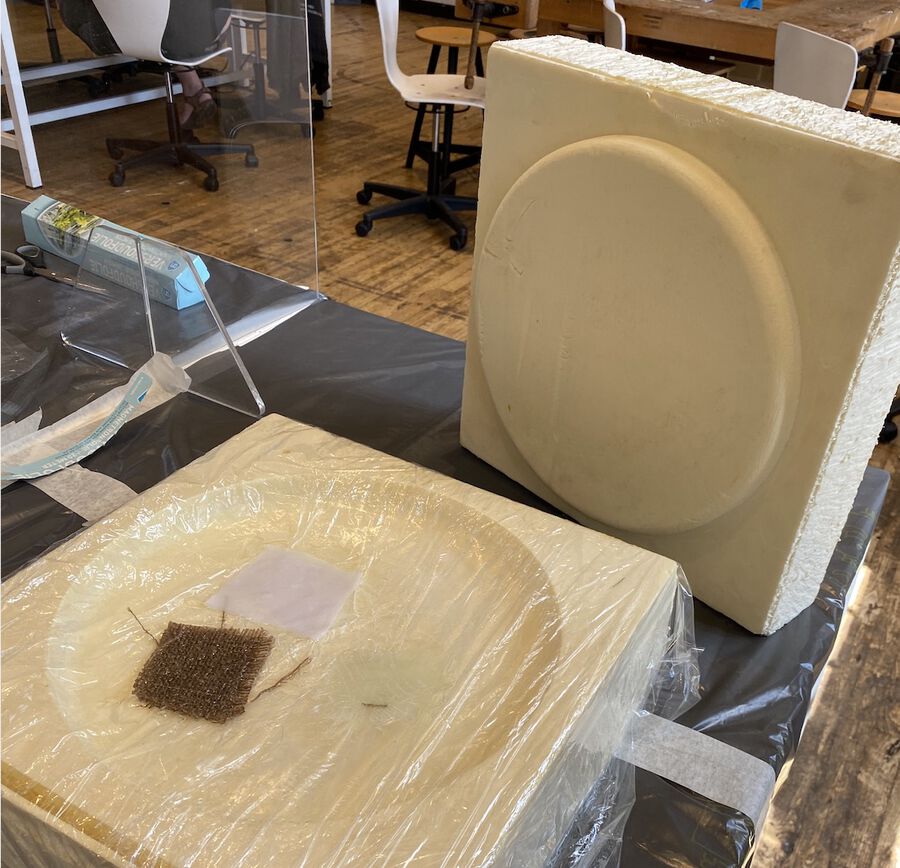
Milling process
We used a foam block to make molds. I set the spindle speed to 10,000 (before when I milled the wax block, I set it 6000) and used the 5mm, 2-flute end mill with 90% of stepover. So the job was done really fast. It took about an hour to finish the two molds.
Make a composite
To make a composite, I used a blouse that one of my classmates brought. Since the swimming pool was pretty tiny (the whole dimension was 130mm x 80 mm), I thought it might be hard to get the details if the material was thick. I cut the blouse in small pieces and layered them together with the Tarbender epoxy. I only used 2 layers, but now that I think about it while writing this document, I should've put more layers. (We'll see it tomorrow when it's cured.) I didn't wrap the mold with wrapping paper. Instead I put Vaseline a lot on both molds because I thought it would be okay because the epoxy won't stuck on the surface with Vaseline on. Now I'm a bit worried to be honest lol. But we'll see that tomorrow as well. I put the molds together and pressed them with the clamps.
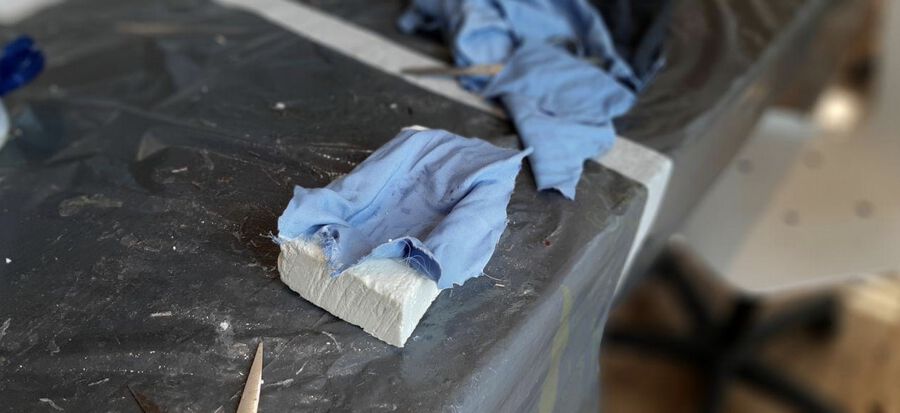
By the way, I made a big mistake during the group assignment. I used Henk's two way molds to do the group assignment, and I forgot to put a plastic wrap on the one side of the mold. So.. the test fabrics got stuck to the mold :(. Sorry Henk.
The result
The next day, I went to the lab to check out the pool I made the day before.
I thought it would be okay to not to use the cling wrap because of the Vaseline, but it turned out it wasn't. I had to demolish the molds to take out the pool, and there were some chucks of foam on the surface that I couldn't scrape out. The other thing I was worried about was the number of layers I used. I only used 2 layers of the cloth and Henk said it could be not enough. Fortunately, the pool was sturdy enough only with the 2 layers, and it was perfectly waterproof.
Group assignment
For this week's group assignment, each of us tested coupons for several differnt composites with different processes. The detailed group assignment documentation can be found here.