A16 - Wild Card Week
It has been very few time (03/05/2021) since the Fab Lab was open and I´m just beginning to keep up to all the assignments that I couldn't fabricate before, y just finish soldering my ISC board for the Electronic Production Assignments, and the CNC Assignment.
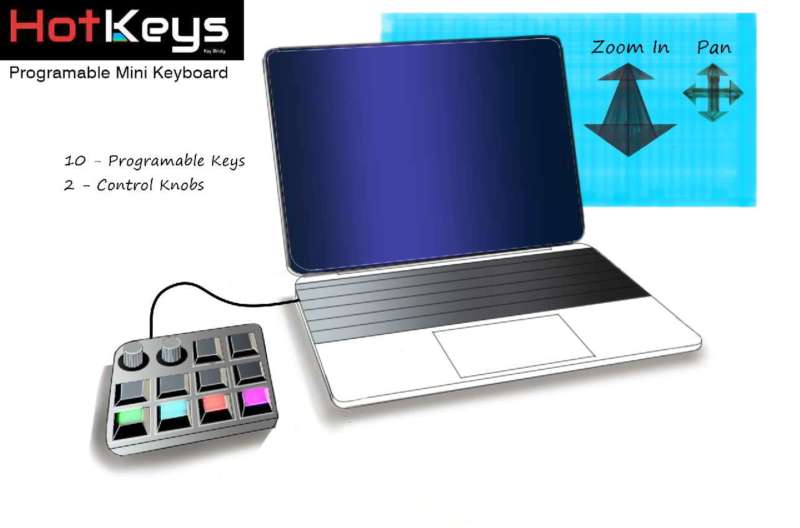
For the Wild Card Week I decided to fabricate a small side short cut keyboard that can work with my final assignment that is a Stepper Synthesizer.
The project it´s a Programmable key board extension for trigger productivity tools and generate music.
It´s aimed for users that repeat many times one action or series of actions Stepper Synth
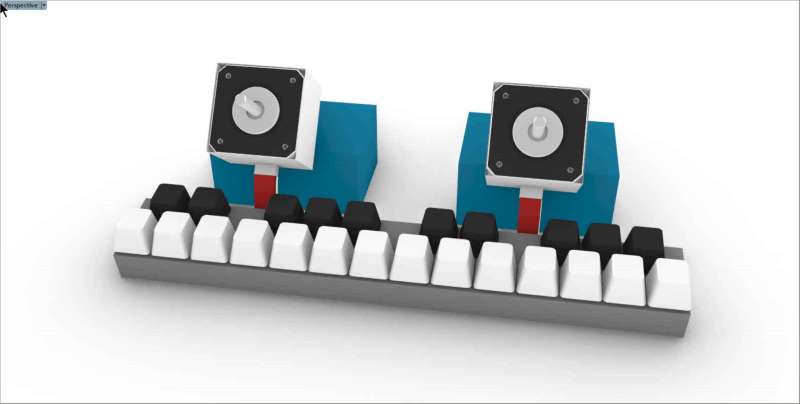
Design
This was the basic concept design were I began.
The Result
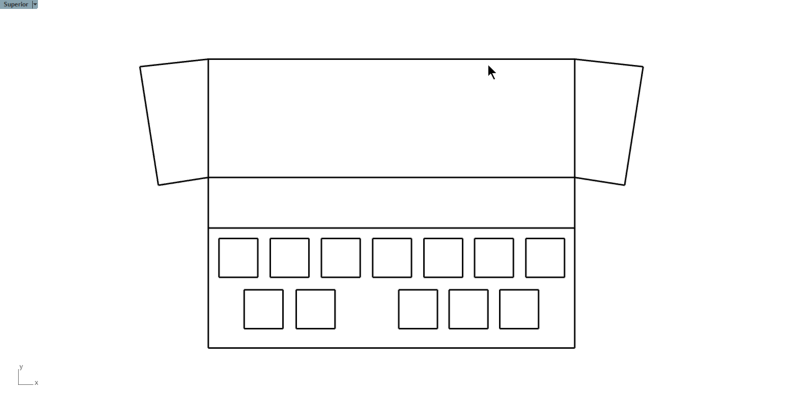
Keyboard Lay Out inspired in the piano
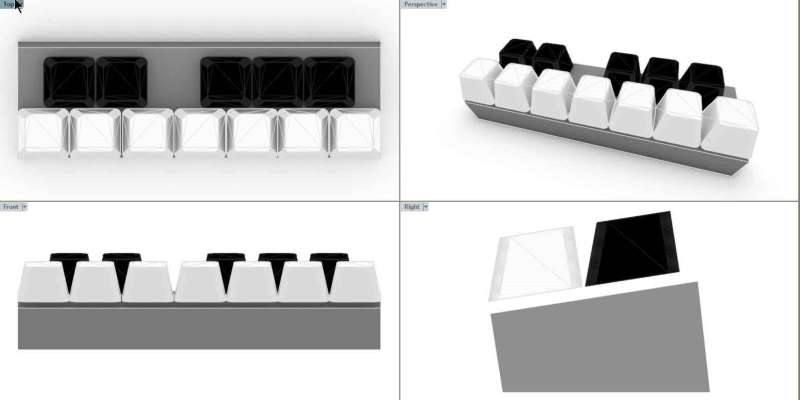
Each octave connects with a Nema Motor and with a midi channel.
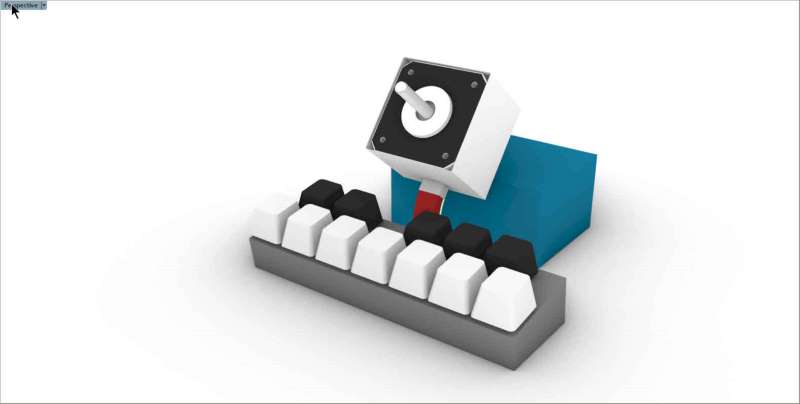
Modular Octaves
Fabrication
Vynil cutting Development
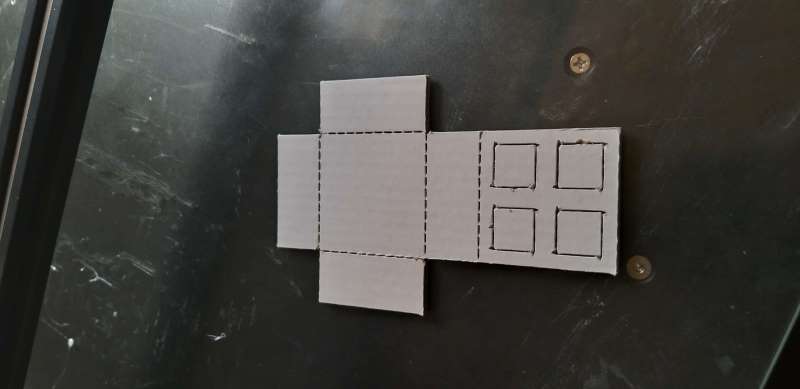
1 Octave KeyCaps LayOut.
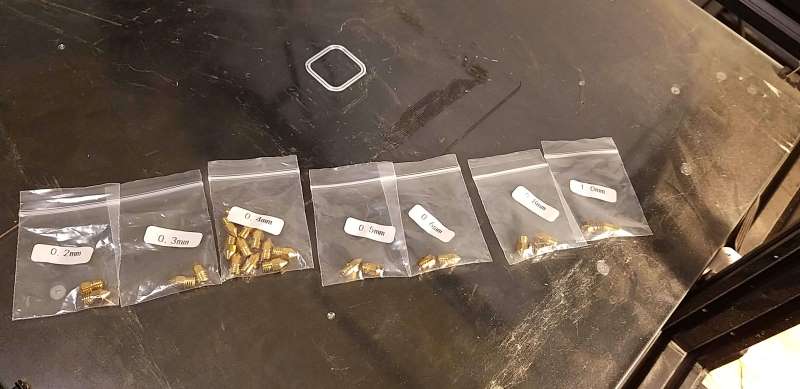
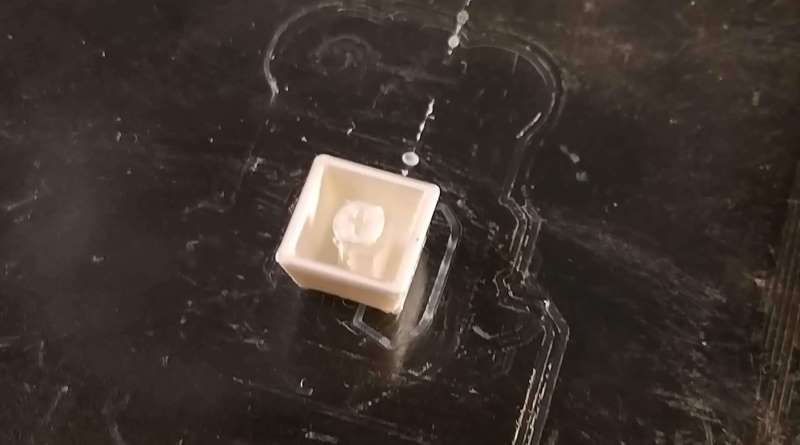
3D Print
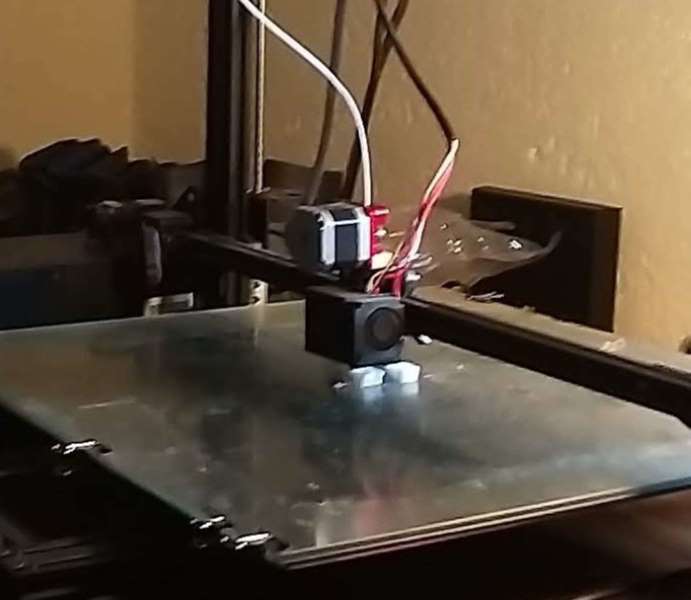
3d Print Fails
3d Print Fails
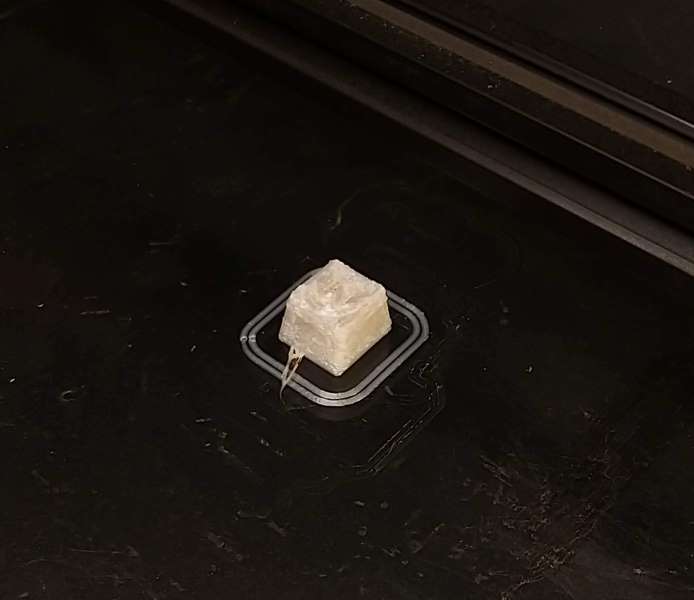
After changing the Nozzle to 0.2 I got the result that I wanted.
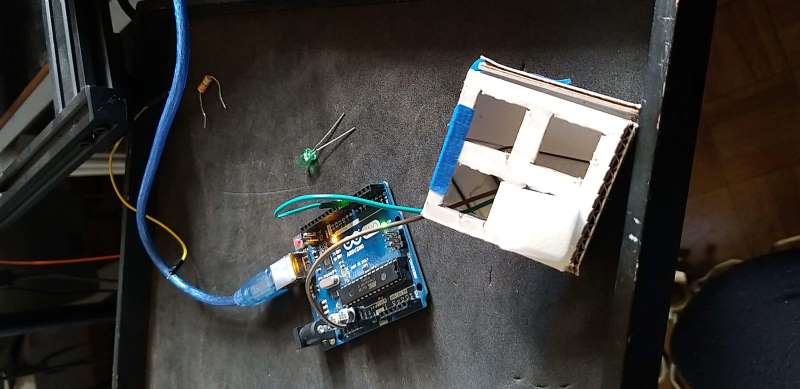
Soldering the Keyboard.
Since I haven´t been able to build my board.
[Arduino Uno as a Leonardo]https://www.instructables.com/Make-arduino-uno-work-like-leonardo/
After entering the Arduino in flash mode the computer didn't´t recognize it in the devise manager.
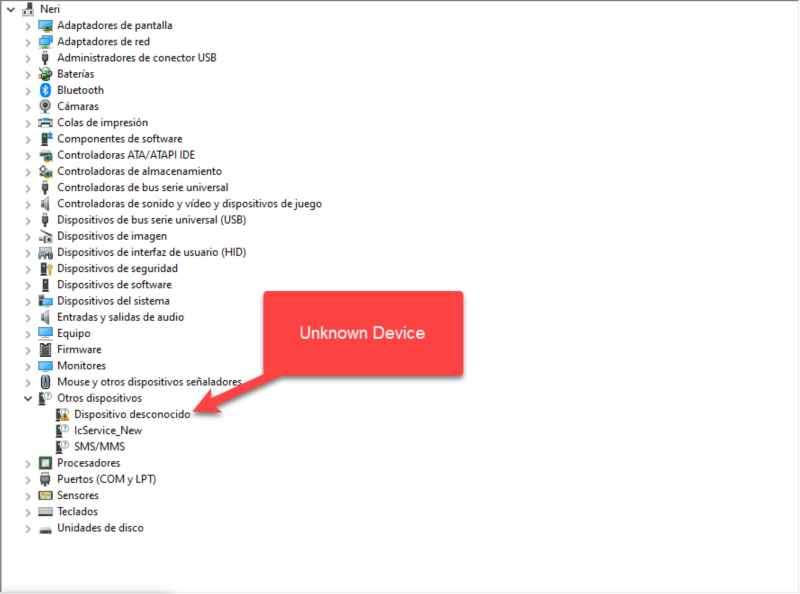
I have to install the drivers manually by assigning the route where it´s installed the Amtel Flip.
C:\Program Files (x86)\Atmel\Studio\Drivers
*Arduino-usbserial-uno.hex*
This was the one that works for testing the Cherry MX to an Arduino UNO. https://k-adithya21.medium.com/how-to-build-a-usb-keyboard-using-arduino-cb39df5b8b20
Click the IC Button an select Atmega16u2. (same for Uno/Mega).
https://github.com/NicoHood/HoodLoader2/wiki/Arduino-Uno-Mega-16u2-Pinout
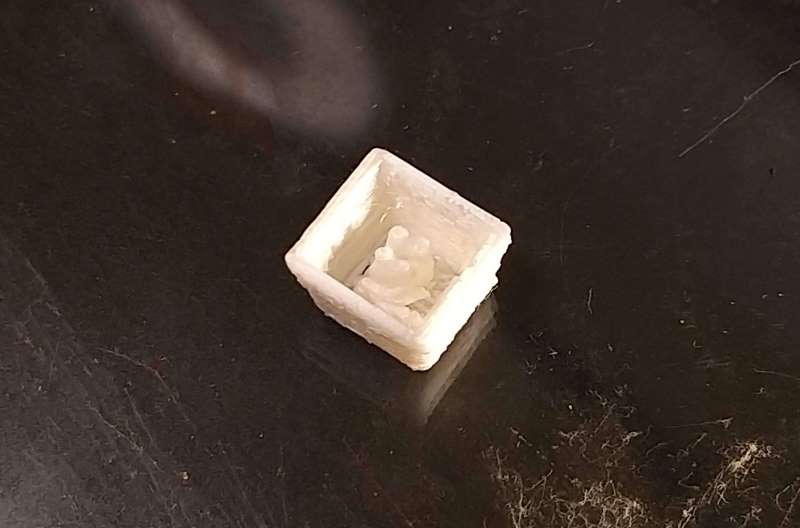
The Keycaps
I made a small research about keyboards keycaps and I decided that i´m going to use the Cherry MX Blue for my project, because it has a feed back mechanism that indicates that the key was properly pressed.
I found a Cherry MX Keycaps generator on ThingyVerse and I download one key to test if i was able to print it on a filament 3d printer.
I made my first try with a white silk filament, I used a Nozzles of .6 mm and a printing resolution of 0.2 mm and it didn't´t work.
I change the nozzle for one of 0.2 and change the orientation of the piece upwards.
Problems
This are some tutorials that I find but didn´t work for my project. https://techtotinker.blogspot.com/2020/07/tutorial-how-to-use-arduino-uno-as-hid.html?m=1 https://www.instructables.com/Arduino-Uno-Into-Usb-Keyboard/ https://www.youtube.com/watch?v=CPWPPu2dR7M
Check List
Design and produce something with a digital fabrication process (incorporating computer-aided design and manufacturing) not covered in another assignment, documenting the requirements that your assignment meets, and including everything necessary to reproduce it. Possibilities include (but are not limited to composites, textiles, biotechnology, robotics, folding, and cooking.
Learning outcomes:
- [ ] Demonstrate workflows used in the chosen process
- [ ] Select and apply suitable materials and processes to create your project.
Have you: * [ ] Shown how you made your project * [ ] Described problems and how you fixed them * [ ] Included your design files and ‘hero shot’ photos of the project
FAQ: Can I make the assignment by hand? Answer: Although there can be manual processing steps, to count as digital fabrication the workflow should pass through design in a computer and some kind of automated output process. So programming the embroidery of circuits would count, but hand-stitching them wouldn't.