A1 - Project Management
Git
"Git is a free and open source distributed version control system designed to handle everything from small to very large projects with speed and efficiency. Git is easy to learn and has a tiny footprint with lightning fast performance" Git
Publish to Fab Academy GitLab Account
Objective:
To take a GitLab tutorial and publish our web page at Fab Academy repository.
Process:
I downloaded GitLab and enter the following commands:
I had to activate my SSH key so I can clone and synchronize the local folder with the GitLab repository.
ssh-keygen -t rsa -C "my@mail.com"
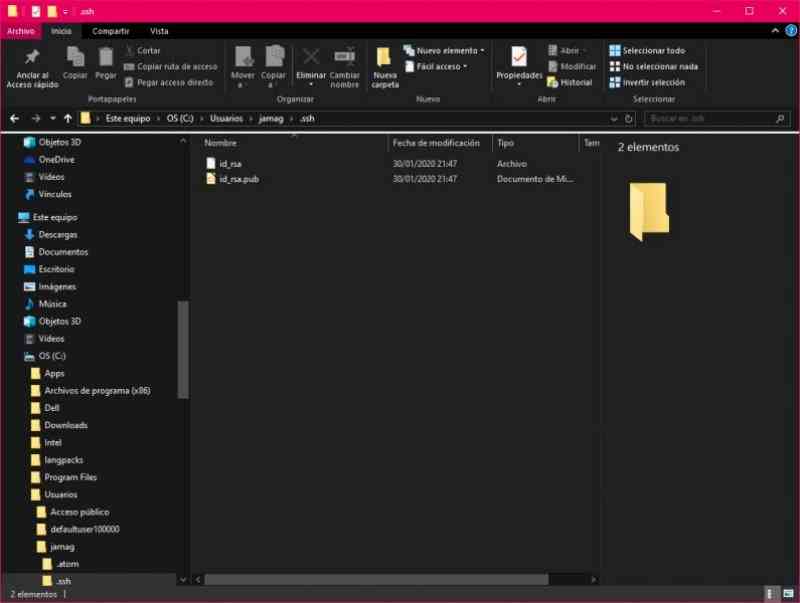
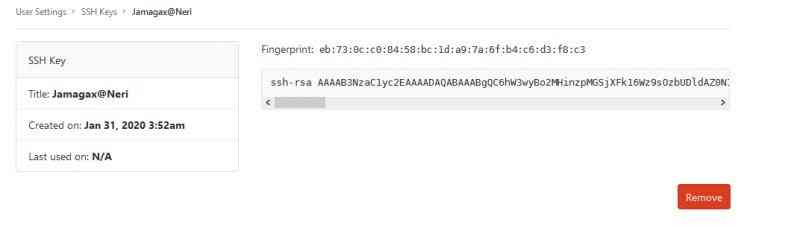
I have to activate the id_rsa.pub SSH Key in GitLab user settings.
In Git Bash or in another terminal I had to use this commands to authenticate my user to GitLab with my Fab Academy credentials.
git config --global user.name “xxxx”
      git config --global user.name
I have to clone the repository in my local folder, then i had to delete all the files cloned but the .yml file. After I had to copy/paste all the files of my html page on the cloned folder.
git init
      git status
      git clone "my ssh url in GitLab"
      git add .
      git commit -m “msg”
      git push -u “url” master
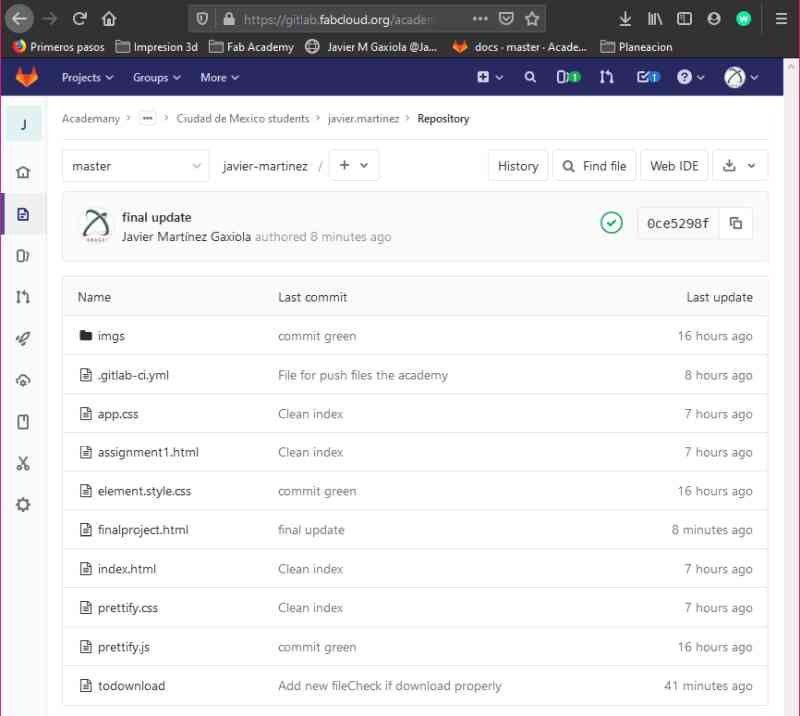
I check that my files were correctly in the Fab Academy repository.
Common Git Commands
Assign the global user name
git config --global user.name "user.name"
Assign the email
git config --global user.email"your@mail.com"
Global User
files
   ~/.gitconfig
      [user]
         name = your name
         email = you@email
      (lots of other options)
.SSH Config
 ~/.ssh/config
      host config_name
         hostname machine_name
         user user_name
         port port_number
         identityfile ~/.ssh/key_name
Git Ignore
.gitignore, .git/info/exclude
      untracked files/directories to ignore
Post Merge
git/hooks/post-merge
      script to run after a merge (which happens after a pull)
Git Hooks
.git/hooks/post-receive
      script to run after receiving a push
A.1 Design Project Web Page
Back Ground:
In the university I learn how to program html and PHP files for a class. I´t was nice to learn how much language programs have advanced since.
For last year I used plain HTML with Bootstrap, I also give a try to NodeJS, but this year a I´m using MkDocs.
Static Page
A Static web page
Dynamic Page
The dynamic page are written in programming languages as Ajax,ASP, AP.net. The server receive a request for a web page and returns the response to the client without any additional process.
I choose Mkdocs Docs because in my research people find it very simple and clean to use. Firs you have to install Python
python --version
C:\> py -m pip --version
pip X.Y.Z from ...\site-packages\pip (python X.Y)
mkdocs --version
pip install mkdocs
MarkDown
Advantages of Using Markdown Editors
Aside from speeding up the formatting process, markdown editors offer the following benefits:
FALTA CHECAR
1. You can collaborate
If you are writing on Microsoft Word and require the input of other people, you’ll need to send the document to them and then have them send it back to you so that you can merge the changes.
With a collaborative Markdown editor, this is quite straightforward as multiple users can work on the same document in real-time.
2. You can export in multiple formats
Markdown is much easier to compose than HTML. With that said, you might still want to export the content in the HTML format.
The best Markdown editor will make it easy to write your content and quickly export it to PDF, web pages, or Rich Text Format.
3. You can work on any platform
Since there are dozens of really good Markdown editors for all platforms (Linux, Mac, Windows, web, etc.), you can pretty much write and edit text from any device and location.
This can bring a massive difference in your productivity. If you have a cloud-based folder for storing copies of your work, switching devices should become effortless, with no distortion in your workflow or user experience.
Best Markdown Editors to Install
| Element | Markdown Syntax |
|---|---|
| Heading | # H1 ## H2 ### H3 |
| Bold | **bold text** |
| Italic | *italicized text* |
| Blockquote | > blockquote |
| Ordered List | 1. First item 2. Second item 3. Third item |
| Unordered List | - First item - Second item - Third item |
| Code | code |
| Horizontal Rule | --- |
| Link | [title](https://www.example.com) |
| Image |  |
I found many good examples in this web page. https://www.w3schools.com
I begin with simplest html exercises like "Hello World".
<!DOCTYPE html>
<html>
<head>
<title>Page Title</title>
</head>
<body>
Insert images
`
<img src="imgs\DimN_Thumb_Alpha.png"width="150" hspace="70">

I started to insert images, and to understand the width, height and another image parameters. Because I wanted a esponsive page I have to reserarch how that was posible.
I have to create a container, the container can be divided in columns and rows.
<div  class="container">
    <div class="col-sm">
        <div  class="container">
            <div class="row">
For a easy navigation, I wanted to use a top menu with the buttons to navigate to - Home - Final Project - Assignments - Contact-.
<div class="topnav">
    <a class="active" href="#home">Home
    <a href="finalproject.html">Final Project
    <a href="assignments.html">Assignments
    <a href="contact.html">Contact
</div>
I designed the page lay out in Affinity Photo a great affordable alternative to Photoshop.


I replicated the image layout in my html file.

Create a Next.js app
I read that the Next.Js app is one of the most complete frameworks so I decided to give it a try.
To create a Next.js app, I had to open my terminal, and direct thecd into the directory I’d like to create the app in,
And I run the following command:
npx create-next-app nextjs-blog --use-npm --example "https://github.com/vercel/next-learn-starter/tree/master/learn-starter"
Run the development server
The command creates a new directory directory called nextjs-blog.
Yo get into the directory:
cd nextjs-blog
Once inside the directory I run the following command:
npm run dev
This start the"development server" on port 3000.
To check if it was working I open http://localhost:3000 in one of my browsers.

This is the first post without format.

This is the firs post with Styles

At the end I decided to use MkDocs with the GitBooks Theme because now I don´t have much time to learn Node.JS, but some day I will learn it.
Check List
- [X] Made a website and described how you did it
- [X] Introduced yourself - It´s at home Page
- [X] Documented steps for uploading files to archive
- [X] Pushed to the class archive
- [X] Signed and uploaded [Student Agreement)(https://gitlab.fabcloud.org/academany/fabacademy/2019/site/blob/master/doc/students.md)