Intro:
The process for creating a website.
The process for creating a website.
A little explanation about what is GitLab and version control.
- 3D printing Methods.
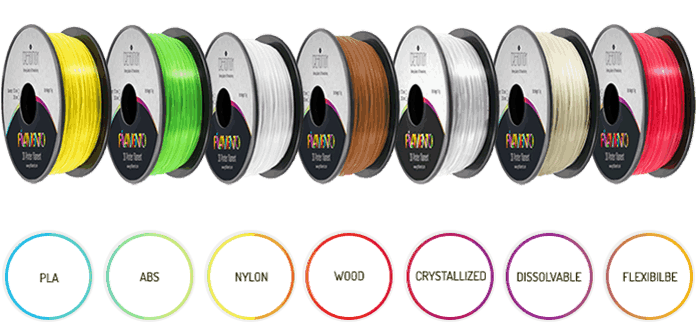
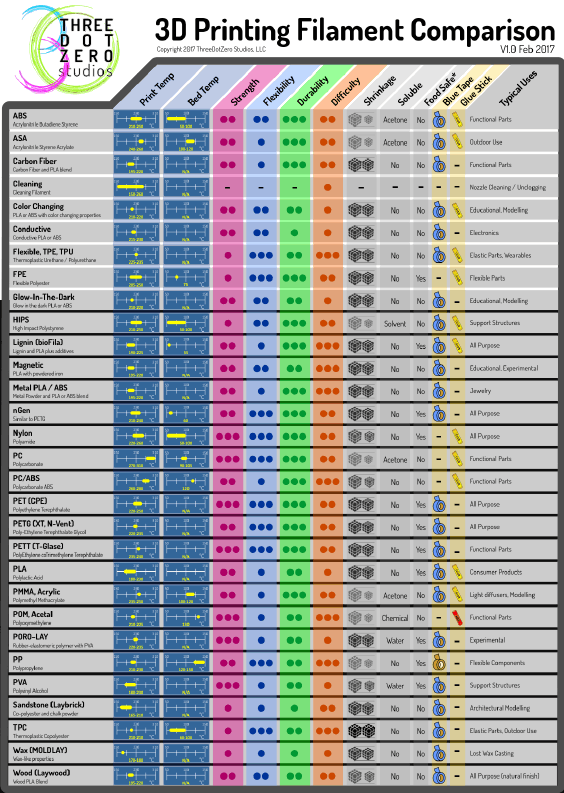
- 3D printing materials.
A step by step guide for using GitLab, creating an account and Pulling, Committing and Pushing.
Description of the web tool I used for creating my website and how to connect it to my Git.
Here are some test I did with the printer, to get from it some design rules I should apply either to my design or my printer settings.
Some final comments and learnings about this process.
A little description about my final project, before going into the project management.
Here is how I used the learnings from each weak towards my final project development.
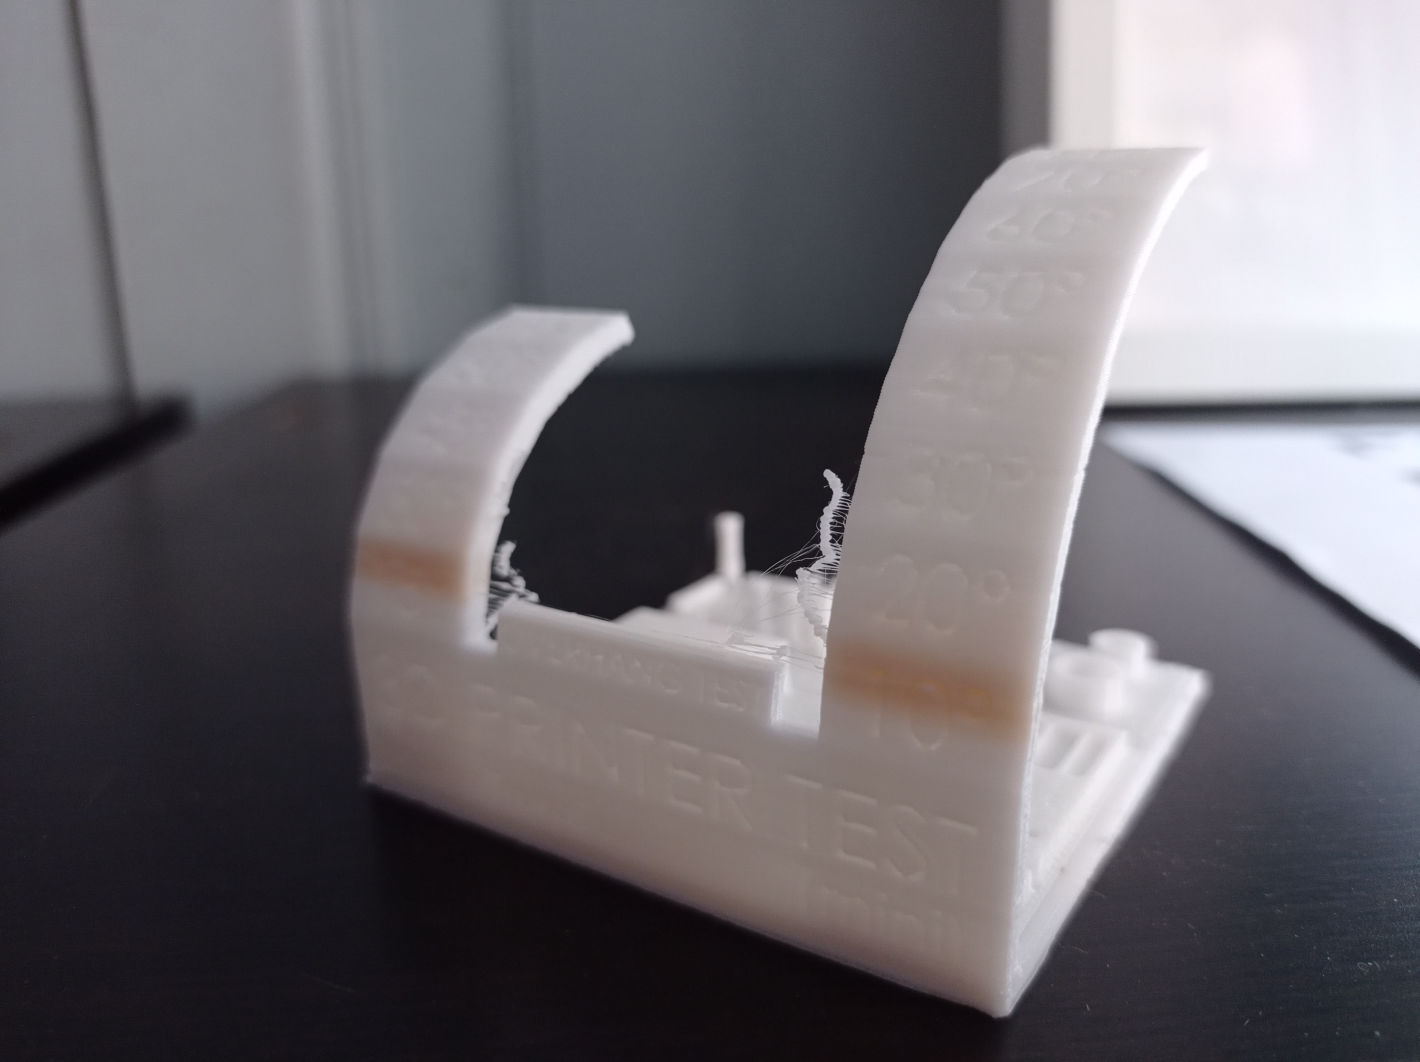
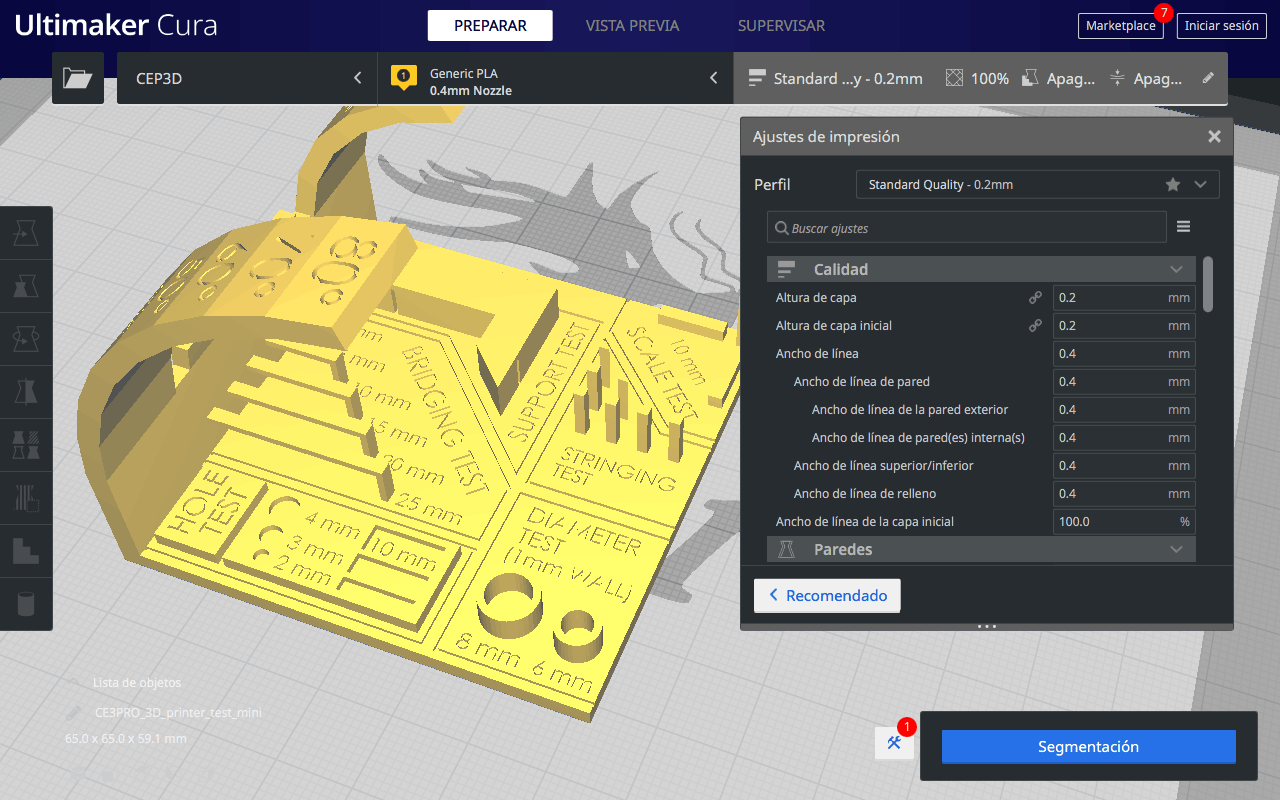
One of the most common issues in this test is the stringing, but it can easily be solved by adjusting 3 majors values: retraction, temperature and travel speed. There are some stringing test you can do, and start with a 2mm retraction and a 30mm/s retraction speed and start changing. Also adjusting the travel speed will help, since it will pull out less material.
The Overhang goes pretty well up to 45º starts generating troubles after 50º... but it can go up a bit higher, like 60º.
Holes go well down to 2mm diameter, for doing smaller holes, you will need to use a smaller noozle and a better printing quality in the settings (like 1.2 or 1.6).
The Bridge test passed up to 25mm, even dough it leaves a little stringing, but might be because of other setting.
The tolerance (calculated by measuring holes' diameters): 0.15 - 0.25mm, which means minimum clearance is around 0.3 - 0.5mm
Dimension accuracy: - 0.2 mm in X and Y. The cylinder that should measures 8 was 7.8/7.7 and the one that was 6, measures 5.8/5.9. The same happened with the box test which gave me -0.2mm in all the boxes, so you should keep that in mind when designing the clearance of an object that fits into other.
The wall thickness was accurate, 1mm as designed in the test.
Scale is perfect in X and Y, but in Z it measures a bit less (like 9.8-9.9 instead of 10) which is not that bad.
For this week we have to 3D print something that wasn't possible to be made in subtractive mode, so my first mistake was making something that could be made in a CNC, but anyway I want to show it and upload it because is something that works for my final projects, and because I had a really big learning in the process of 3D modeling and printing it.
I created it in Fusion 360, a software that I have never used before, by following this tutorial, but changing it a little bit to personalize it. There where some thing, like the main design that I wasn't able to change because it depends of some measurements of the Arduino itself.
STL FILES:
FUSION 360 FILES:
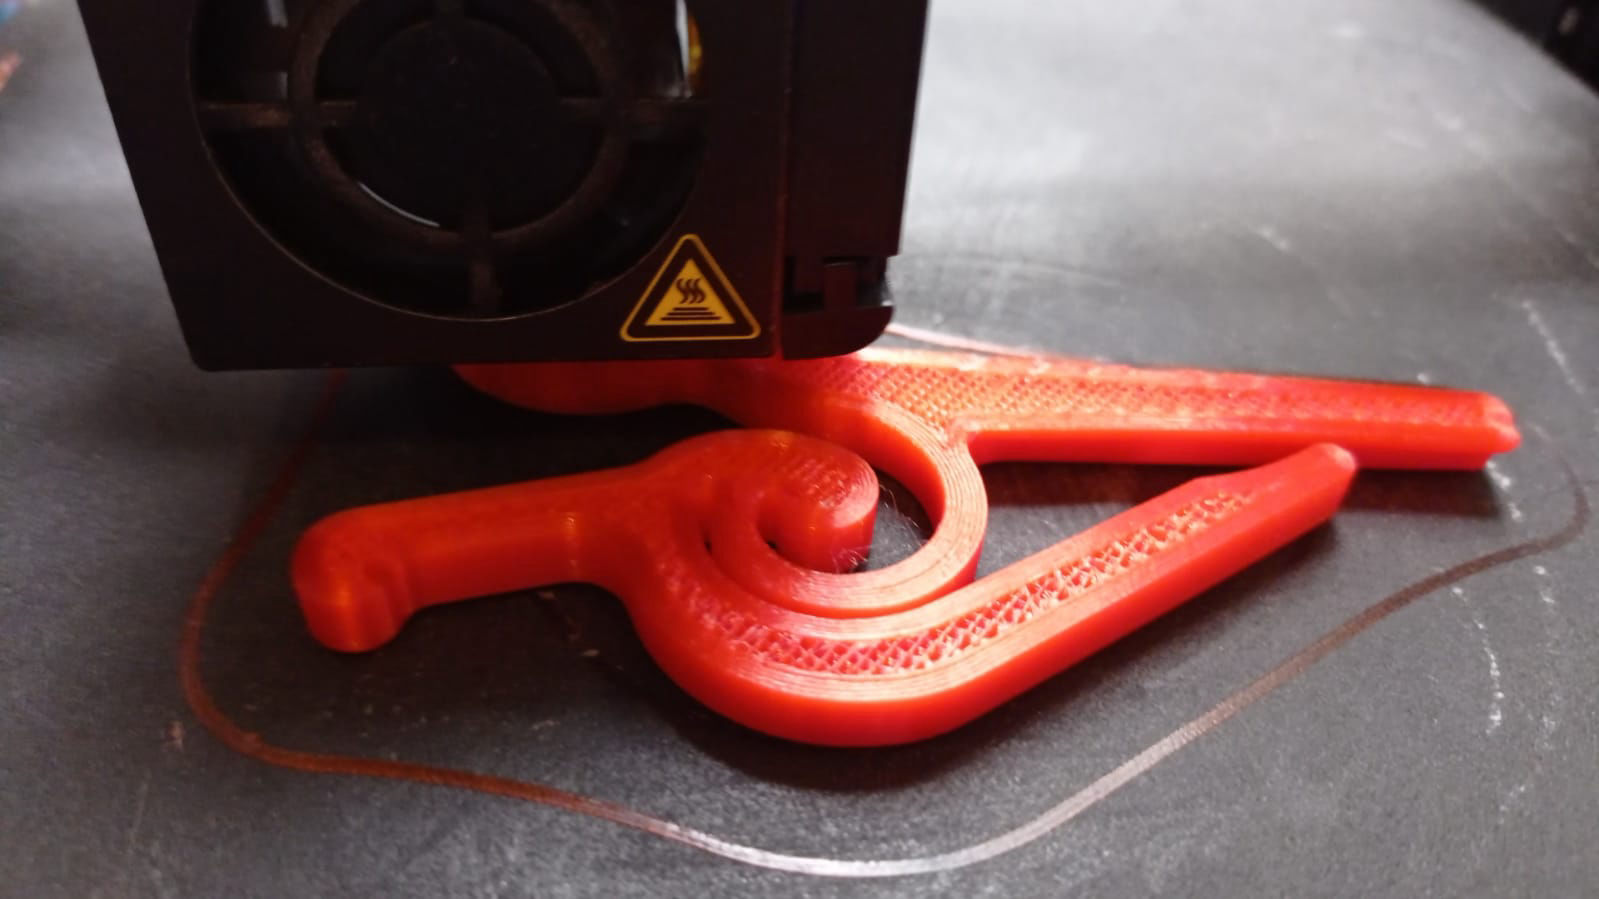
I had some troubles printing first in the Reprap, Medium FDM printer (flexible), because it was set only for flexible material, so I lost a lot of time looking for the material, until Mickel told us that we had to change material. After that I changed into the Big Plate 3D printer, and started printing 4 times on it, but in the beginning, I had a problem in the cura settings, because it was on mold, so it started printing only the sides or molds of te project. The it wasn´t filling the whole mesh, so we we checked it again, and the noozle was kind of stuck, so we unmounted the nozzle, cleaned it and then saw that the fan was also missing one blade. So we started for the third time, and then it didn't worked again, so we changed into the Delta FDM 3D printer, and everything worked well, even when the first layer wasn't sticking to the bed.
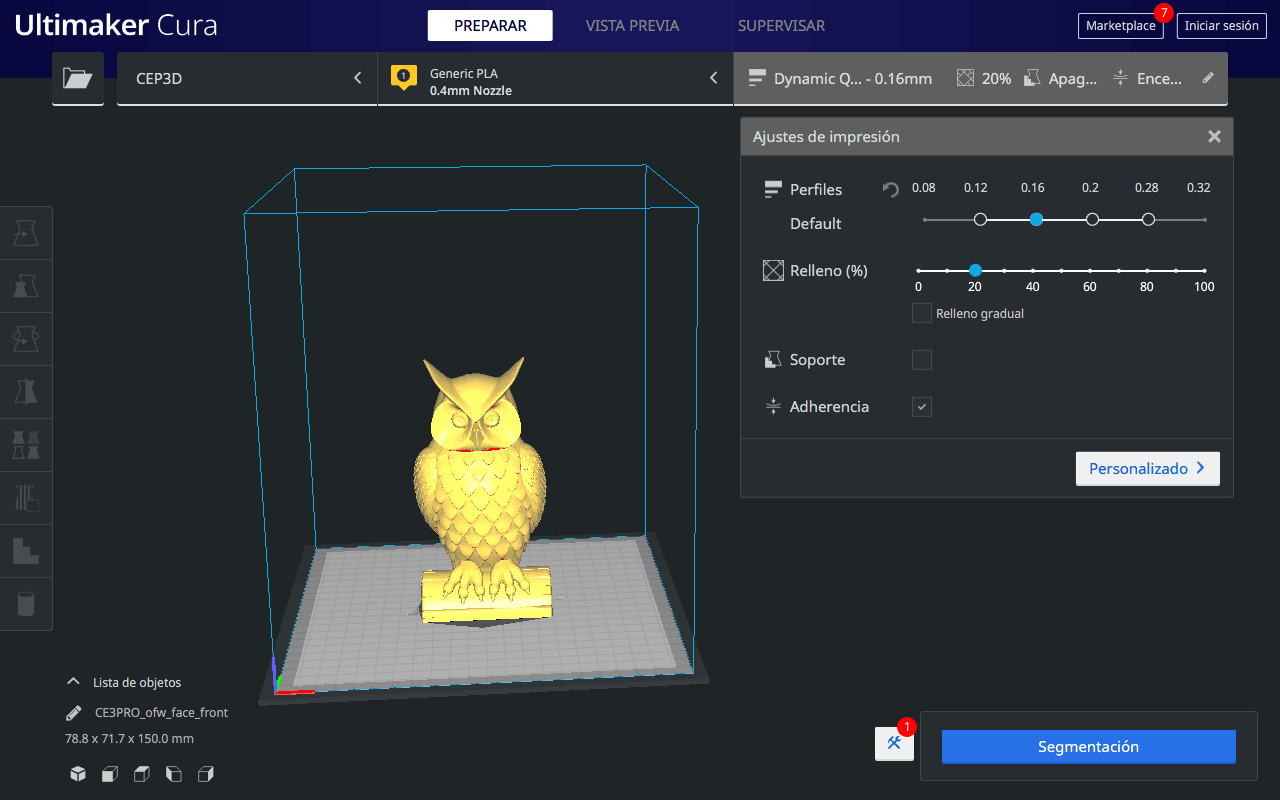
NOZZLE: 0.4
BED HEAT: 60
NOZZLE HEAT: 200
MATERIAL: PLA
MATERIAL THICKNESS: 1.7
LAYER HIGHT: 0.2
INFILL: Progressive
"3D scanning is the process of analyzing a real-world object or environment to collect data on its shape and possibly its appearance (e.g. colour) to construct digital 3D models."
This can be done with different technologies, each one with its limitations, like photography or thermal imaging. Photography has problems when scanning transparent or shinny objects, while thermal images can help to reverse engineer a house construction for example.
The resulting 3D images could have different applications like making animations, movies, gesture recognition, video games, virtual or augmented reality simulations, or creating files to work with as 3d objects to print or model.
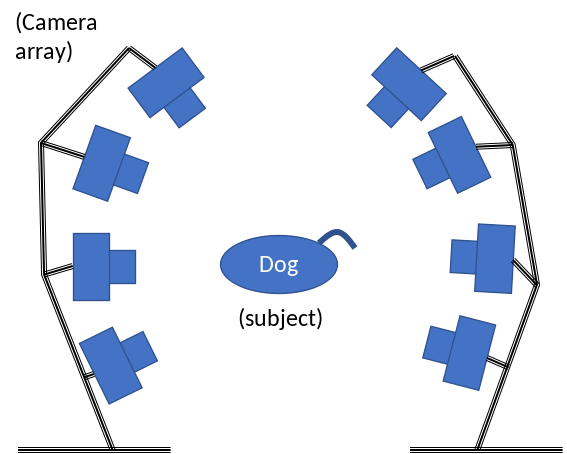
The process of 3D modeling basically consists of having many points of view of an object, and the processing software tries to generate, based on the information it gets, the missing information, saying that the more images or POV's you have to generate the image, the more accurate it will be, since the software will have to "invent" less information.
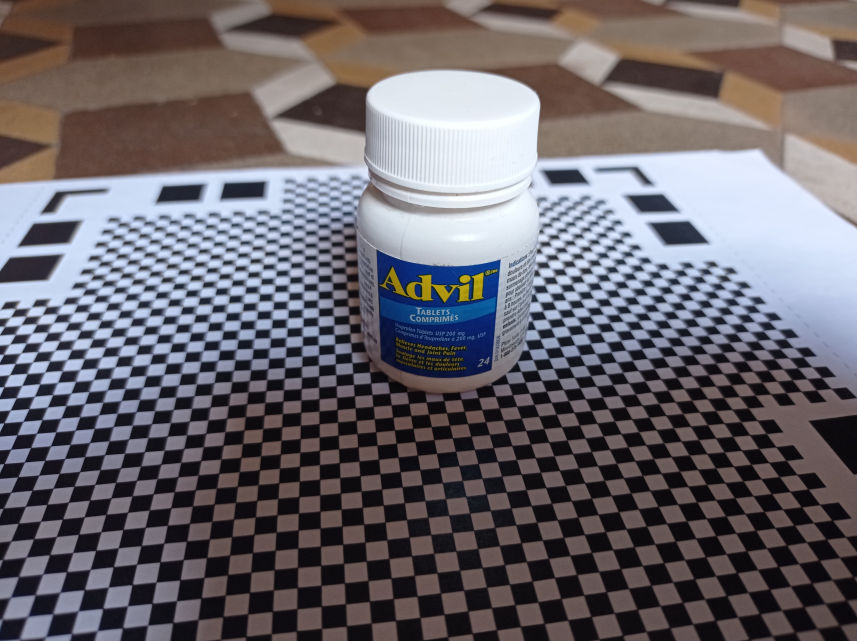

I also tried with a small saint, "El niño de Praga" (Il bambini di Prague), but I missed one step, so it has a very poor definition in my opinion. In the end, I feel that this free apps to do so are not that good for the same reason that they are free, and if you want to export the 3D generated file into a more sophisticated format you will have to pay.
I believe that a pretty good option, or at least a better one, is the 3D scanning with the kinnect or this new cameras that are made for doing so, but to achieve an even better result, you would need to have a stable lighting and maintain the same distance alway from the camera and the objective. For doing so, in Thingiverse you could find and print a turntable that even comes with a piece that helps you to hold the cellphone correctly while the objective turns in the middle.
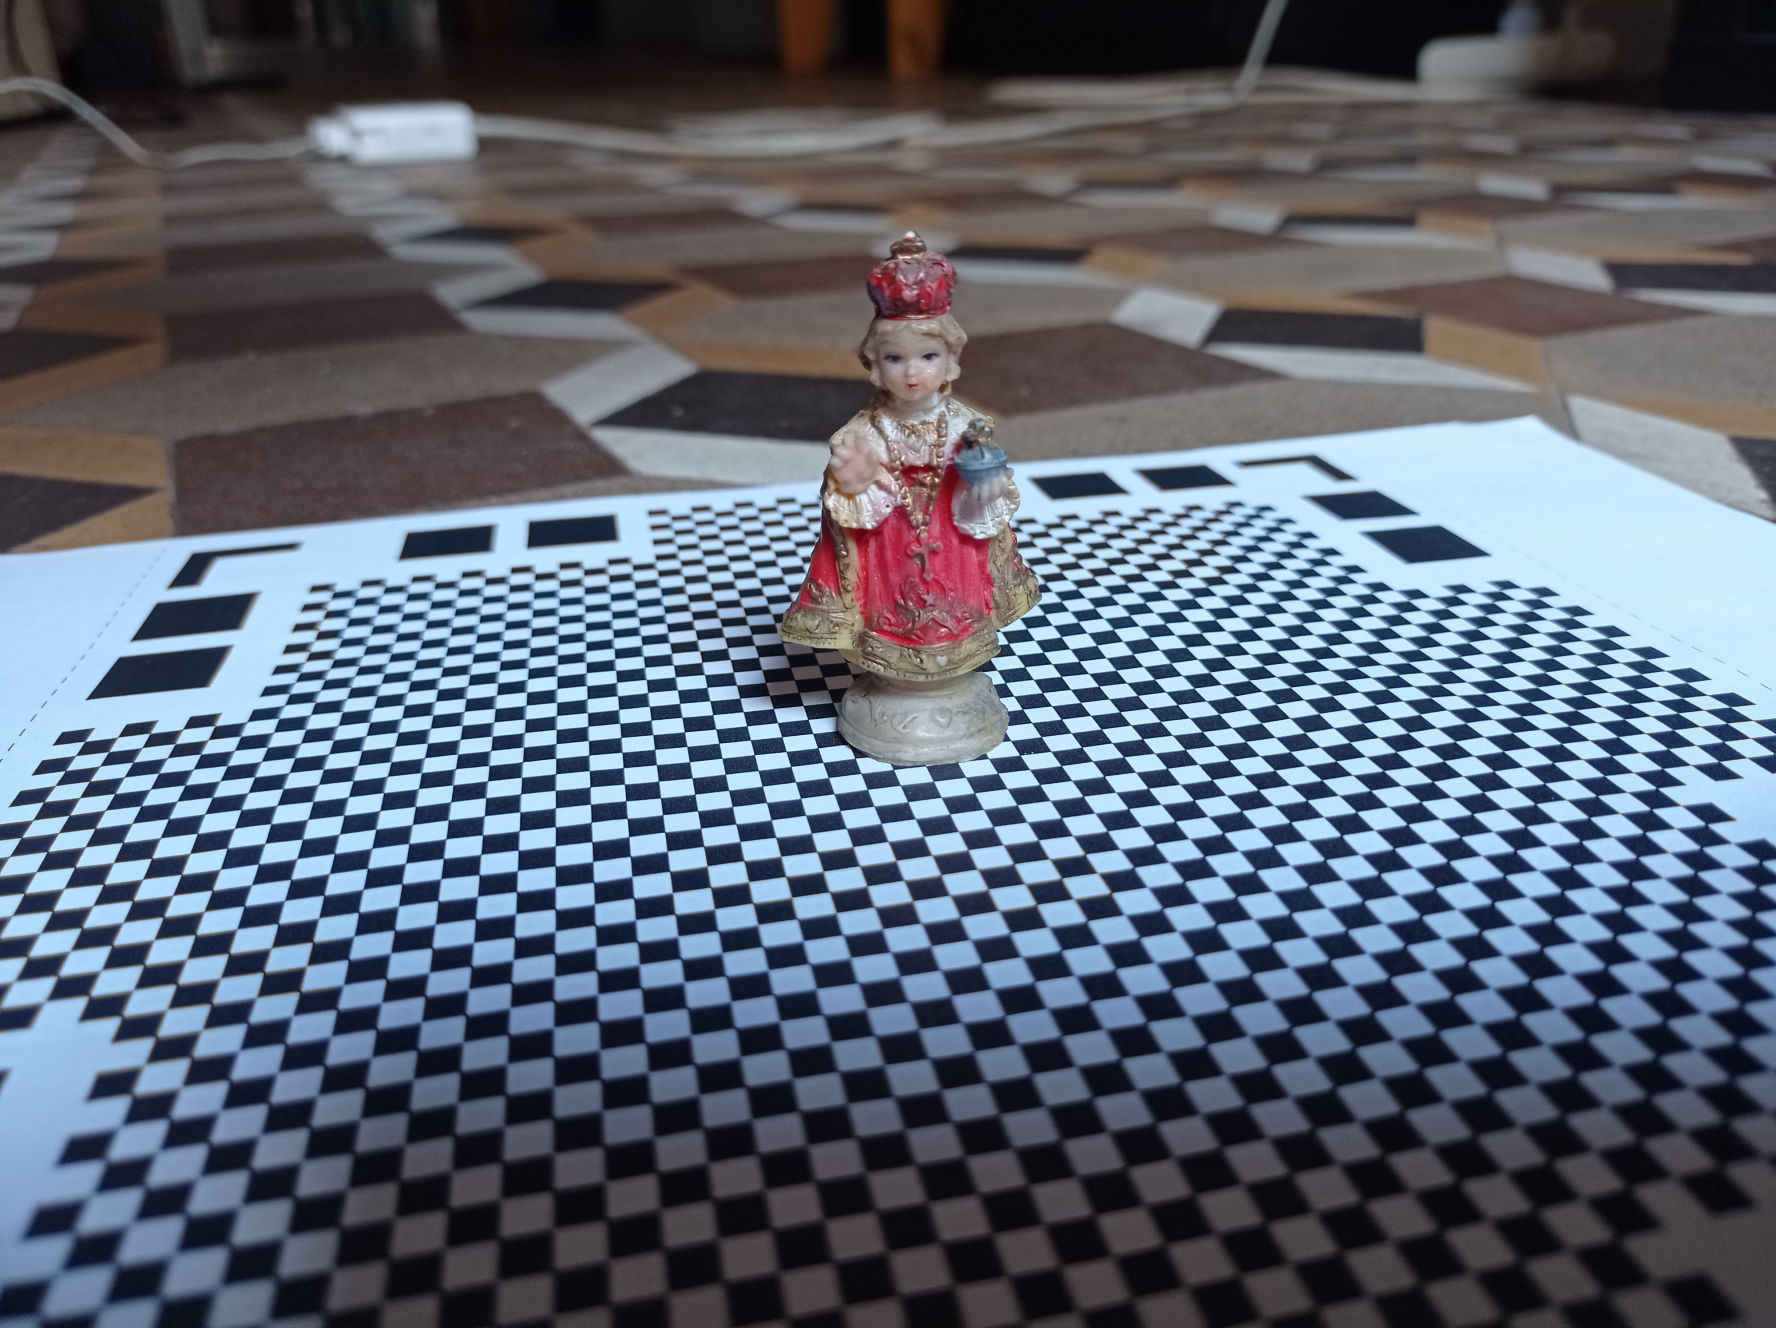
I also tried with Metashape, a software for generating 3D files with your computer, but it takes so much time trying to process the images (more than an hour), so I stopped before it finished adding the textures. Maybe that would be a good option too, but you also need to have the same tips that with the other softwares to get a quality image:
1 - Proper lighting, balanced from all the different sides.
2 - Good amount and quality of Images (even dough this will require more processing capacity).
3 - Same distance between the camera and the subject always.
So far this have been my experience with the 3D scanning, but I would love to experiment with it a lot more in the future, maybe with a better technology (or at least a better computer).
Created with Mobirise - Read more