10. Molding and casting
Exploration while the lab is closed
My idea for this week it’s to experiment the molding of lego compatible pieces. The good point it’s that they’re small, so I can try to make a batch of them and also try to use different colors (and mixture of colours).
Lego piece
Ok, the idea it’s to try to make a good design of molds so when I go back to the LAB I “only” have to mill and cast. Twice.
Since thingiverse it’s a website that indeed exists, I can take some models free to use (important to check out the licenses!) so I don’t have to model the lego pieces from scratch.
These are some that I found:
From them I’ll start with this one:
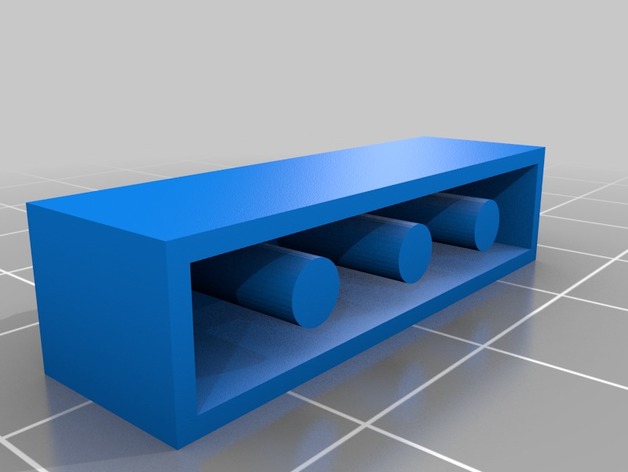
When I opened the STL (that doesn’t store units and also there is no information on the thingiverse page) and I hope that the units are ok.
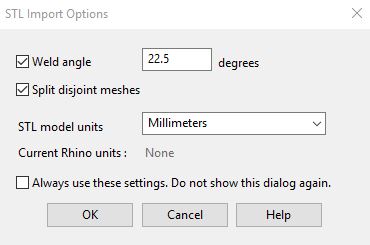
This question about units is always hard for me
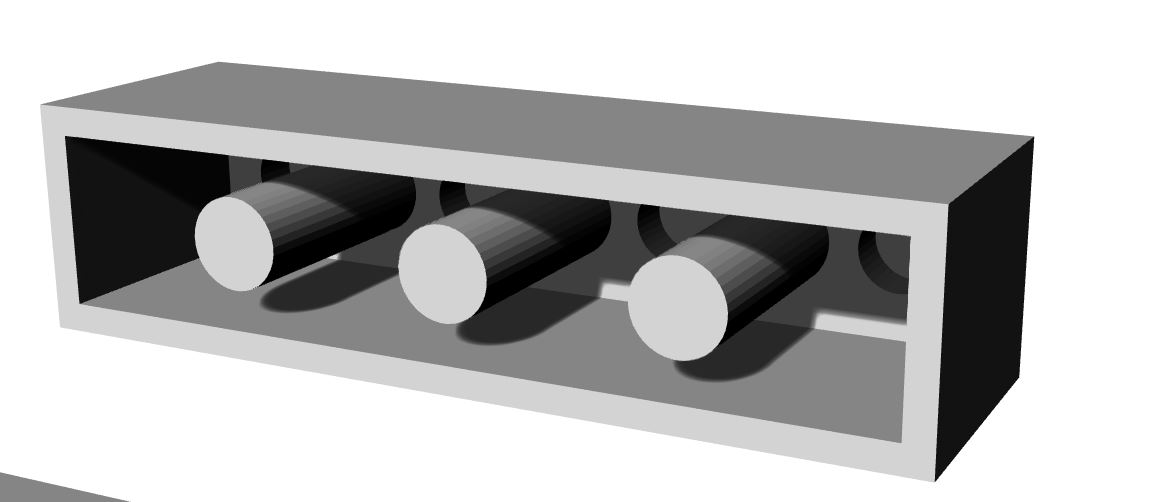
Little modification
In this case I added a couple of bits of plastic and then I remember. Oh, Mesh and solids are different things in Rhino. (that’s one of the reasons I don’t usually fancy 3D modeling). Luckily one search of google later I could type “MeshtoNURB” and, it worked!
Fiuf
When I measured the lego parts I do have I missed a little support that they have. So I added to the model with the join solid function.
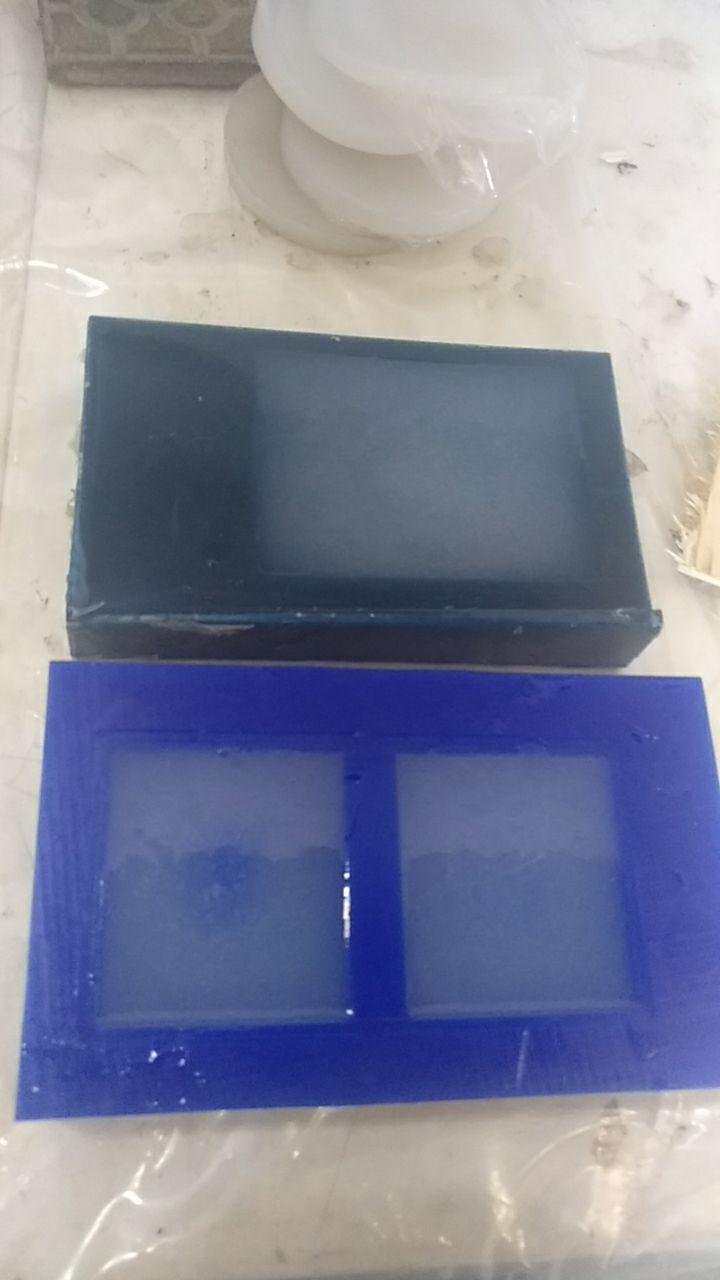
Creating the molds
This particular model calls for a 2 part mold. I made one that fits completely into the other.
Now I have the 2 molds pre-made, now I have to add the holes to add the material and let the air go out.
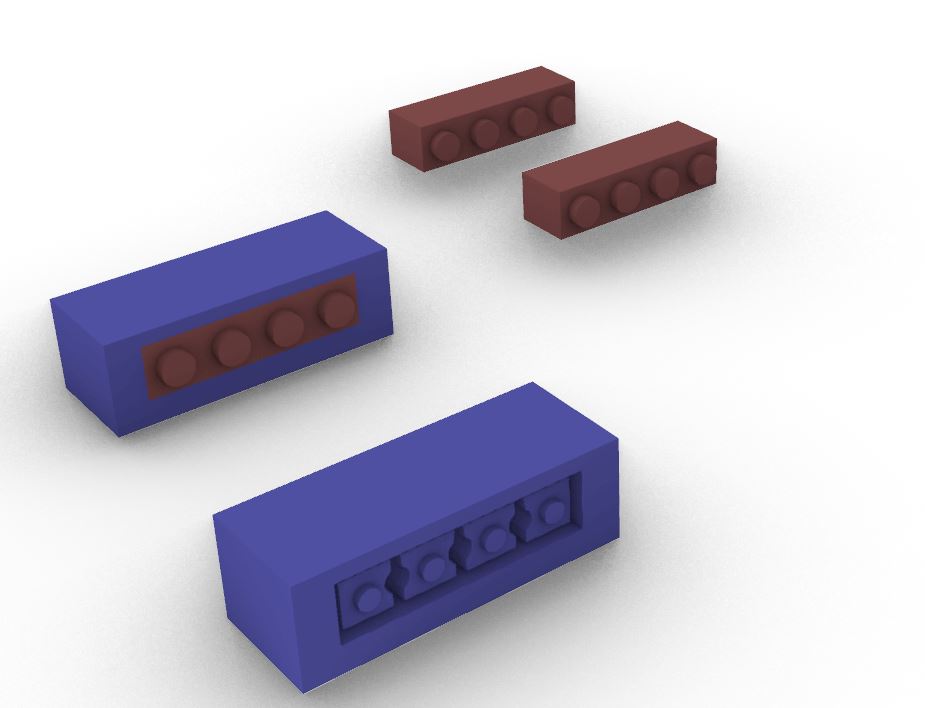
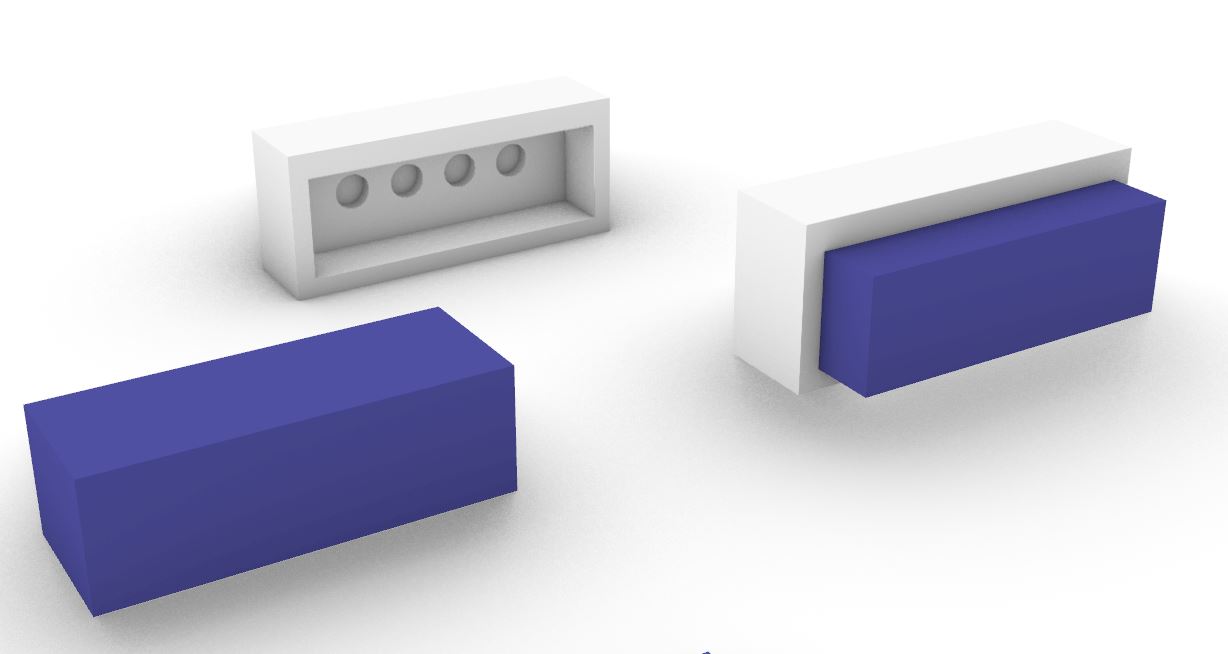
Now I have the 2 molds pre-made, now I have to add the holes to add the material and let the air go out.
Conclusion
When I went back to the lab these designs have a problem. They are too small. The details and the few tolerance of the Lego pieces make that this particular design is not viable. It can be done or use the lego dots somewhere, but not here.
Designing a card (not valid for the assigment but fun anyhow)
I play a card game called netrunner and I’ve made several tokens here you can see an example.
In this game there are cards in your deck and you have an identity that represents the player, either as a corporation or as a runner that you don’t shuffle into your deck but it stays on the board from the beginning. That has led to cards not made of cardboard. For example these acrylic one made by Yakuza
And I though: “What if I made something in 3D?”
So I choose to make an alt-art of this card:

This is a corporation that operates on mars under the domes in this future. So I could try to make a model with the martian surface with a couple of domes and craters and mountains.
Design in rhino
I used Rhino 6 to do this mold. In this case I used a lot of simple figures (cilinders, cones, boxes)
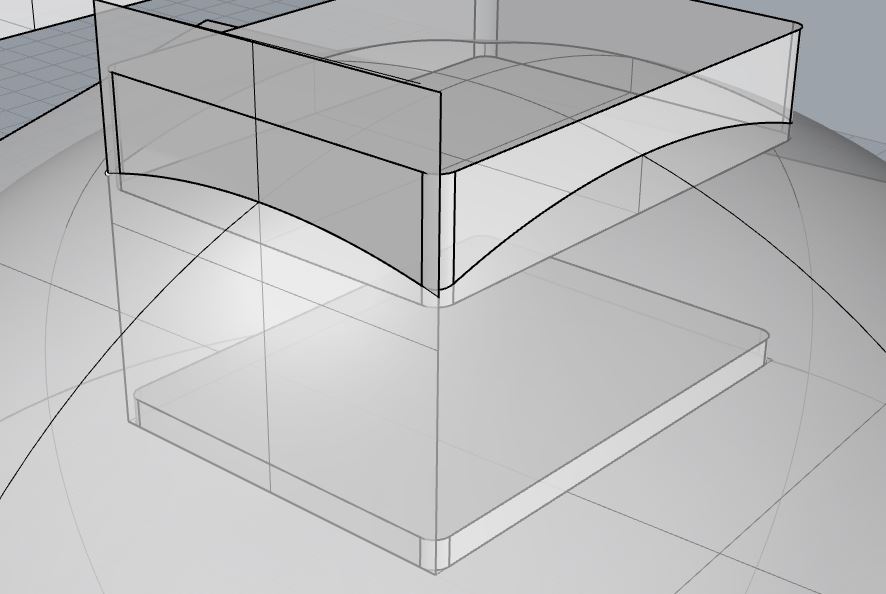
card shape
crater base form
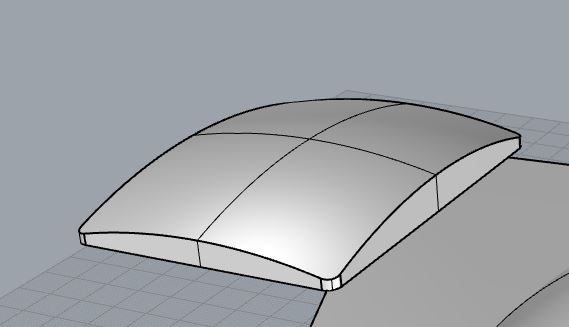
I managed to put a text on it but I decided to make a flat place where I can put a sticker saying the name of the Identity an the properties that will be more readable.
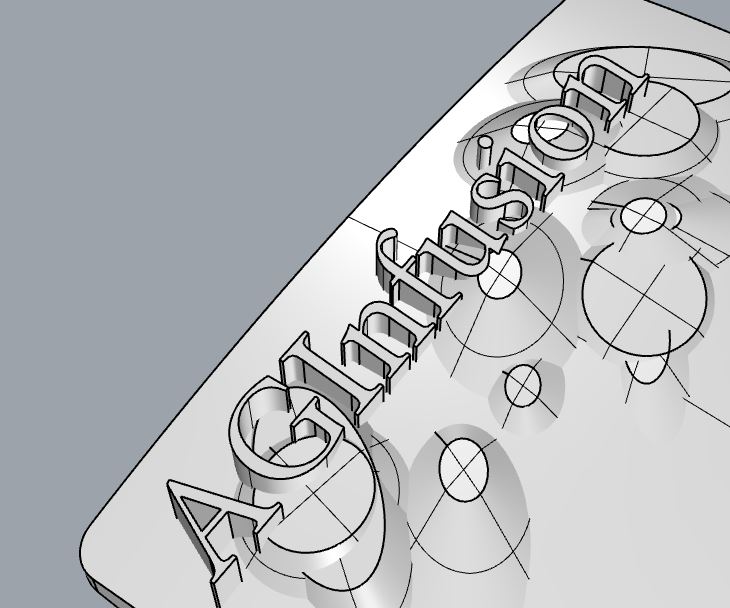
Milling machine says no
Model result
Making the model
I have to take into account that this is going to be milled so I made the negative of this into the millable wax.

The model of the machinable wax is 146 x 88 x ~30 mm
Now to the Modela
Modela
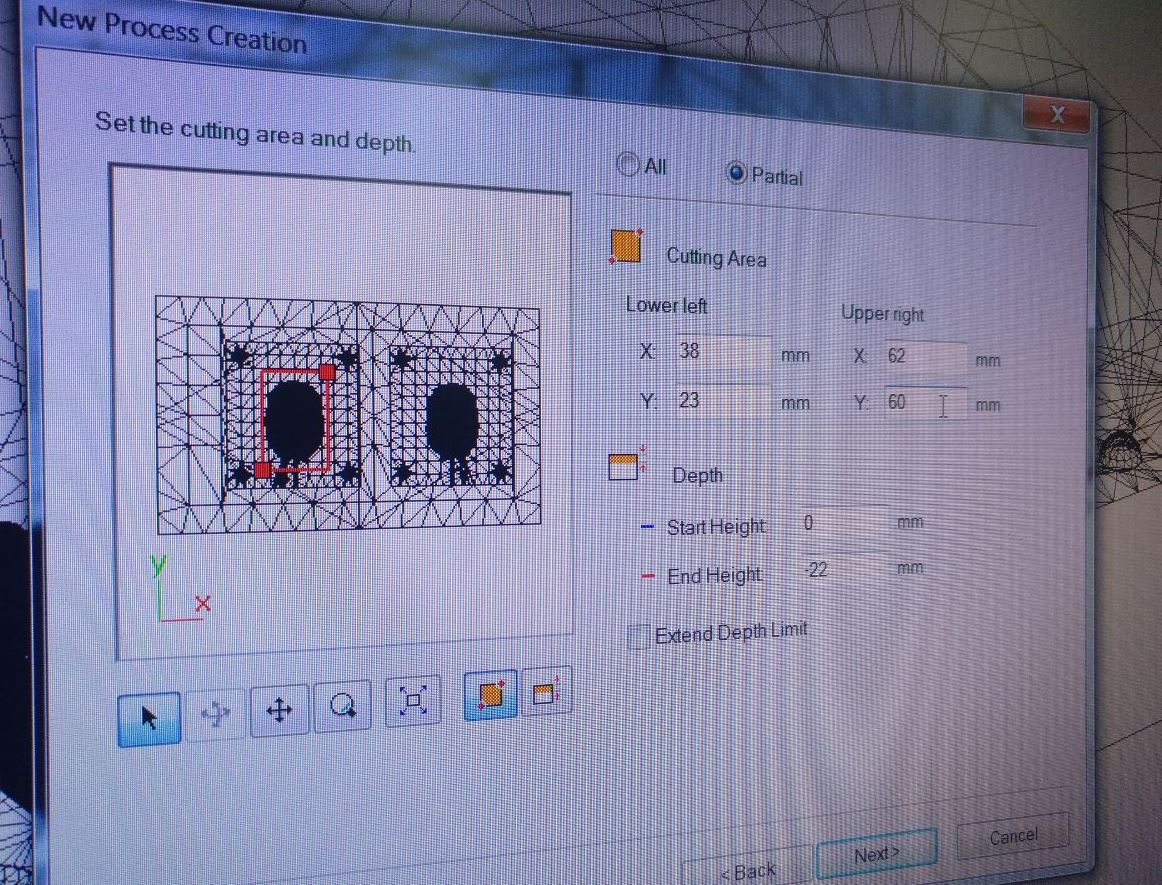
Modela is the software that Roland has to transform .stl into paths. It’s the CAM program. This is how my model looks like once I import it:
The first thing to re-set here (As my costudent Arman told me) is to set the origin. Better in this case to be in the bottom left so everything is possitive in the x-y.

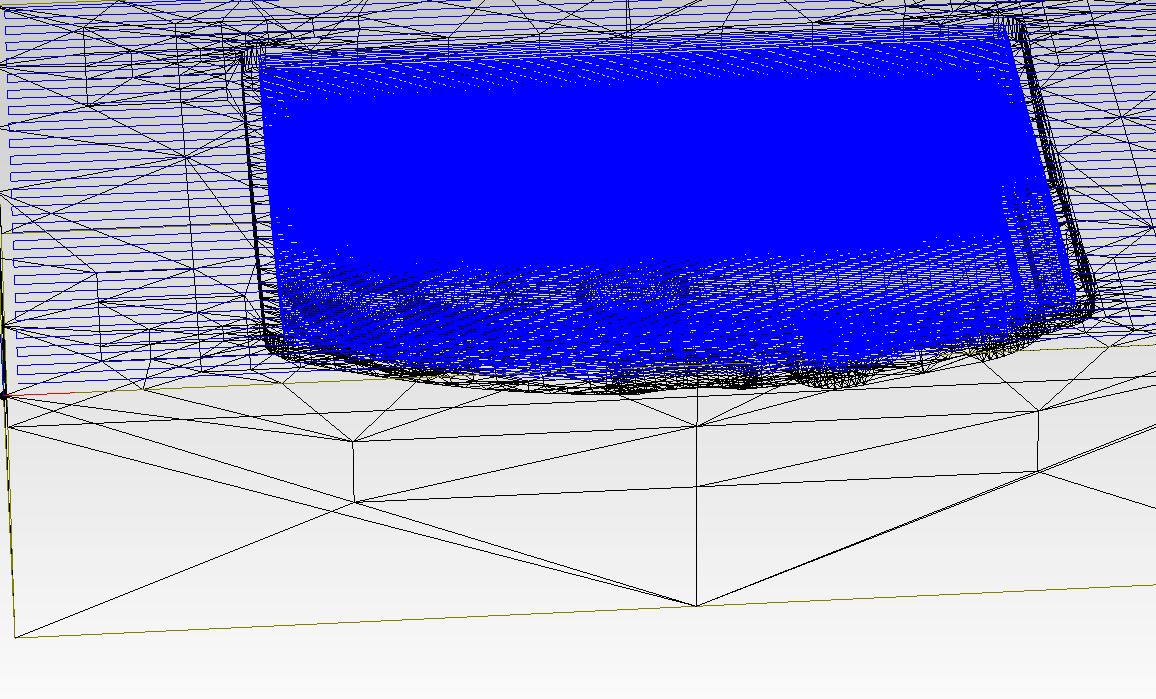
Then we start making the passings. In this case I’m using a recicled wax so I have to make a surfacing before starting.
This goes all around the block and sets a stable surface to dig after (also this routing can set a new z)
the path is in blue
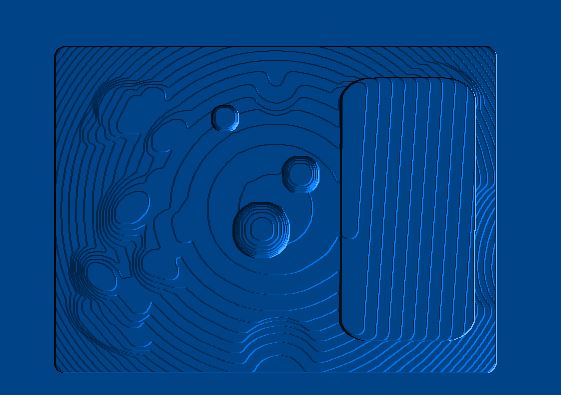
Then I need to make a rough pass. This is going to make the pocketing but not the details. That’s done later.
now with more blue
And this is how it’s suposed to look like:
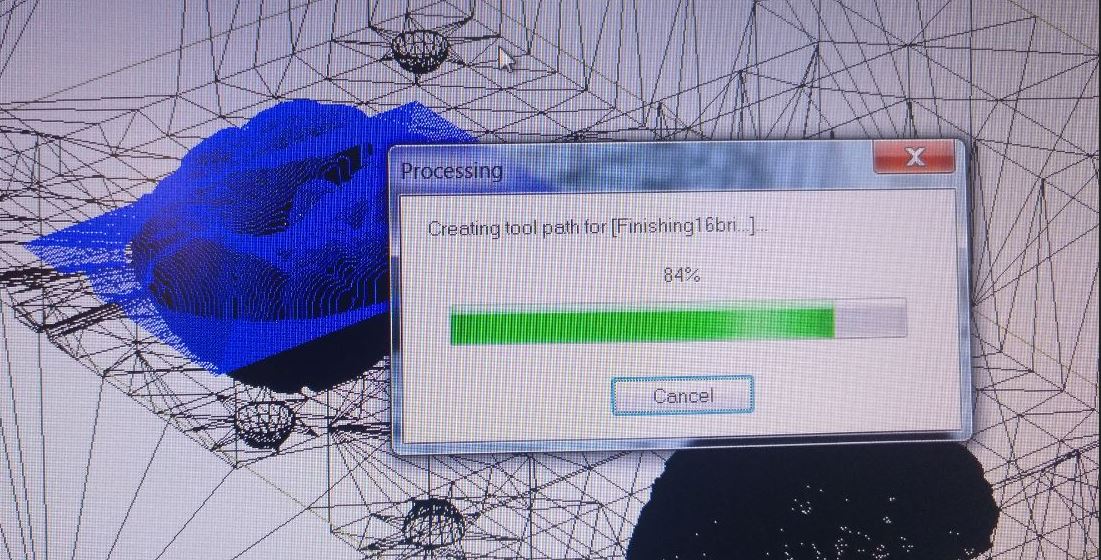
Then we make a finishing pass. And we change the mill to a round one so it makes more pases and with more detail.
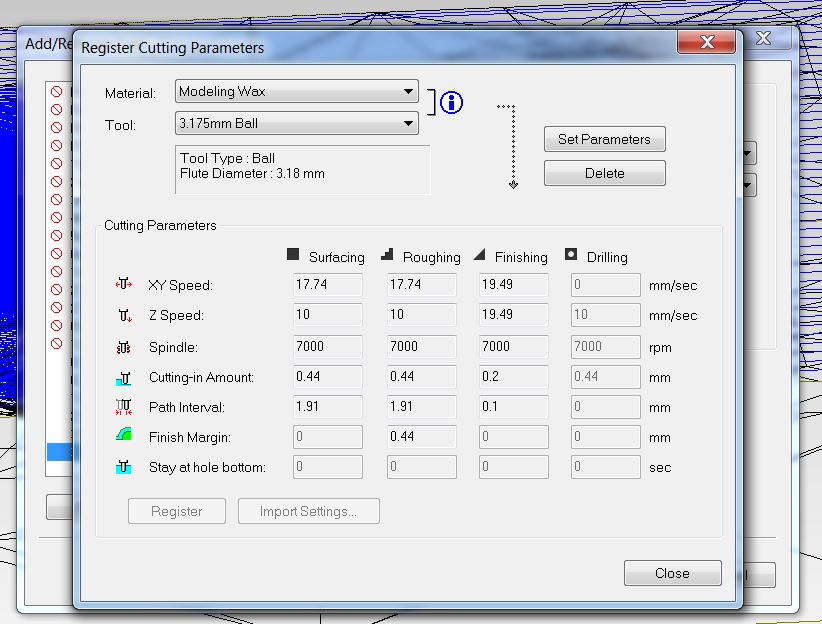
setting the tool
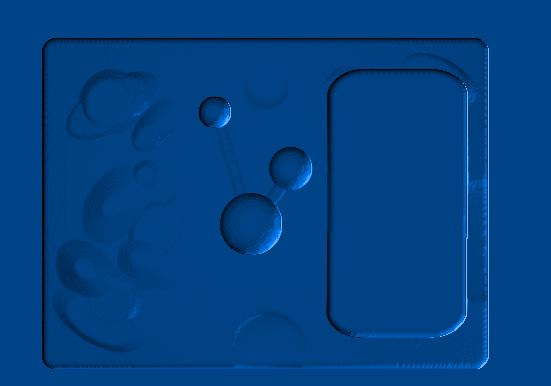
This how it’s previewed in the modela viewer:
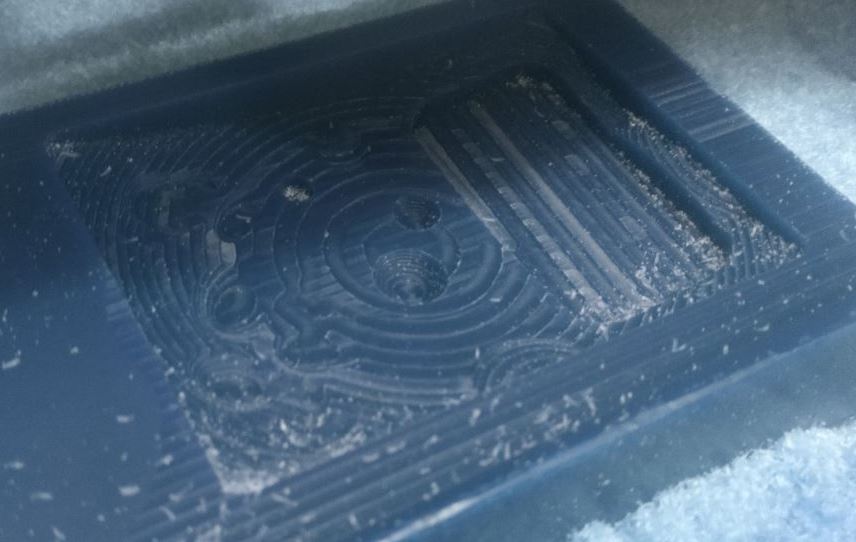
Milling
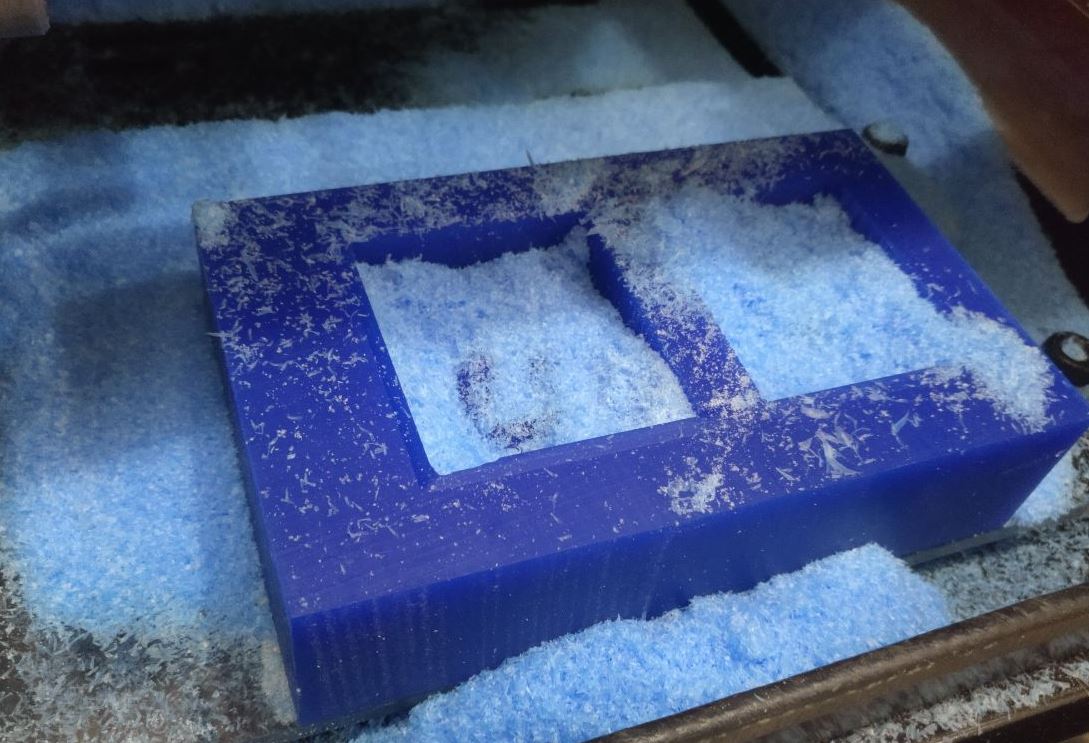
When milling I uploaded the .rnl files (the gcode) exported from MODELA and make the surfacing. I only set 4 mm. I didn’t set more because I feared that I could go into the bottom of the mold.
And this was the result
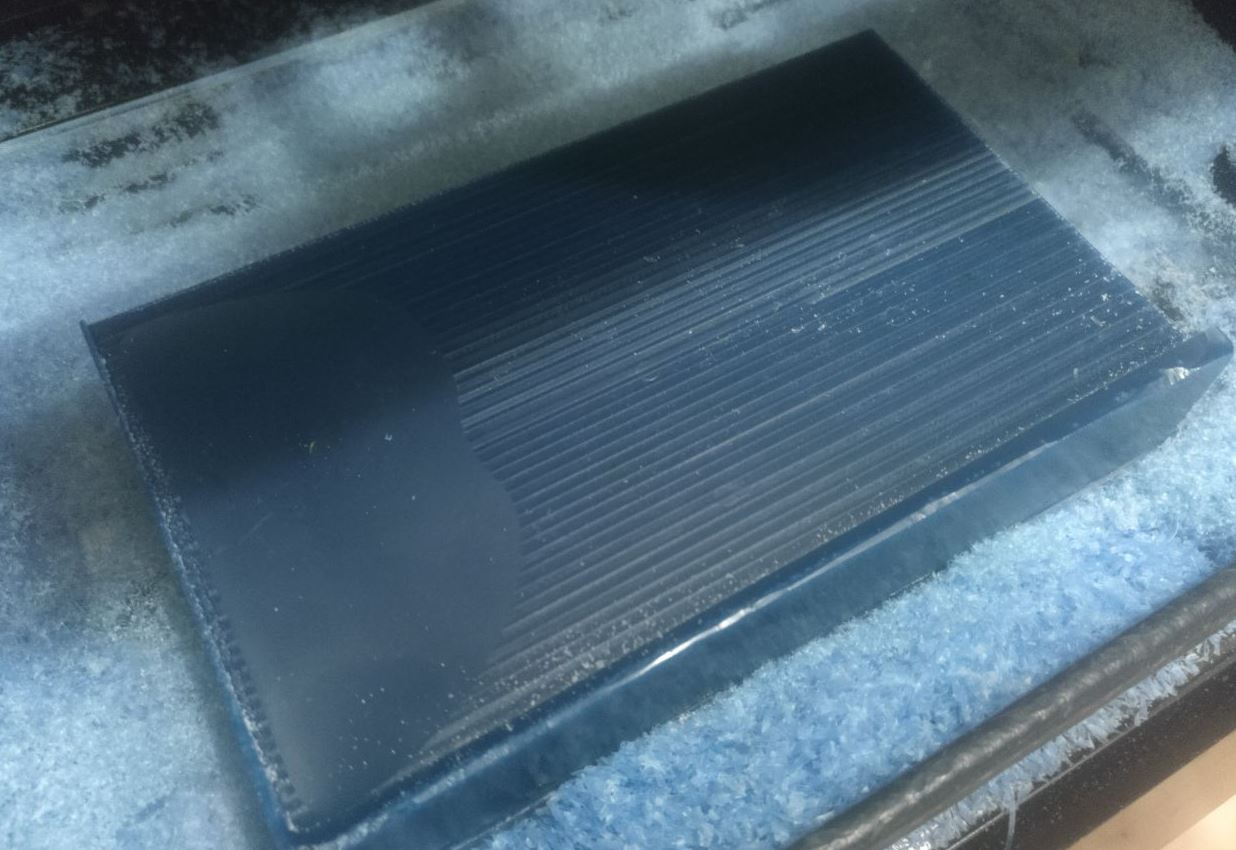
As you can see, not all the mold was surfaced. But I need in this case that the mold had to be inside the surfaced region. So I changed the x position to fit better. And then I sent the roughing and I paused the machine to check if everything was according to keikaku*
phew.jpg
*keikaku means plan
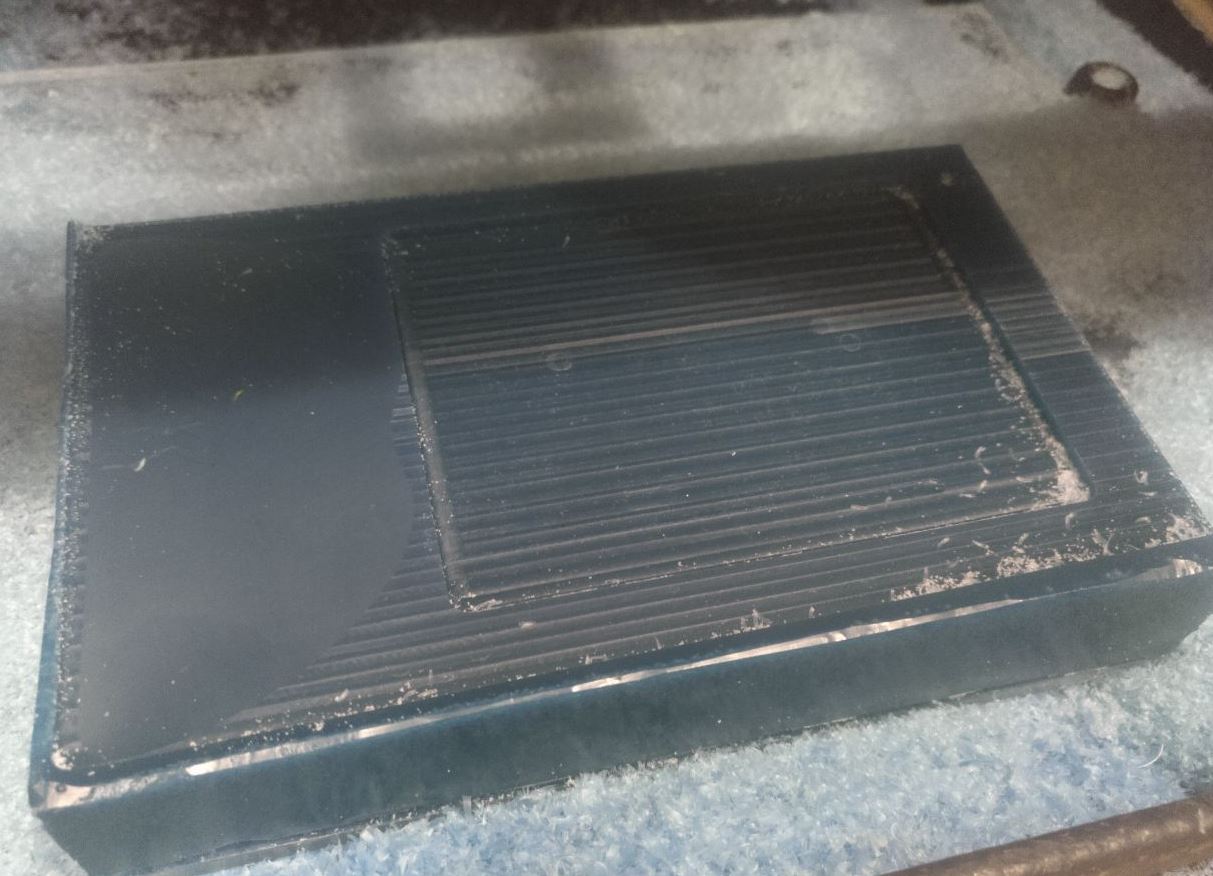
So I pressed continue. And this was the process:
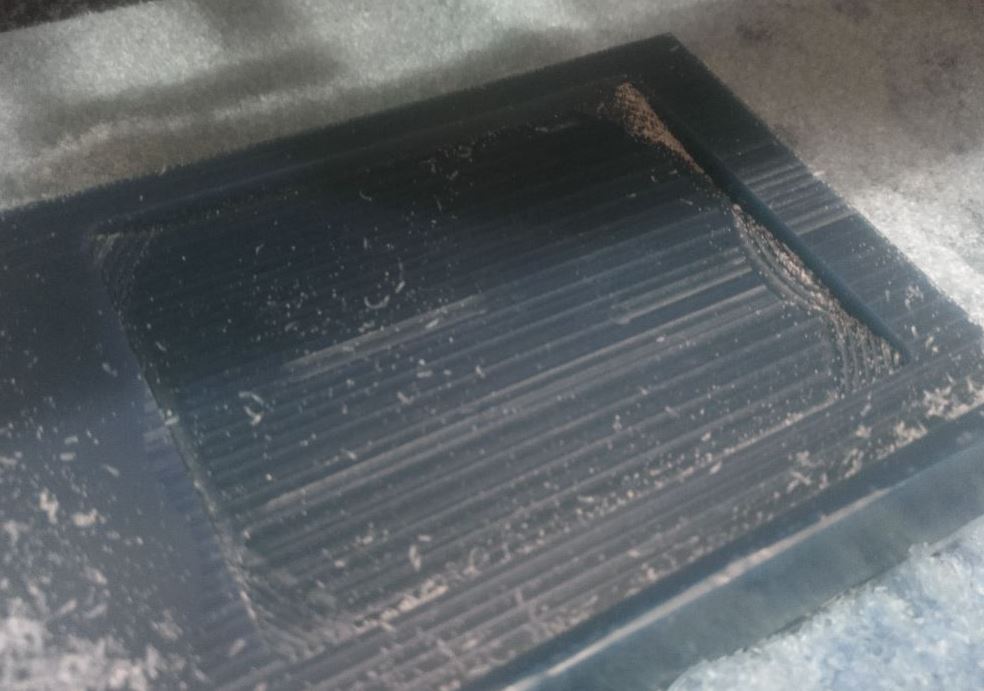
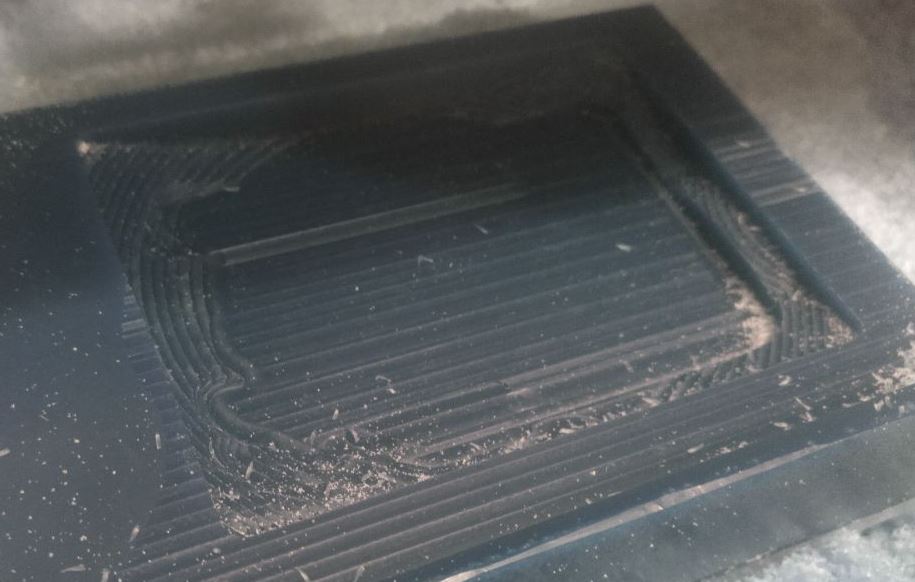
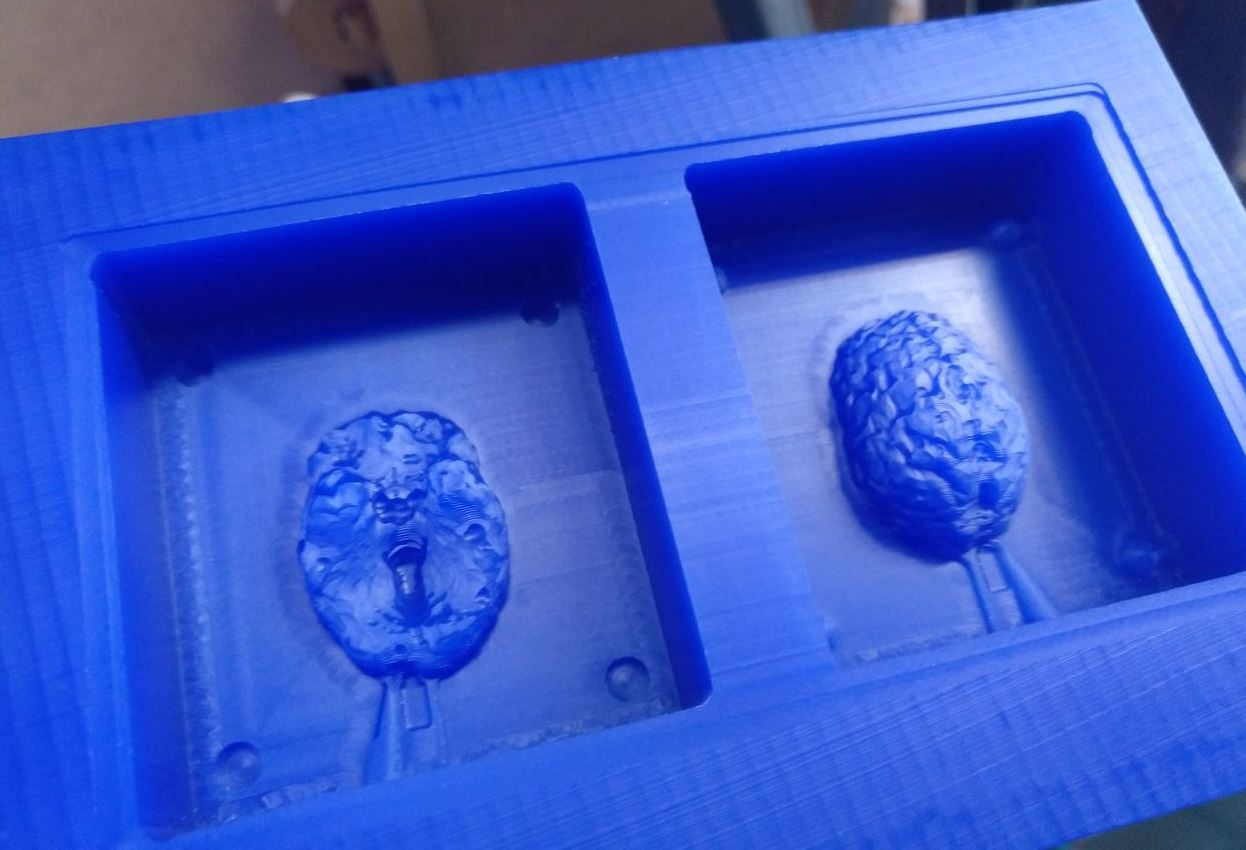
Then I changed the mill for the 1/8 ball (the mill before wsa the 1/8 flat) and this was the magic process:
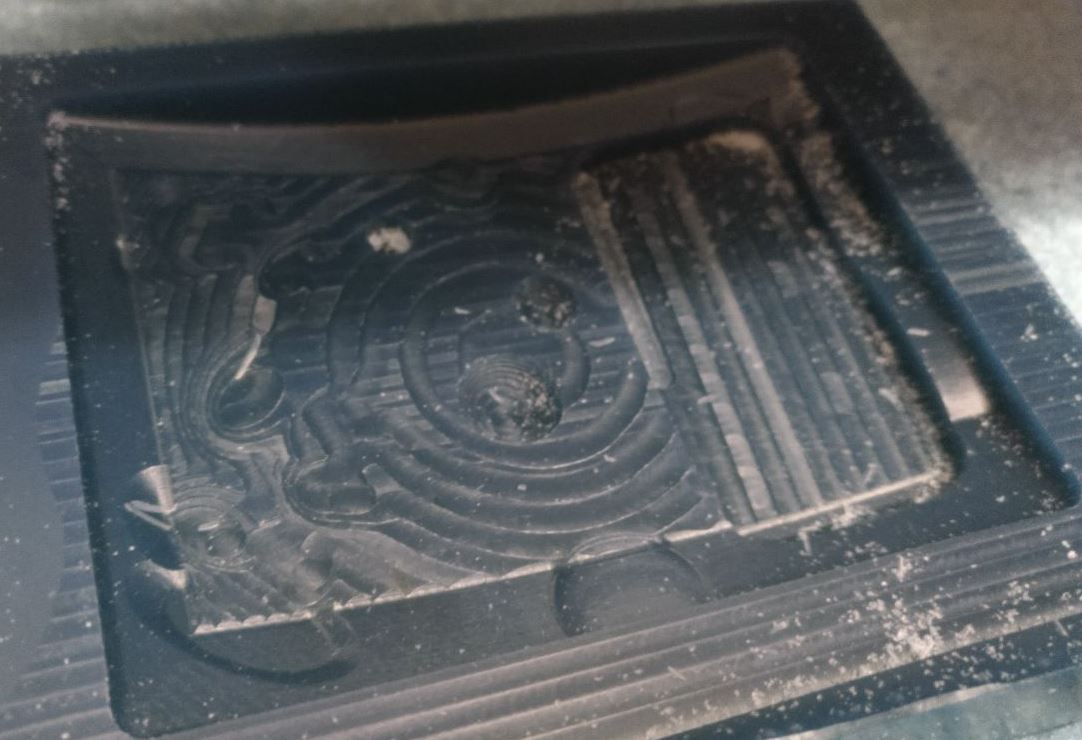
And the result:
Now time to cast it!
Cast
This was my first cast. So I decided to use the simpler easyplast 00 40 from feroca that was the safer and the easier.
[to be continued]
Second model. Brain token
Reference brain (that is Creative Commons):
https://www.thingiverse.com/thing:371899/files
So for the assigment I’m told that the casting not only has to be with 3D path and milled but also with double casting. I mean one piece that it’s casted in positive and made a negative and another final positive.
The problem is that the card is too big for this porpouse because I’d need at least some 10mm walls and the model is already 66 mm wide. So let’s try another thing.
One of the tokens of netrunner is one that it’s “brain damage”, when the runner occasionally goes to places that they’re not supposed to be and they recieve that kind of pain that last all the game.
So I downloaded this thingiverse model of a brain and I scaled it down. This was a problem because it’s too detailed but let’s work with it.
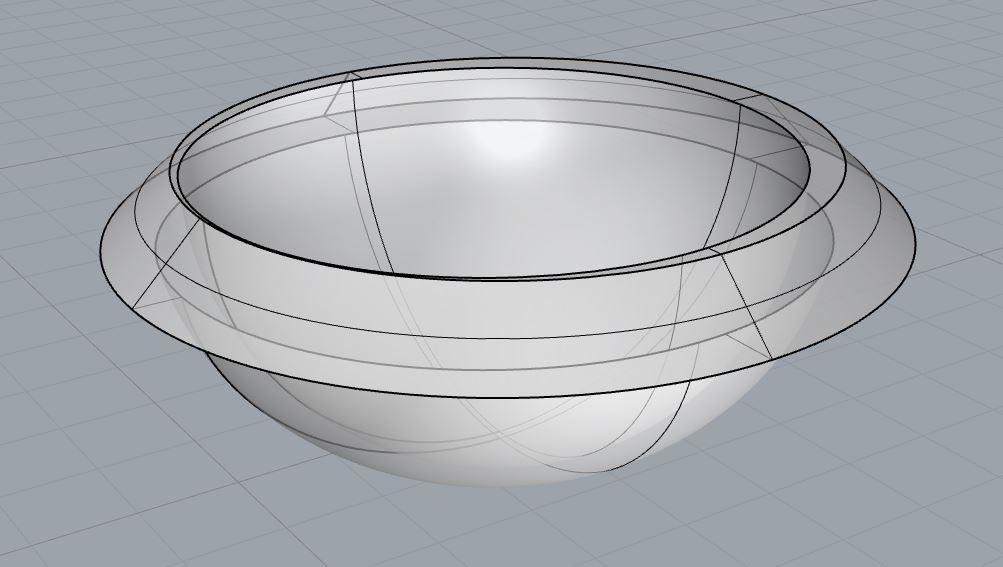
Meshes are a mess. Modeling the brain mold.
The thingiverse model comes in 2 files. One for the left and one for the right side.
So I added a couple of elipsoids first to the mesh in order to simplify and join it a little bit. The mesh is still heavy but ok, I guess then that it could help.
Now the trick is to set where is going to be the top half and the bottom half of this mesh.
I also scaled the model a bit. Around 30 mm in total. A big token but still maneagable to be one of those.
I tried to make it by hemispheres but there is lot of mesh going on that it’s going to be missed so I decided to go top-bottom.
I set a couple of boxes that are going to be my negative. Those boxes are ~ 48x55x17mm
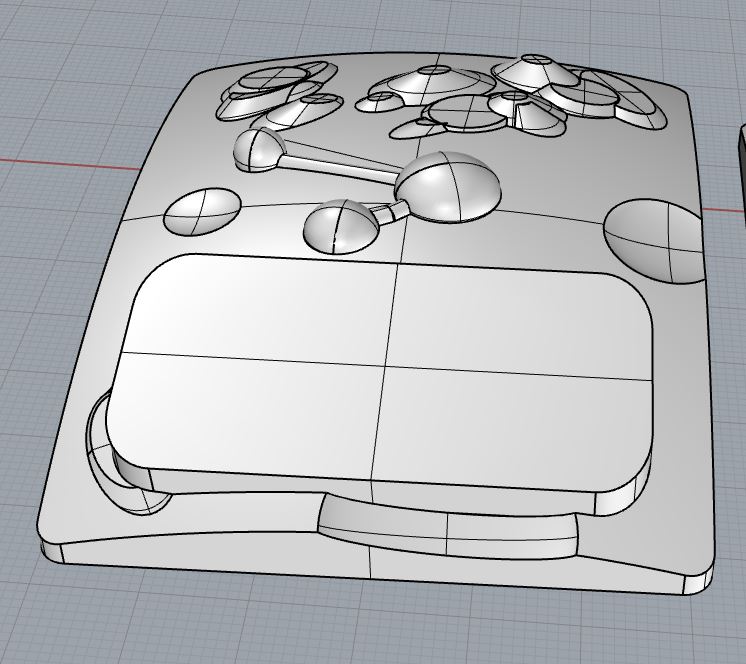
Finally I have this:
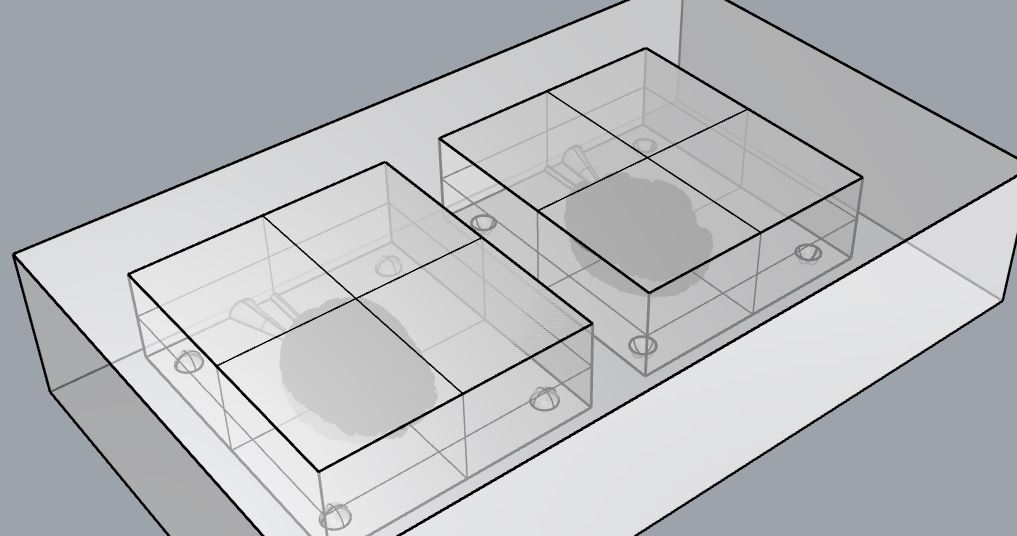
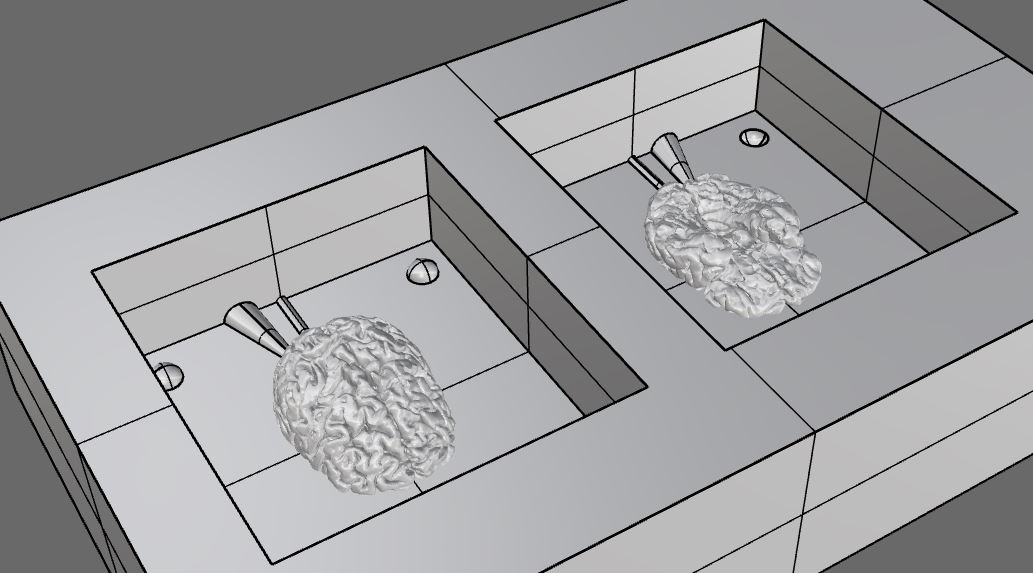
I augmented the size of the pouring with a cone and I added a vent.
This model gave me lots of trouble becaus it has too many details so I can’t make boolean operations easily. I tried with simplifying the mesh but it didn’t work either.
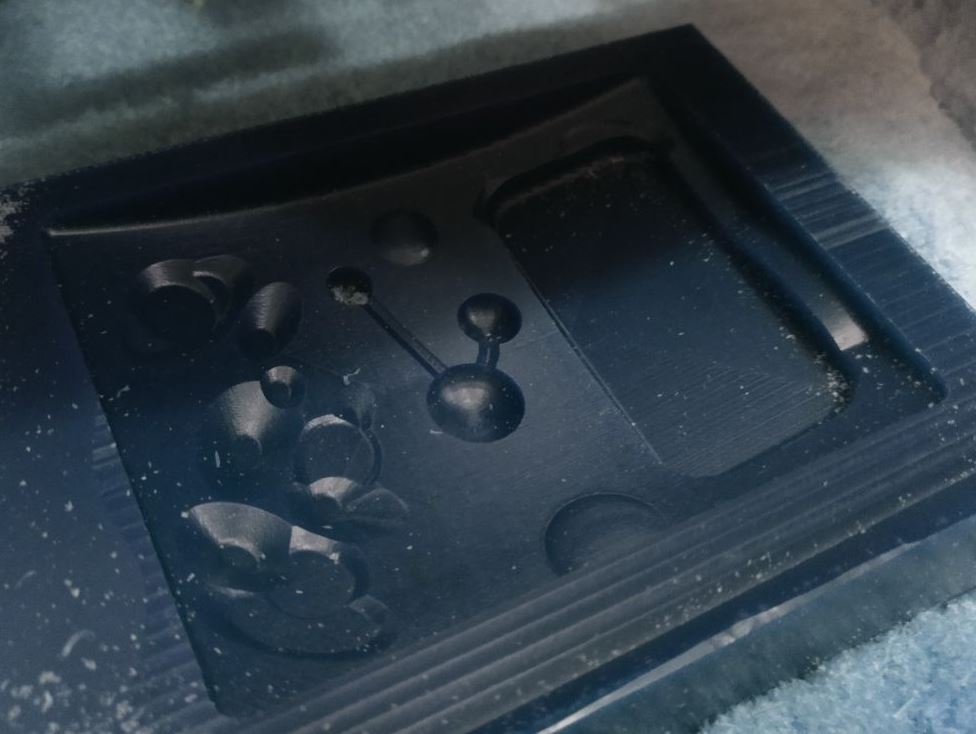
Making a brain mold
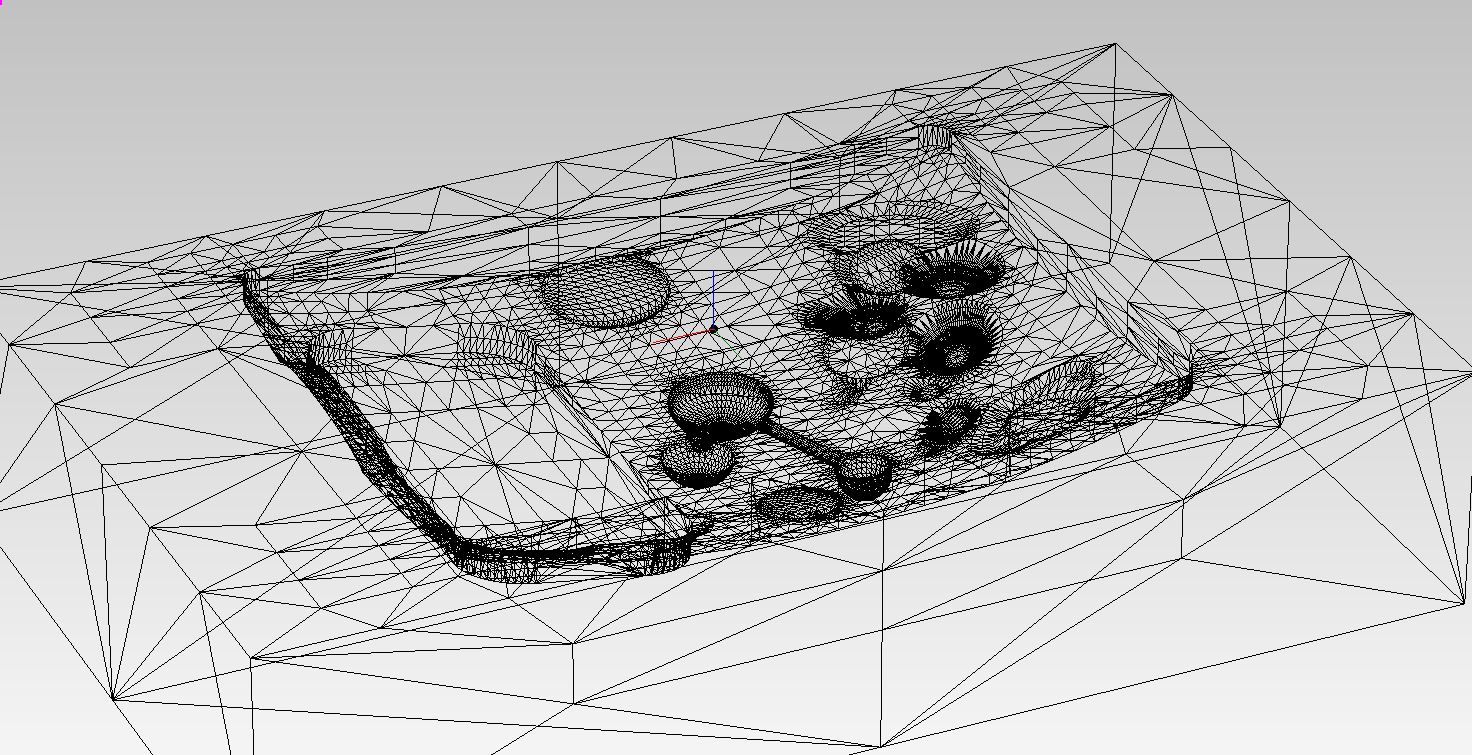
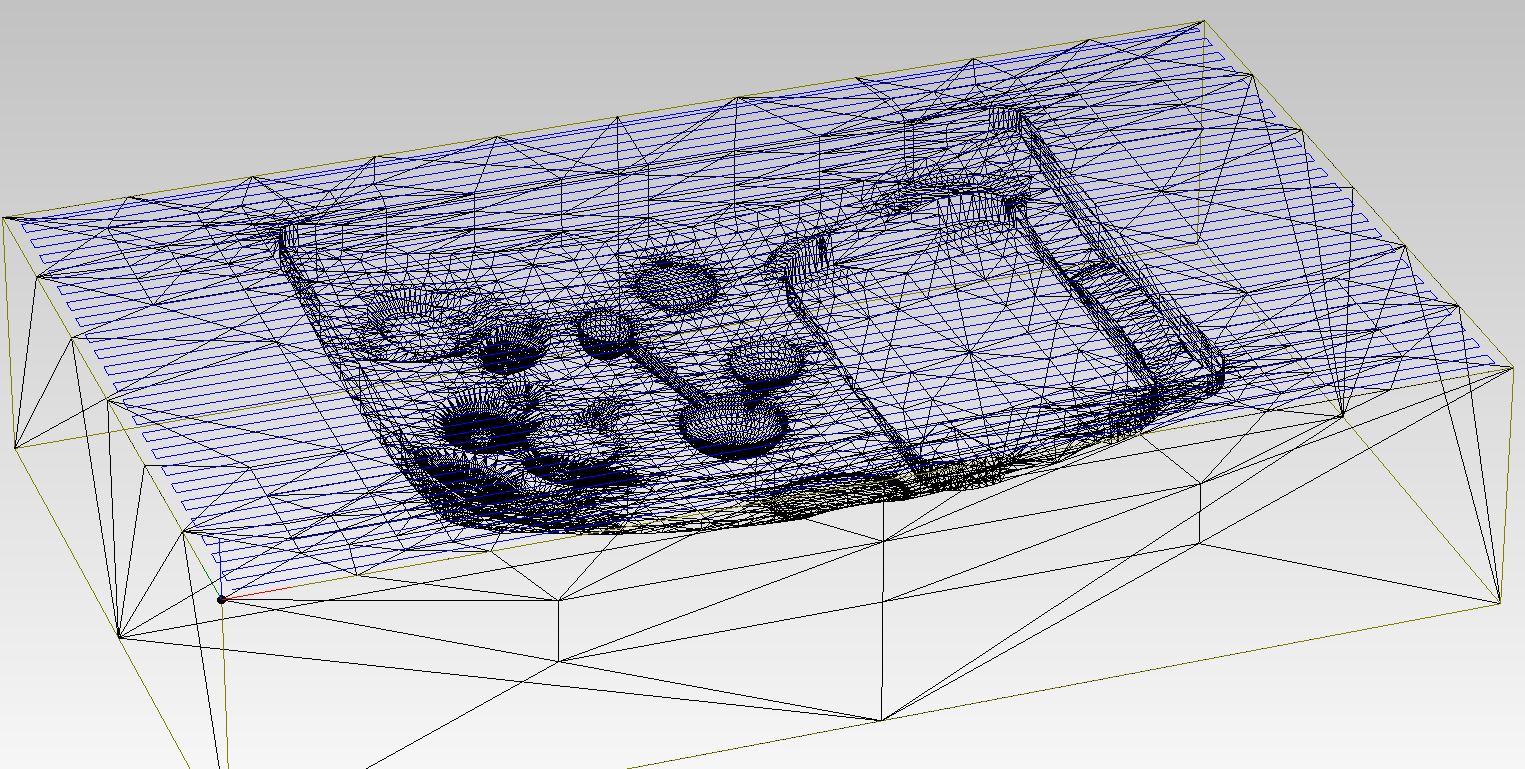
I go through the modela again and also render the details of how it’s going to look
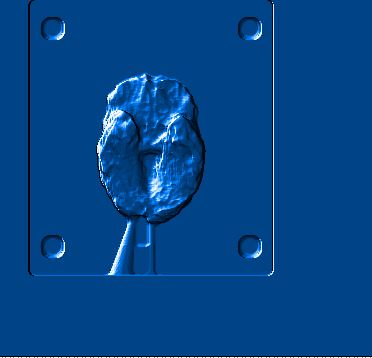


Here when I set the finishing I just put the brain and forget everything else so it doesn’t take too much time. I even changed the mill to a round one.
long pathing is loong
I had also problems because the model was too detailed. Finally I found the tool to simplify the mesh and be able to do the path (but not to use the boolean operations properly)
And then, go to mill it!
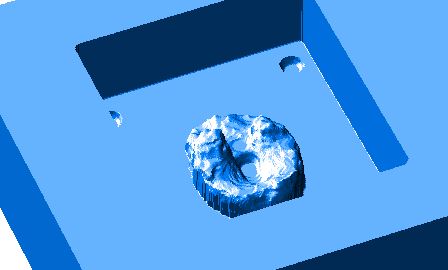
I had some issues while milling because there were too much debris and the machine stopped. But I cleaned it and it continued just fine.
This was the result:
Cast process
Ok, I tried first with the Mars card. Even if it didn’t fit the assigment, it is a good approximation to get used to the tools.

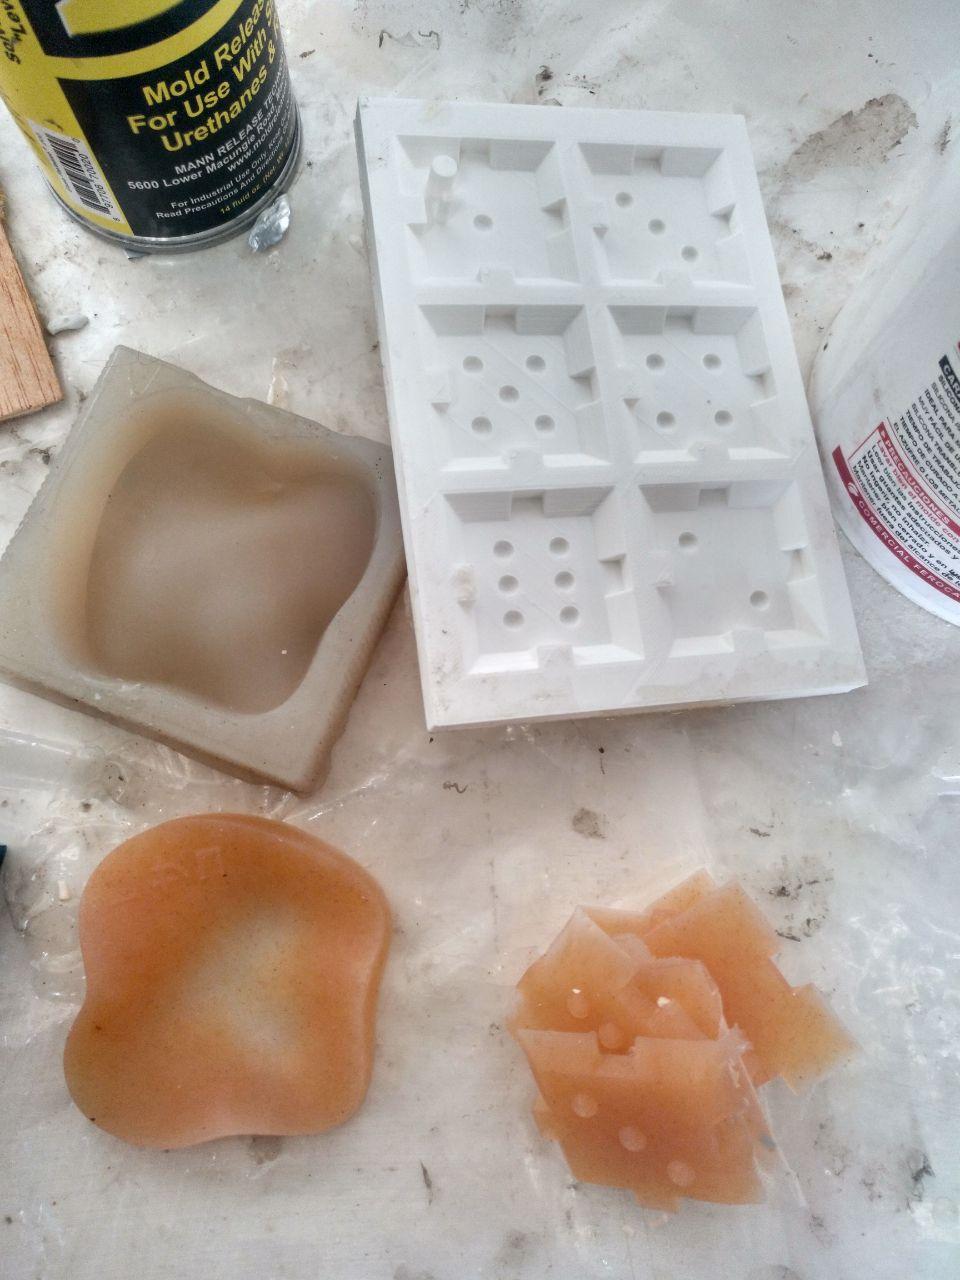
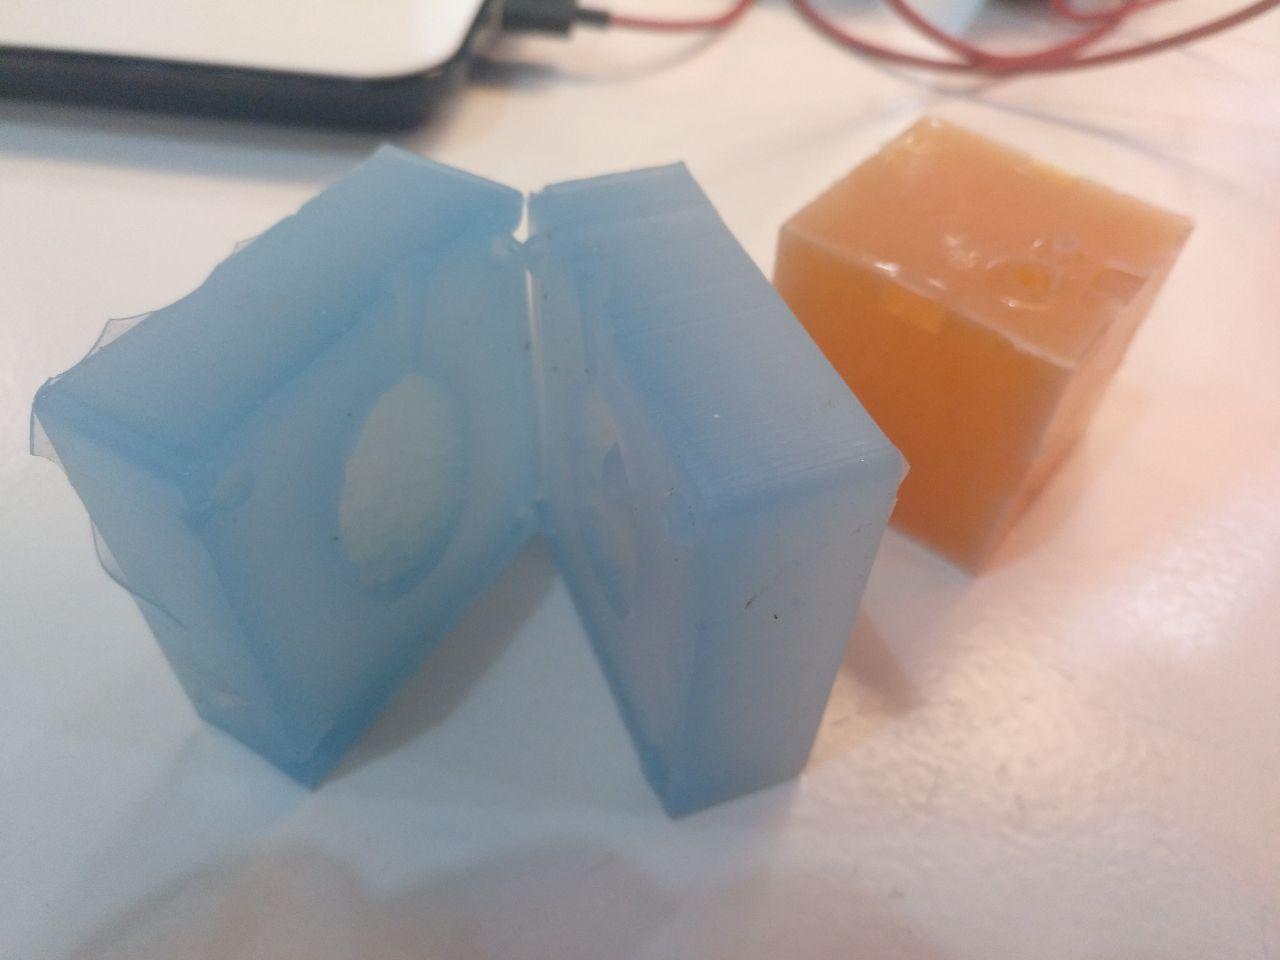
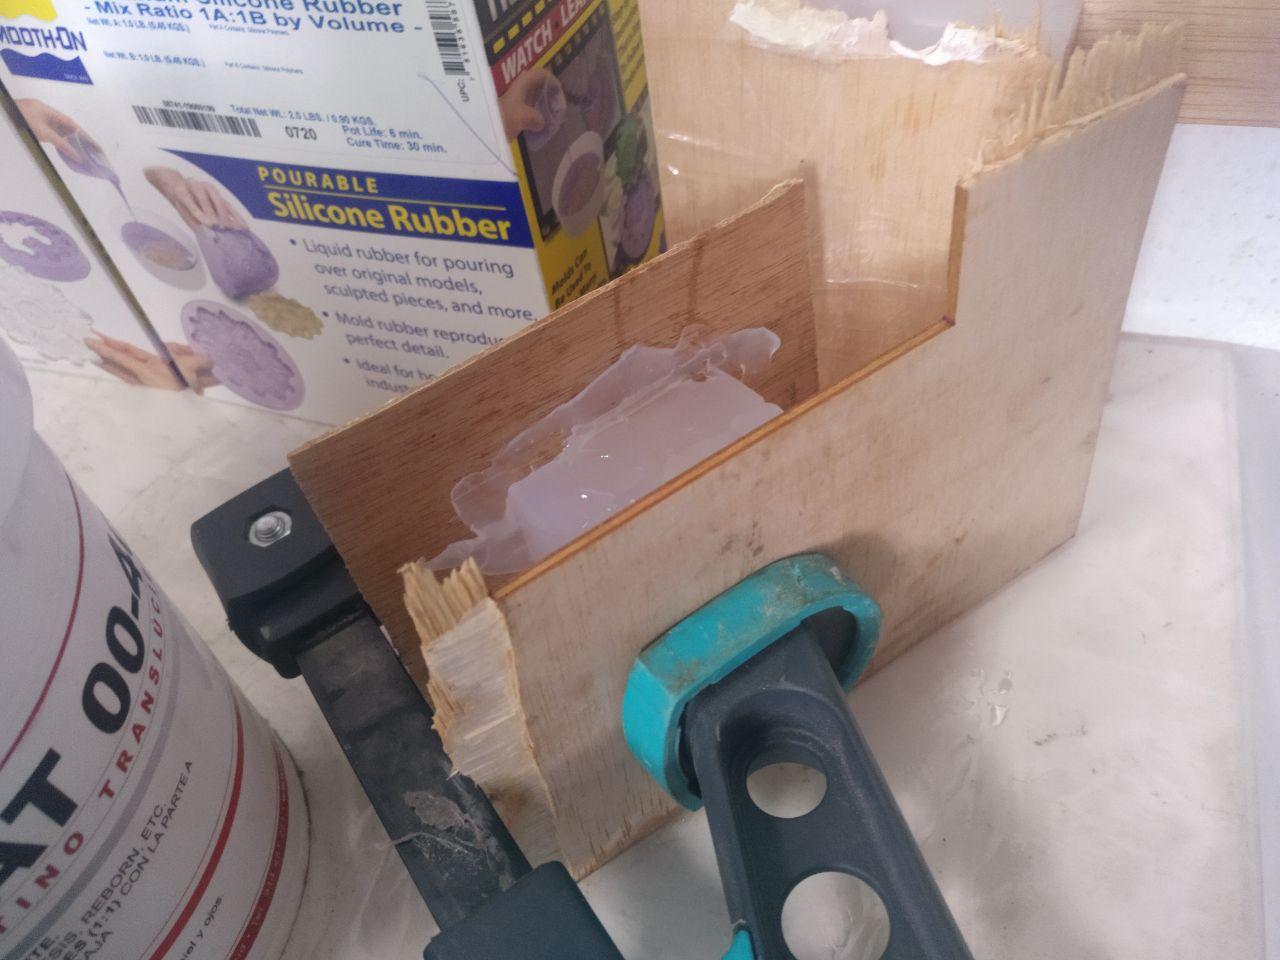
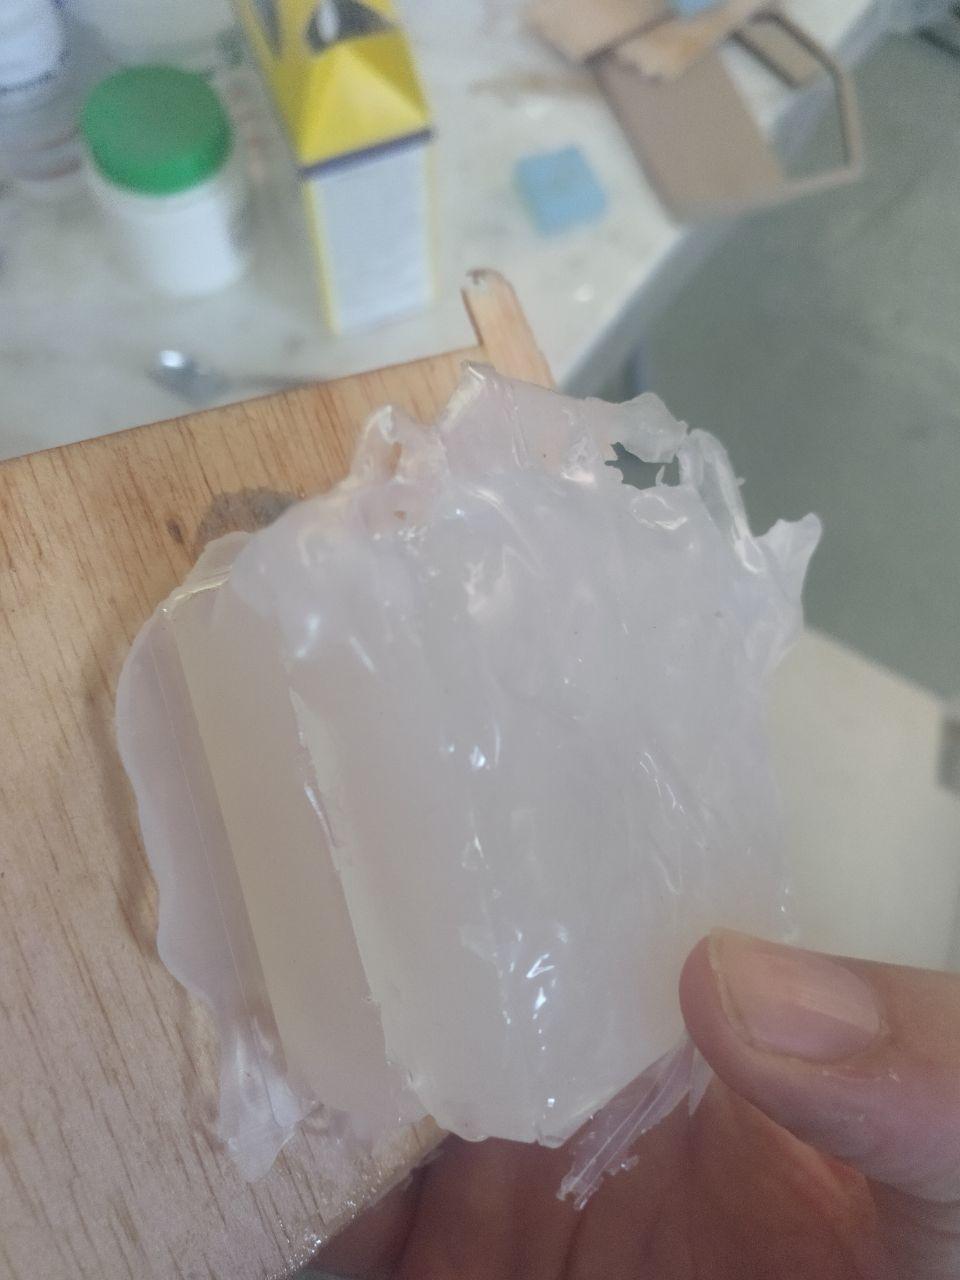
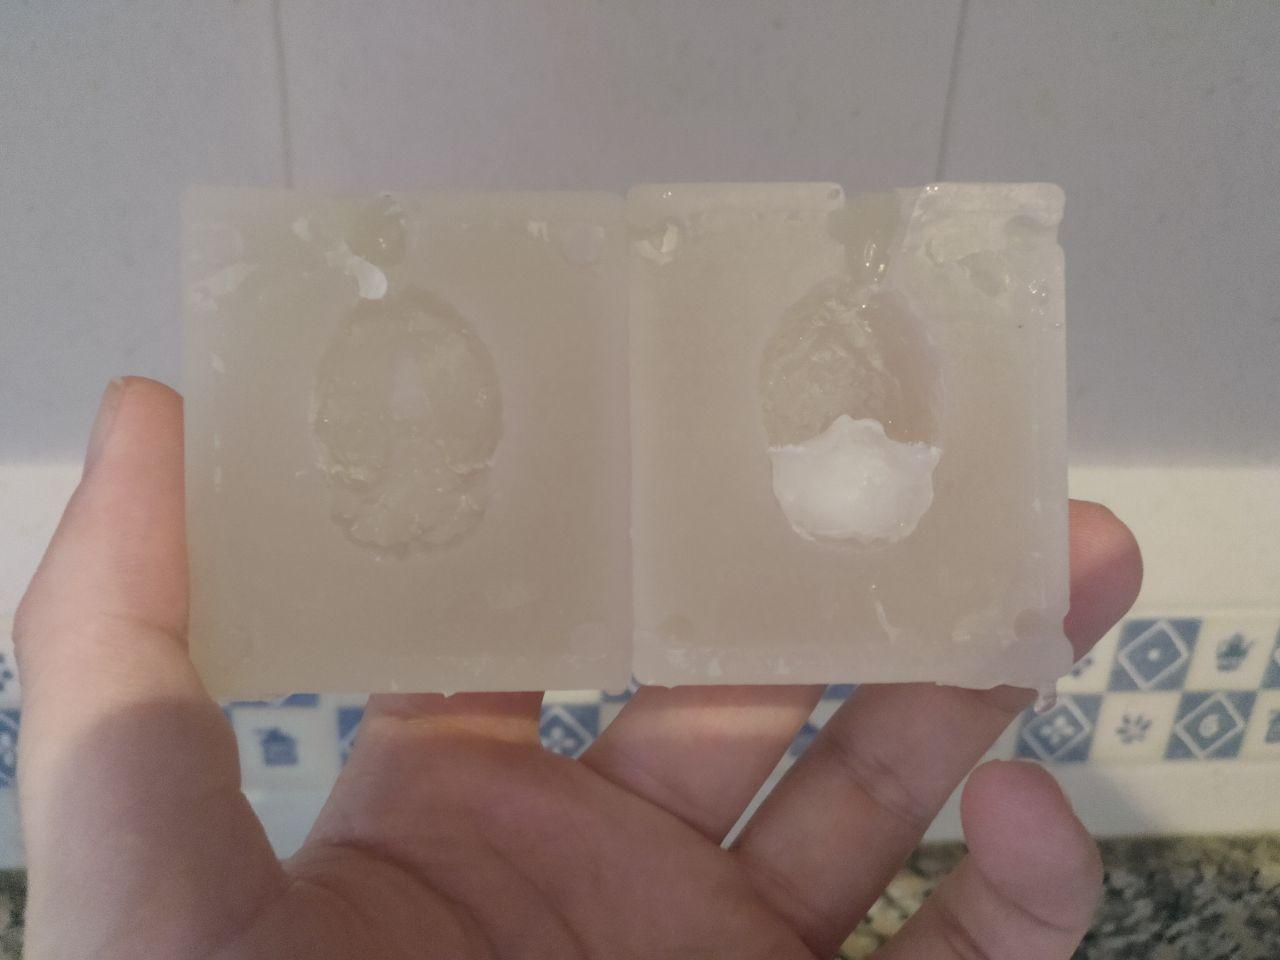
First with the basic EASYPLAT-0040. I put the release agent (with spray) and it didn’t go well. Maybe I didn’t mix the components properly but it got too sticky. Maybe there were some water in the mold.
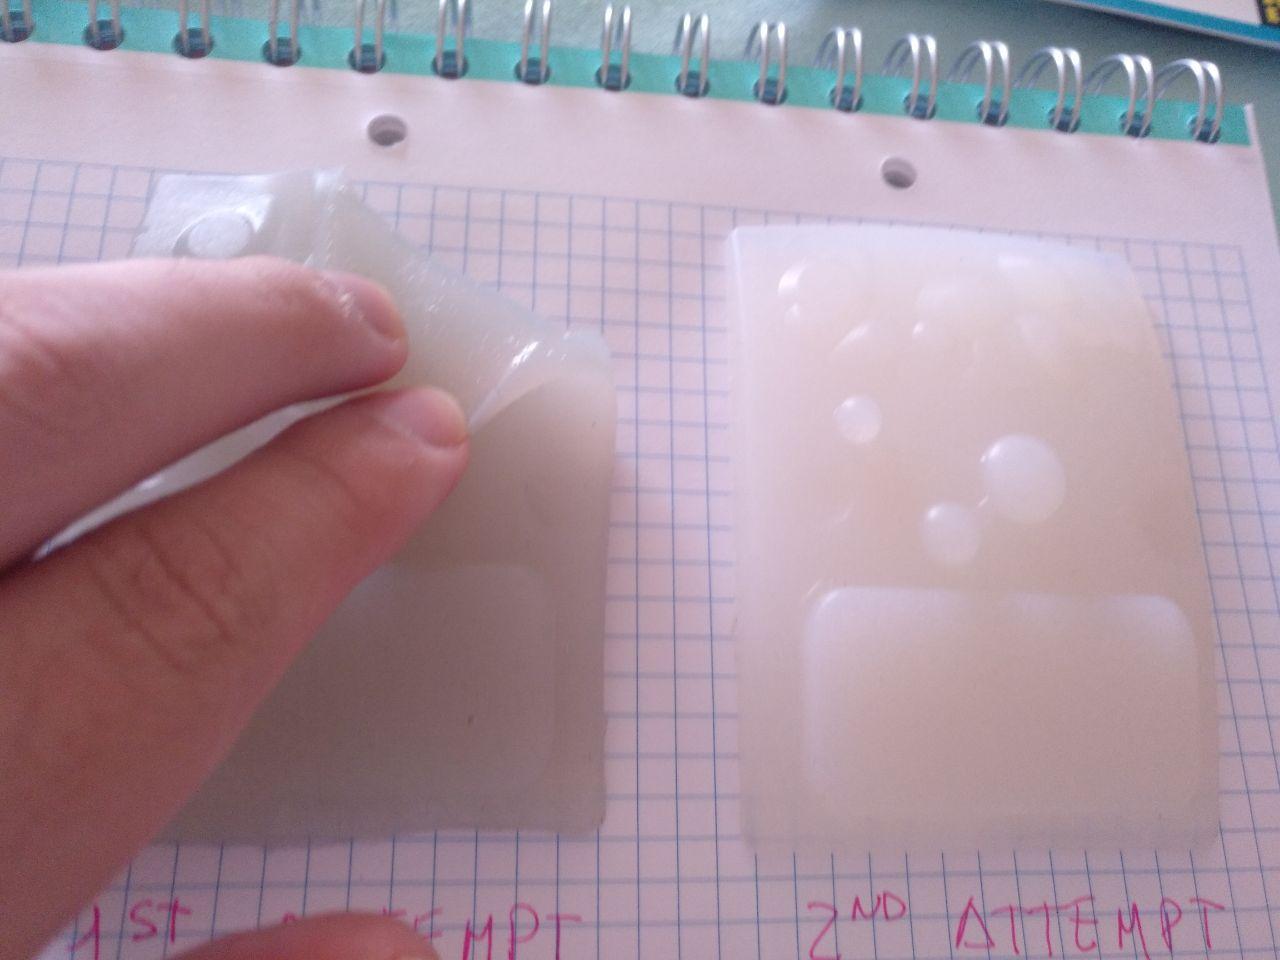
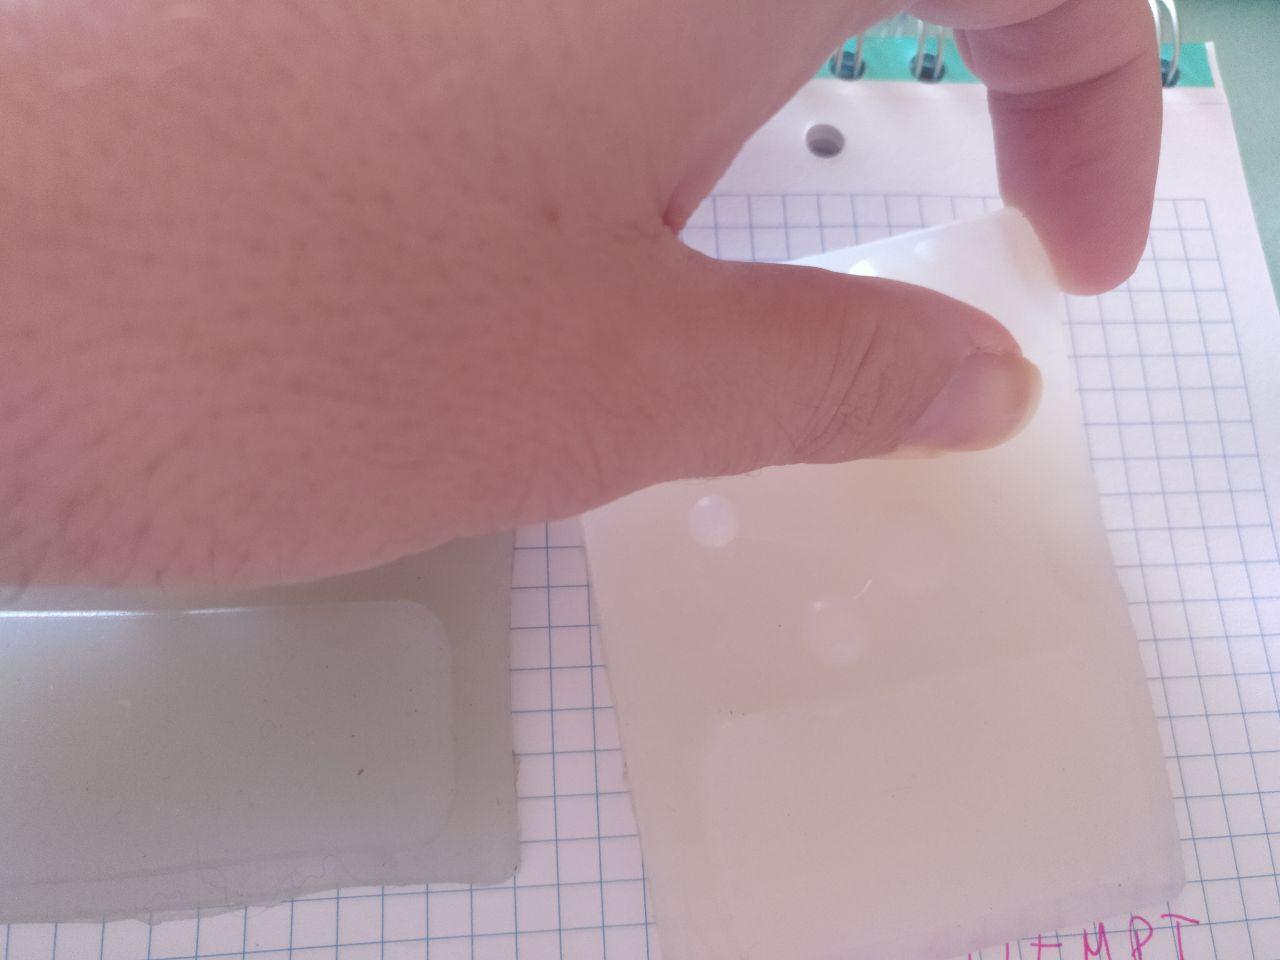
But I did it again and it worked. Magically it got a good silicone. Yay.
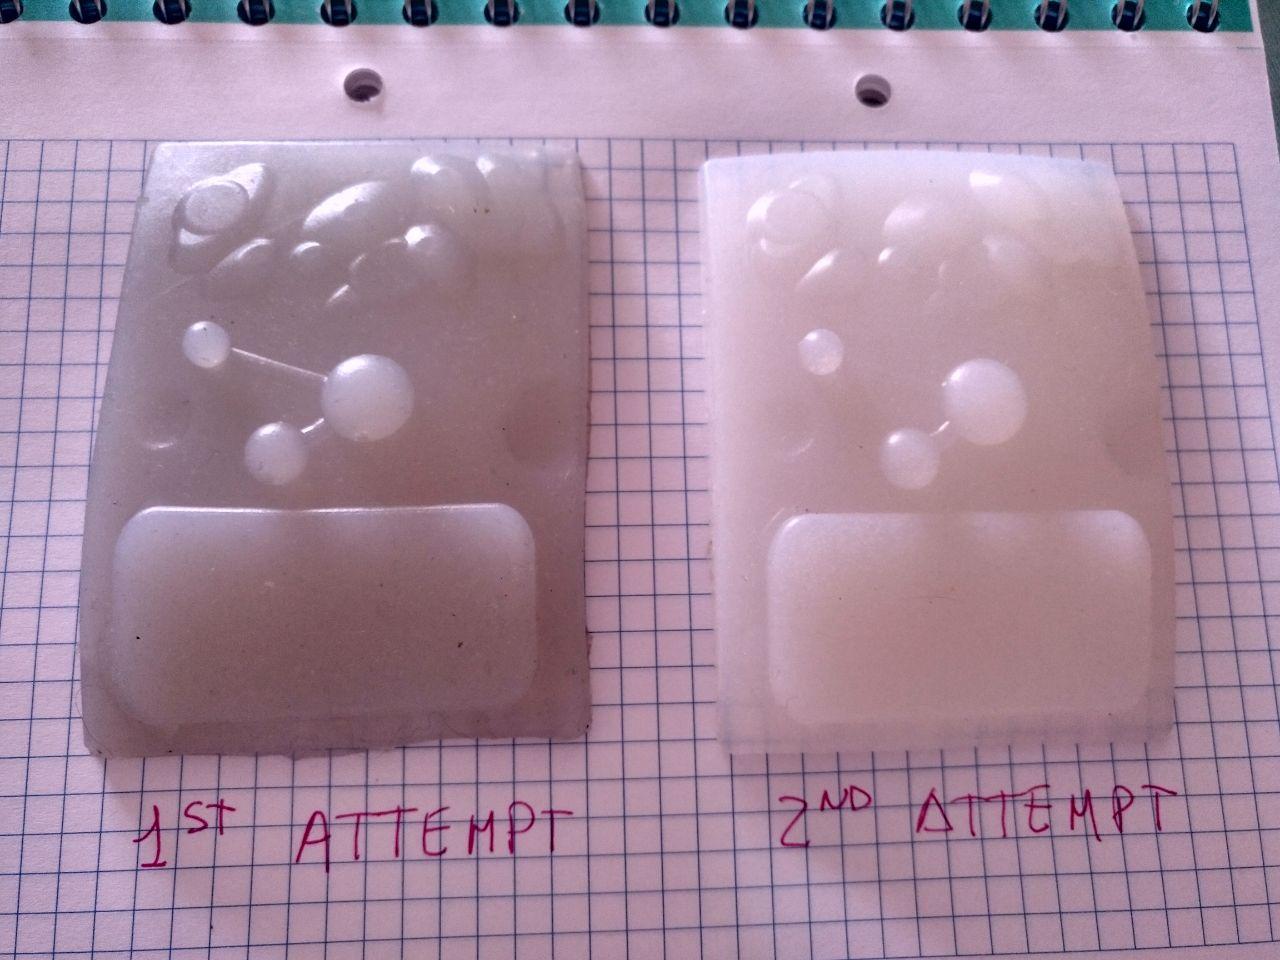
The good one is on the right.
Here you can see the difference in elasticity between both casted materials.
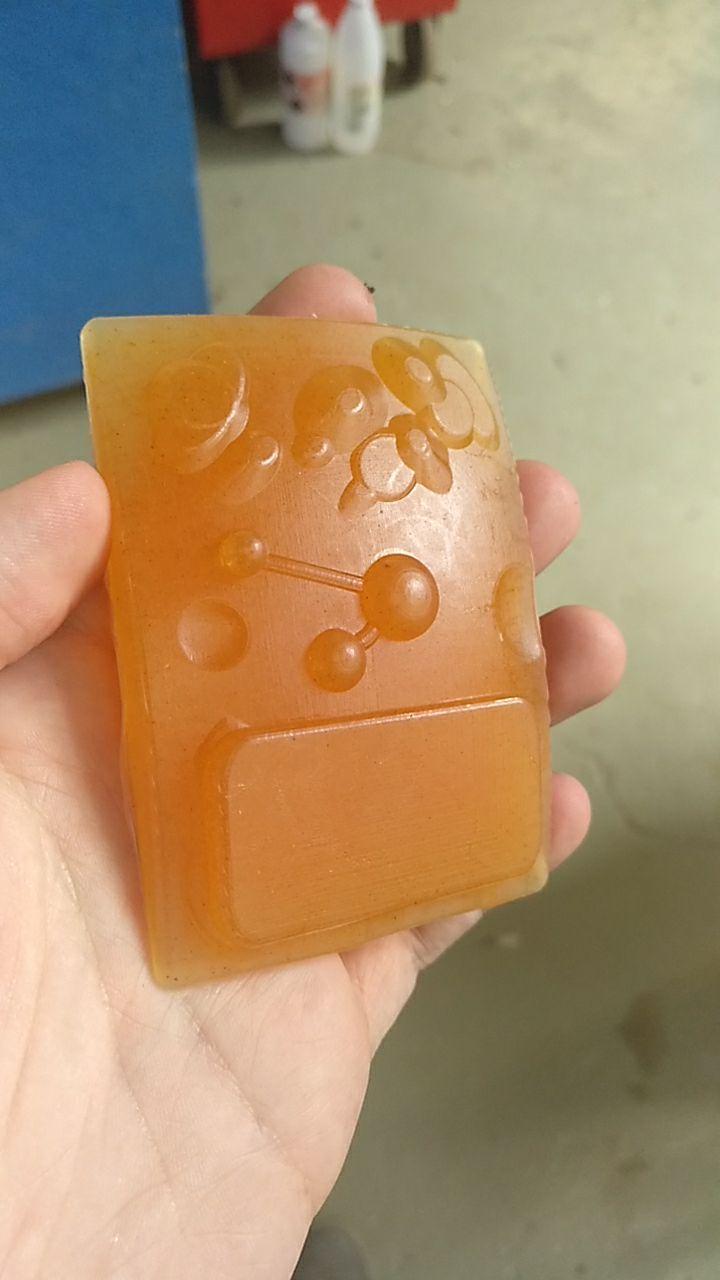
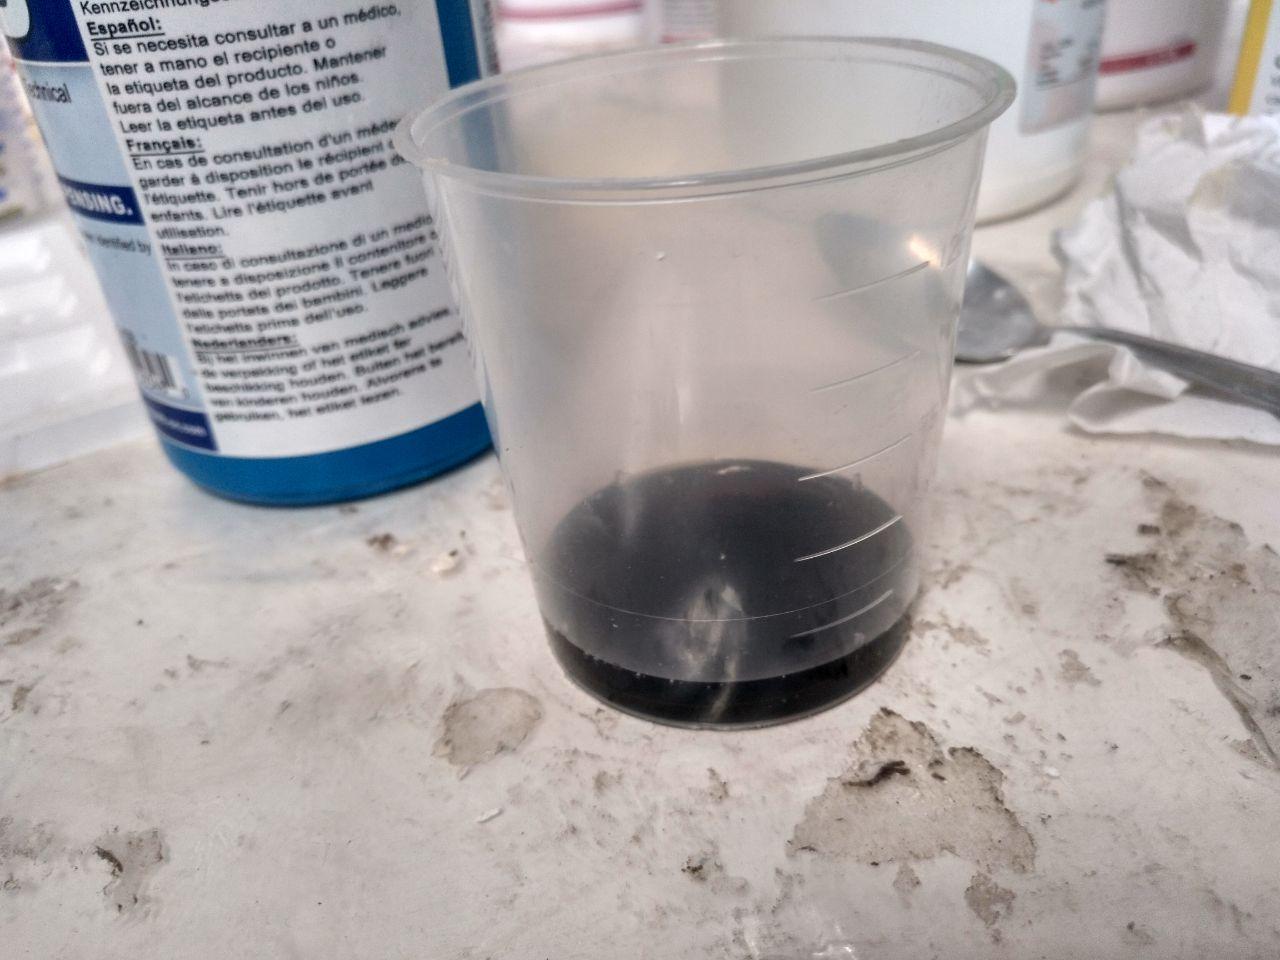
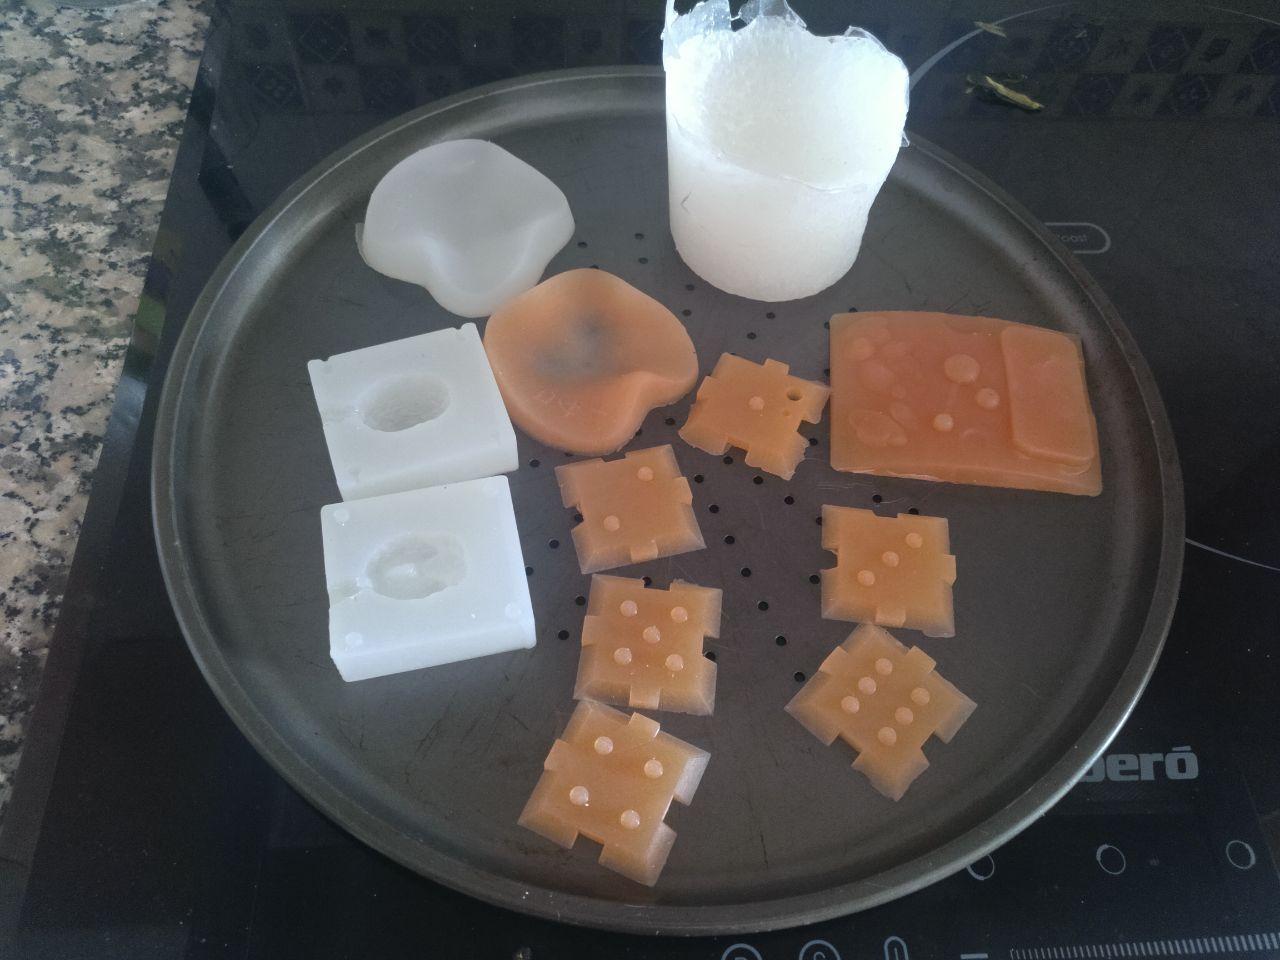
After that I wanted to colour the silicone because, well, it’s supposed to be Mars, so it should be kind of orange. So I bought some red pepper (pimentón called in Spanish) and I poured. I did too much so I also poured in other molds available in the lab. This was made with the Food safe silicon
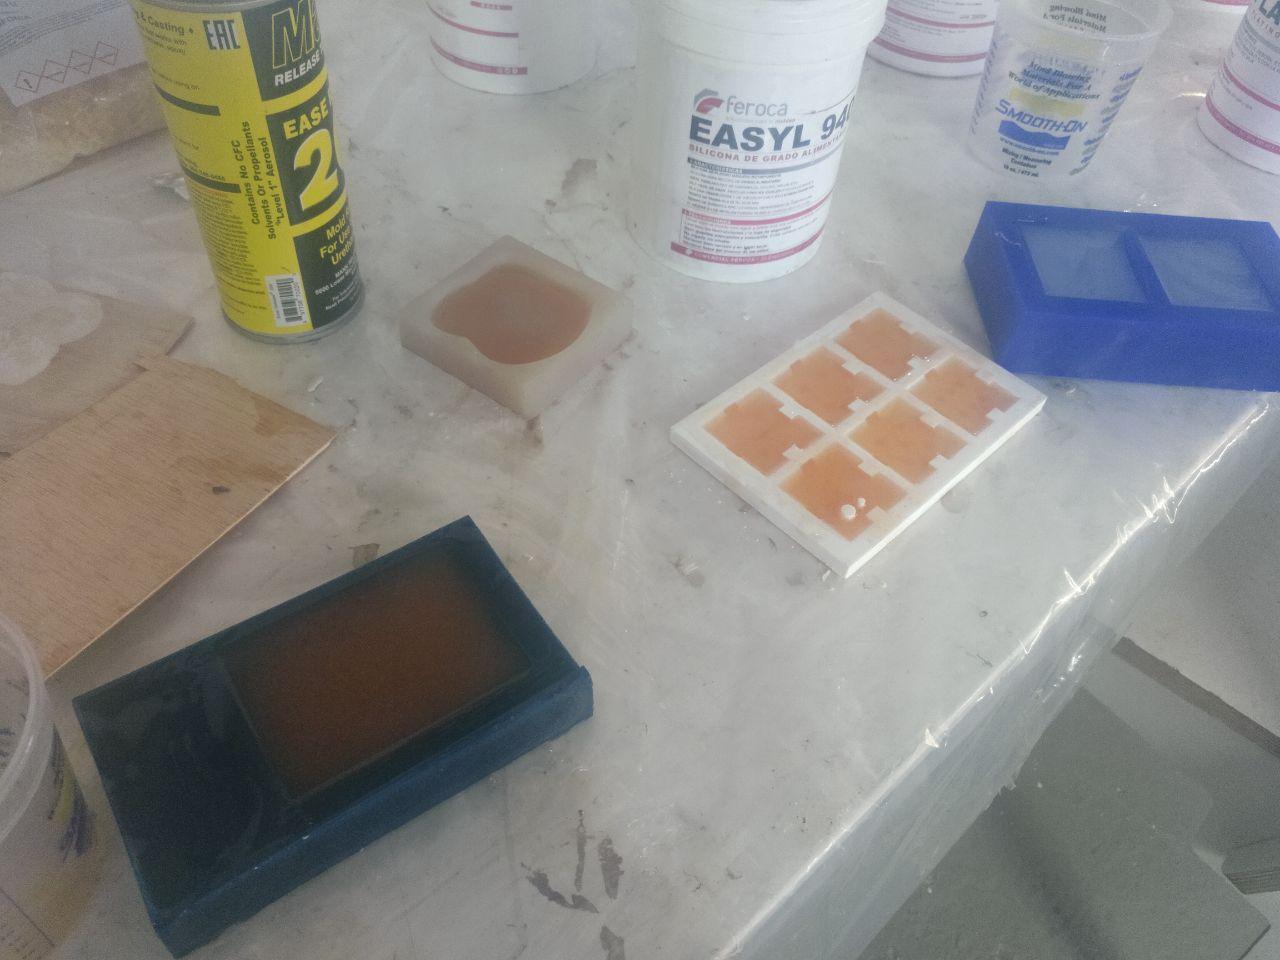
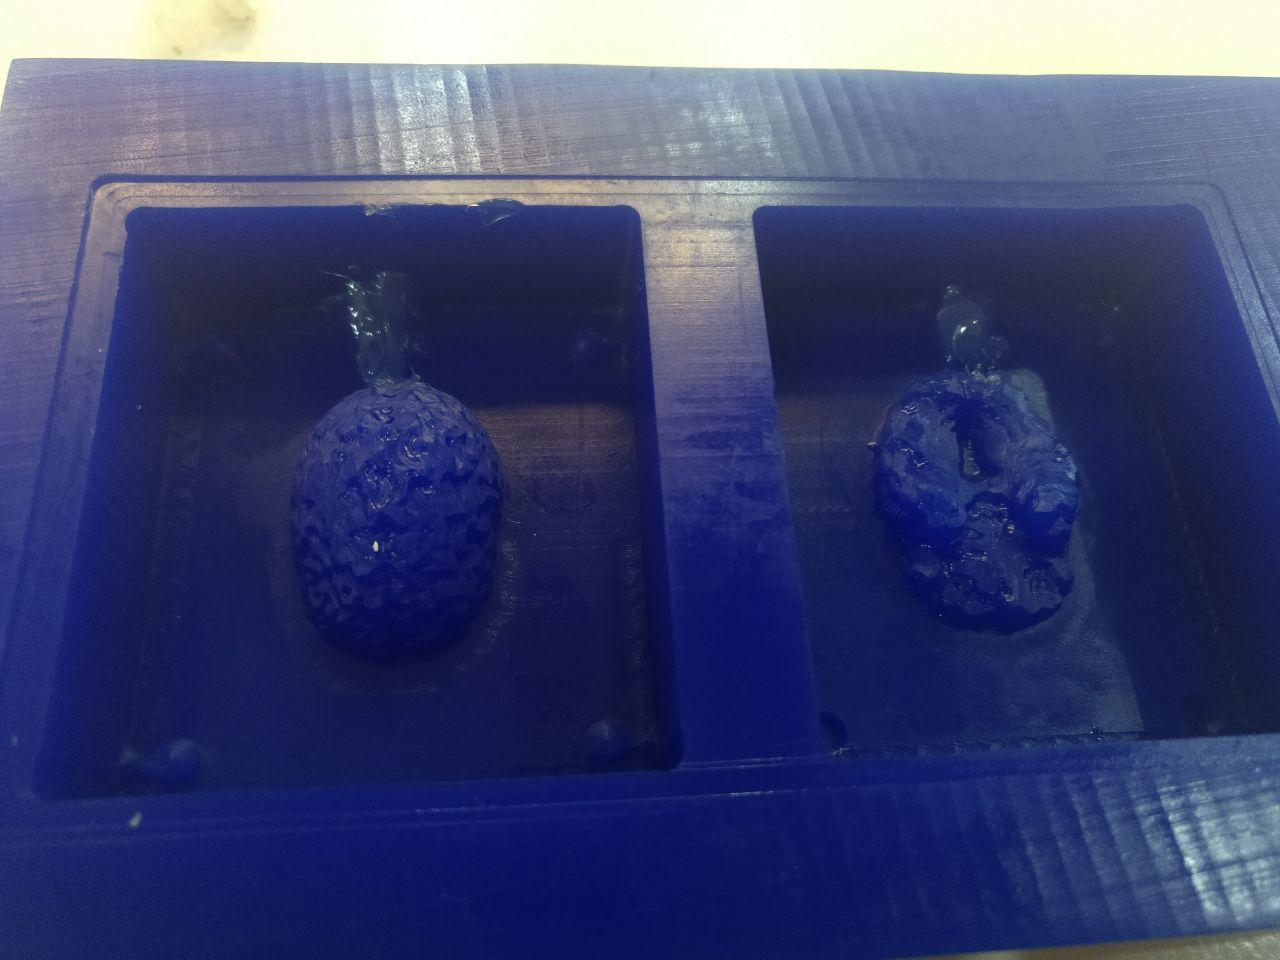
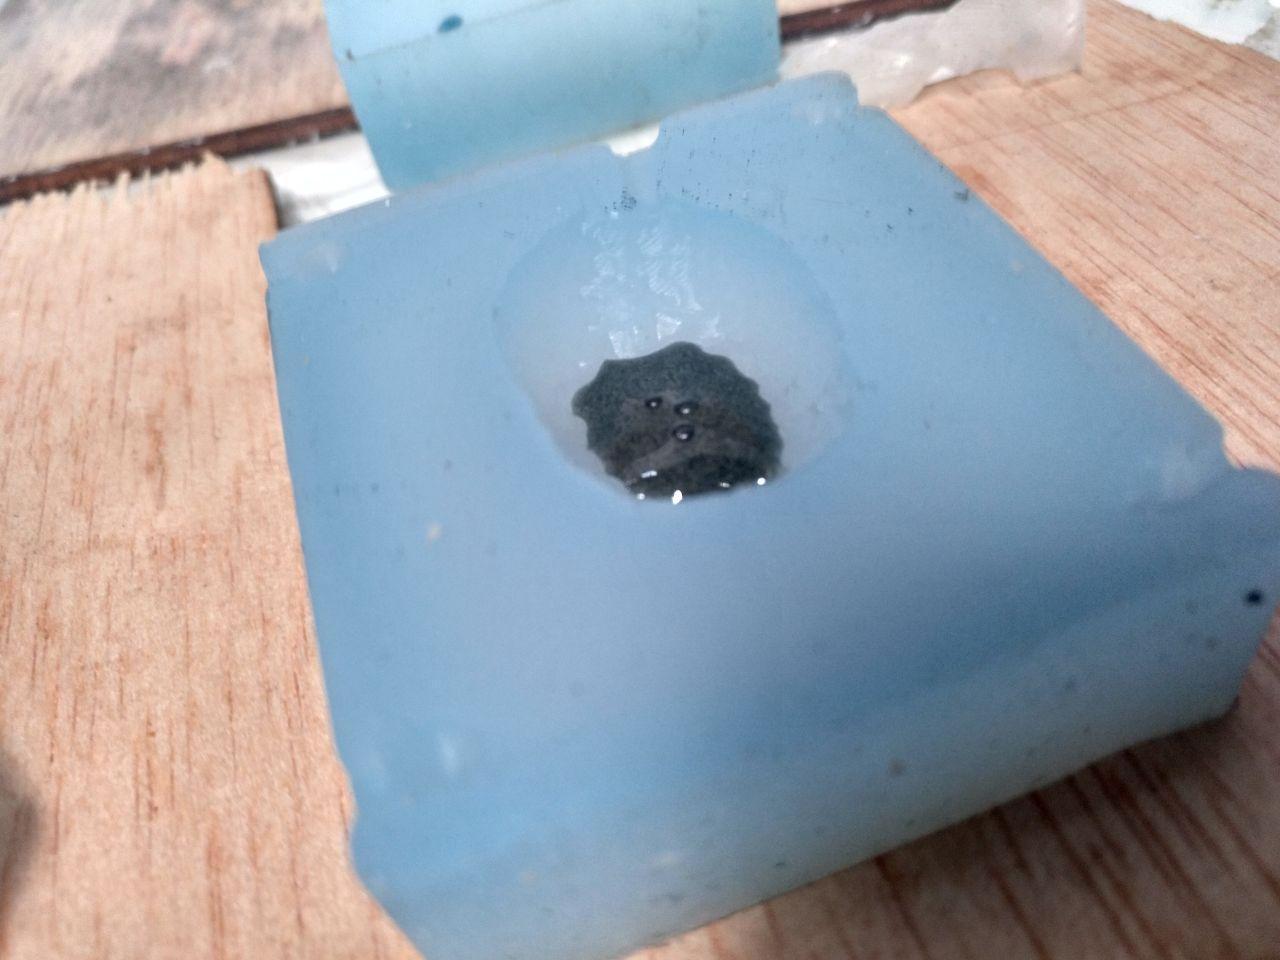
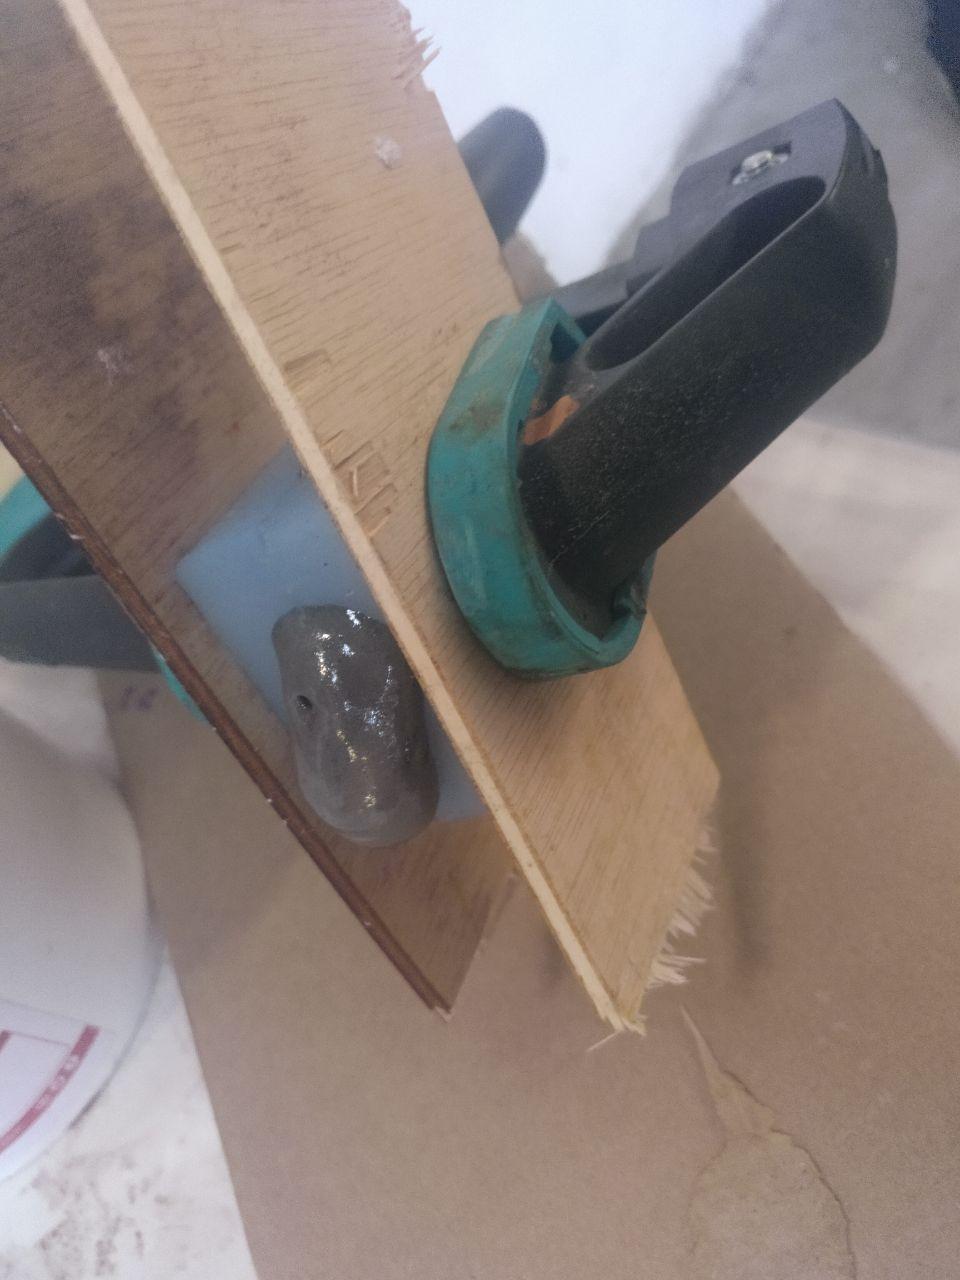
Meanwhile I used the same silicone with the brains without the colorant.
And it went great!

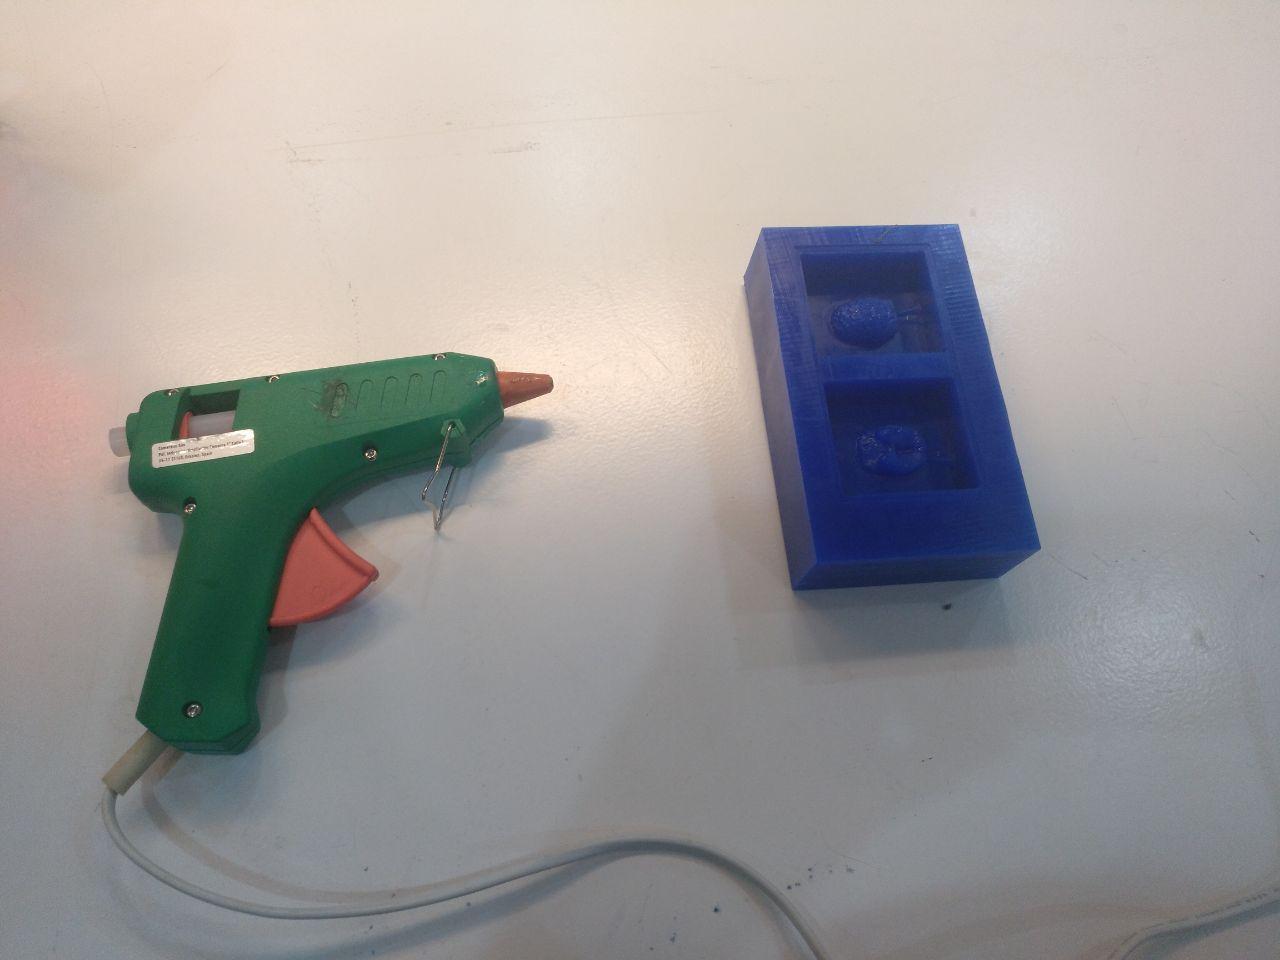
I noticed that the hole to pour an the vent was too small so I used a pistol of hot silicone to fix it!
They told me that we can use the vaccuum box to make the bubbles go out but…
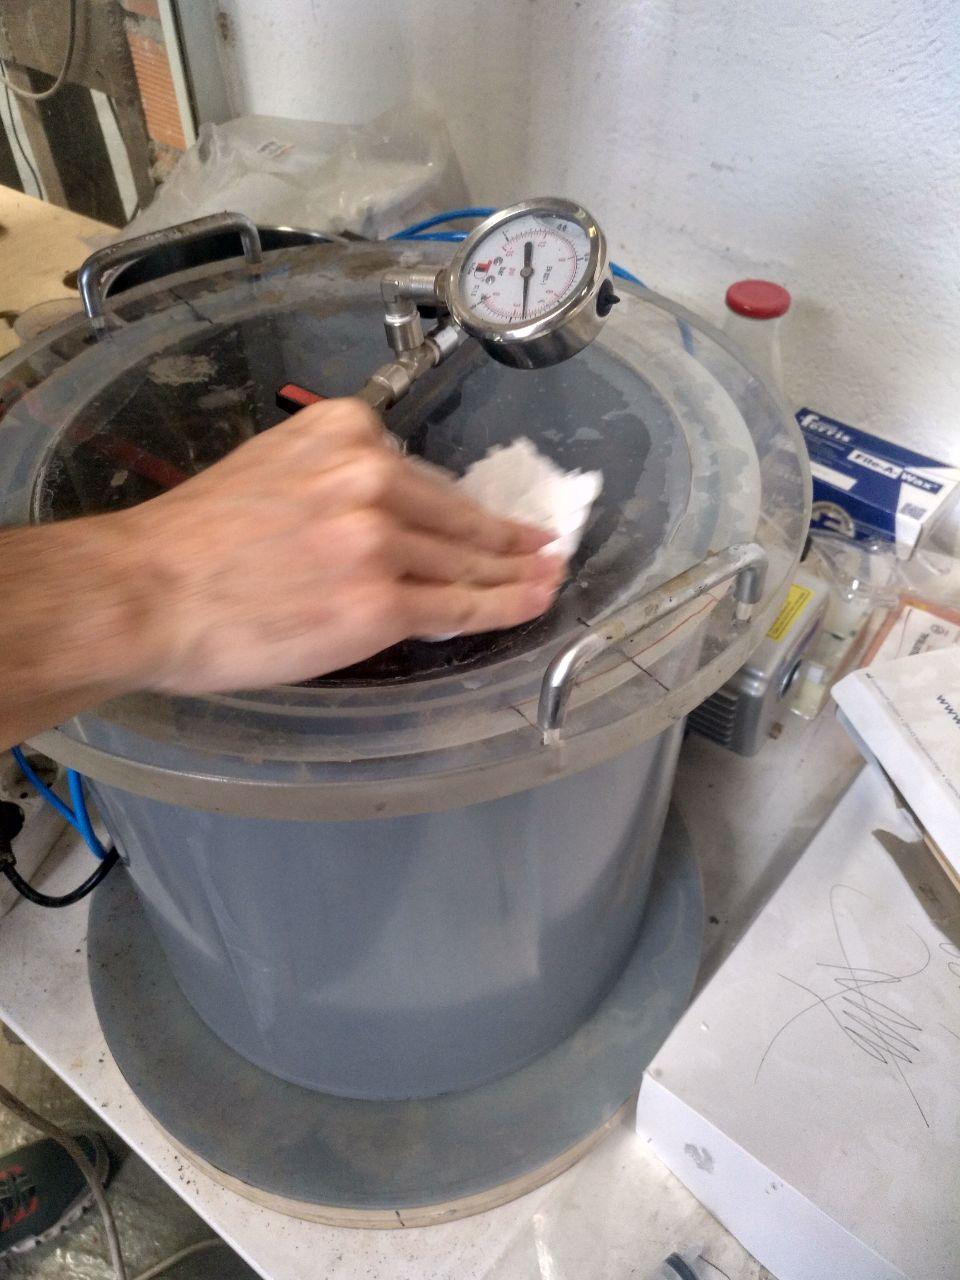
Well, it took too much time and it solidified. So I have this scultpure at home
there was an attempt.jpg
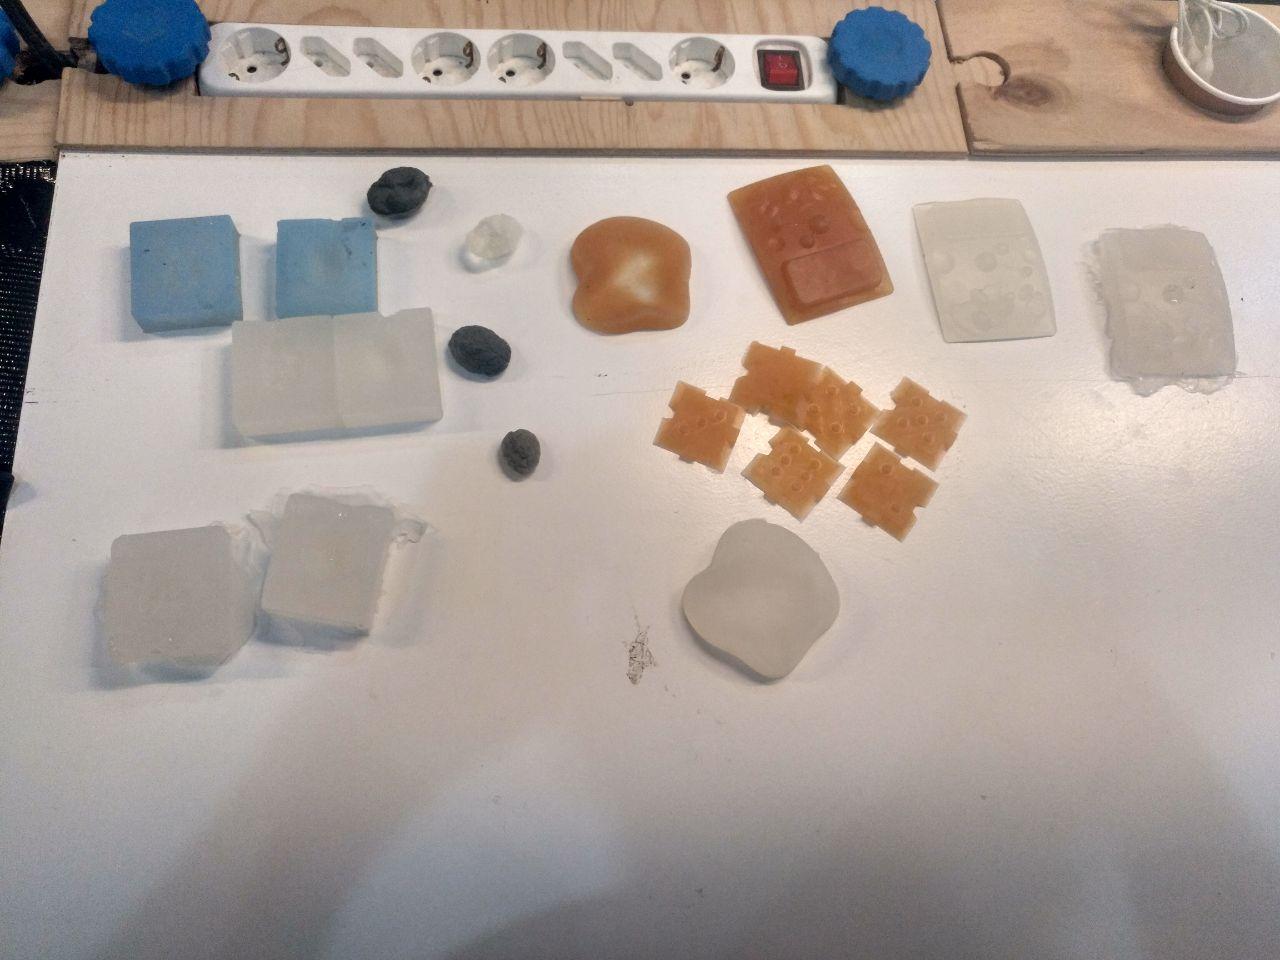
Then I started using the FOAM-it mix and I started with too few material.
I also made a couple more of casting with Food
Now we can see that there were enough quantity of foam mix.

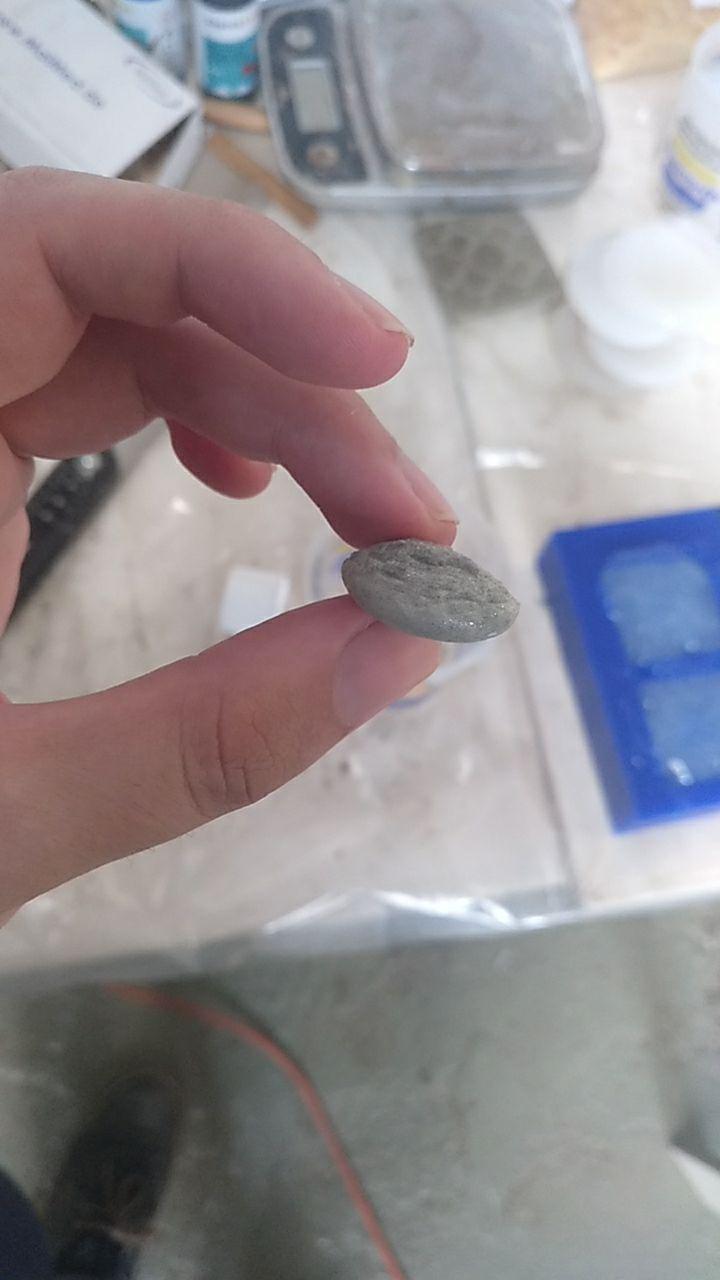
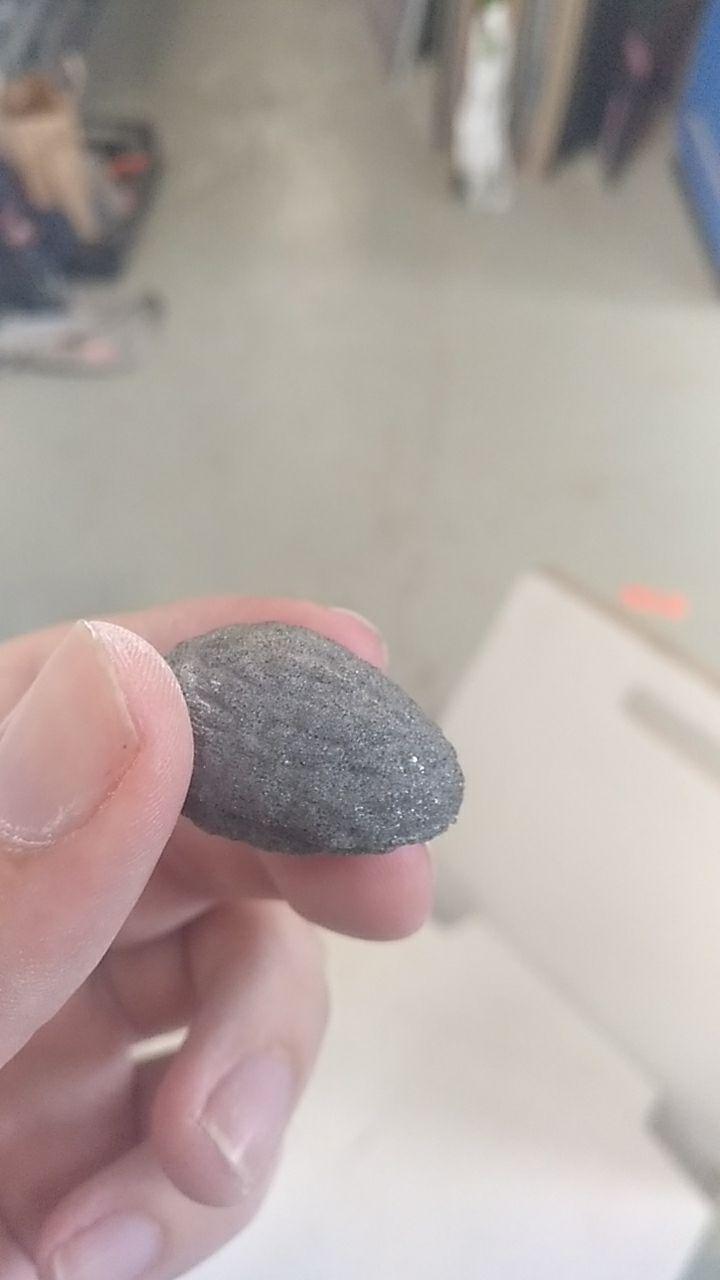
Finally
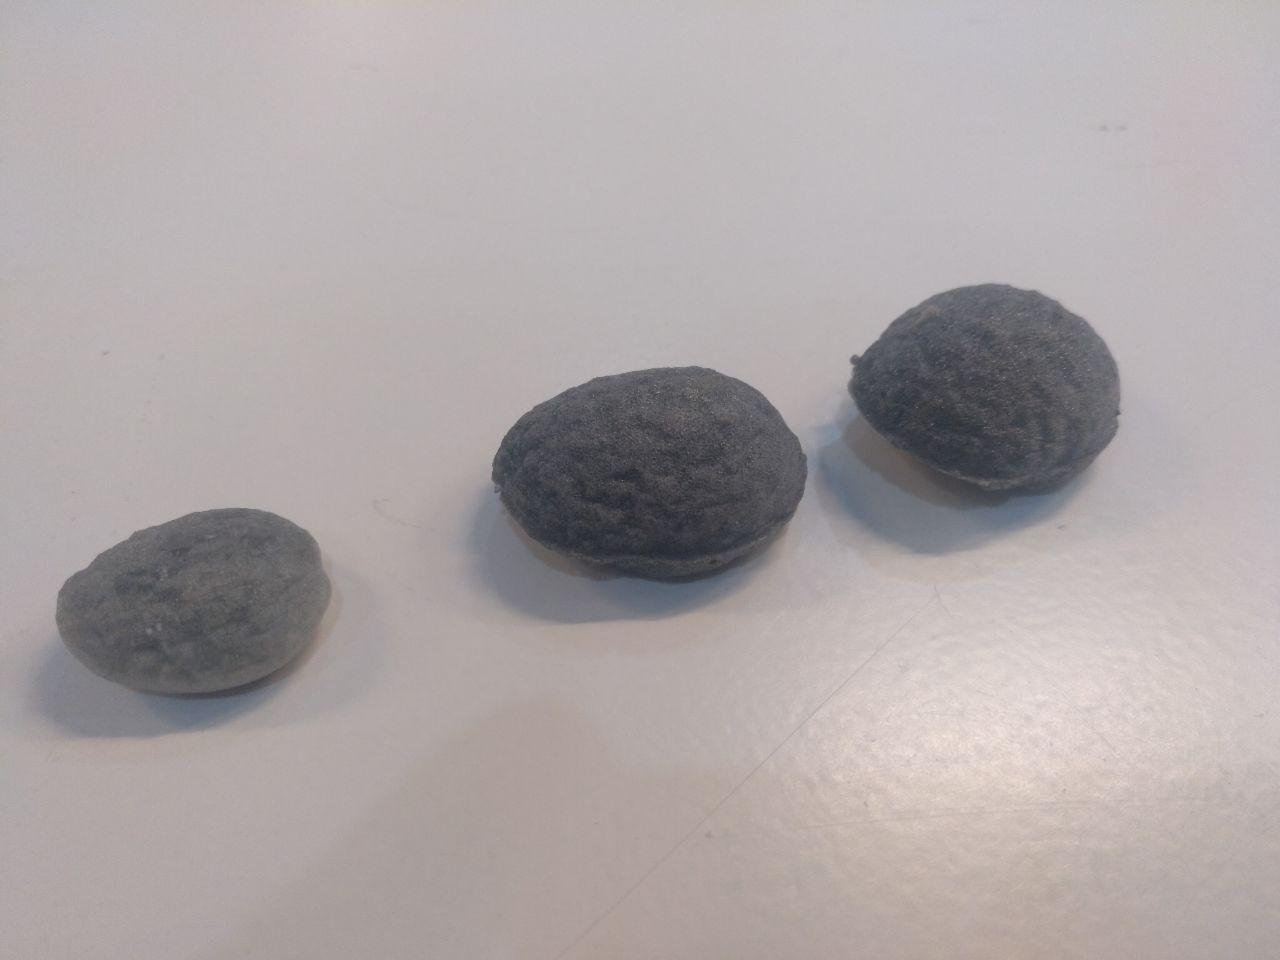
This was the size comparation of several attempts to use the foam. The last one was the good one
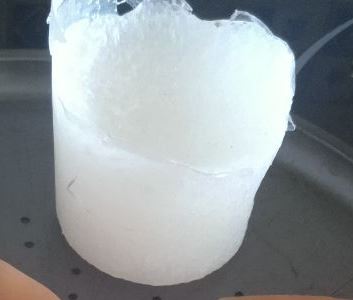
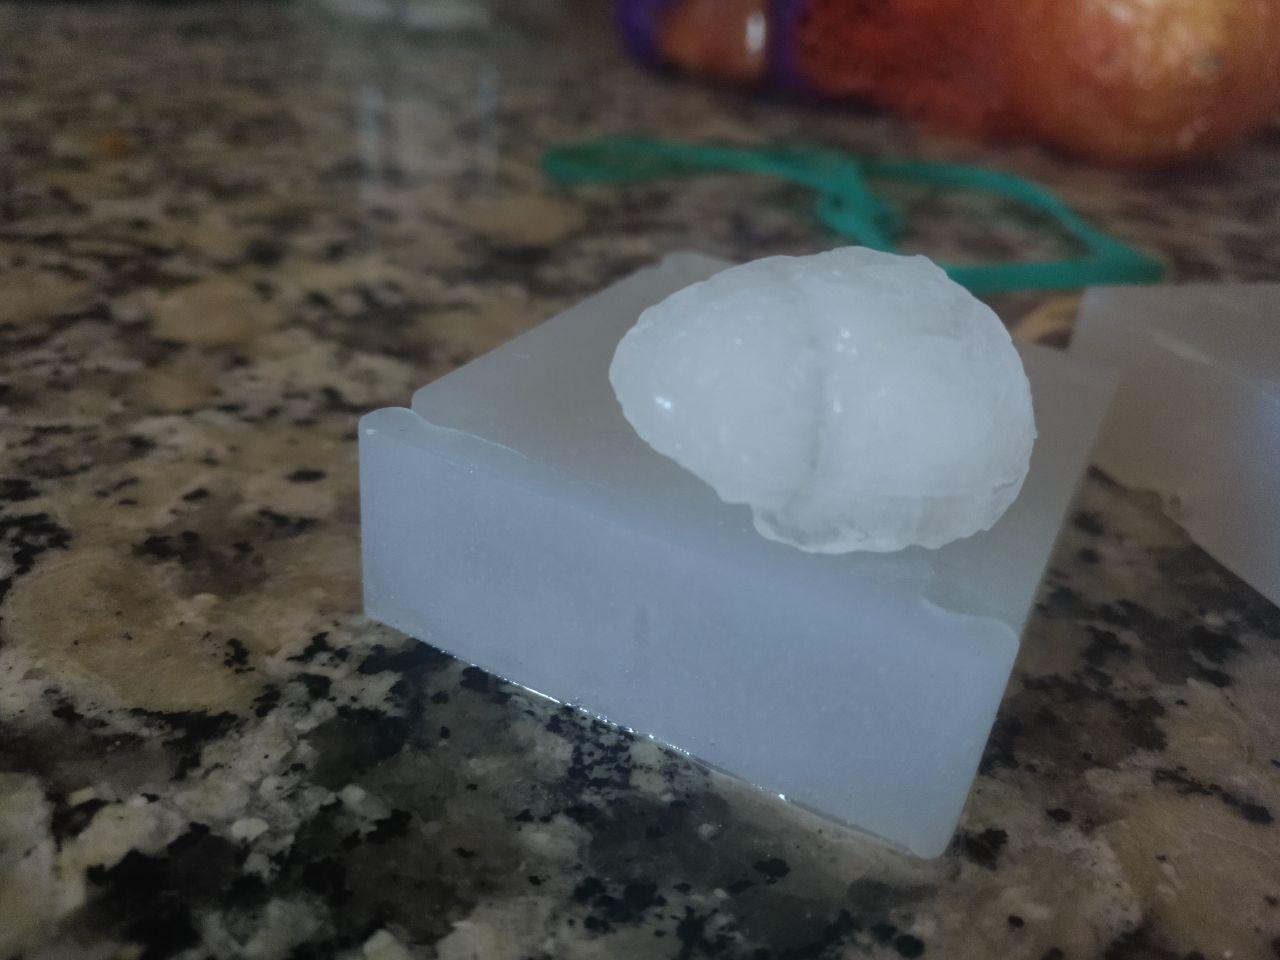
I also made with the FDA mold a cast in ice but this was harder
Half a brain
I tried again with more care and taking out the air and here it is
Ice brain

Datasheet of casting materials.
Ok, let’s review what we have been using. I used only materials that I had available and also with the supervision of the instructors. Except from water.
Machinable wax. Ferris Blue File-A-Wax
Technical Data Sheet Safety Data Sheet
Important conclusions:
-
Safe to use in room temperature. Do not let the splits go to the drain.
-
Melting point 115°C.
EASYPLAT 00-40 platinum silicone
This is from Feroca. And the documentation is in Spanish but it’s Here
Technical data sheet and safety
Important conclusions:
-
Lifespan. This mixture has a lifespan of 9 months and has to be stored at room temperature in dry conditions. Don’t mix with water. So when mixing beware that the mold is dry. Also components with Sulfur, Phosphorus or Nitrogen alters the mix. Wear gloves.
-
Work time: 30-60 minutes
-
Curate time: 3-6 hours
-
Contraction: Very little.
EASYL 940-FDA food-safe silicone
Another Feroca product. In this case with an extra condition can be used to cast edible materials (such ice or chocolate)
Technical data sheet in Spanish
Important conclusions:
-
Wear gloves.
-
Work time: 30 minutes
-
Cure time: 3-5 hours
-
Melt point: 200º C (so it can be in the oven but not at top temperature)
If you want to use for food, you have to wash them properly -means with soap- and put them for 4 hours in the oven with 100 ºC and wash them again.
Smooth-Cast 327 urethane resin
This one was brought by Tue and I said, WHY NOT? but after checking how it works. Here is the general info
Important conclusions:
-
Requires release agent
-
Work time: 10 - 20 minutes
-
Cure time: 2 -4 hours
-
Wear gloves
Acrystal Prima acrylic resin
Once I had some experience with the other materials I tried this cutie. This one is tricker because you can’t do by volume but do it by weight. It’s another feroca product with the technical data in Spanish.
Important conclusions:
-
Work time 8-10 minutes (gotta go fast)
-
Cure time: 90 minutes (a bit more in my experience)
-
Wear gloves.
-
Optional retardant to have more work time.
FOAM-iT! 4 expanding foam
Also I tried the expanding foam from Smooth-on that we have in the lab. This is the expansive one.
Important conclusions:
-
BEWARE OF THE EXPANSION. THIS EXPANDS. A LOT. (14 times the size)
-
Release agent is recommended
-
Wear gloves
-
Work time: 90 seconds. GOTTA GO VERY FAST
-
Cure time: 2 hours
Design files
Remember to use download link as.. to download the files.