5. Electronics production
Group Assignment
Participants
We made it all together, since the machines have been very busy this week we decided make it in a only group for the whole class.
Machines
We have 2 machines. I’m going to describe in detail the SRM-20 but we also have at our disposal the MDX-20
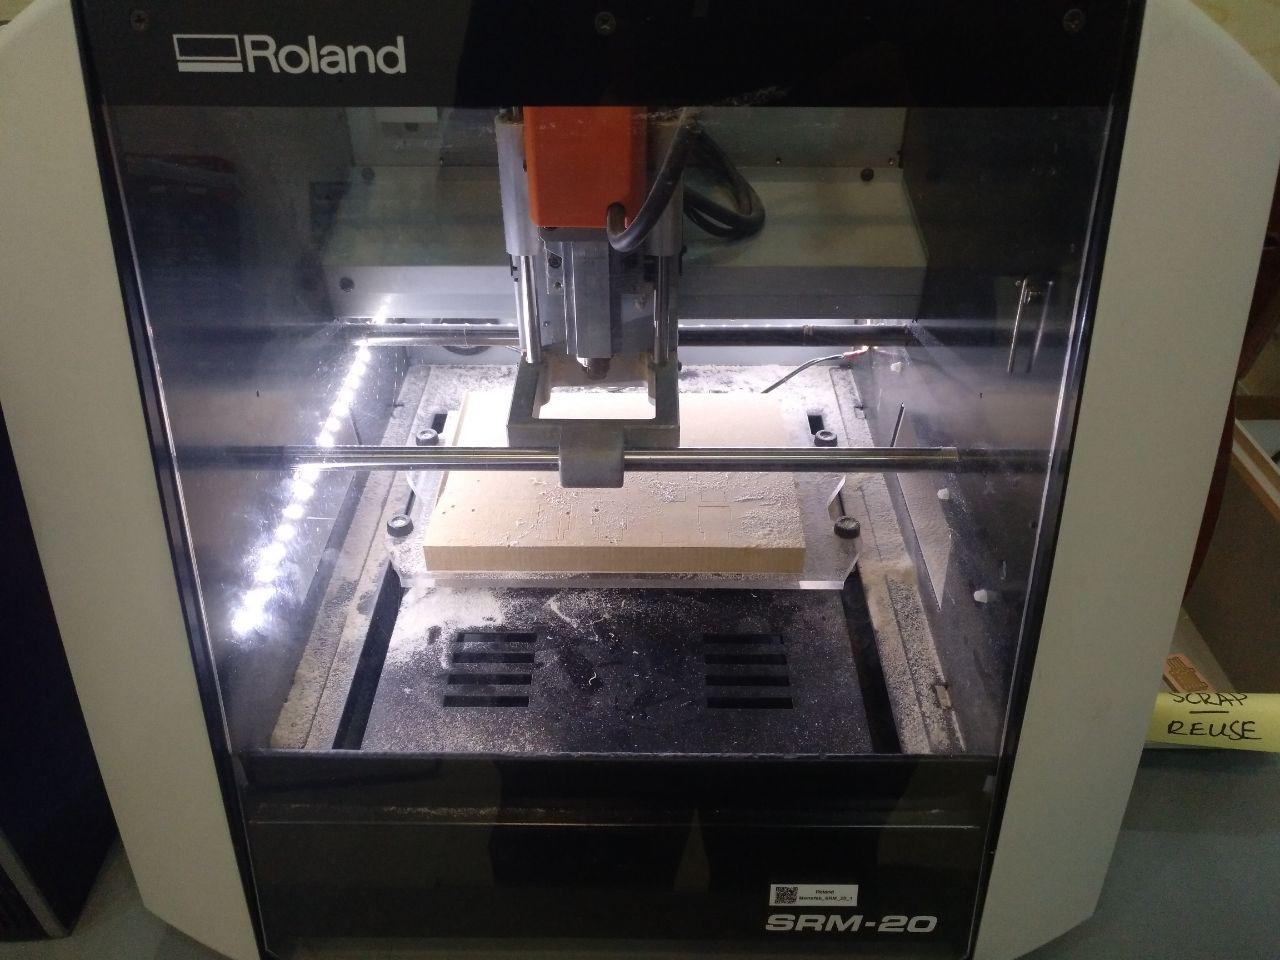 I’d call it spinel if we haven’t 3 other machines
The specs of the SRM are the following
Work area: 203 x 152 x 60mm
Loadable workpiece weight: 2kg
Operating speed: 6mm/min - 1,800mm/min
Spindle speed: 3,000 – 7,000rpm
Input Format : RML-1 (.rml)
Material: Modeling Wax, Chemical Wood, Foam, Acrylic, PCB
Luckily we have the fabmodules and mods to transform from pngs to rml that the files that consume the SRM. The tools that we have at our disposal are a 1/64 inch and a 1/32 inch to cut.
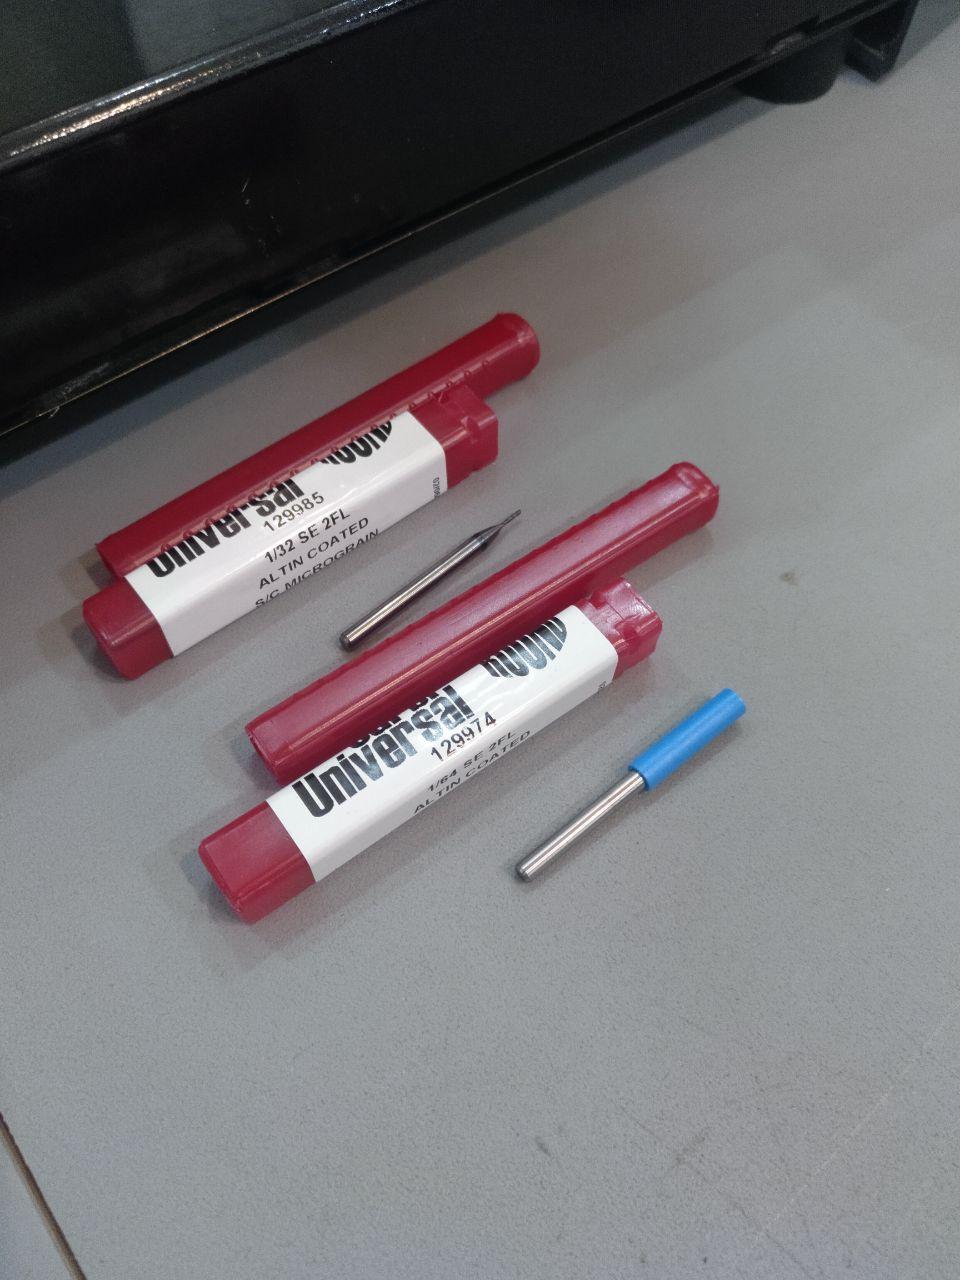 Our milling tools. Handle with care
For the cut we use the default settings of mods, so we don’t have to figure out speeds and depths because they have worked perfectly
 from mods tool, server program -> SRM 20
To mill traces:
Tool diameter: 0.0156 inches (1/64 inch) Cut depth: 0.004 inches (max 0.004 inches) Spindle speed: 7000 rpm Speed: 4 mm/s
To cut the outline
Tool diameter: 0.0312 inches (1/32 inch) Cut depth: 0.024 inches (max 0.072 inches) Spindle speed: 7000 rpm Speed: 0.5 mm/s
Here you can see the full assignment made by Tue Ngo
What I’ve learnt:
For certain files too thin the mods tool doesn’t even bother to try to make the thinner lines if you specify that you’re using the 1/64 tool. It’s better to use fabmodules.
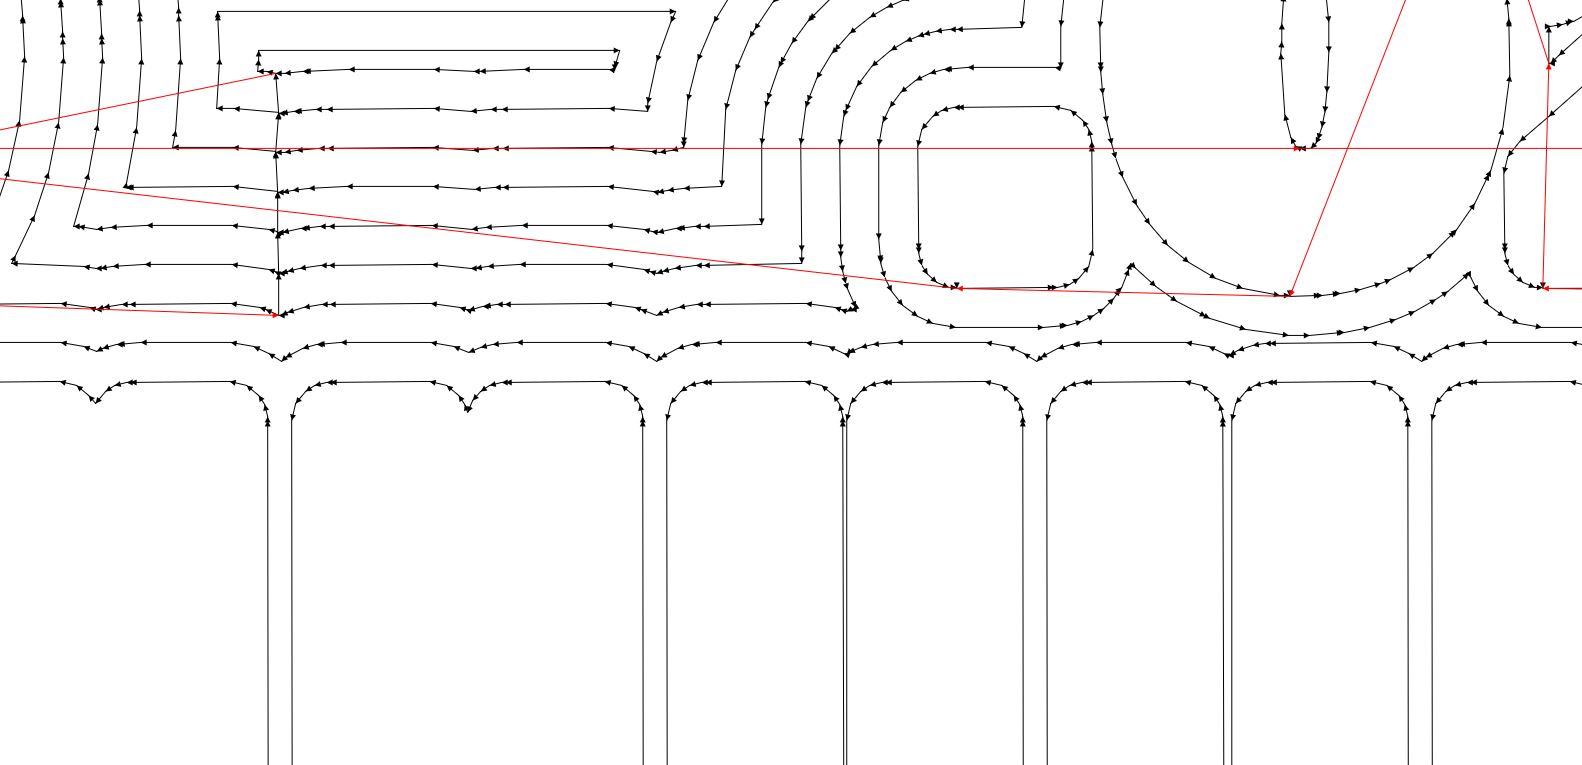 The traces made with mods
Individual Assignment
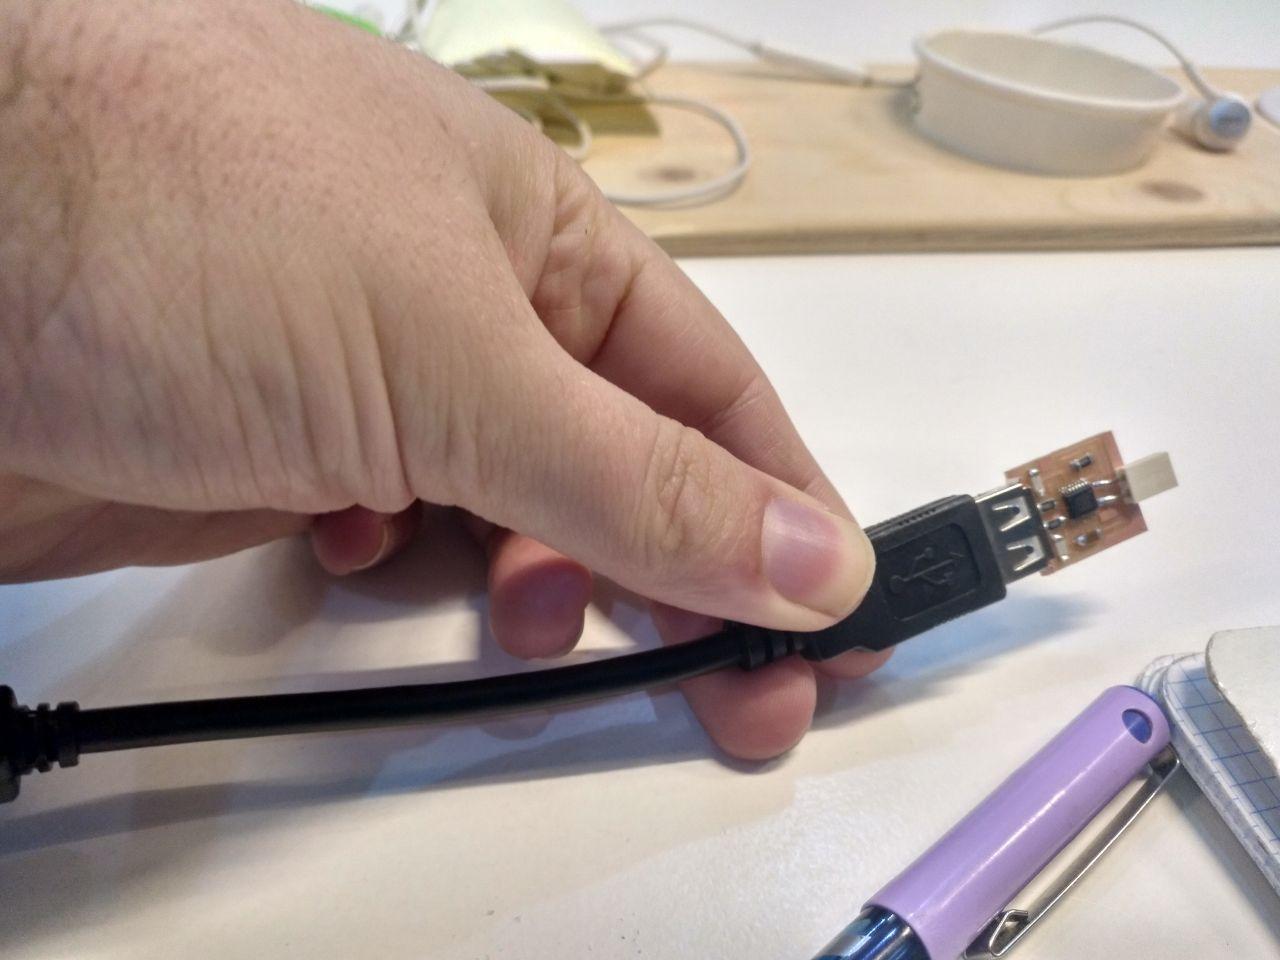
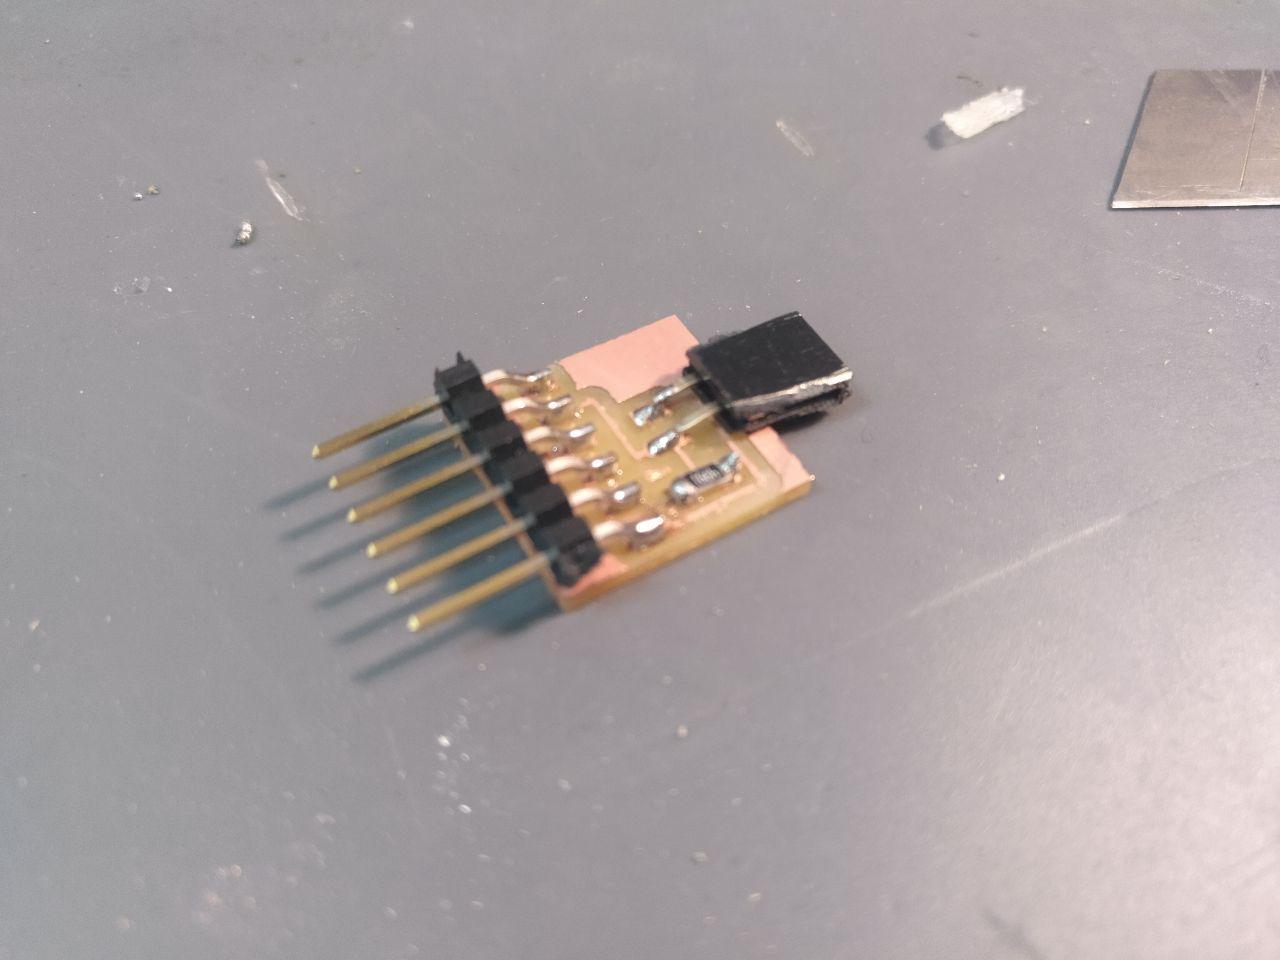
For this individual assigment I made and tested this little FTDI + UPDI integrated. I tested and it worked!
Here it’s plugged and recognized by my computer (Windows 10)
 hero shot with no alcohol
Process
First as a group we distributed the different hardware architectures that we didn’t really know which are the differences between an FTDI, and UPDI and a FAB ISP.
Luckily the several classes we have on Thursday and Friday gave us and insight to know what and why we are doing. But before that happened I chose the UPDI because we need all the boards to share from the class.
It turned out it was the easiest of all to draw and soldier since it’s only a couple of conectors, and outline and a resistor.
We as a group investigated together all the process, and since we had to make several UPDI (we are 11 plus the MDEF) I voluntieered to mill several boards at the same time and share (the more, the merrier).
To settle several boards we used mods and I set the coordinates. I had a problem that in the modules I set also the Home as 0,0,0 and that made the machine go through the copper scratching it when it finished each of the jobs. It was noisy but when I tested the boards with the multimeter they worked!
To soldier the components in this case was easy because it didn’t have any tiny tiny microchip and just a couple of components so it was easy to introduce me to soldier this kindo of circuits and get confidence doing it.
I also recieved some help from Santi in the first UPDI board so I soldier another one all by myself because I wanted to feel capable to soldier it.
 My first produced circuit
Things to remind a future person about the place of soldier.
- Use the shopping list. It’s very useful to take all the components you’re going to soldier at once and tape them into a piece of paper rather than interrupt your soldier space to take the next component.
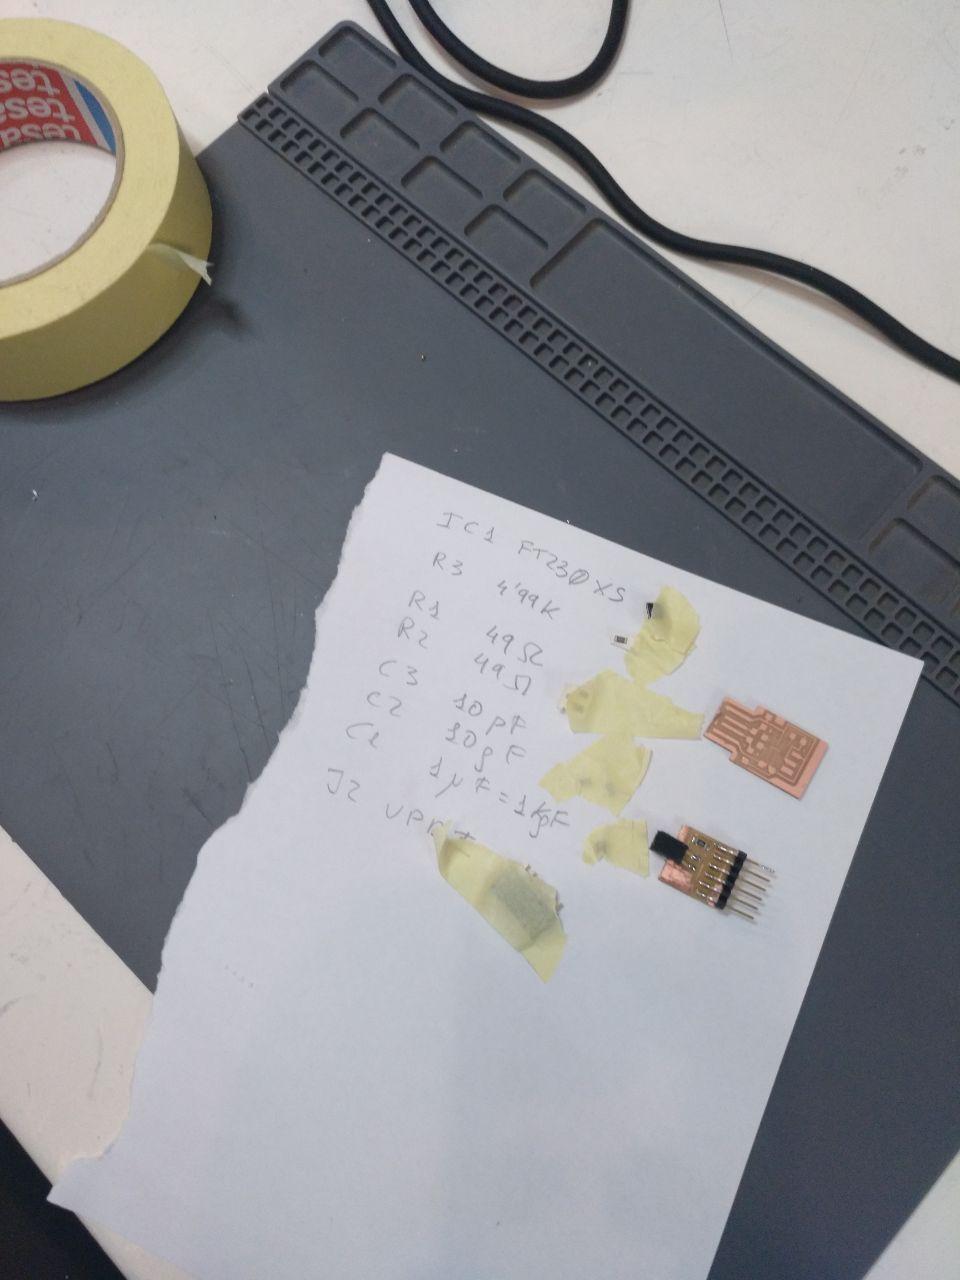 My shopping list is not as clean as some of my other classmates but it’s mine and it’s useful so I love it as it is
-
Prepare your space. You should have the components already with the shopping list and your board already milled so take a good spot with light (important to have a good light), with the thread of iron and take away your phone and laptop from that area. Take also the multimeter.
-
Remember allways to be counscius about if the solder iron it’s turned on or not. Turn it off if you don’t need it for a minute. (like, when you are interrupted or testing the board with the multimeter) It’s better to wait it to reheat than to forget it open.
-
Tweezers, the small pincers. Be careful with them, they can be also pointy and make you tiny cuts (a couple of mates cut their fingers a little bit)
-
Remember allways to test every phase with the multimeter. What I do it’s something like this:
1 I test the board as it is. All the copper that has to be connected has to be tested.
2 After I soldier a Component I test again the conections of that component.
3 When it’s done I test all the board again.
I made a couple of the four that I engrave and after that I saw that there was a FTDI to serial integrated that I could soldier so I can make the difficult part of soldiering.
So I did.
And damn it was hard to soldier the microchip. I had to use the copper braid once. And twice, and another time. Still shorcutting. But I managed with time. So remember that soldier that part it will take time (I think I took 45 minutes just for the microchip)
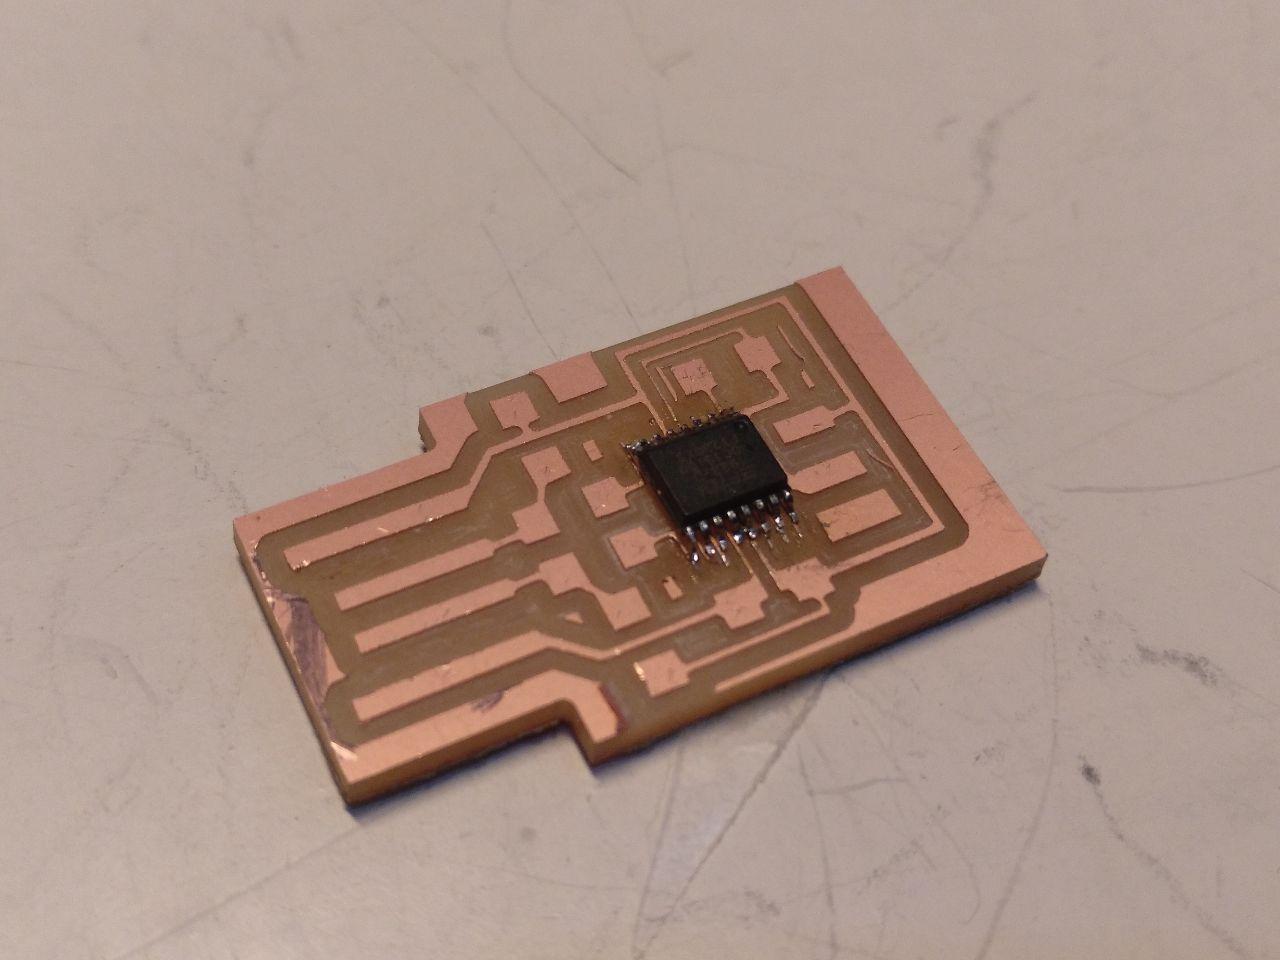 The hardest part
After I did I realized that the board that I was making was the FTDI Serial integrated and I didn’t need the UPDI.
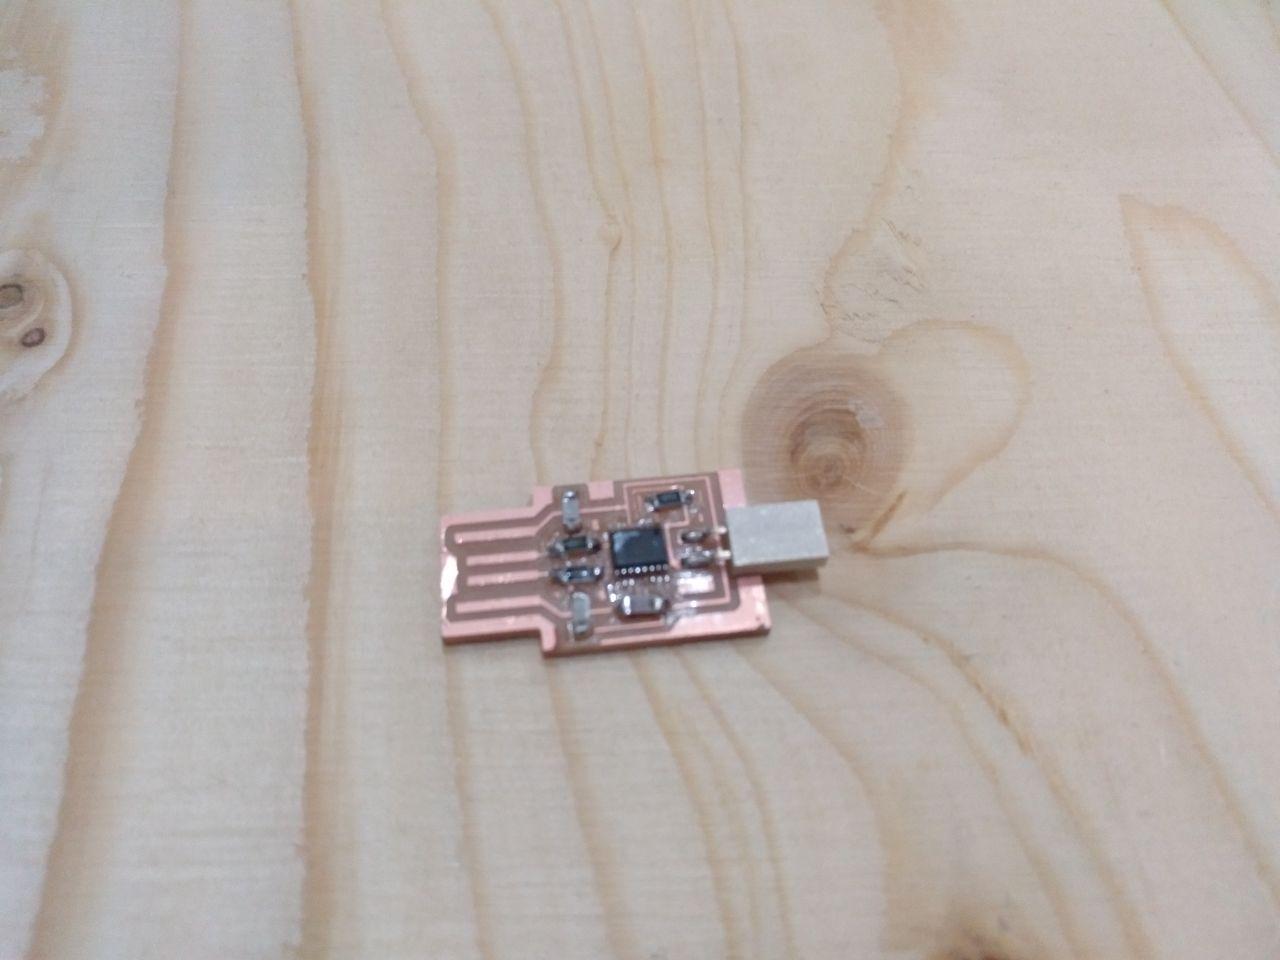 2 cute 4 u
As I was soldiering I was always testing the board with the multimeter. I used the connectivity setting so the multimeter could bip if there is connectivity. With that setting I always double check that there was connection between the connected traces and there is no connection between the traces separate to each other (because there could be some soldiering drop that could connect and make a short). I also checked the resistors to show their resistance. To do so I didn’t check the extremes of the resistor, but the traces of the board as much apart I could so I could check if the connection was ok.
I tested the component first with the multimeter and after that with the USB extension into my laptop (windows 10) and it worked!
hero shot again with no alcohol
Problems faced
I had some issues soldiering the small microcontrollers. They feel even harder because it’s the first thing to do. But luckily with the copper braid and patience I could make it.
After this assigment we had (as a class) other problems with electronic production. We had the problem of sometimes the CNC doing not very well the interior cut (the traces) with just pollishing the surface. We suspect that the issue is about having too much beds in the CNC milling machine so when the machine pushes only 0.1 mm that movement is smoothed by the several layers so they ended just like polishing. We manage to go through that by stepping down the Z zero .2 millimeters bellow.