Computer-aided design
Objectives of the week
- Model (raster, vector, 2D, 3D, render, animate, simulate, ...) a possible final project
I have already quite a lot of experience in CAD using Solidworks. I also know a little bit about various 2D design software, mainly GIMP and Inkscape. My objectives for the week is to learn open source 3D design software, and to create a model as complete as possible of my final project.
What I did
- Used FreeCad and Antimony
- Installed a Linux bash
- Designed the structure of my final project
What I learned
- FreeCAD and multiple modules
- Antimony
If I had the time to go further...
- Designing further my final project... Still lot to do!
- Experience Unity...
Files and resources
- The FreeCAD source files can be downloaded here and the stl files here.
- The Antimony file can be downloaded here.
Step 1: Discovering new tools
I had not a lot of time this week , so I decided to discover further two tools that Neil presented and that inspired me: FreeCad and Antimony.
I am a frequent user of Solidworks and I liked the fact that FreeCad is open source. Concerning Antimony, I was really impressed by the little demo in class, and I found this software really elegant. For 2D design tools, I am also used to work with GIMP and Inkscape.
Step 2: Sketching my project
I will use FreeCAD to make a 3D model of the structure of my final project, but first thing first, lets go a little bit further in what I want and make a sketch on paper.
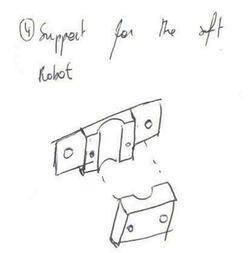
I described my first idea of final project here. What I will develop this week is the structure, on which will be fixed the soft robot to characterize. I want this structure to be:
- Modulable
- Low cost
- Compatible with classical material and tools used for tests benches (i.e. optical breadboards and mechanical equipment)
I found some inspiration on Denis’ site, who happens also to be my special instructor.
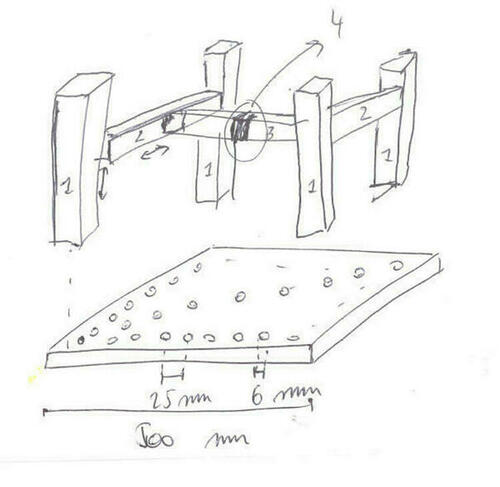
This is a first draft that will evolve during the next weeks, but the intend is to have an overview of the structure. My goal is to have a base model that can be easily modified. The other parts than the structure will not be implemented this week, because they will depend on the future development of the project. As an example, I will have to make a bow for the pressure source, but the size of the box will depend on the pumps and valves.
Step 3: Designing my project using FreeCAD
I as said I never used FreeCAD. Despite some bugs and a little bit of frustration, I learned it quite easily thanks to the FreeCAD wiki and by testing every button.
I organised my project by designing Multiple parts, each one saved in one file. I used different workbench, mainly Sketcher and Part to extrude my sketches and for Boolean operations. I also used the Draft module to make arrays of parts, and the Spreadsheet module, to define some parameters.
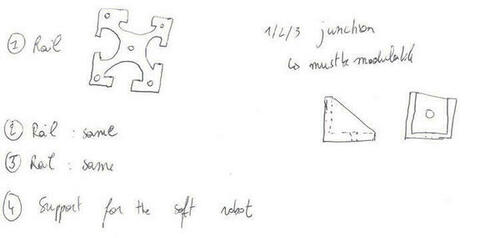
I made the assembly using the additional module Assembly2. I can import the pieces, and the assembly is updated automatically when I modify them in their file. The different pieces are placed using their absolute position. Not all junctions have been placed, the idea being here to show the principle of the assembly.
All the designed pieces are described in the table below. The FreeCAD source files can be downloaded here and the stl files here.
| Name | Image |
|---|---|
| Optical breadboard | 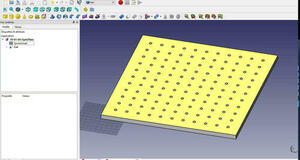 |
| Rail | 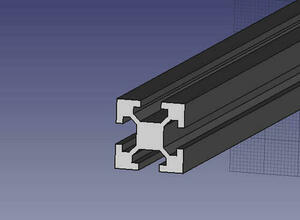 |
| Junction | 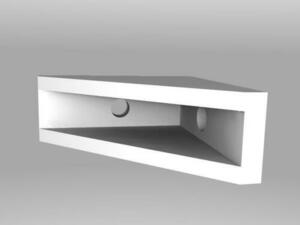 |
| Support 1/2 | 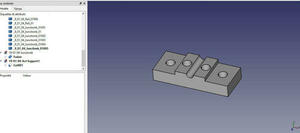 |
| Support 2/2 | 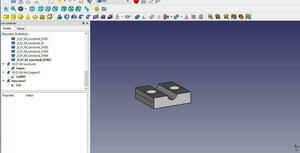 |
| Assembly | 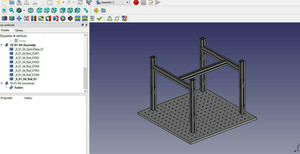 |
To have a better render, I used POV-Ray tool in the workbench Raytracing. The documentation can be found here
Adding some colours and using this render tool, here is the design of the structure of my project.
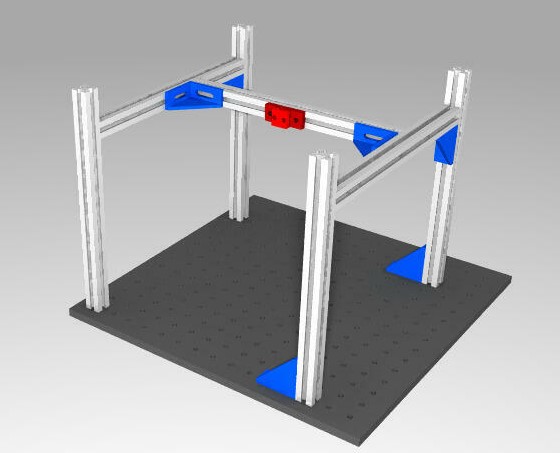
The design will change, but here is the idea, and I am starting to handle FreeCAD, which feels great!
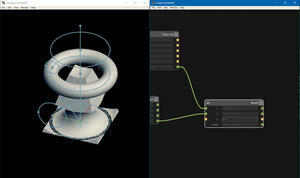
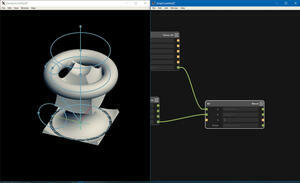
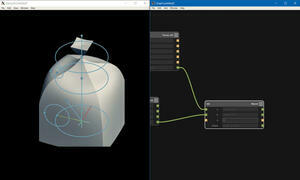
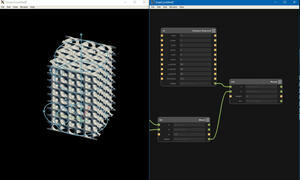
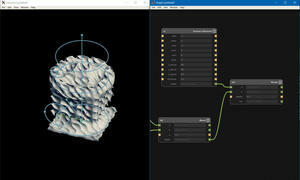
Step 4 Playing with Antimony
Installing Antimony on Windows
To play with Antimony, I had first to find a trick to install it on Windows. Fortunately, Adrien, our Fab manager, already found a solution, described here
Basically, the solution consists in installing Linux (youhou) to be able to launch the software.
Using Antimony
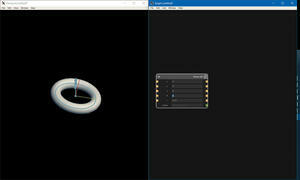
To use Antimony, I have first to open bash in the build folder of the installed Antimony. Two commands and it starts!
export DISPLAY=:0
./app/antimony
As expected, this is a lot of fun! Here is a little roman photo of my first tests. The source code can be downloaded here.
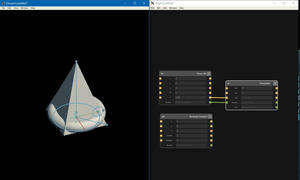
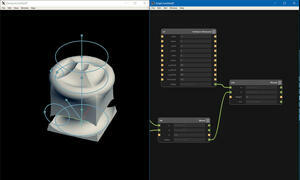
I found powerful how it is possible to play with the scripts. I used this to add entries for Boolean operations and to define functions on my parameters. Here is an example of a little script doubling an input parameter:
import fab

title('double')
input('a', float)
output(b, a*2)
Even if I don’t know (yet) what for what project I will use this tool, I really liked playing with it! The graphical representation is in my view really powerful and clean.
Update week 4: Using several 2D CAD tools
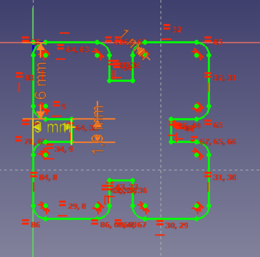
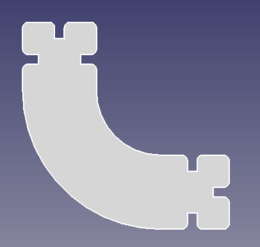
As detailed in week 4 documentation, I also used 2D CAD to design my press-fit kit:

Difficulties with FreeCAD: I can still improve in the way I organise my files in FreeCAD. I tried to use subfolders but when using different workbench I didn’t manage to respect those subfolders. I also had trouble with FreeCAD lagging and closing when I want to use specific functions or when my drawings become to complex.
For computer controlled cutting, I also had the occasion to play with various other 2D drawing software: Cura, Inkscape, Solidworks, Silhouette studio, … I liked the possibilities offered by FreeCAD, especially concerning the parametric design. Solidworks is also a good tool that I master, but which is quite heavy for simple 2D design. Finally I liked inkscape, which can be very practical for very simples design. In particular, during week 4, I used inkscape for vector drawings. The process is documented in the captures below:
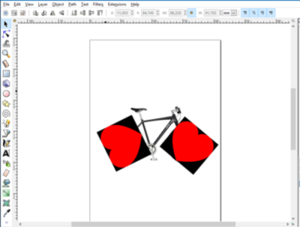
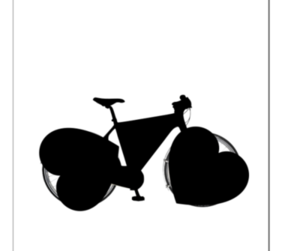
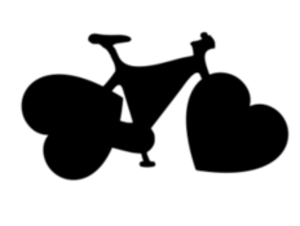
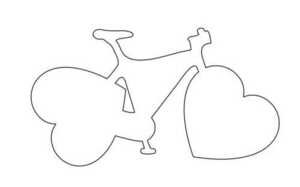
- First thing: find some images.
- You already understand what I have in mind. The second step is to vectorize them on Inkscape (tuto).
- I must then clean the image by removing internal paths and simplifying external ones. I am just a little bit worried to have too thin parts.. Spoiler alert: everything got perfect! To combine my three objects (the two love symbols and the bike), I use a Boolean union (
path --> unionmenu). - Last step: convert the shape to paths, make last small corrections and… Tadaaa!