Wildcard Week
Week 18
Wildcard Week = Free choice. We should design something and then produce it with digital fabrication process. This should include design and produce something with a digital fabrication process incorporating computer-aided design and manufacturing.
I had two topics in mind, digital embroidery and thermoforming, which I need for my final project.
Digital embroidery
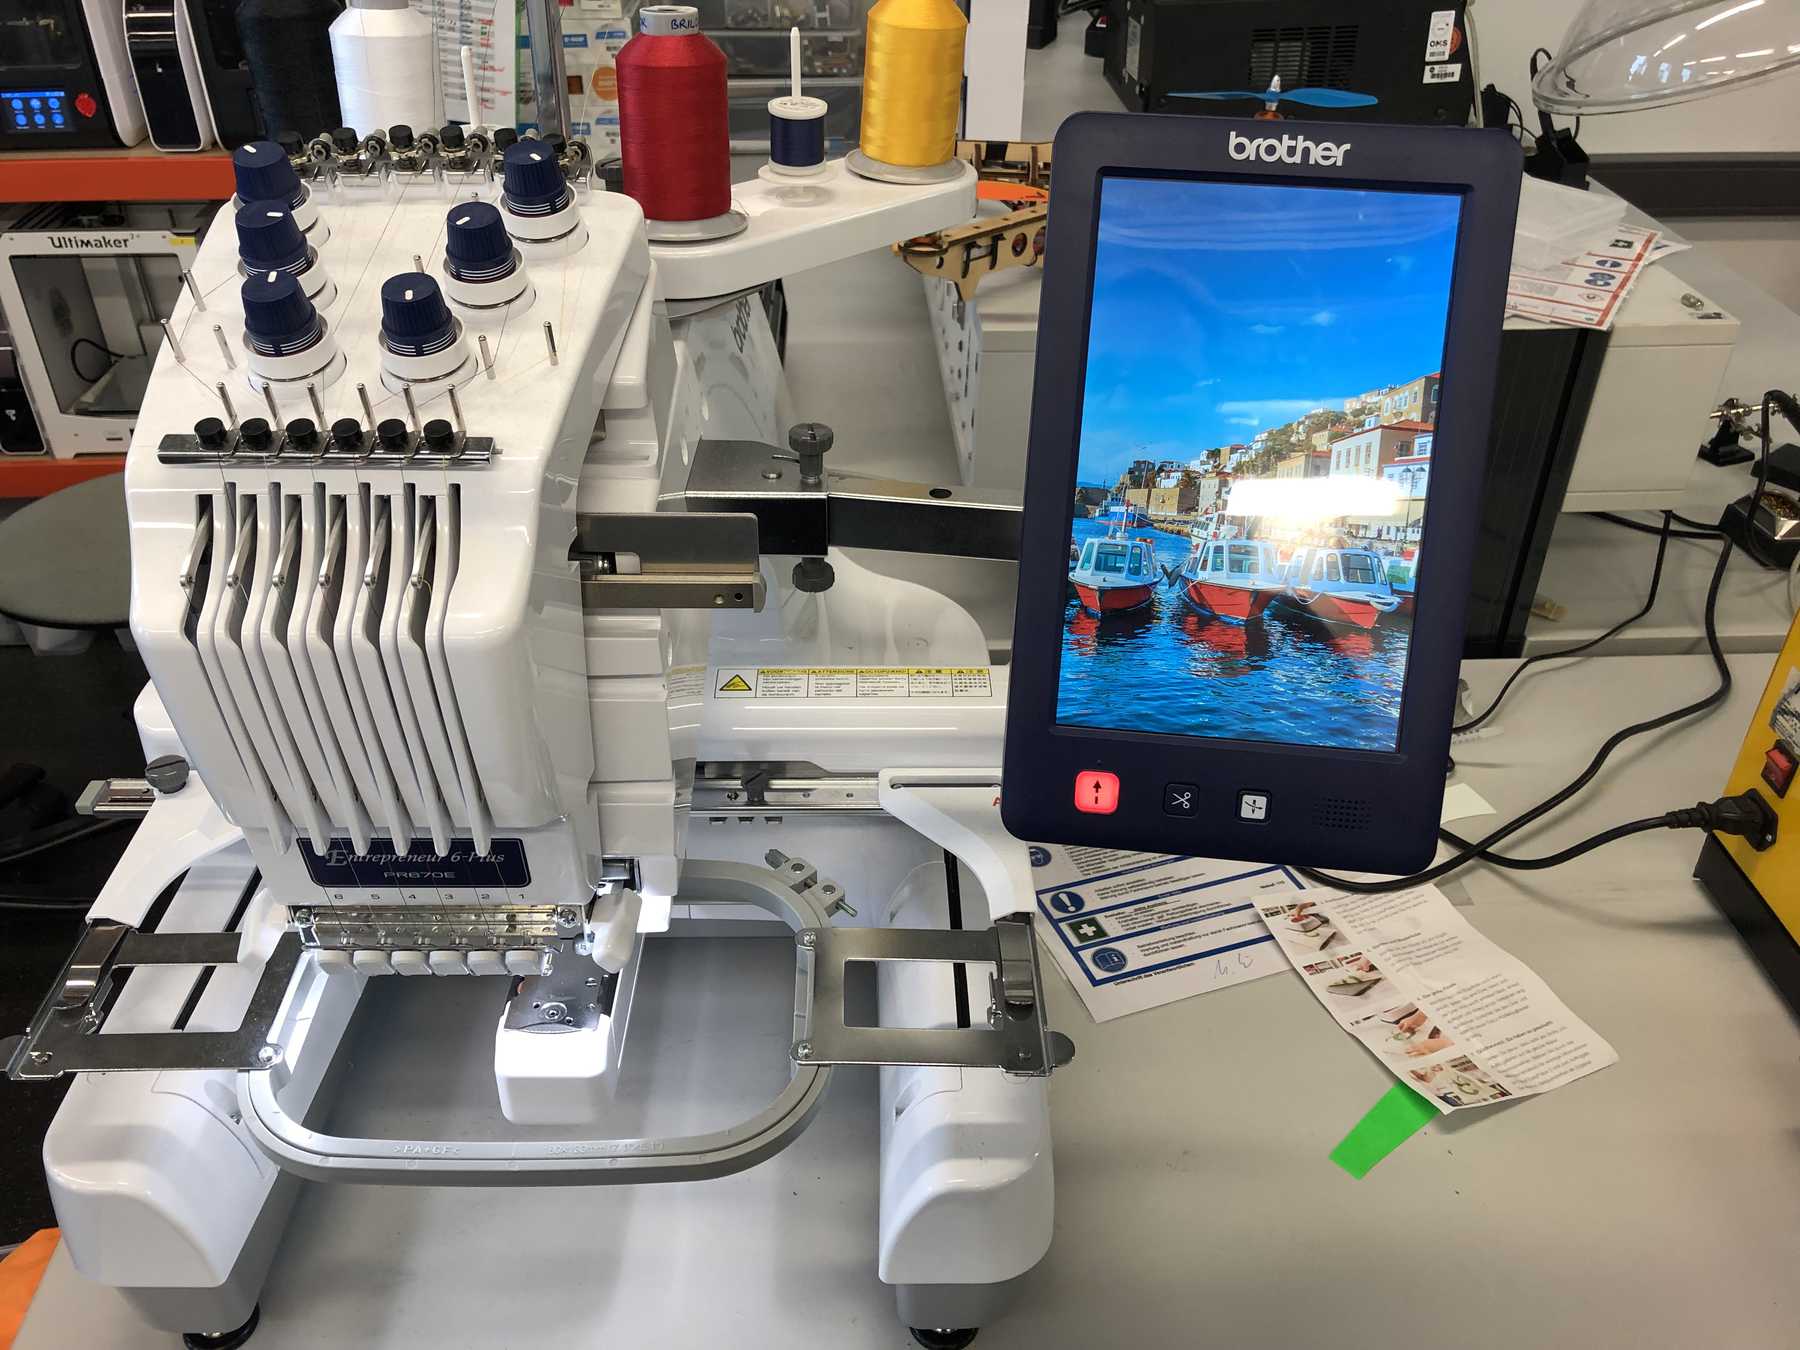
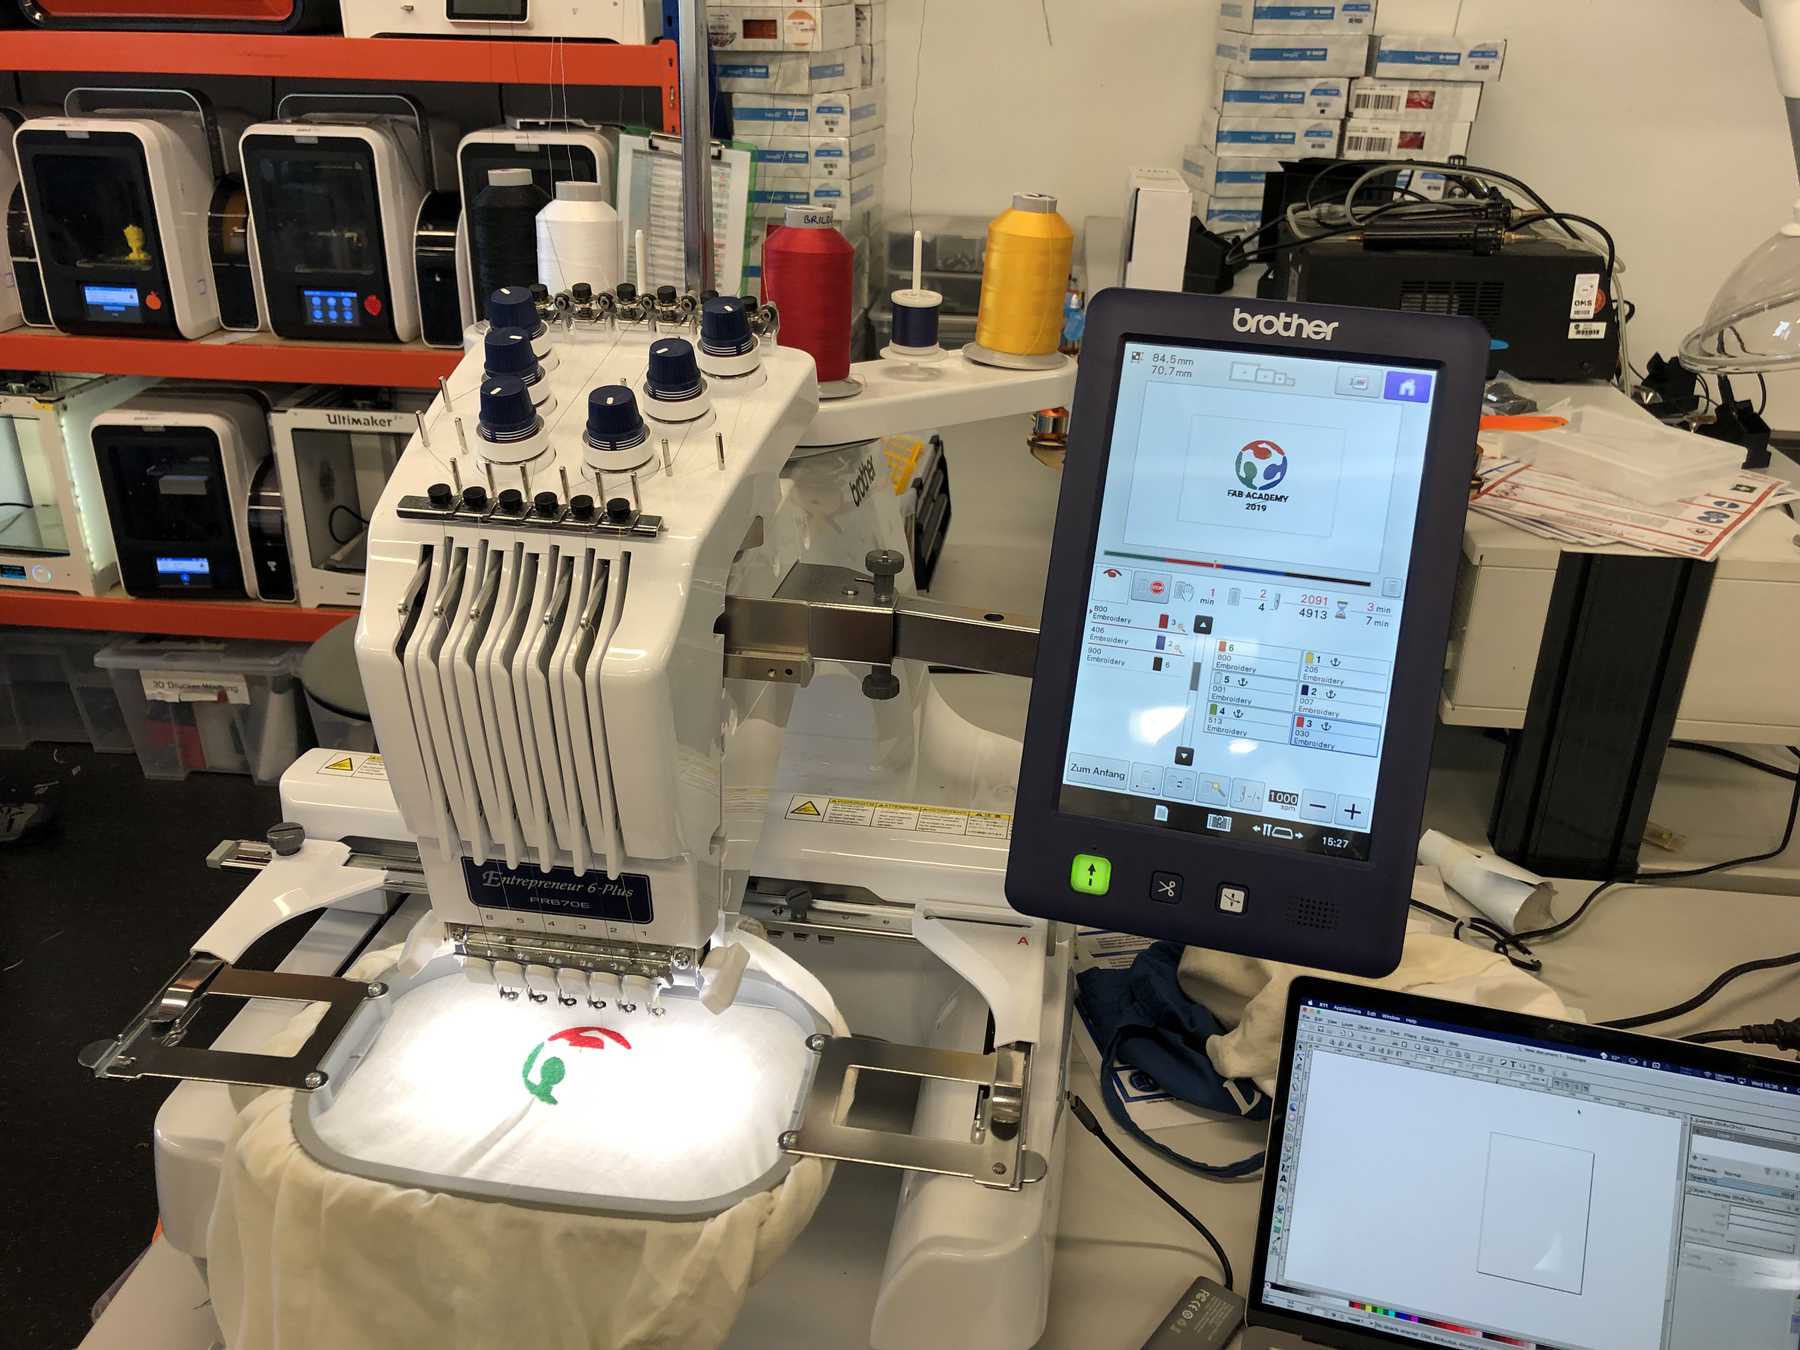
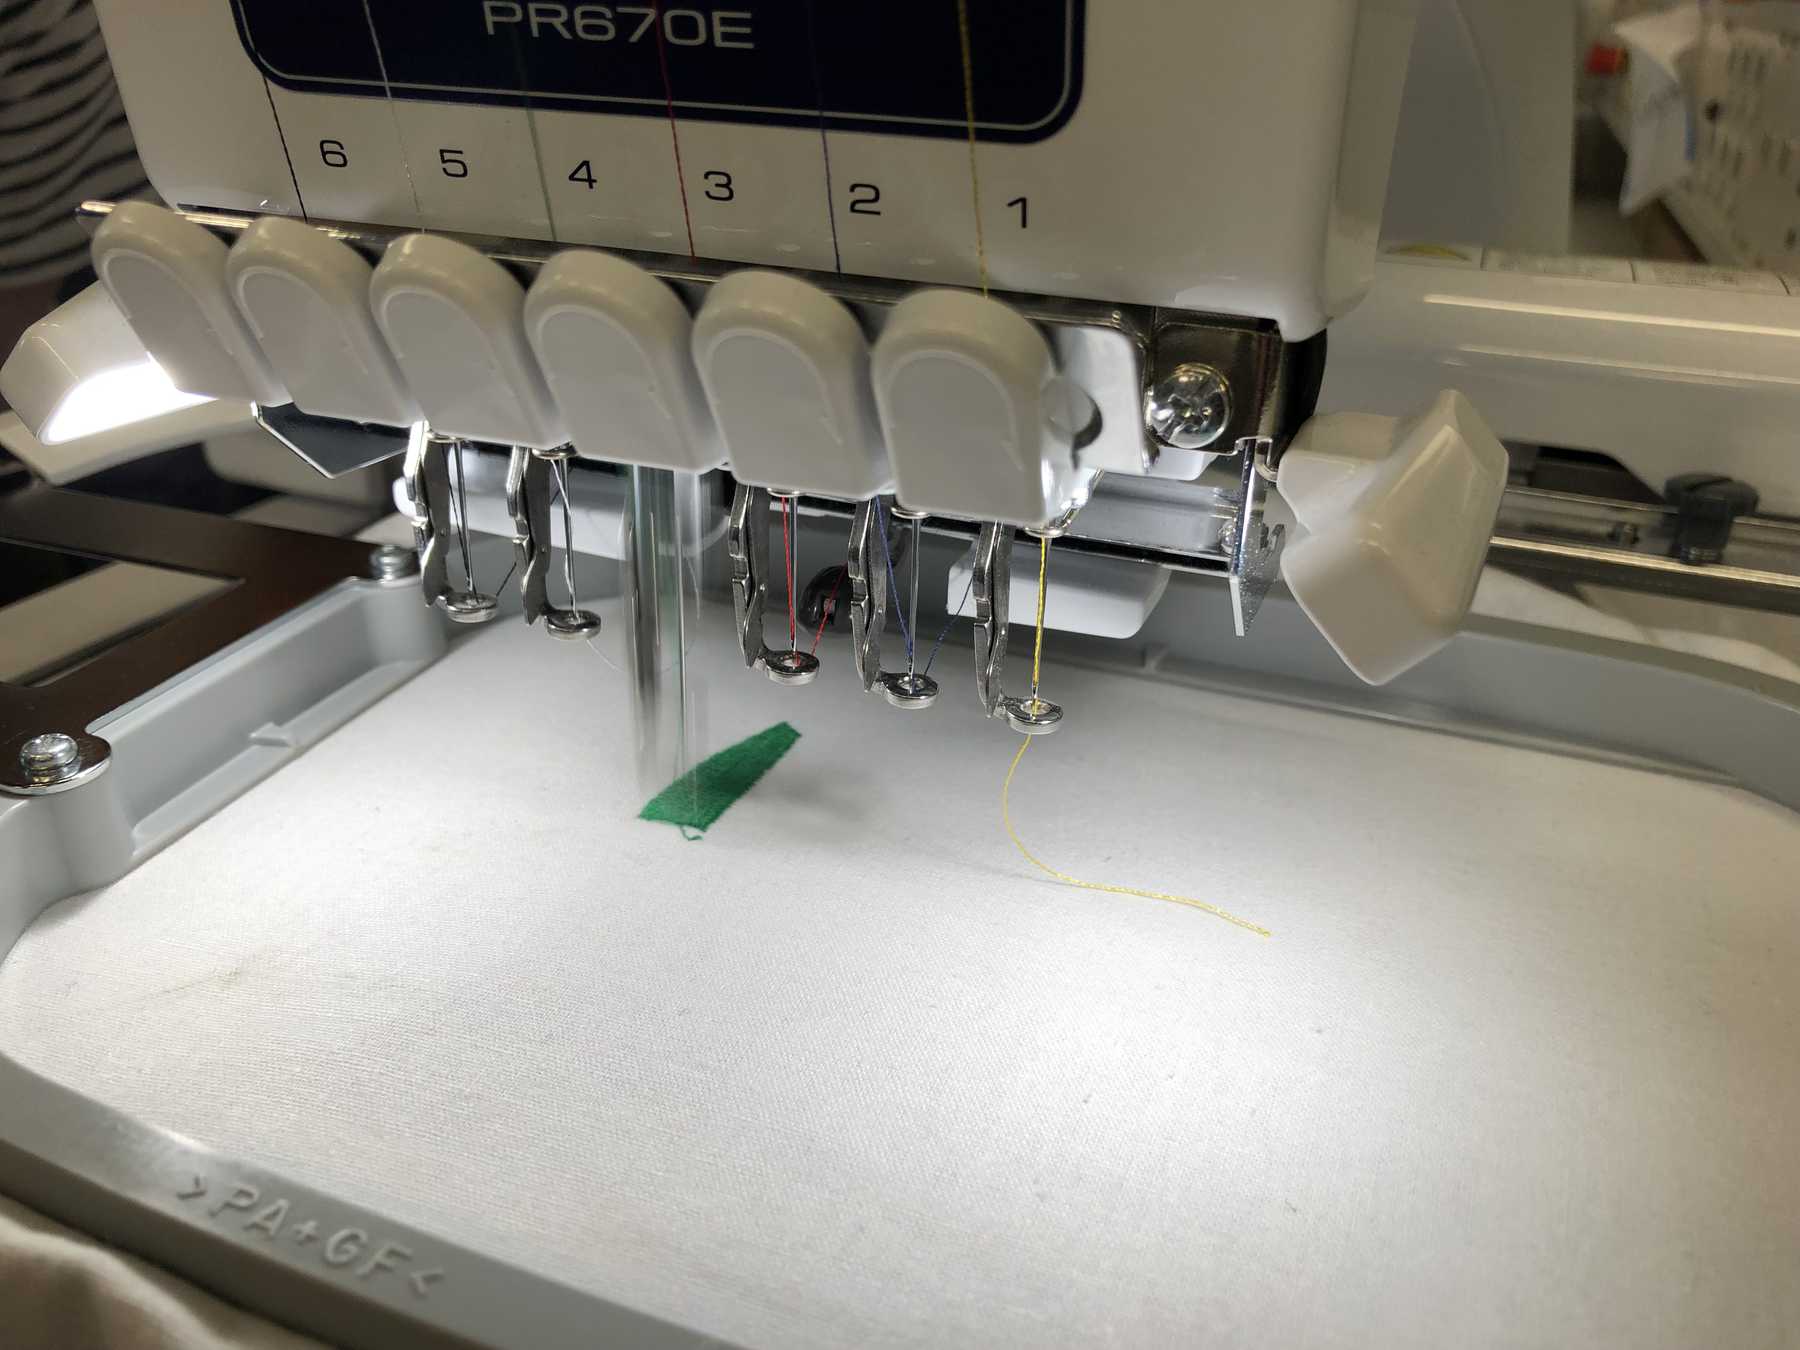
In the beautiful HRW FabLab stands a Brother Entrepreneur 6-Plus PR670E, an embroidery machine. The fine piece stands in the middle of the room and has smiled at me several times. I can’t think of any real applications at the moment, but maybe I’ m going to need it. But why not try it out? After some research I found out that there is not much software available. The integrated touchscreen is sluggish, you can use a mouse… but hello? Who would like to use this interface?
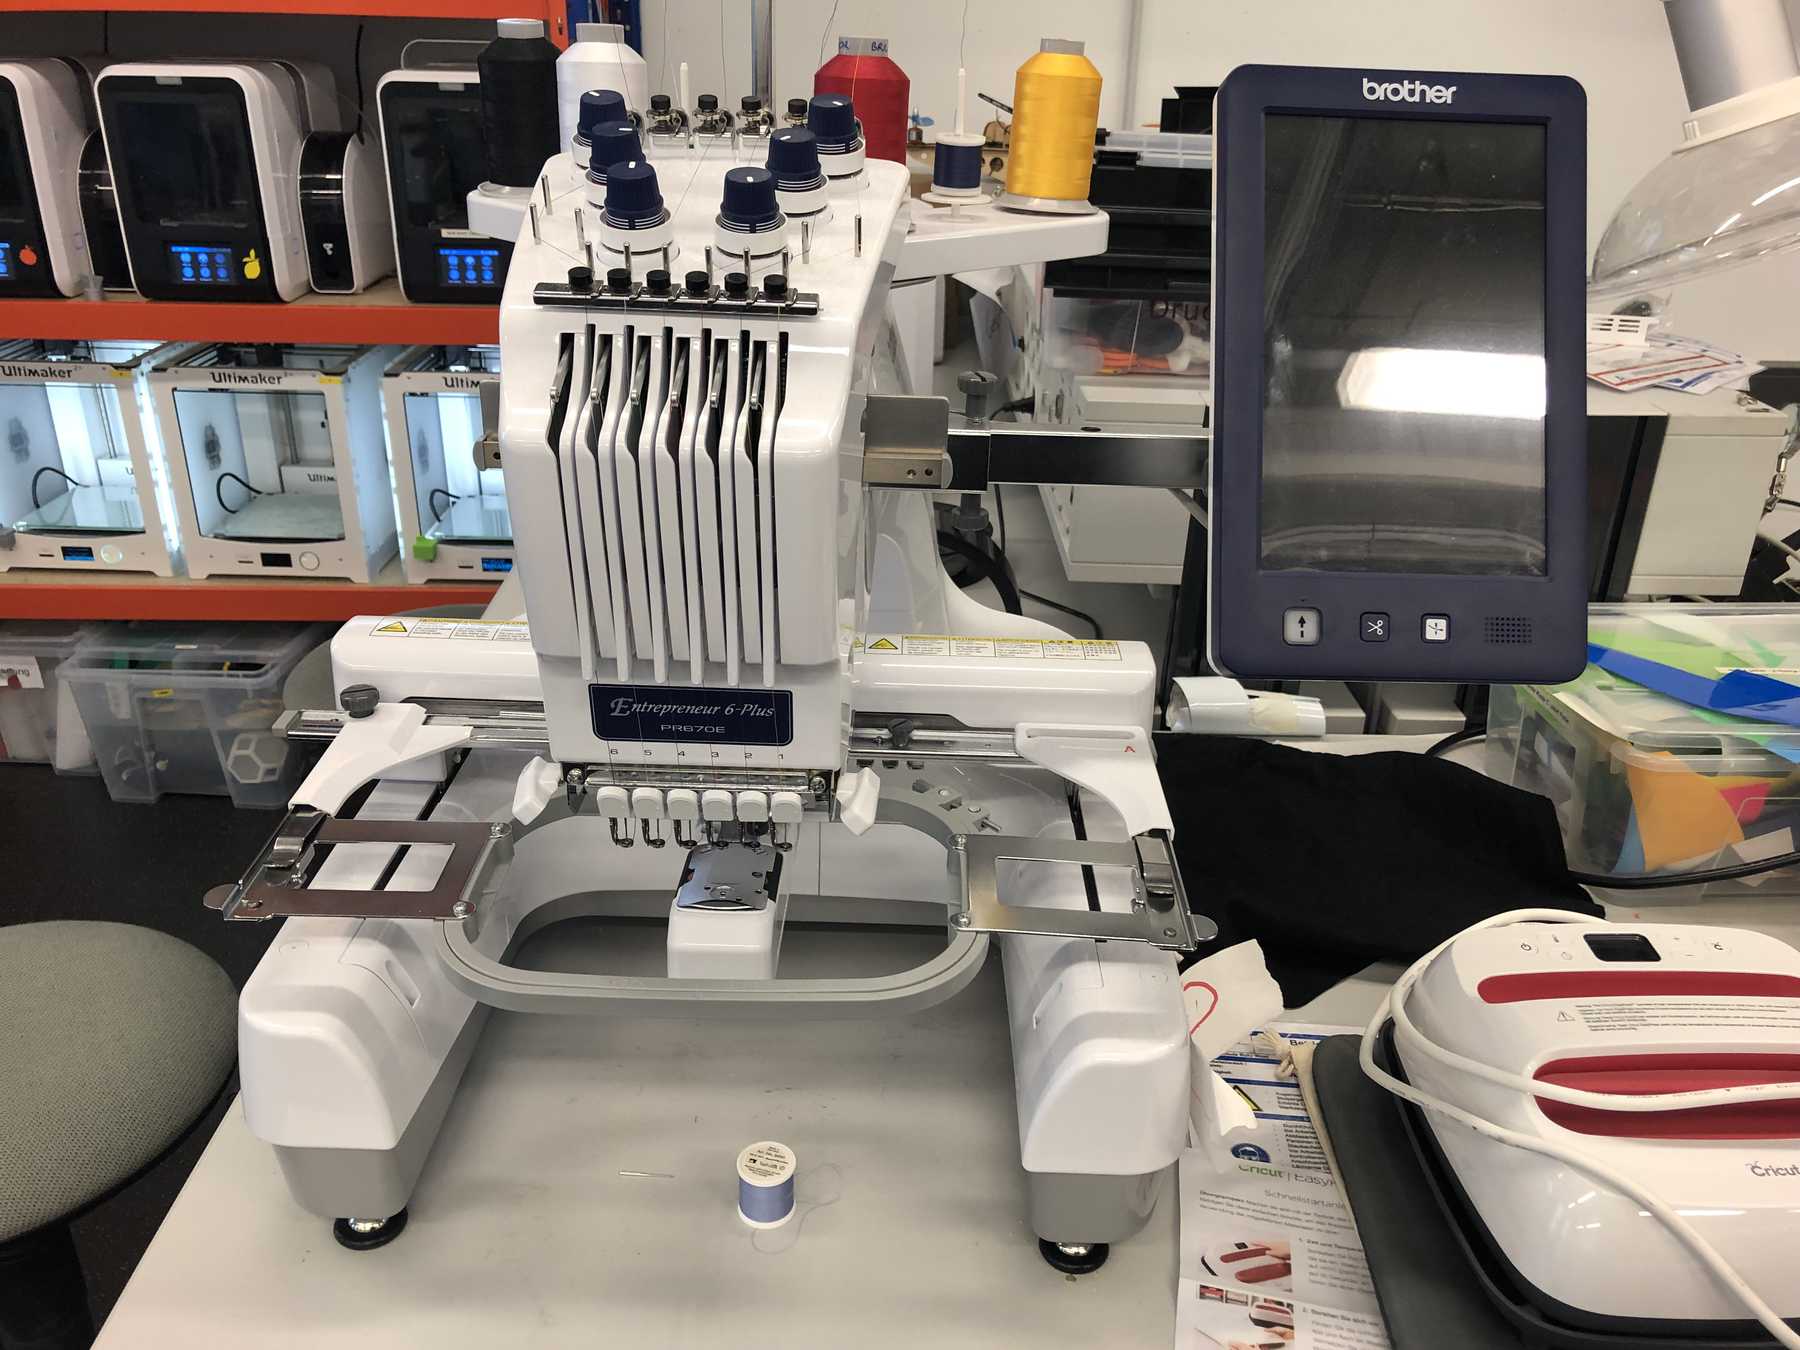
The machine supports a size of 200mm (H) × 300mm (W). A total speed of 400 to 1000 stitches per minute can be achieved. 6 yarns can be loaded in advance with this machine. According to the manual you need PES and PEC files to use the Embroidery Machine. This means own formats from Brother.
For the Mac I found two apps in the store: StitchBuddy and Stitch Designer. I tried StitchBuddy, but I didn’t get really warm.
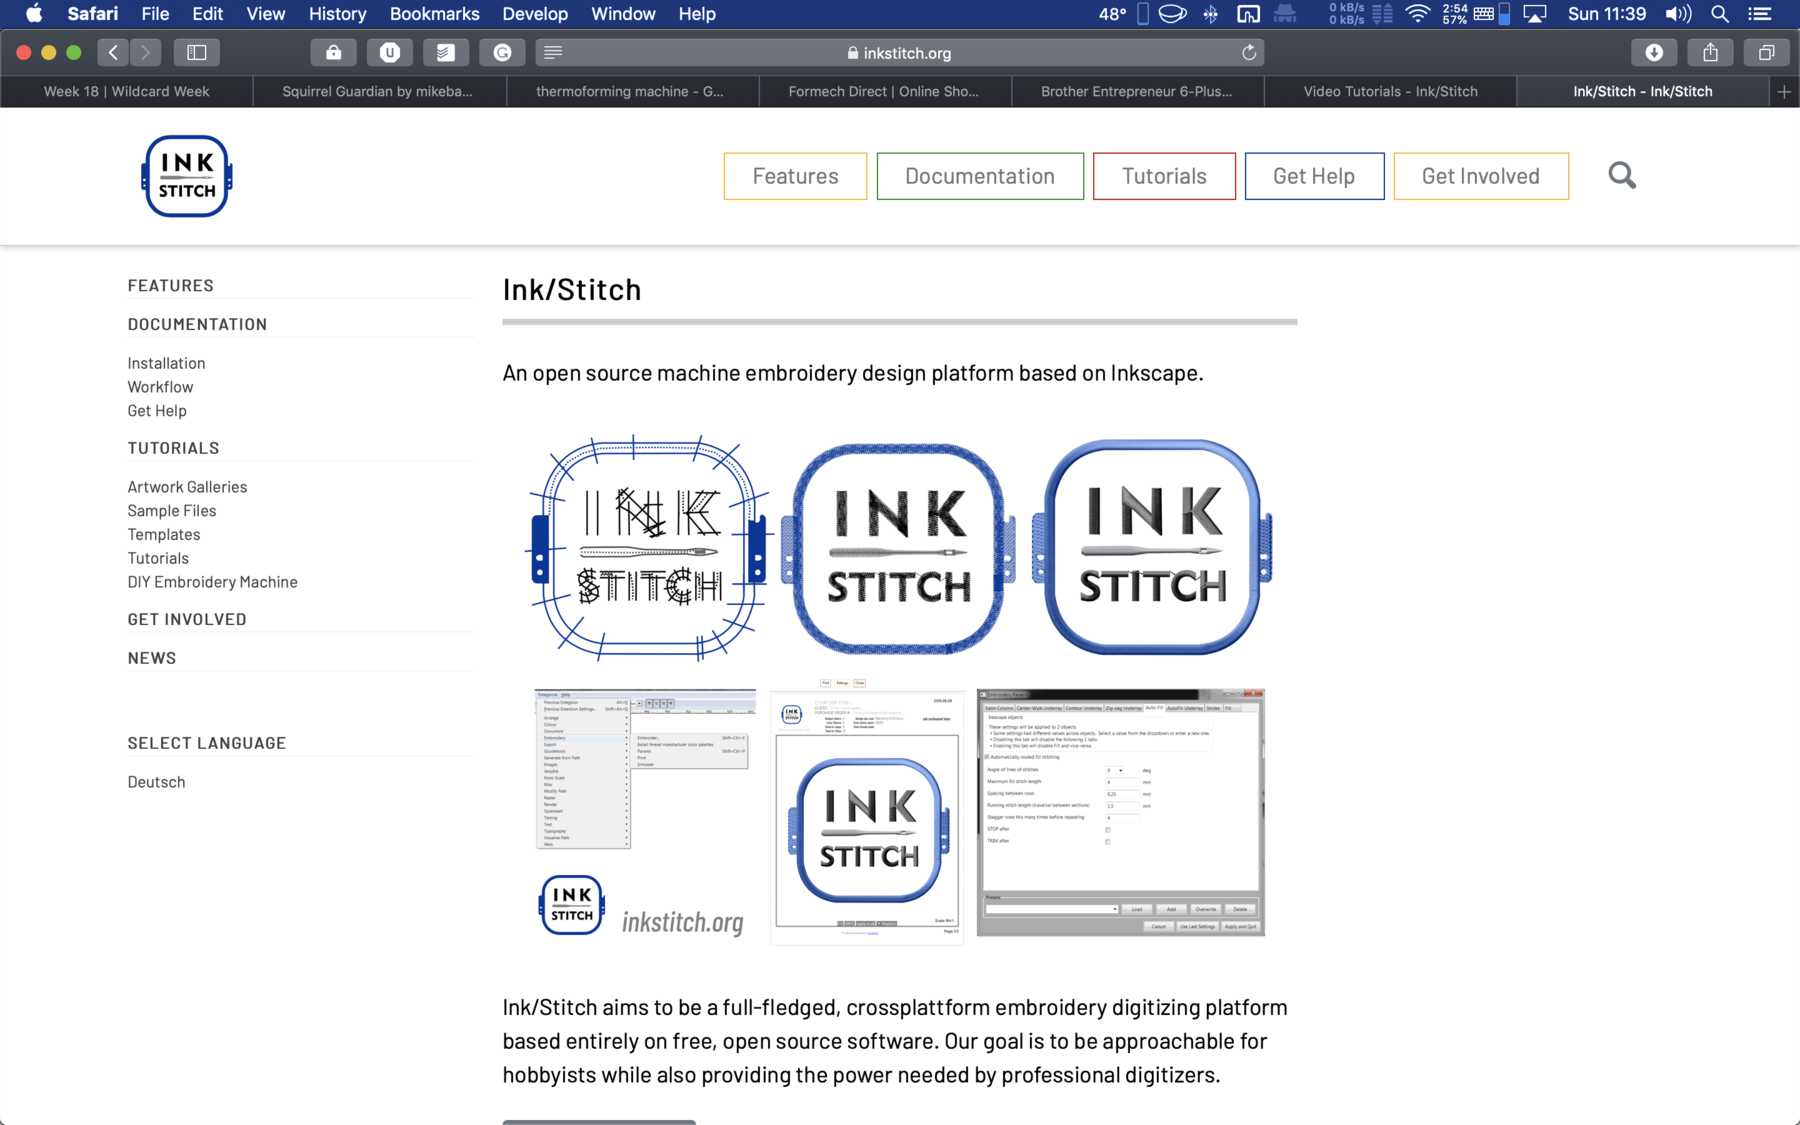
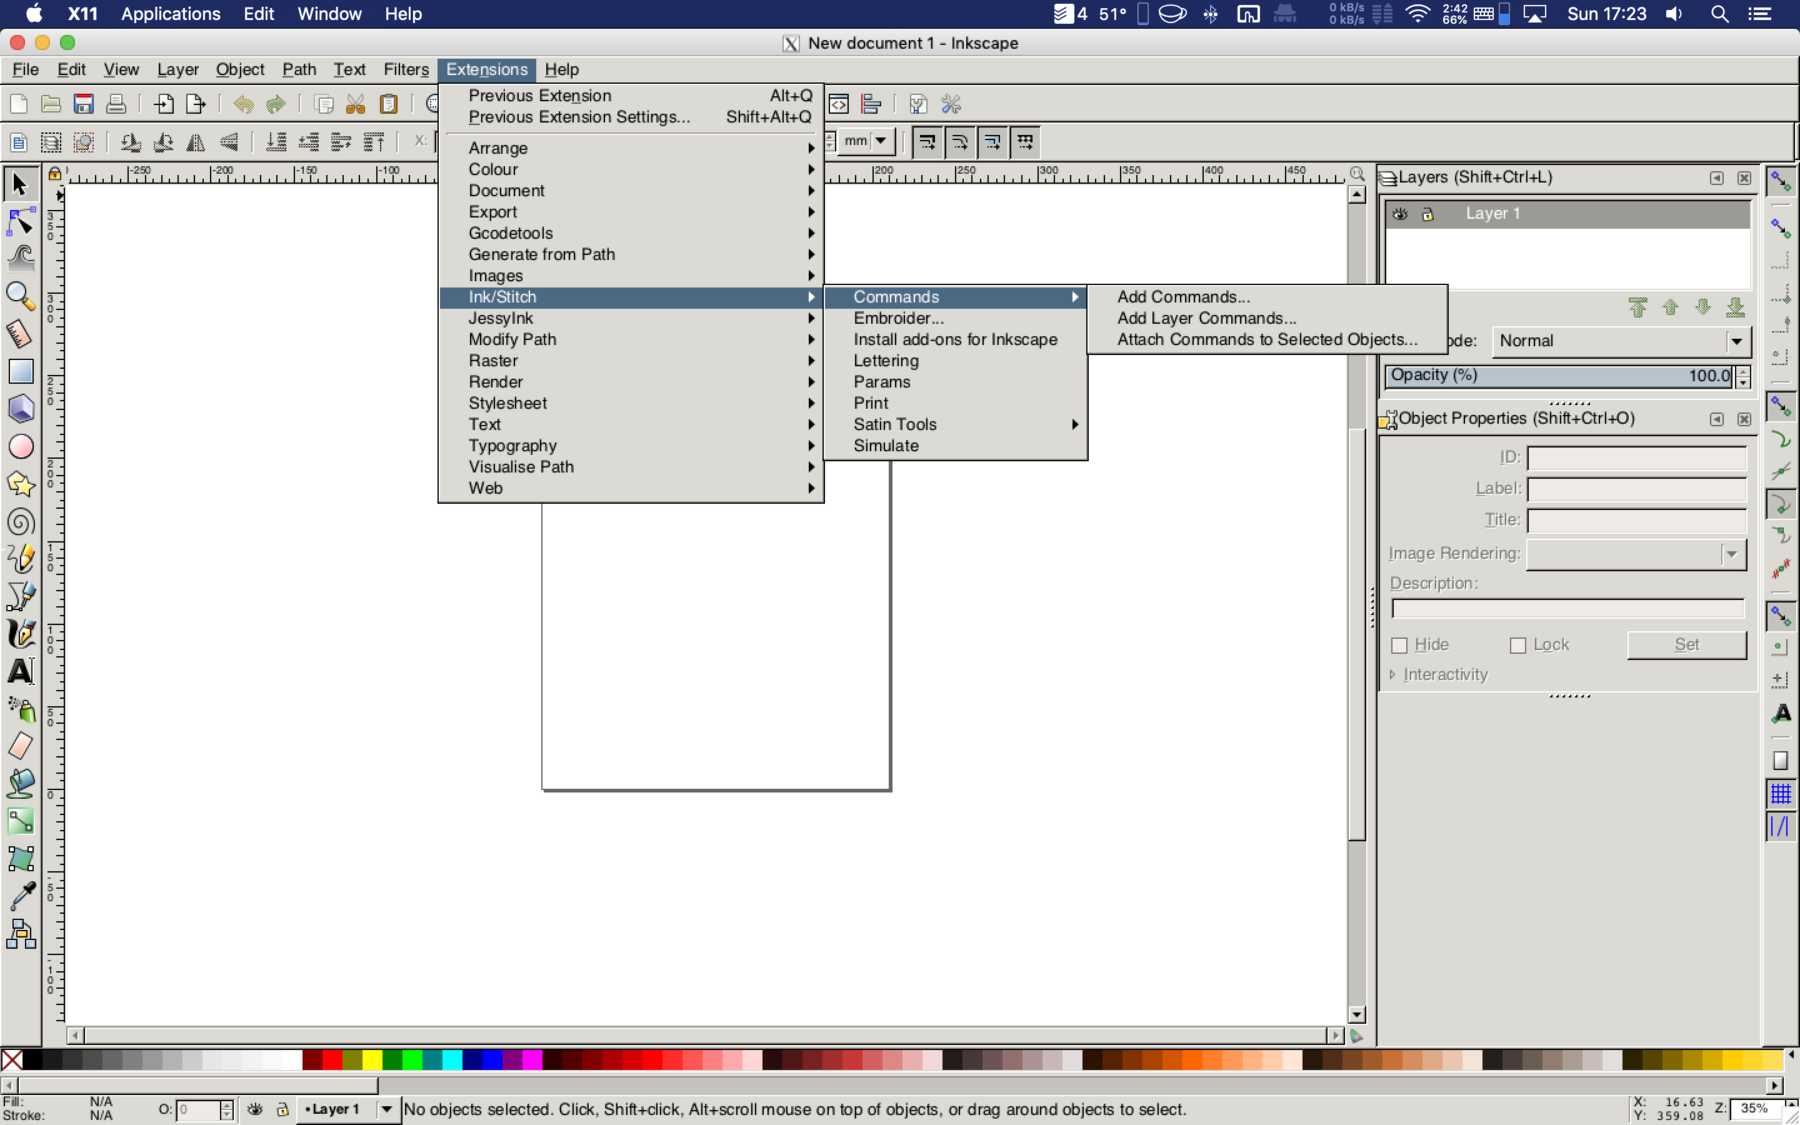
Then I looked for a software that is open source. There must be something! And actually I found something else: Ink/Stitch. Open Source, github active and as integration for the Open Source Inkscape. That sounds promising, but is it? Start Inkscape!
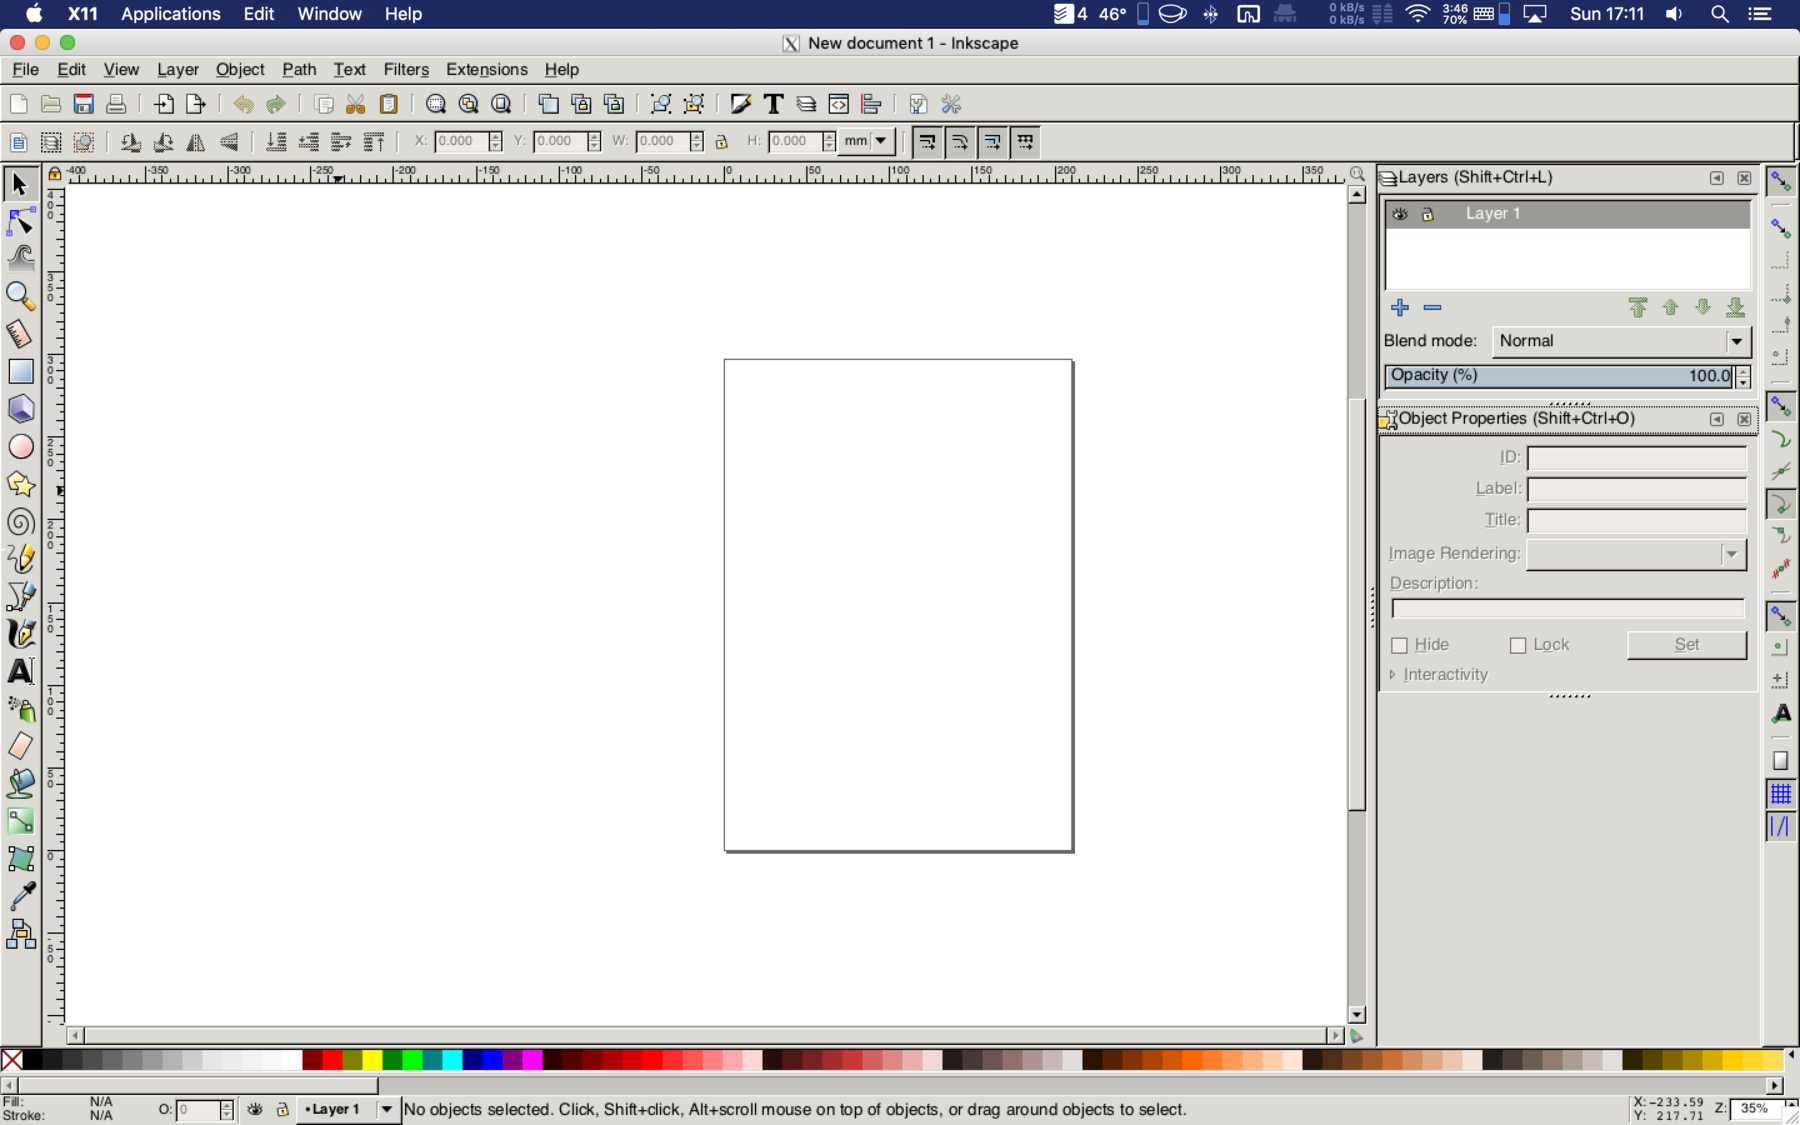
Install Ink/Stitch and start Inkscape
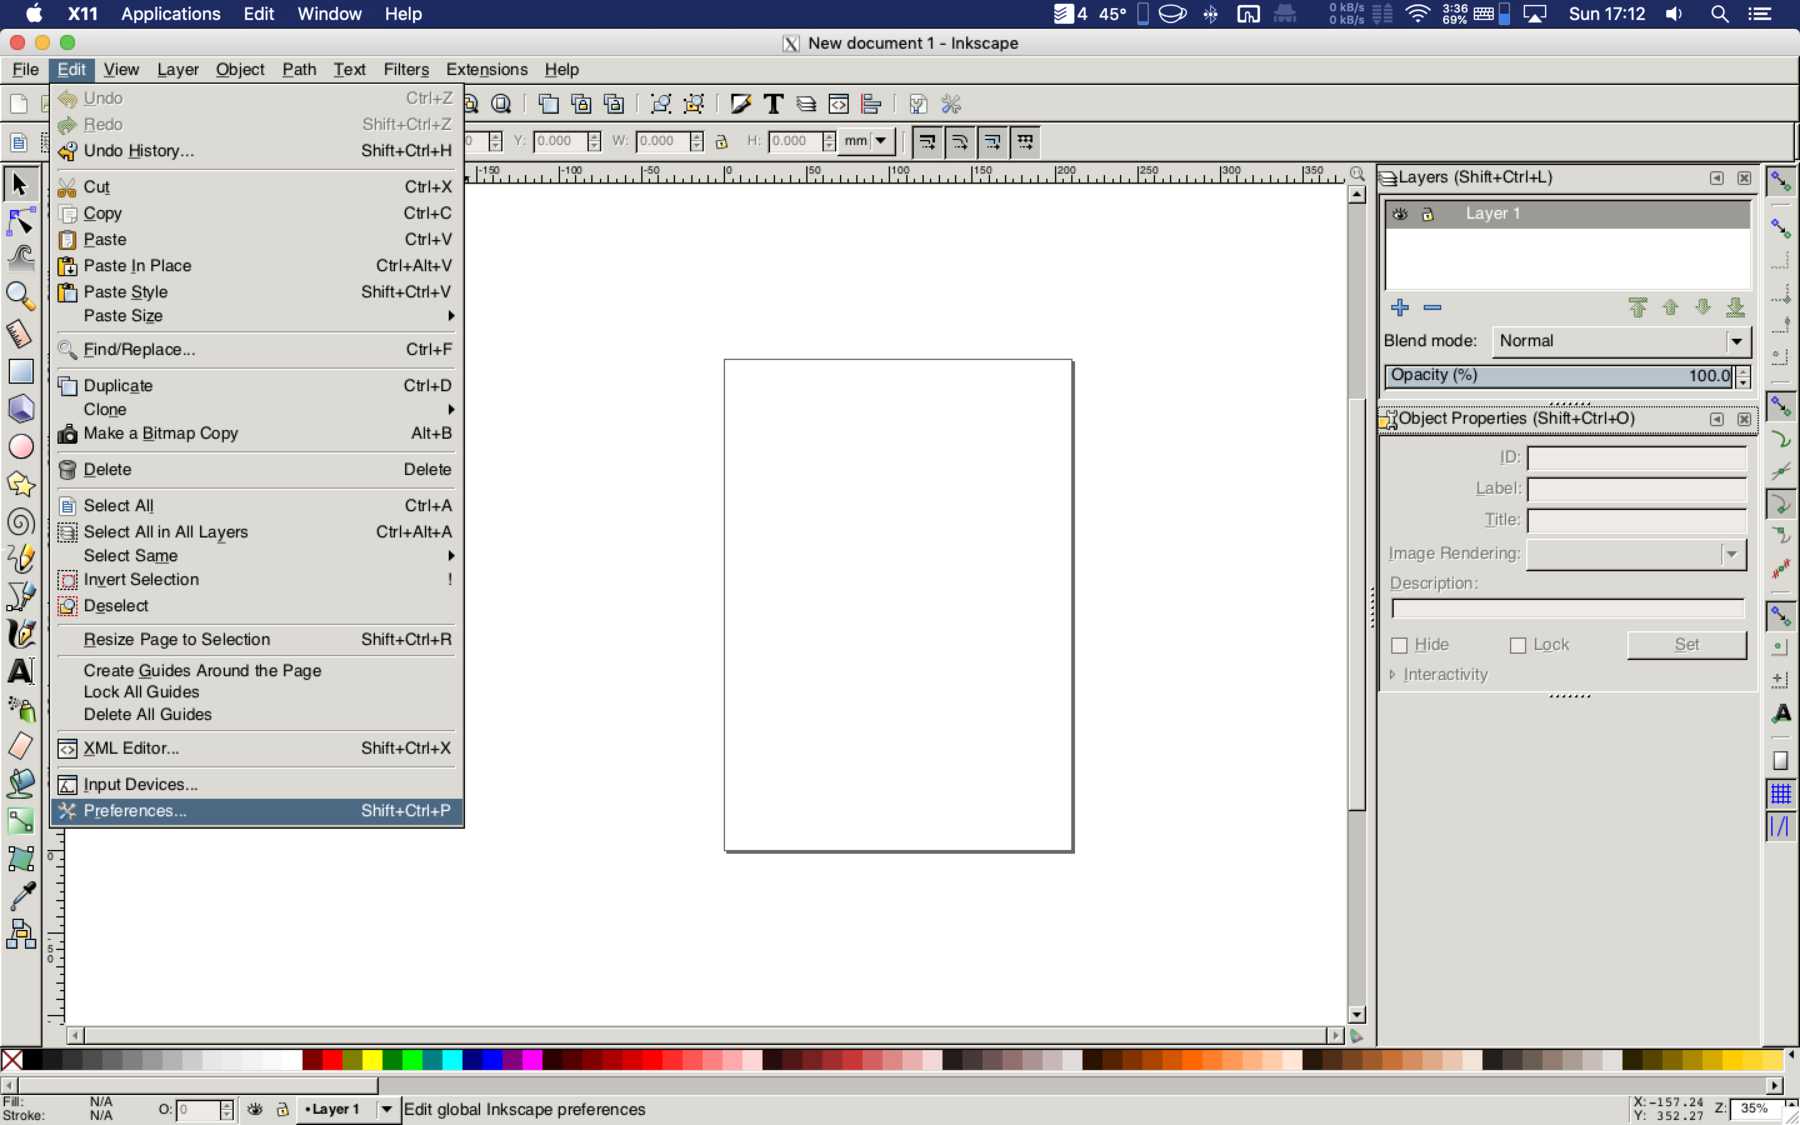
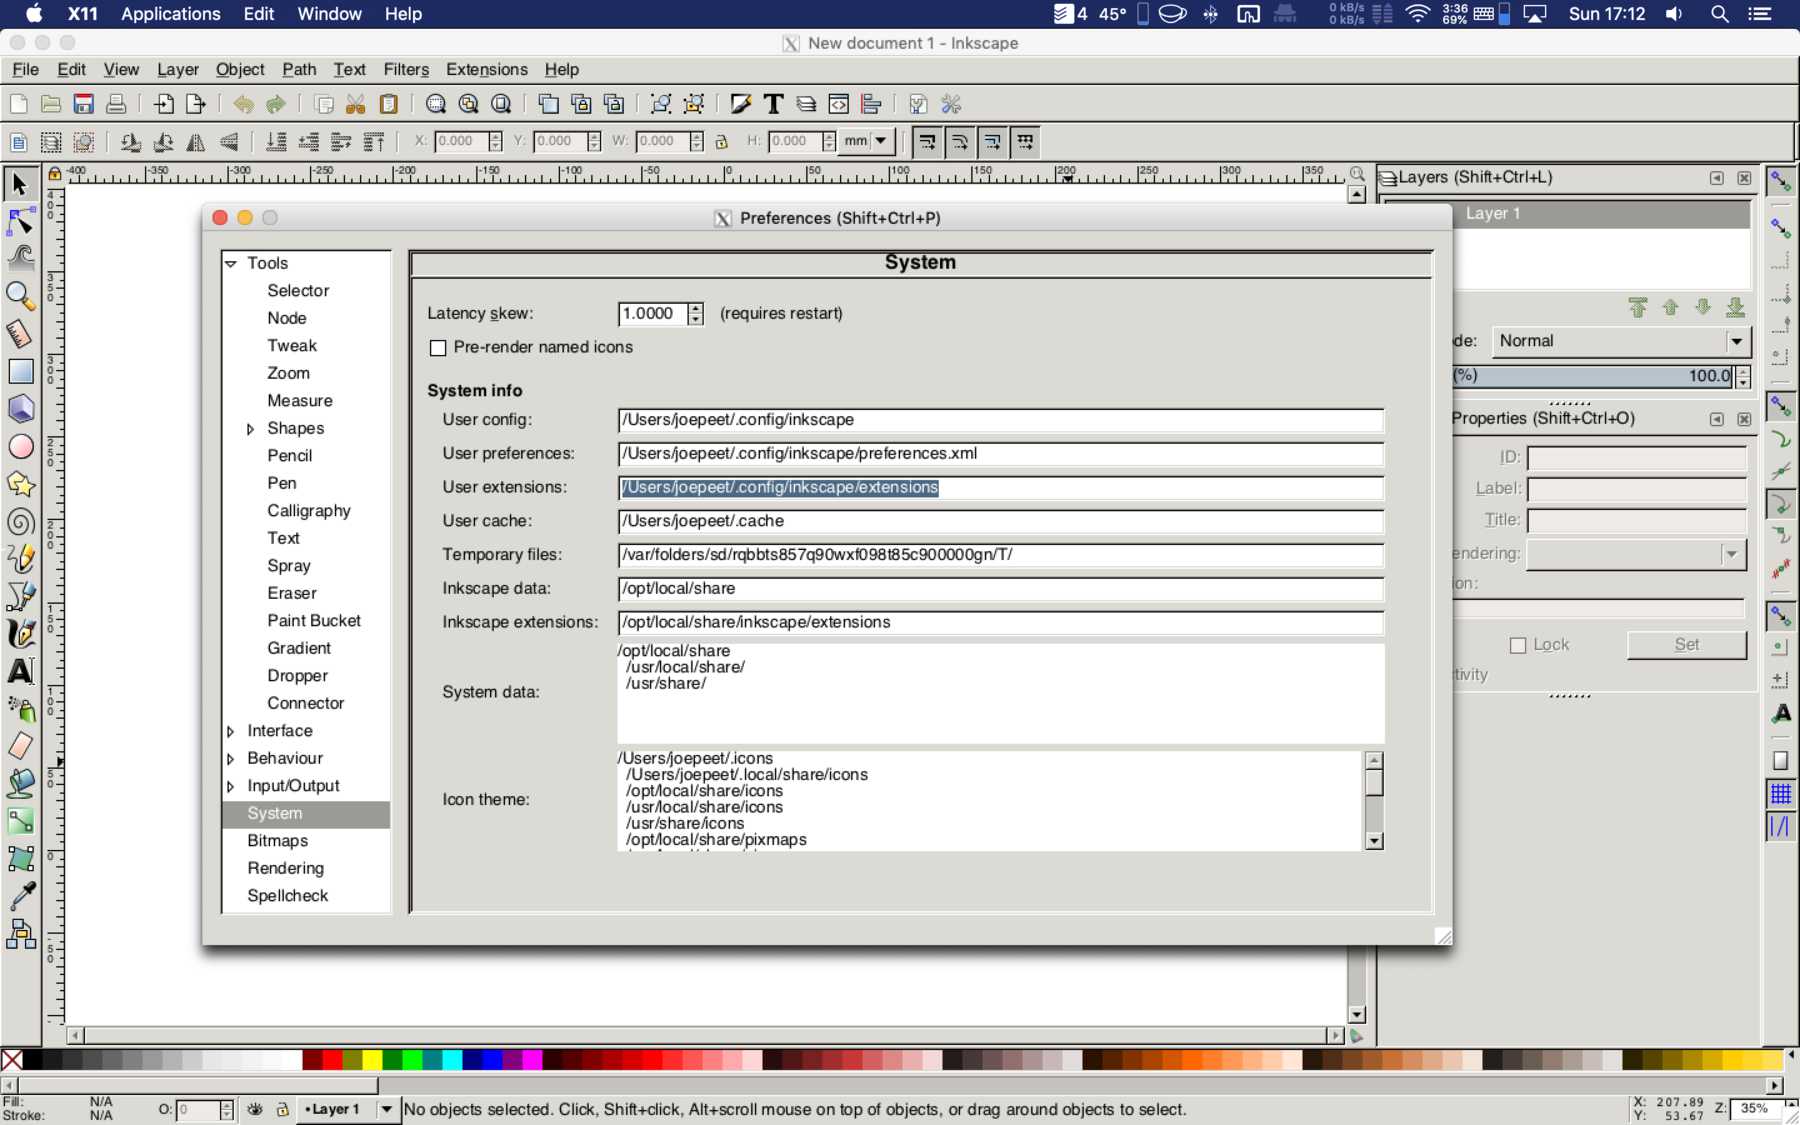
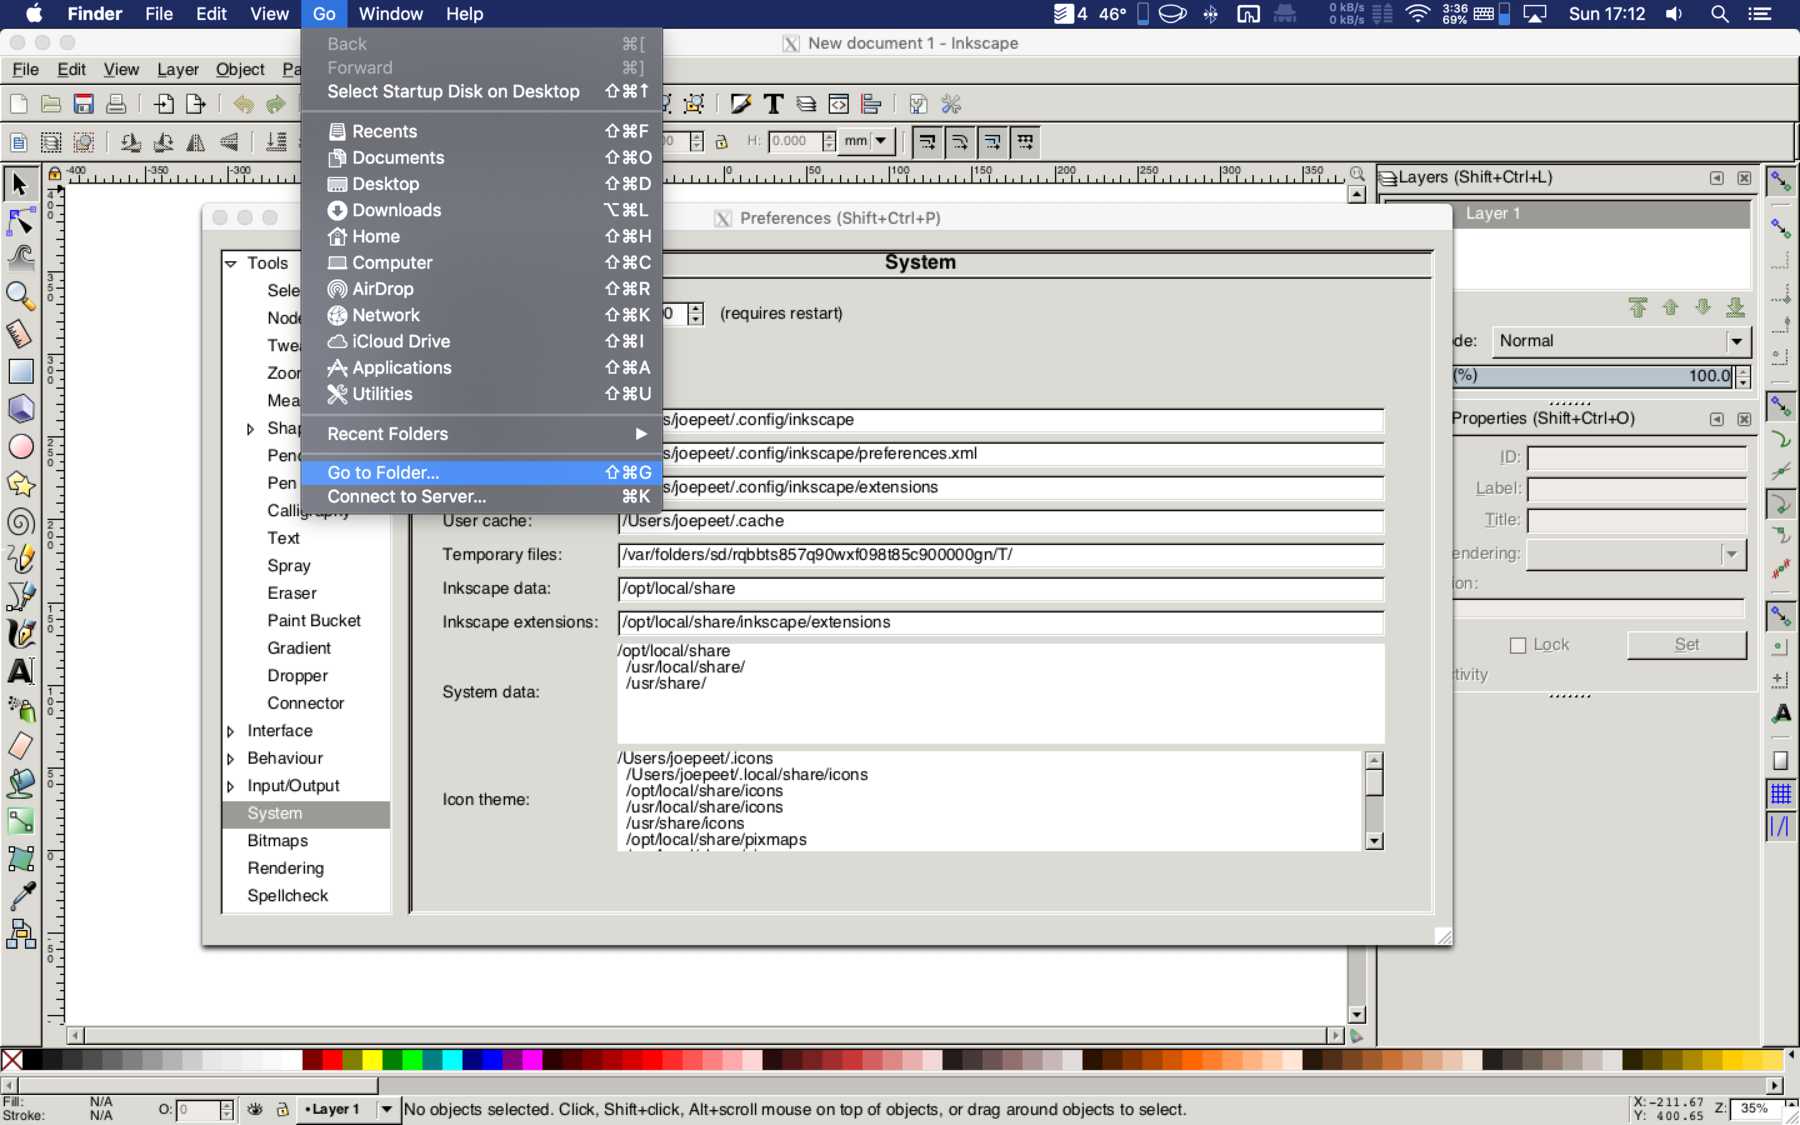
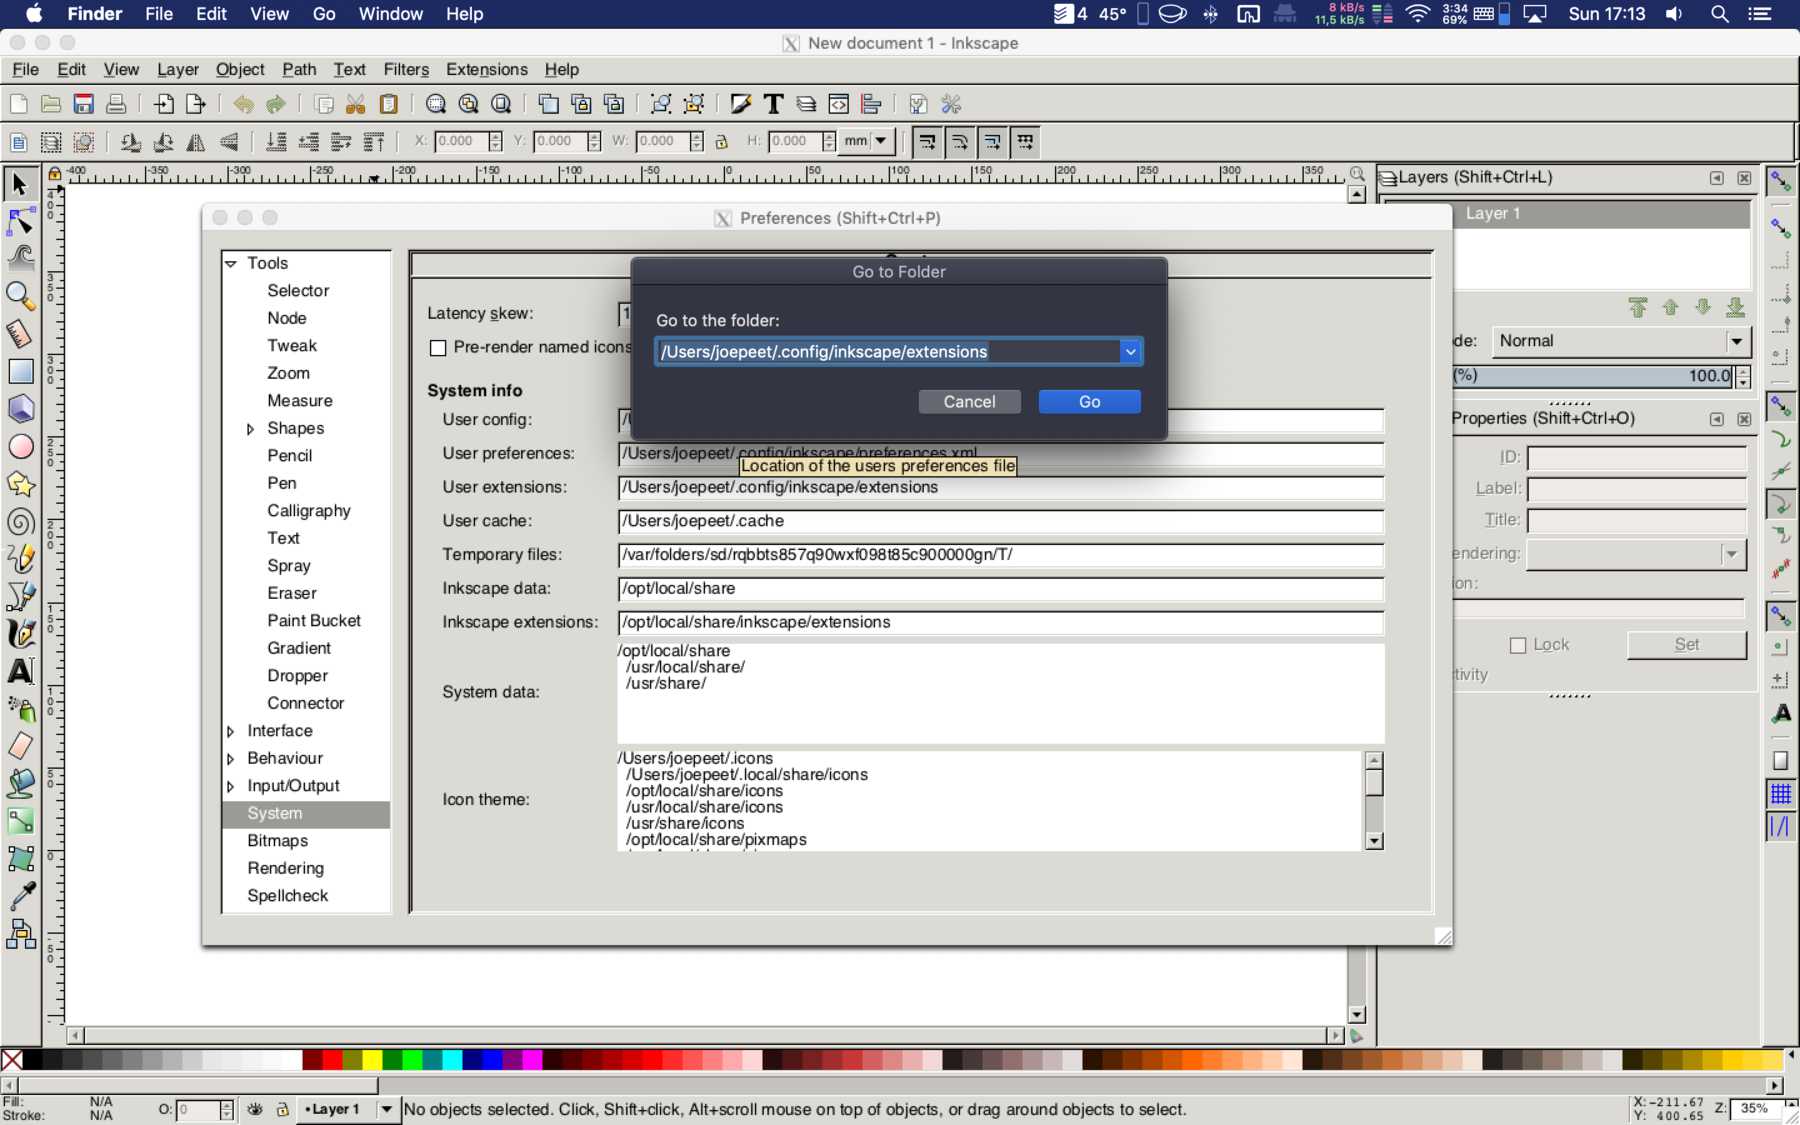
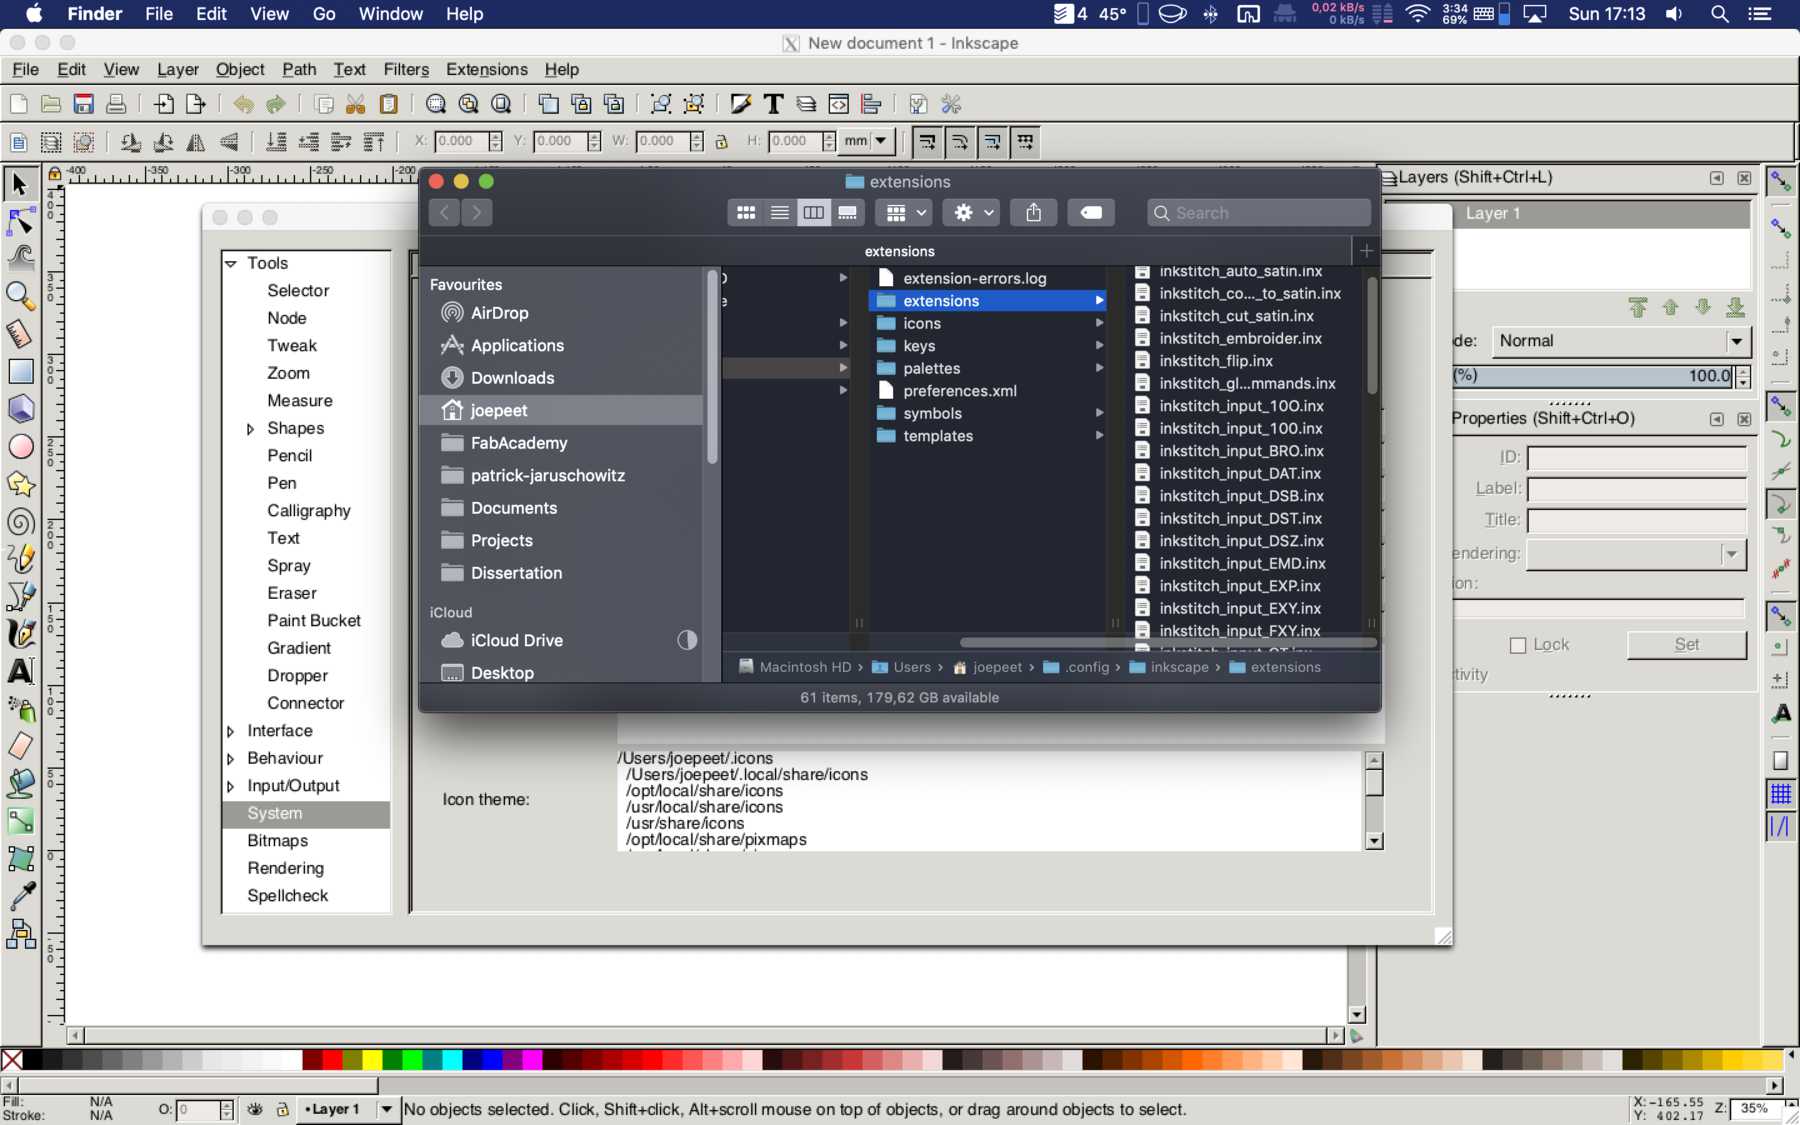
First download the current files from the github page: https://github.com/inkstitch/inkstitch/releases/latest Then we need the path for where to install the extension. We go Inkscape to “Edit - Preferences”. Then copy the link under “System - User extensions”. On the Mac go to Finder and paste the copied link on “Go to folder”. Shift + Command + G as hotkey works too. In this folder unpack the files we downloaded. At the end the folder should look like this:
Close Inkscape and restart. Check if the extension was loaded correctly:
Designing the template
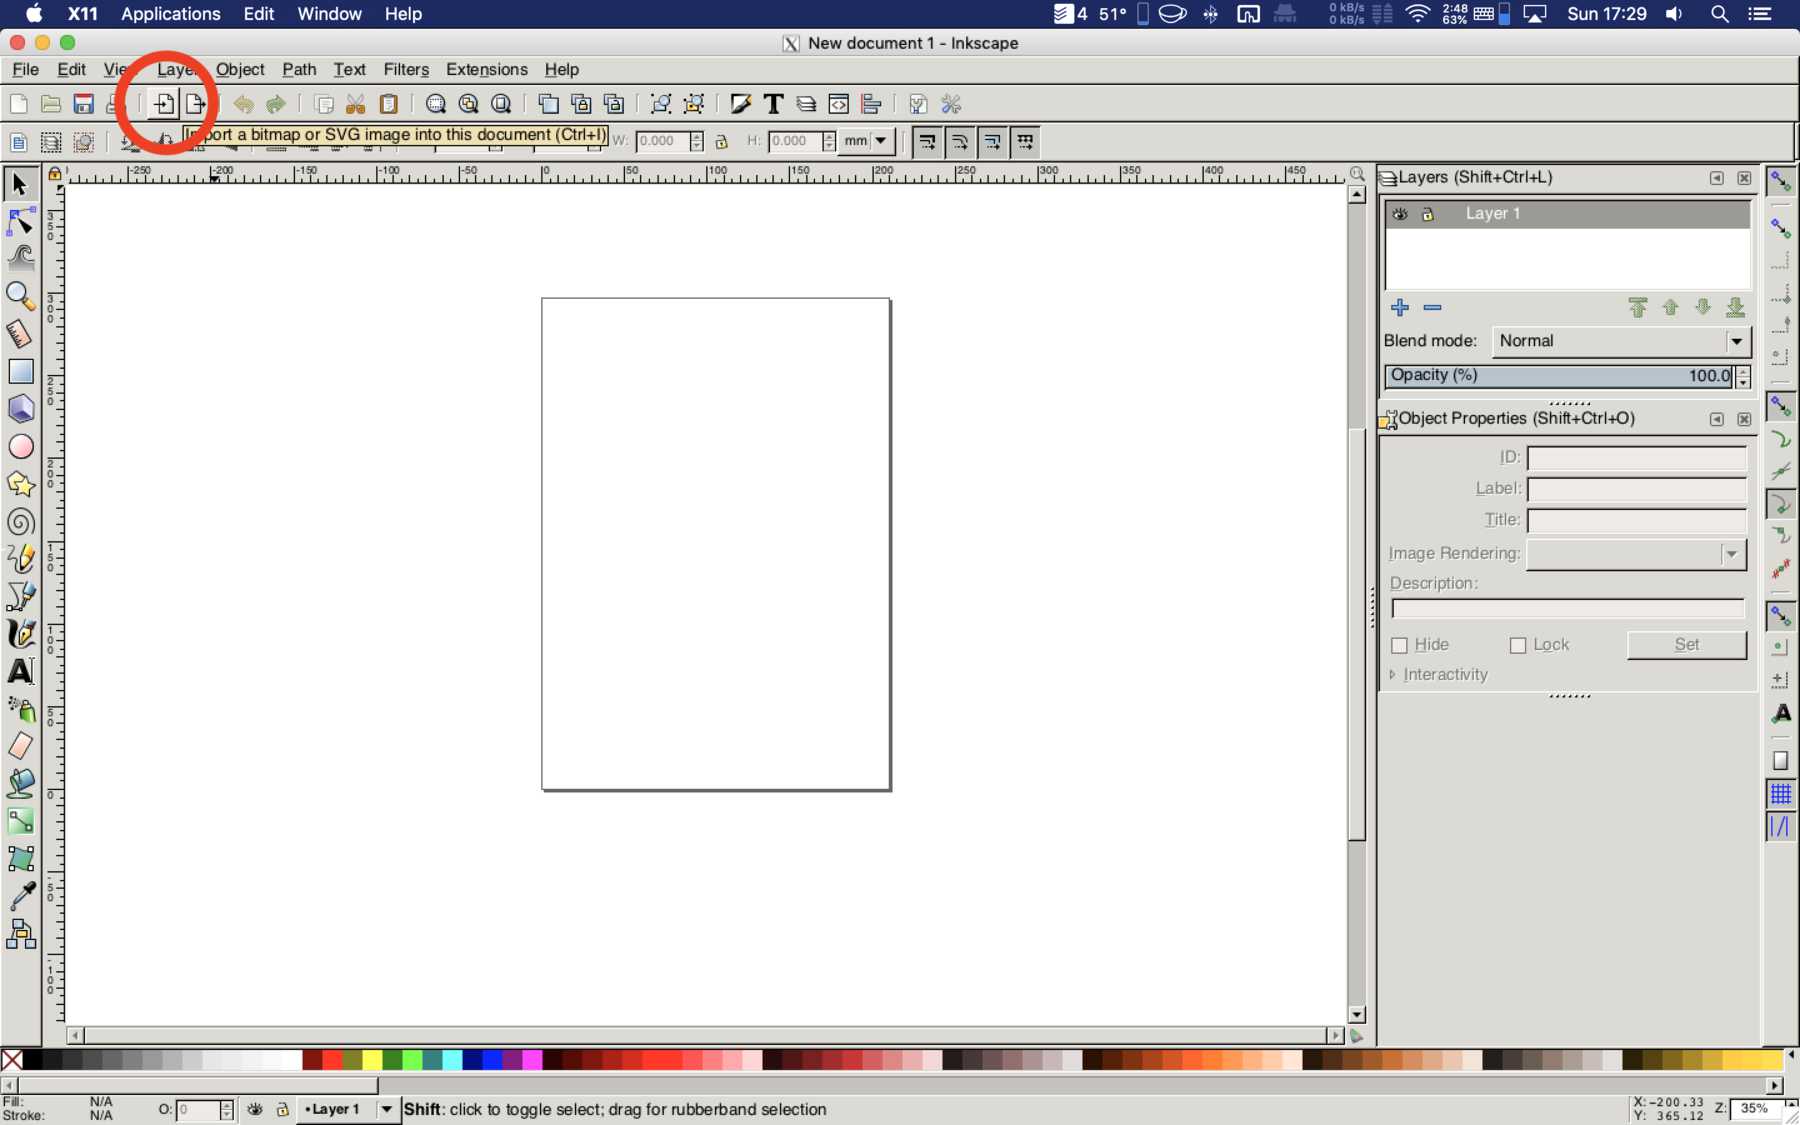
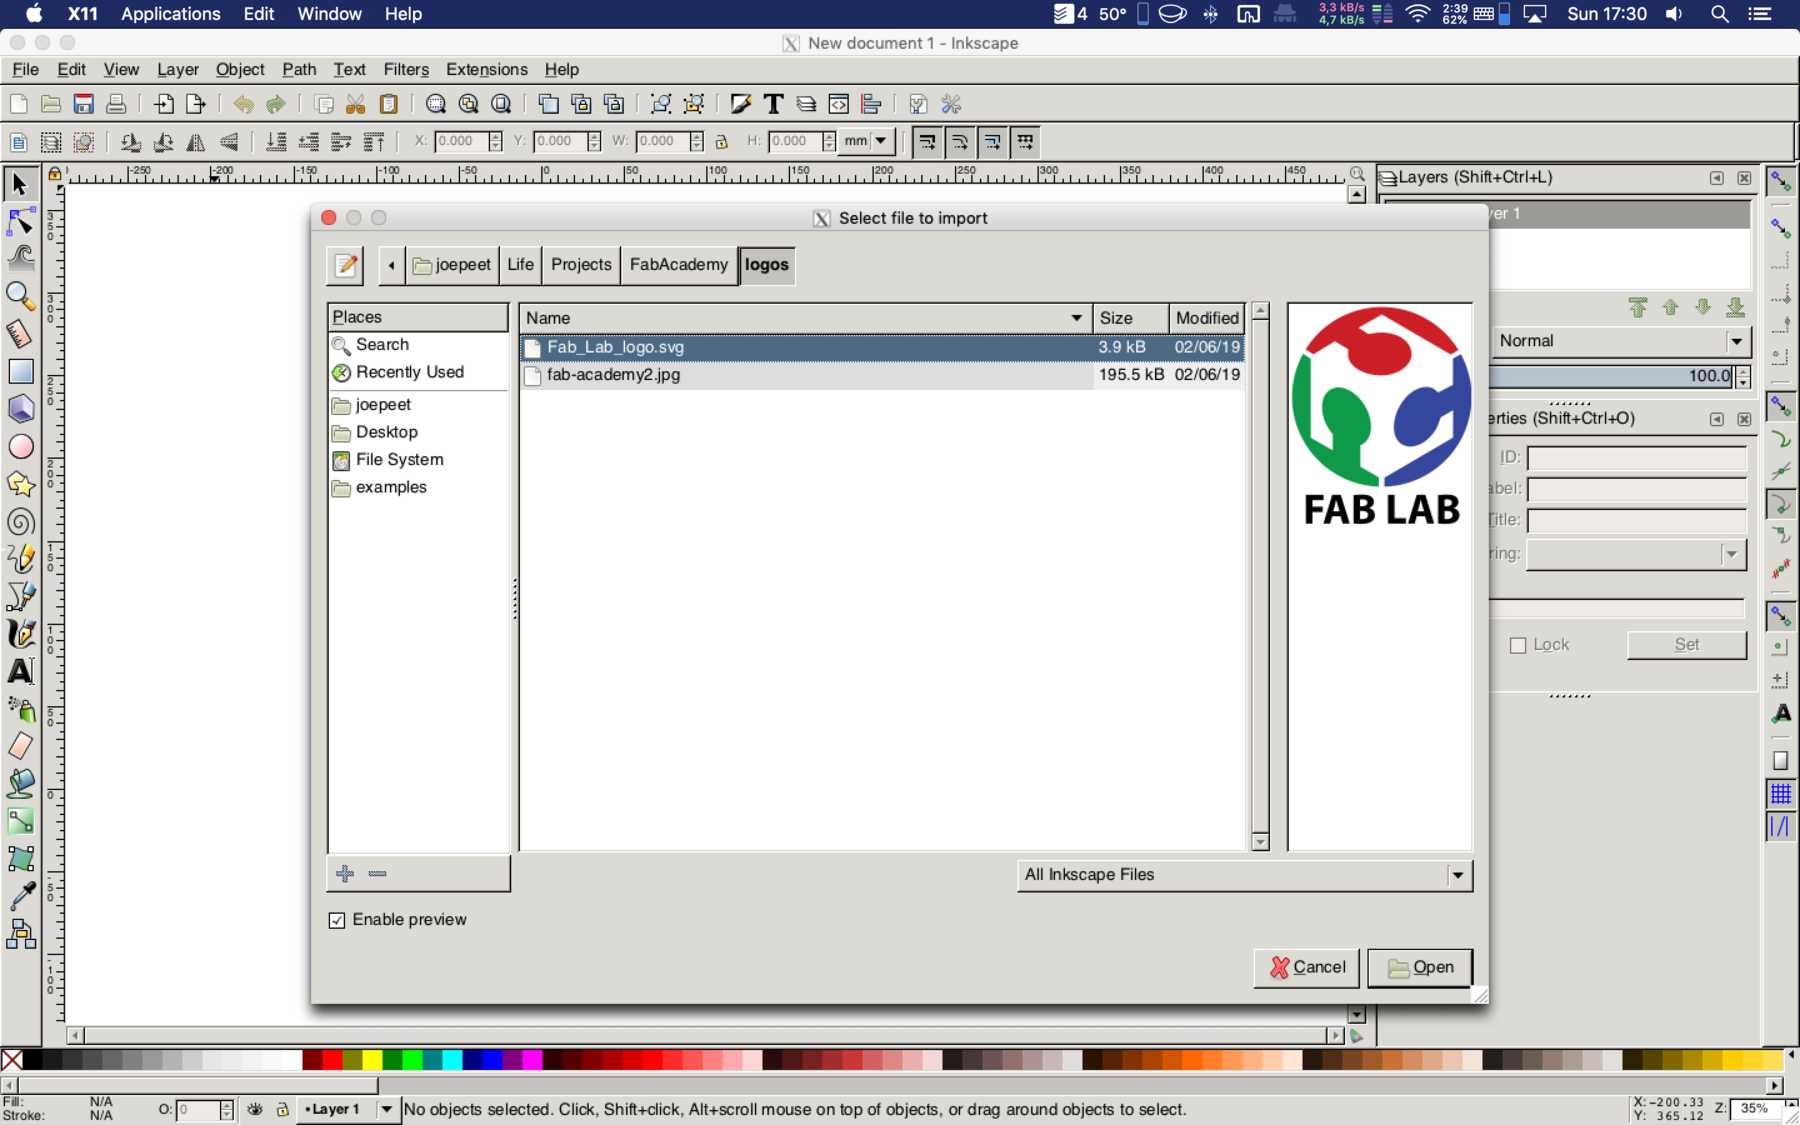
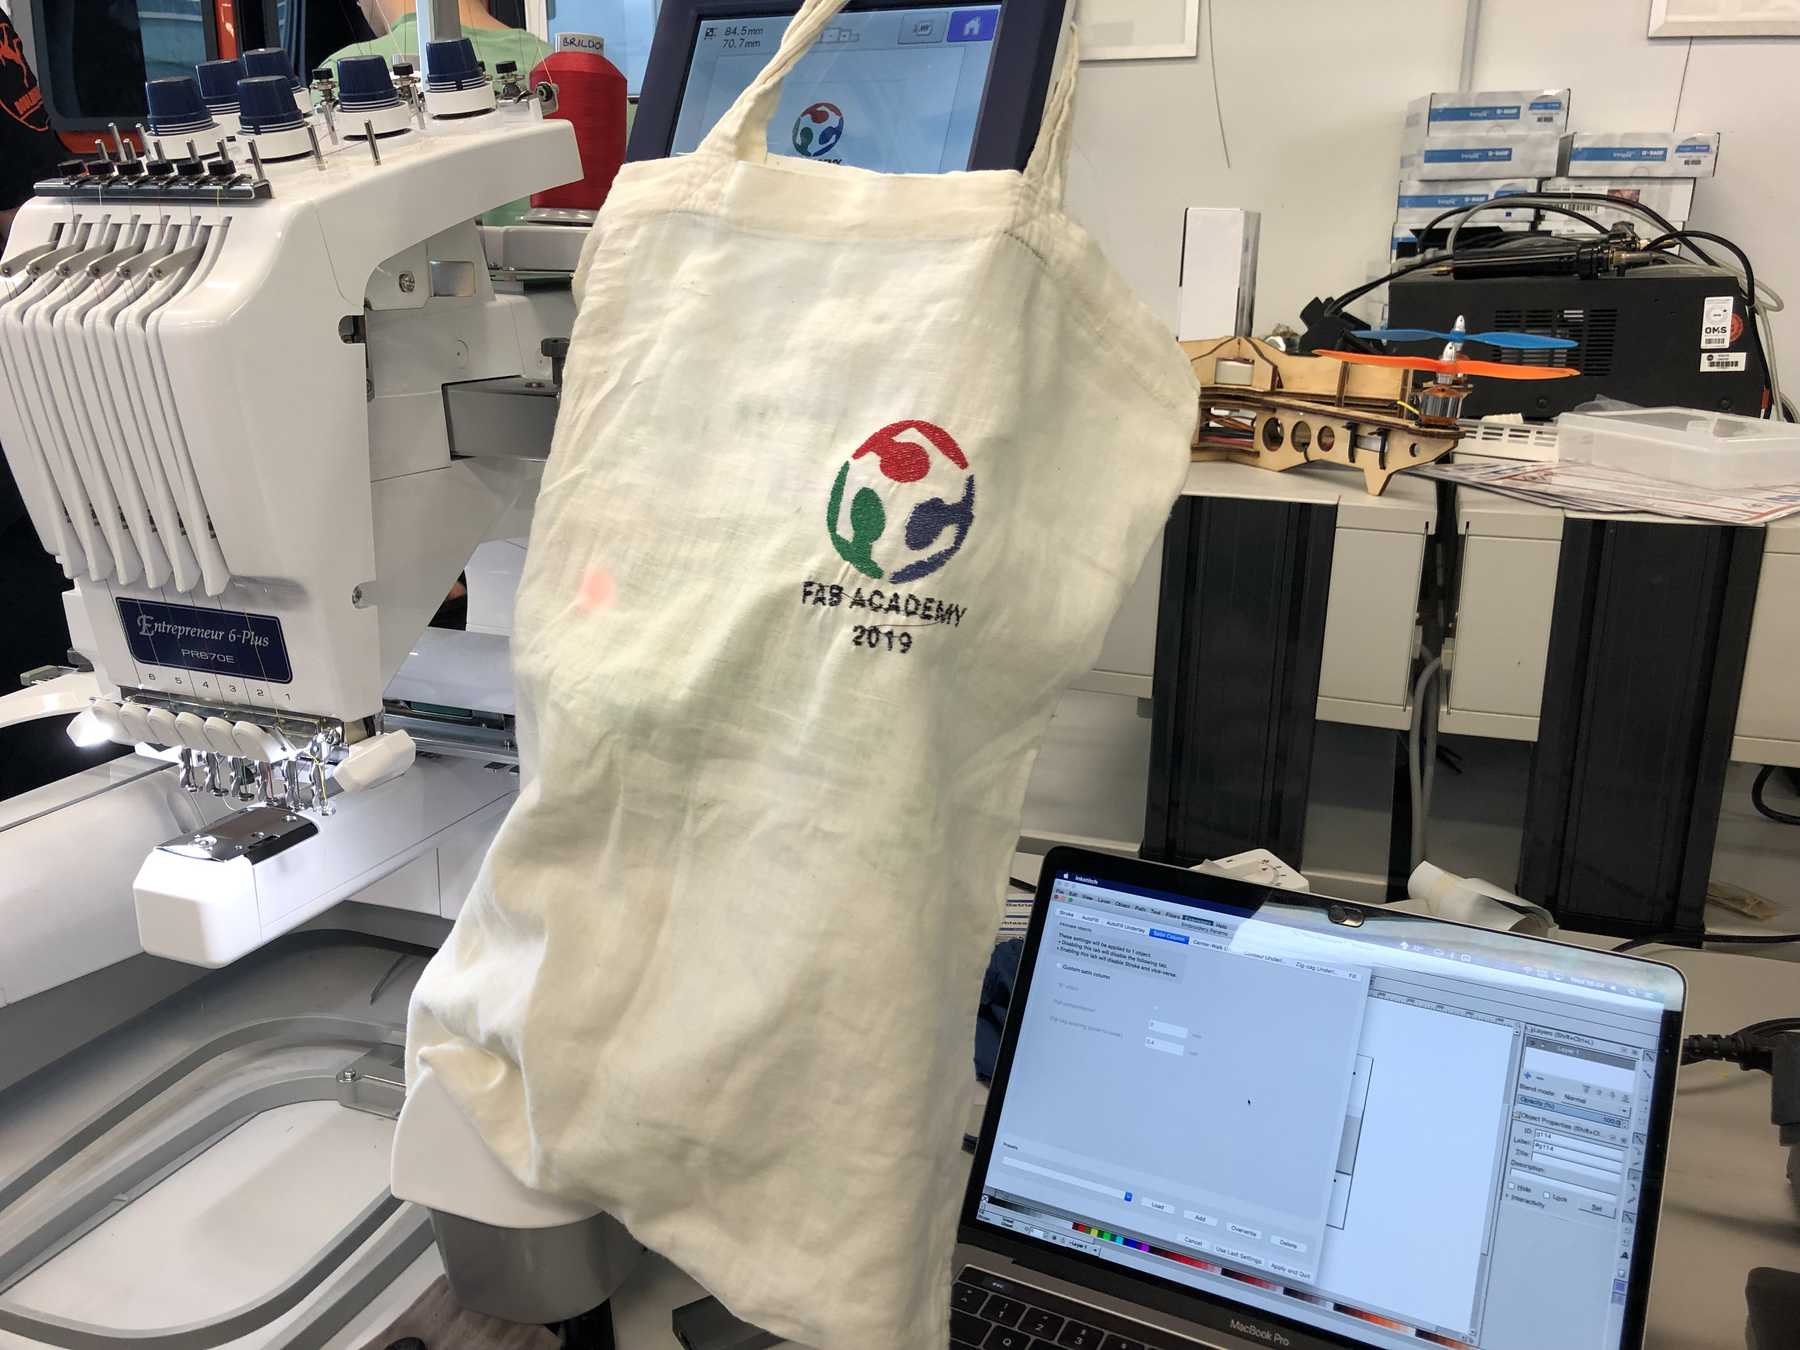
Then I loaded a file. Of course the FabLab logo. There’s no other way. I wanted to embroider this on a jute bag. So first I loaded the graphic and added my own text. I did this with the import button.
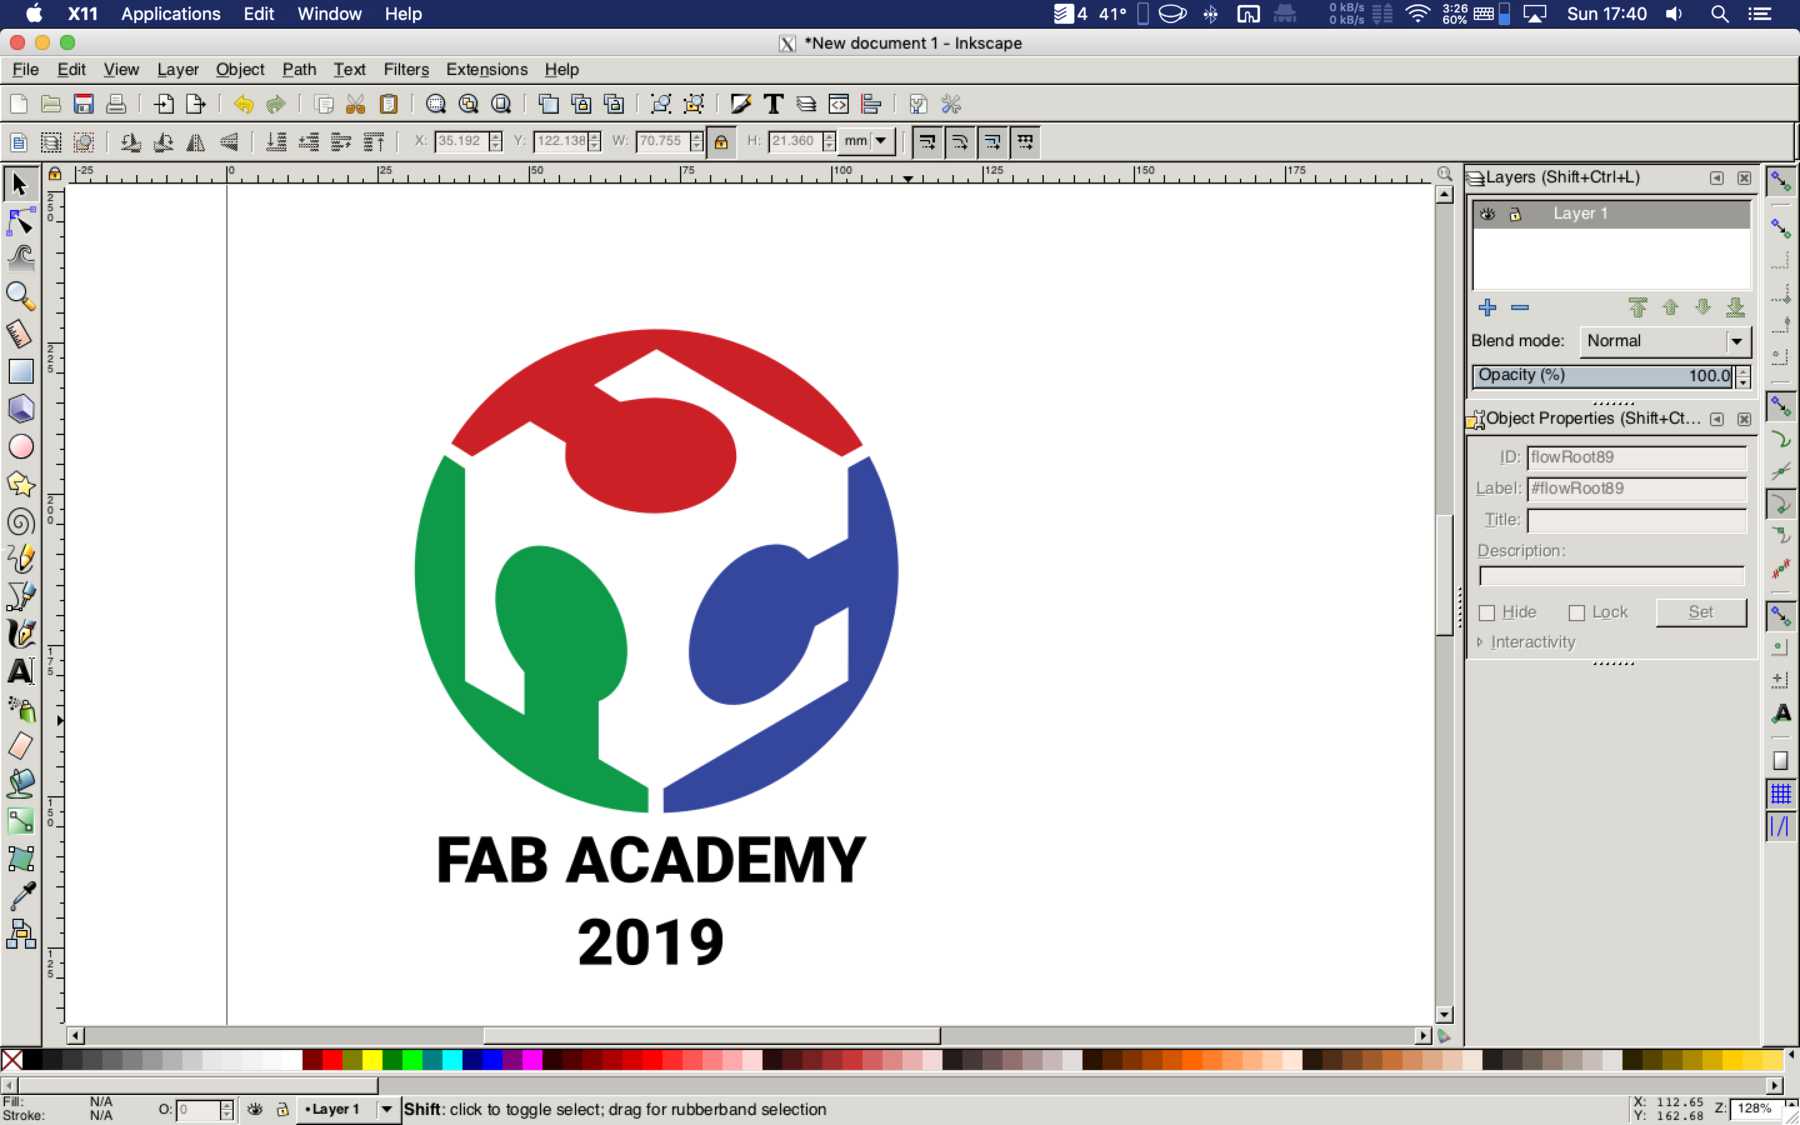
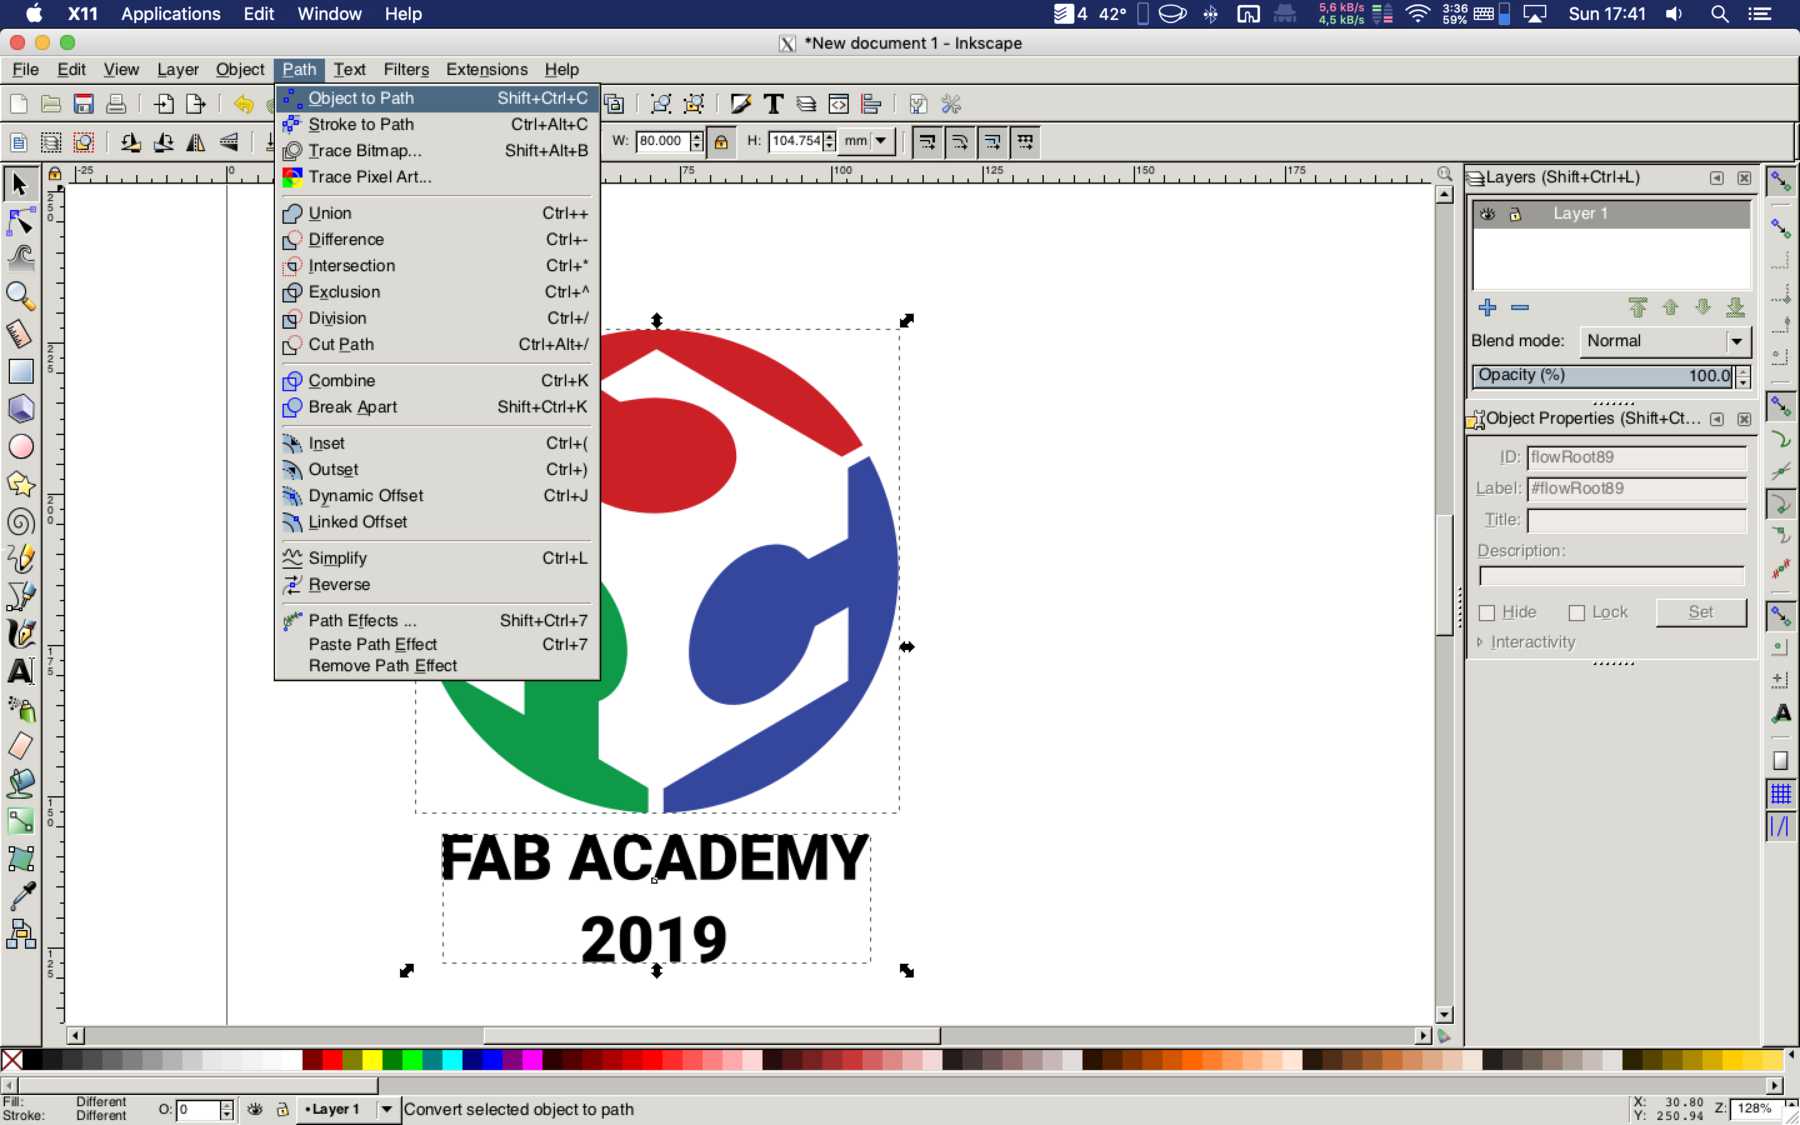
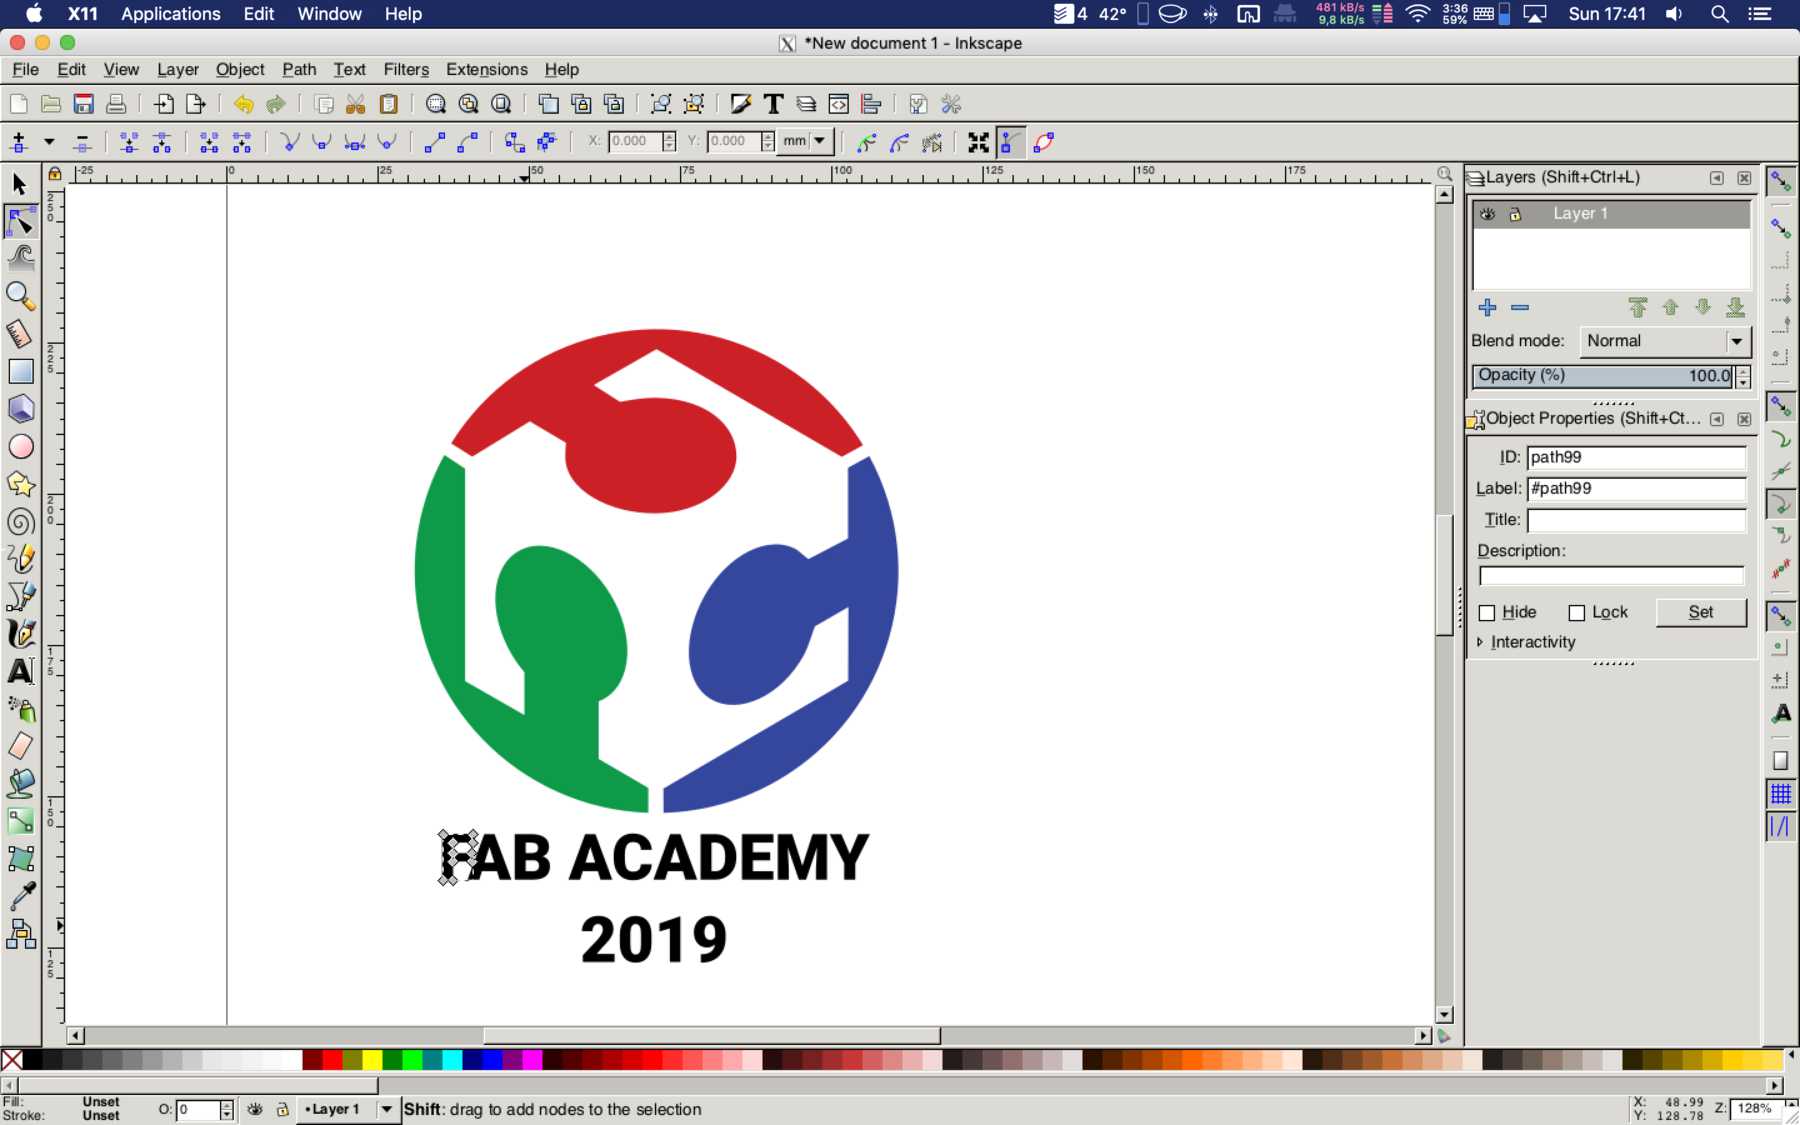
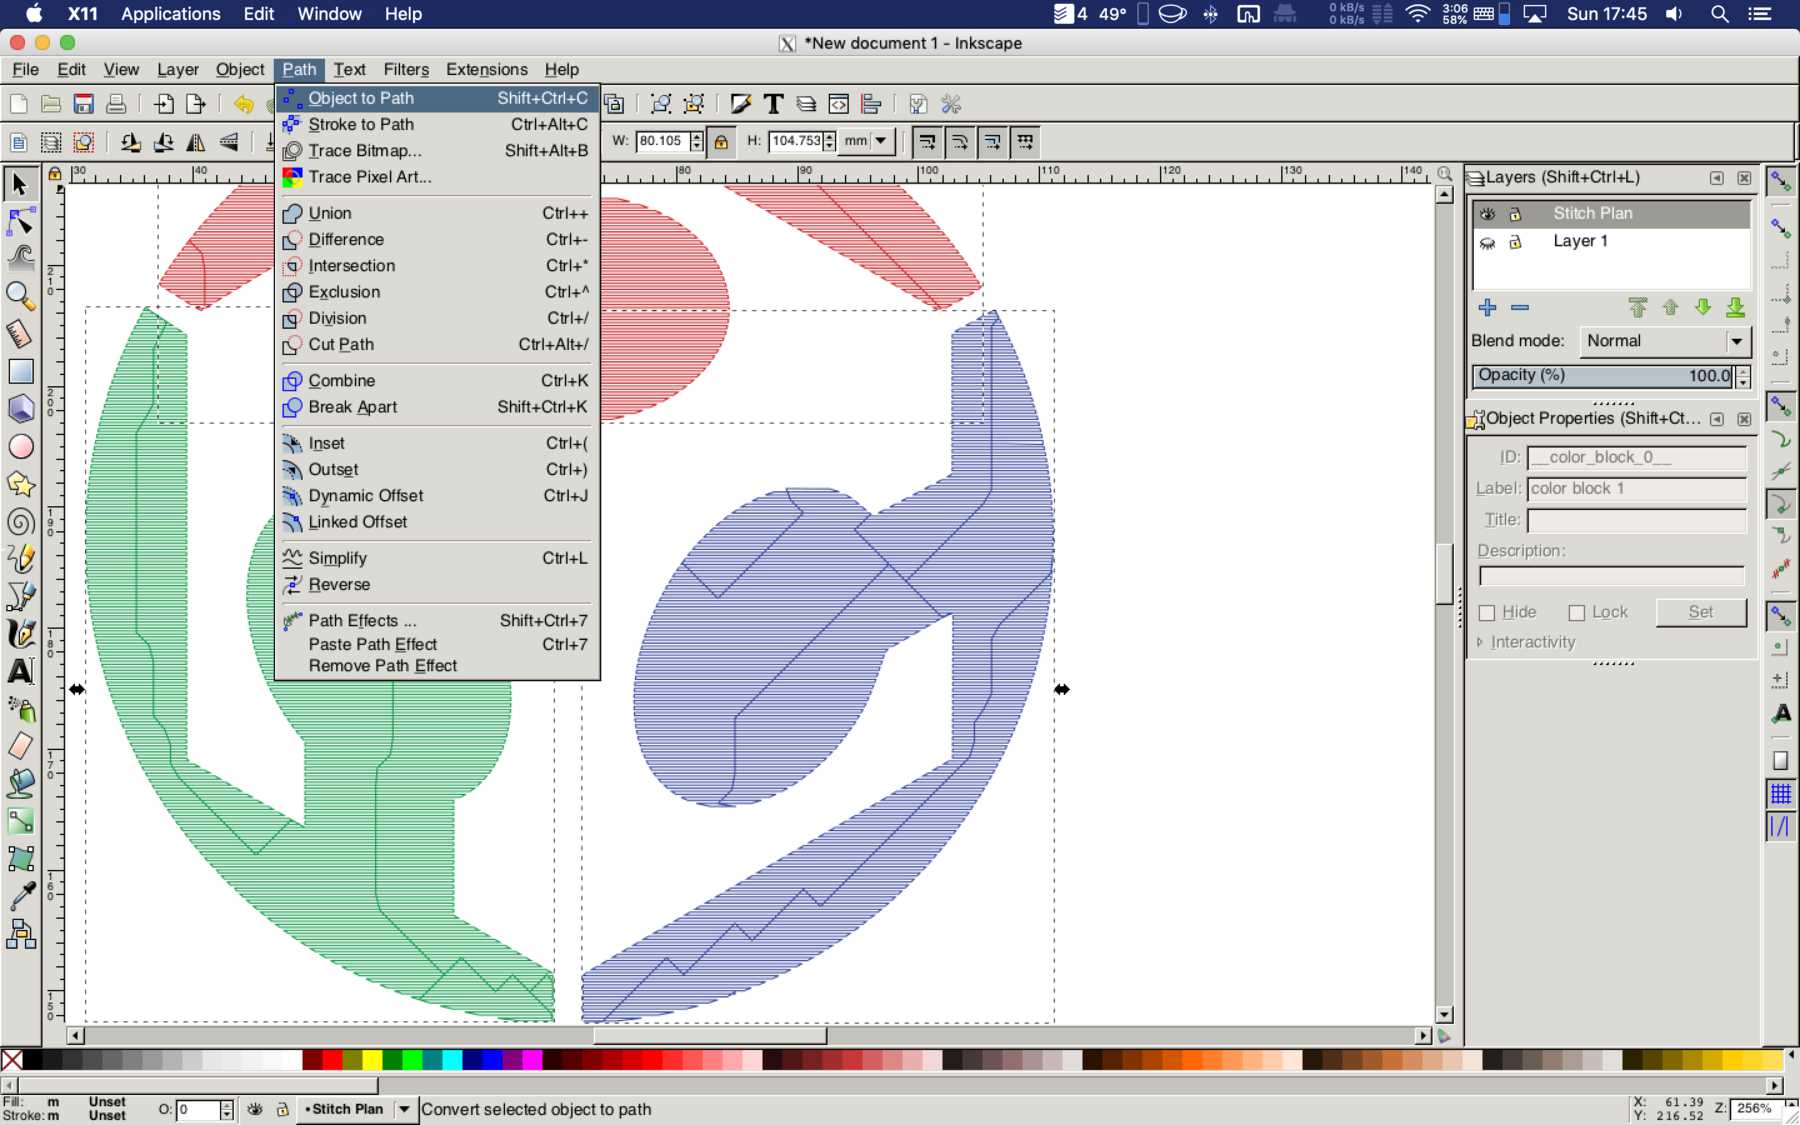
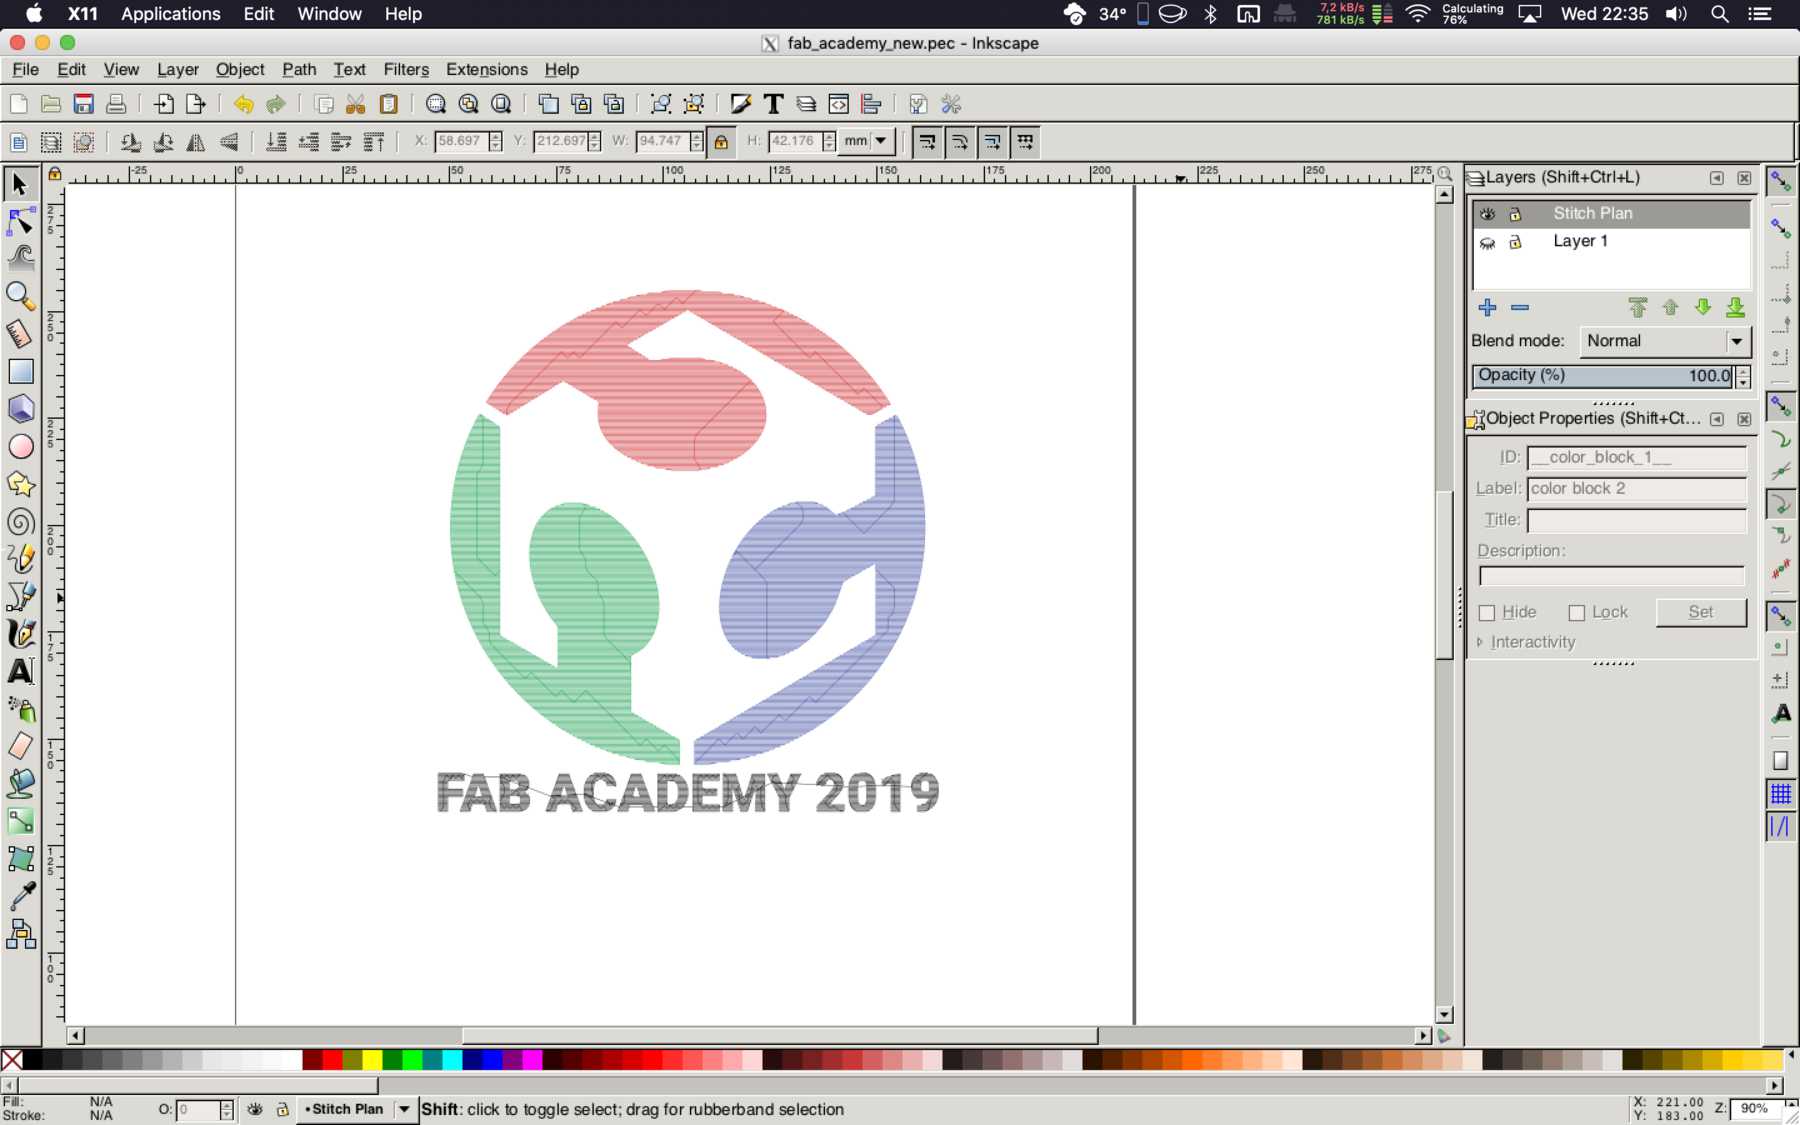
Afterwards I edited the model so that I was happy with it and it fit to the Fab Academy 2019. Finally you have to mark all elements with Control + A and click on the tab “Path - Object to path”. Now all letters should be converted to paths. This should be like the letter F on the image below.
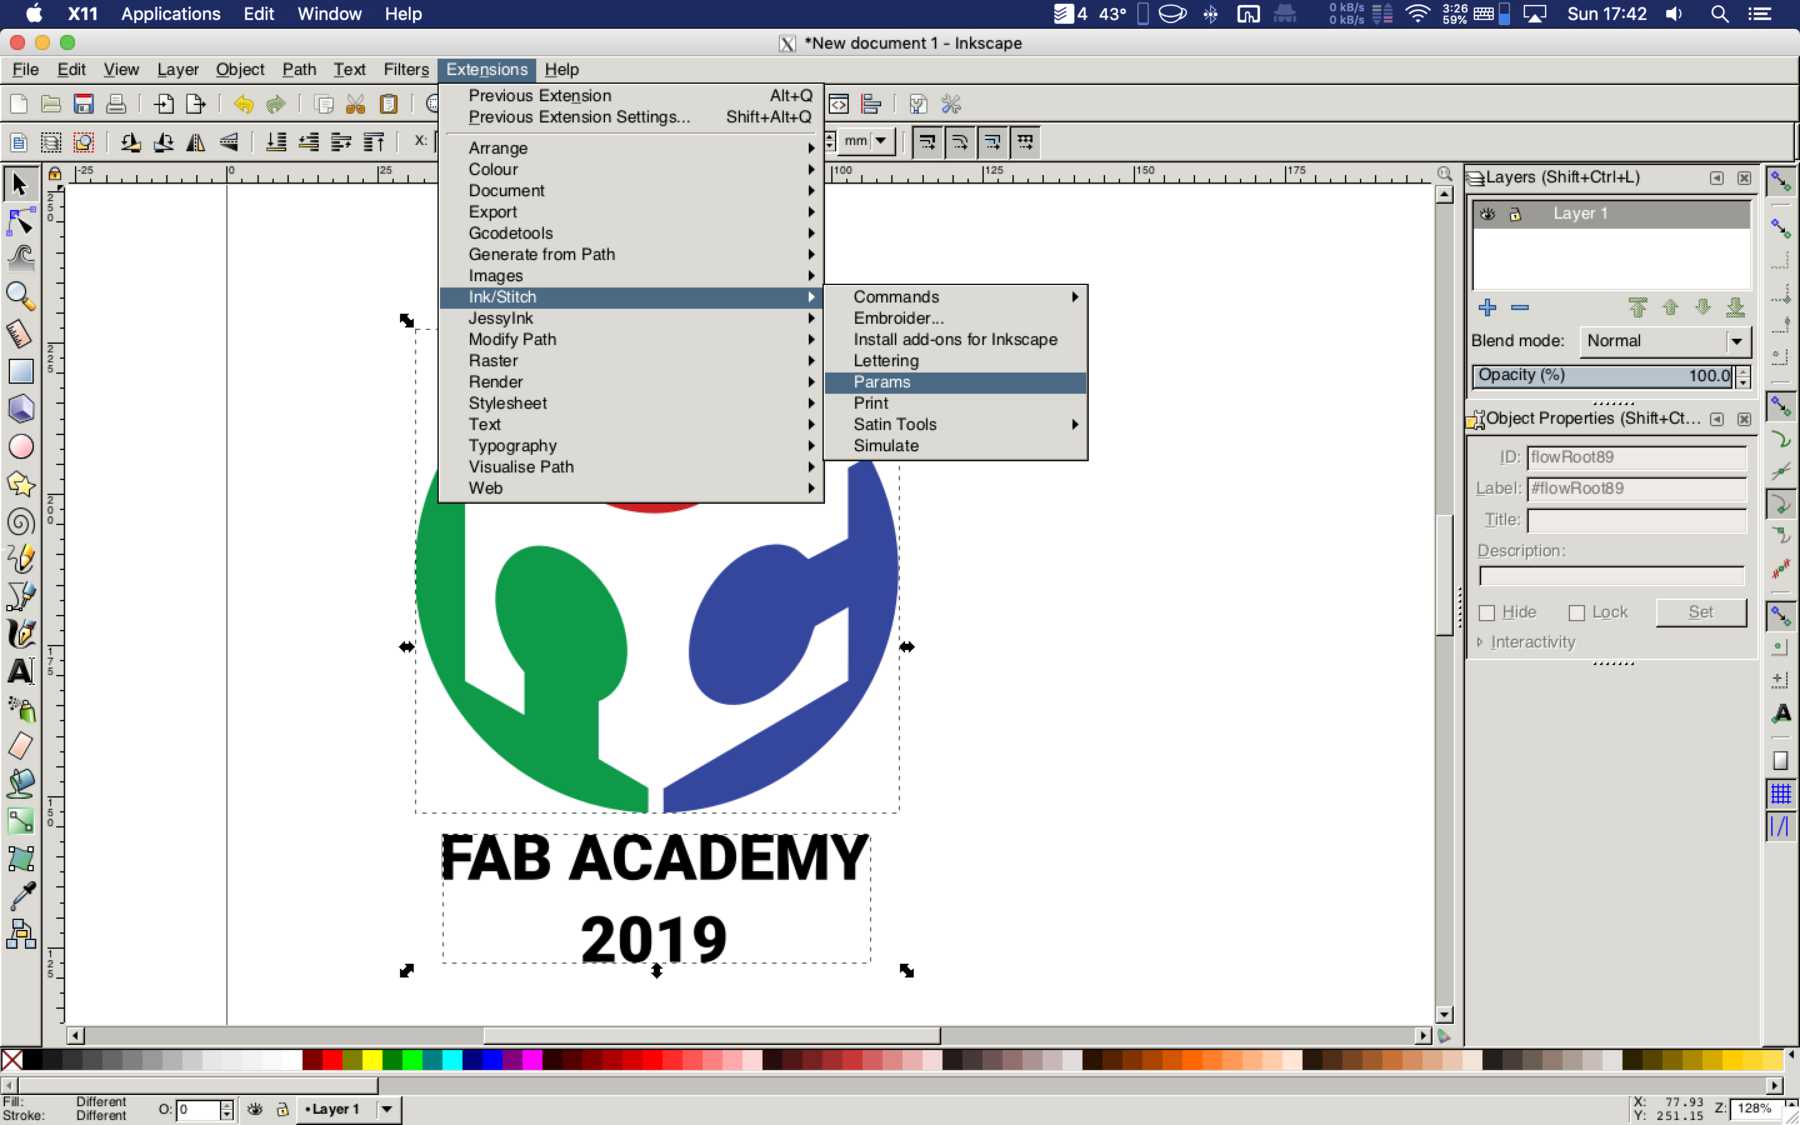
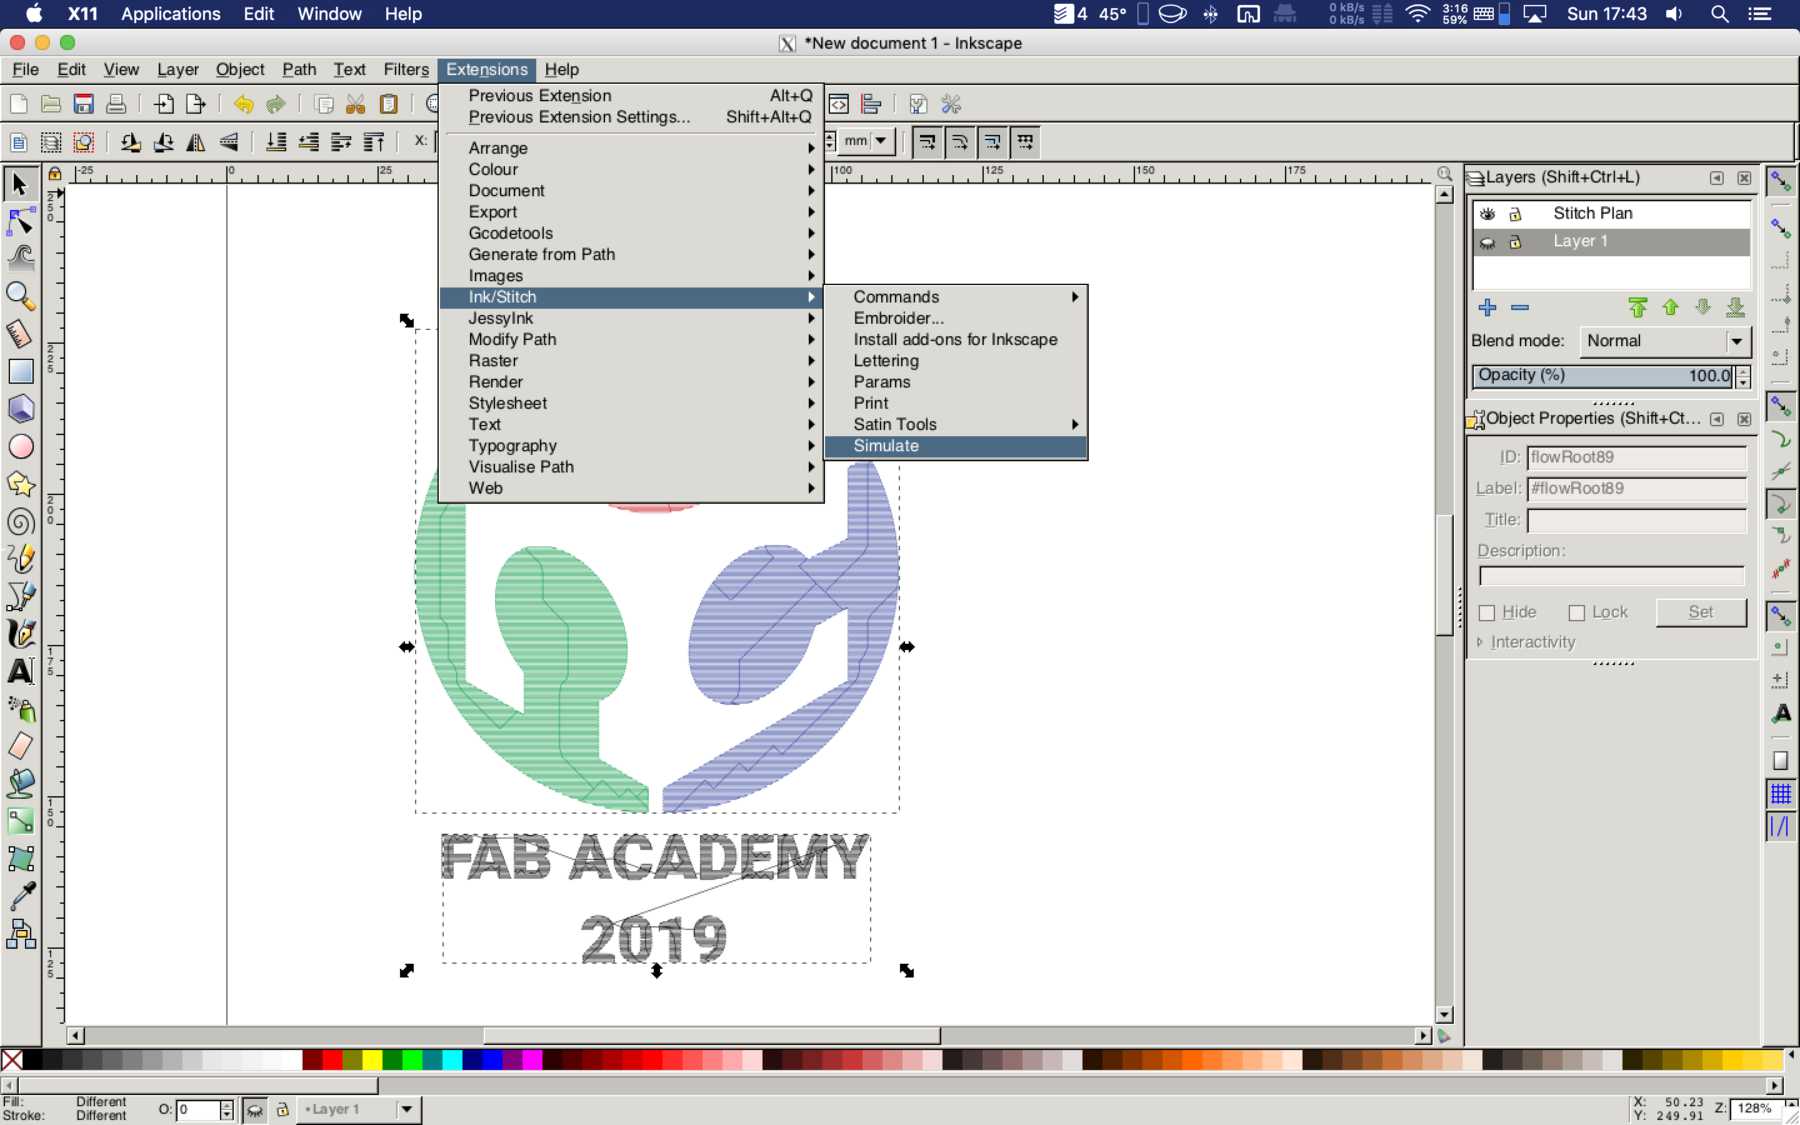
Now I was curious how Ink/Stitch works and the workflow is. Therefore I went to “Extensions - Ink/Stitch - Params” to see the parameters and a possible preview for the embroidery process. There are apparently still many parameters to adjust. I clicked through a bit, but in the end I just left it at default.
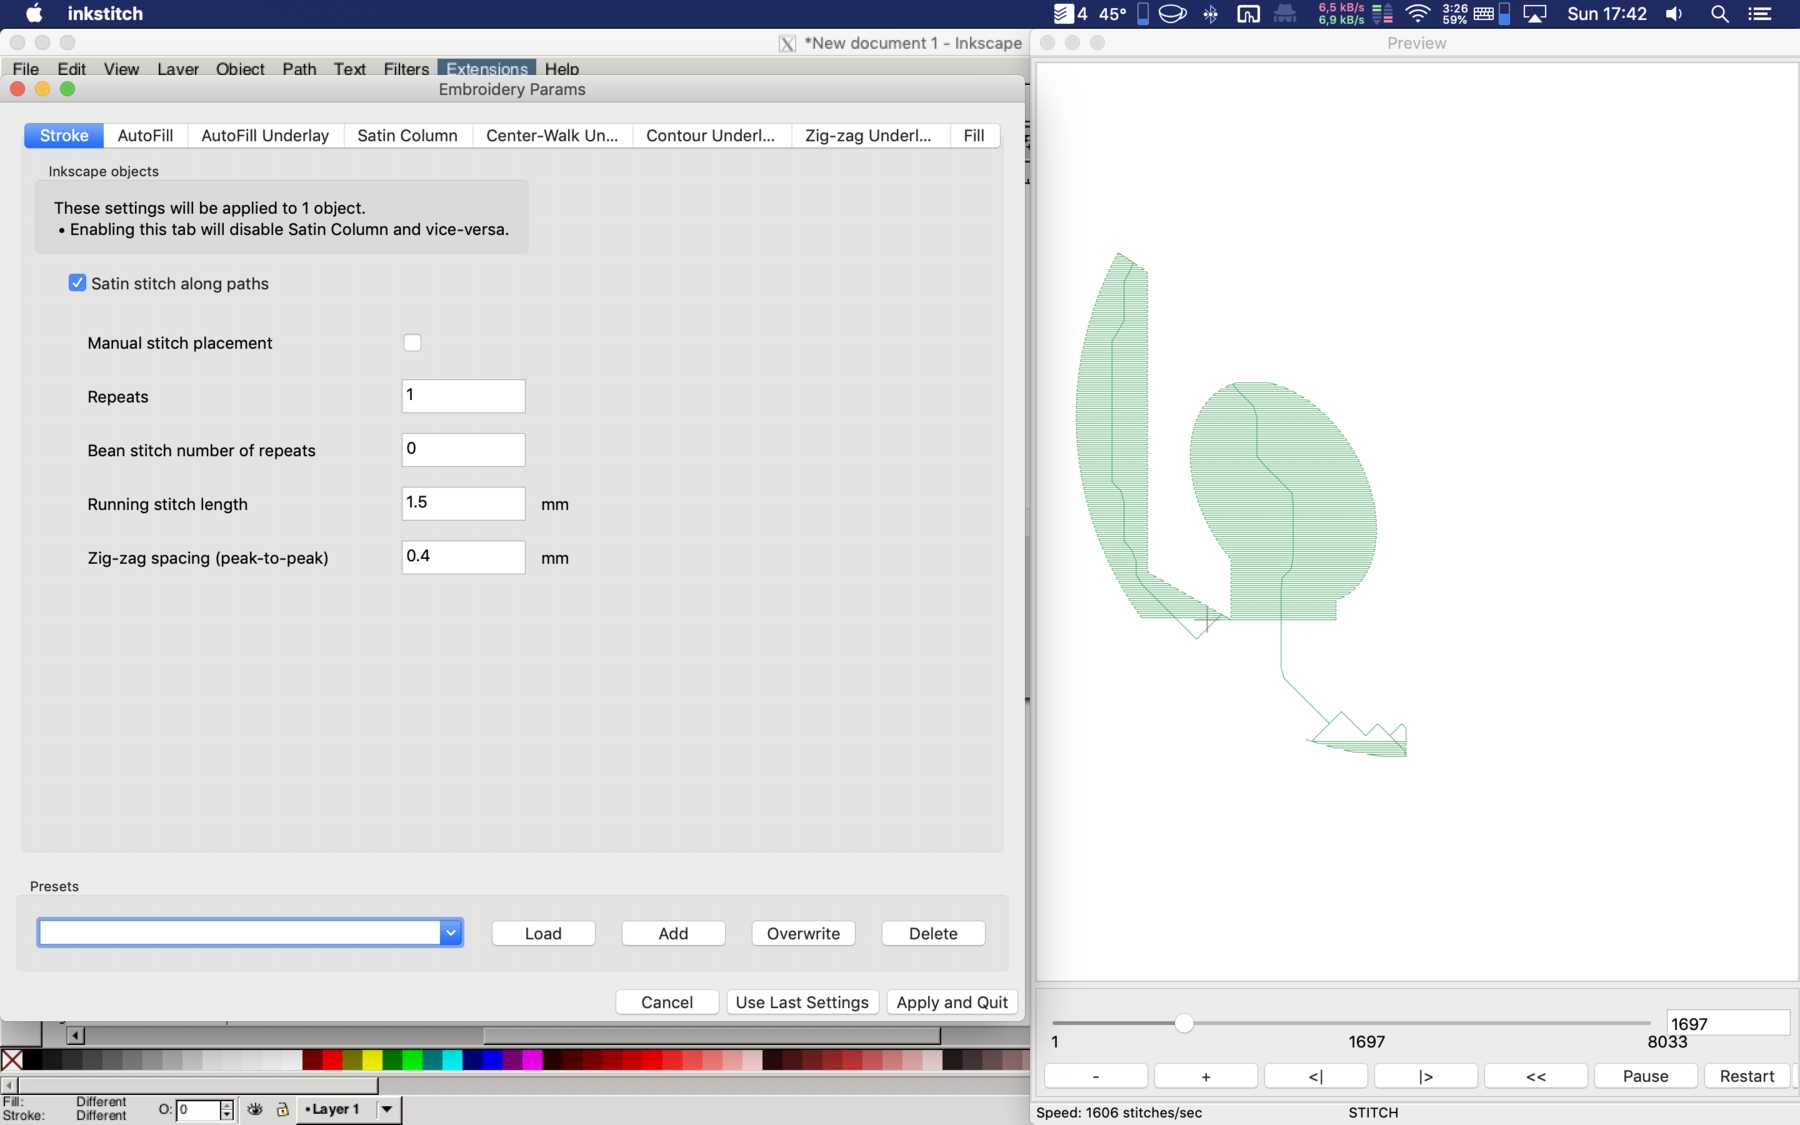
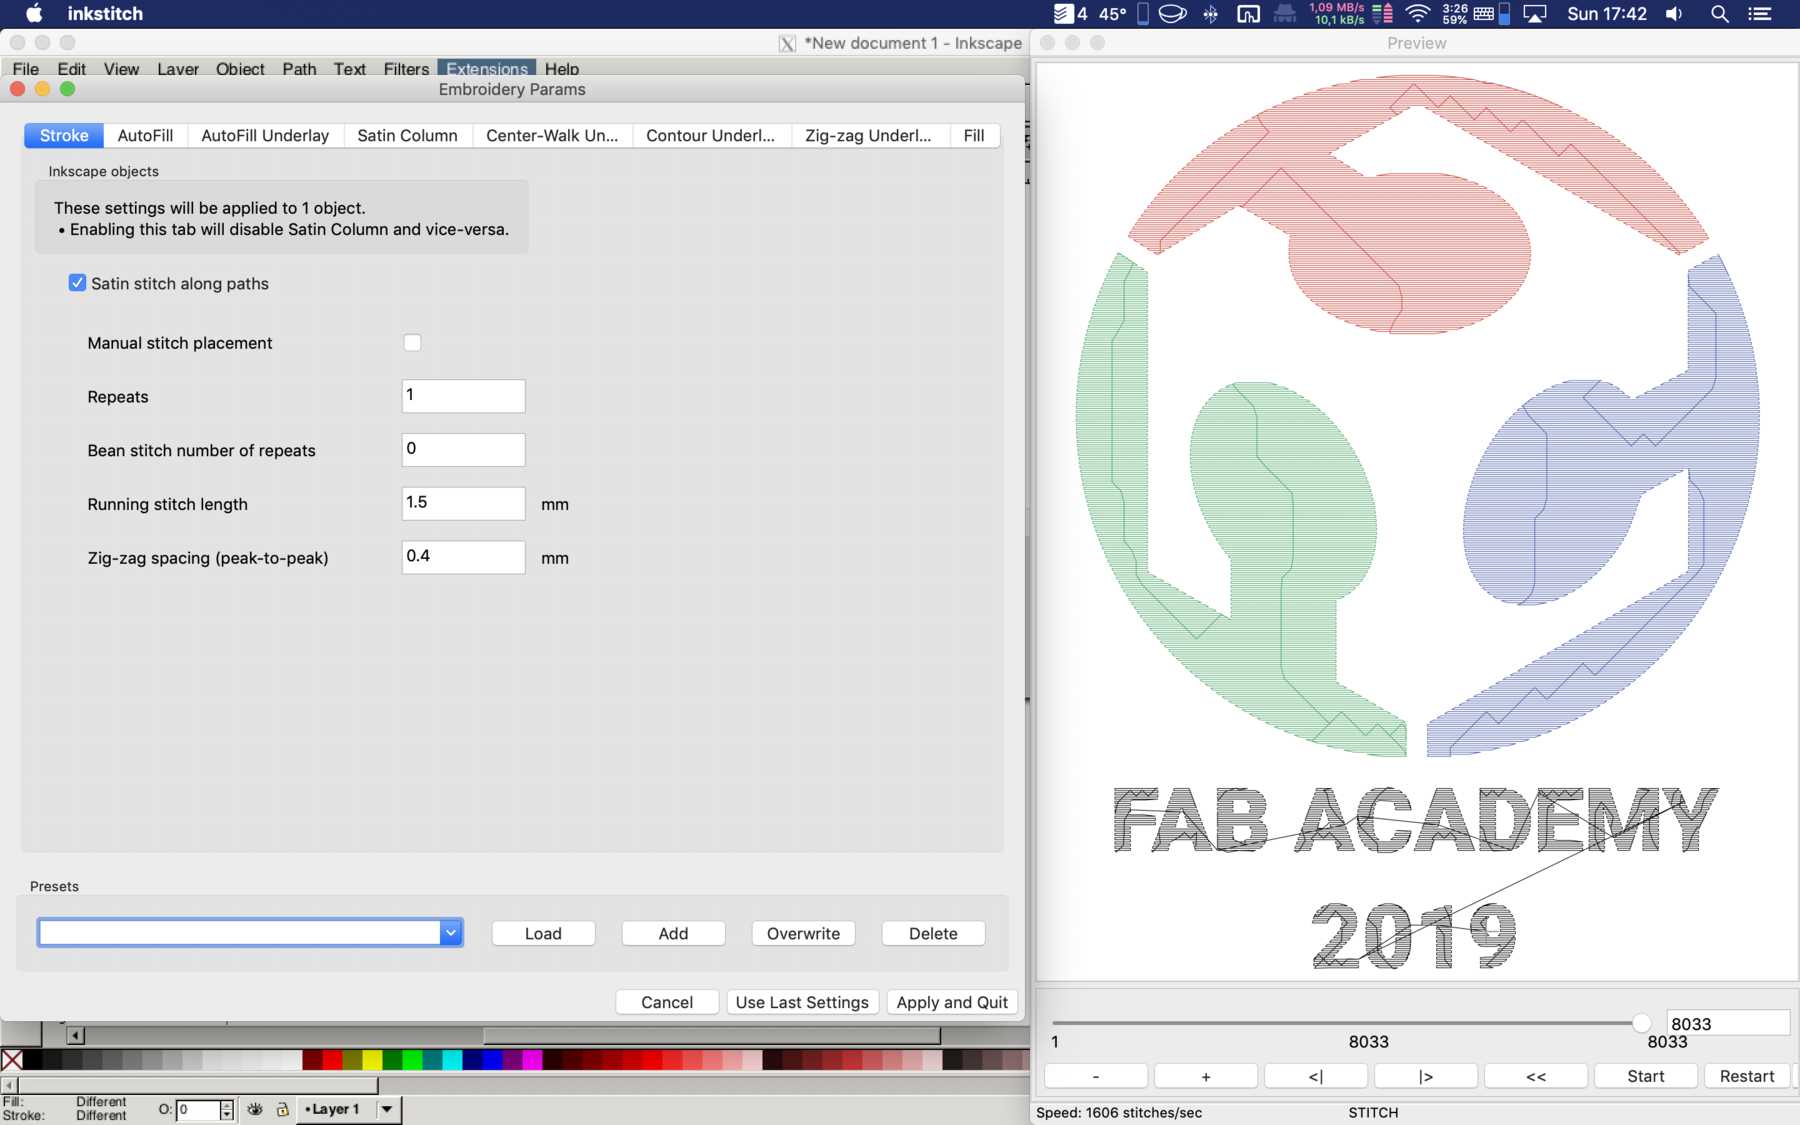
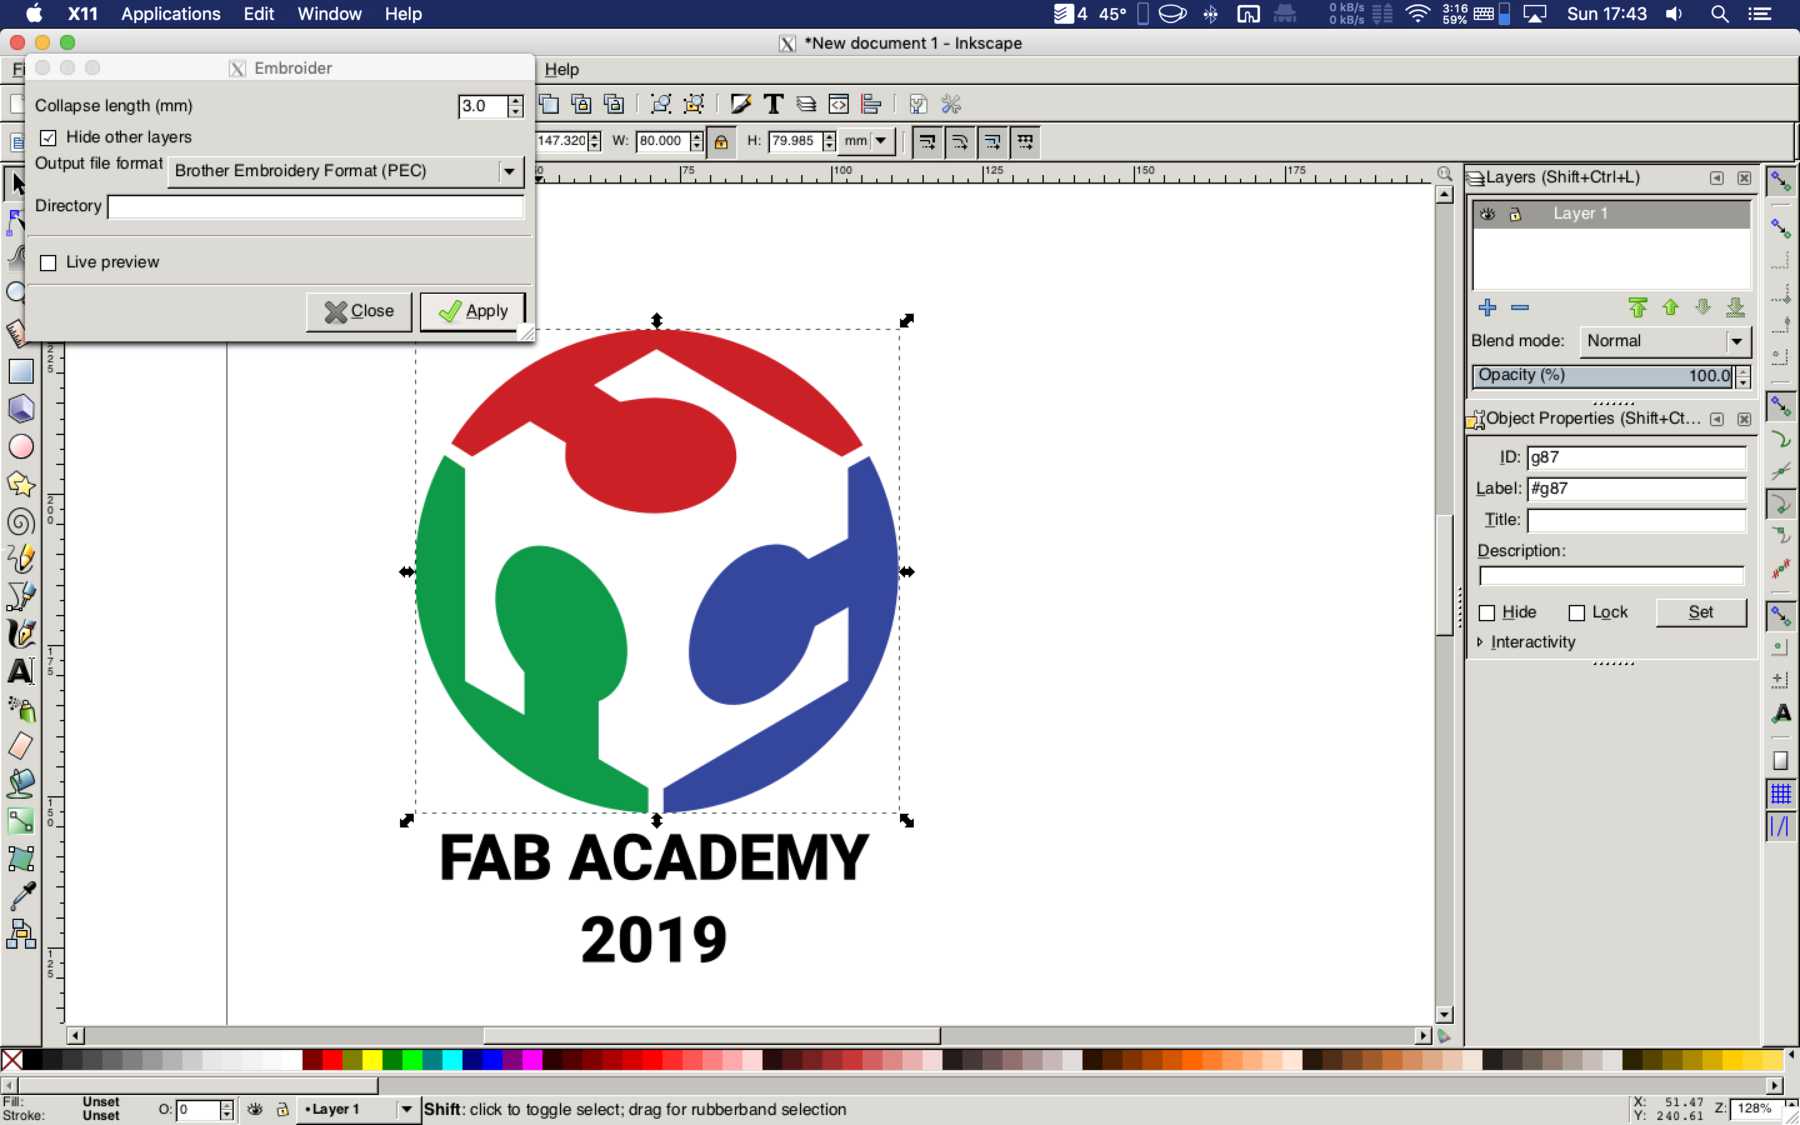
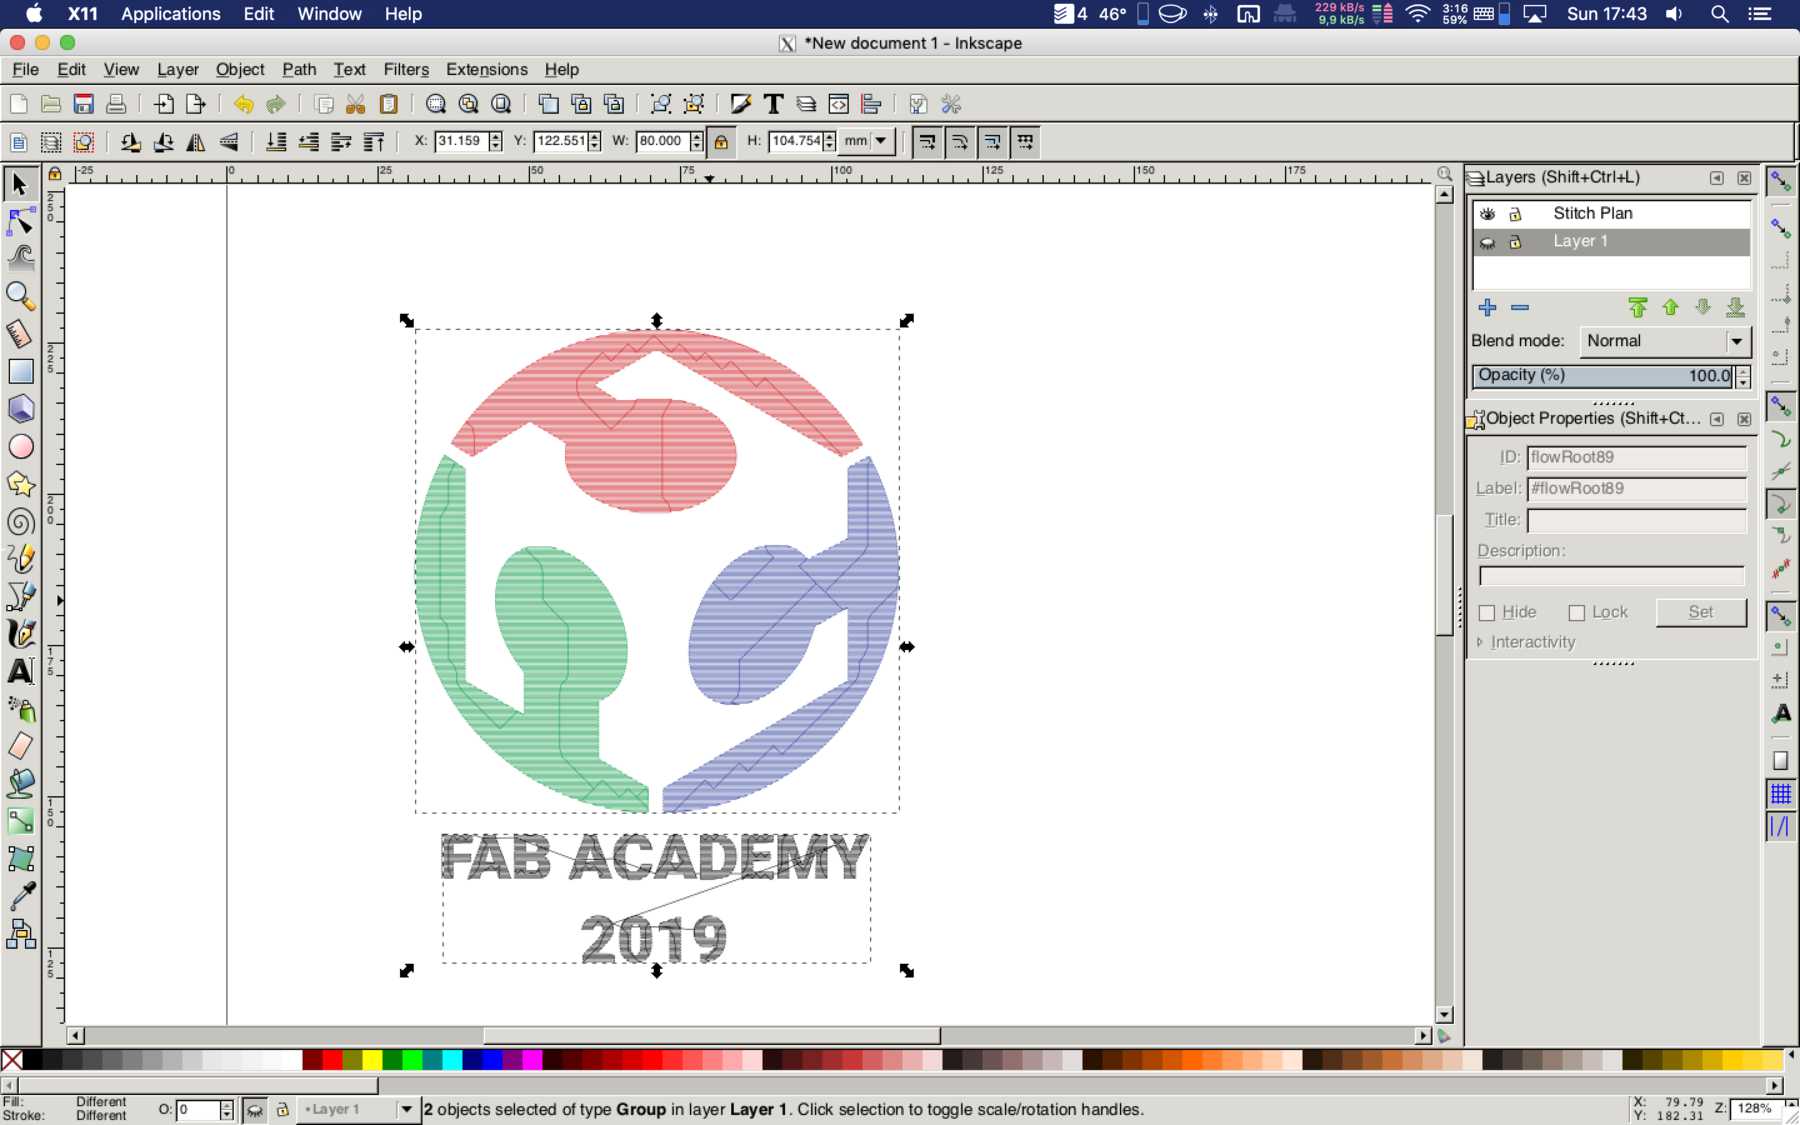
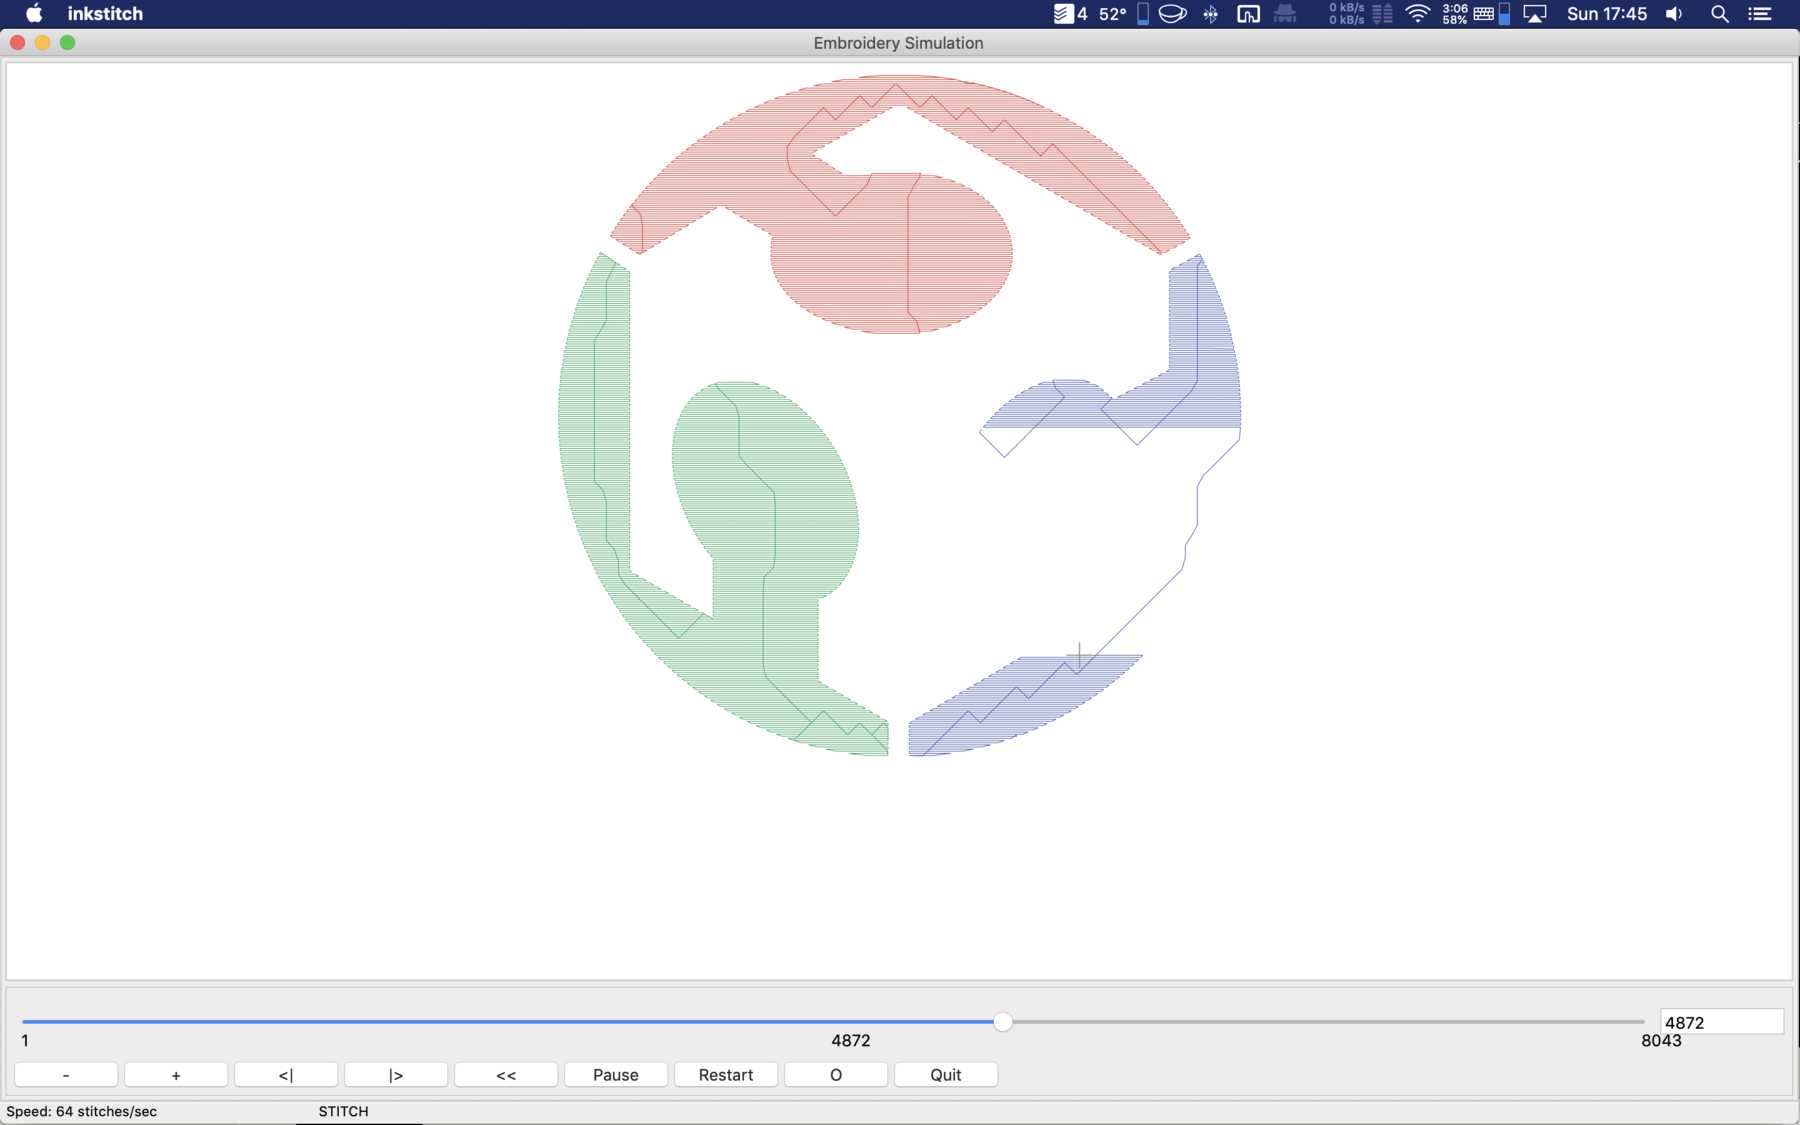
That looked good. Now I wanted to turn it into Inkscape. Click on “Extensions - Ink/Stitch - Embroider”. I changed the format and then clicked on “Apply”. The result looked like this:

Somehow I had an error message that I had to convert the objects into paths again. So click “Path - Object to Path” again. Let me simulate the whole thing again. It looked good!
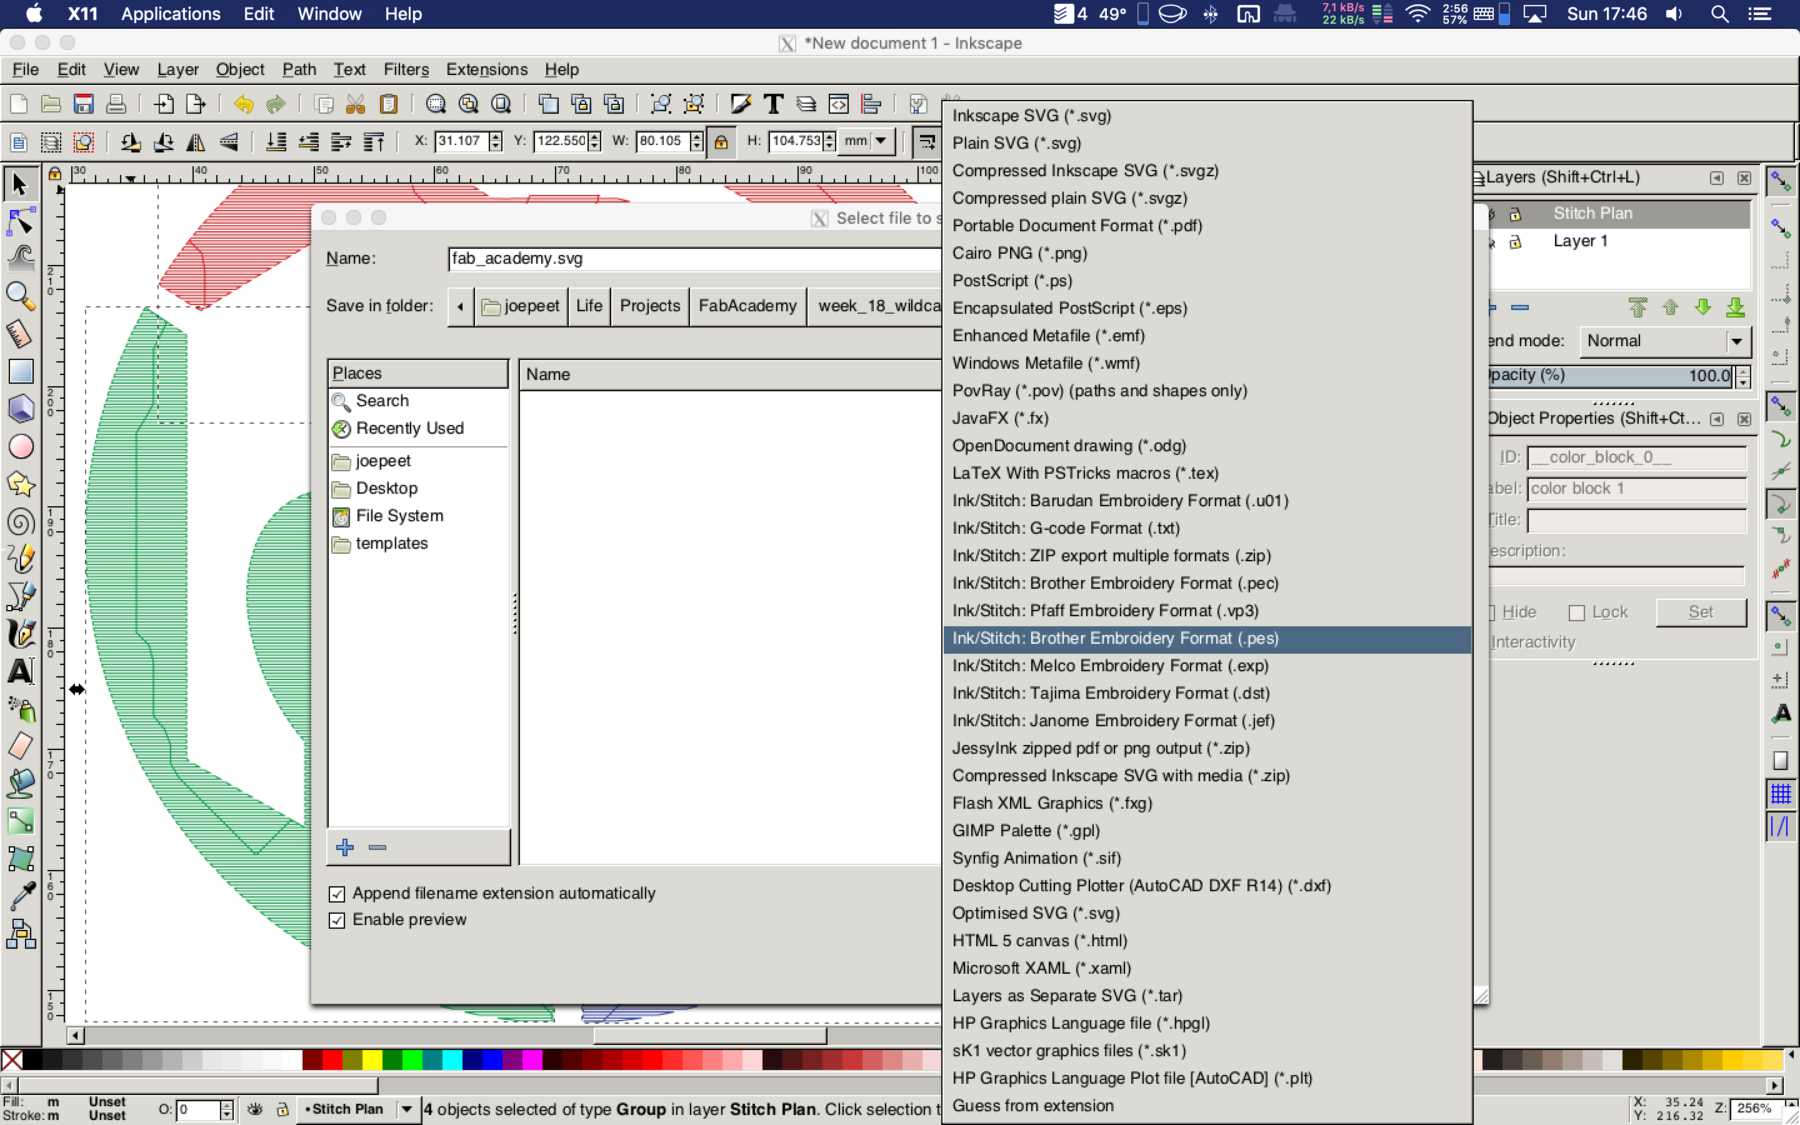
Save as PES and PEC file under “File - Save”.
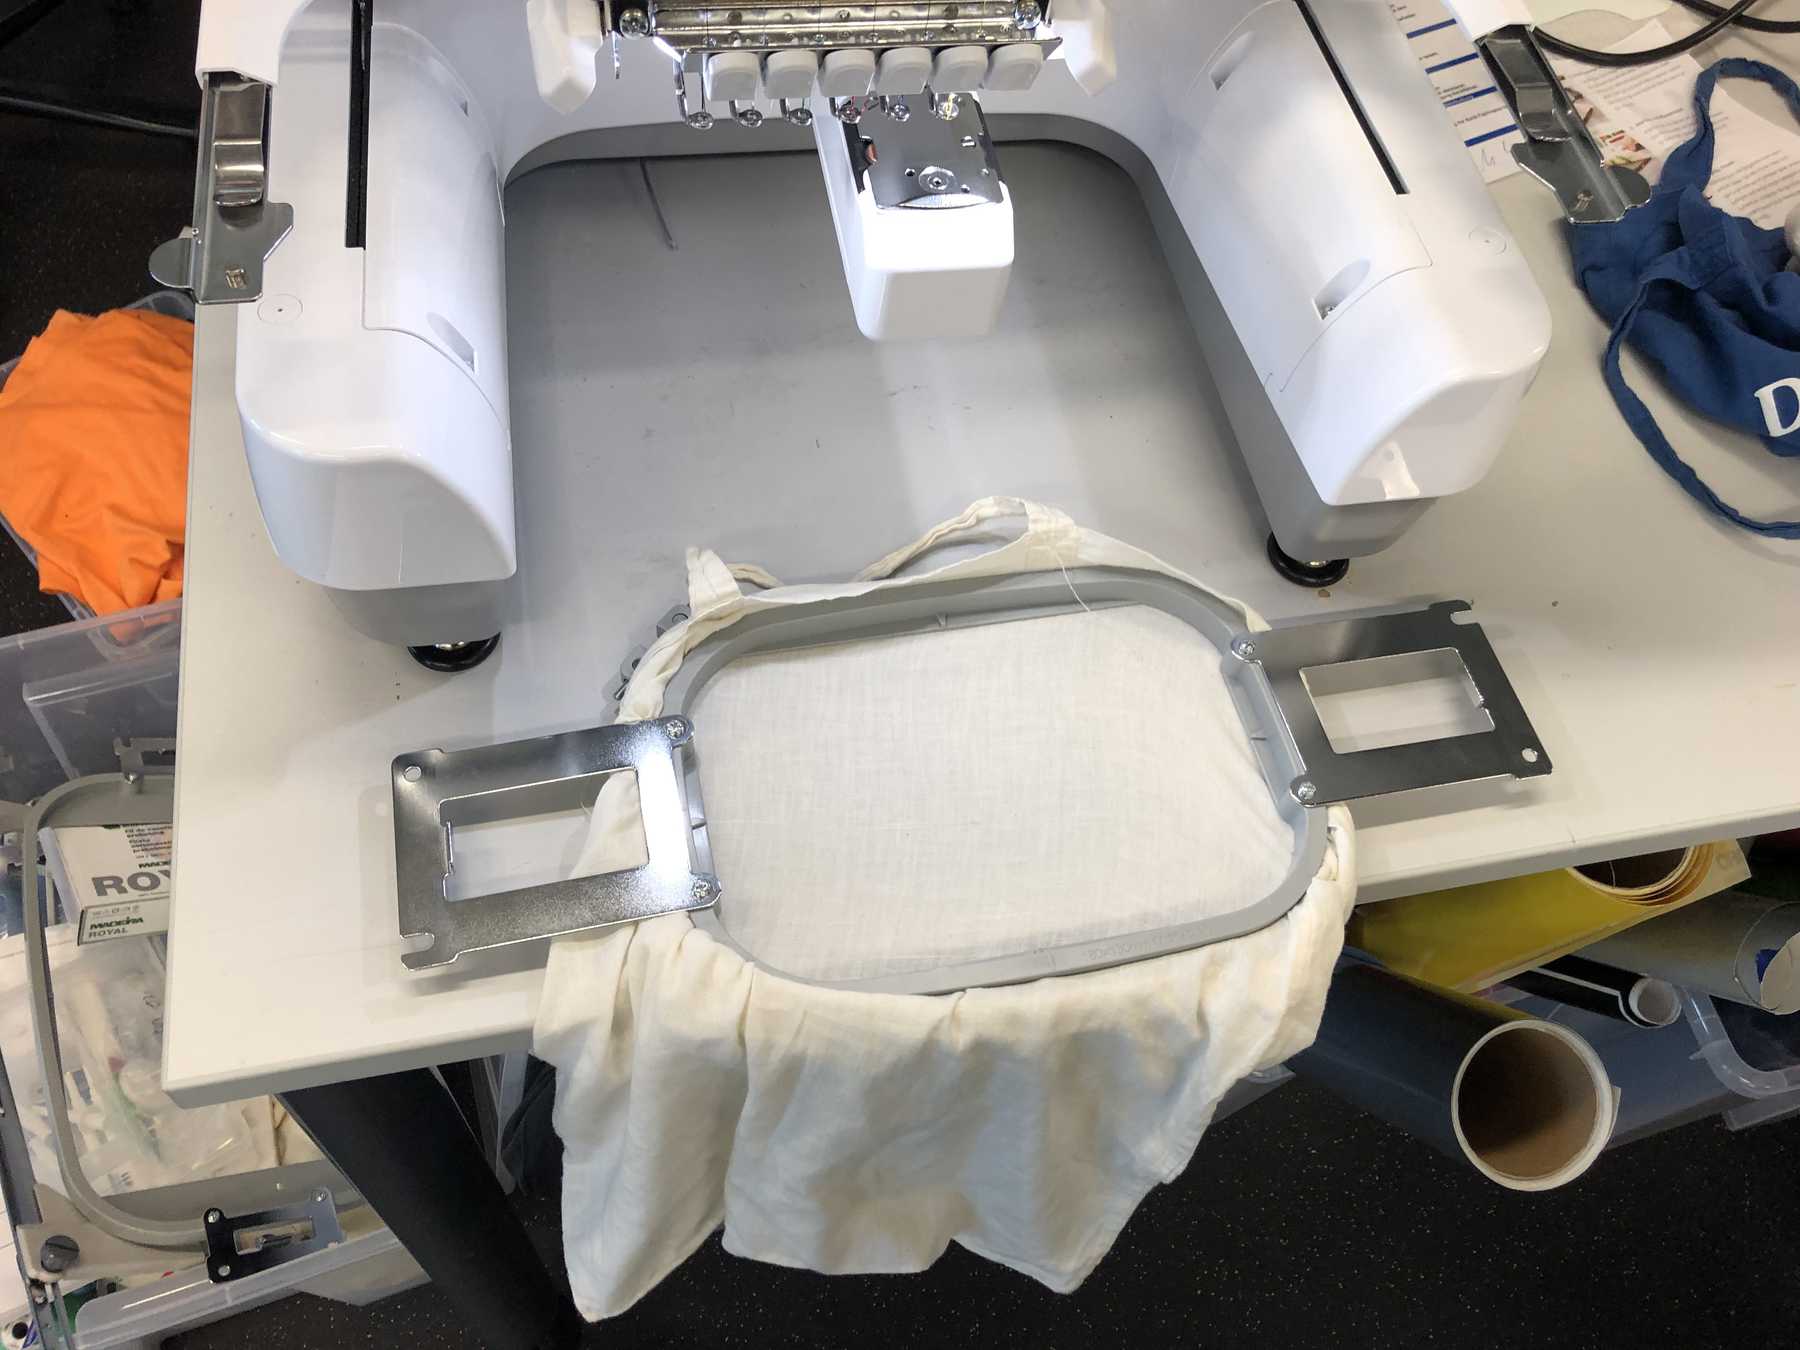
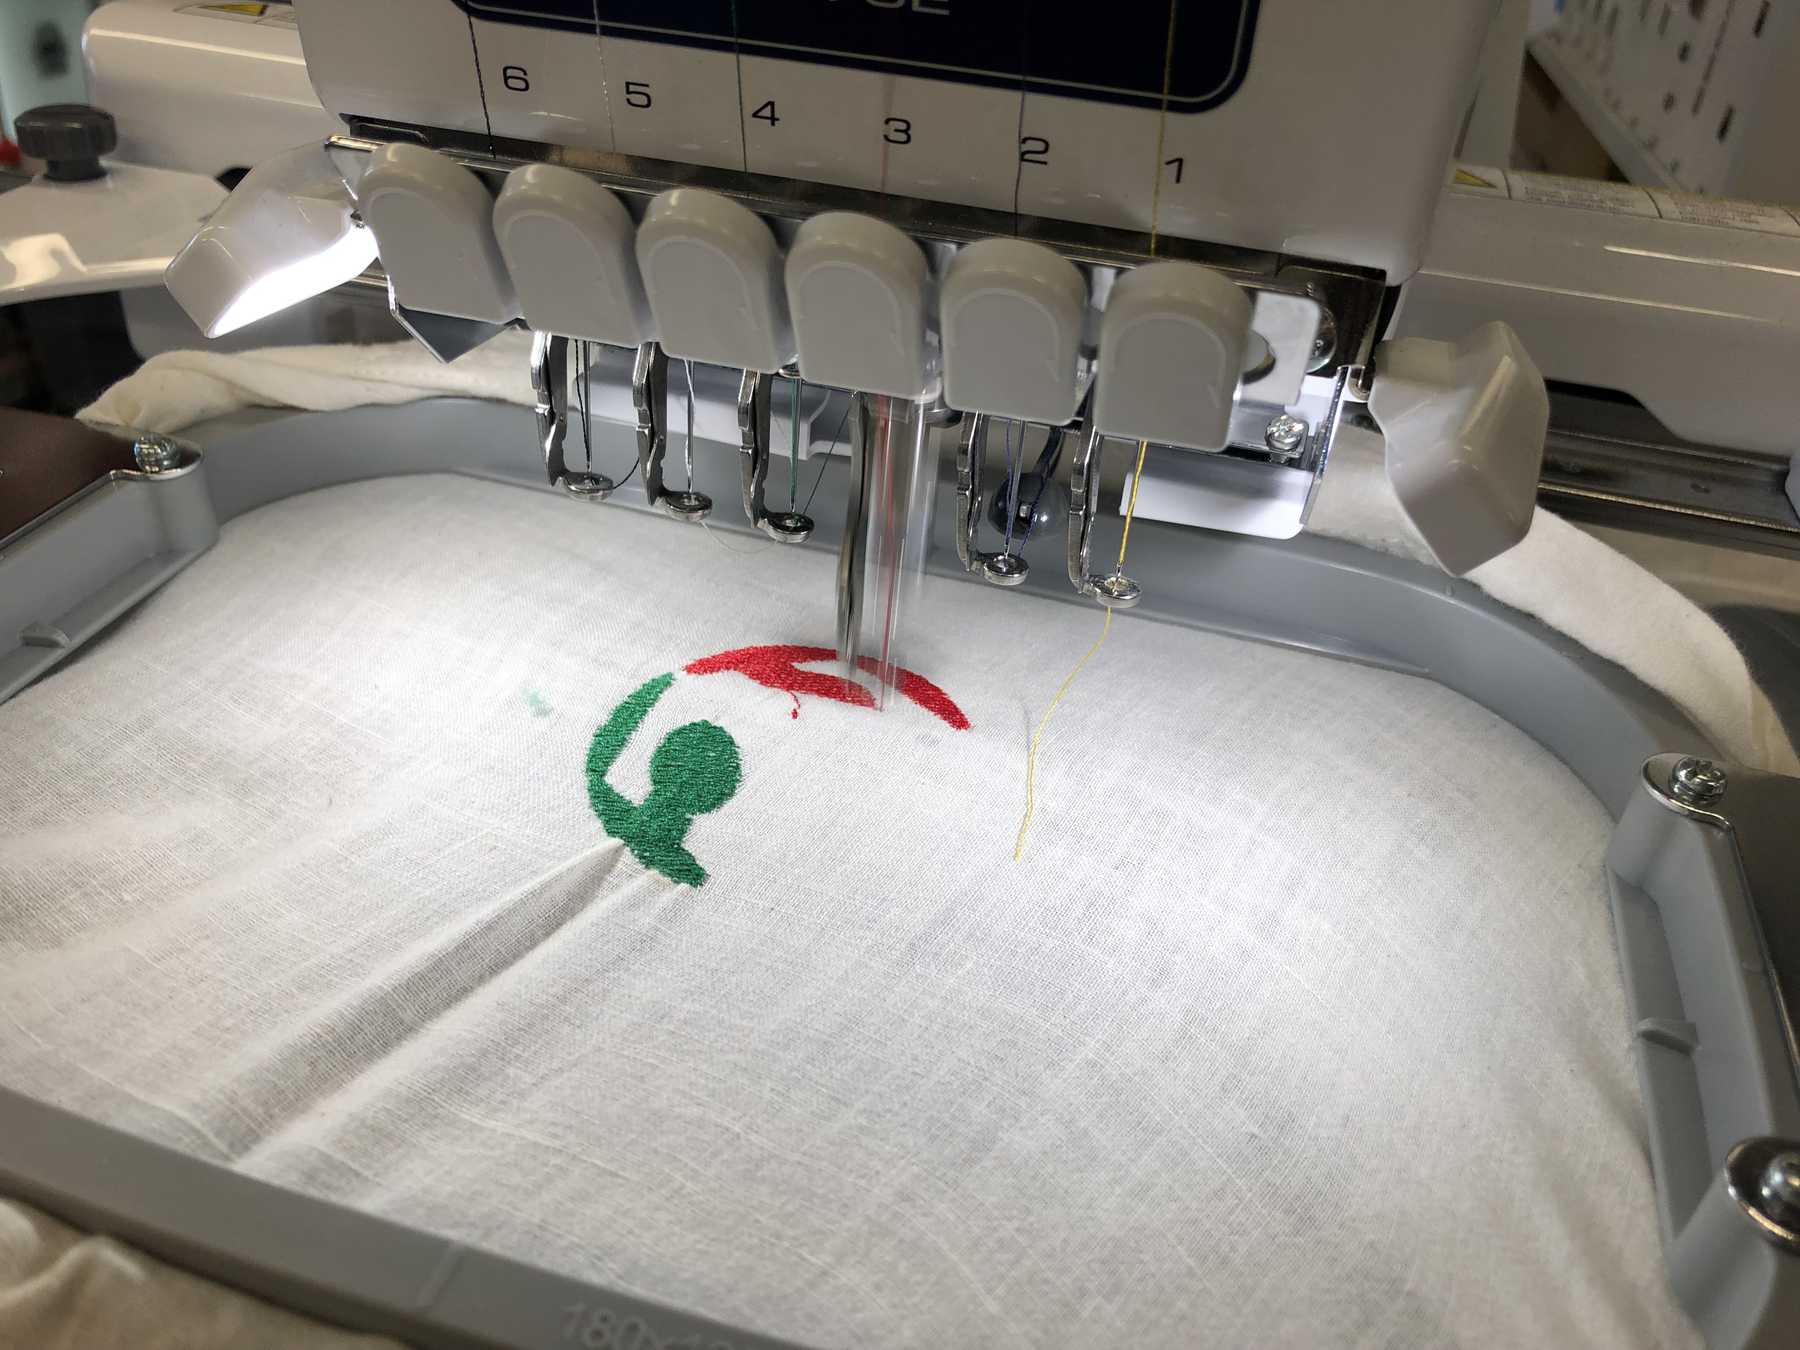
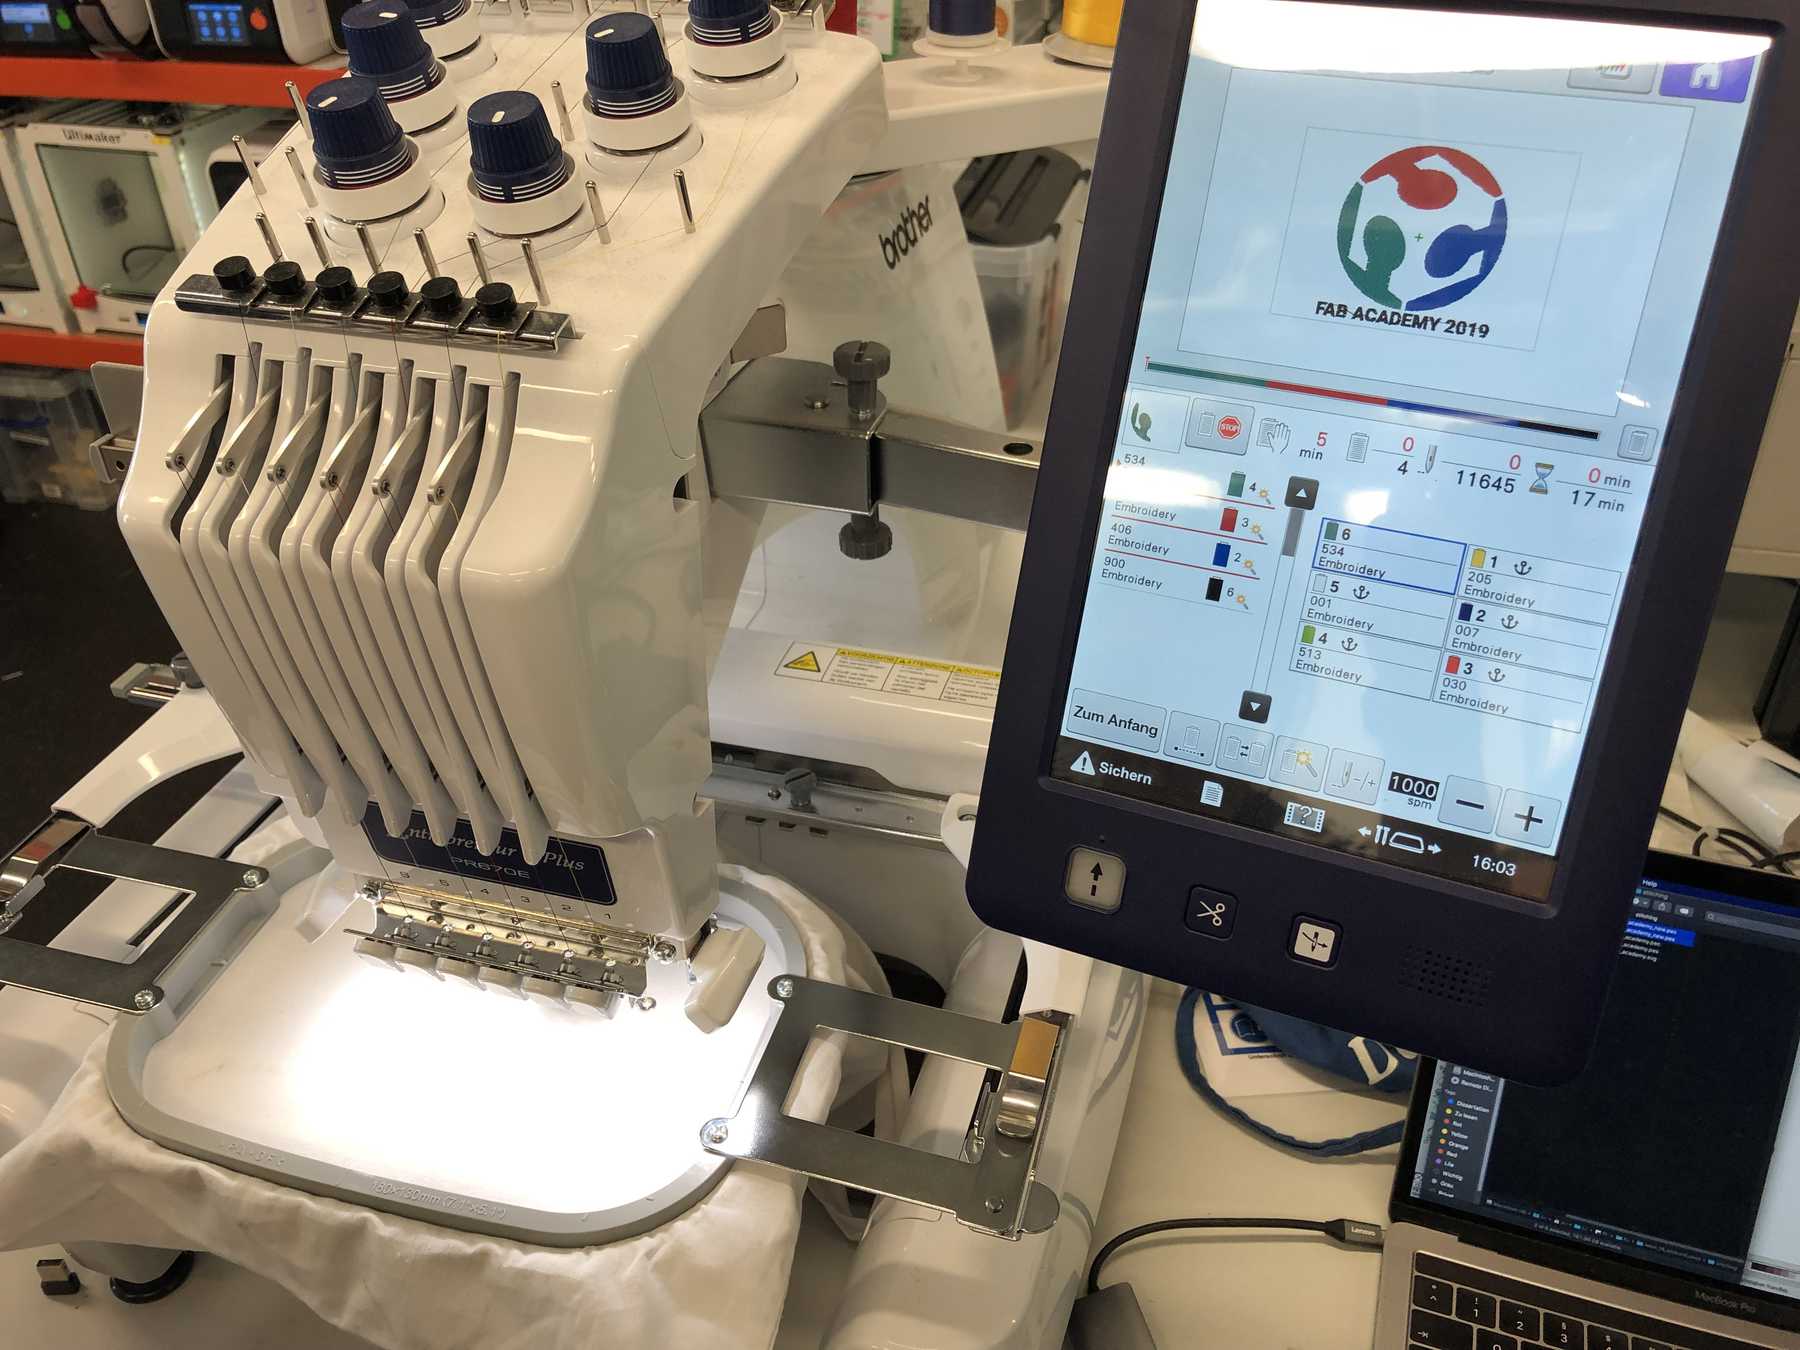
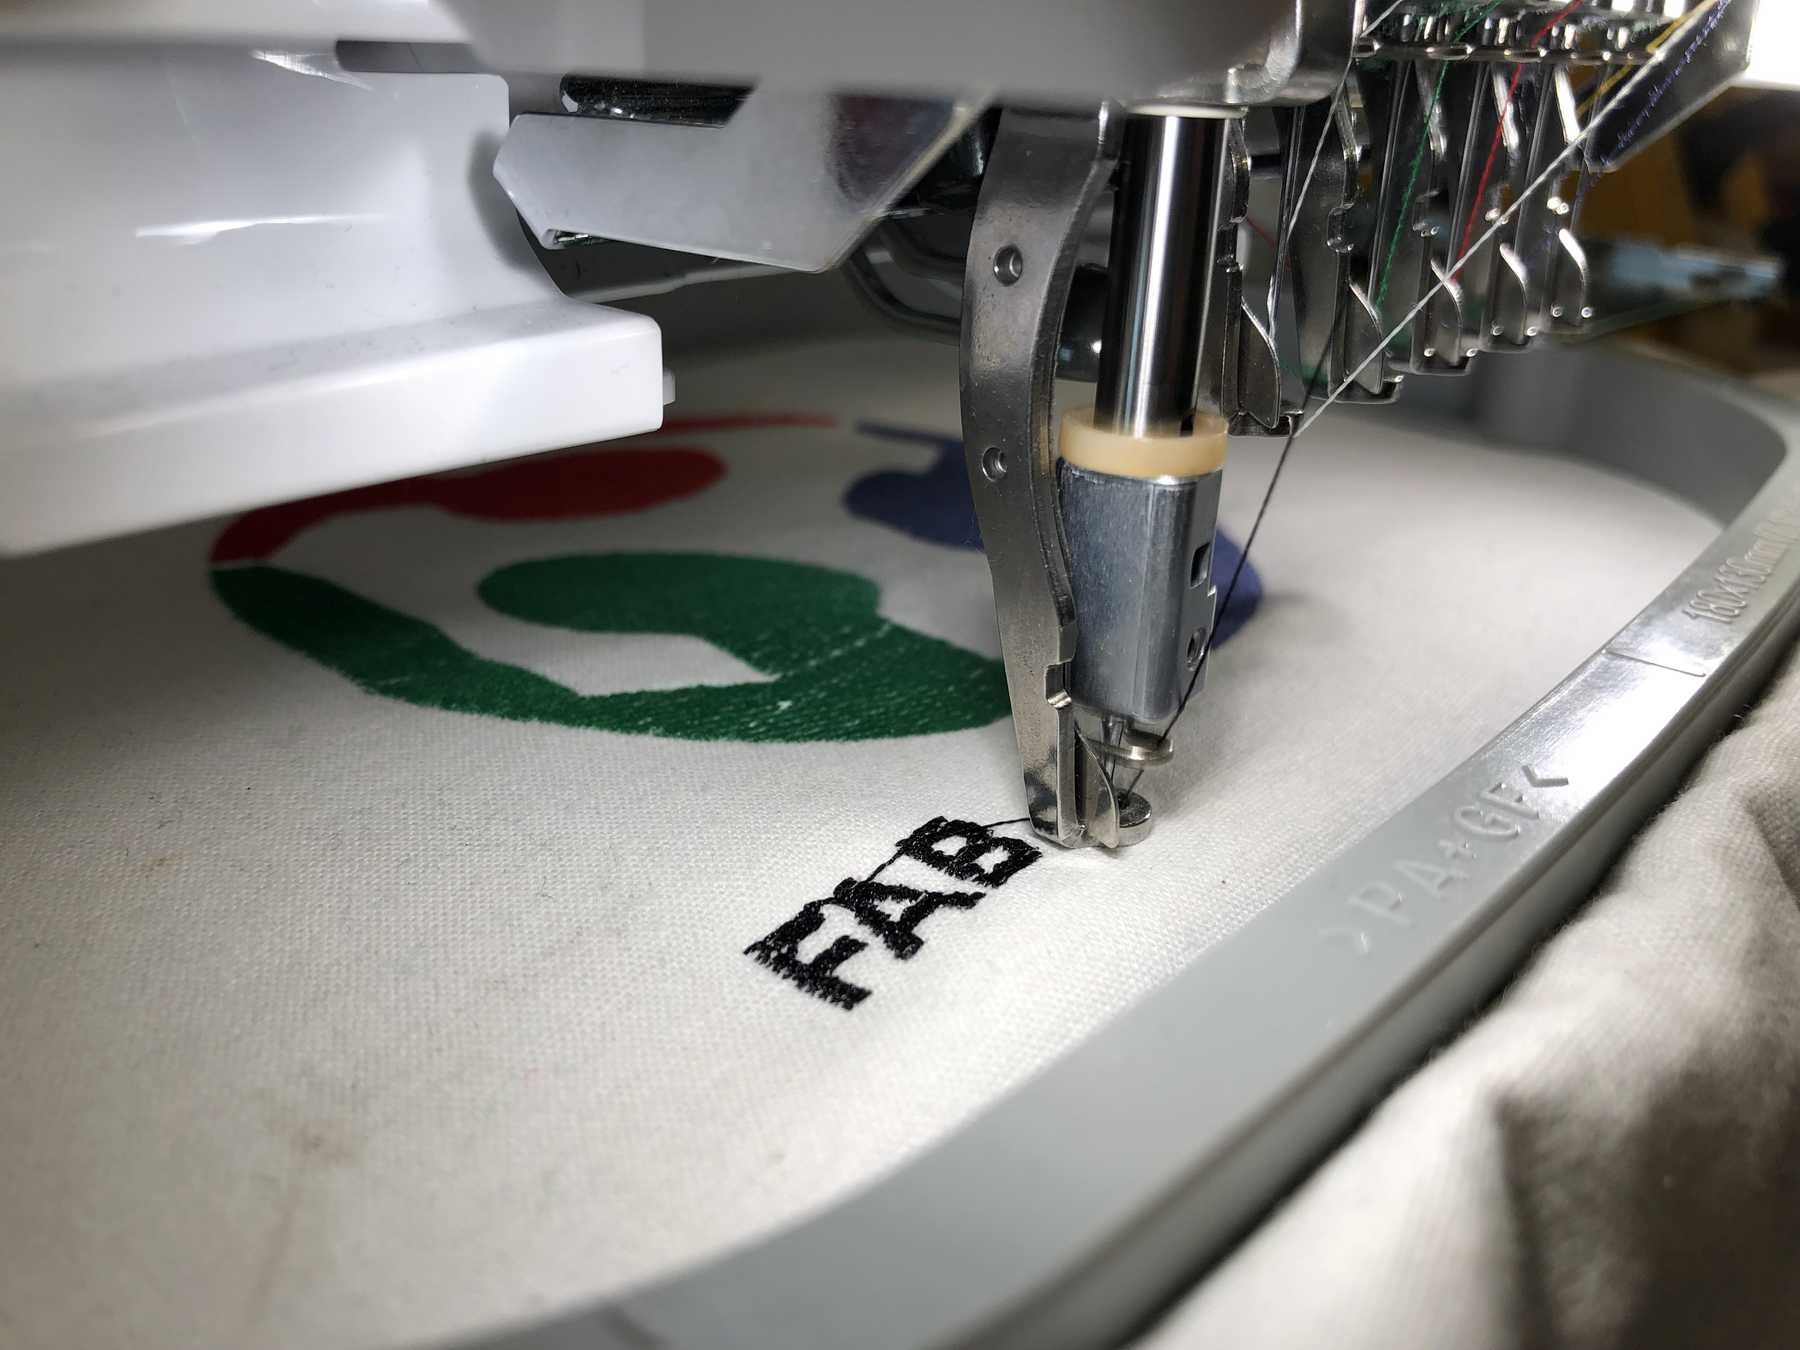
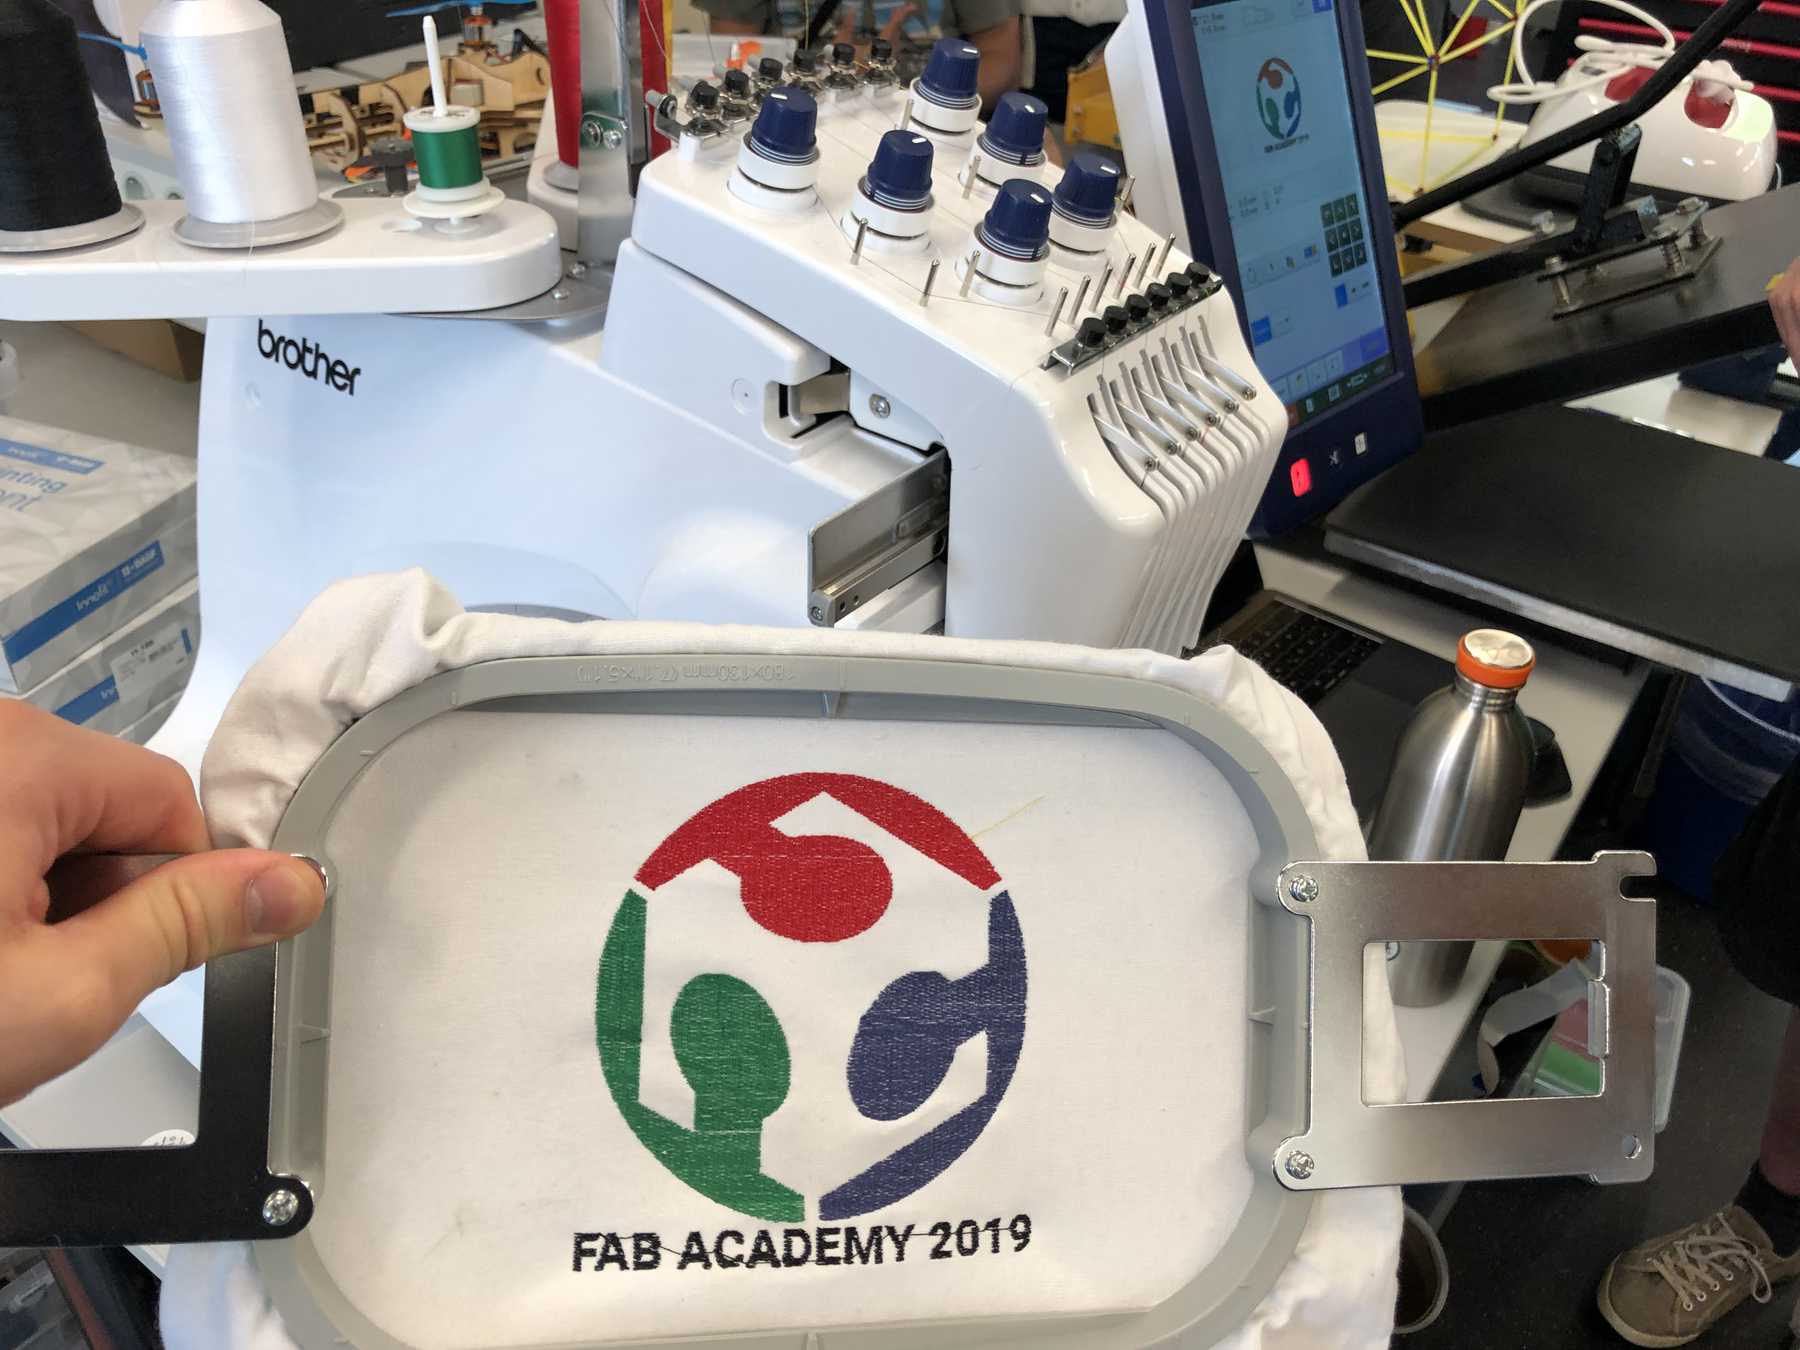
Now it’s time for the machine. The Brother Entrepreneur 6-Plus PR670E was already waiting for us and we for it. Switched on, the files were stored in the “/” main folder via an SD card and then the material was clamped:
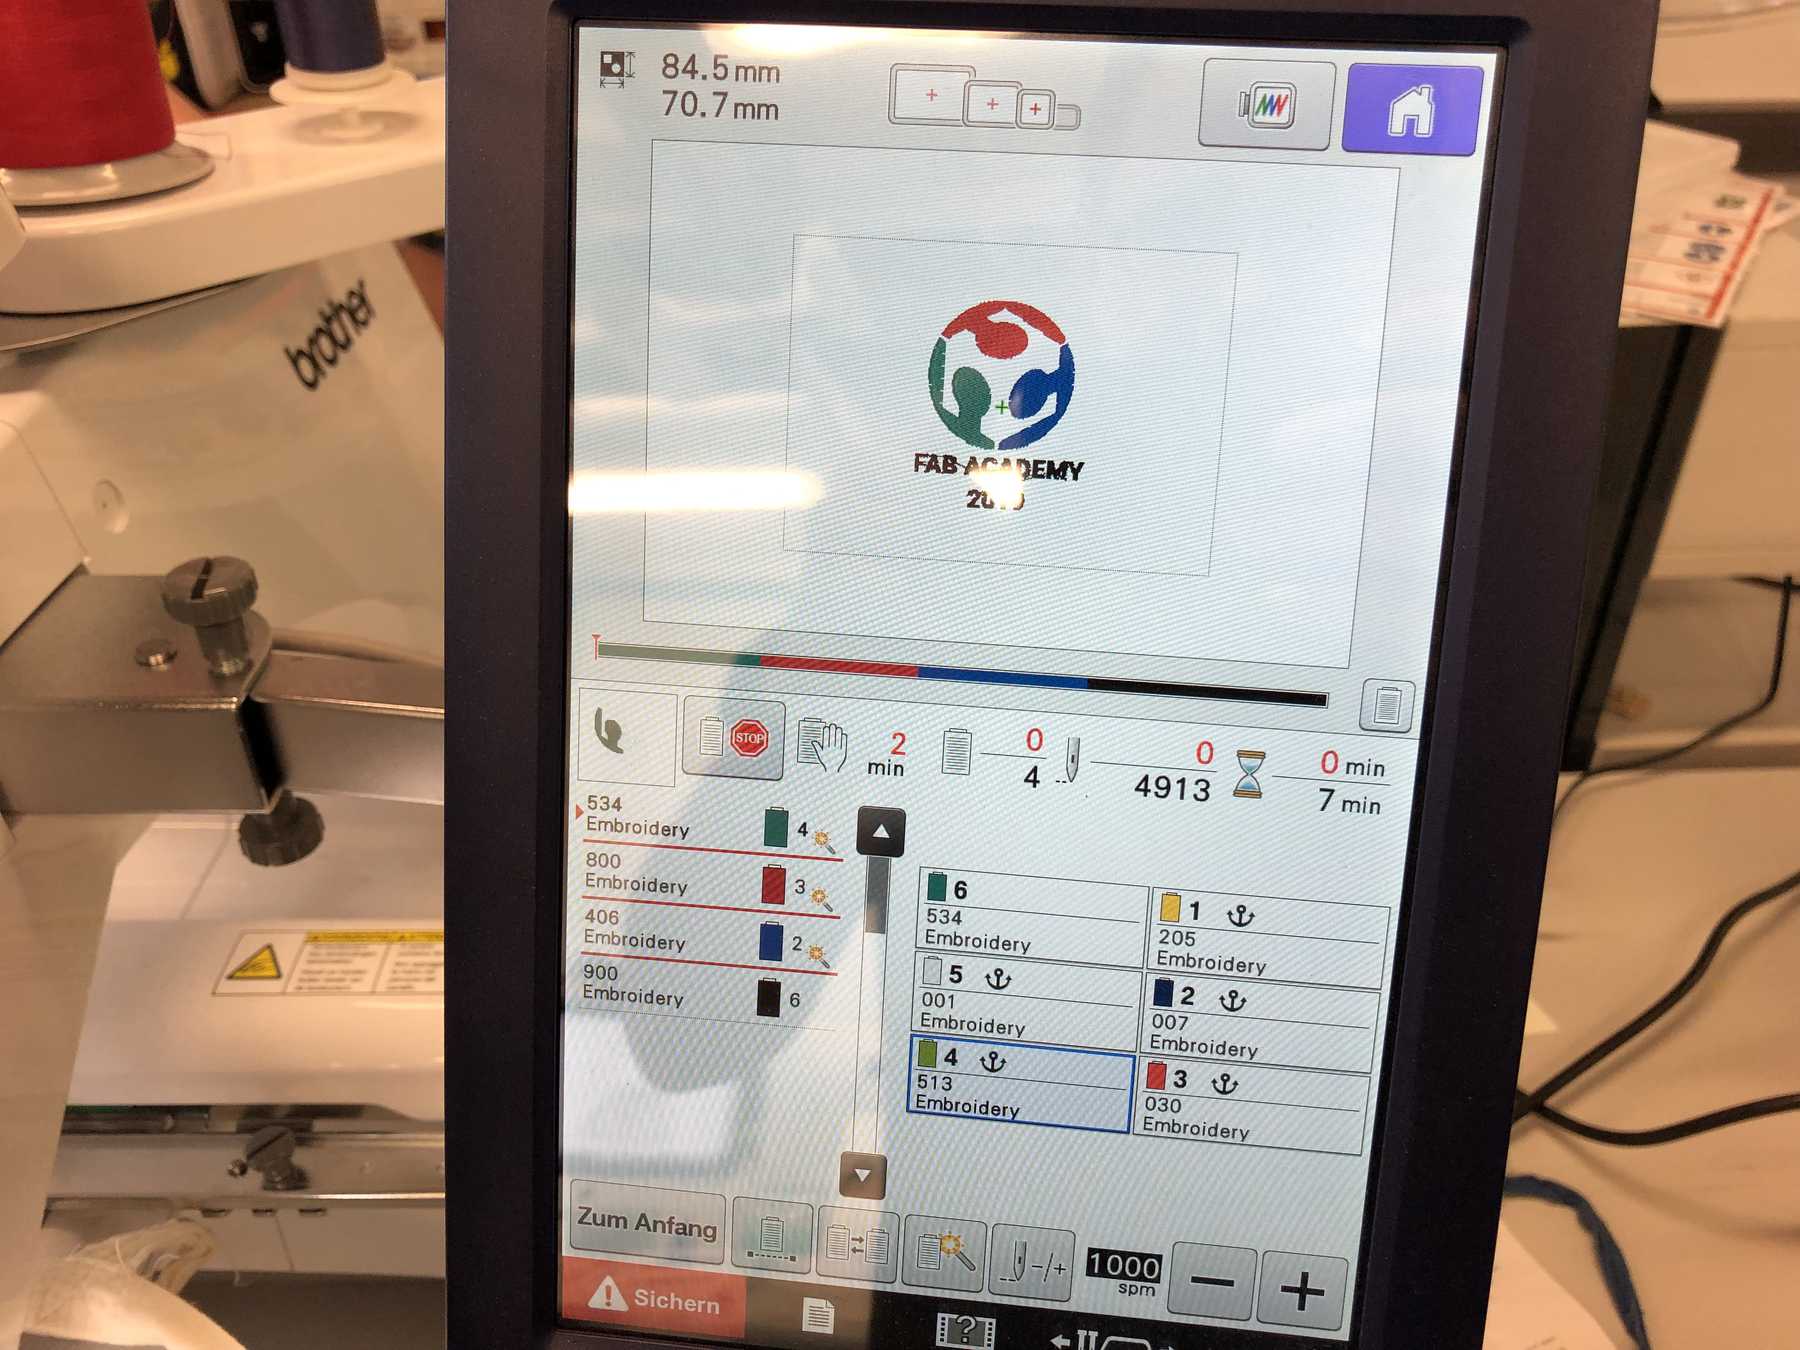
You had to define in the settings which yarn matched which color element from the embroidery pattern. The file contains only the color codes, but that was done with a few clicks. Then it was ready and I could start the whole thing.
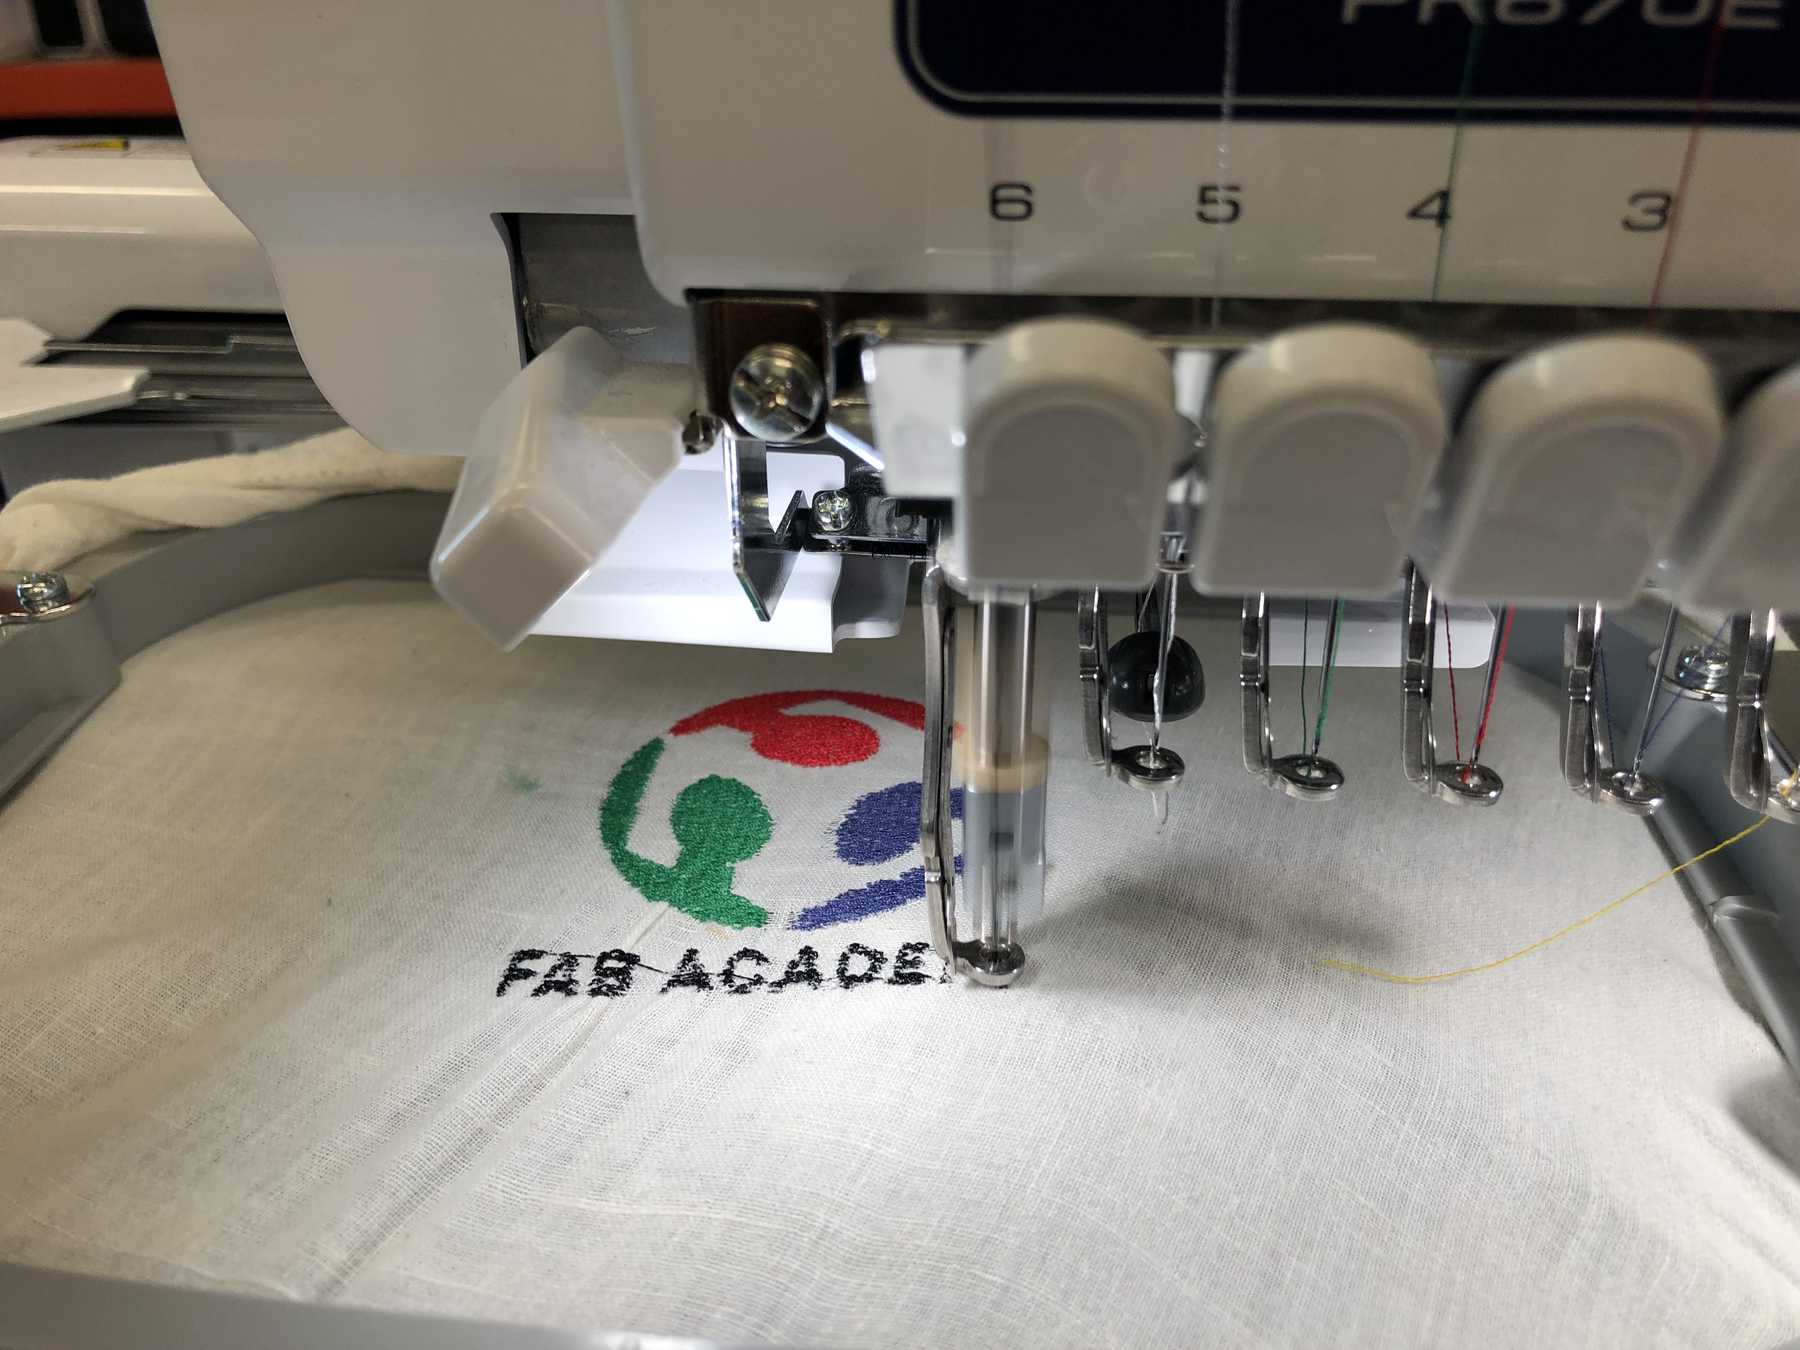
In the software I unfortunately did not manage to separate the letters from each other. However, I assume that I will be able to do this next time and that I will just have to check a box somewhere.
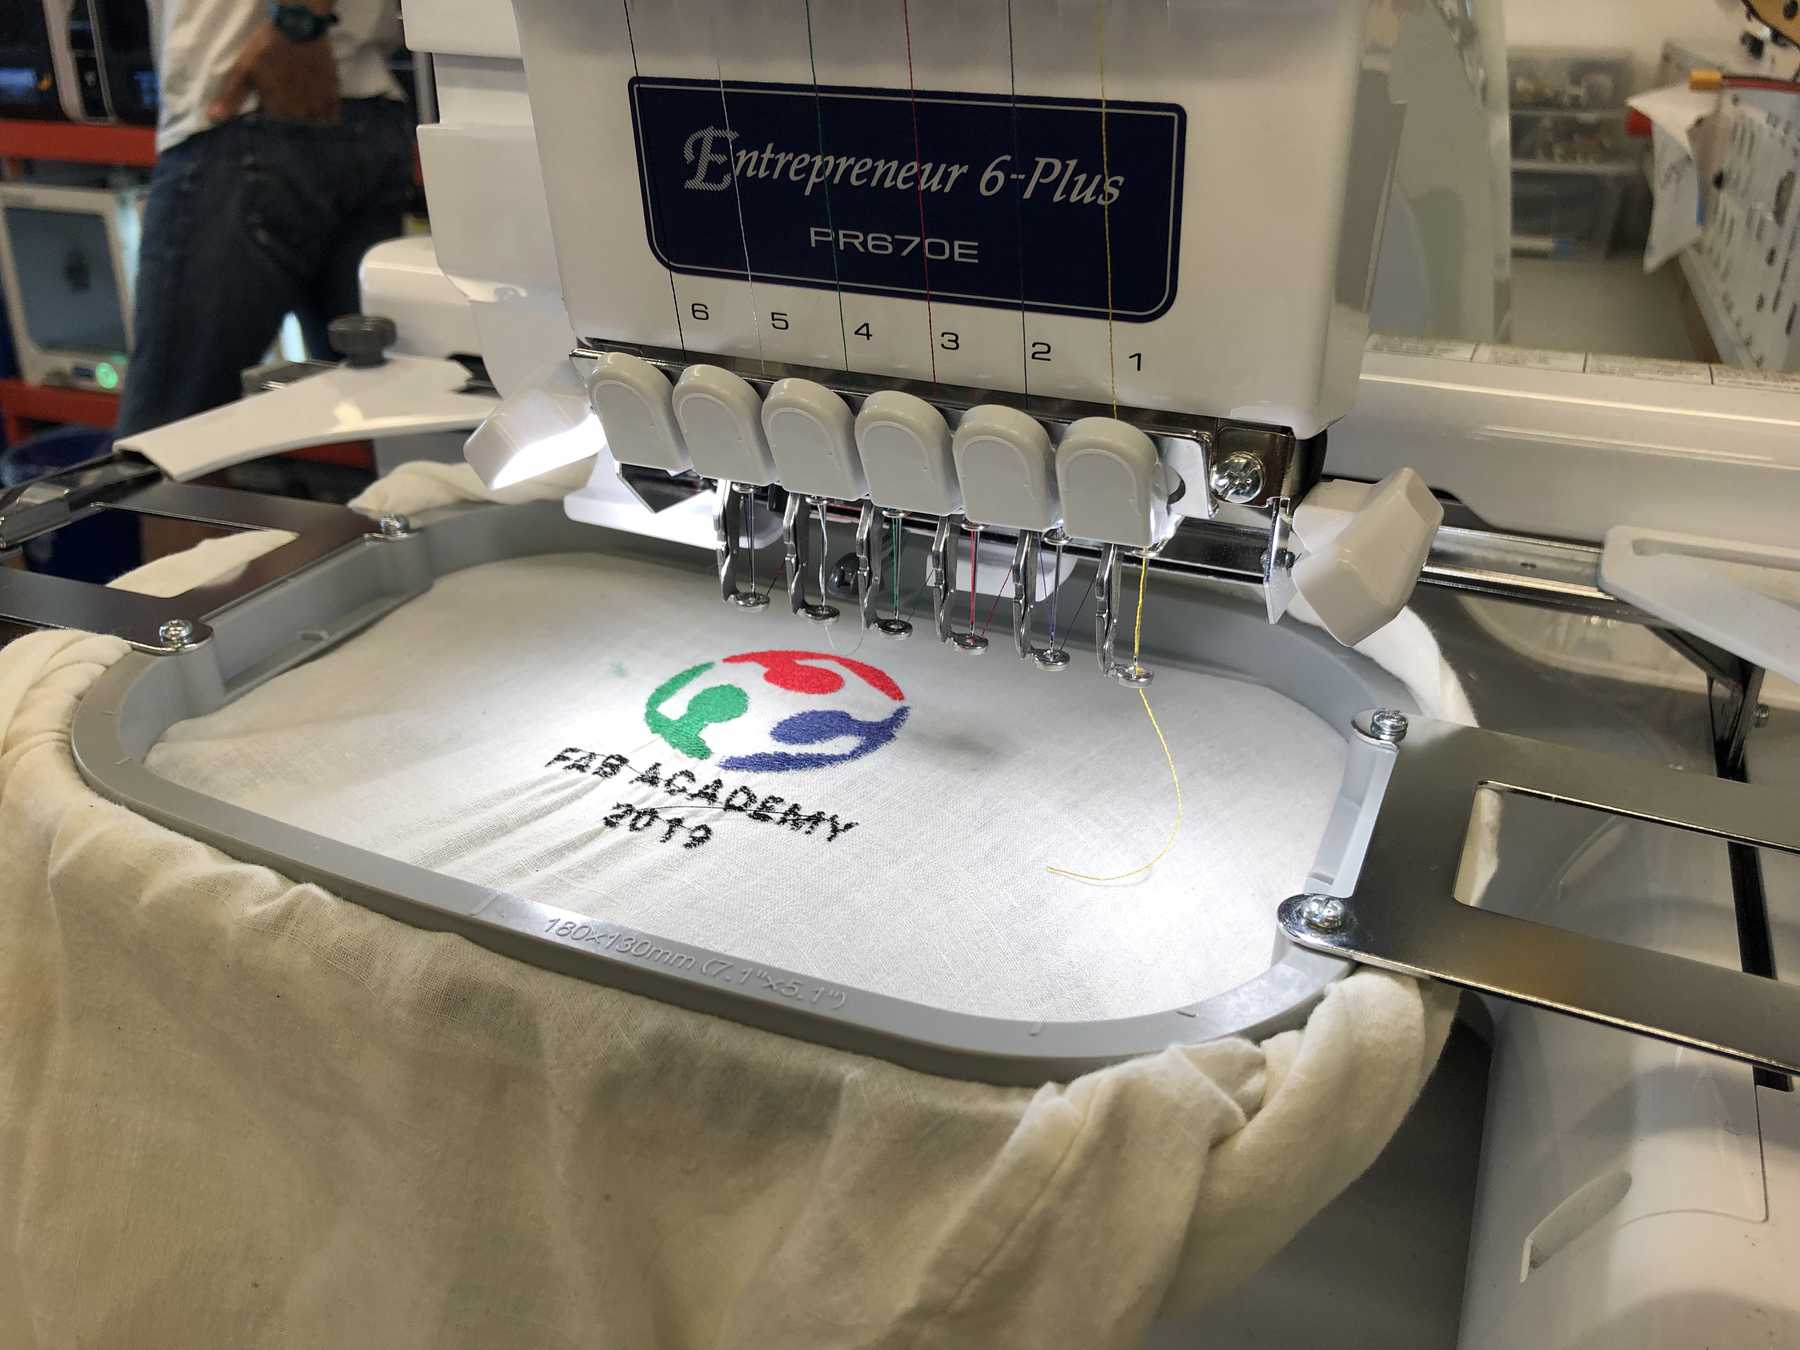
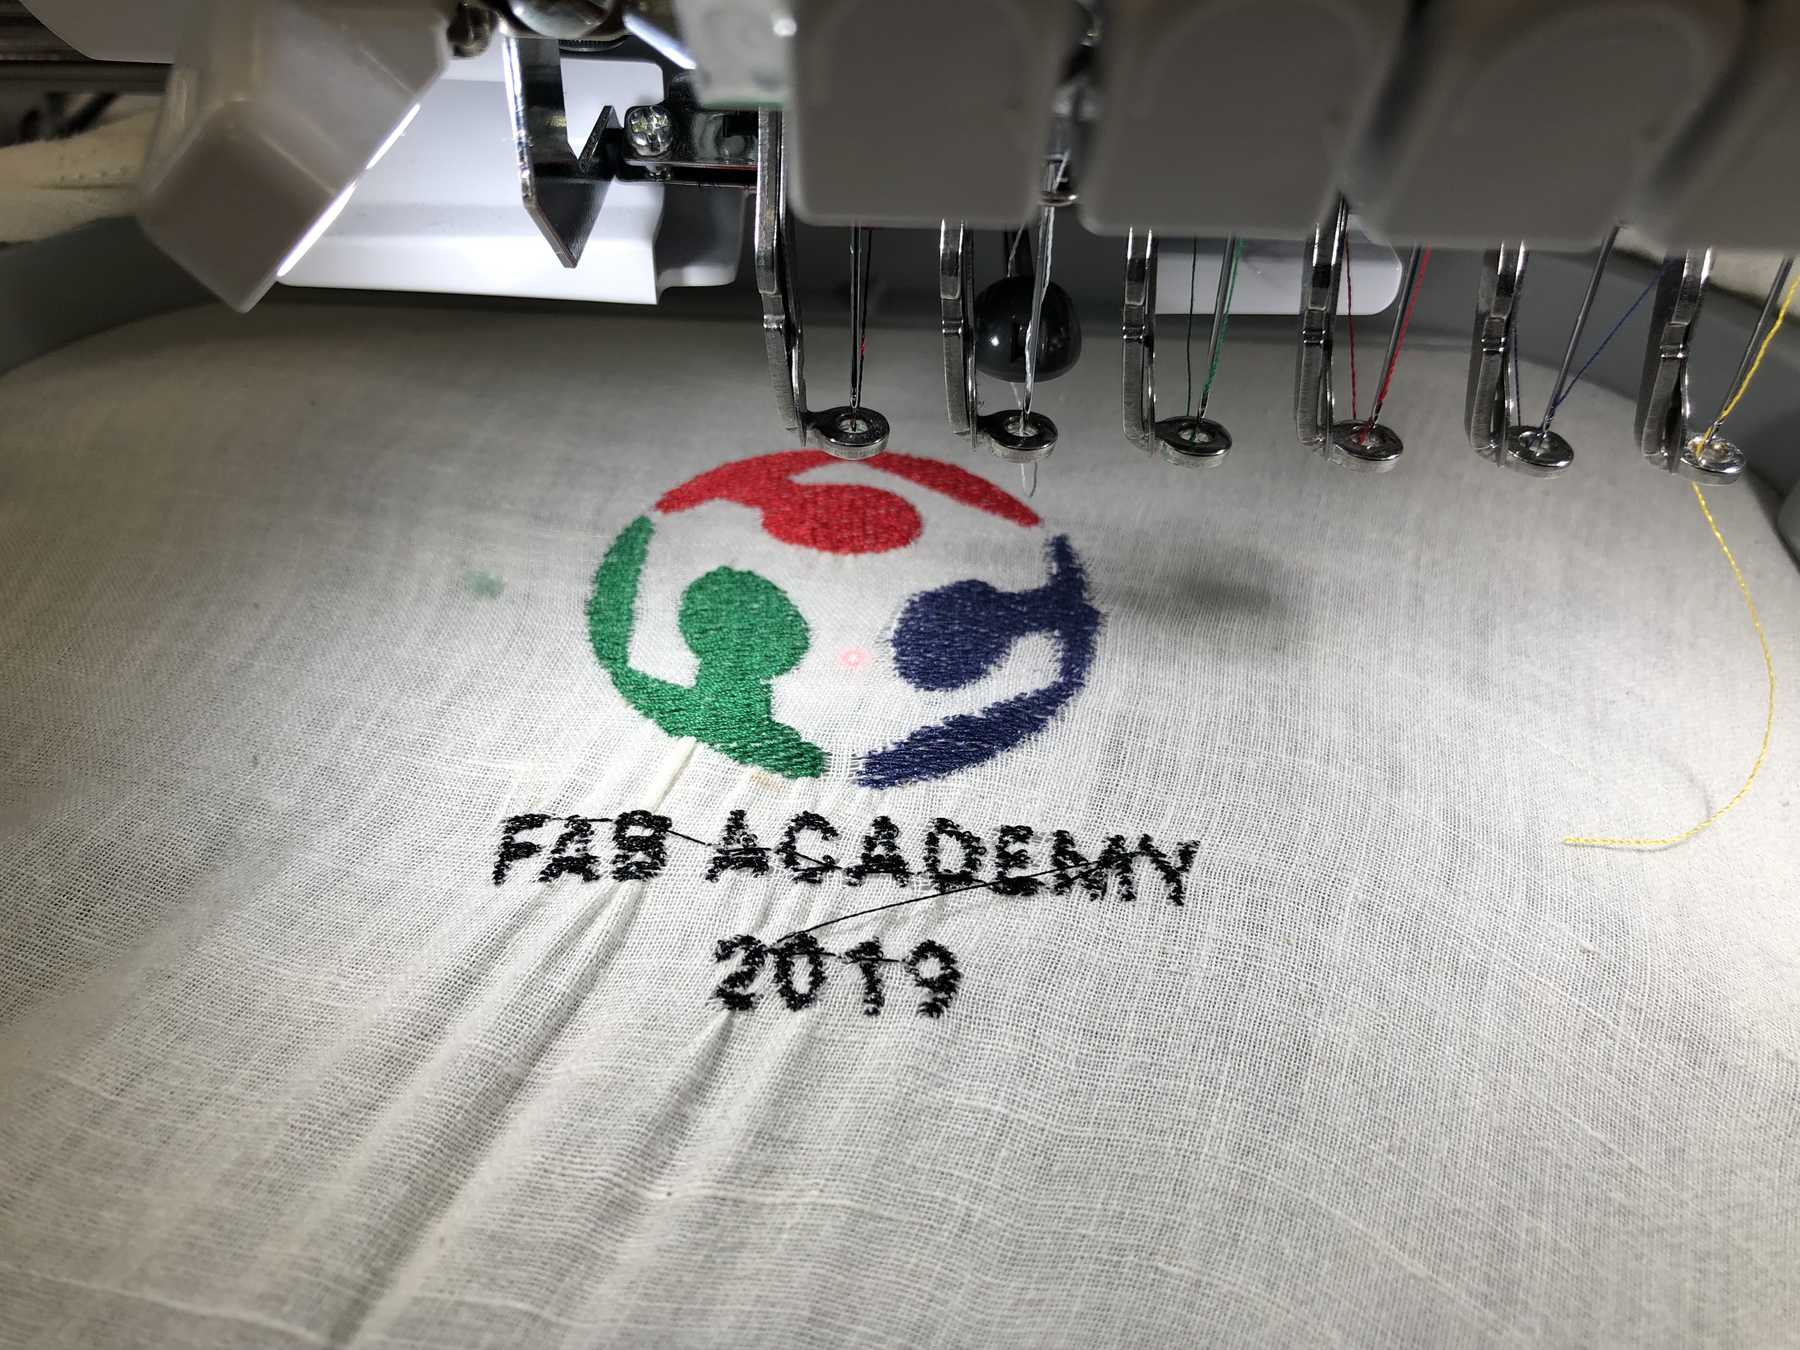
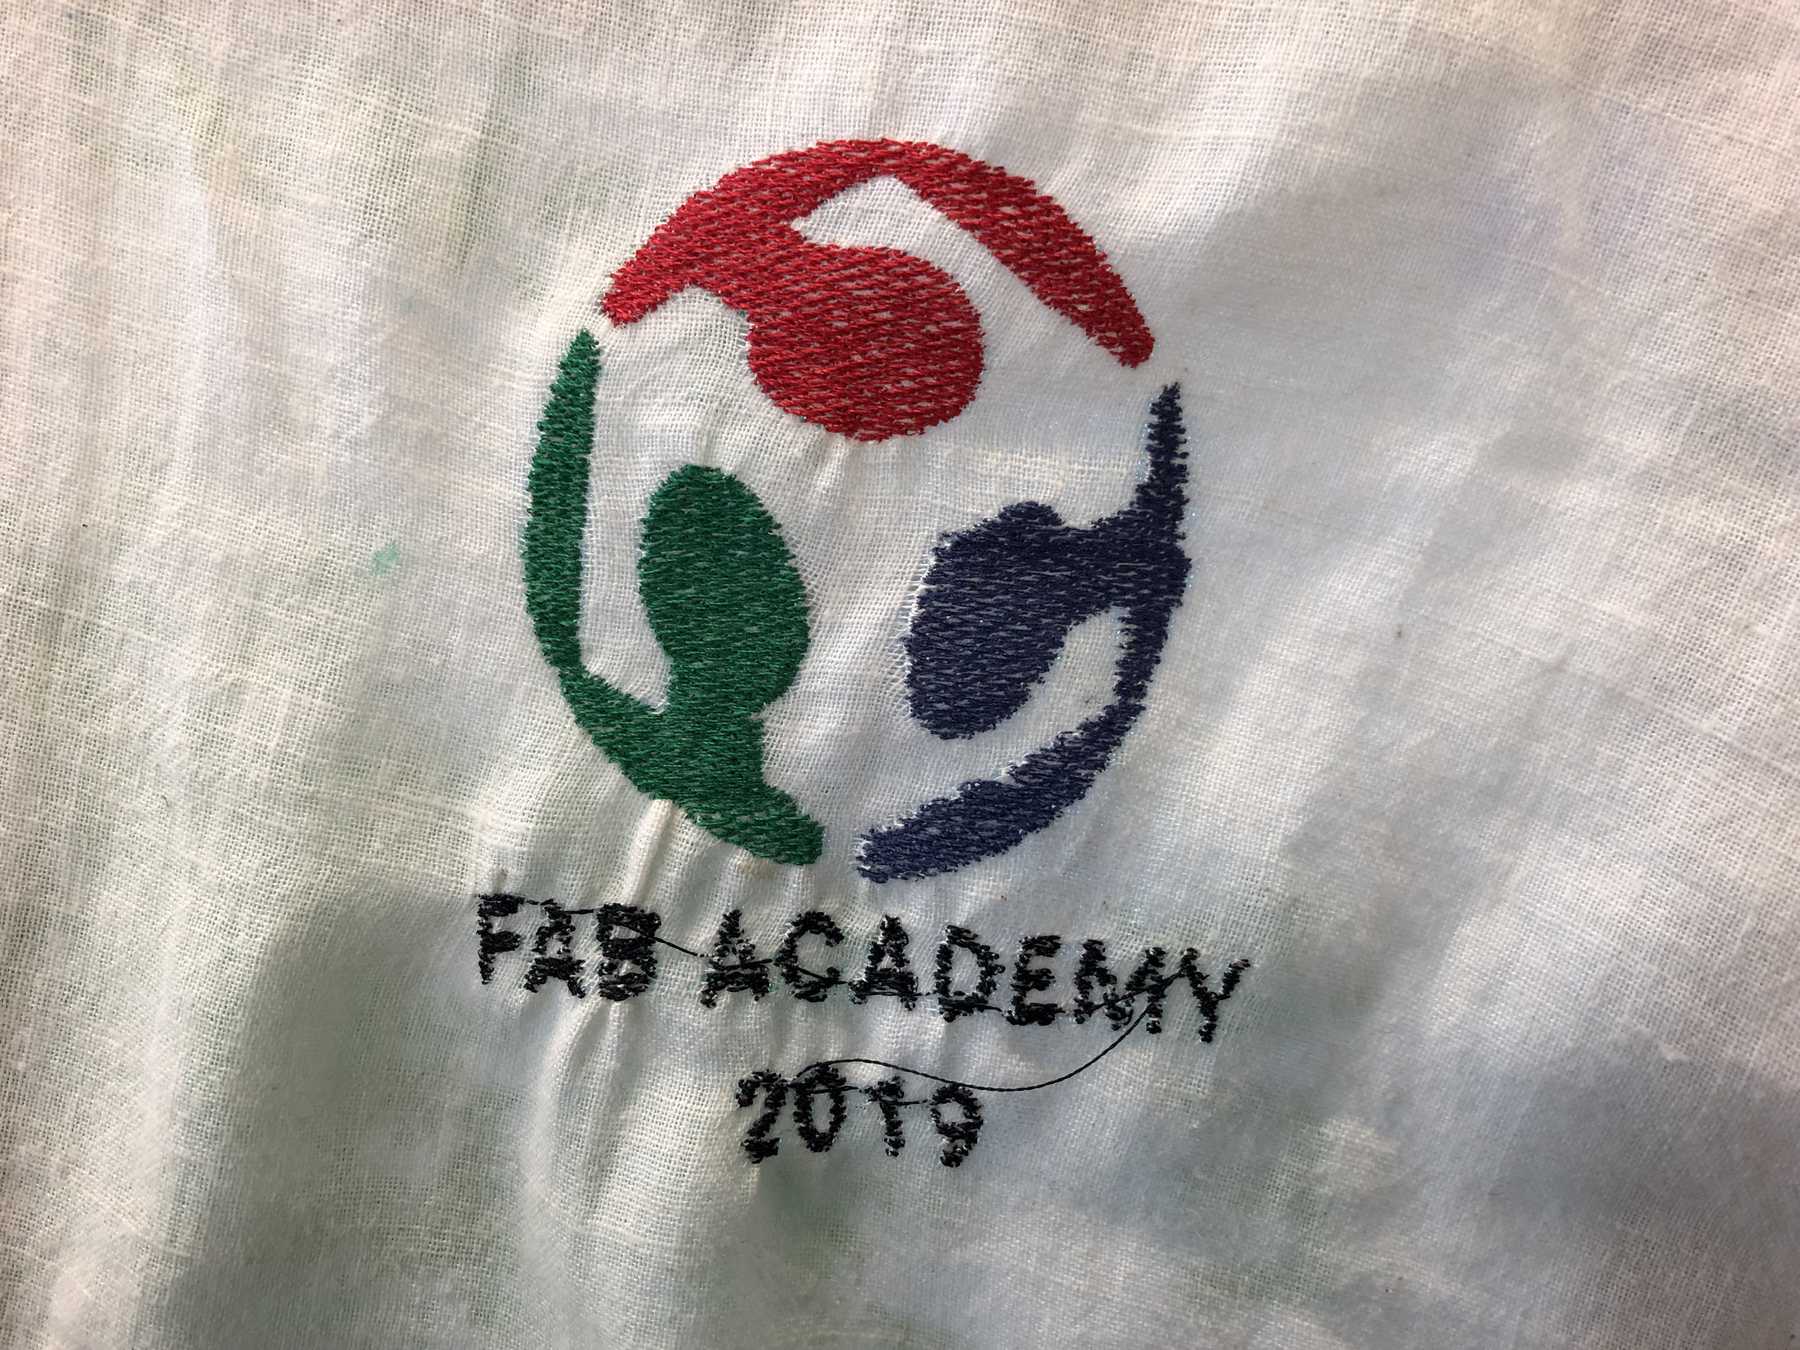
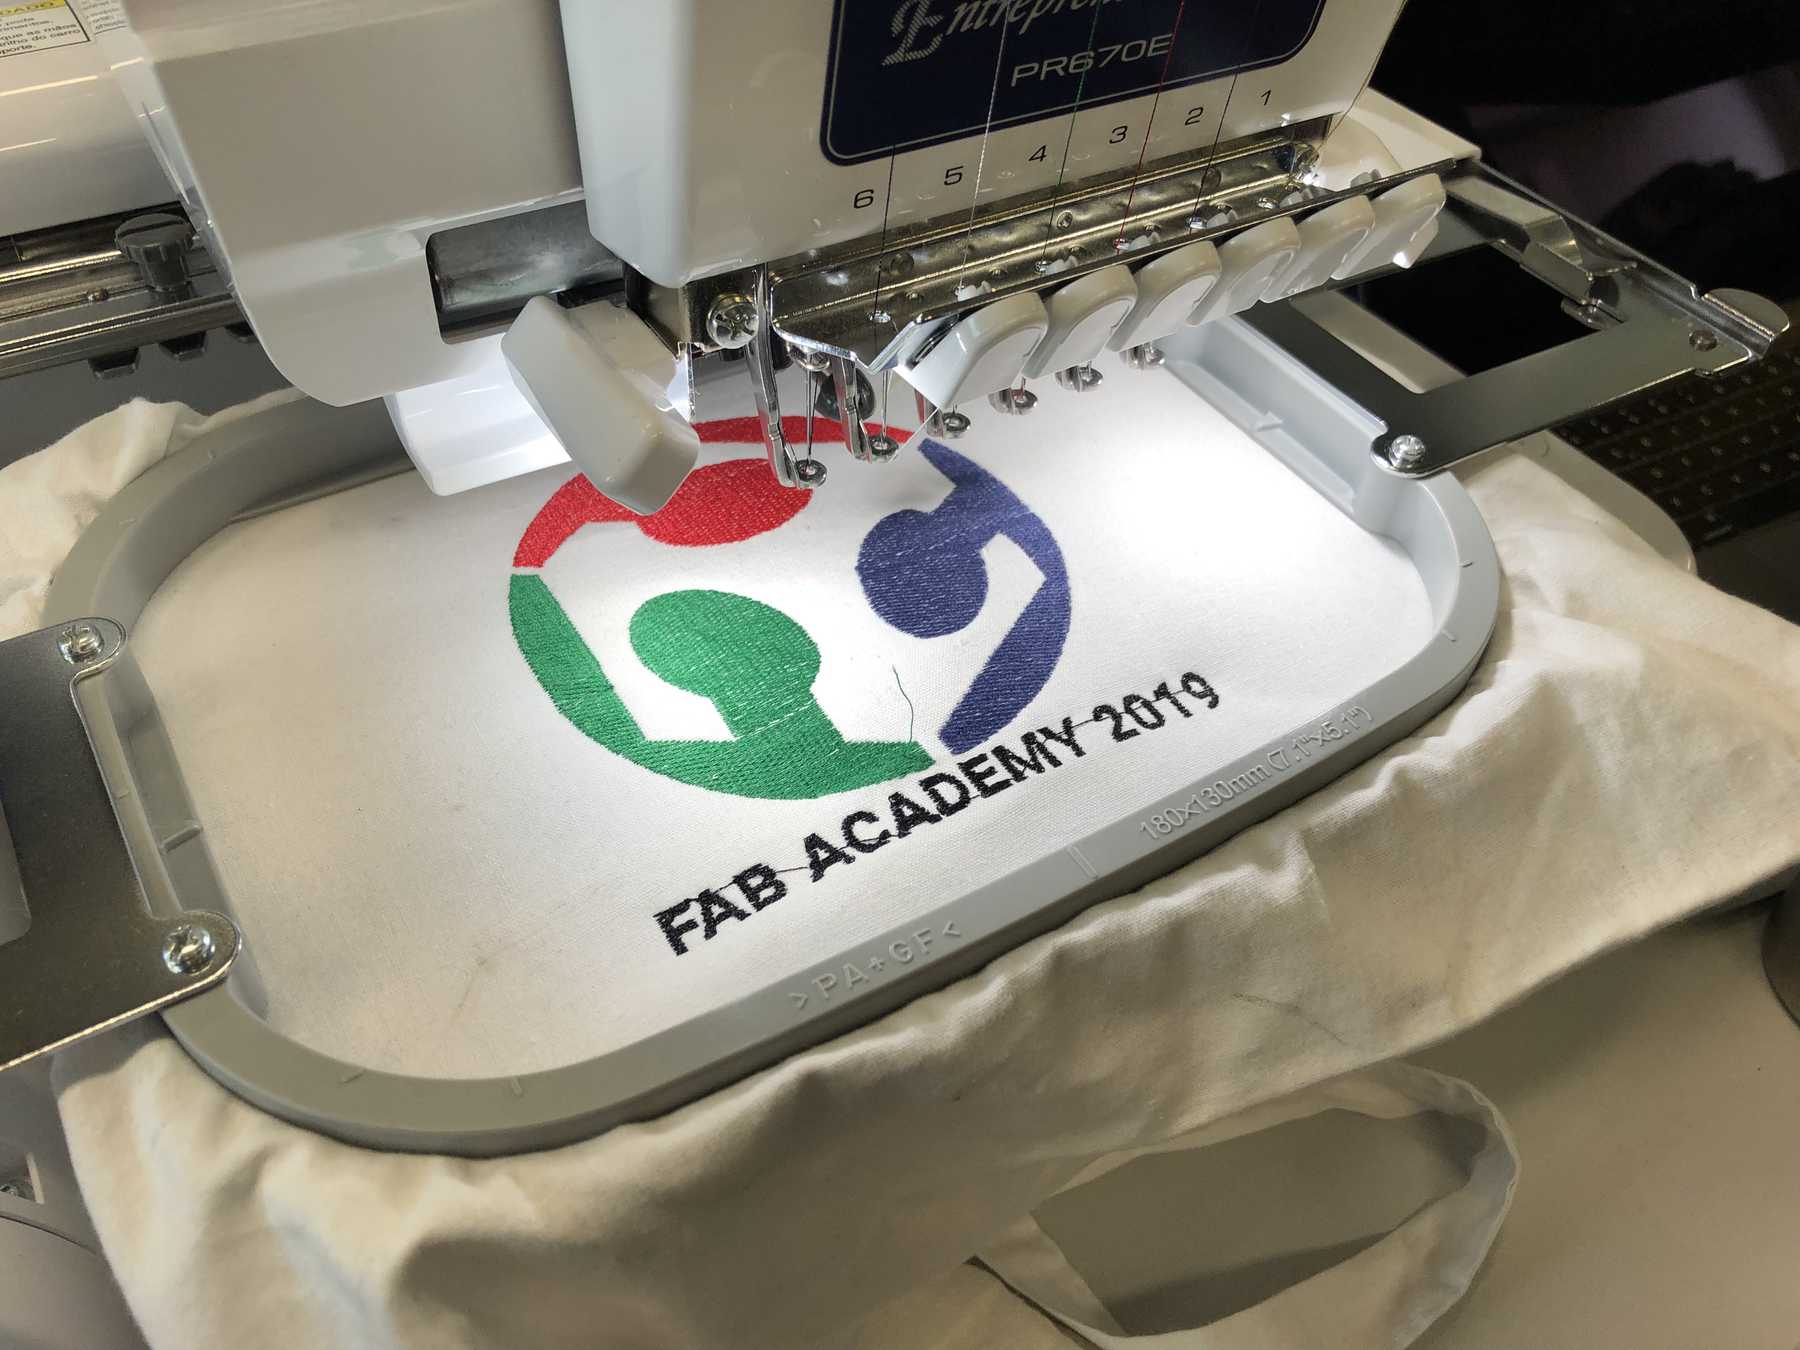
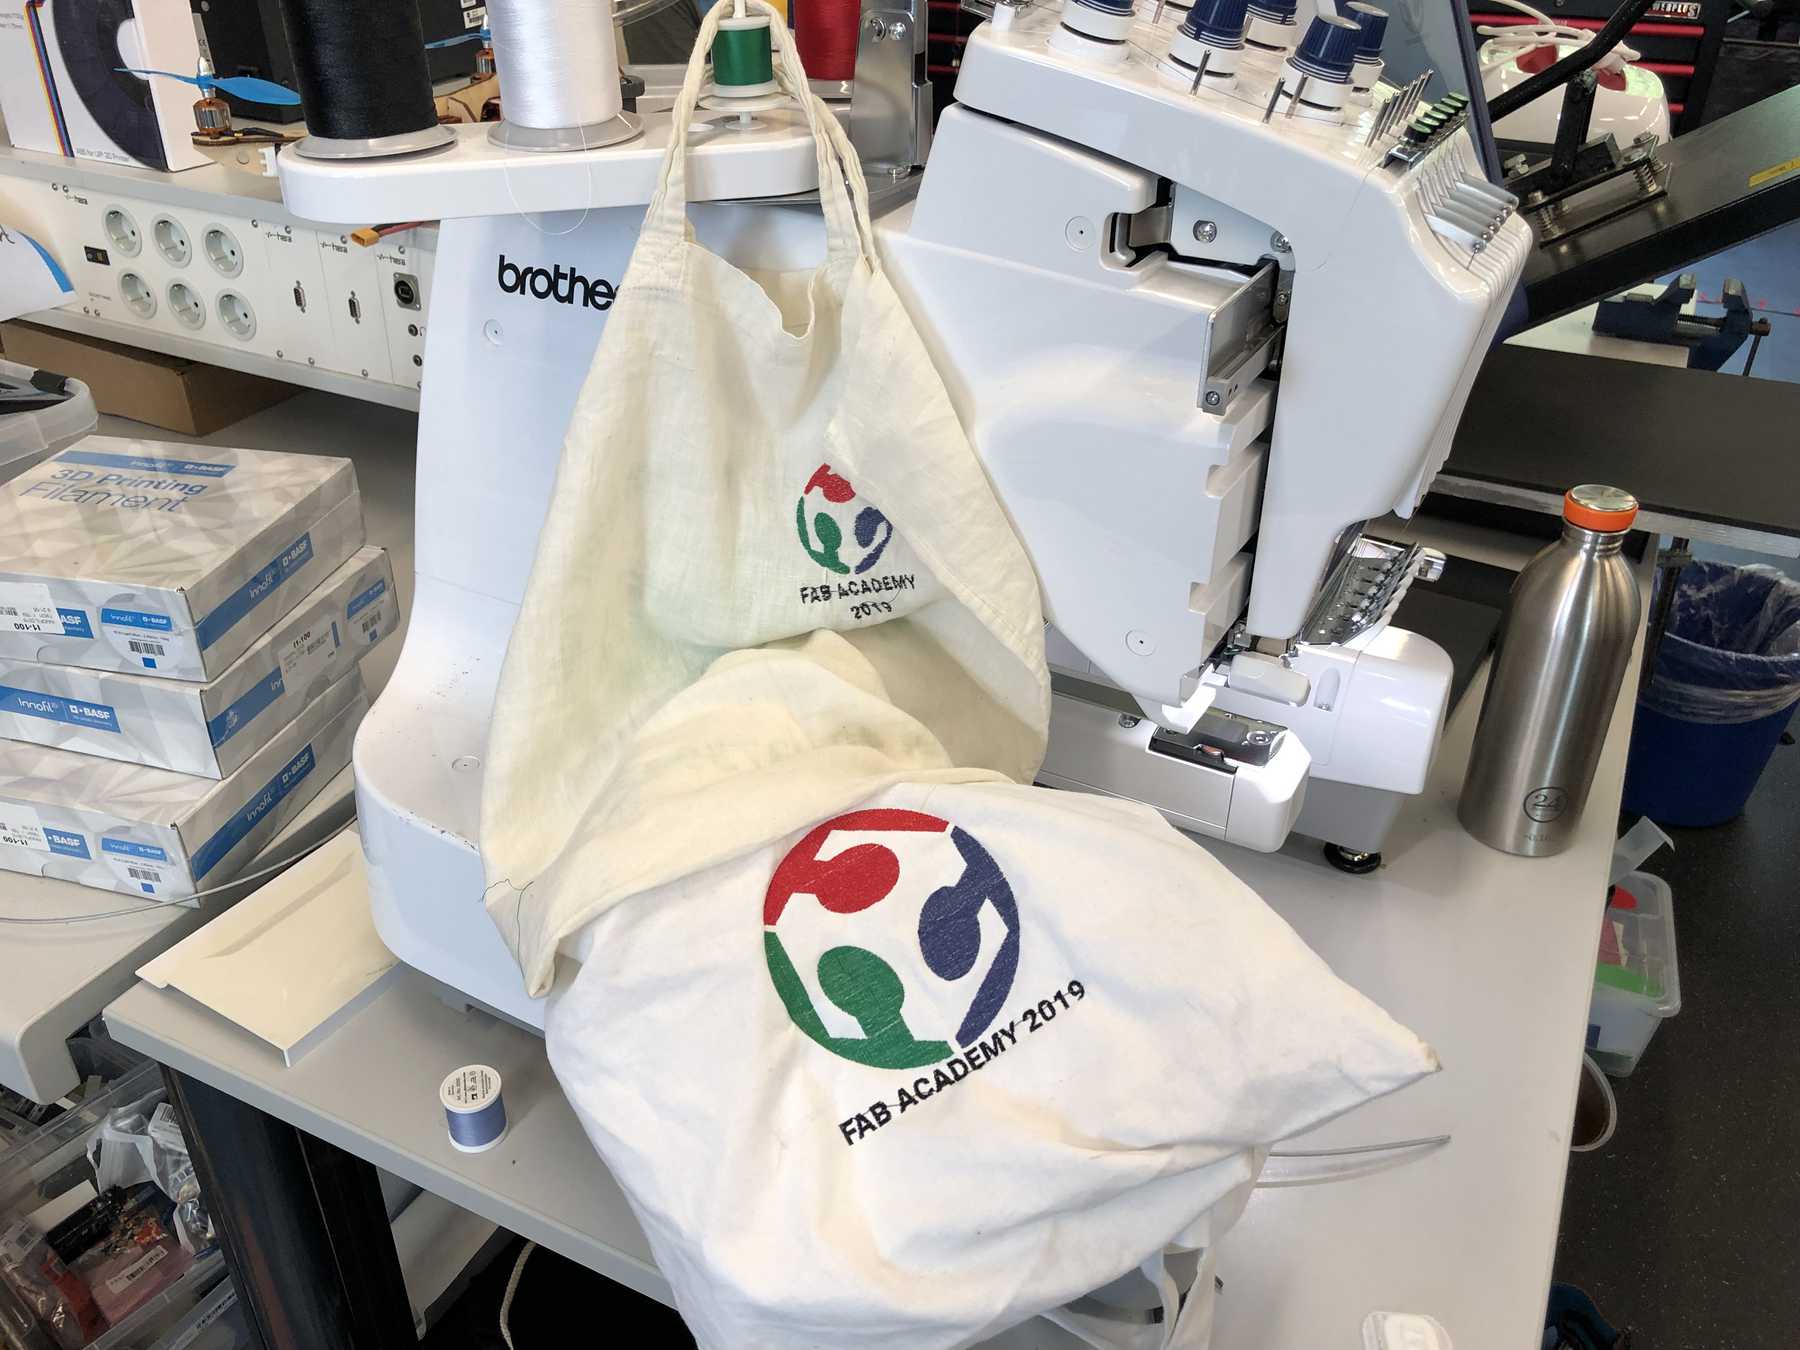
And here is the result of the embroidered jute bag.
It was really fun and I didn’t want to leave it at that. So I created another model and converted it. This time the model should be much bigger.

Again on a jute bag but this time with a paper under it.
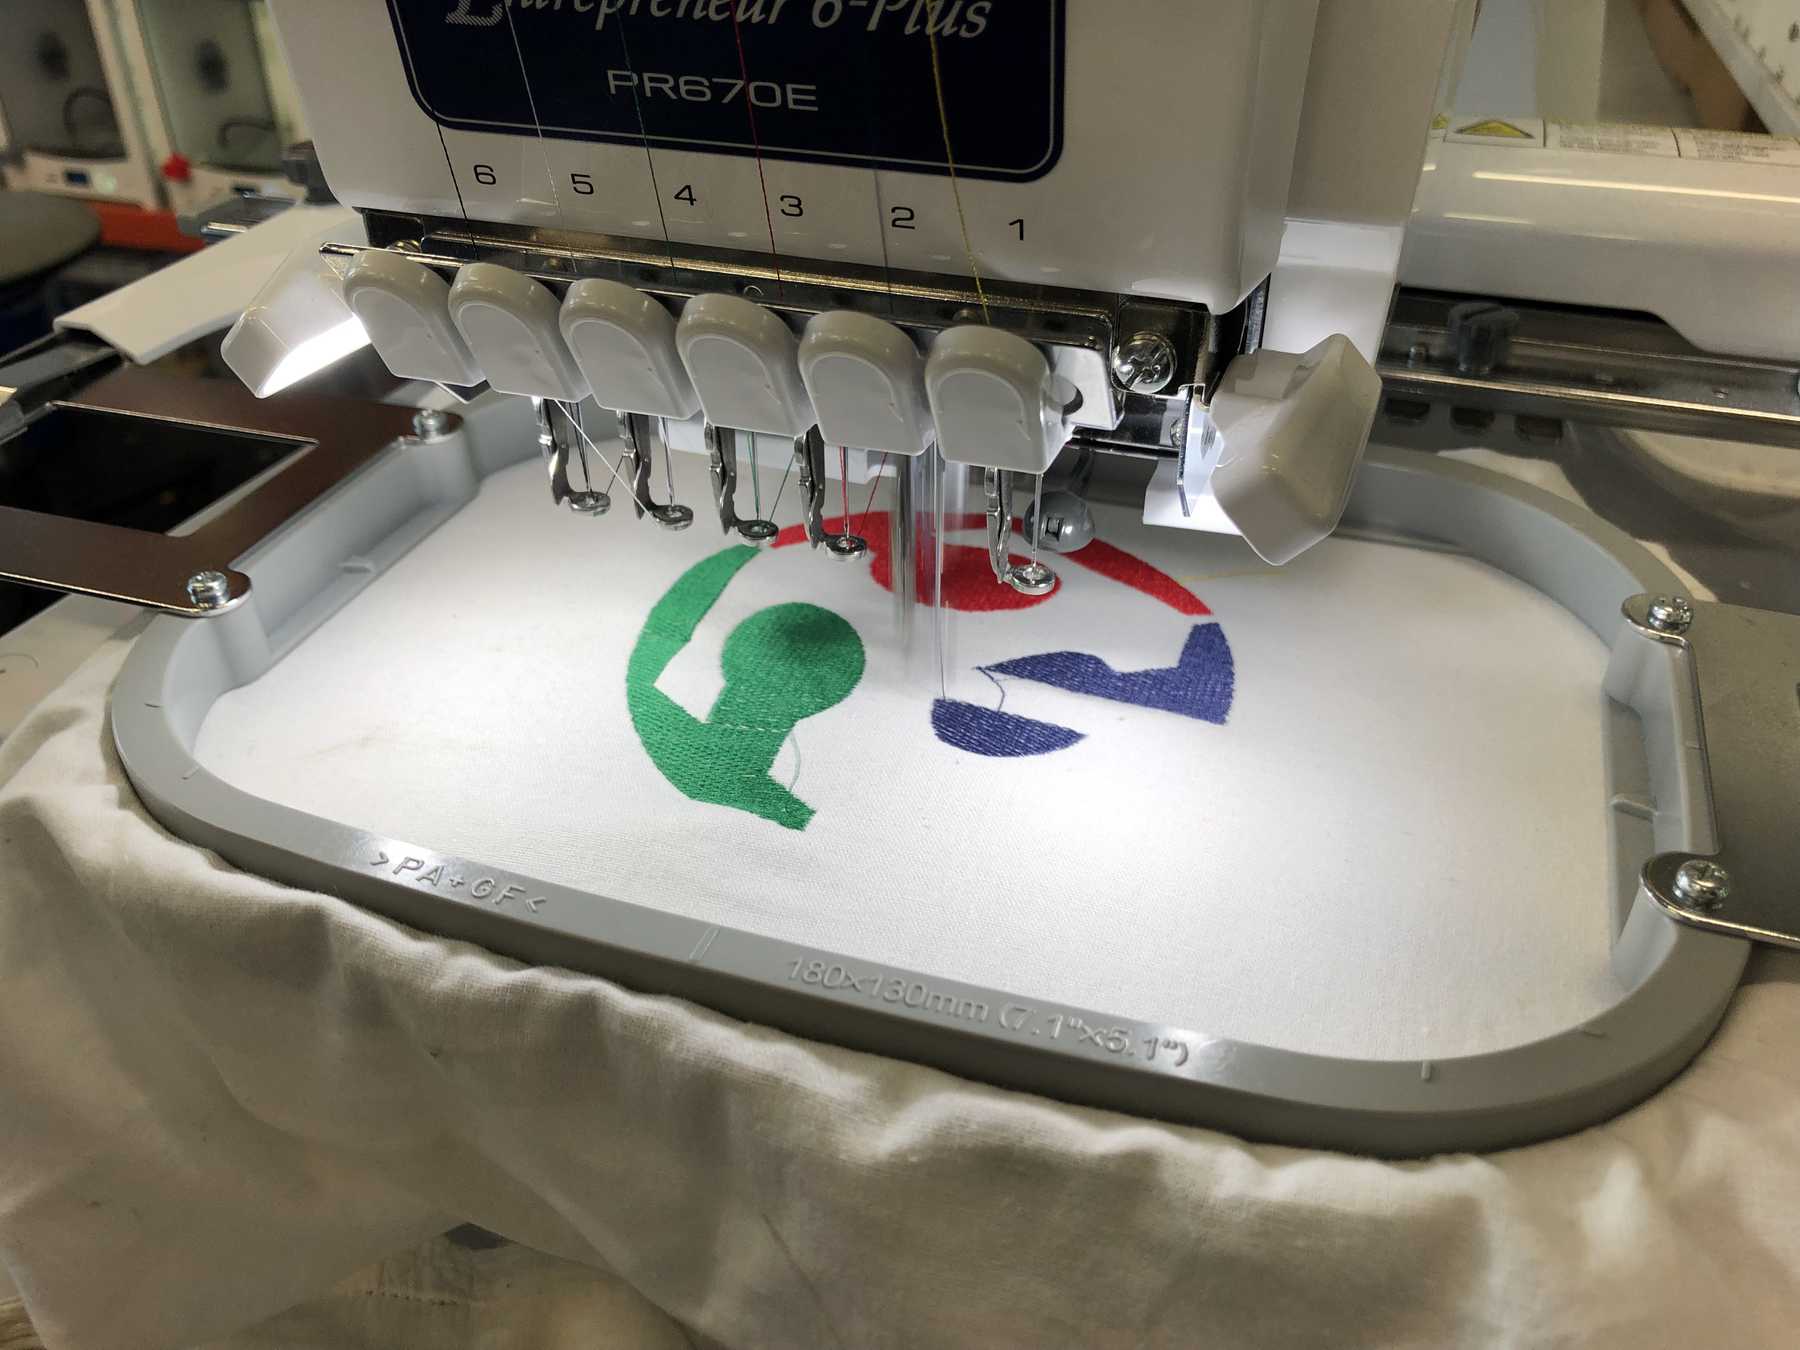
Compared to the other embroidery picture this looked much better and bigger.

And last but not least a comparison of the two as well as a video:
Different perspective:
Conclusion: There were two machines in the Fab Academy that excited me and that again and again. The LPKF ProtoMat S63 and the Brother Entrepreneur 6-Plus PR670E. It was always fun for both of them to see how an idea was transformed into reality. I will certainly work with the embroidery machine several more times!
Thermoforming machine
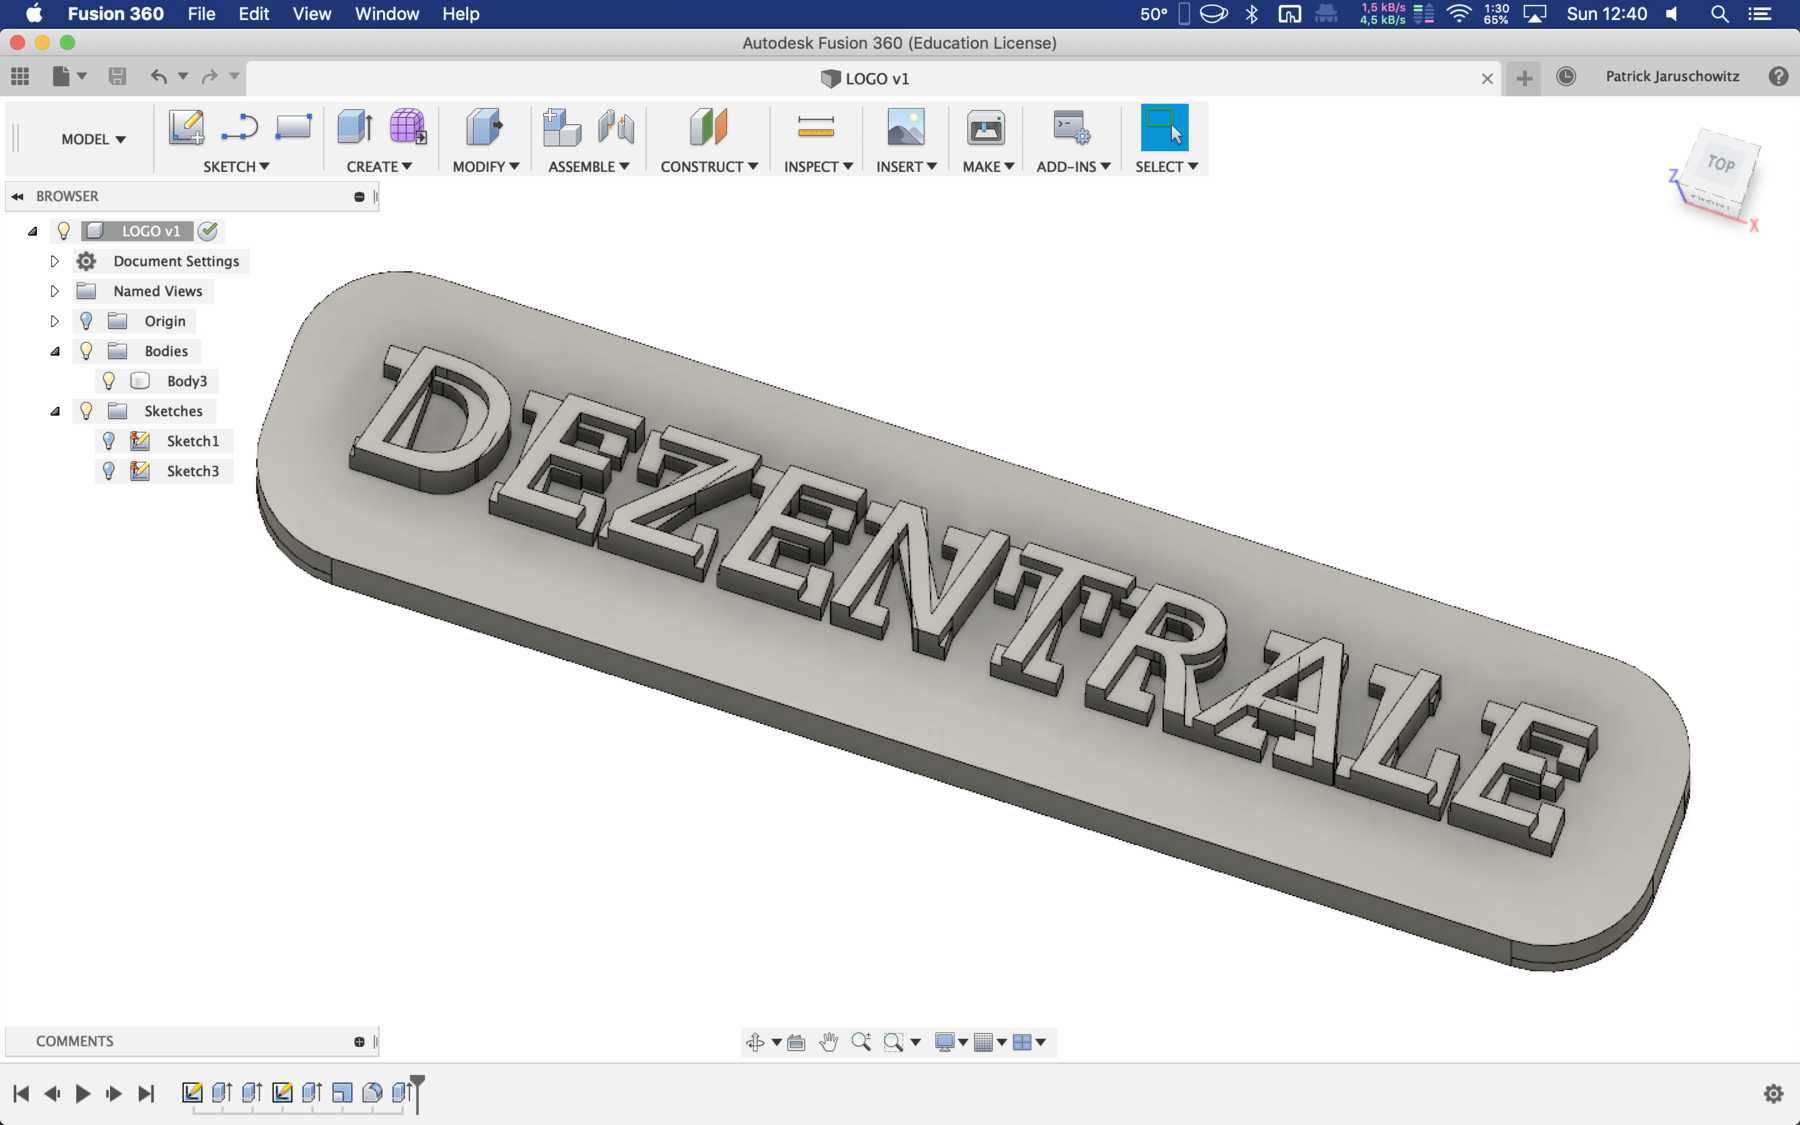
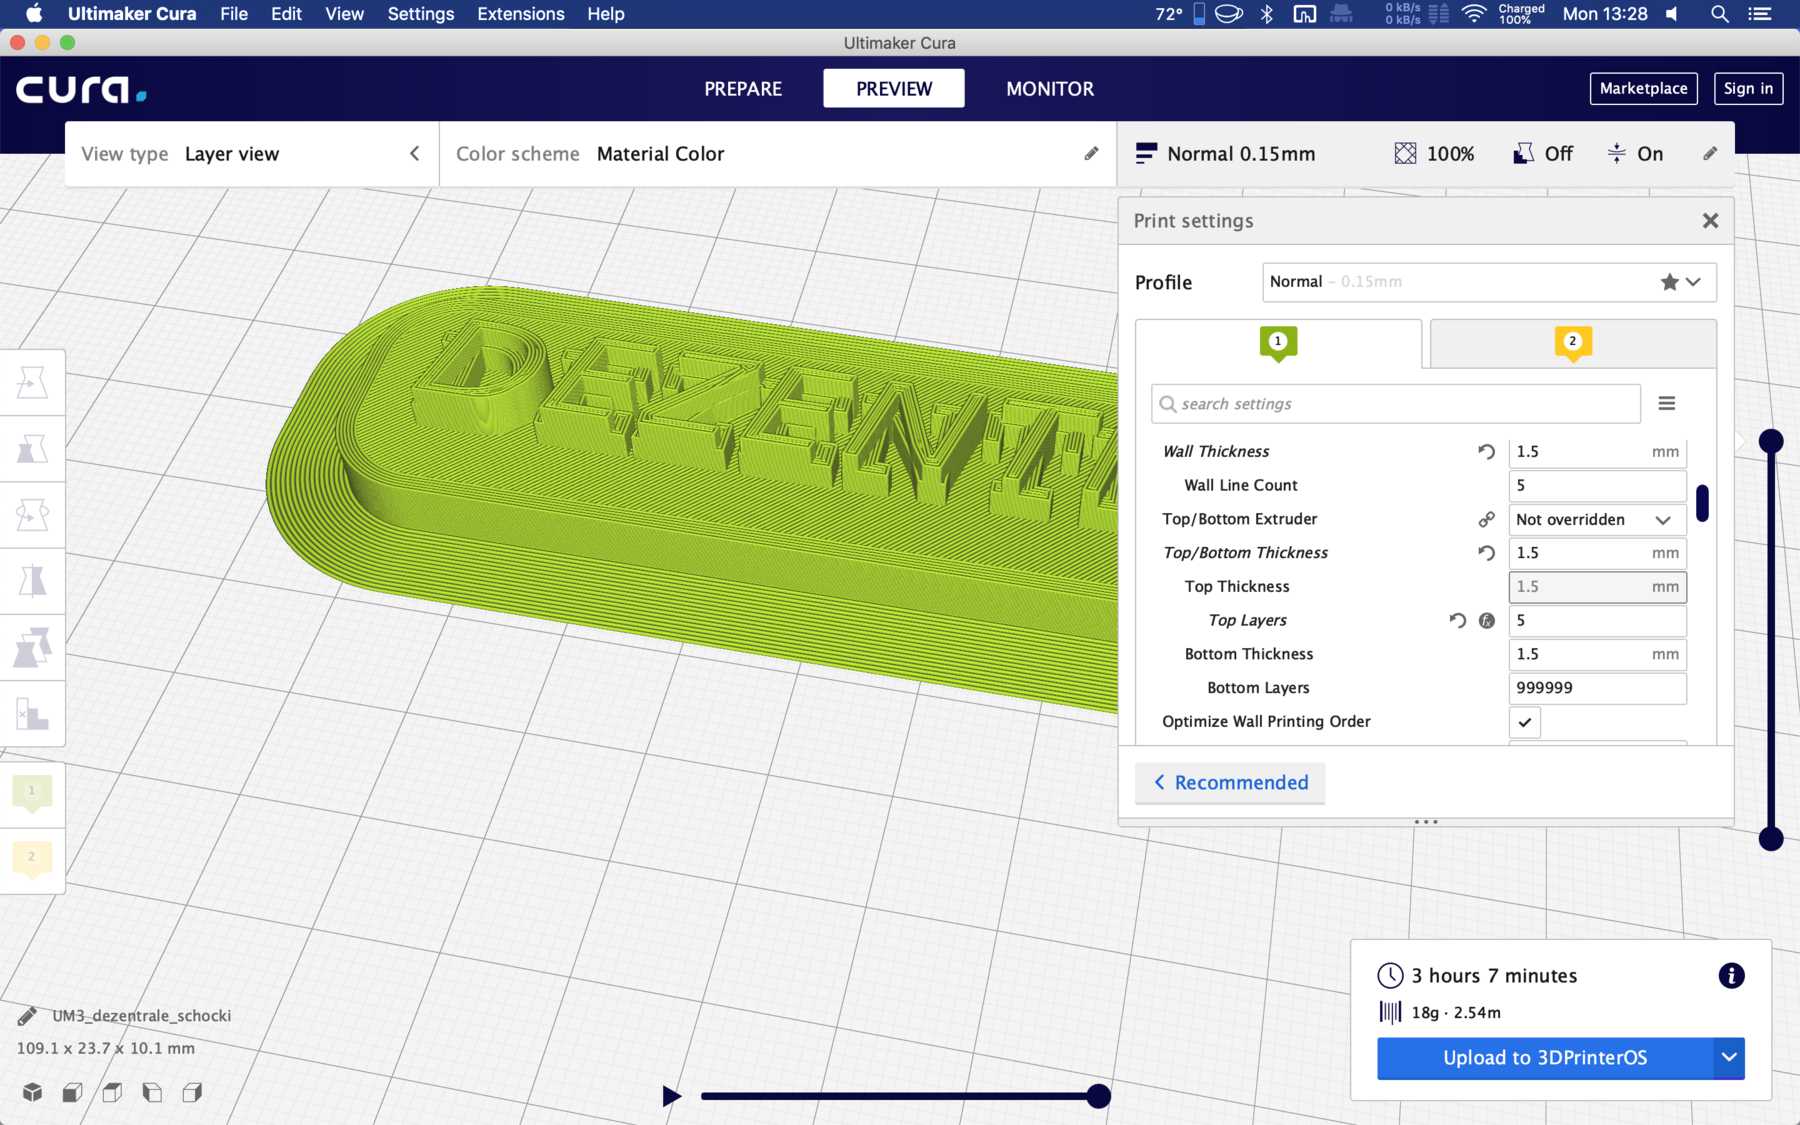
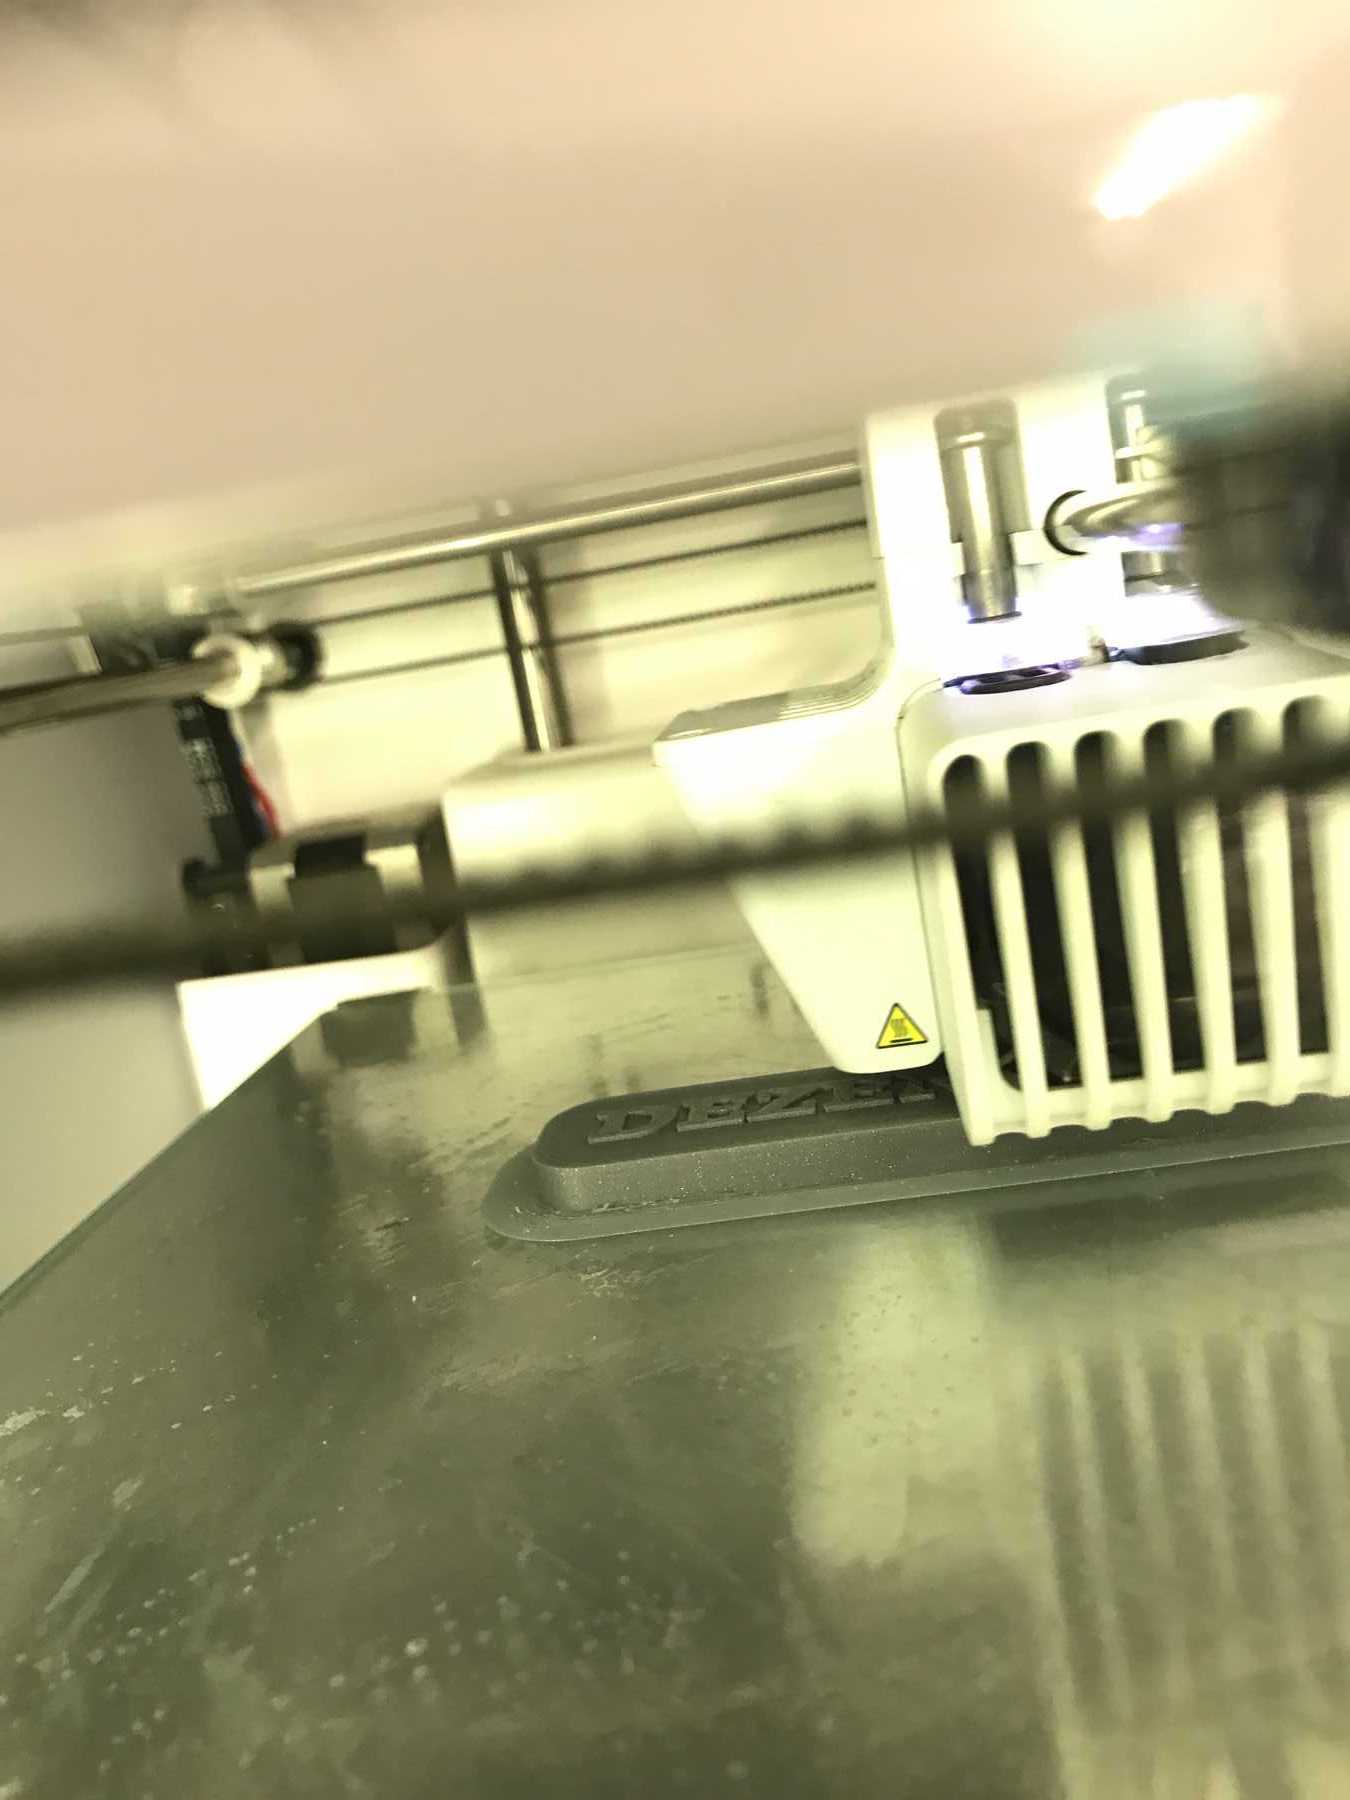
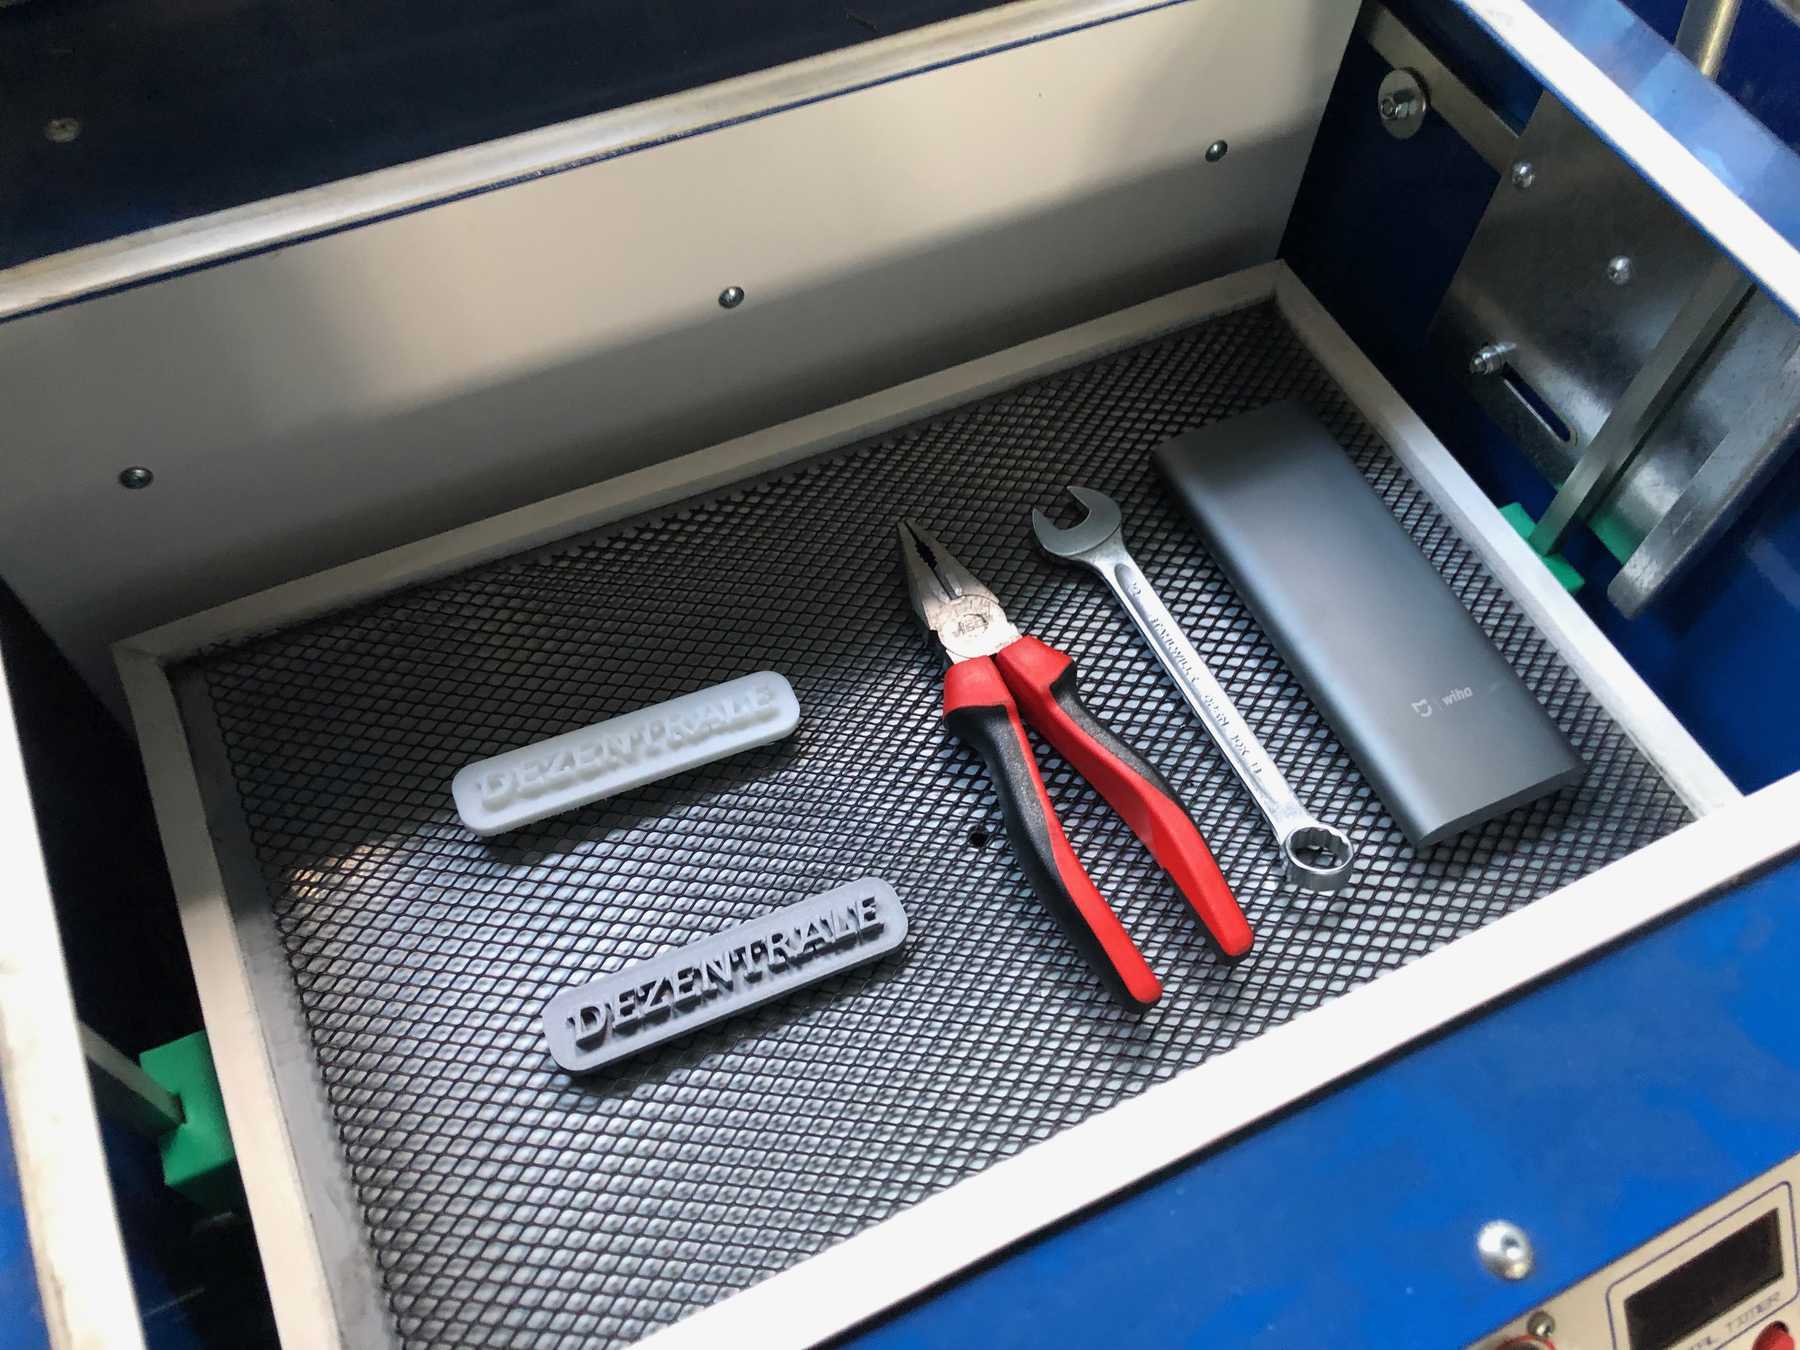
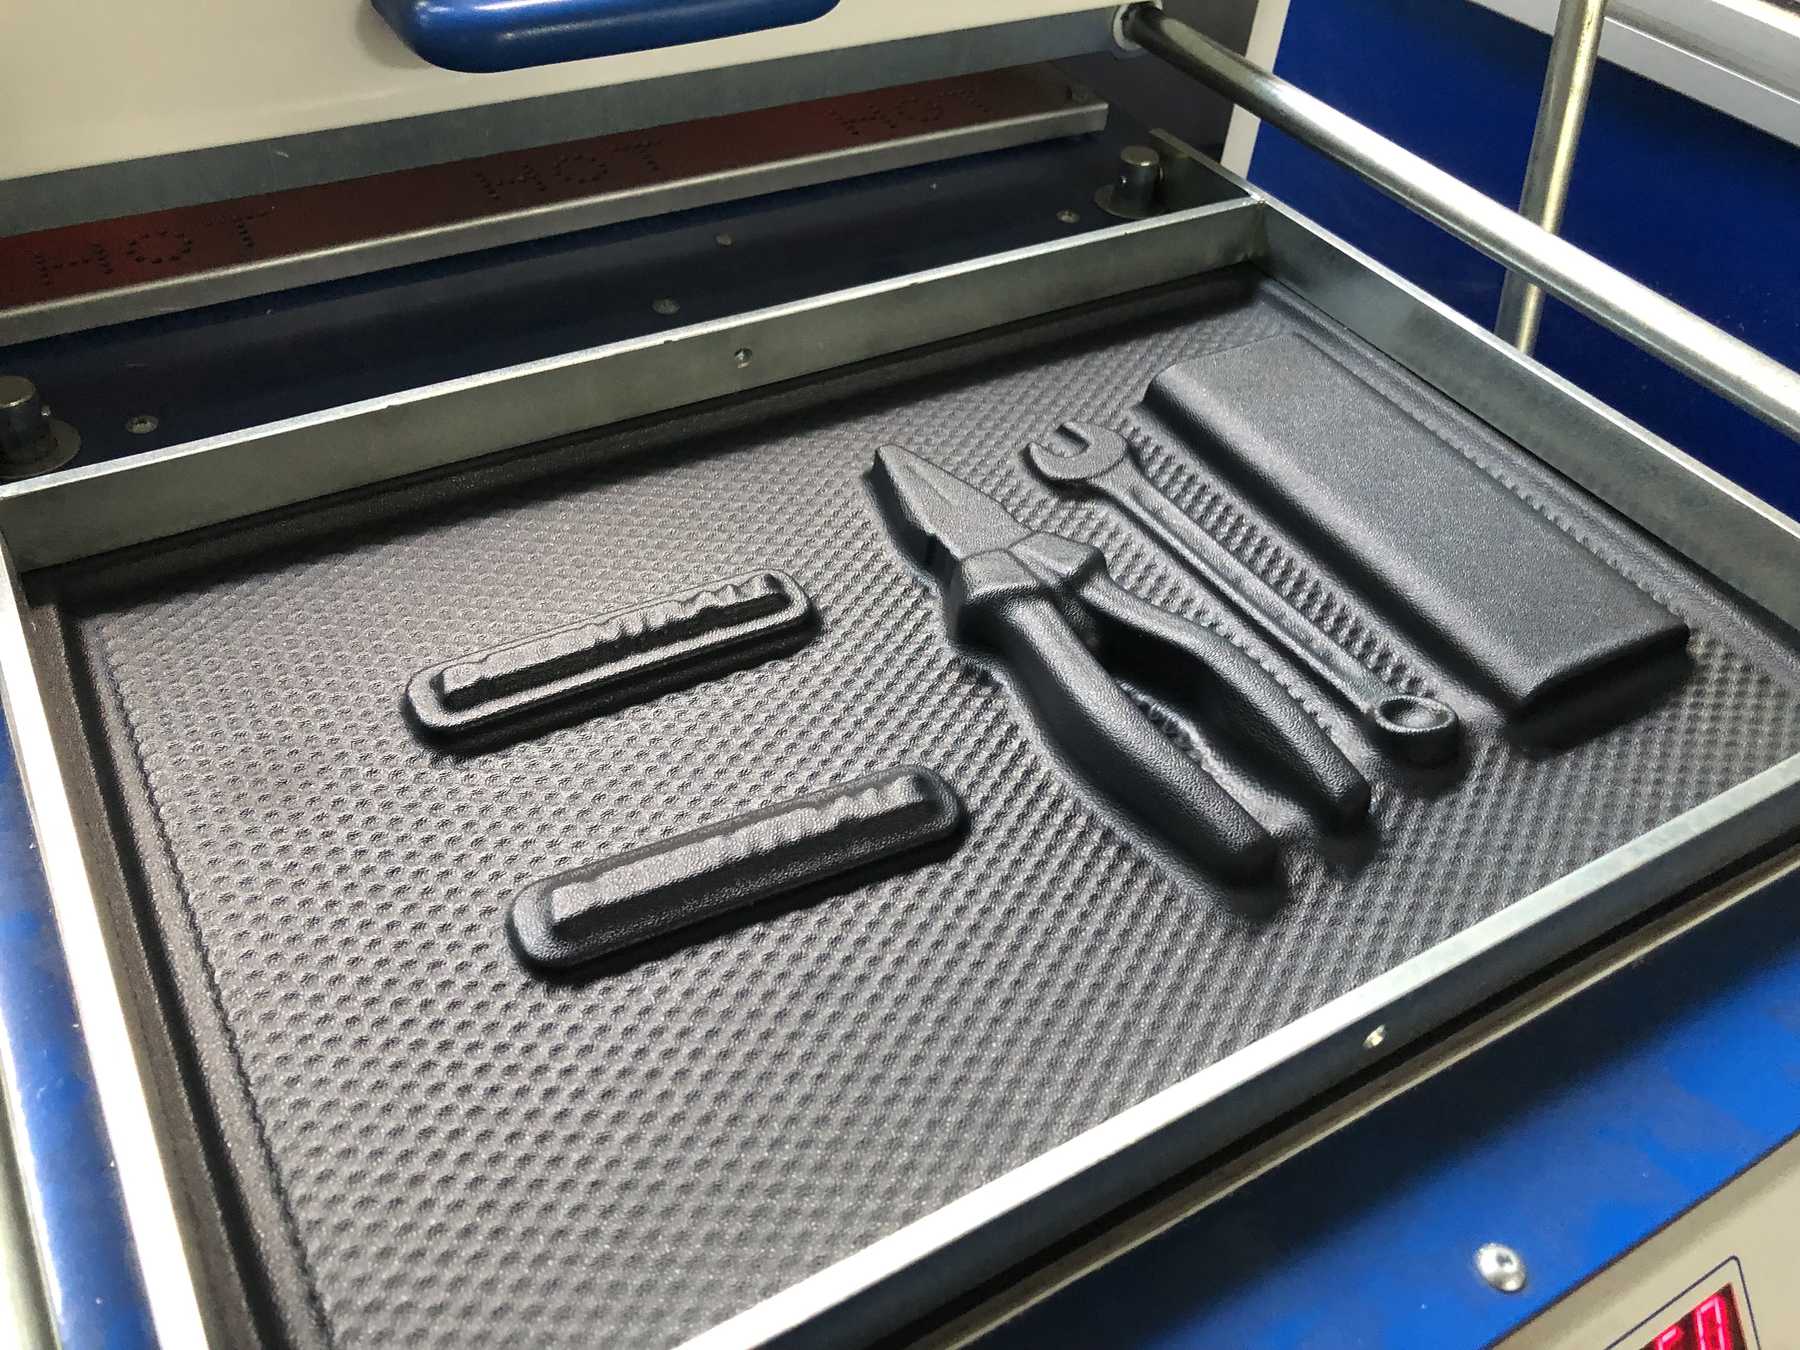
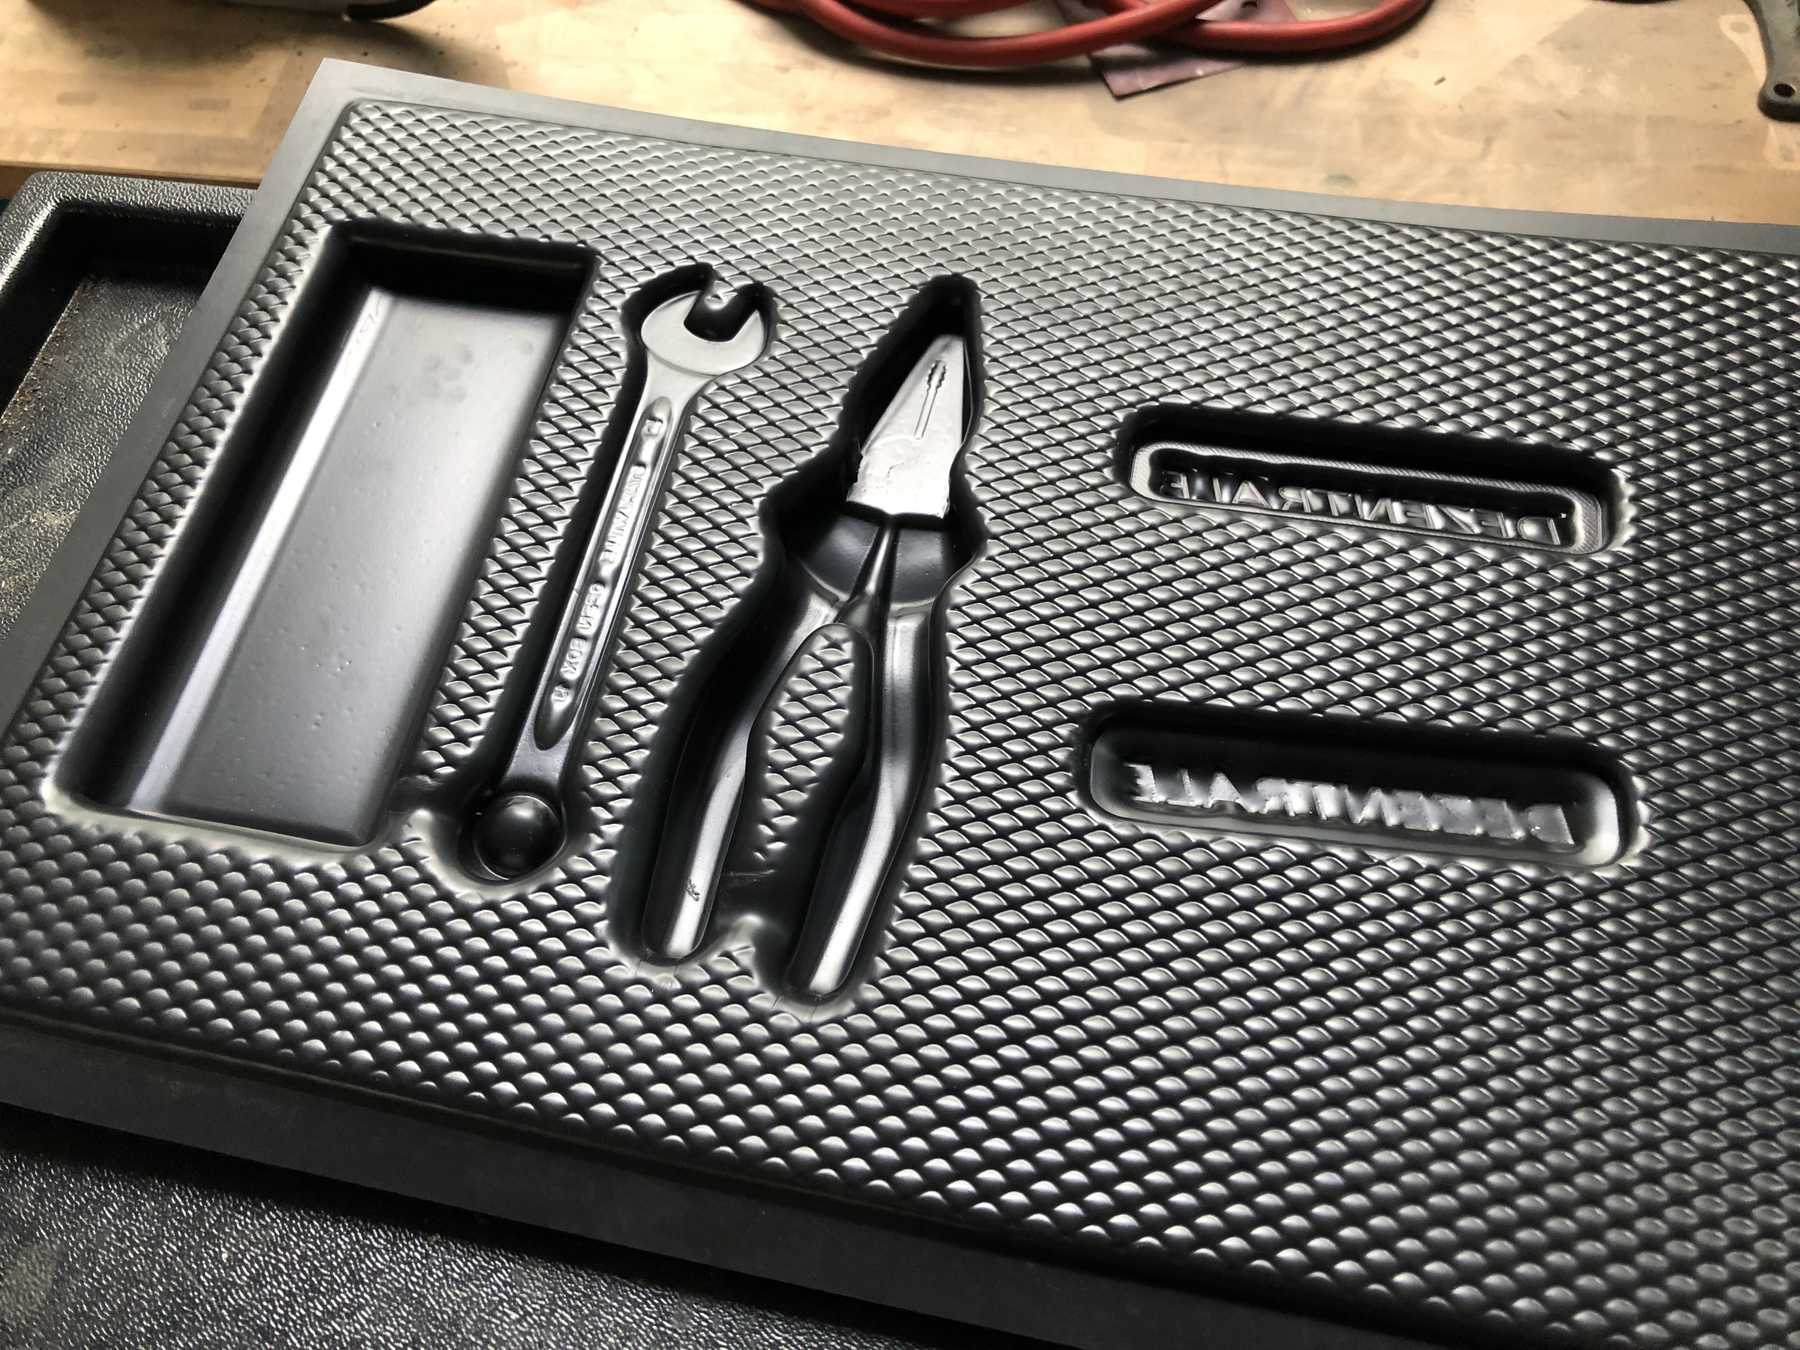
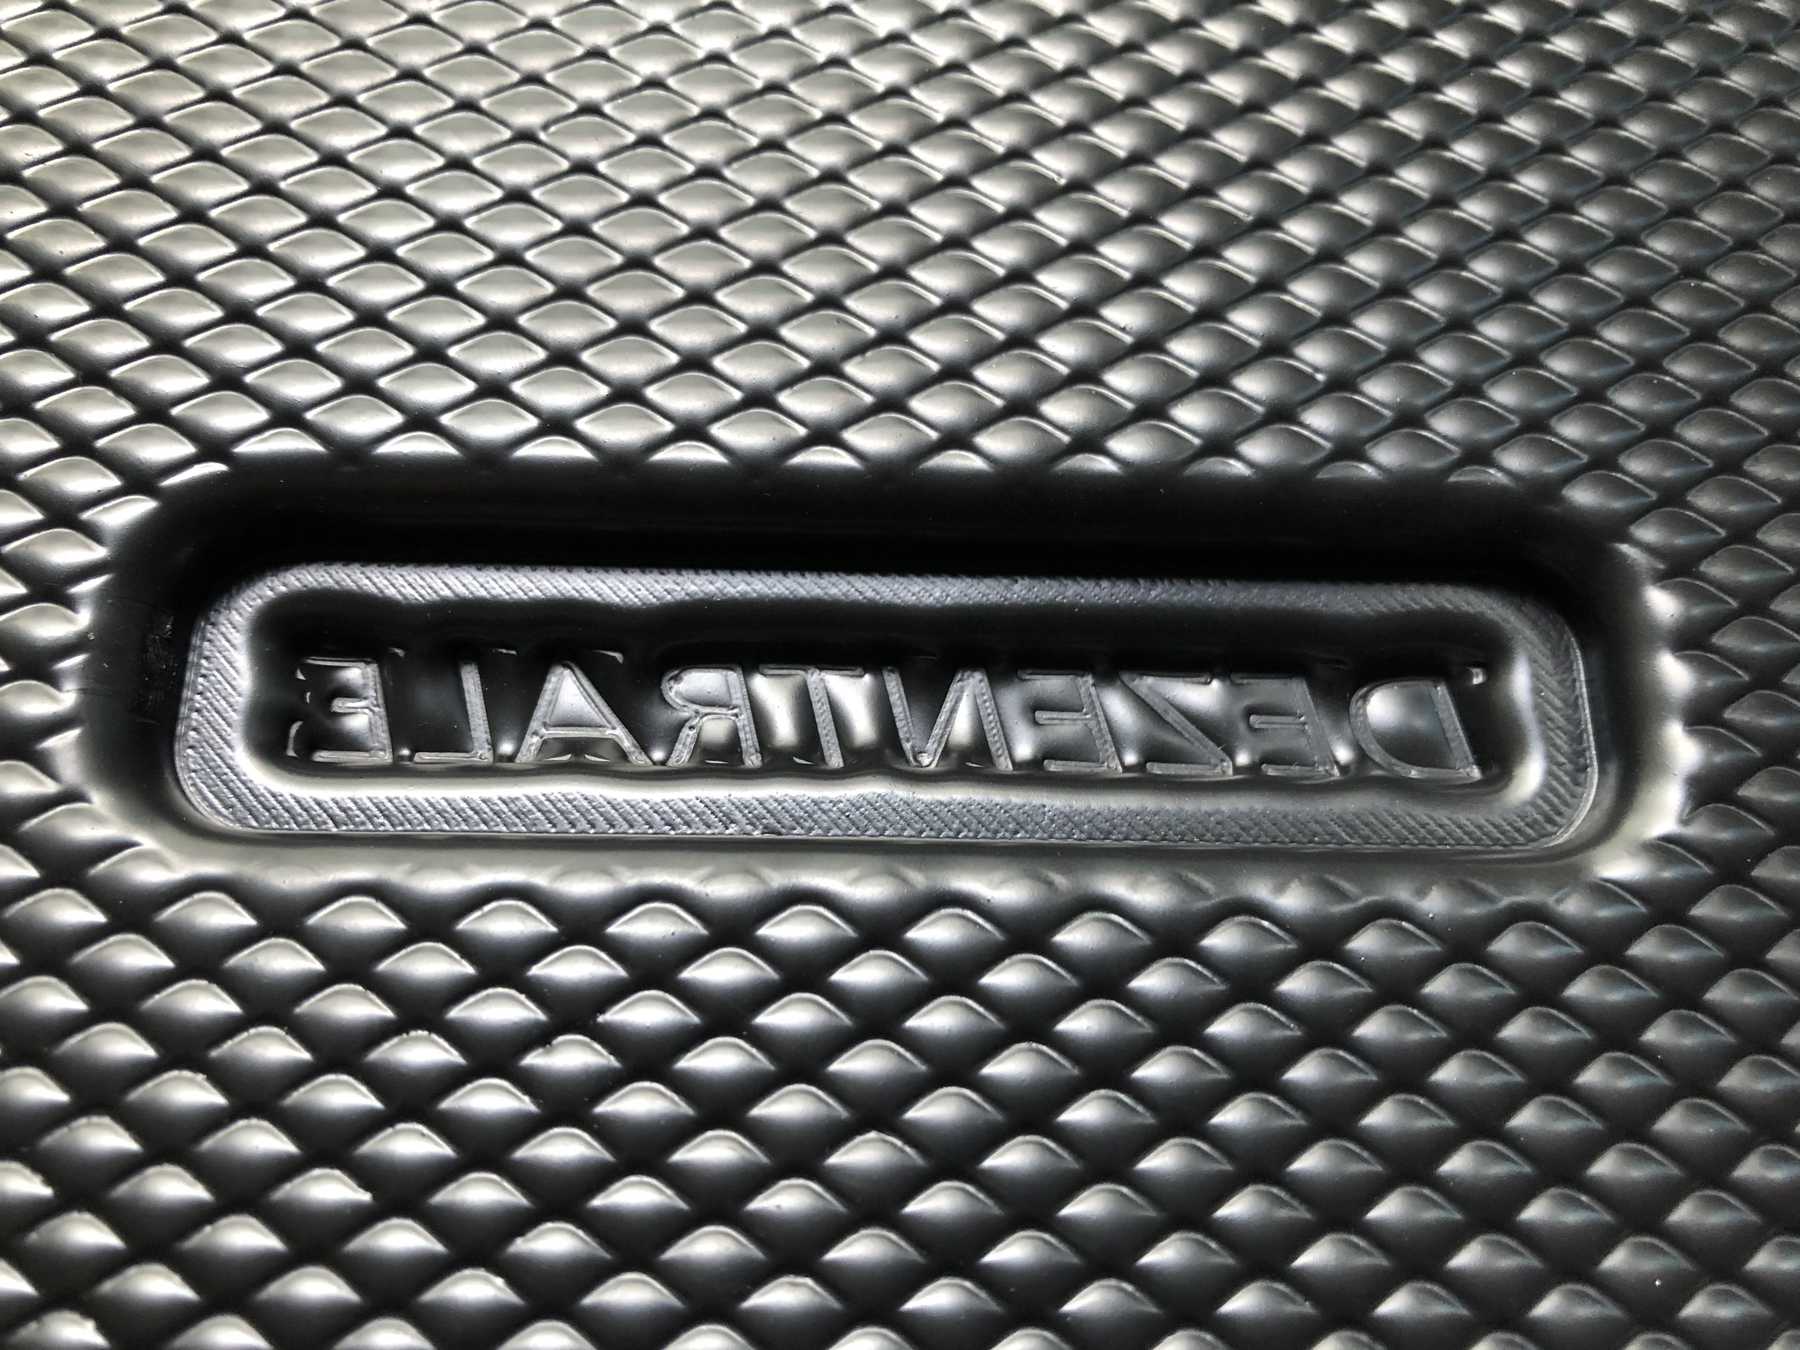
I wanted to deal with thermoforming in Wildcard Week. First I created a CAD model, which should be printed out of ABS. Later I wanted to make a DEZENTRALE chocolate with the negative. Here my created picture:
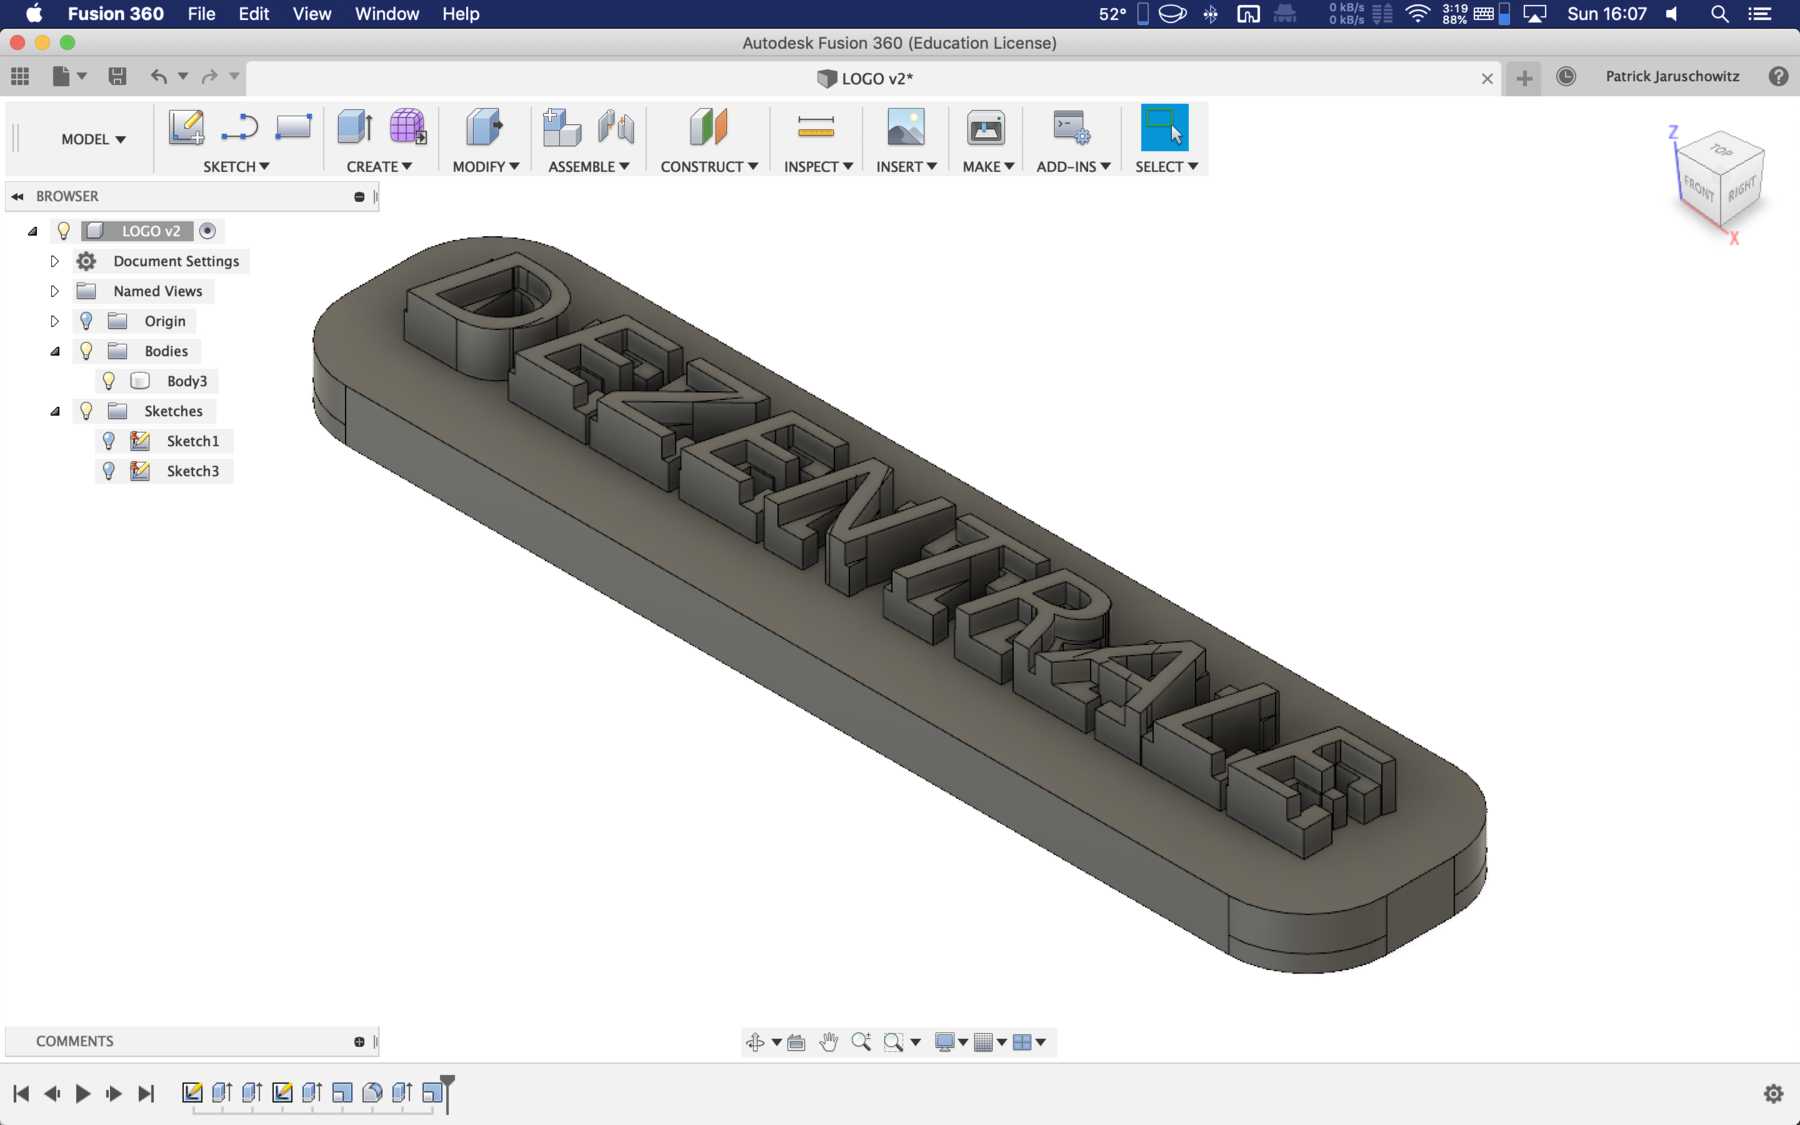
I wanted a comparison of how much infill was needed. For this I started a print with two extreme values: 100% infill and 25% infill. The edge had a layer thickness of 1.5mm. So I was very curious whether the results looked identical.


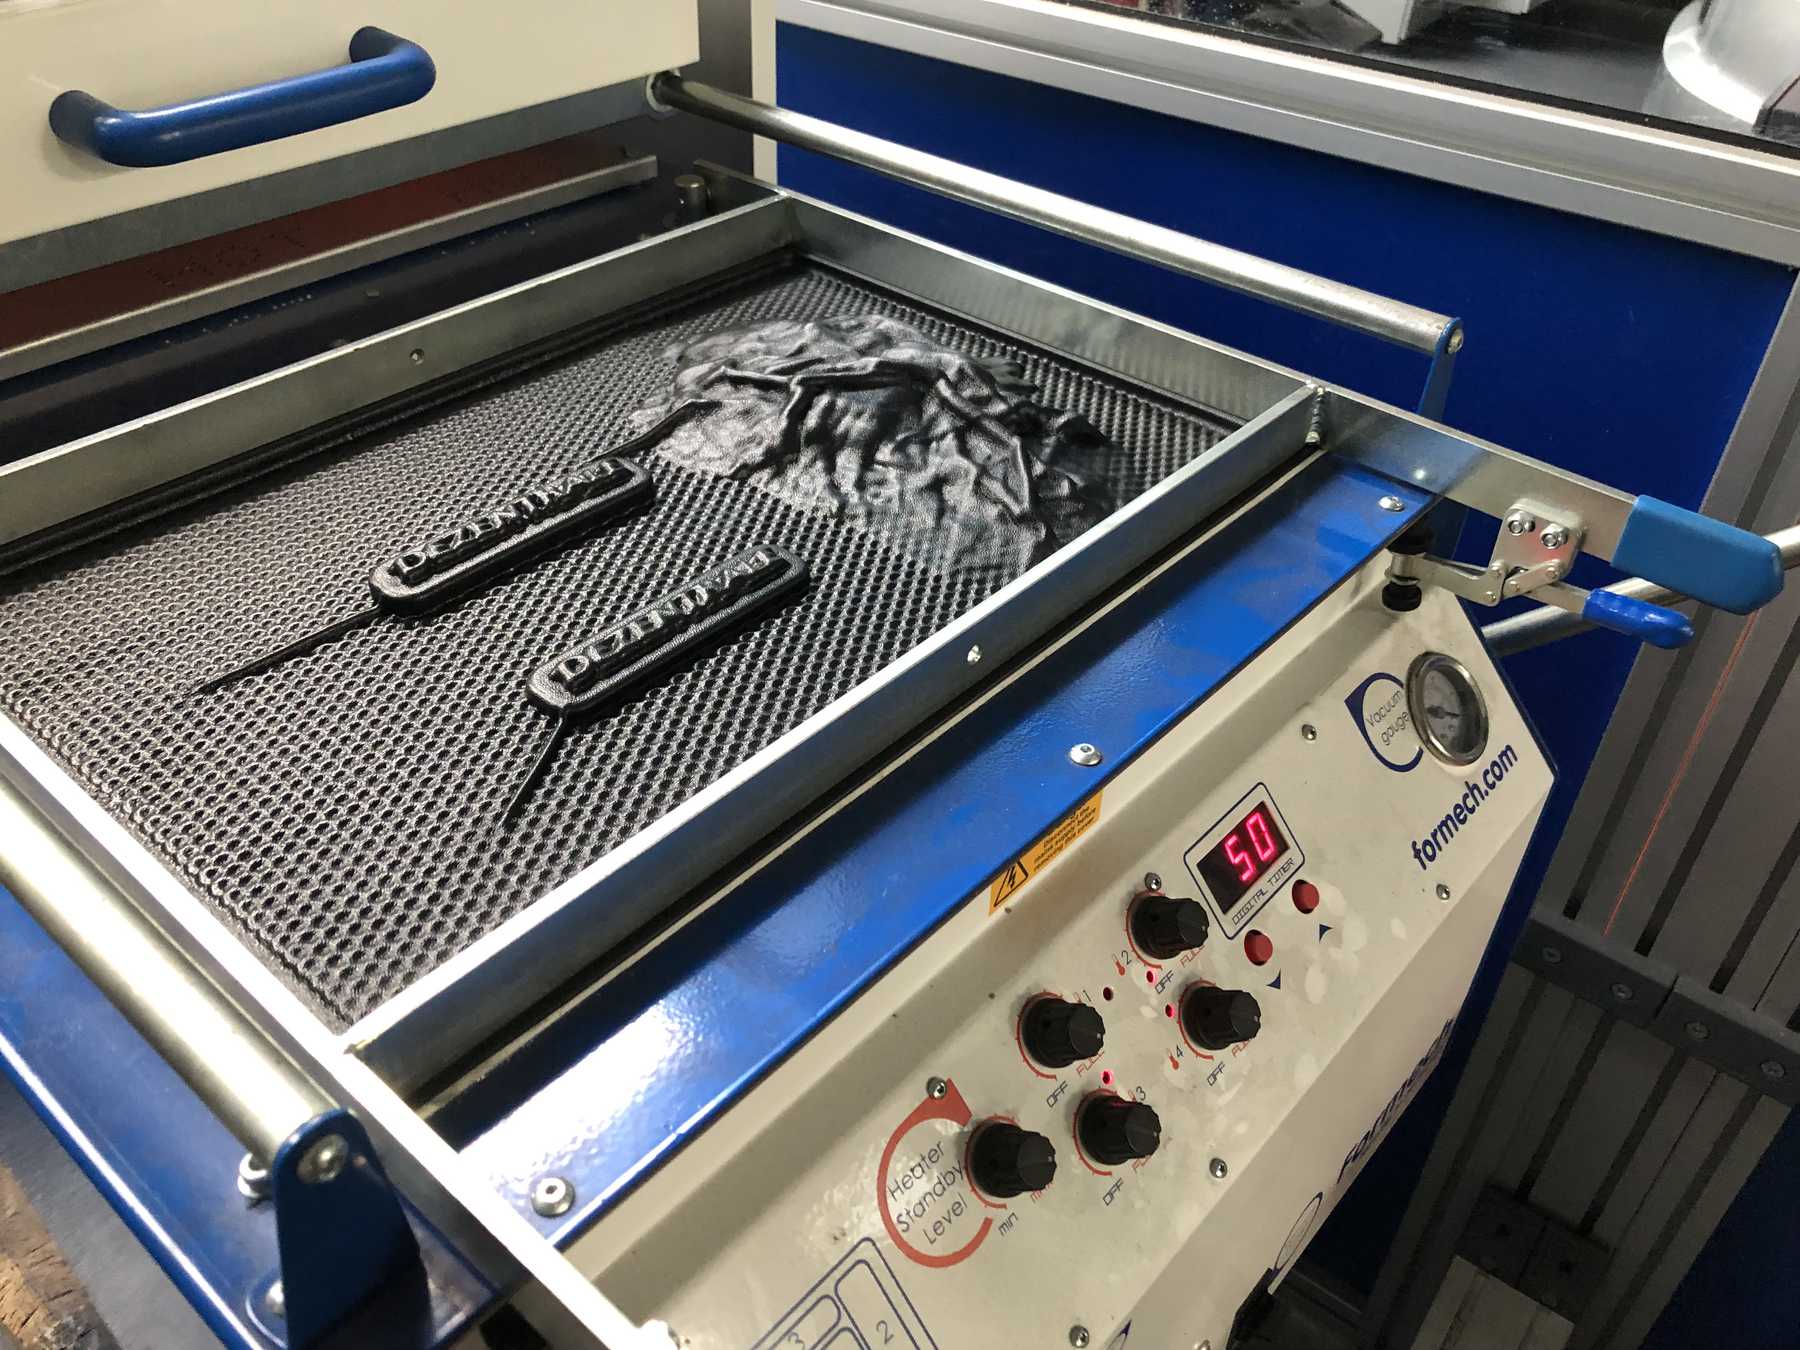
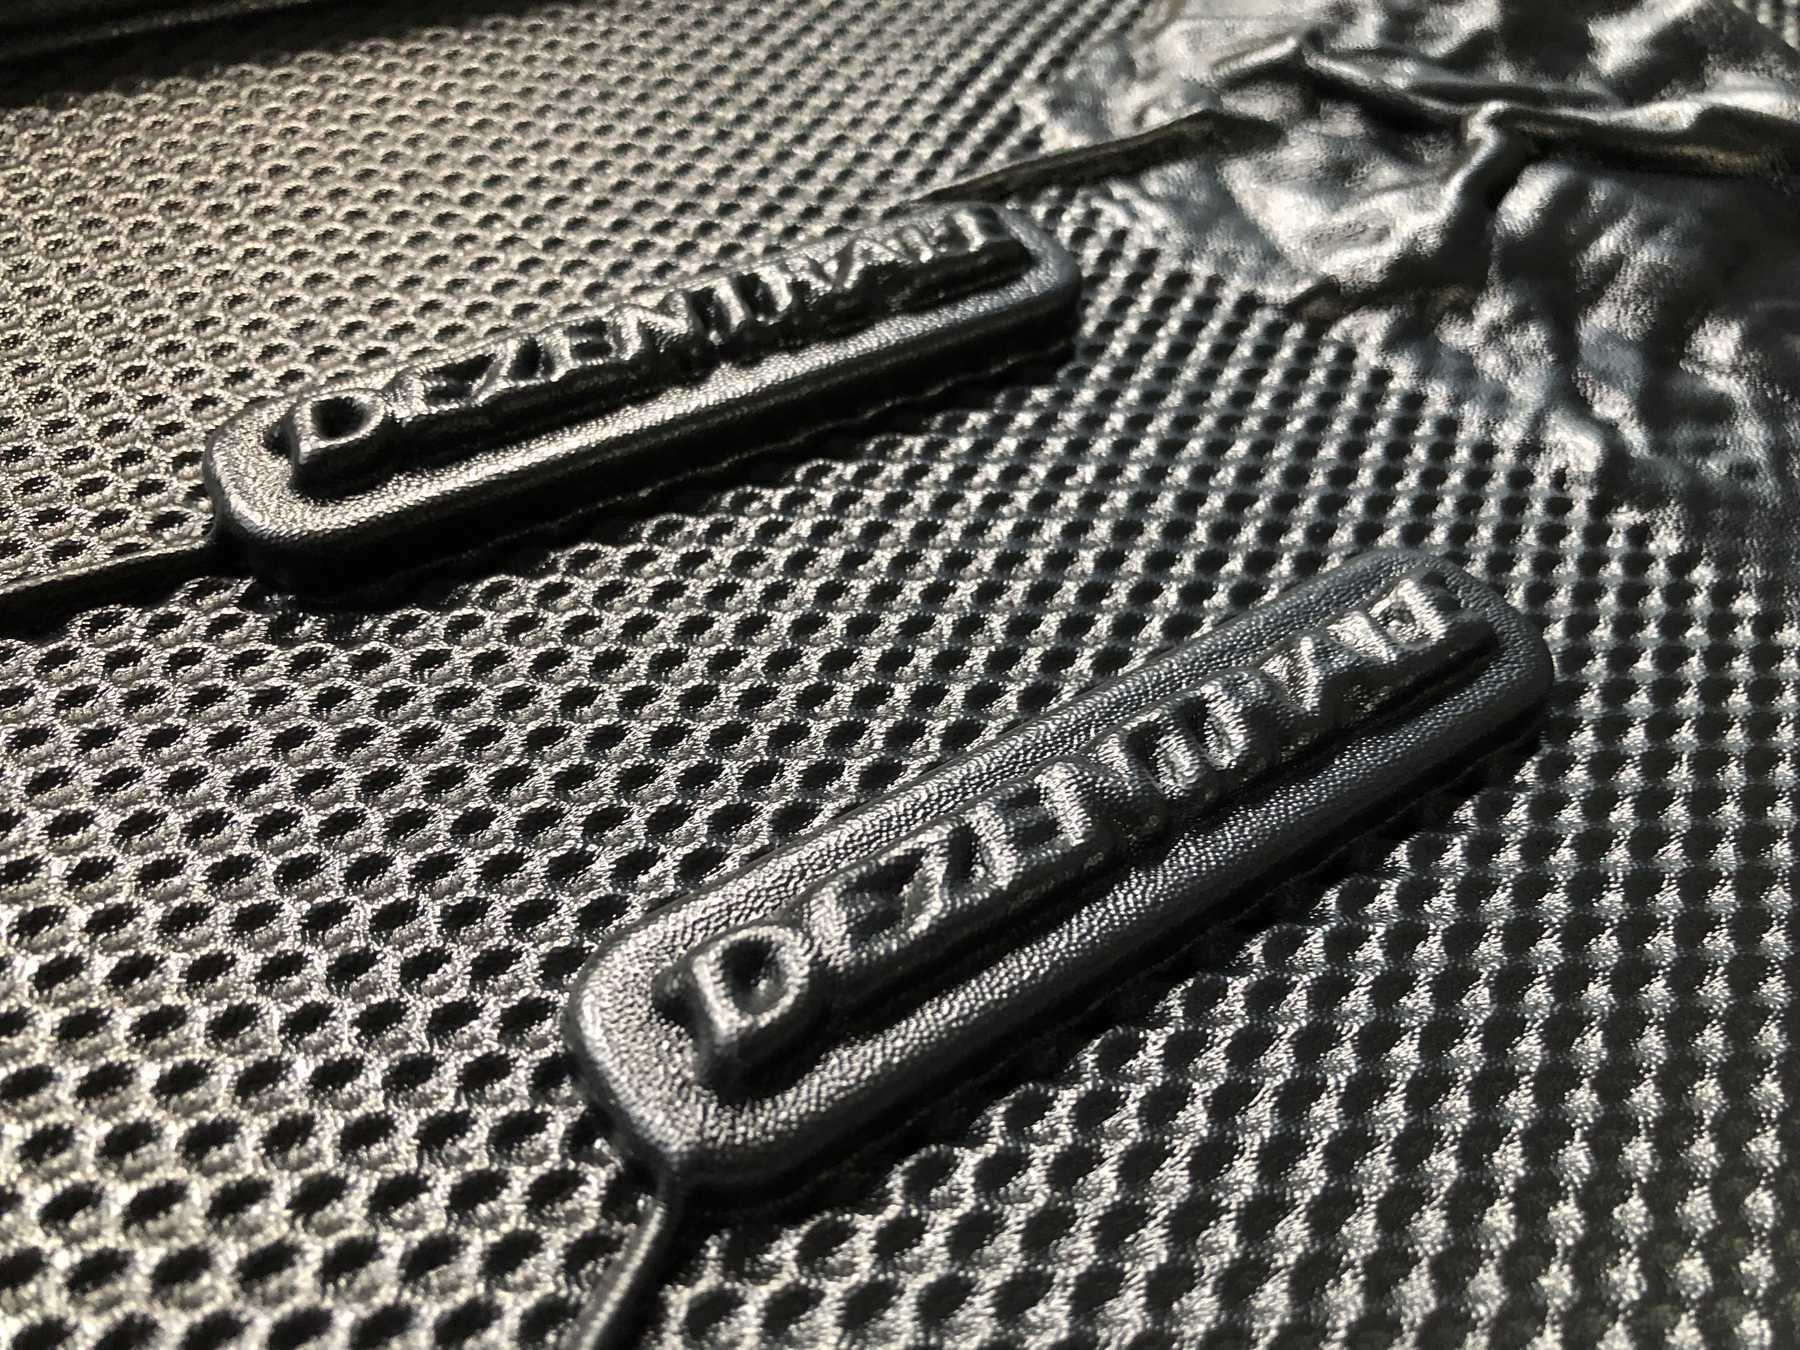
The 3D prints packed and off to the thermoforming machine. The thermoformer was a Formech 300XQ. The forming area is 430 x 280mm, whereby the sheet size is slightly more with 450 x 300mm. The maximum thickness of the material is 6mm. The draw may have a depth of 160mm. In total there are four independent heating zones and a digital timer.
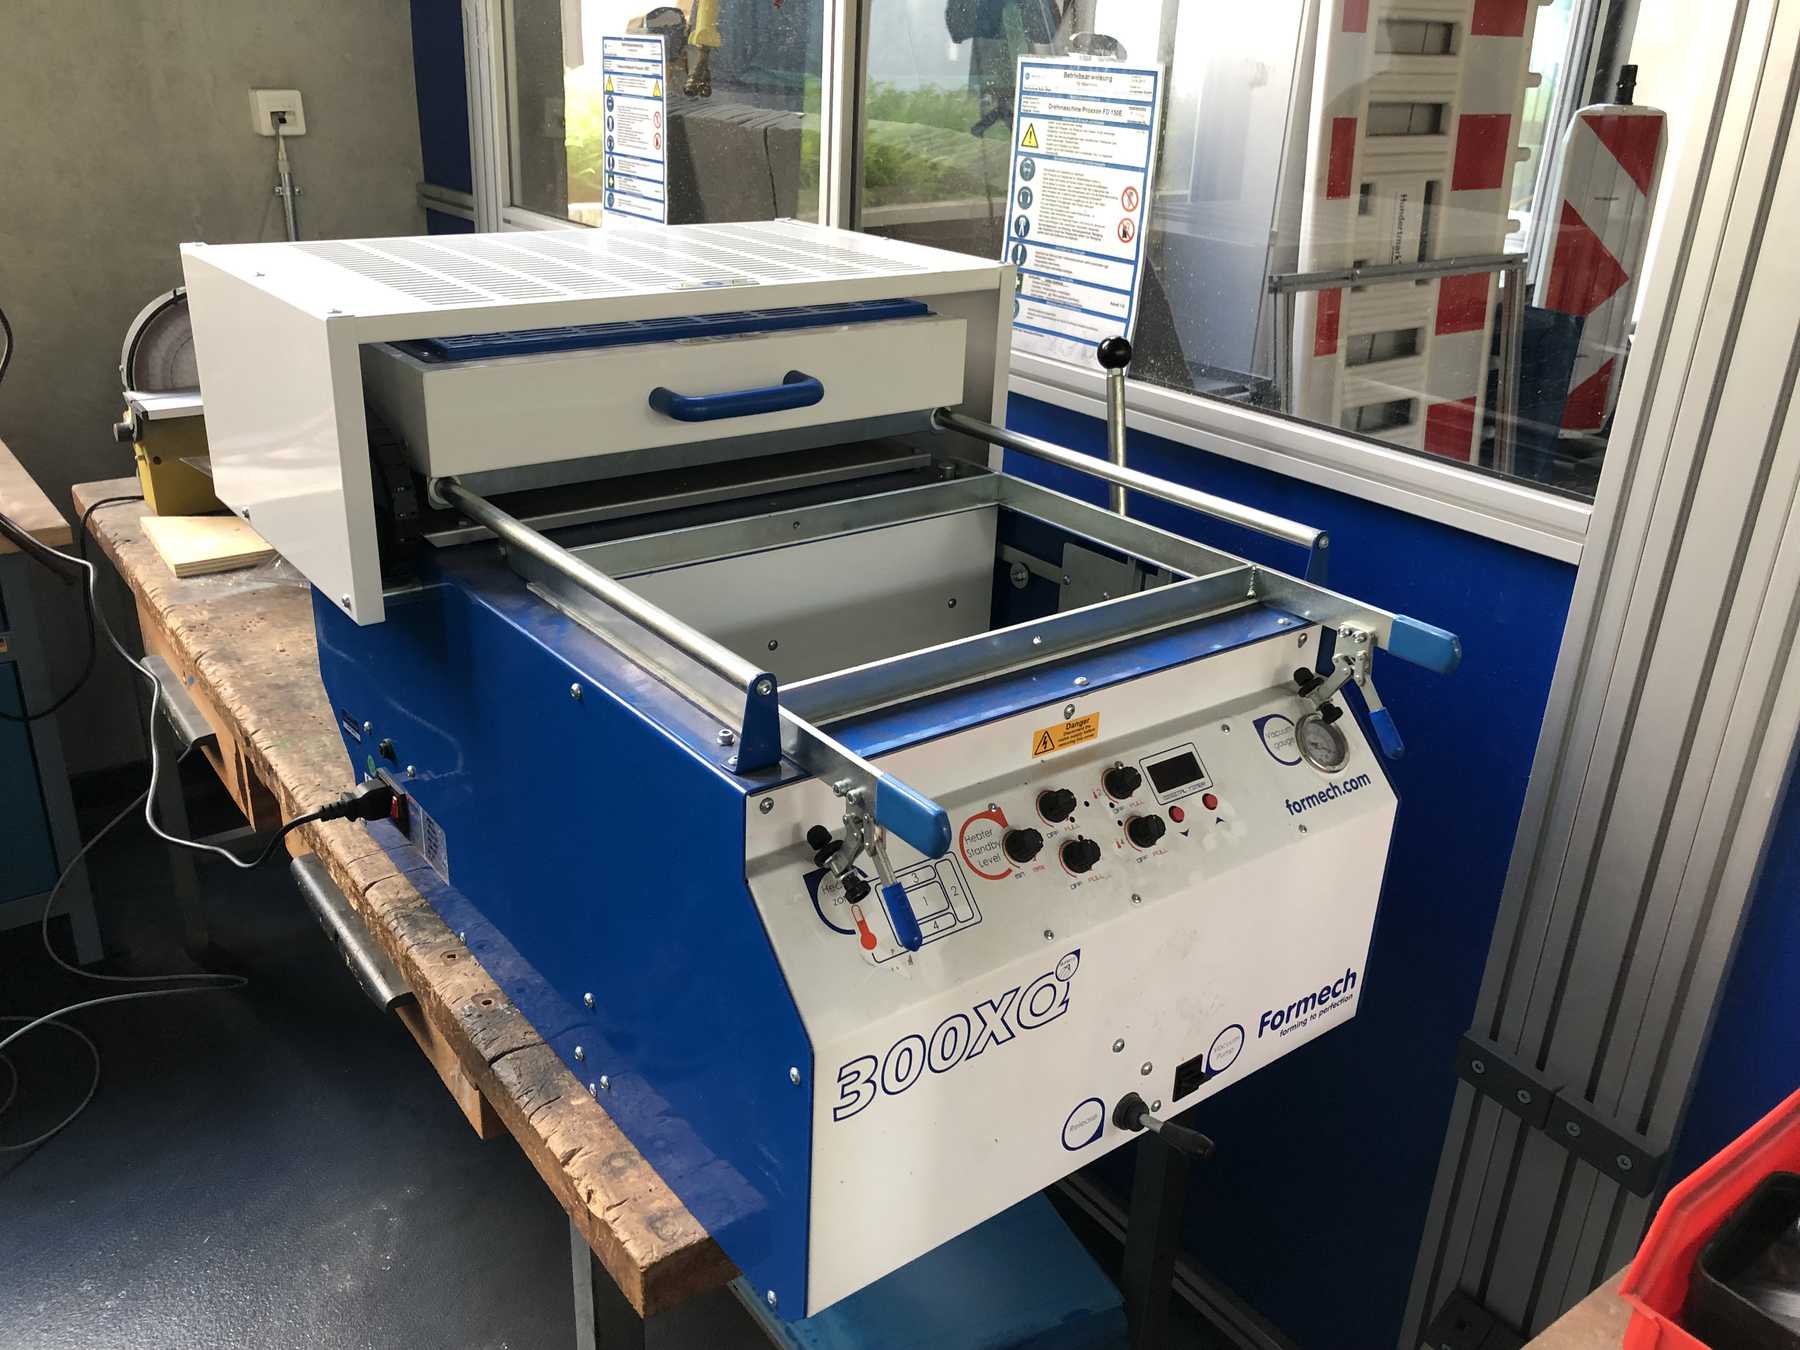
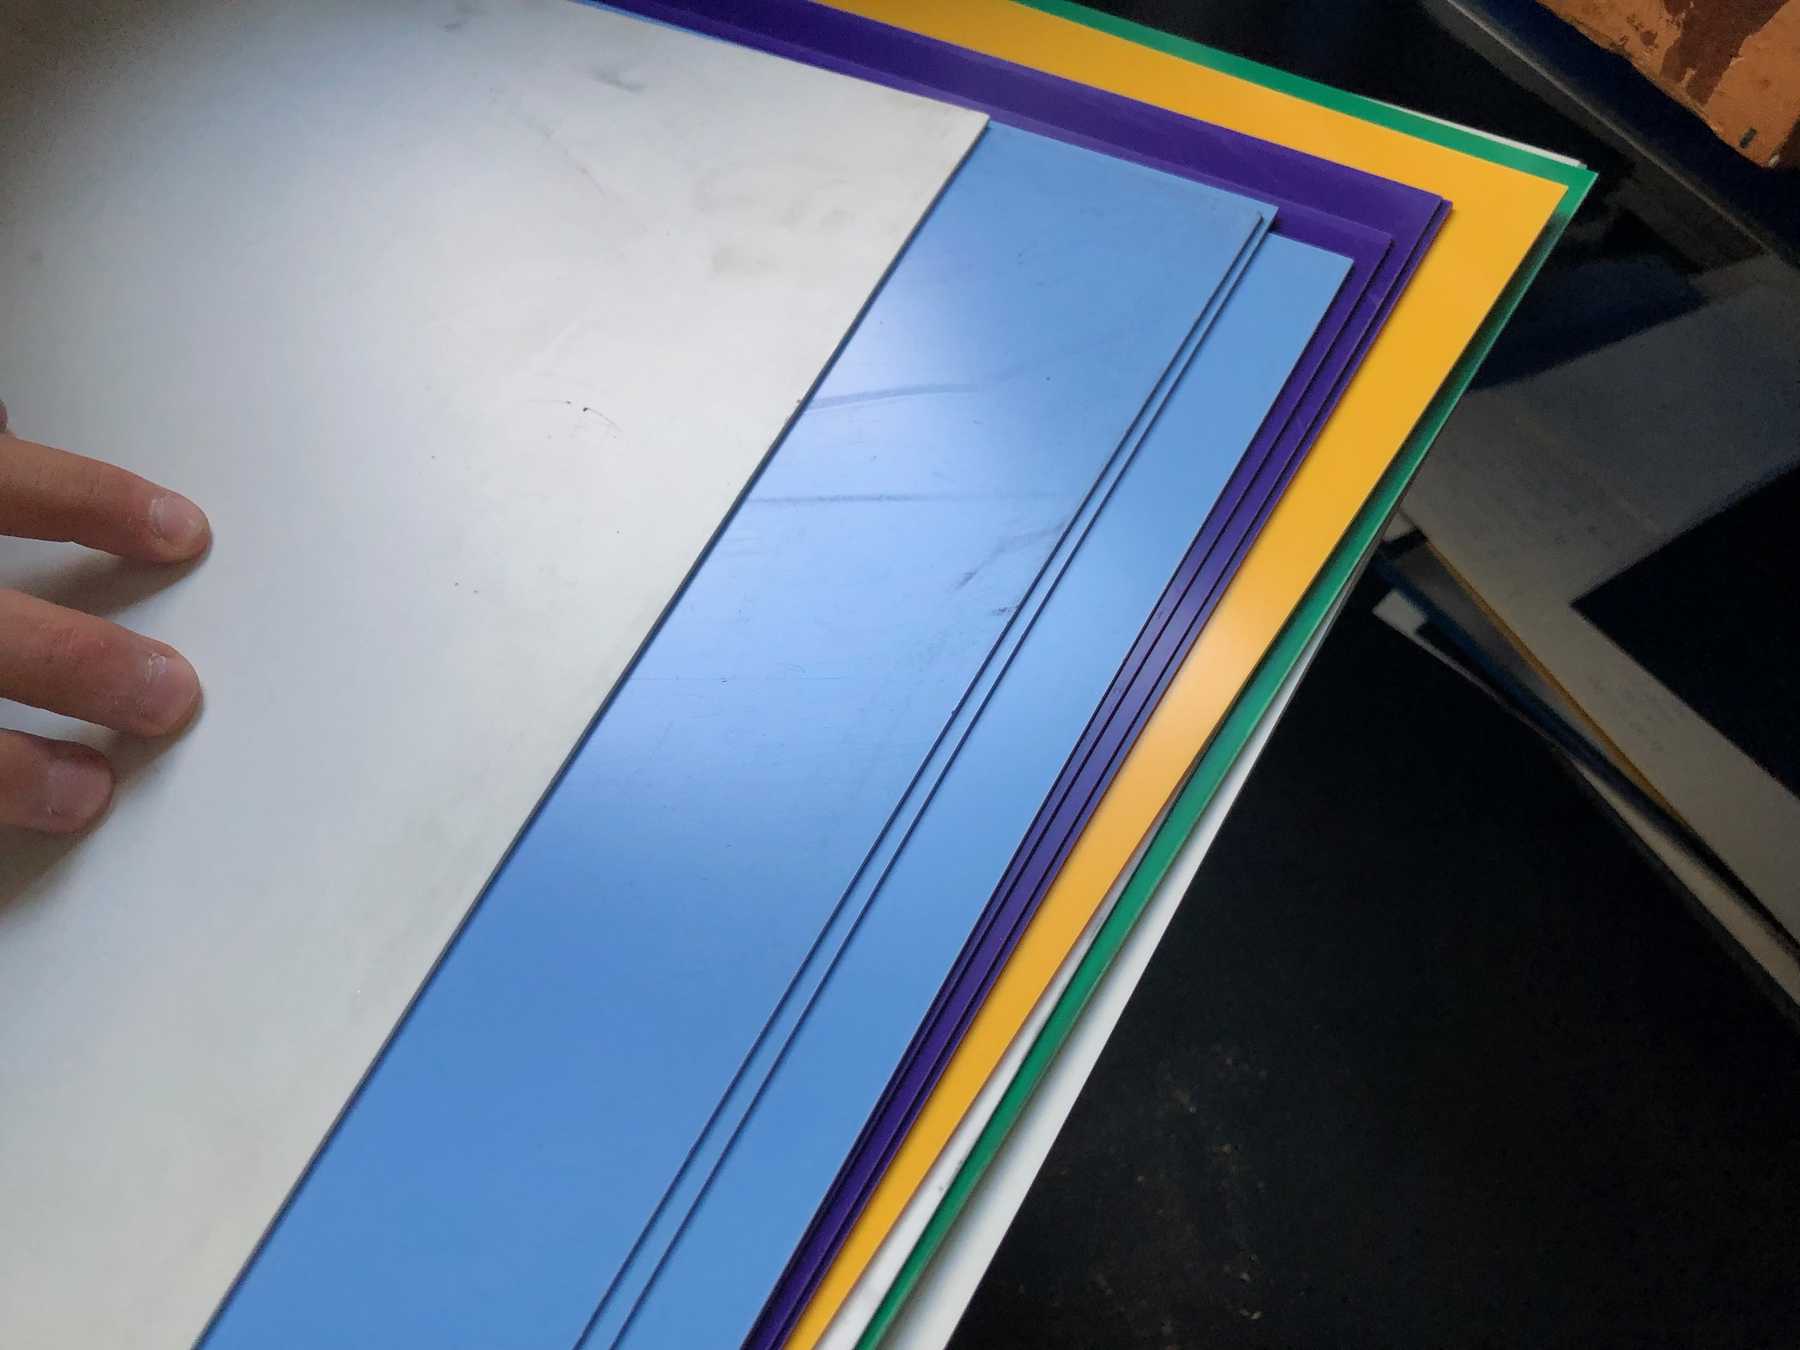
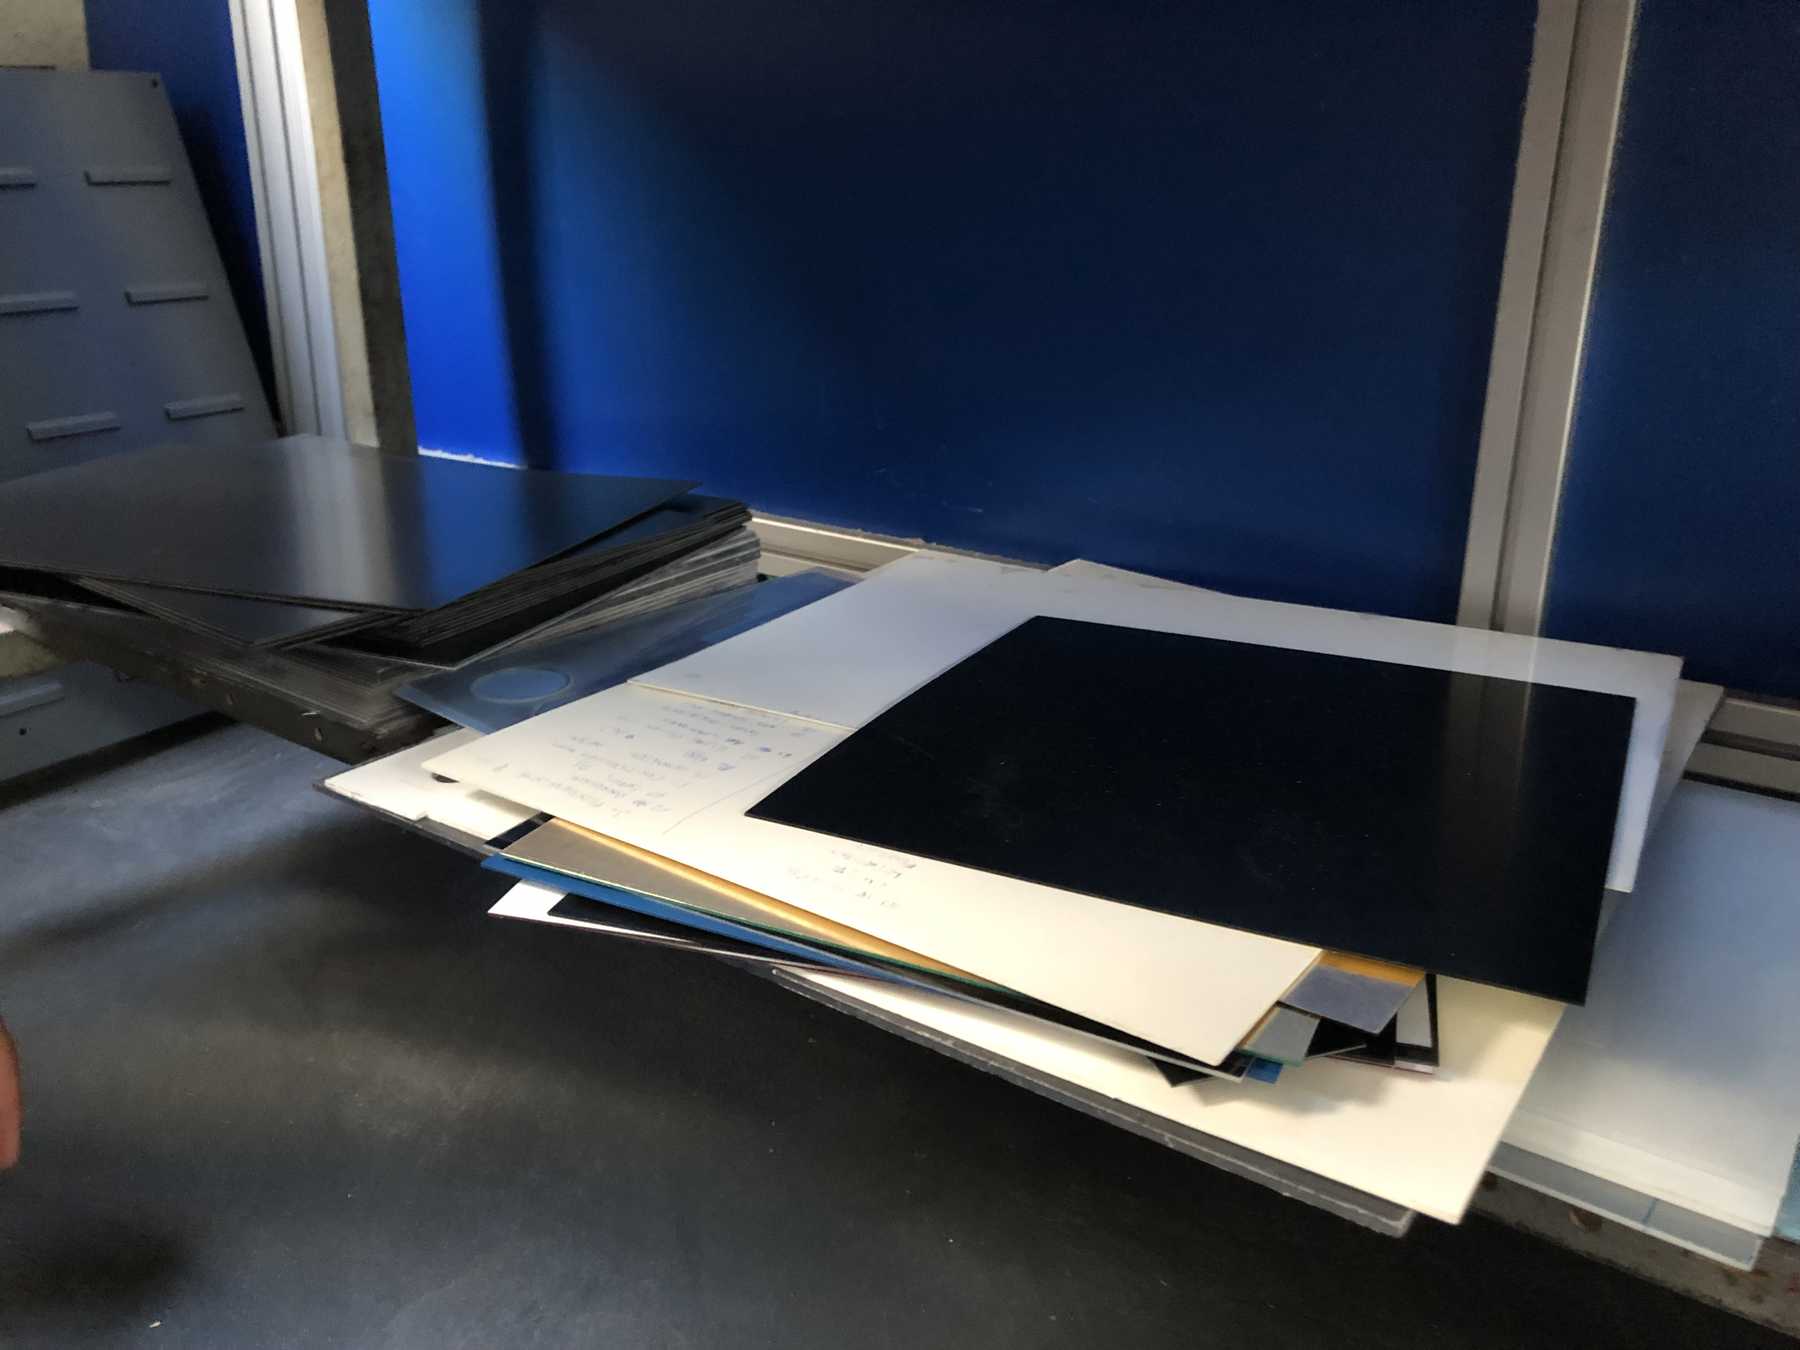
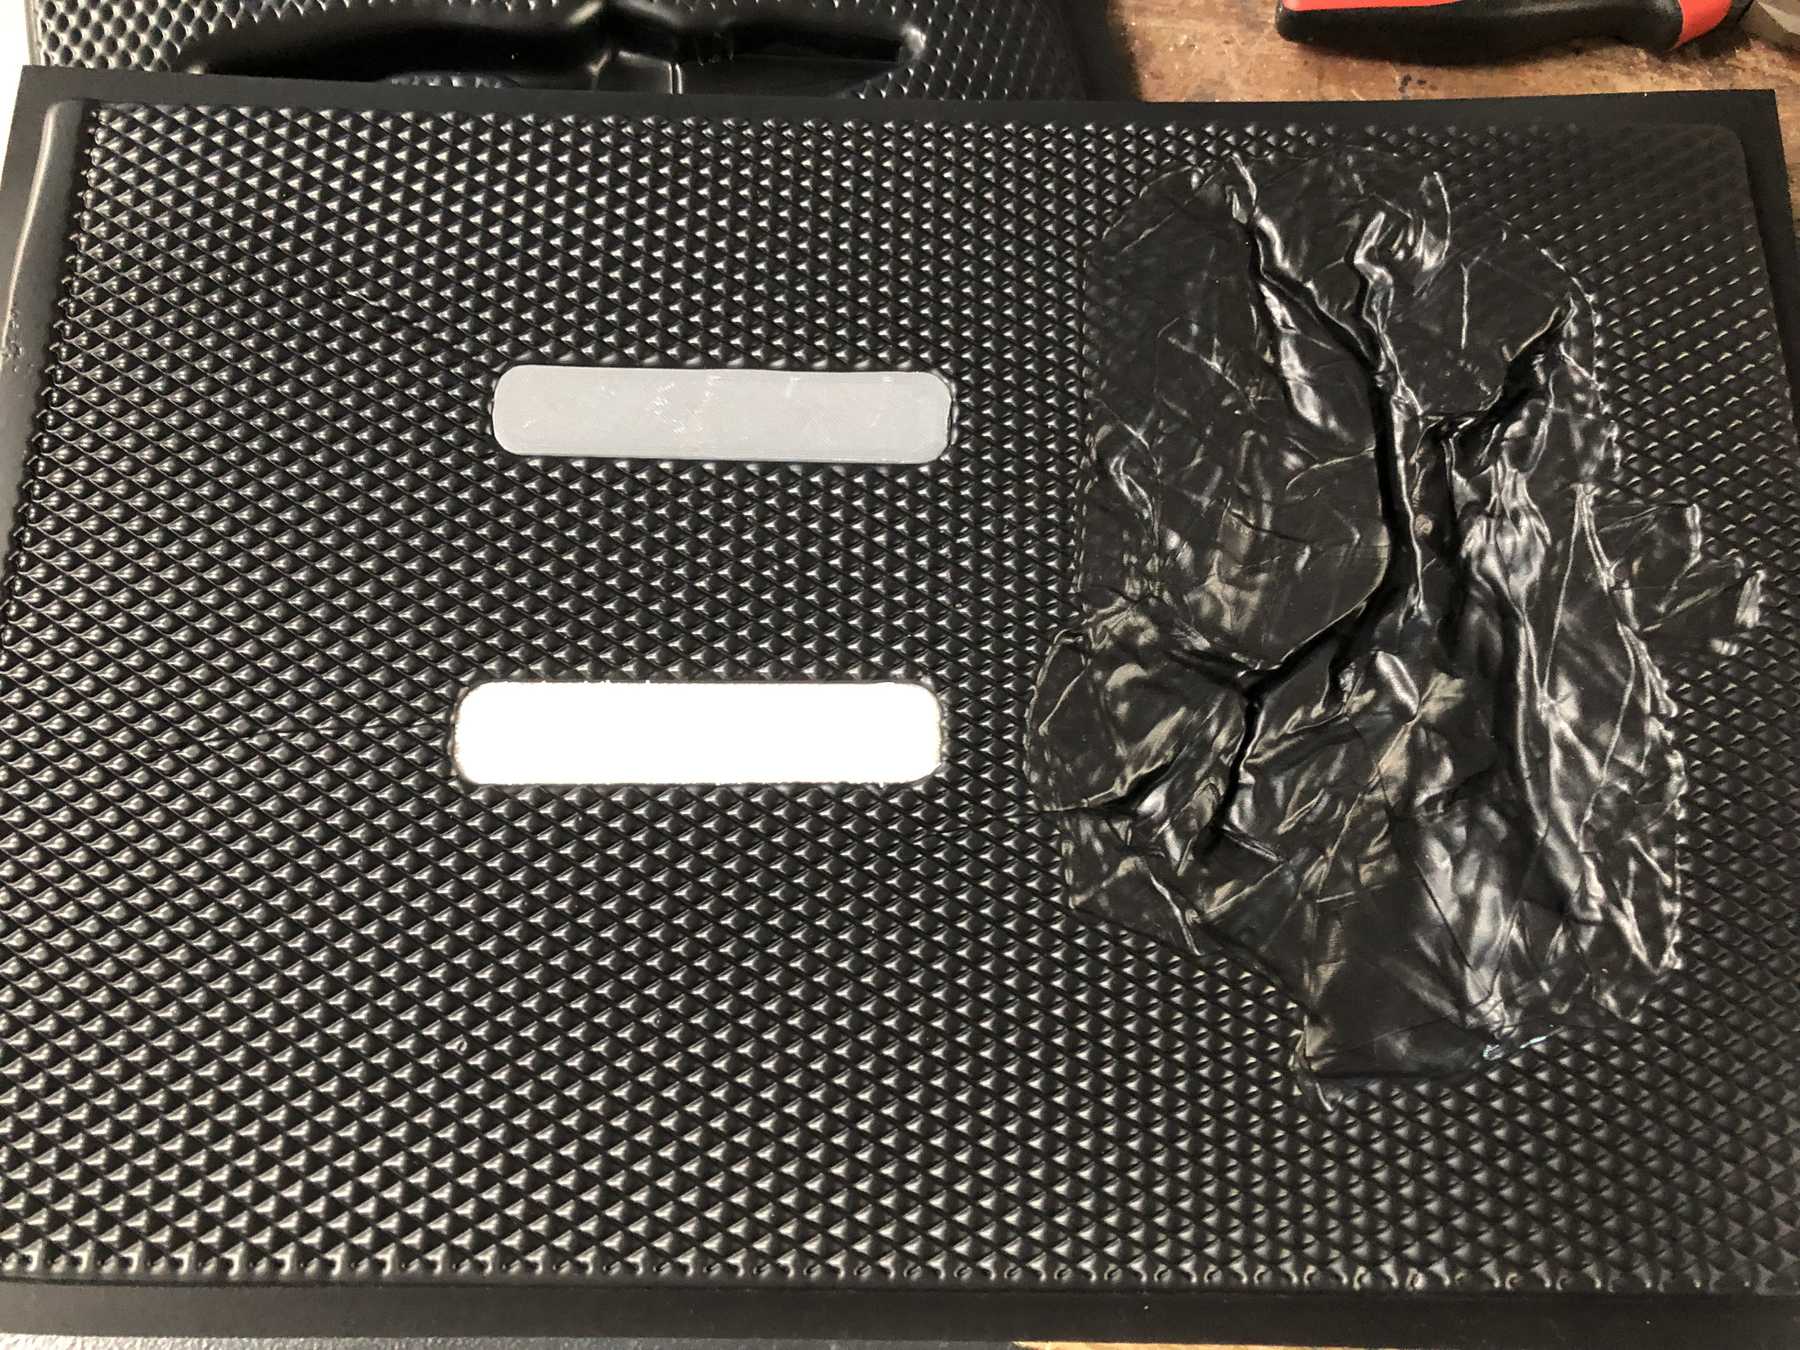
According to the manufacturer, the following materials are supported: ABS, Acrylic, Bextrene, CAB, Celanex, Duraplex, HDPE, HIPS, HMWPE, Kydex, Lexan, LDPE, Makrolon, Mylar, Noryl, Optix, Oroglas, PC, Perspex, Polyethylene, PE, PEEK, PEI, PE Foam, PET, PETG, Plexiglas, PMMA, Polycarbonate, Polystyrene, Polypropylene, PP, PPS, PSU, PTFE, PVC, Teflon, TPE, Ultem. A variety of materials, one could say. First I looked at the available materials and then I decided on black. I put the originals in and put the machine into operation.


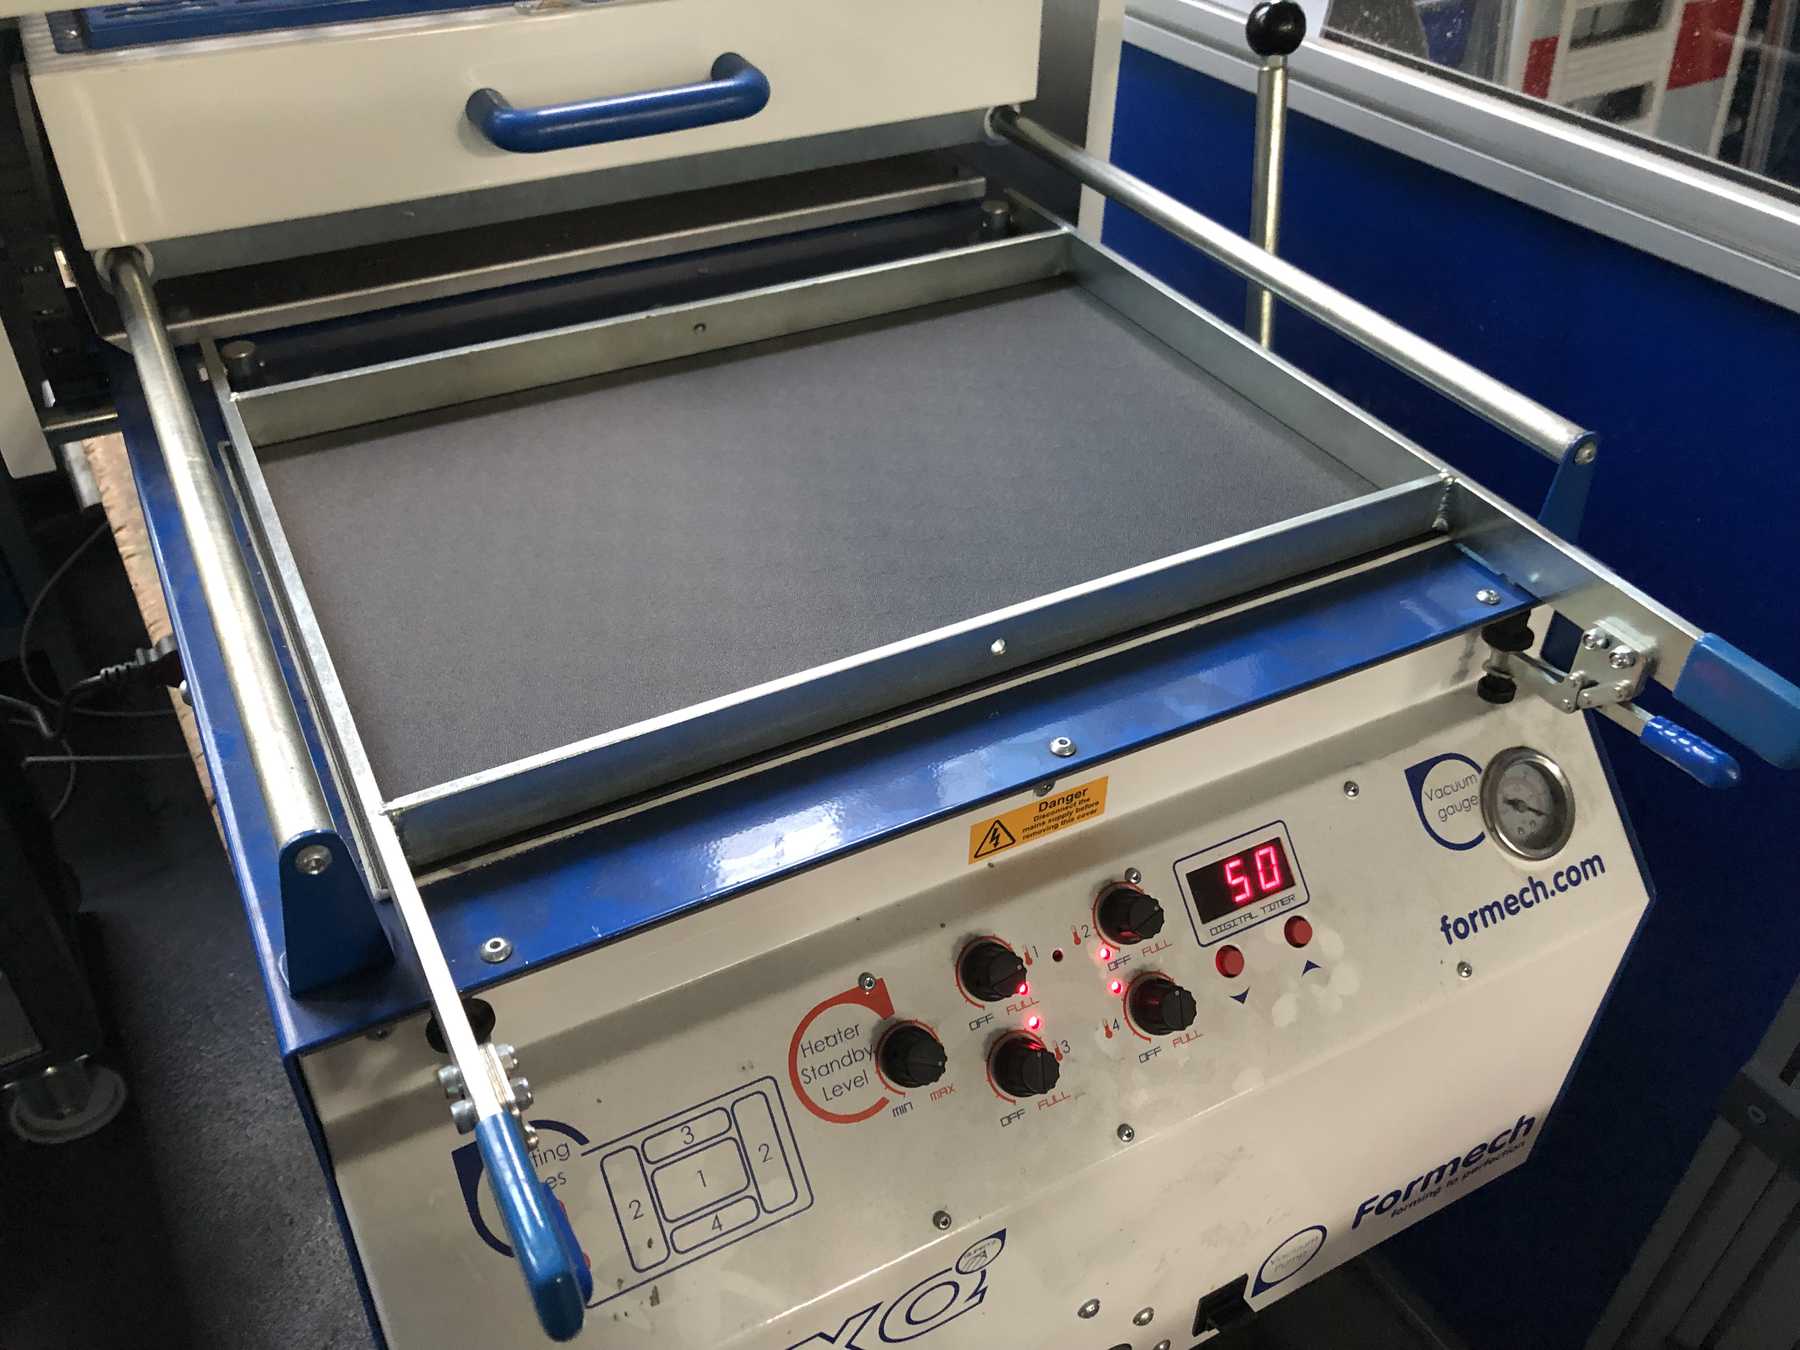
In the video below you can see how the whole thing is done. First the heating zones have to heat for more than 50 seconds and the material has to be warmed up. Then the object can be pushed up and deep-drawn accordingly.
I wanted to try it again, but this time pull the vacuum a little longer.
It turned out that this no longer had any effect on the object. I would not have thought that the grey object with 100% infill would produce the worse result. Nevertheless, I was satisfied with the results. Finally a video of the process:
Here you can download all the files from the stitching and the thermoforming:
Stitching files
DEZENTRALE files