Computer-Aided Design
Week 03
In the third week I had to model (raster, vector, 2D, 3D, render, animate, simulate, …) a possible final project and post it on my class page.
What is CAD?
The acronym CAD stands for computer-aided design. With this software it is possible to create 2D designs or 3D models. Since the middle of the 70s CAD-software has improved significantly and nowadays it includes a lot of a features like parametric designs or generating renderings and animations. Further an exciting development is the possibility to create a generative design. Meanwhile CAD has become one of the key technologies and an important driver in the FabLab movement. CAD enables the fast iteration of designs, the shortening of development times and the particularly fast adaptation with linkage to a 3D-printer. Unfortunately, the software for generative design is still expensive. Fusion 360 is free of charge for students but it does not include the use of generative design. Another software for generative design is Rhino with Grasshopper, I will give this program later a try. In the following I would like to give a short overview of CAD-software which I used last weekend.
Using 2D-CAD
One of the first tasks was to use a 2-dimensional CAD software development environment. I started with the software QCAD, which is an open source application. It contains sufficient functions for creating 2D drawings. Additionally this software QCAD is licensed under GPLv3. The later introduced 2D software LibreCAD runs under GPLv2. Both systems were originally developed by RibbonSoft, so that this is noticeable in the use. I tried the software QCAD for a few minutes.

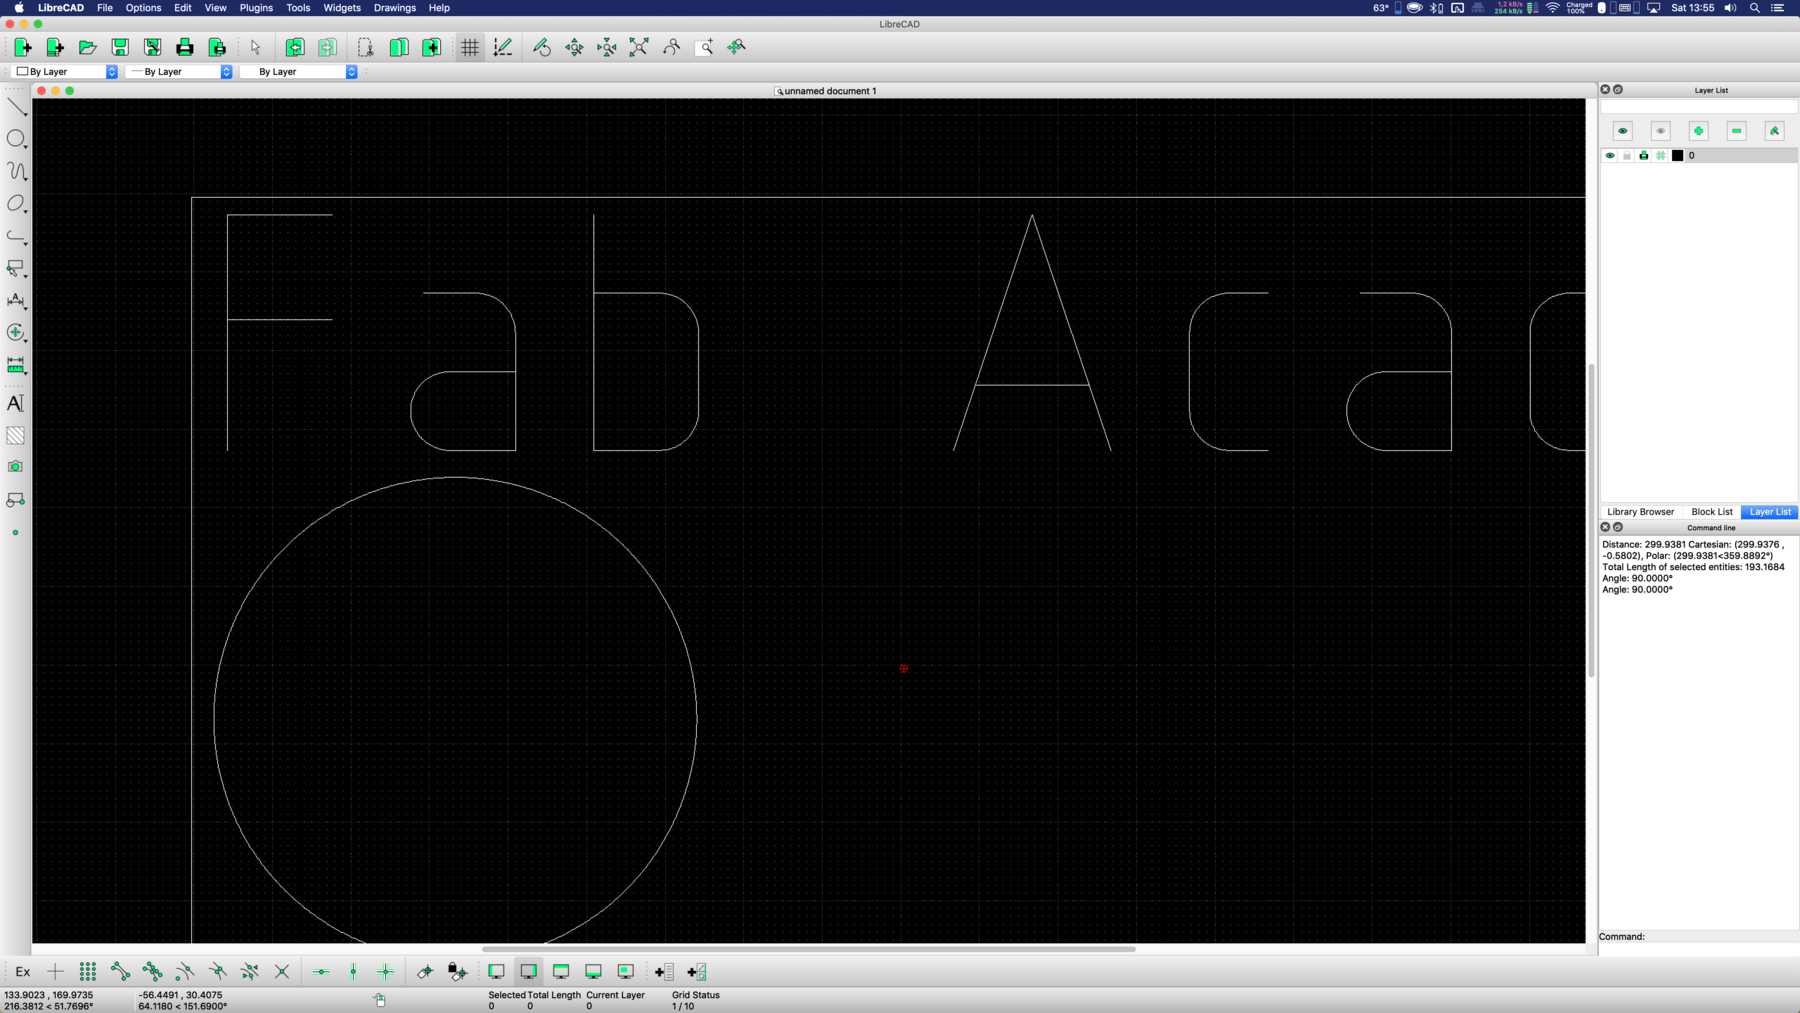
Afterwards I experimented with the software LibreCAD, which can also be used to create technical drawings. Both were unfortunately somewhat slow in the performance in comparison to commmercial CAD programs.
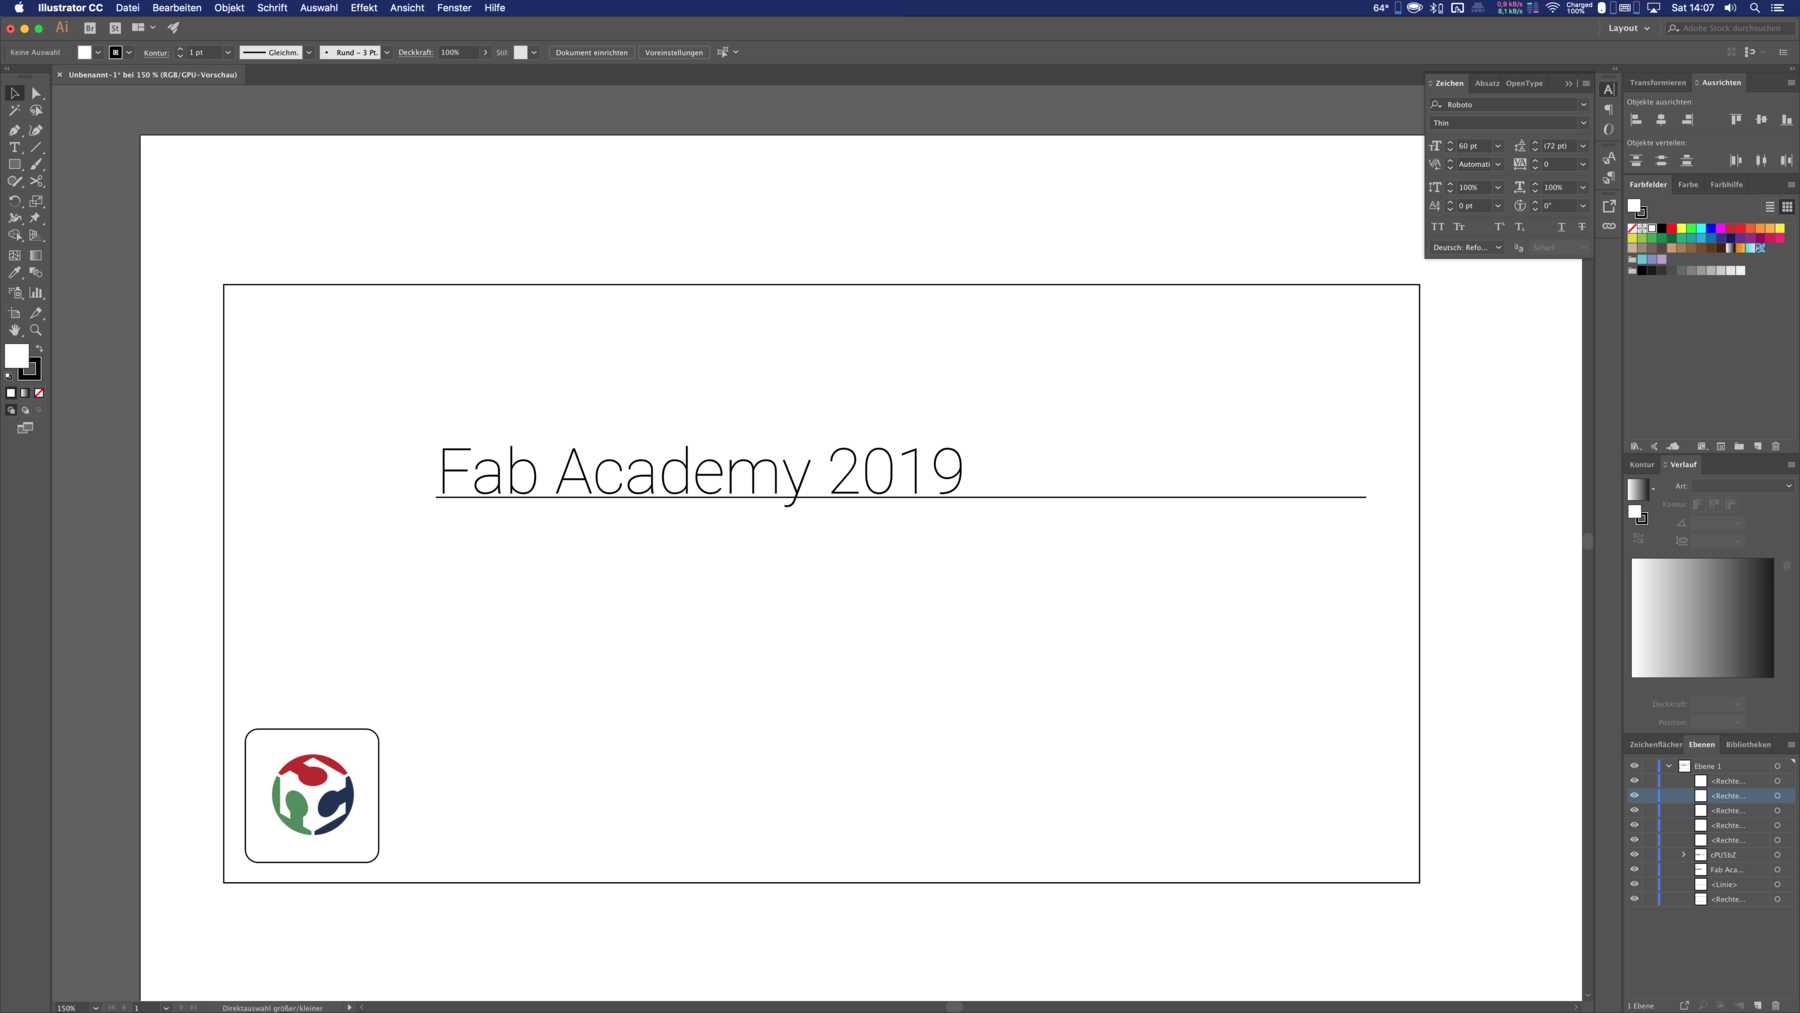
Finally, a nice program is also Adobe Illustrator, to create two-dimensional drawings with which you could also create technical drawings in a few minutes, if you like. Traditionally Adobe Illustrator is used more in the professional field, especially for creating and editing vector graphics for print and the web. This software contains countless functions and, in combination with the rest of the Adobe Suite, leaves no limits to the imagination.
Using 3D-CAD & OpenSCAD
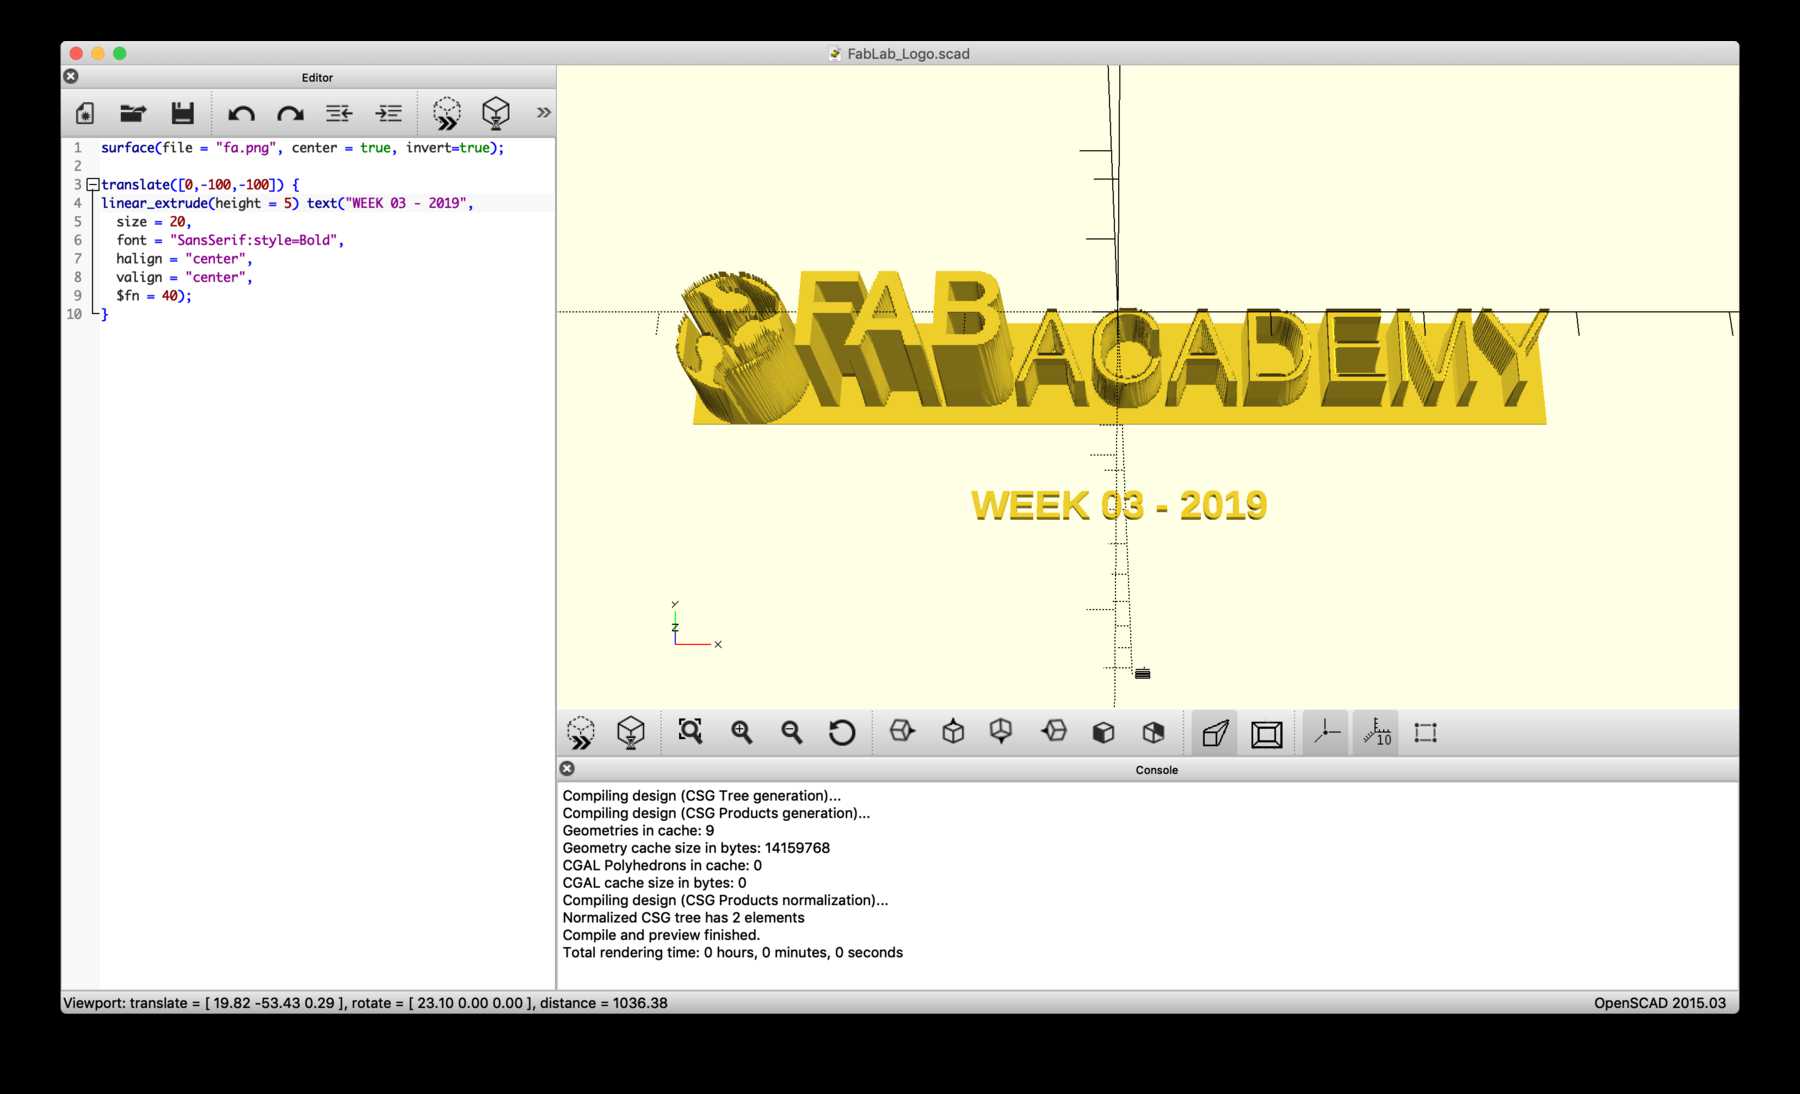
A very well known CAD software is OpenSCAD. OpenSCAD is open source, very lightweight and programable. The software is able to interpret your code and render a visual model of it. It works like a compiler, where it is not possible to sketch like in FreeCAD or Fusion 360. Otherwise there is an OpenSCAD module for FreeCAD available. Personally I’m not satisfied with OpenSCAD and the software crashed many times in the past. According to this I was excited to try libfive-studio, which Neil demonstrated in his last lesson.
libfive-Studio
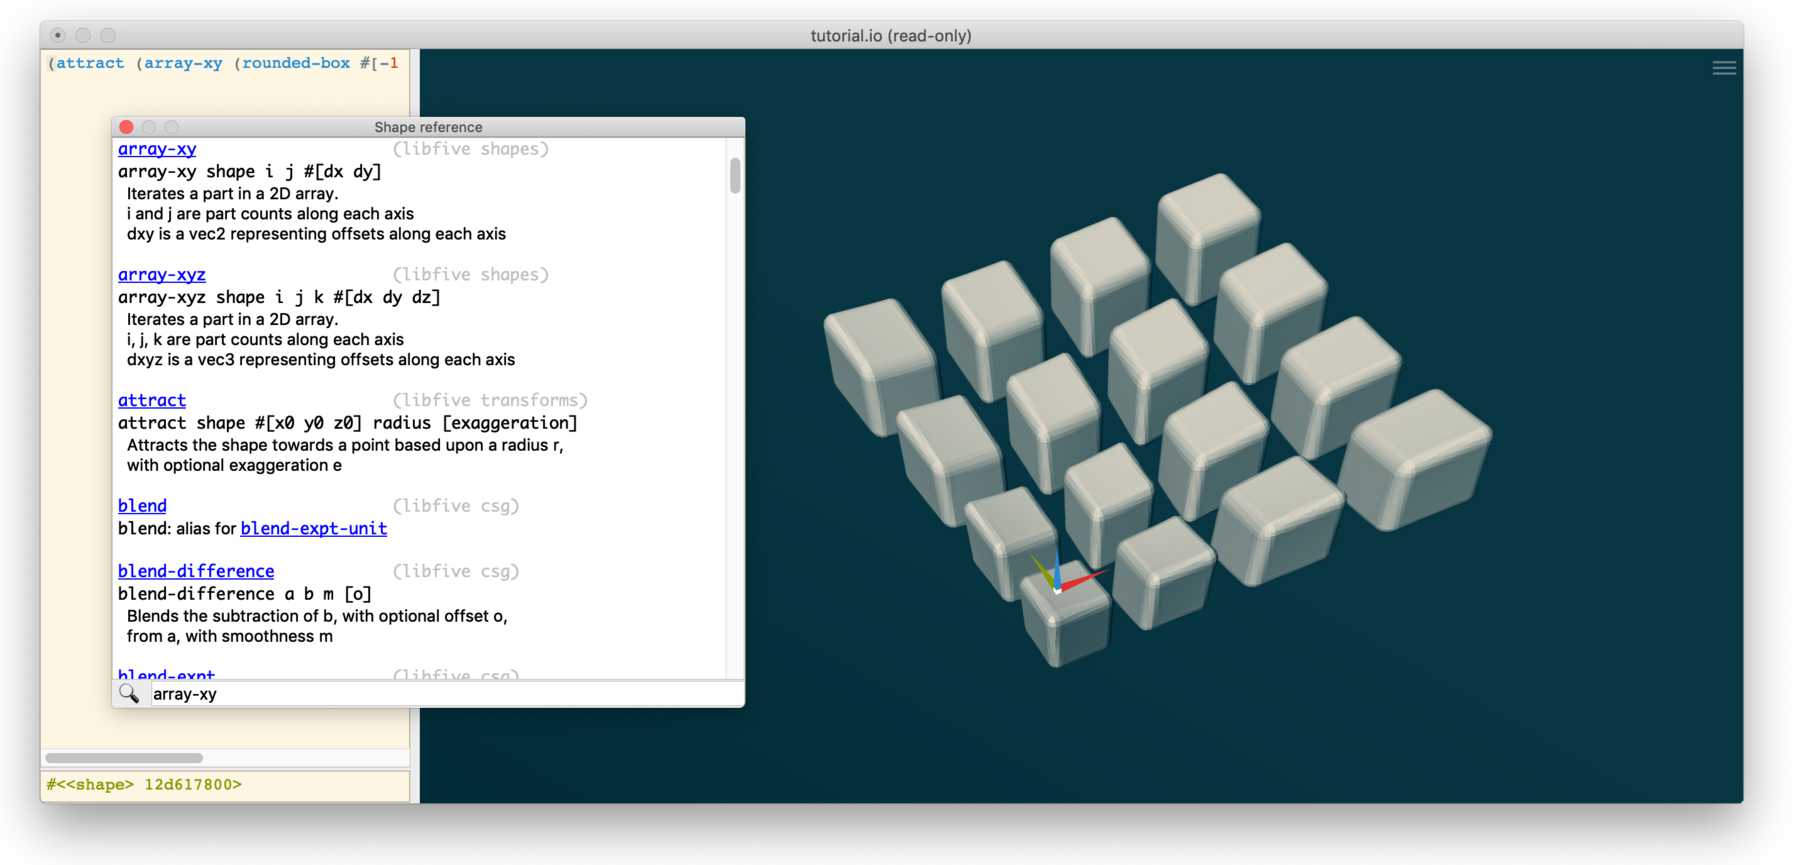
I wanted to try out libfive-Studio, which was presented in Neil’s lecture. It seems to be an exciting program, similar to OpenSCAD. Besides there are a lot of positive reports about the software on Reddit or similar platforms. The documentation is integrated in the software and offers many functions. According to the description of the software, it is also suitable for generative design, which I welcome. During the next weeks I am planning to use and test this software further. However, a short first impression of the software:
Shapr3D
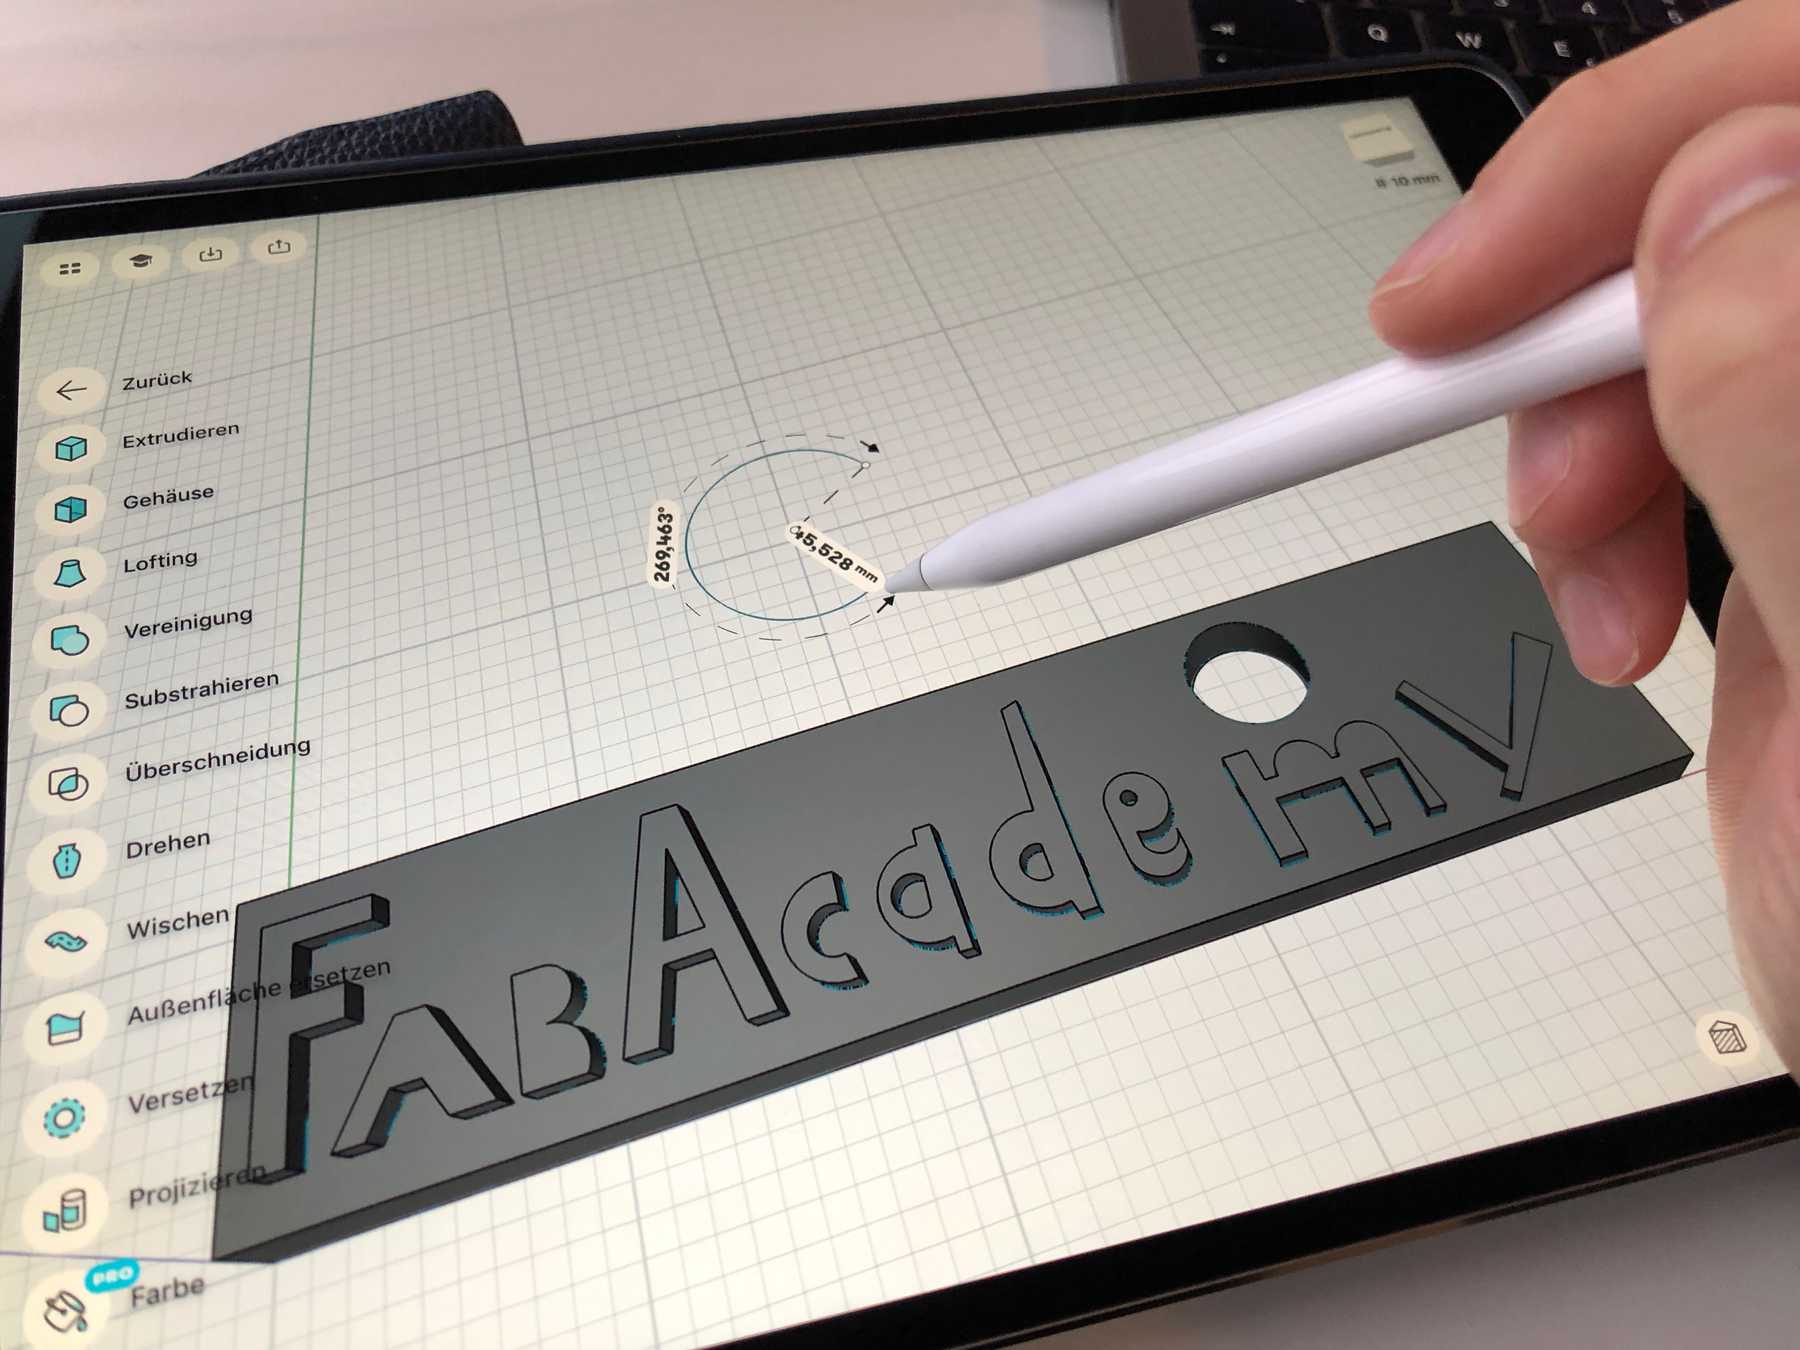
In the range of open-source software you can find a lot of powerful tools, e.g. FreeCAD or OpenSCAD have become powerful tools. Especially in the FabLab field the creation of models is an obstacle for many users. Even if it´s easy to learn how these software works, many of our FabLab visitors have been deterred from using the FreeCAD software or similar software for the first time. We see a high potential and are very enthusiastic in using a CAD-application on a tablet. The most recent app on the iPad was Shapr3D, , which turns an Apple Pencil into a real highlight. The program has a playful approach and offers extensive possibilities with every update. Creating on the iPad Pro becomes much easier and more accessible for newcomers. The app is really simple to use and it takes only about 15 minutes to get to know the basic interface and to sketch a 3D-model.
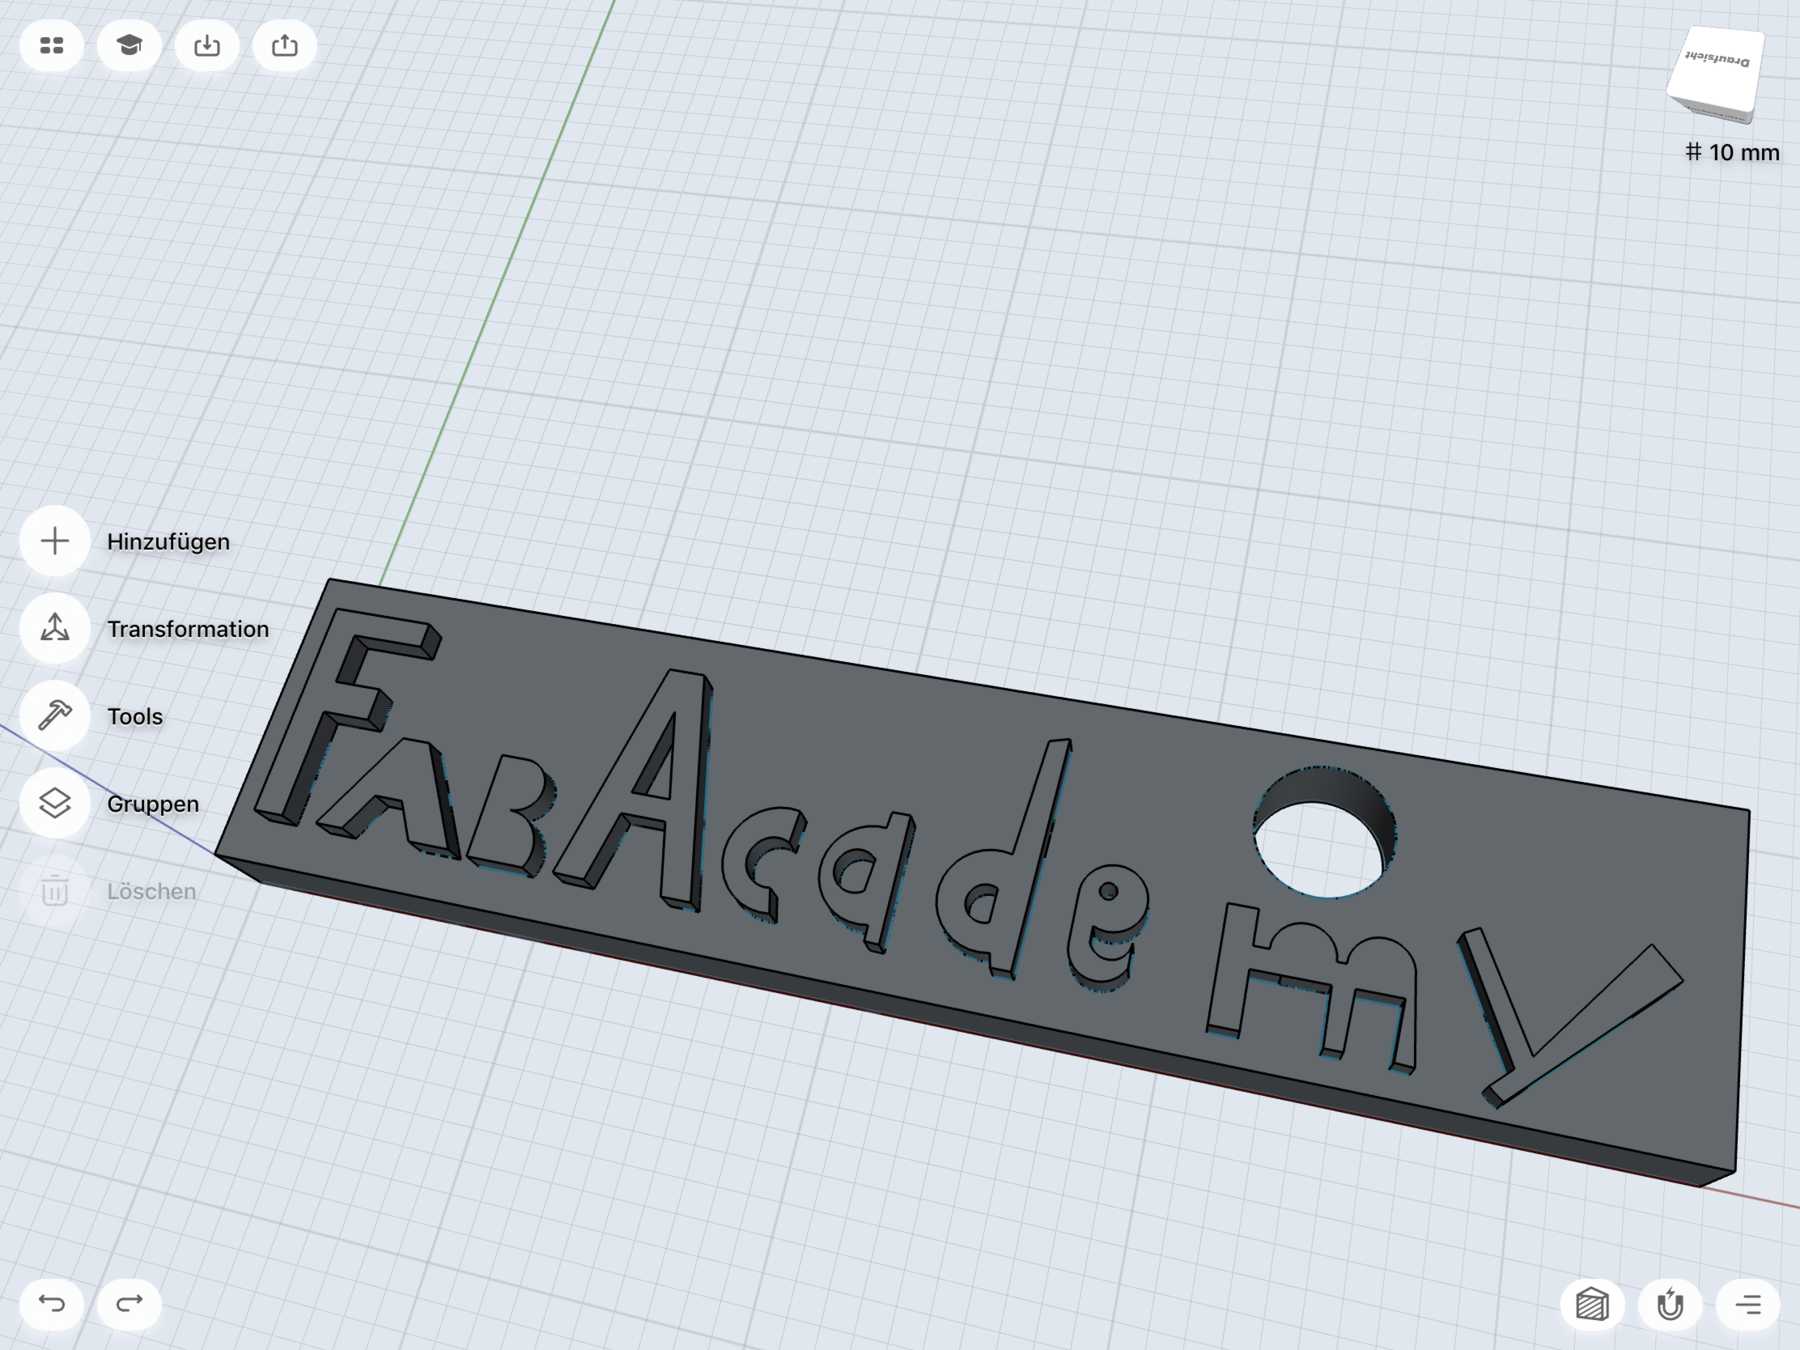
Shapr3D is a lightweight sketching tool which fits for the ordinary guests in our Fablab, because it offers everything is needed to sketch a 3D model. The software was developed rapidly in the last years and a lot of a new features are implemented regularly. It works with an iPad Pro and an iPad (2018) in combination with an Apple Pencil. There is still no Android version. Here you can see how I draw individually letters with Shapr3D.
According to Apple’s latest keynote, Autodesk is still working on an AutoCAD app for iPad Pro with the same core engine that drives the AutoCAD desktop application. So this exciting development can still be observed and perhaps will make technical drawing a lot easier for non-experienced user.
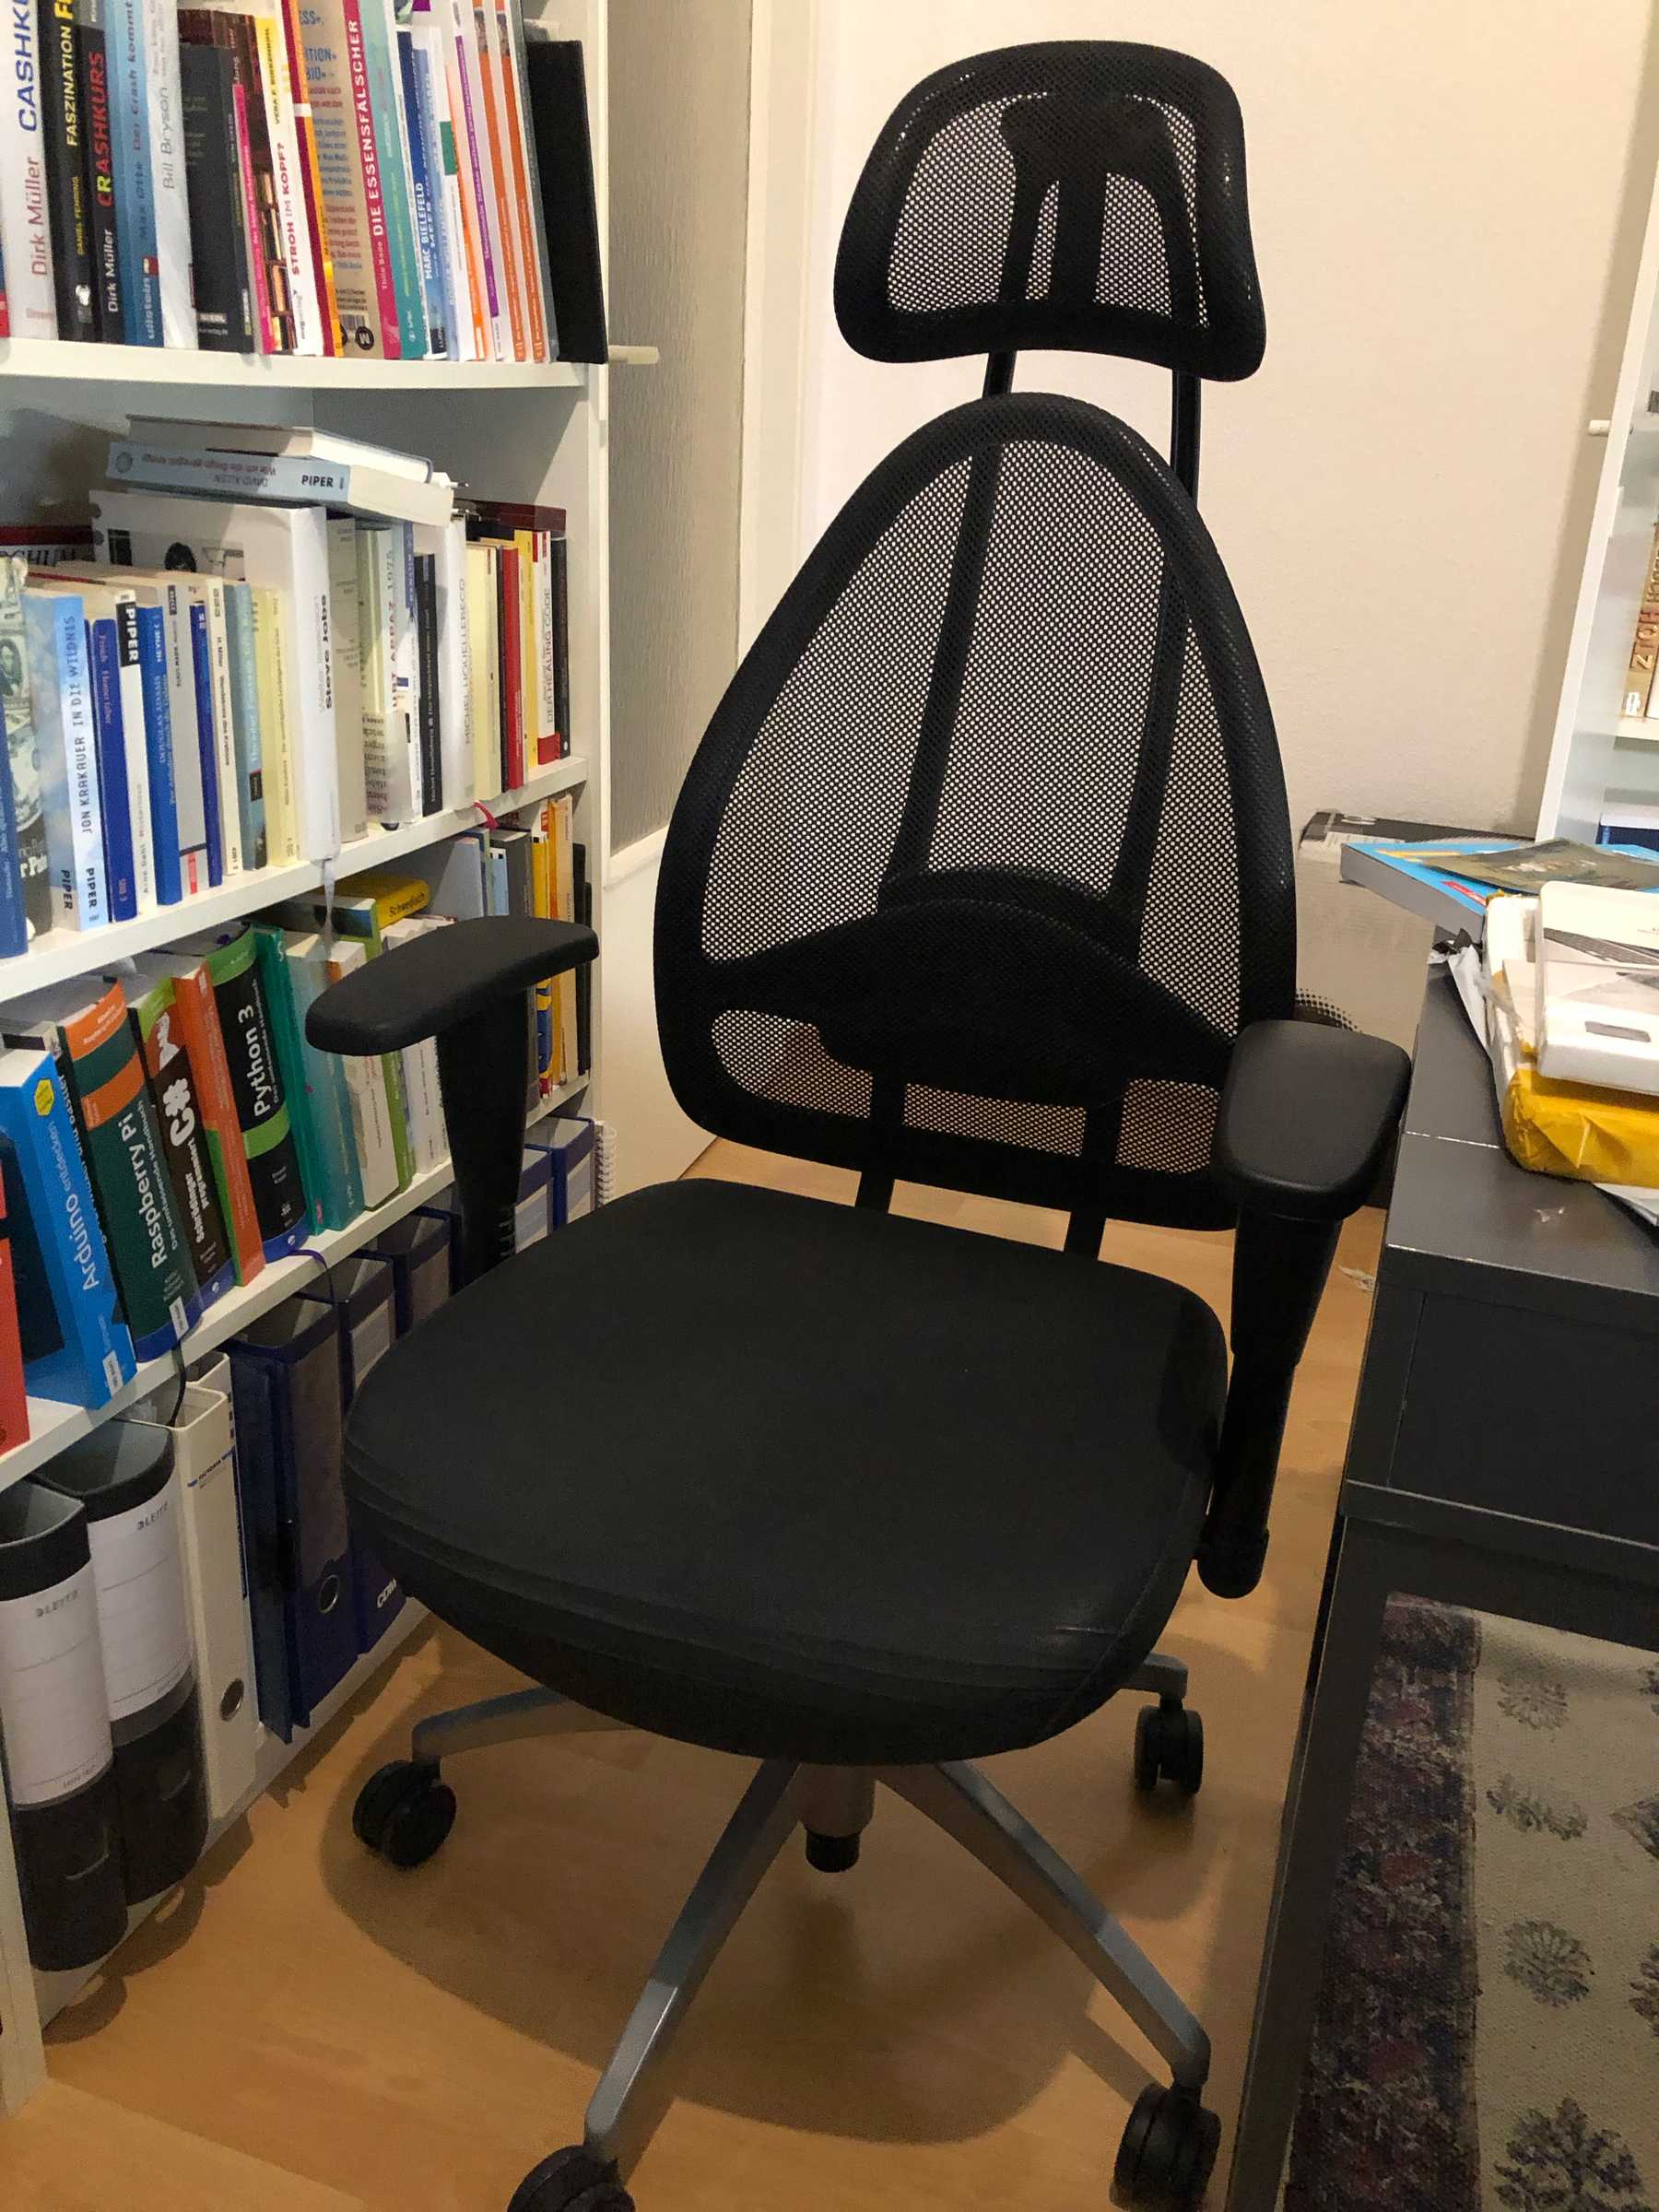
Designing my chair
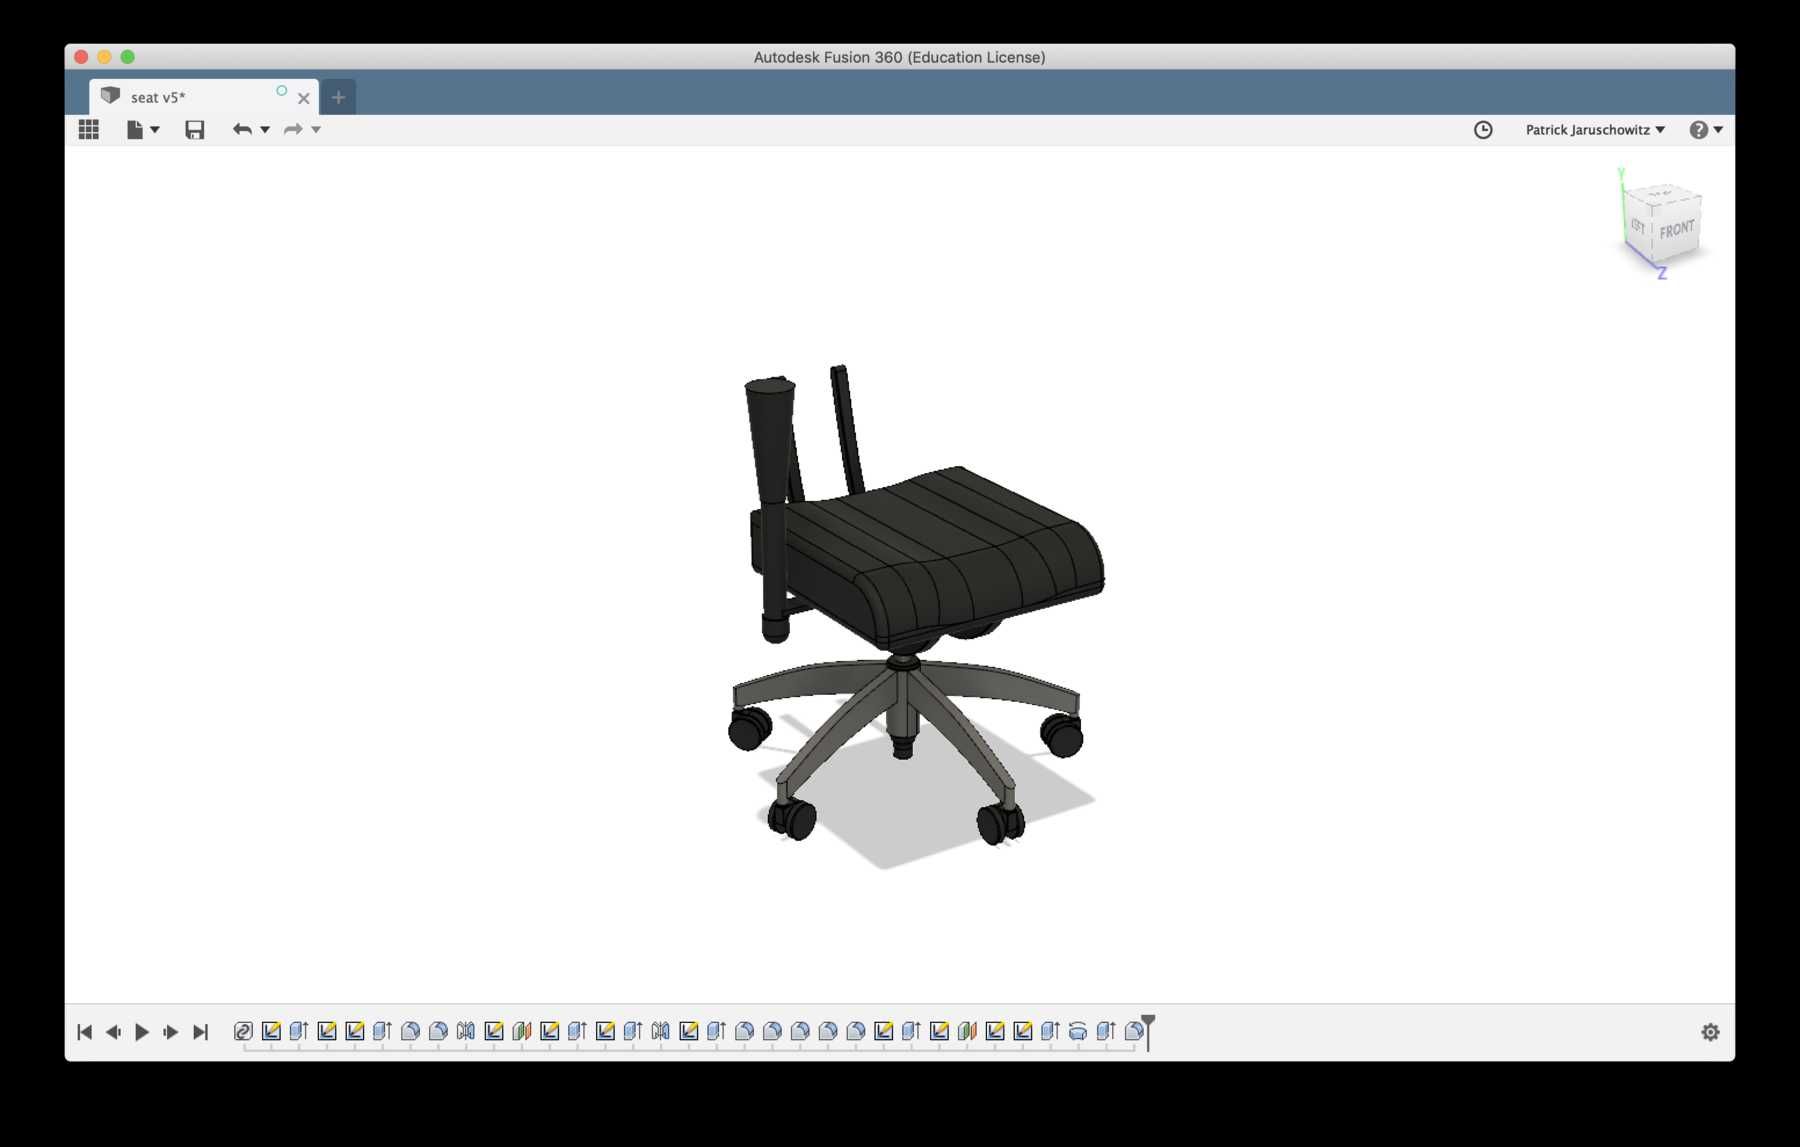
To get closer to my final project, I wanted to get to take a closer look at my office chair. My old office chair will serve as a base. The seat cushion is worn out and some mechanical components are no longer functional. Shortly, there is a need for optimization. To get to know the functions and the mechanic of the chair, I wanted to transform it into a 3D model. At the beginning of my FabAcademy I still had the ambition to develop and design a complete chair of my own, but I quickly realized that the effort was too high and the added value too low. The chair has already a high quality and a really interesting design didn´t come to my mind. I began with the first steps, measured my office chair and created an individual 3D models with the Fusion 360. I started with the bottom of the chair and then worked my way up to the headrest. The result is not an exact replica of my own office chair and it shouldn’t be. The seat, the backrests and the backrest elements will be replaced later by individualized and smart components which I create in the FabAcademy.
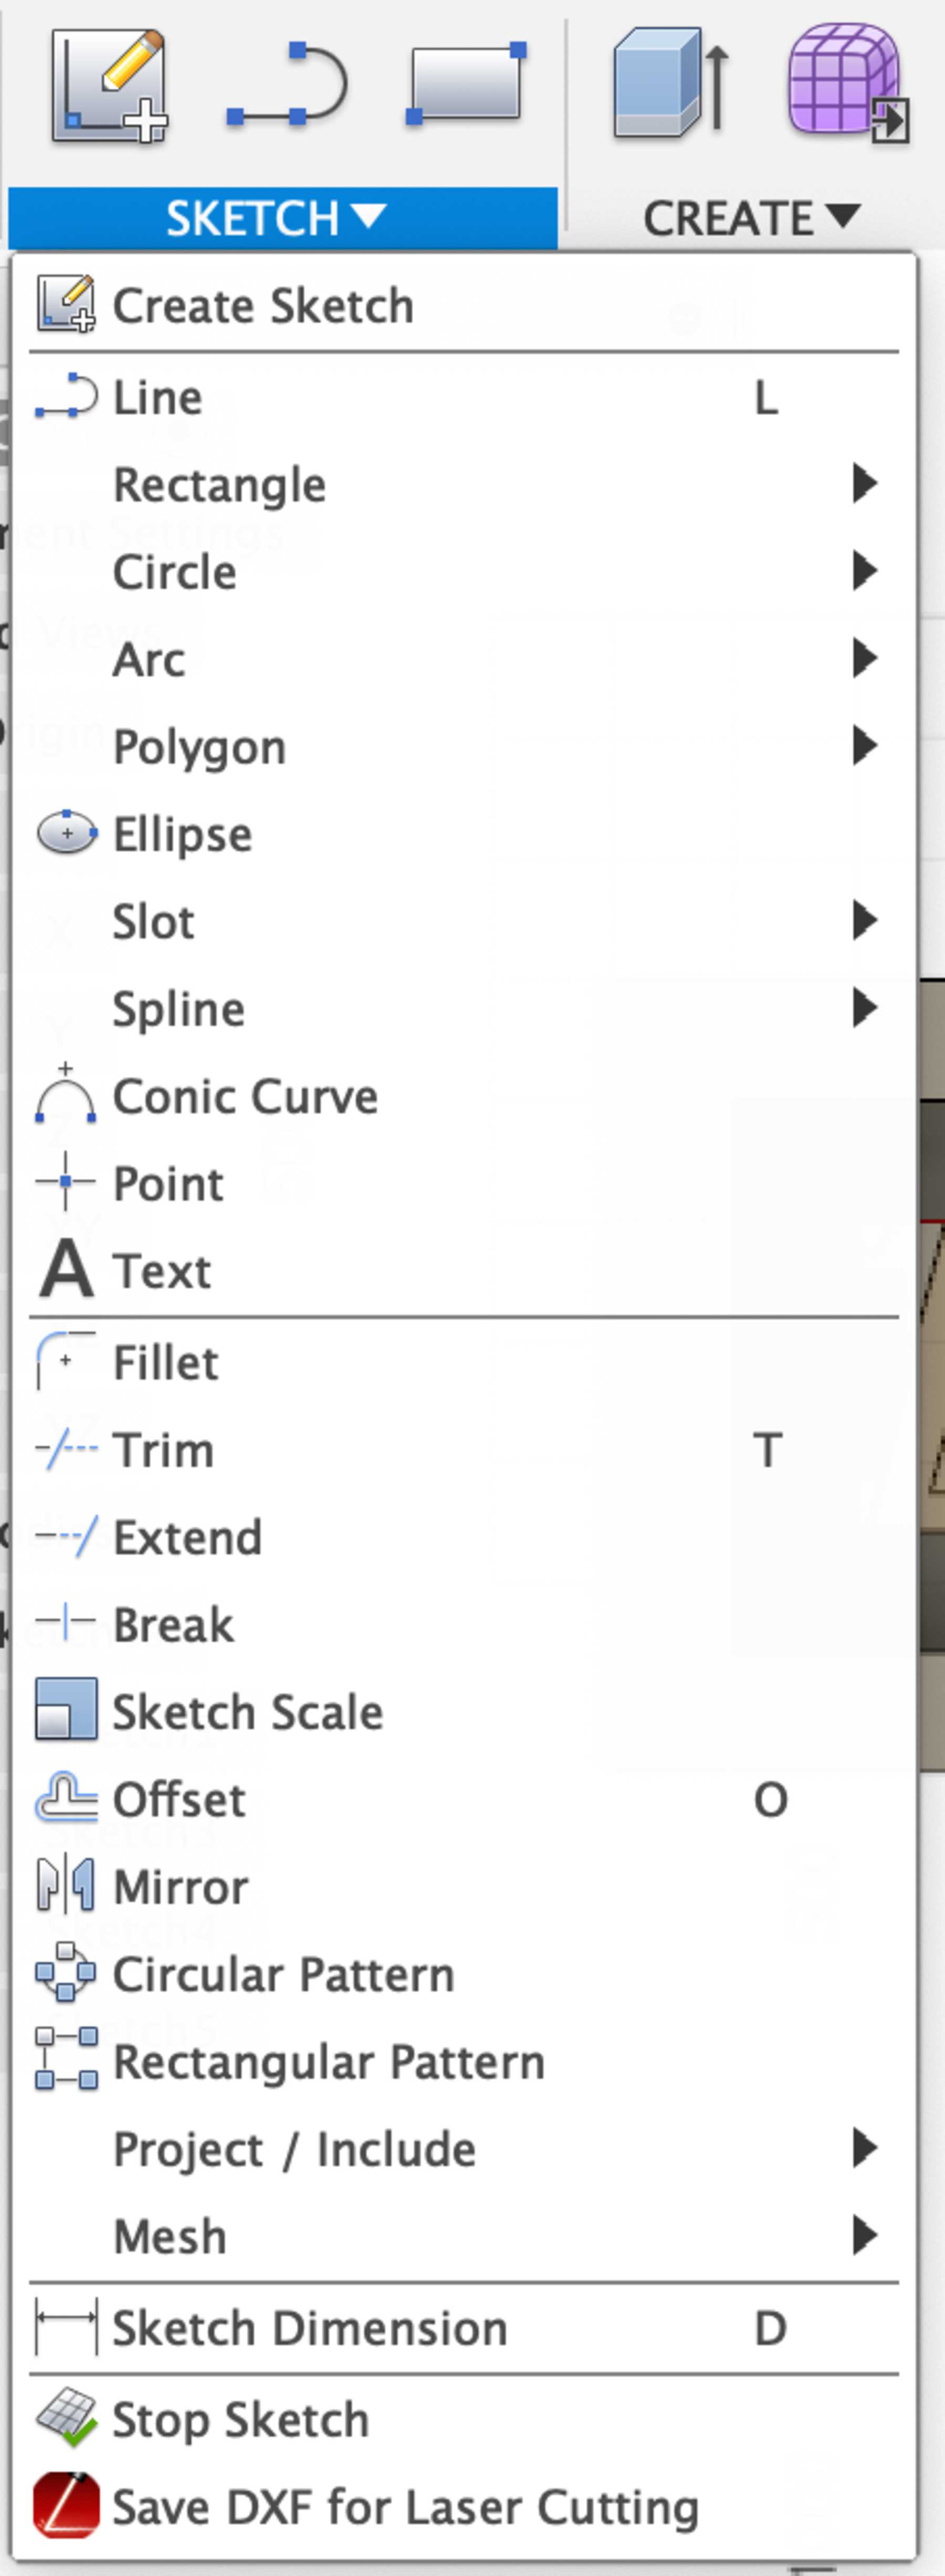
The functions of Fusion 360 are userfriendly and intuitive. You see the in the bar the main functions, which are divided in SKETCH, CREATE and so on. In SKETCH you find functions, when you start to create your 2D drawing. In CREATE you find some functions like extrude, where you can evolve from a drawing to an 3D-object.


The aim of the technical drawing wasn´t to copy my chair, rather to understand the functions of it better and to identify unused potential. The process of drawing it helped me a lot to analyze the advantages and disadvantages of the chair and to decide, which parts I want to optimize to create the perfect individualized office chair.
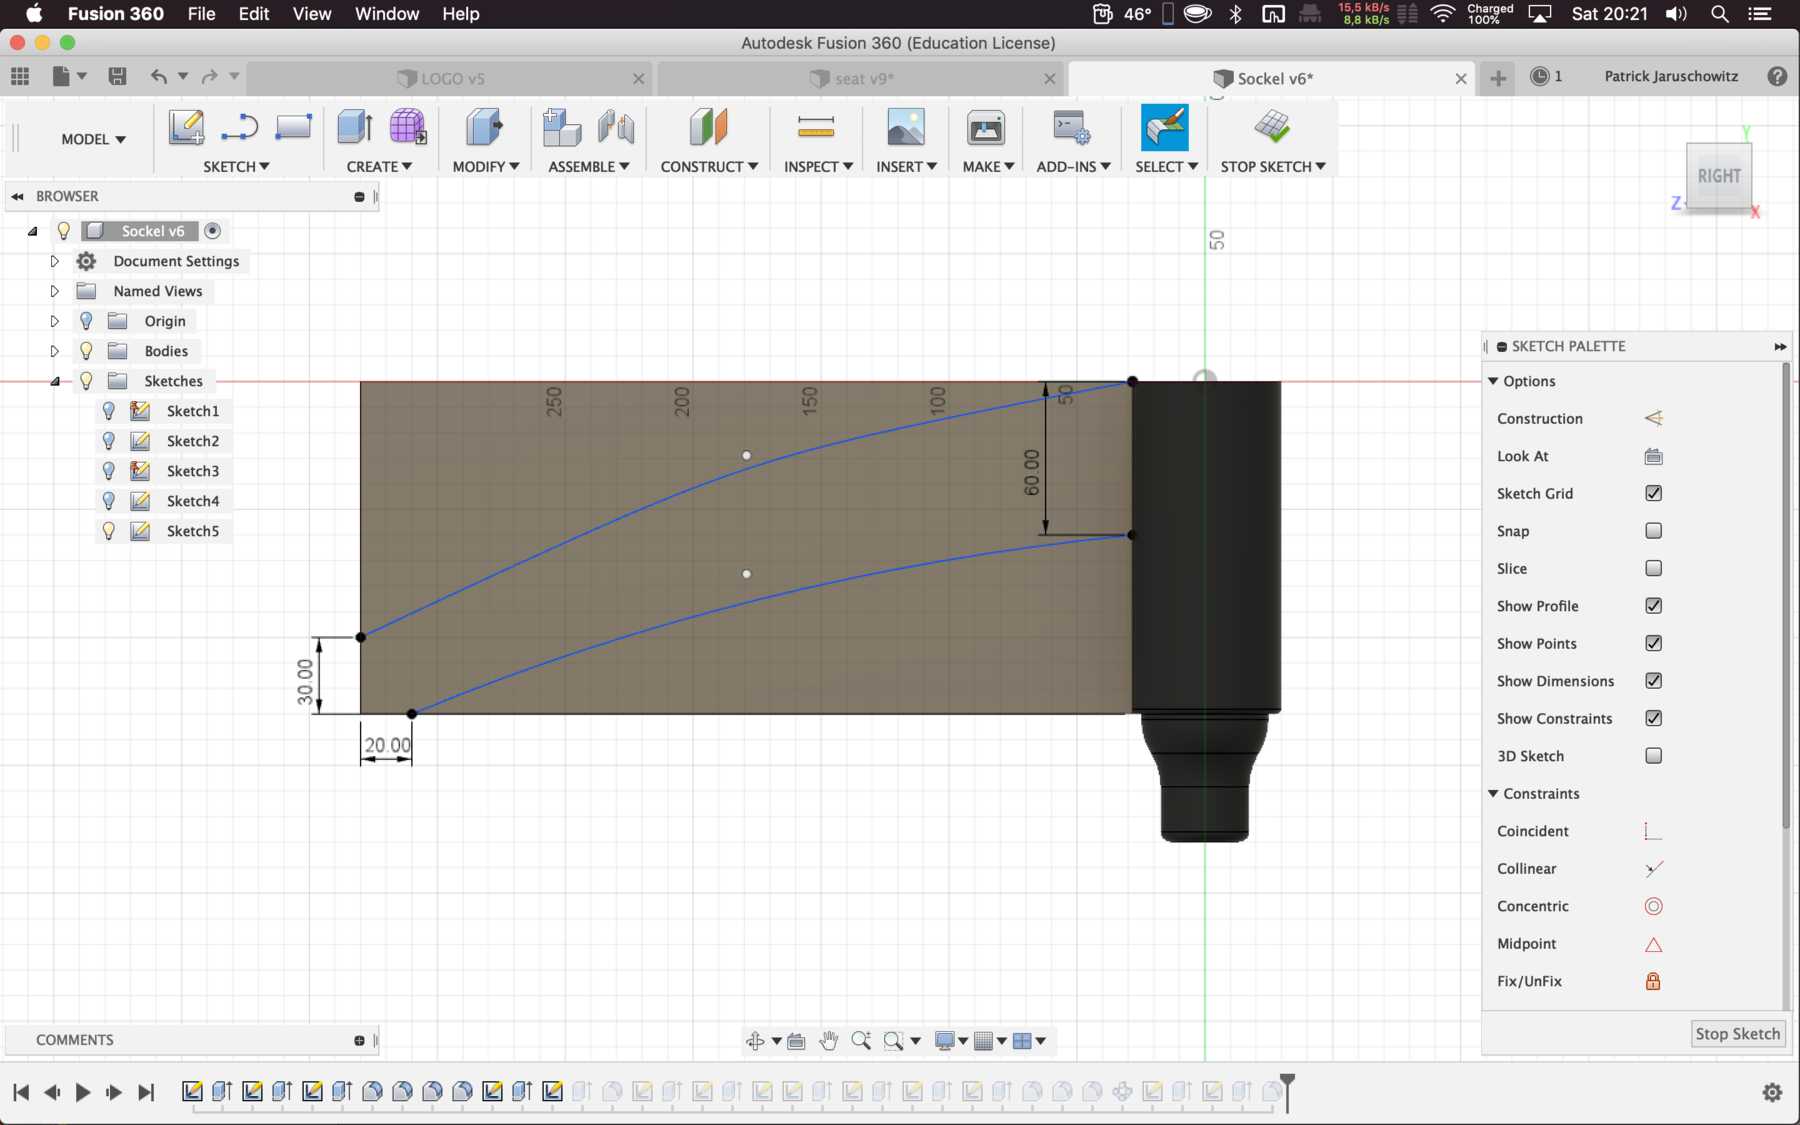
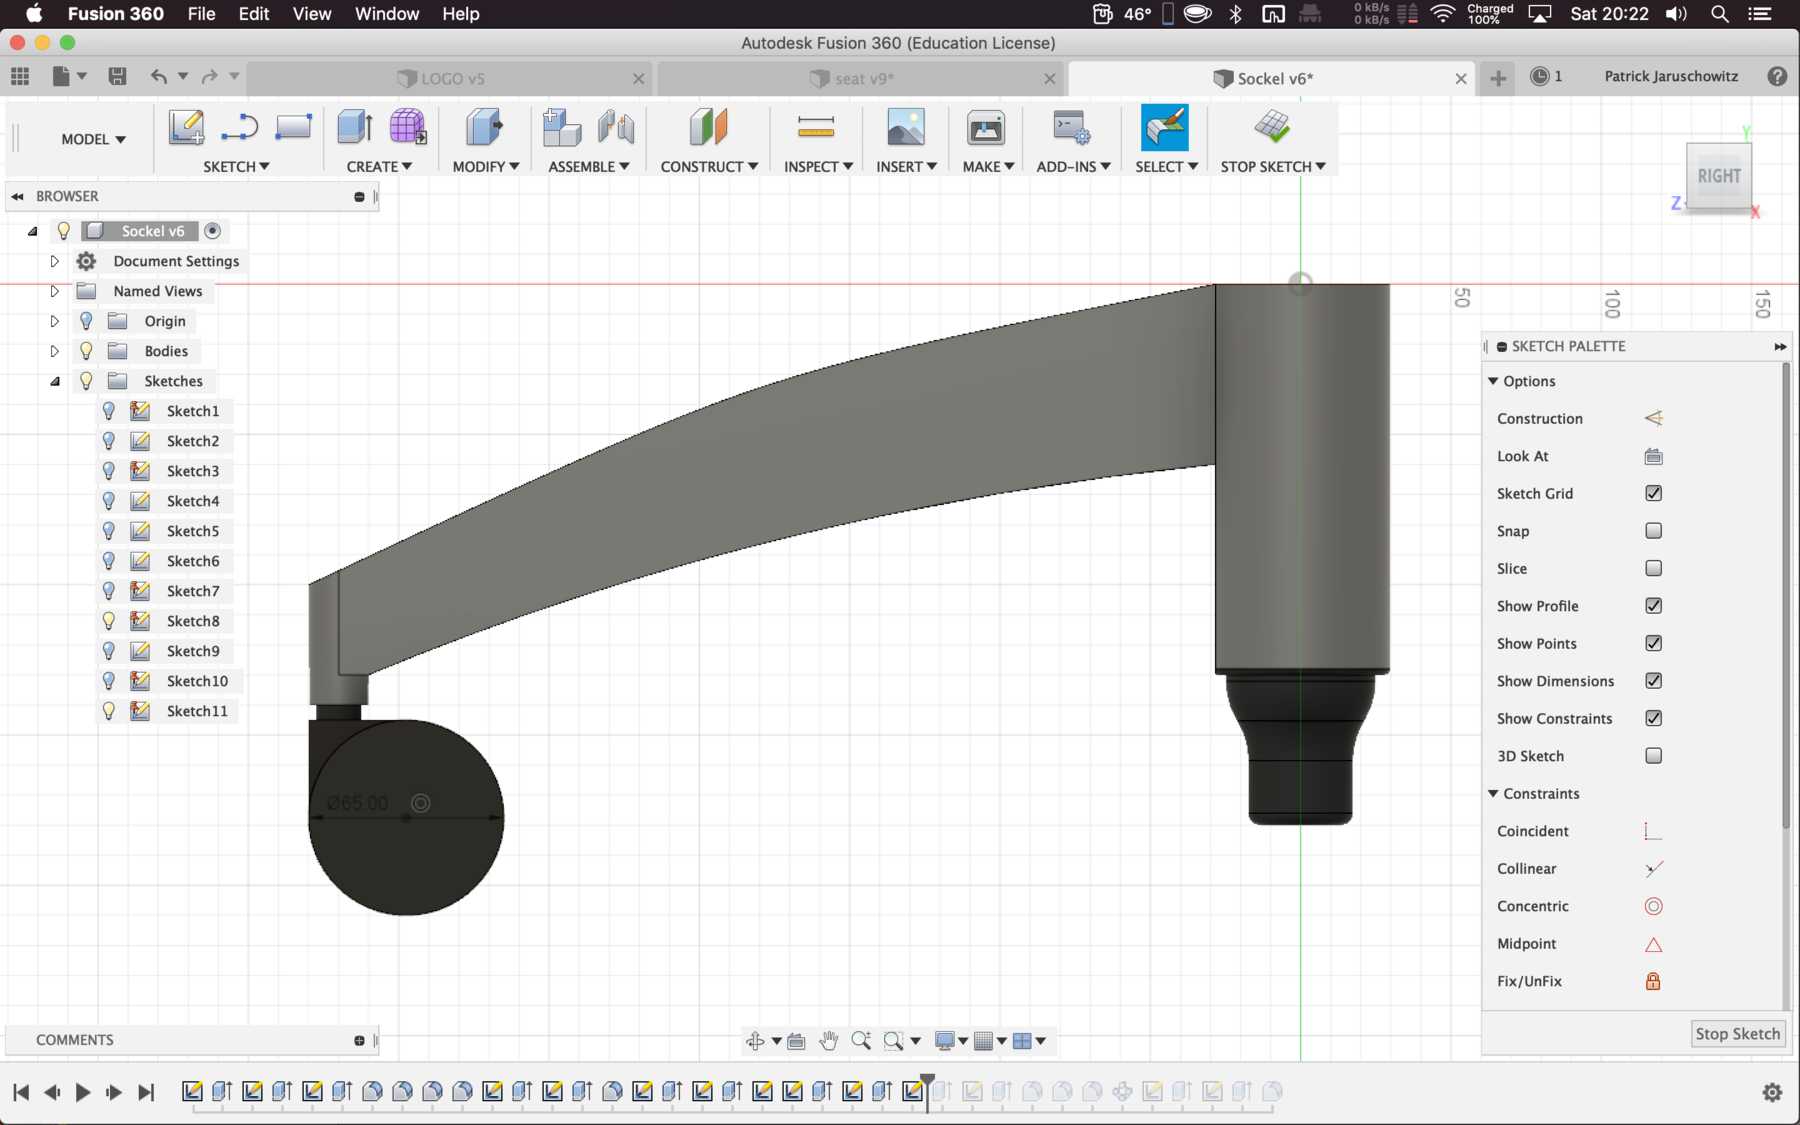
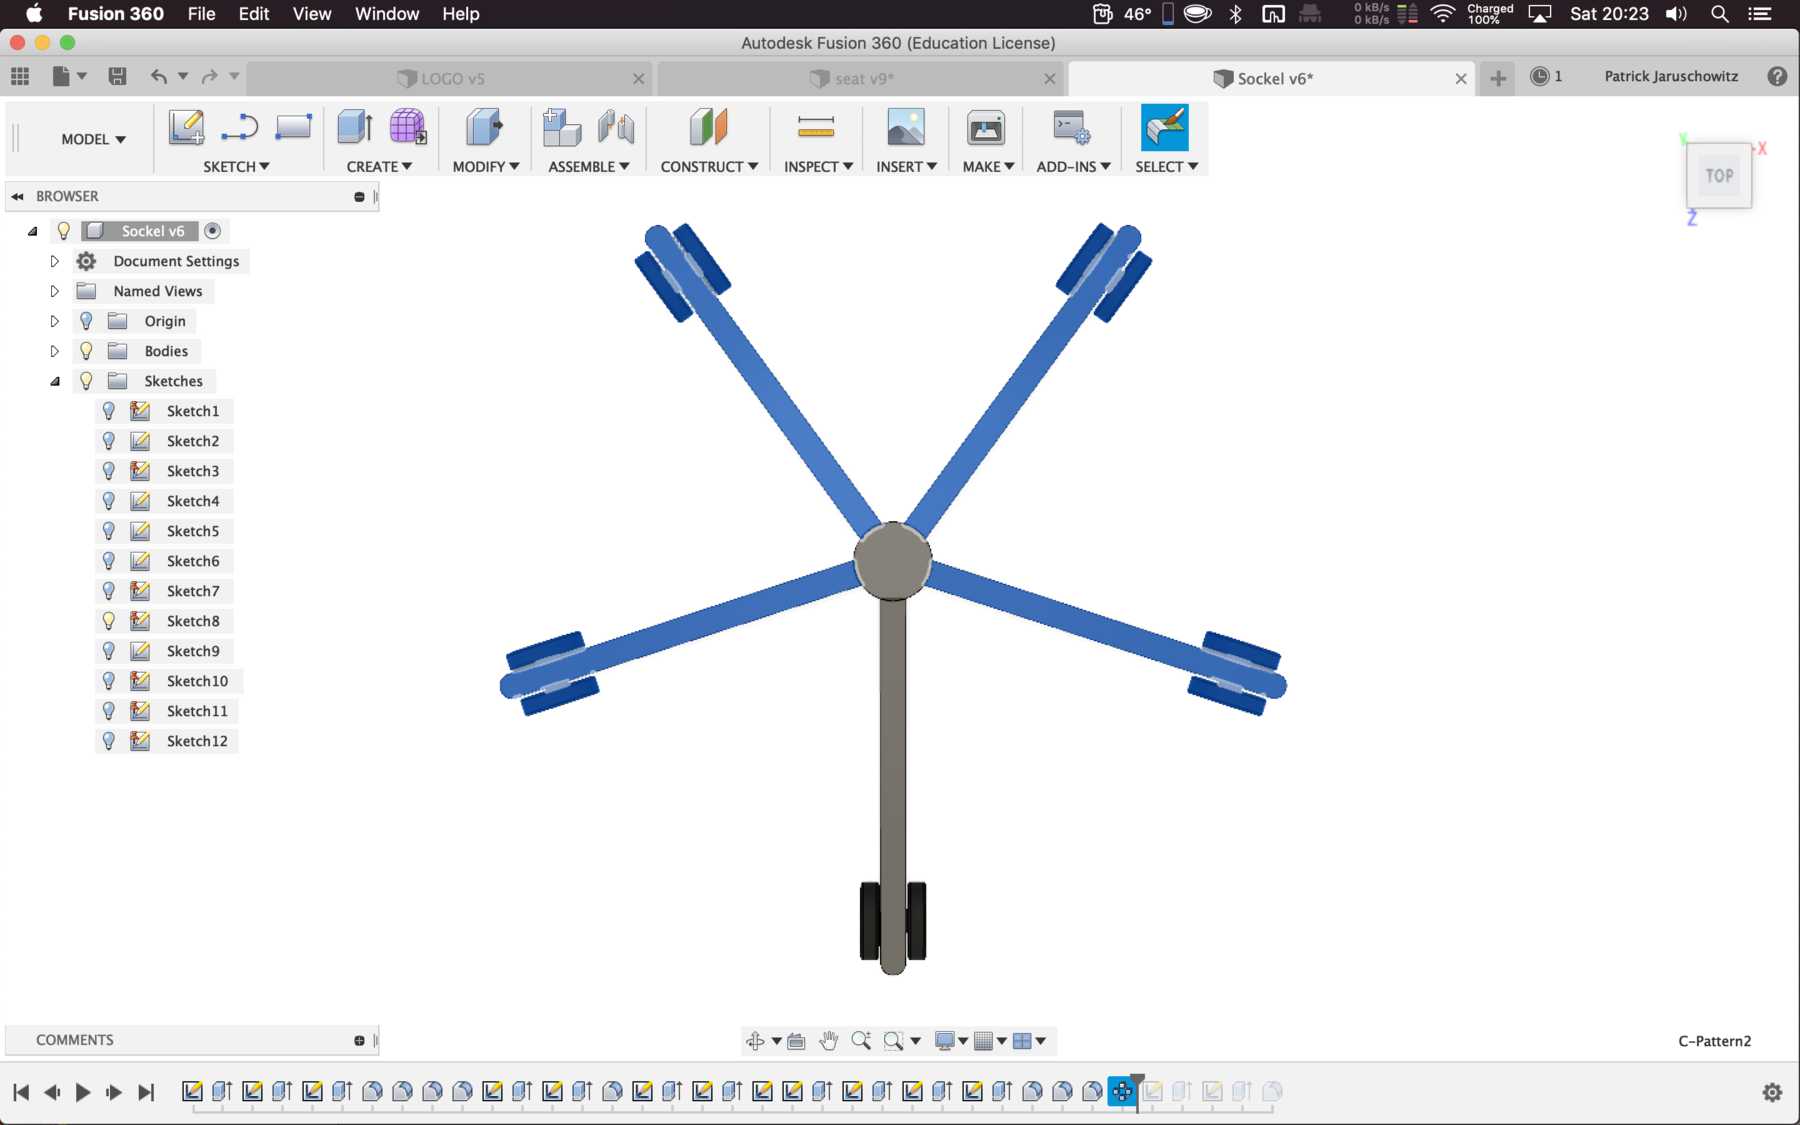
I started to draw the bottom, the legs of the chair. First I finished one and generated the other legs from it.
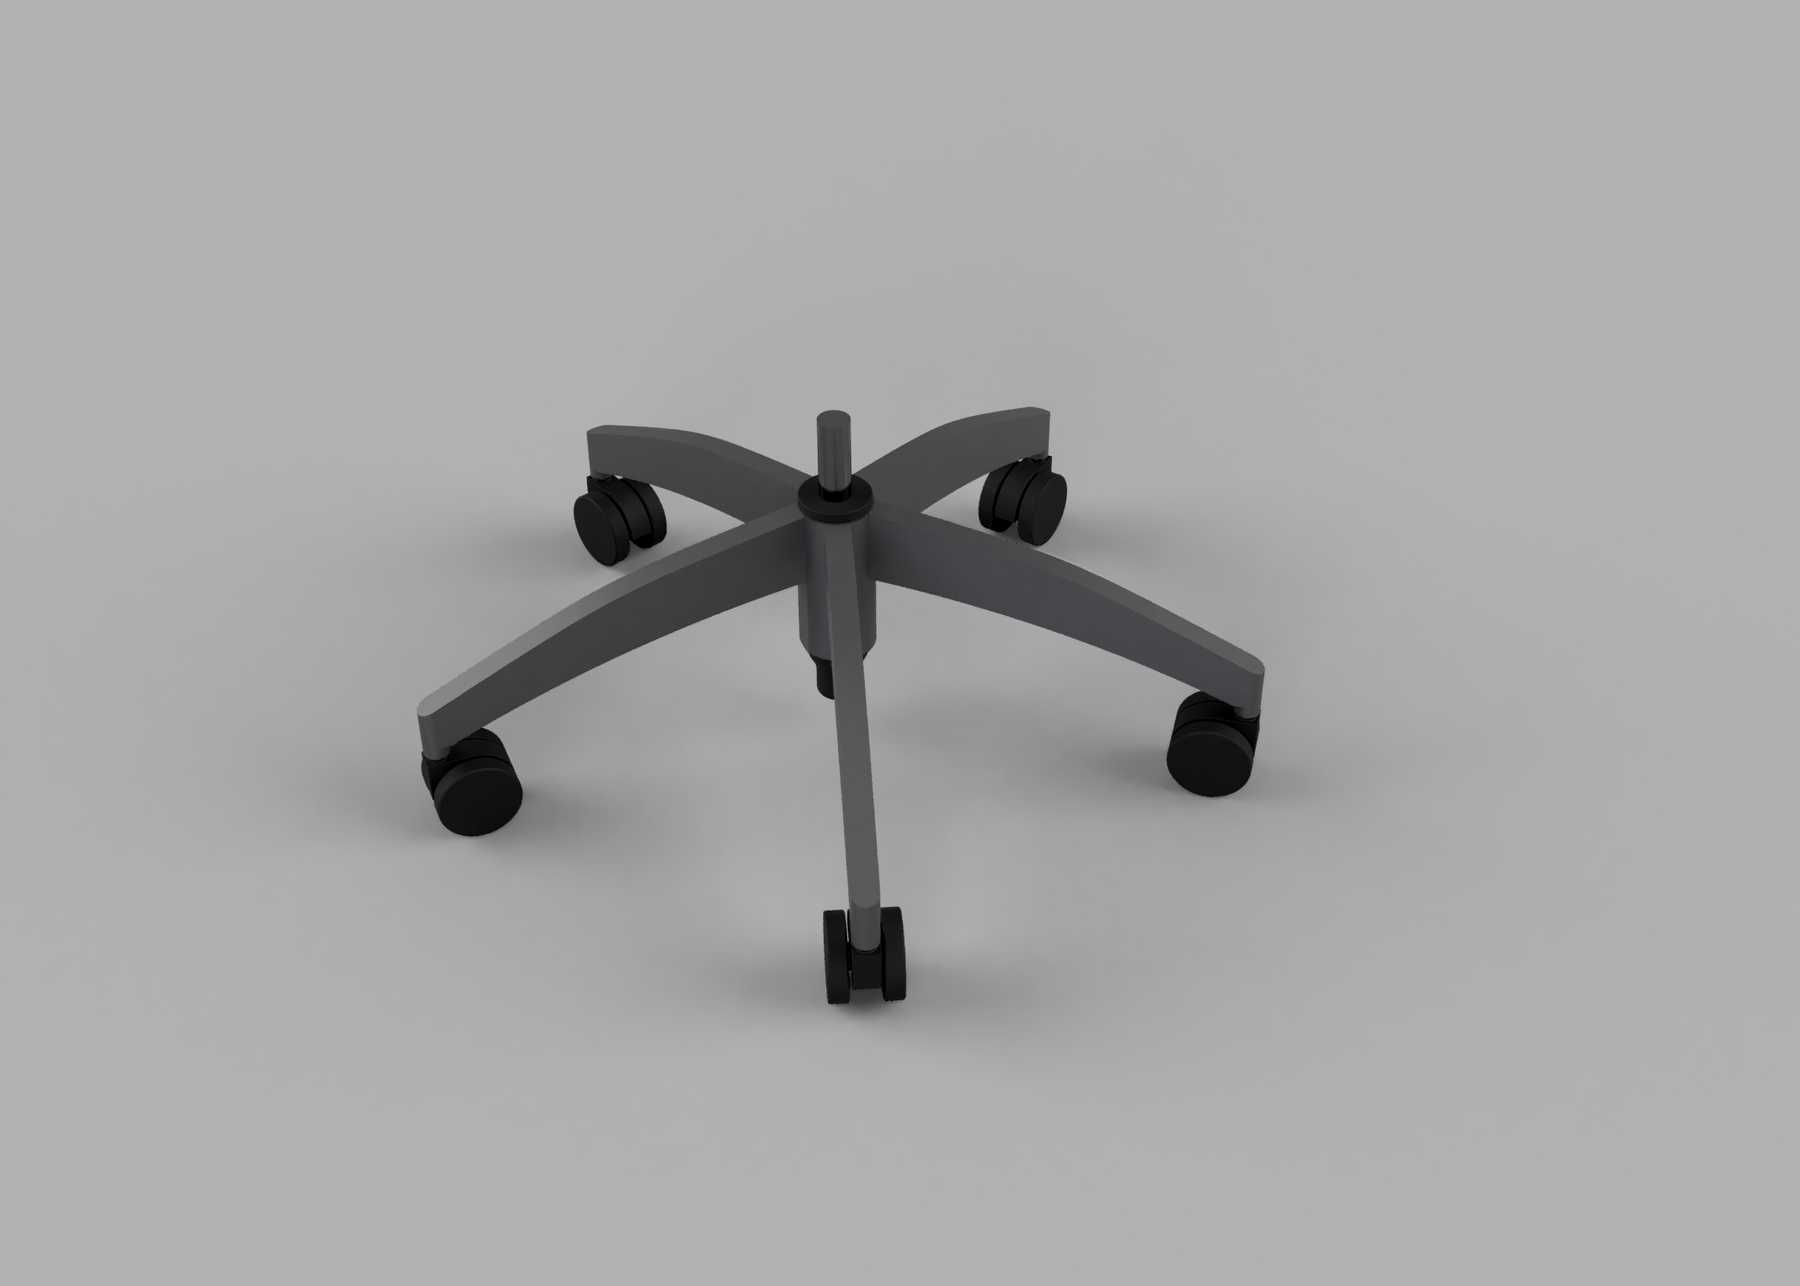
I am going to keep the lower part of the chair up to the seat. Here you see the rendered design.
Later the seat will be completely replaced by 3D printed components.
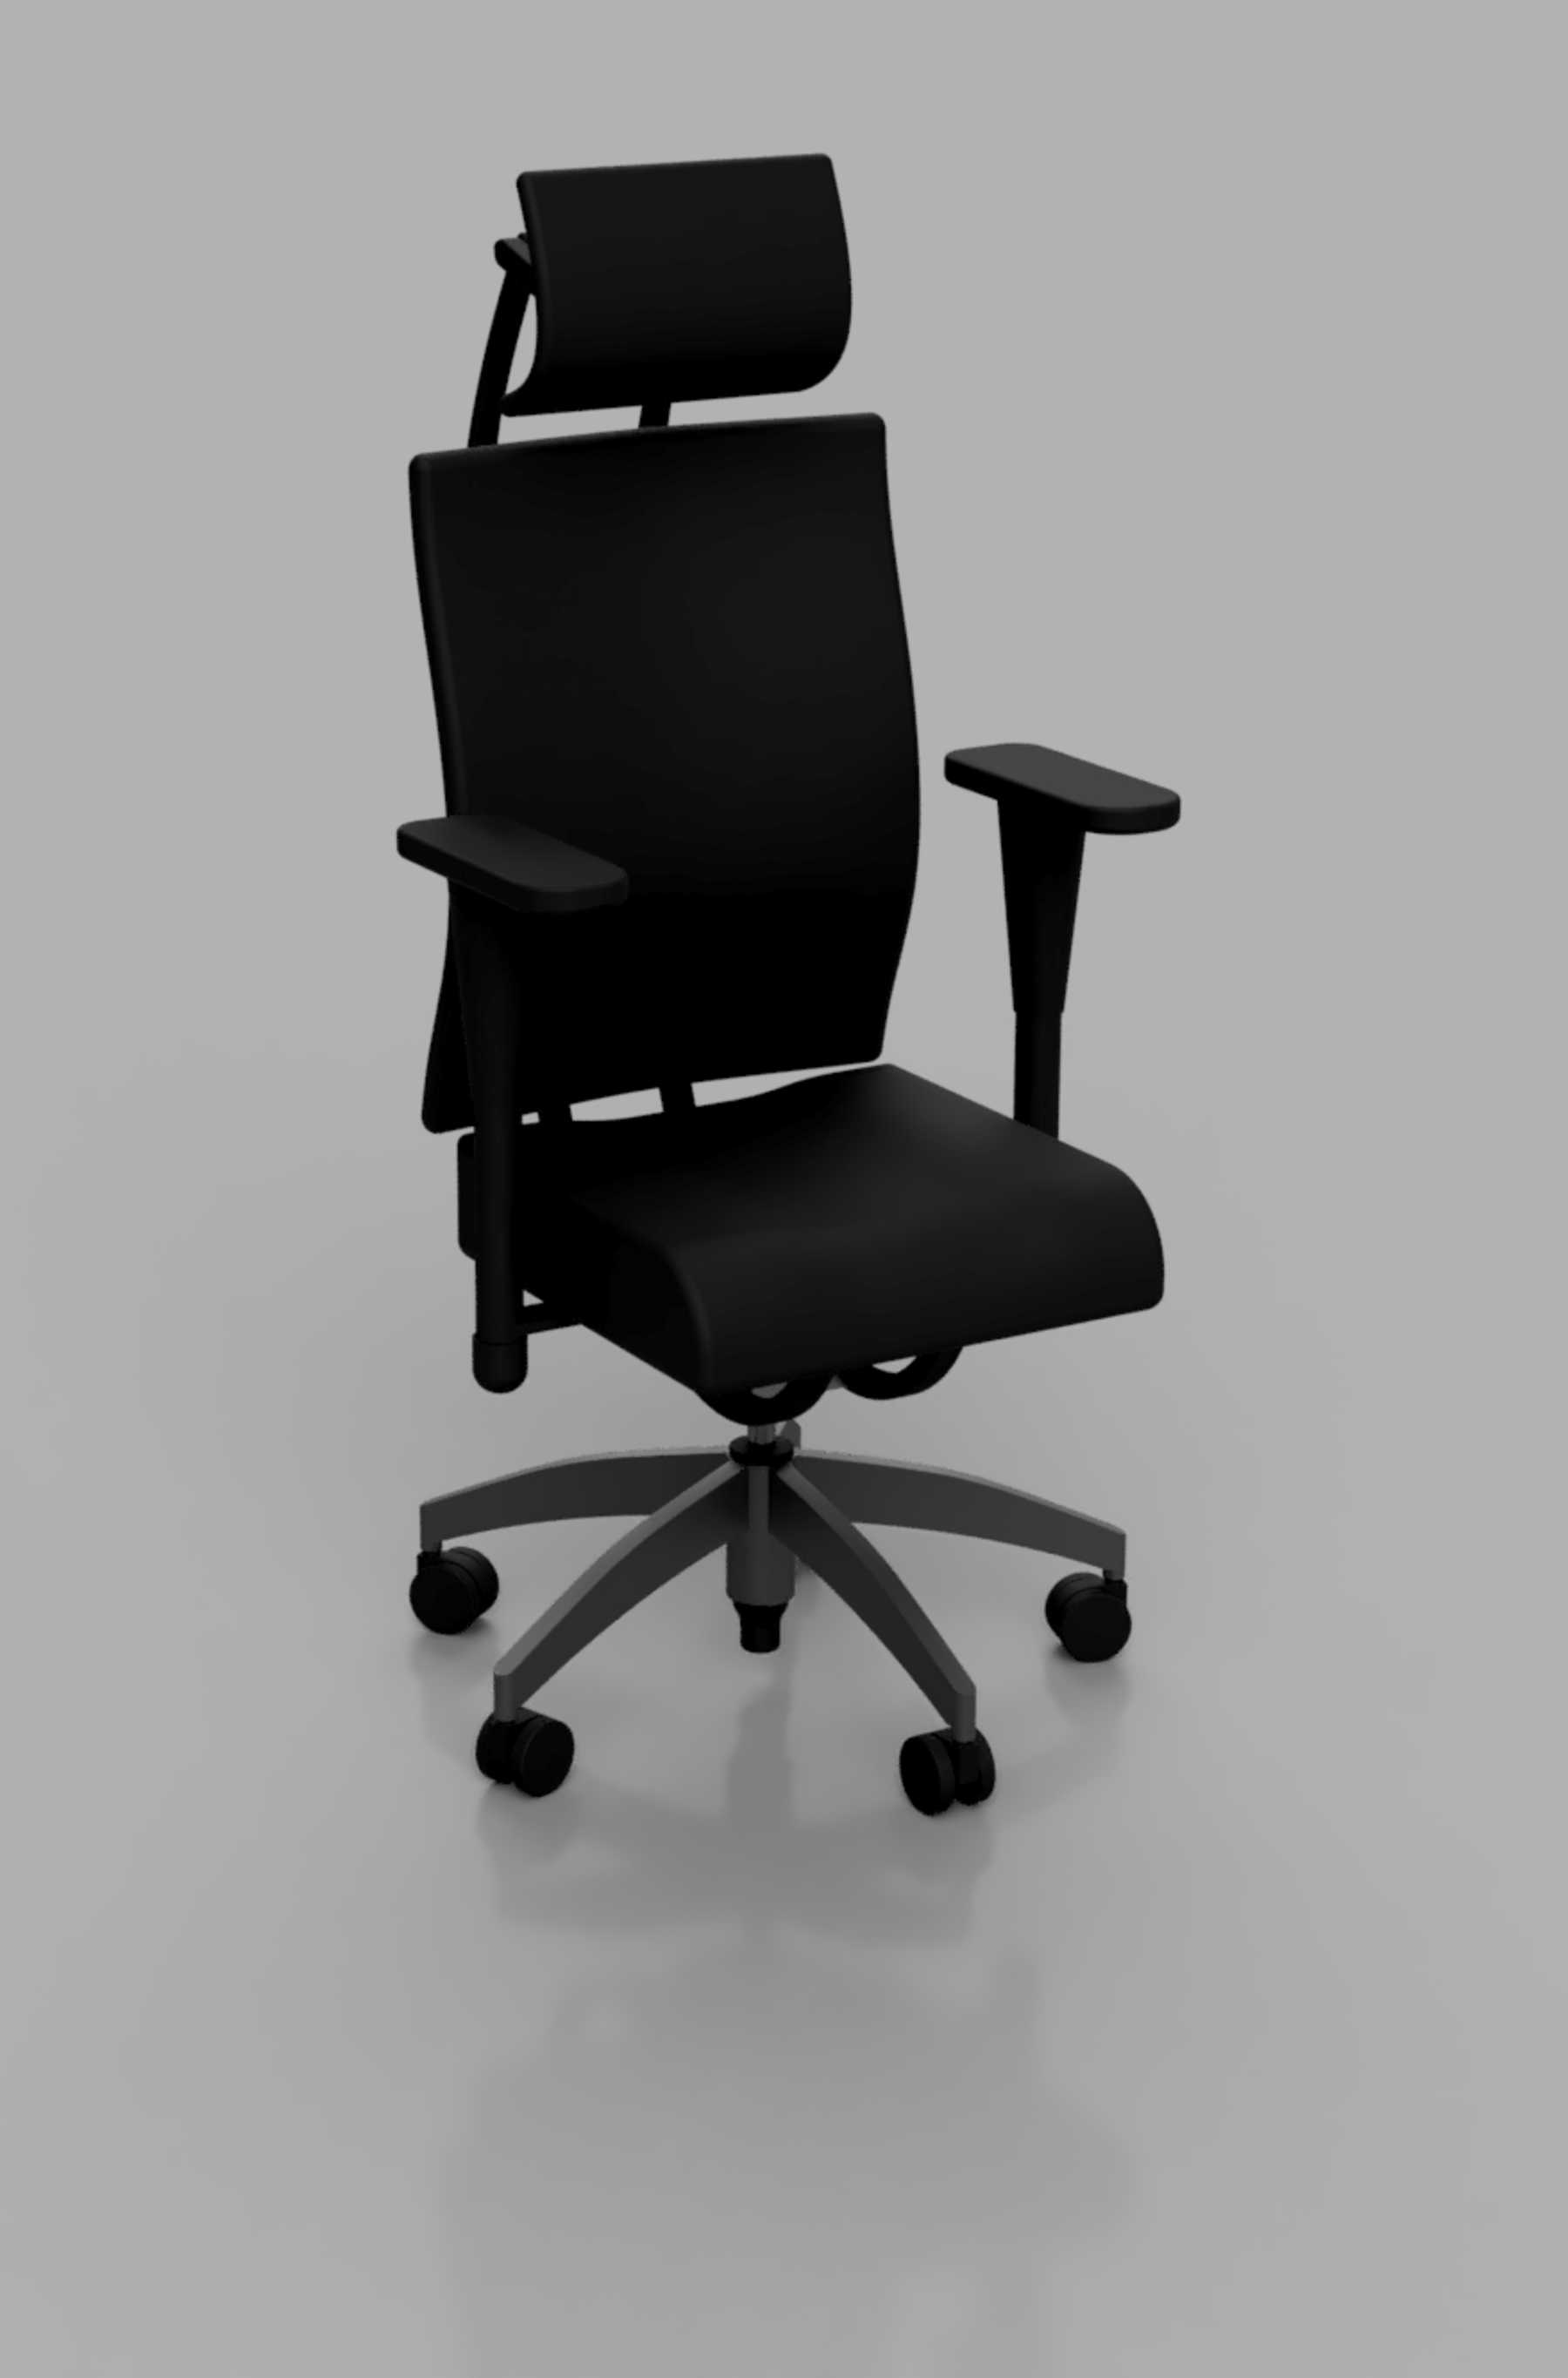
This is the sketched design of my old office chair.
Download
Here you can download the STEP and STL-file of the chair:
Chair STEP file