3D Scanning and Printing
Week 06
As a group assignment, we should test the design rules for our 3D printer(s). After that, we had to design and 3D print an object (small, few cm3, limited by printer time), that could not be made subtractively, as an individual assignment. Last but not least I had to 3D scan an object.
additive manufacturing (AM), a process of joining materials to make objects from 3D model data, usually layer upon layer, as opposed to subtractive manufacturing methodologies.
Group assignment
What are the limitations/restrictions of 3D printing?
Despite being the most popular test and tweak object, the Benchy by CreativeTools lacks on giving you insights directly on the object itself, e.g., which font size to use or how large a gap has to be to be able to print without any supports. Comparing different objects from the data platforms like thingiverse, myminifactory and et cetera I have decided to use the foldingbox by Tanya Wiesner.


It is inspired by the Protolabs injection molded box and showcases different challenging tasks a 3dprinter has to master, on each side of the cube. The compactness and the structured way of showcasing the tasks are what I have liked the most. It uses up to 23 gram of material and takes up to 3 hours on the “Fast” setting on an Ultimaker 3. Compared to the “MINI All In One 3D printer test” which approximately weighs and takes the same amount of time like the “foldingbox”, the areas of the testing tasks are on one plane, which makes it difficult to look up from close.

The aim was to describe our 3D printers with the help of the selected test object. Within my FabAcademy, I have different FabLabs and also different 3D printing methods at my hand. In my FabLab DEZENTRALE, we now have several Ultimaker 3 (FDM), Raise N2 (FDM) and Formlabs Form 2 (SLA) available (also one SLS-printer, the Sintratec-Kit). In the FabLab HRW I also have a lot of FDM printer (Ultimaker 2/3/S5, …) at my disposition and a particular FFF printer. At my research institute, my colleagues also develop SLS printers, which are specially designed for materials research with a variety of parameters. So you can say that I have been able to try out a lot of 3D printers lately and have already been able to recycle a lot of old 3D printers. In the beginning, I started with my building my personal 3D printer, but nowadays it is in my basement. However, I am still very impressed by some DIY set kits like the one of PRUSA I3 MK3S. Nevertheless, I would like to mention briefly: I’m still very enthusiastic about the reliability of the small but comparatively expensive Ultimaker 3. Here are some pictures of the 3D printers accessible to me. FabLab DEZENTRALE on the left and the FabLab HRW on the right:


In my group assignment, I have focused on the most widely used manufacturing technology, fused deposition modeling, and the most widely used 3D printer we use, the Ultimaker 3. The current slicing software is Cura with version number 3.6.0. The ease of use of the inexpensive PLA leads to the investigation of the print setting. The company BASF / Innofil3D produced the PLA, and the chosen color of the PLA was white. The following table shows the changed parameters:
| # | Slicer | Settings | Layer height | Calculated time | Real time |
|---|---|---|---|---|---|
| 1 | Cura 3.6.0 | Fast | 200 µm | 2 h 56 min | 3 h 2 min |
| 2 | Cura 3.6.0 | Normal | 150 µm | 4 h 10 min | 4 h 16 min |
| 3 | Cura 3.6.0 | Fine | 100 µm | 6 h 16 min | 6 h 22 min |
| 4 | Cura 3.6.0 | Extra Fine | 60 µm | 10 h 12 min | 10 h 18 min |
| 5 | Cura 3.6.0 | Extra Fine + Ironing | 60 µm | 11 h 2 min | 11 h 7 min |
First of all, I was surprised by the demonstrative test object, which has more expressiveness compared to many other test objects and is practical for guests due to its haptic and square functionality. The test objects show significant differences in printing, which should be visible on the following pictures. I want to highlight the last two objects, both printed in extra fine, but with the Ironing feature enabled in the Slicer software Cura 3.6.0. As a result, the surfaces are considerably smoothed. This is achieved by direct surface finishing with the heated nozzle and an additional extrusion of 10% of the default settings.


To present the individual cubes for future descriptions in a structured and handy way, I decided to cut an insert for it. It is designed with Adobe Illustrator, processed with VisiCut for the laser cutter and cut on three-ply poplar wood, the design shown below for the test objects results.


Finally, many design rules could be identified and represented. On the one hand, it is the layer height and the influence on the haptics. On the other hand, there are specific drawing rules for 3D printing that have to be observed. Angles of the objects when printing without support structure which presents the overhang, wall thickness but also bridging over different distances and much more can be easily read from this object depending on the print settings.


Individual assignment
Design and 3d print a small object
As a small example, I didn’t want to sketch the next ball bearing, but something closer to the ballpoint pen. Therefore I drew a long surface with recurring peepholes. I closed this shape round and divided it into two sections. A smaller section with one sphere and a larger with two spheres.


The manufacturing process is FDM and the Ultimaker 3 Extend was used as a 3D printer. To print the balls properly, I use water-soluble PVA from Ultimaker for the support structures. Alternatively, I could have reduced the object and printed the balls directly on the printing plate. For aesthetic reasons, however, I decided against it. Printing PVA requires a special nozzle to be installed before printing. Once the printing process is complete, the printed object is loosened and placed in water for several hours. The results are shown below.


And here the final results:


What is 3D scanning?
3D scanning is the process of transforming a real object or environment into data or shapes. Nowadays there are many technologies to scan objects: Photogrammetry, structured light, LIDAR, and so on. Here is a picture of the equipment from the FabLab DEZENTRALE.

We have a total of three scanners in the DEZENTRALE: Artec Eva, Artec Spider and Shining 3D EinScan-Pro. In my assignemnt I will use the Artec Eva. The 3D colour scanner uses the structured light technique with up to two million dots per second. The main application is the capture of medium to large objects with a resolution of up to 0.5mm and a point accuracy of up to 0.1mm.
The seat that fits
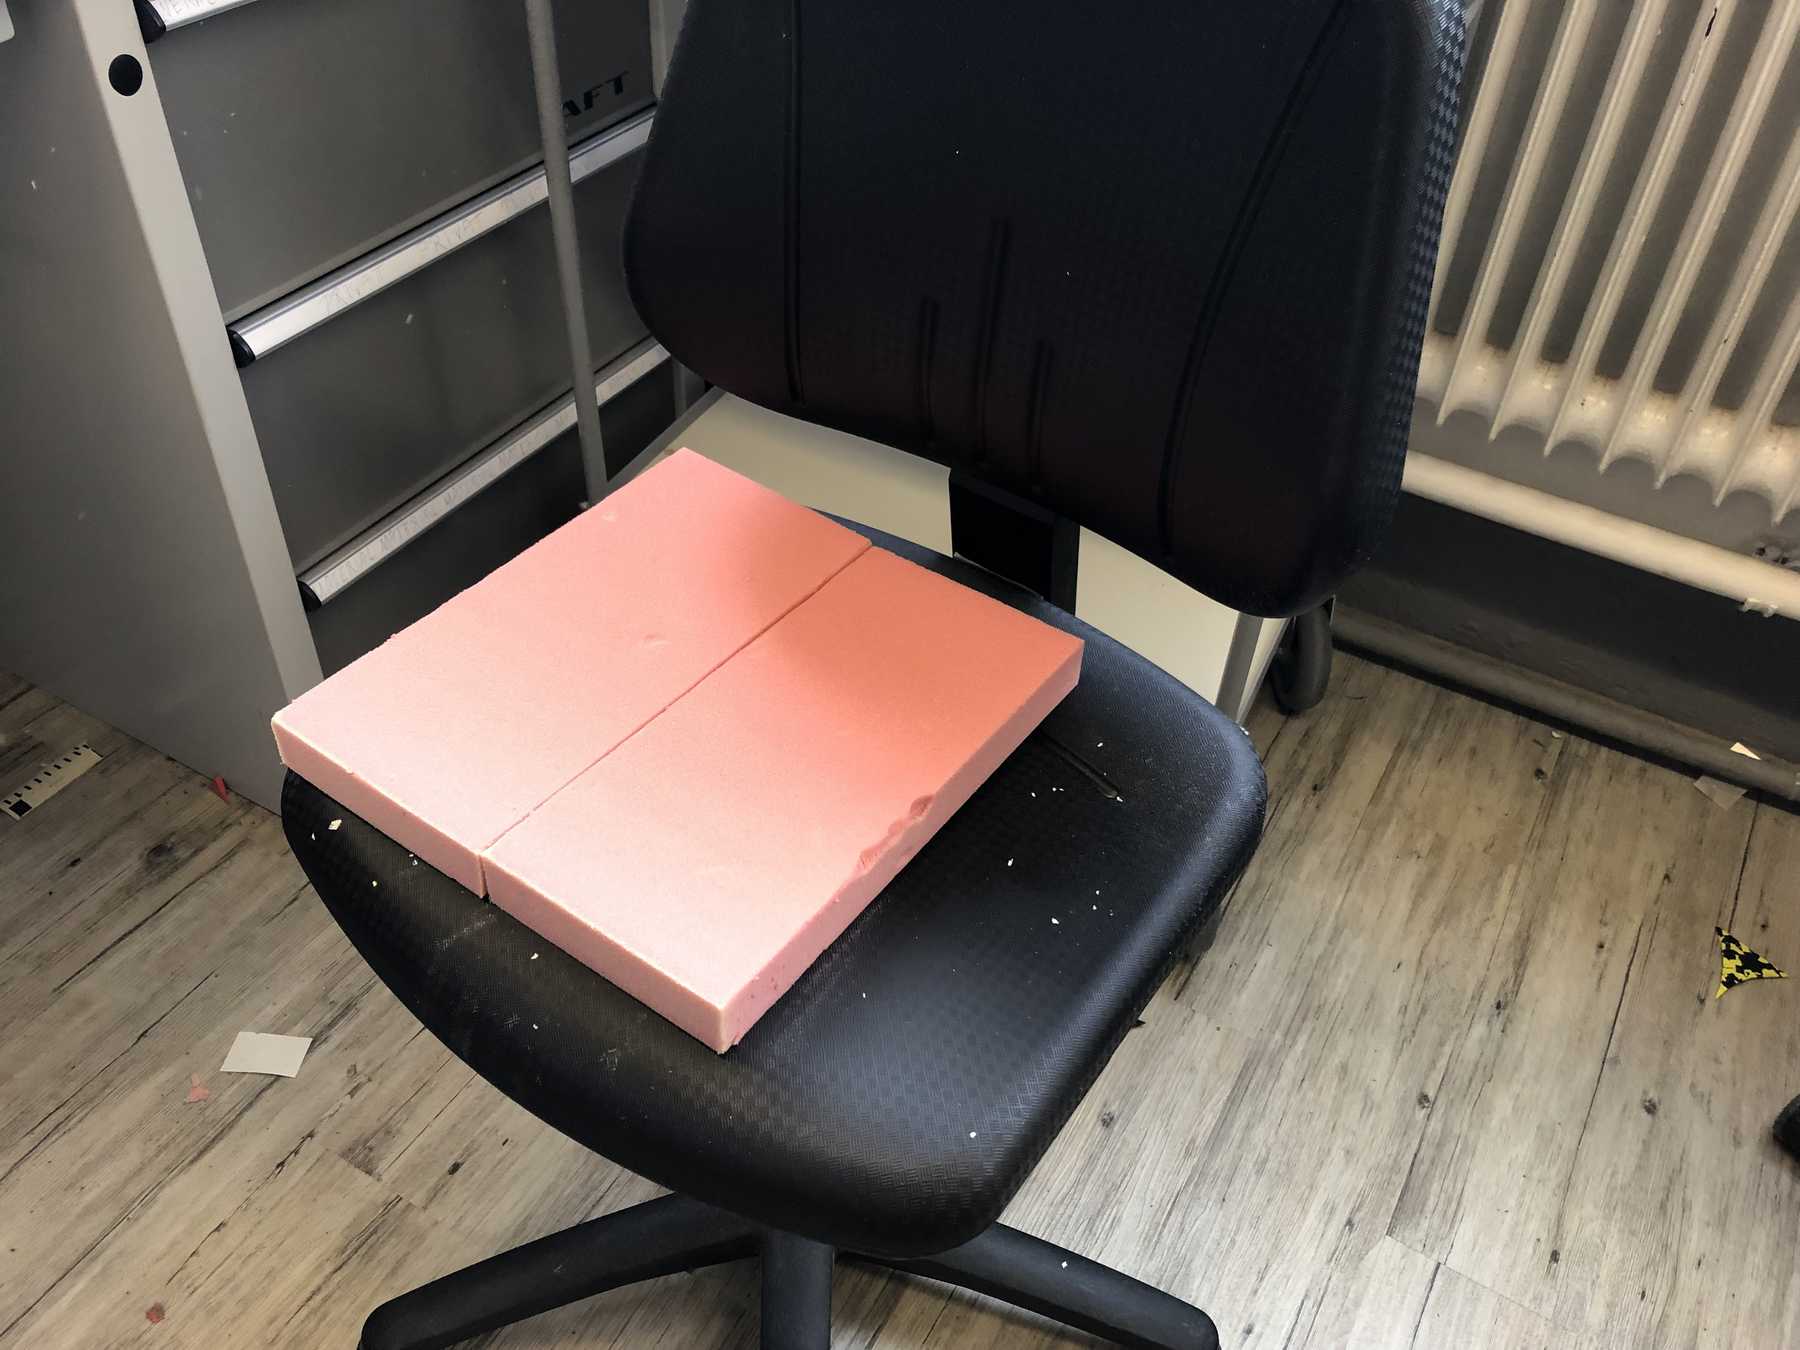
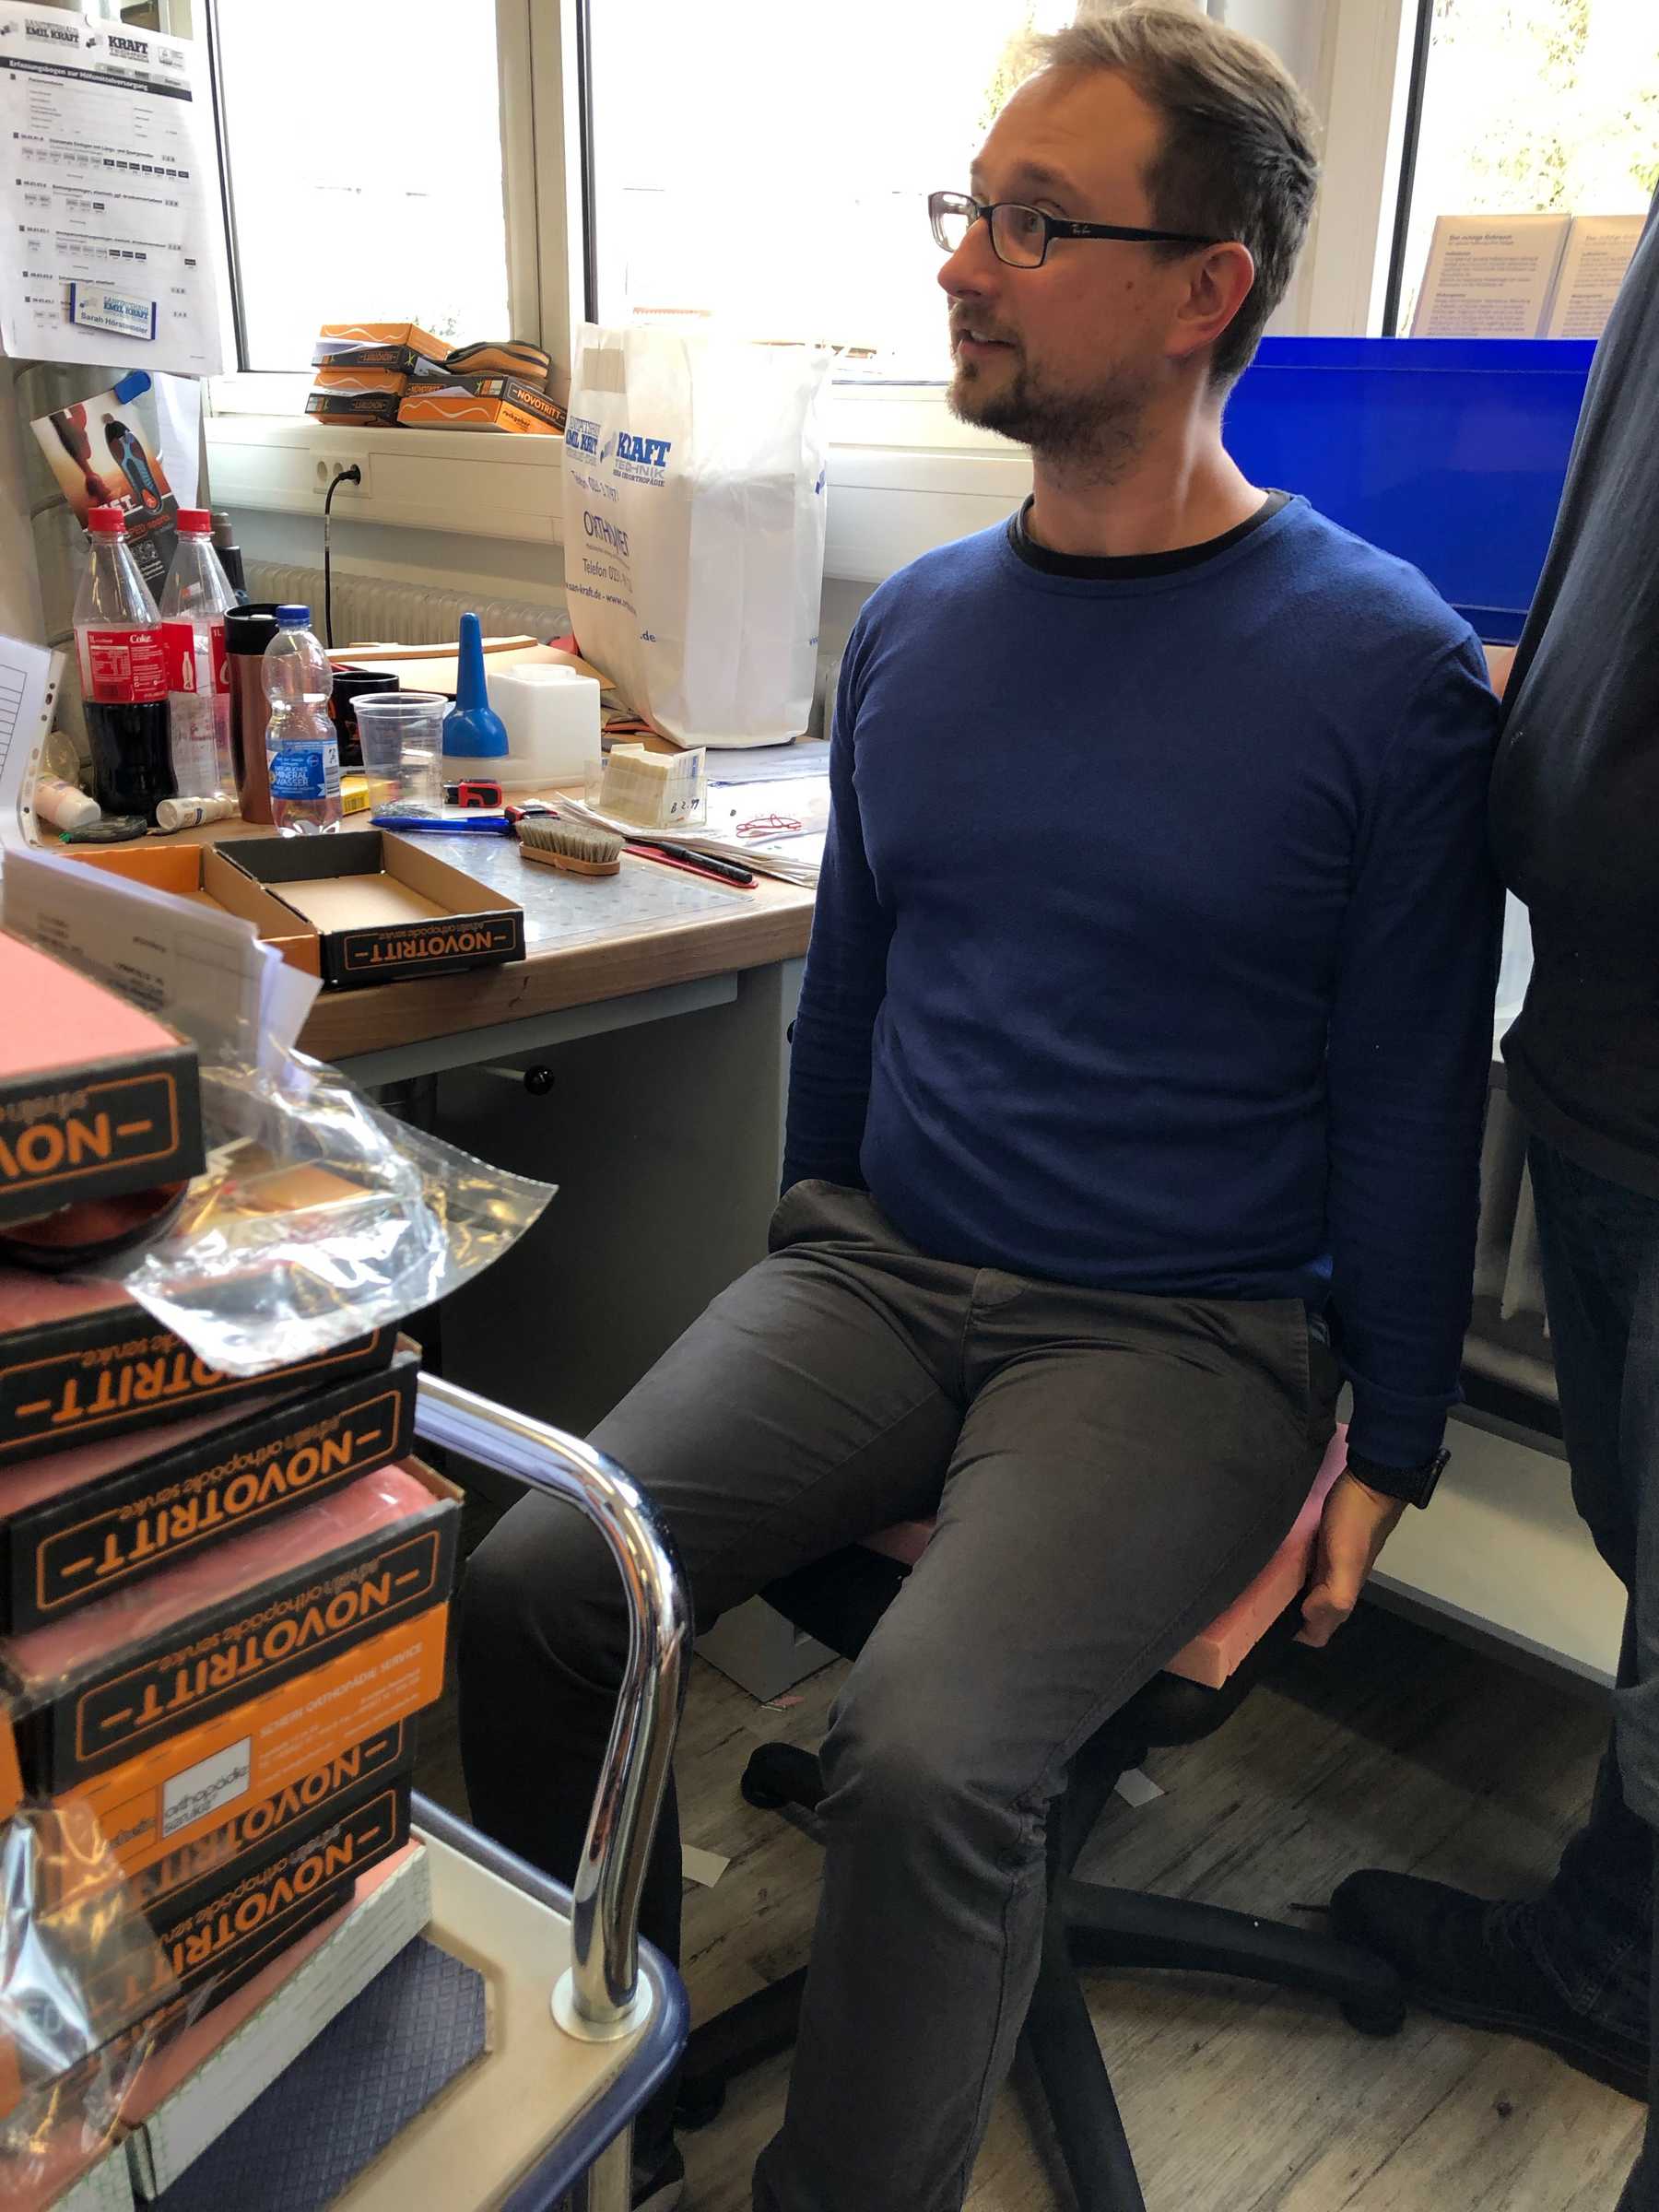
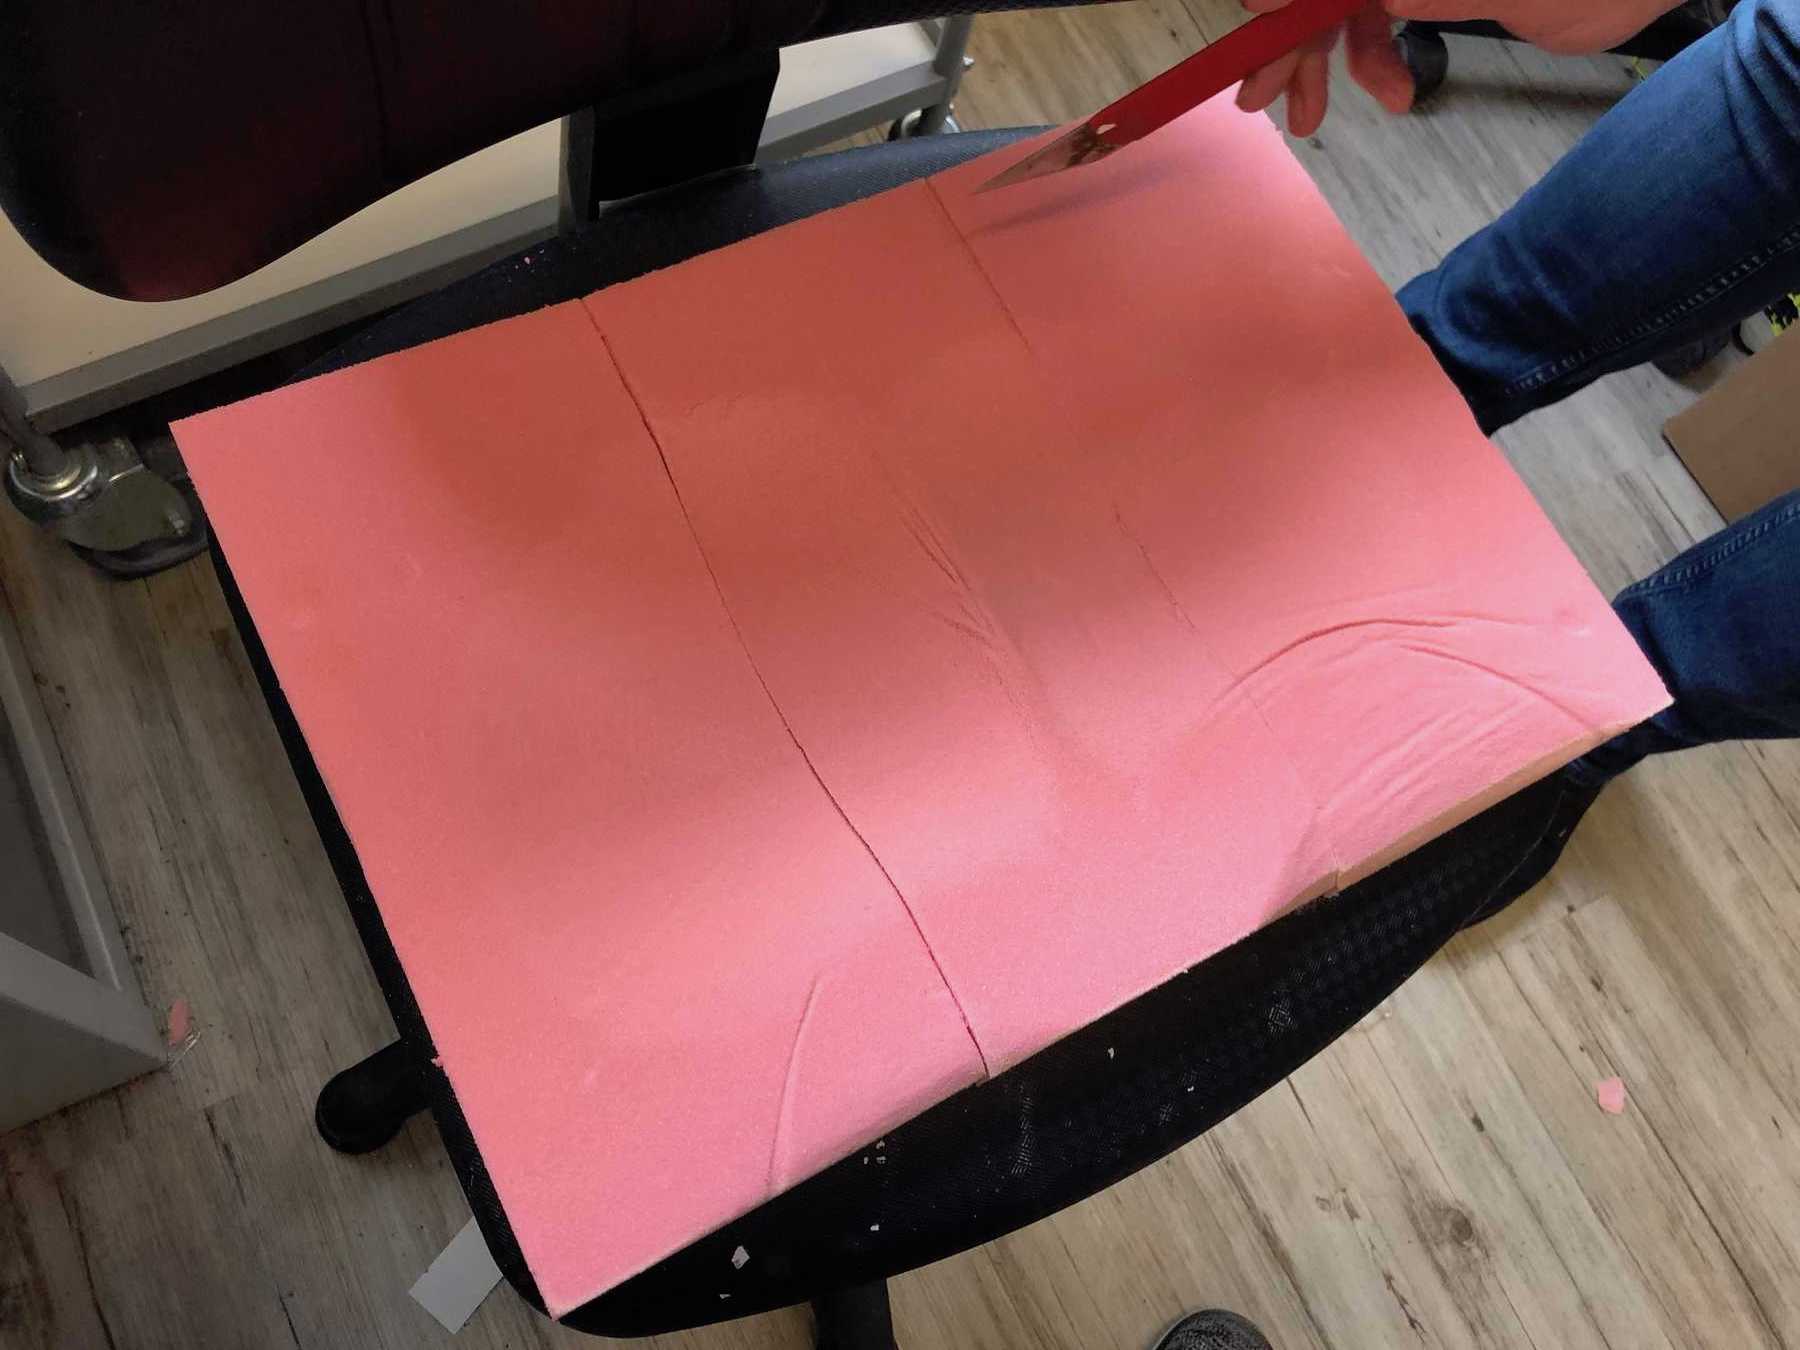
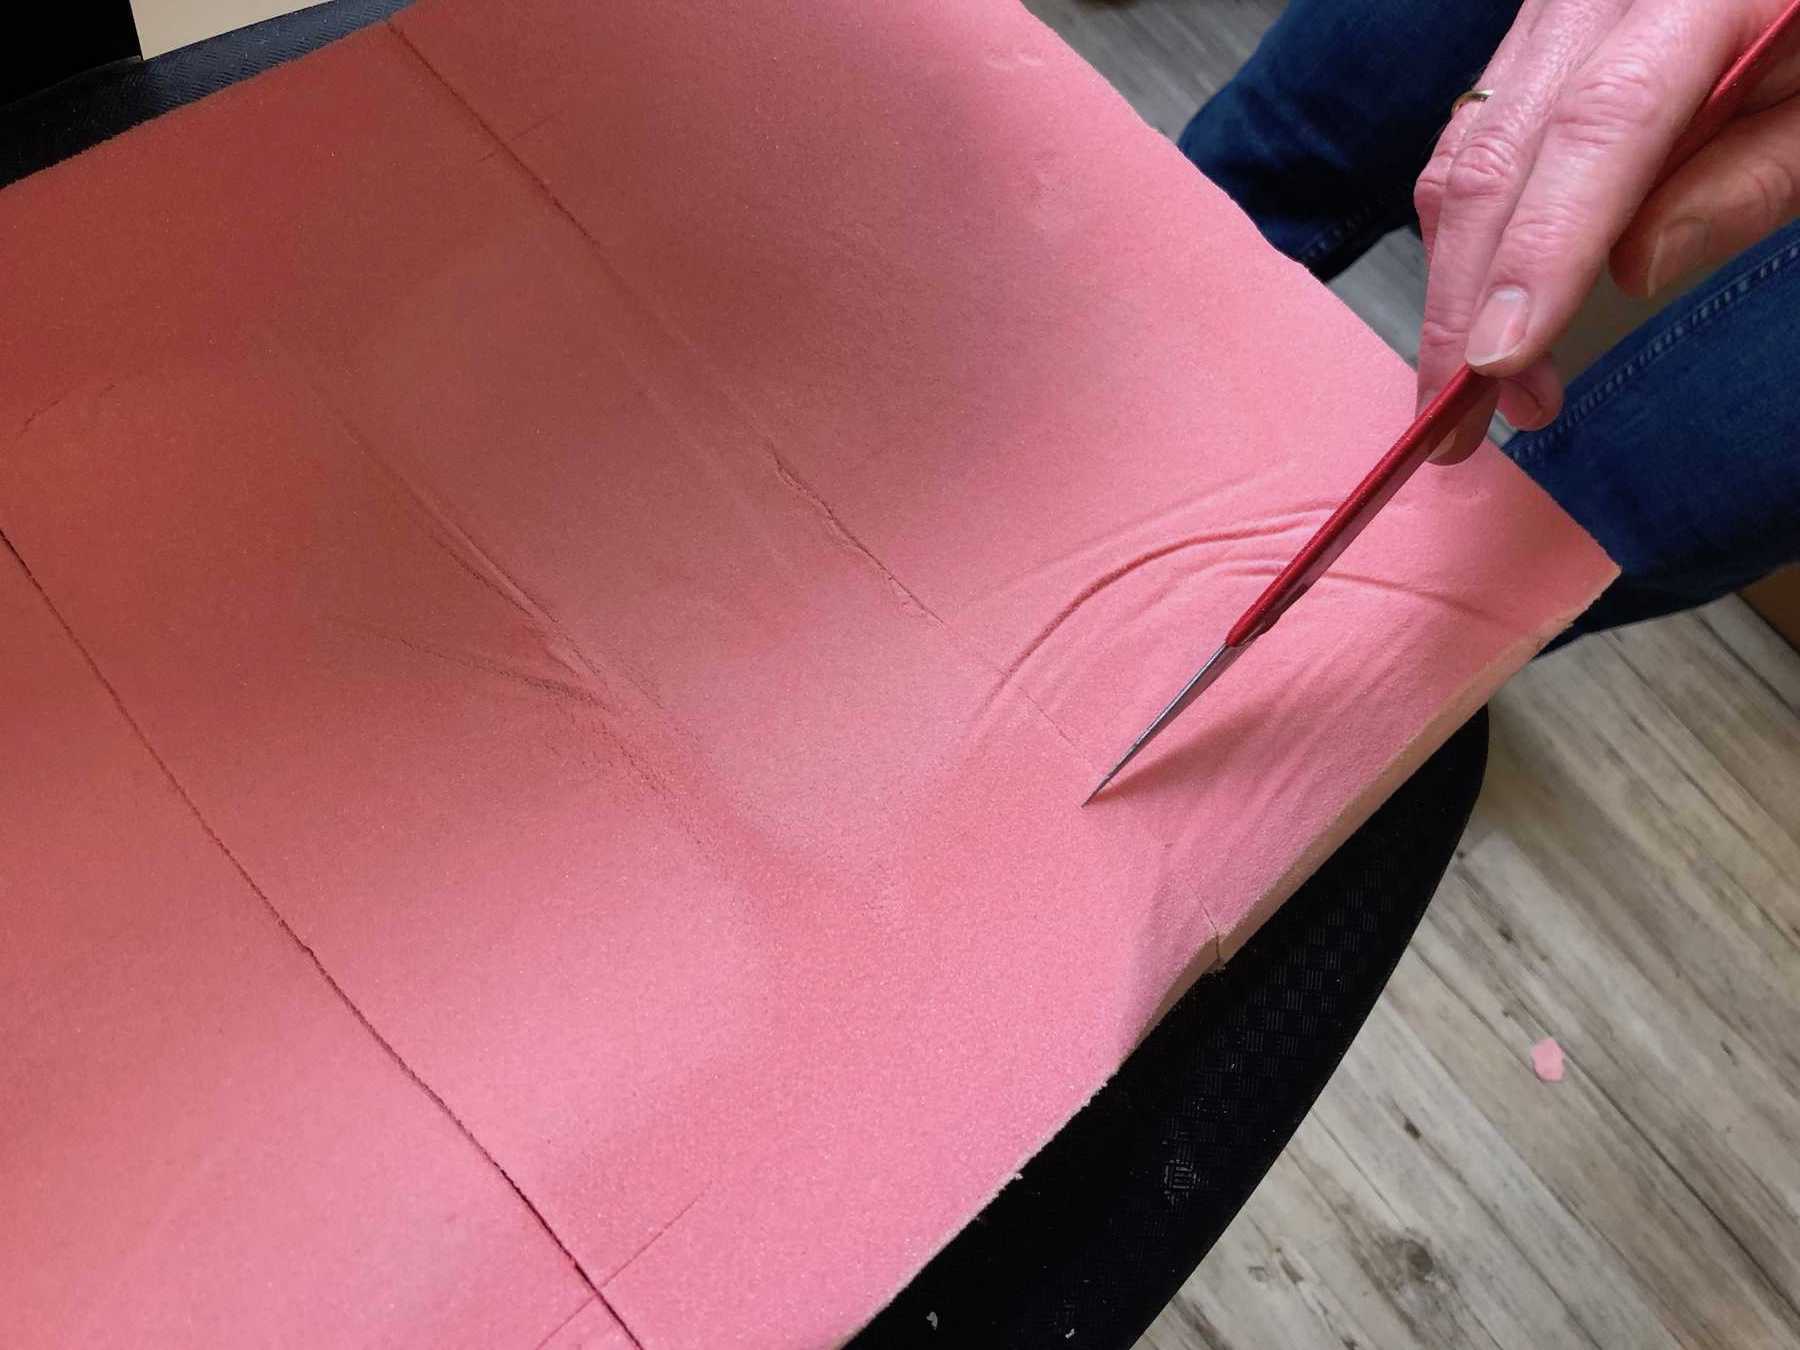
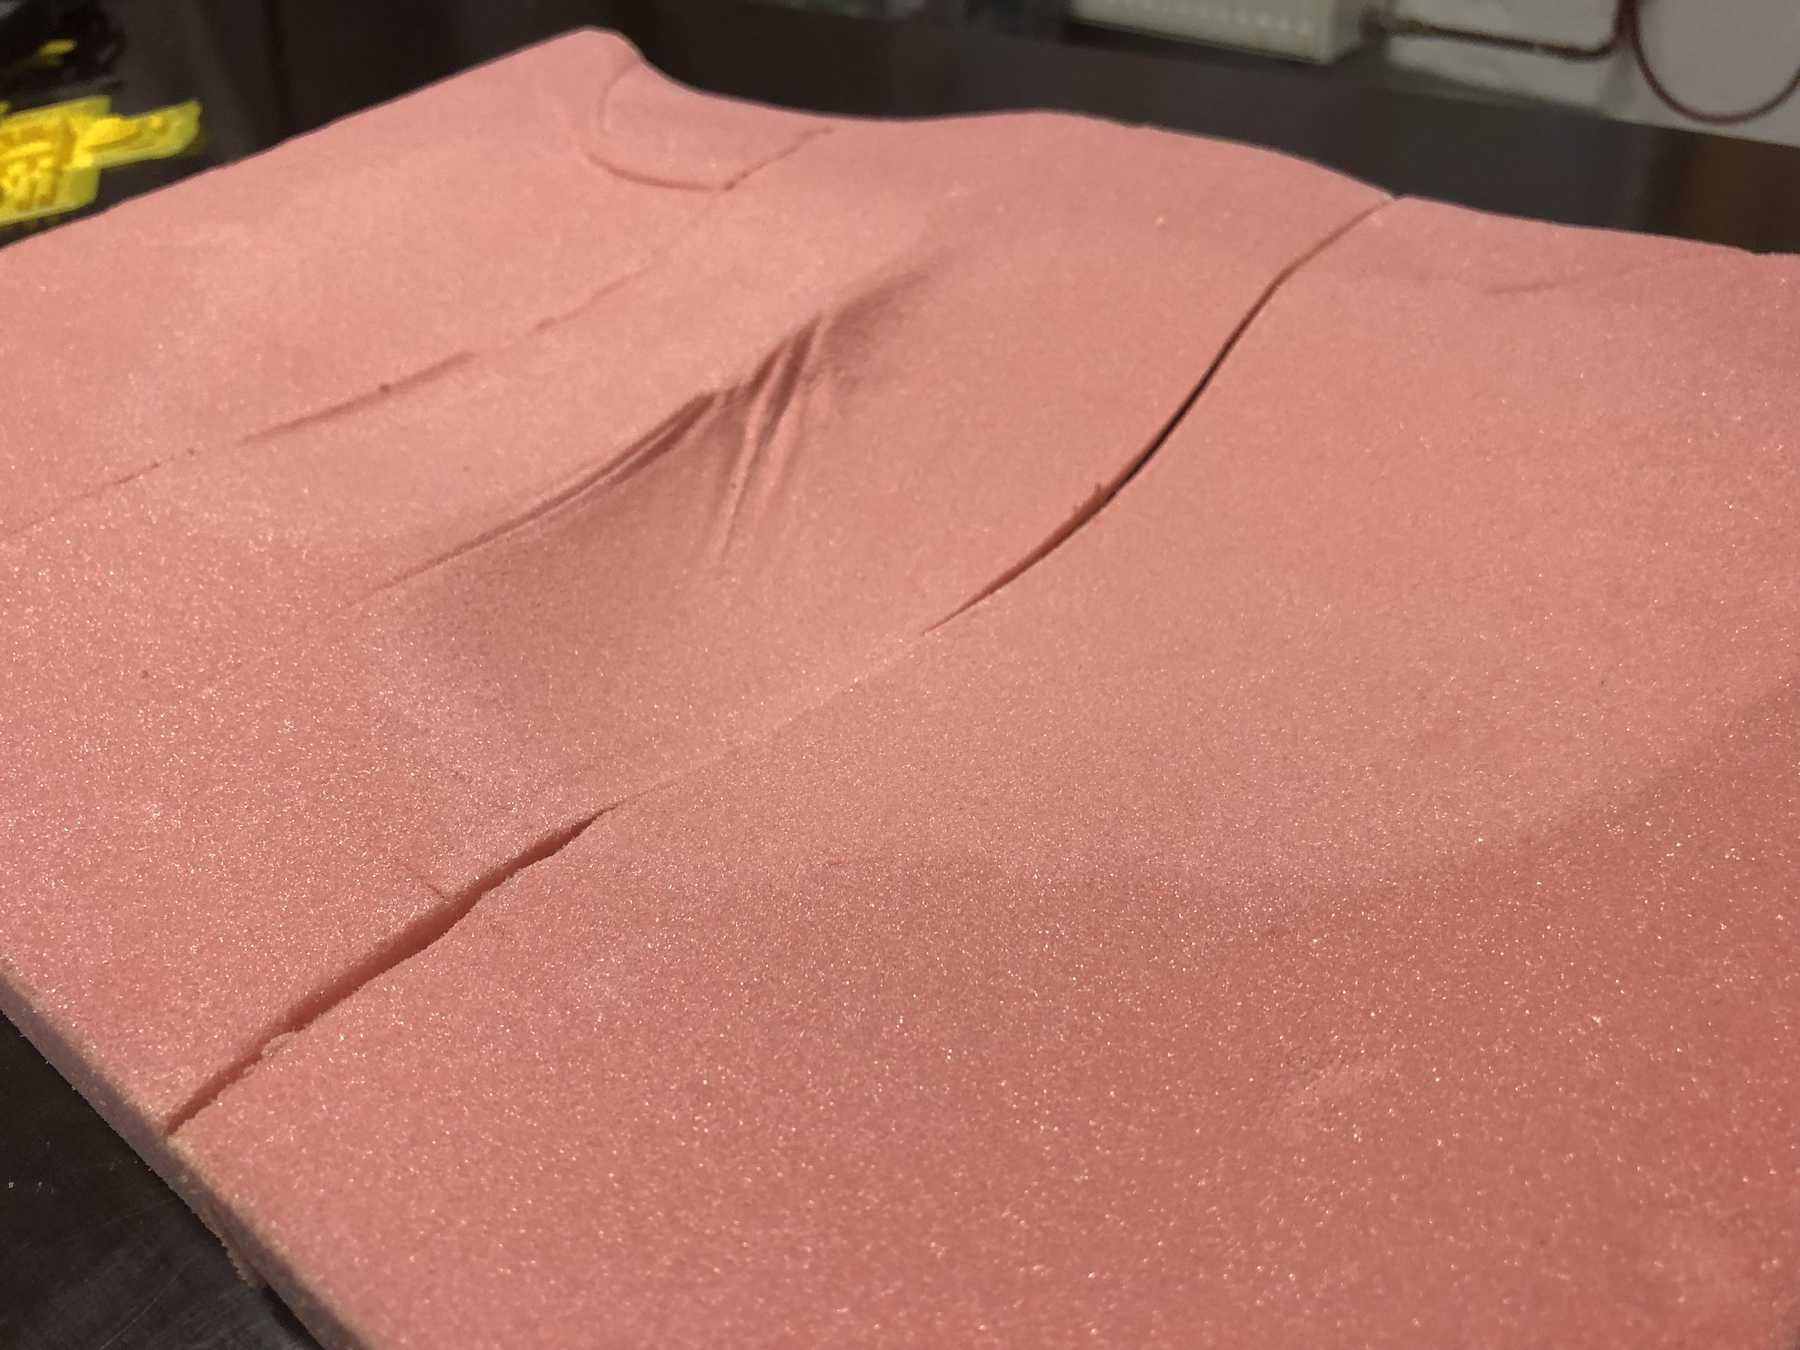
In my final project, I want to rebuild my chair so that it is smart and individualized. For this, I need a seat that is tailored especially for me. Thanks to our project partner Sanitätshaus Kraft, a medical and health care supplier, I was able to use footprint-foam, which is normally used for the foot. Here you create pressure on the footprint-foam by standing on it and get an exact result of your foot. Based on this, soles are usually produced. In my case we placed several of these footprint-foam next to each other and then I sat down on them. Now I have scanned this impression.

To generate a comparison of the direct scan of my backside and the scan of a result of my backside, I have tried both variants. The result is still pending ; )

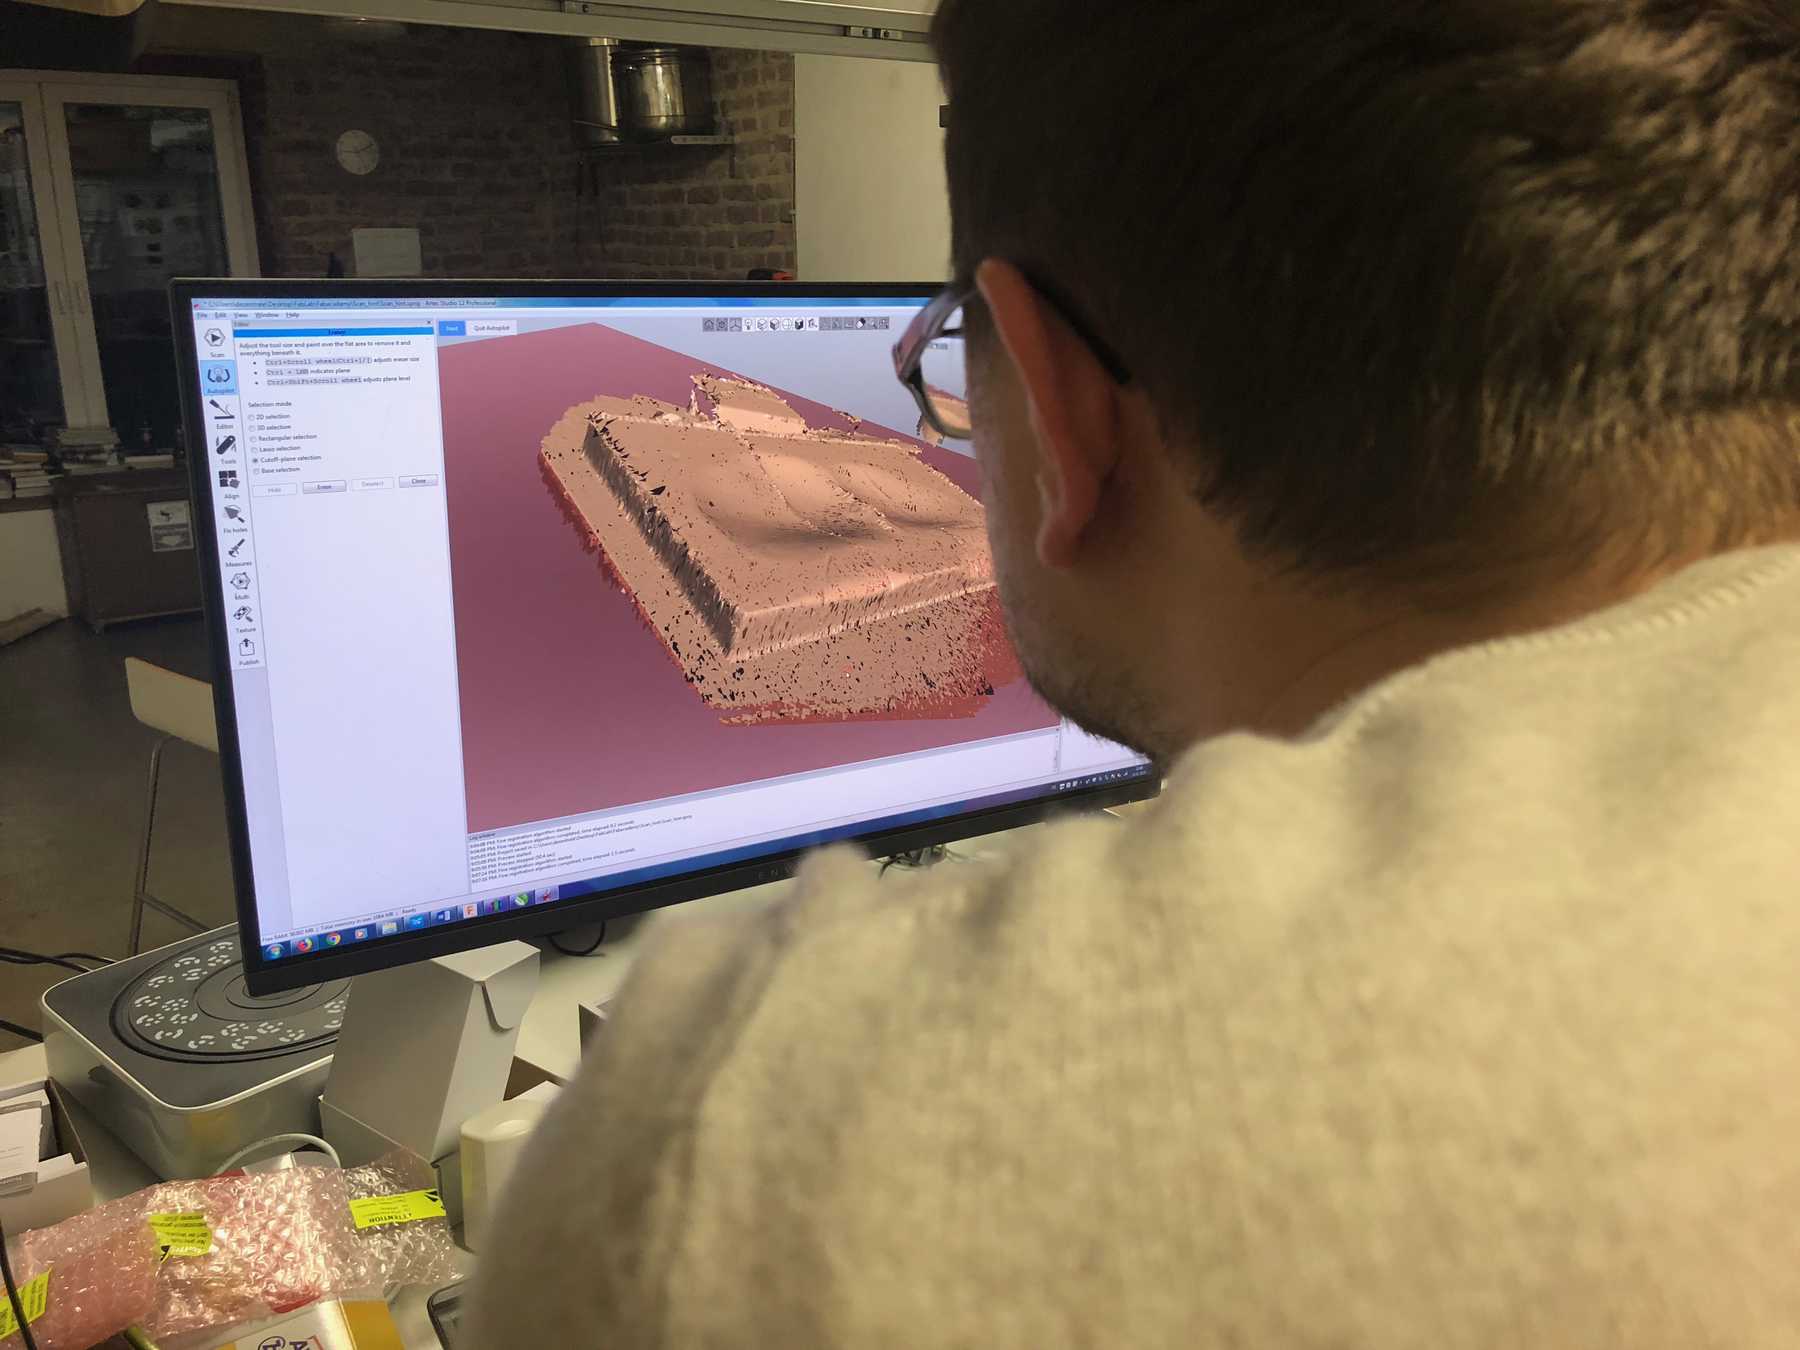
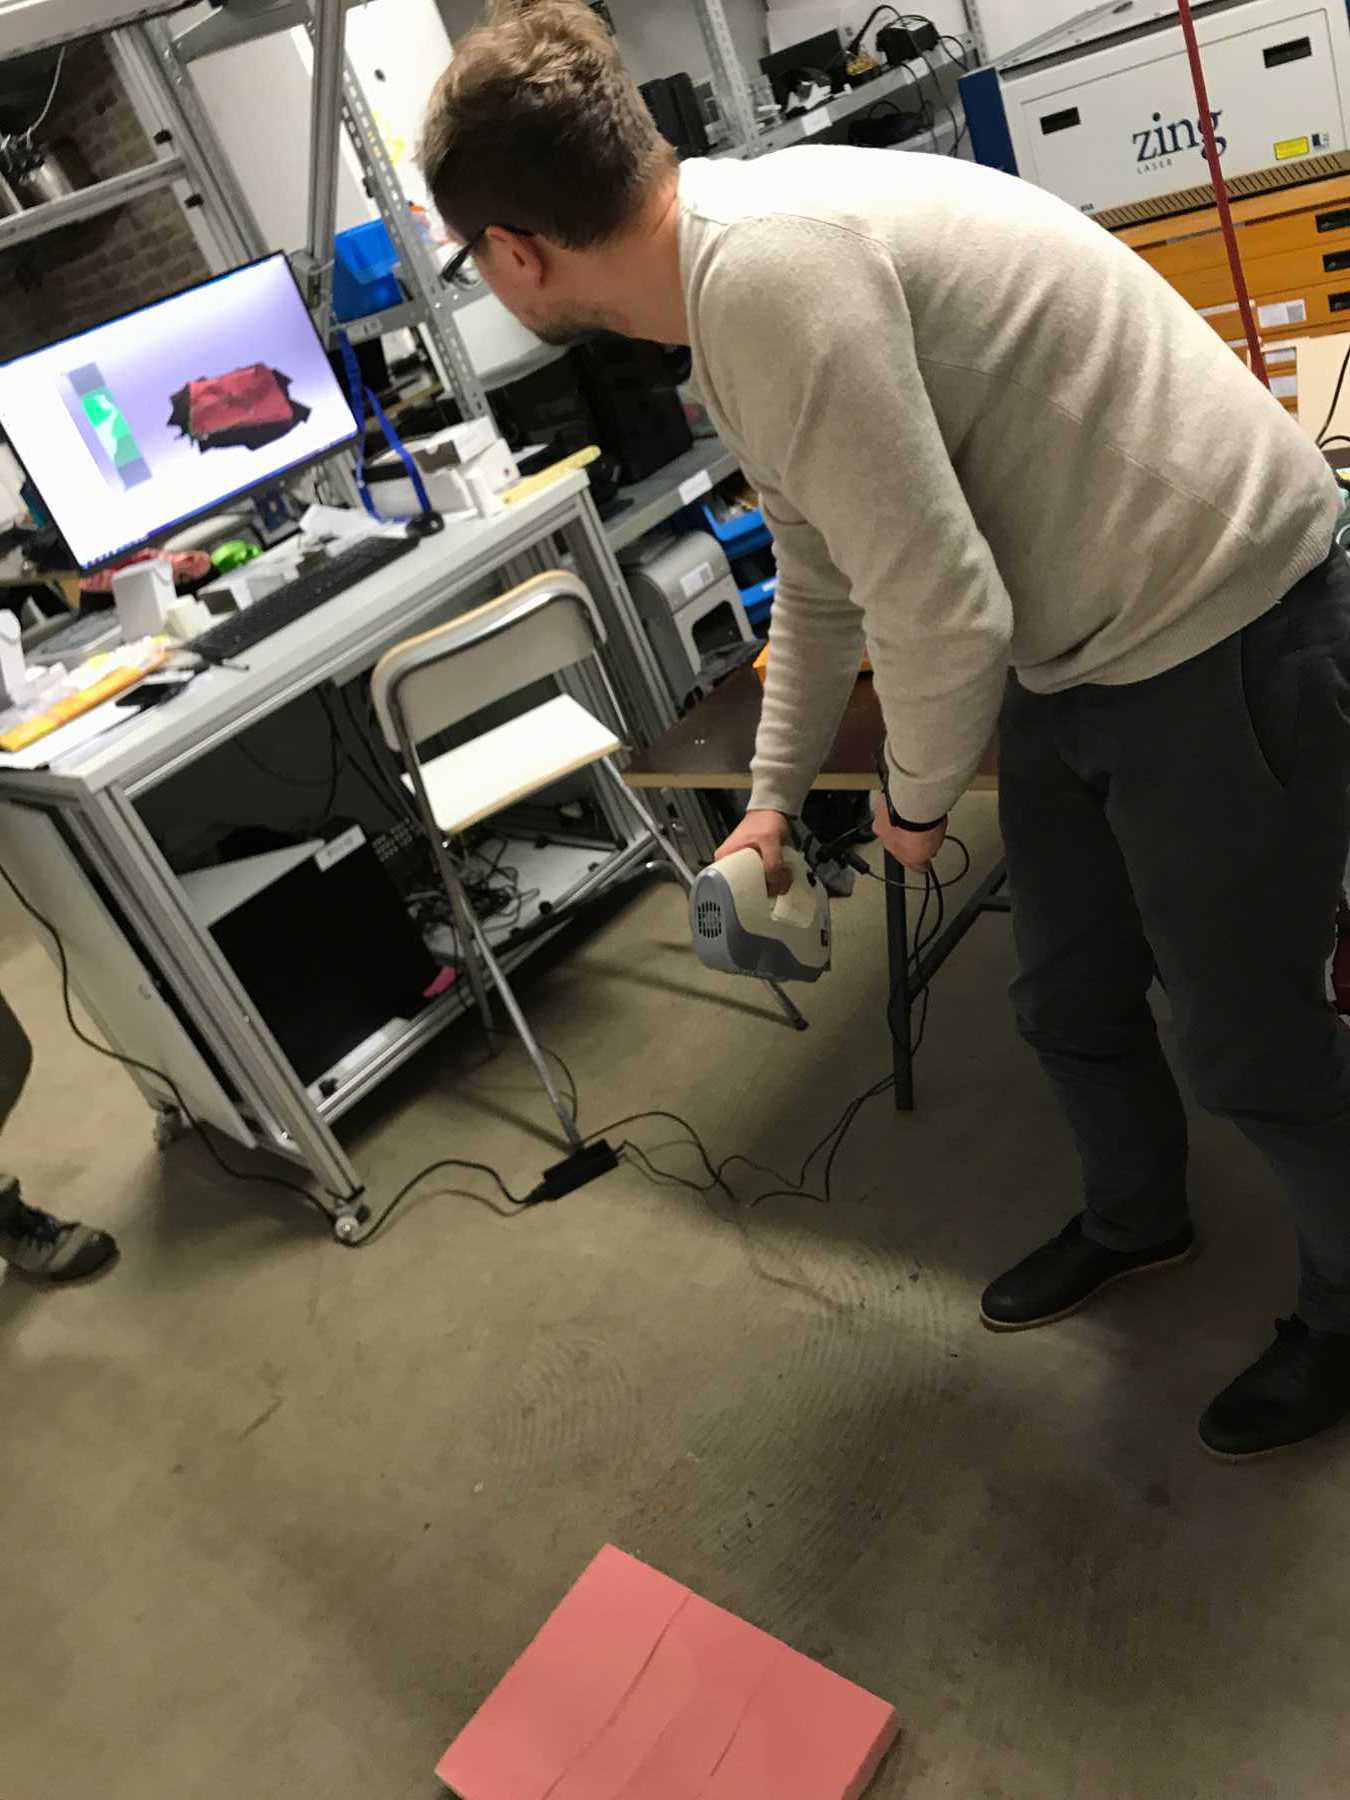
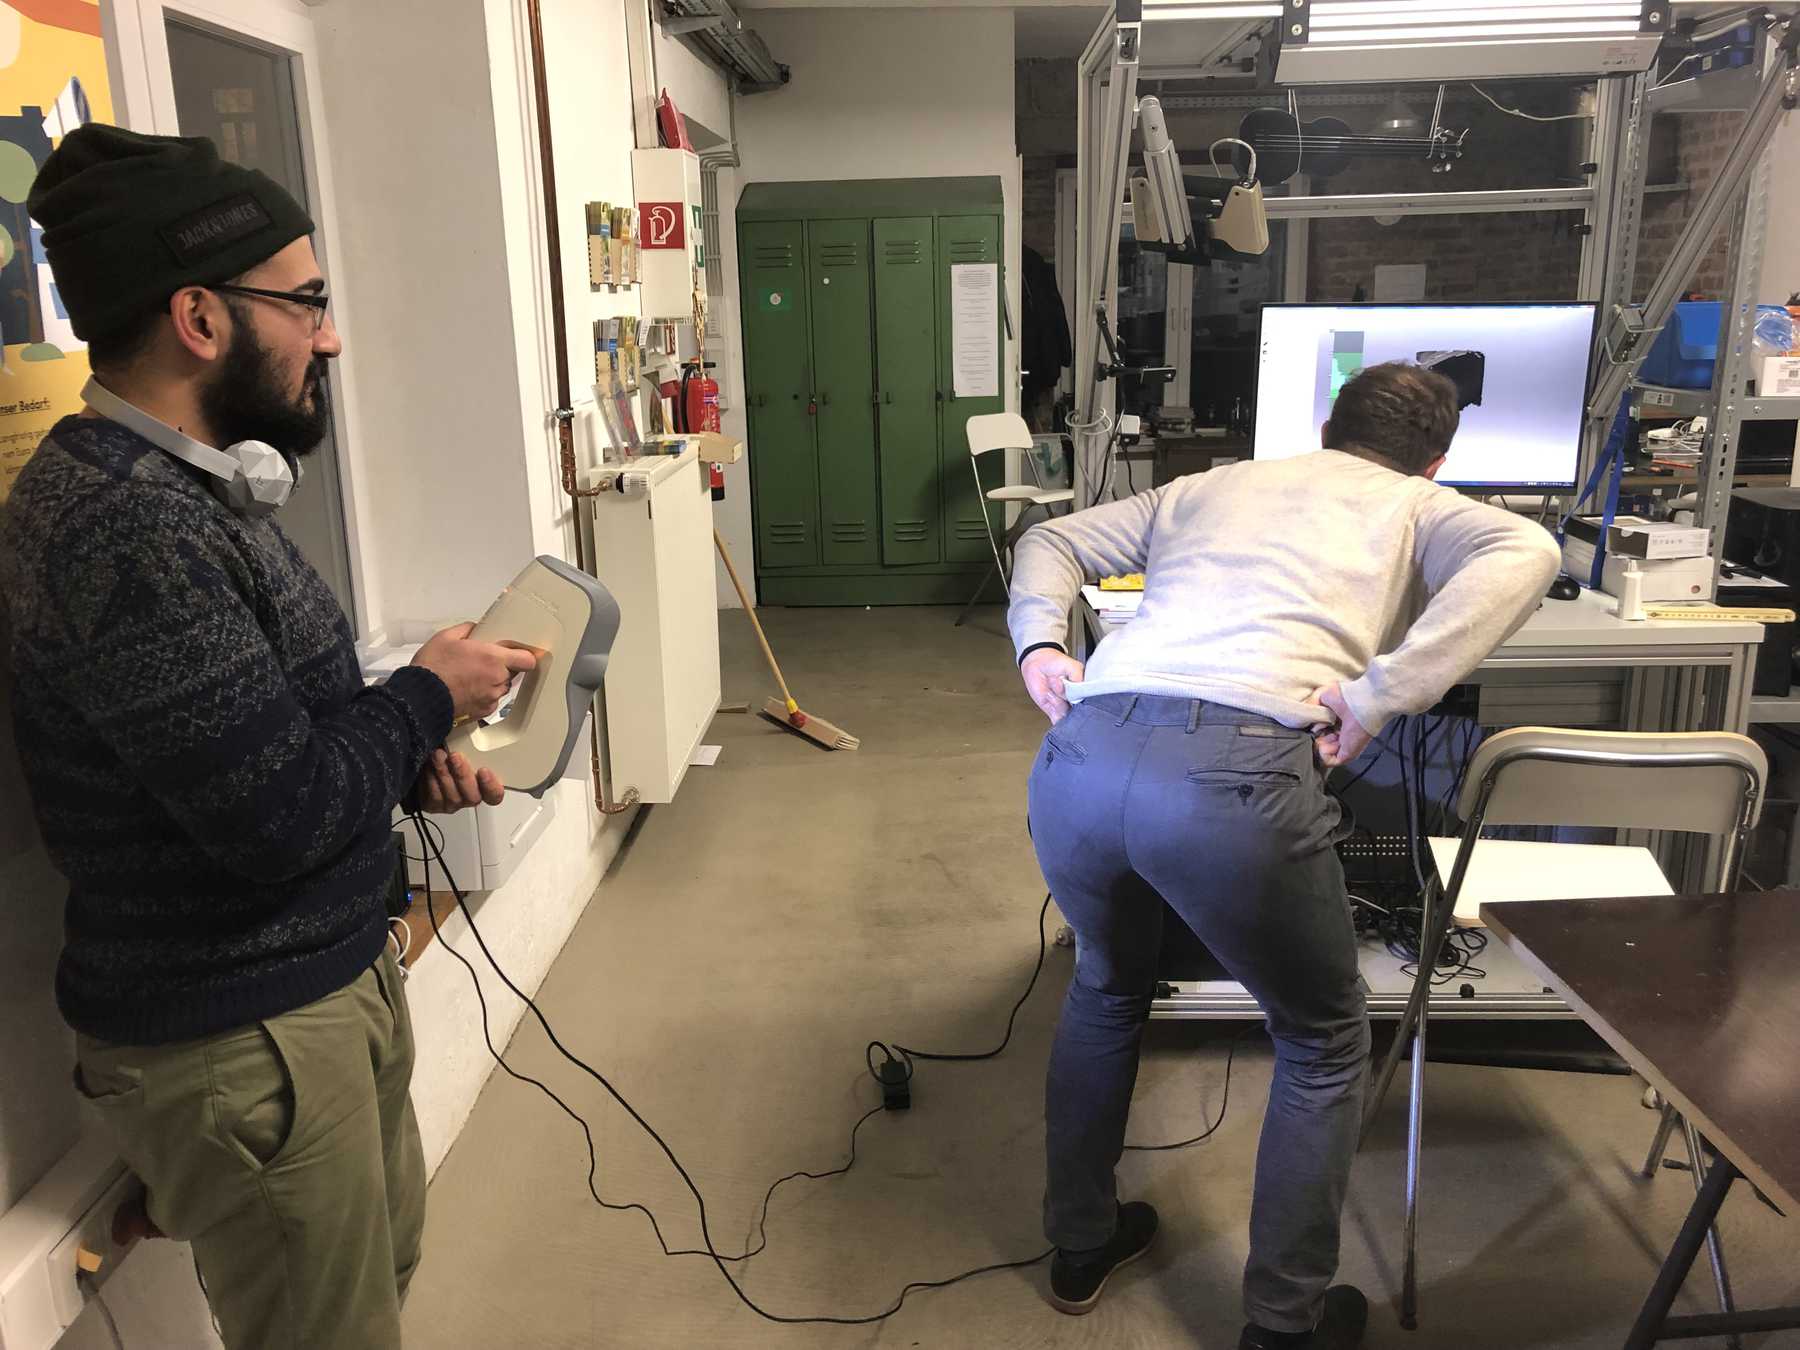
Somehow I got used to the terrible 3D scanner from Artec. A device, where you have to look on the screen while scanning, because on the monitor lies the information about the distance measurement. A logical and meaningful operability was definitely not a high priority during the development of this scanner. Nevertheless, there is much magic in the software. Thanks to good algorithms, the software can perform some miracles from different scans. For small objects, we use the Artec Spider, for large objects like my backside I use the Artec Eva.
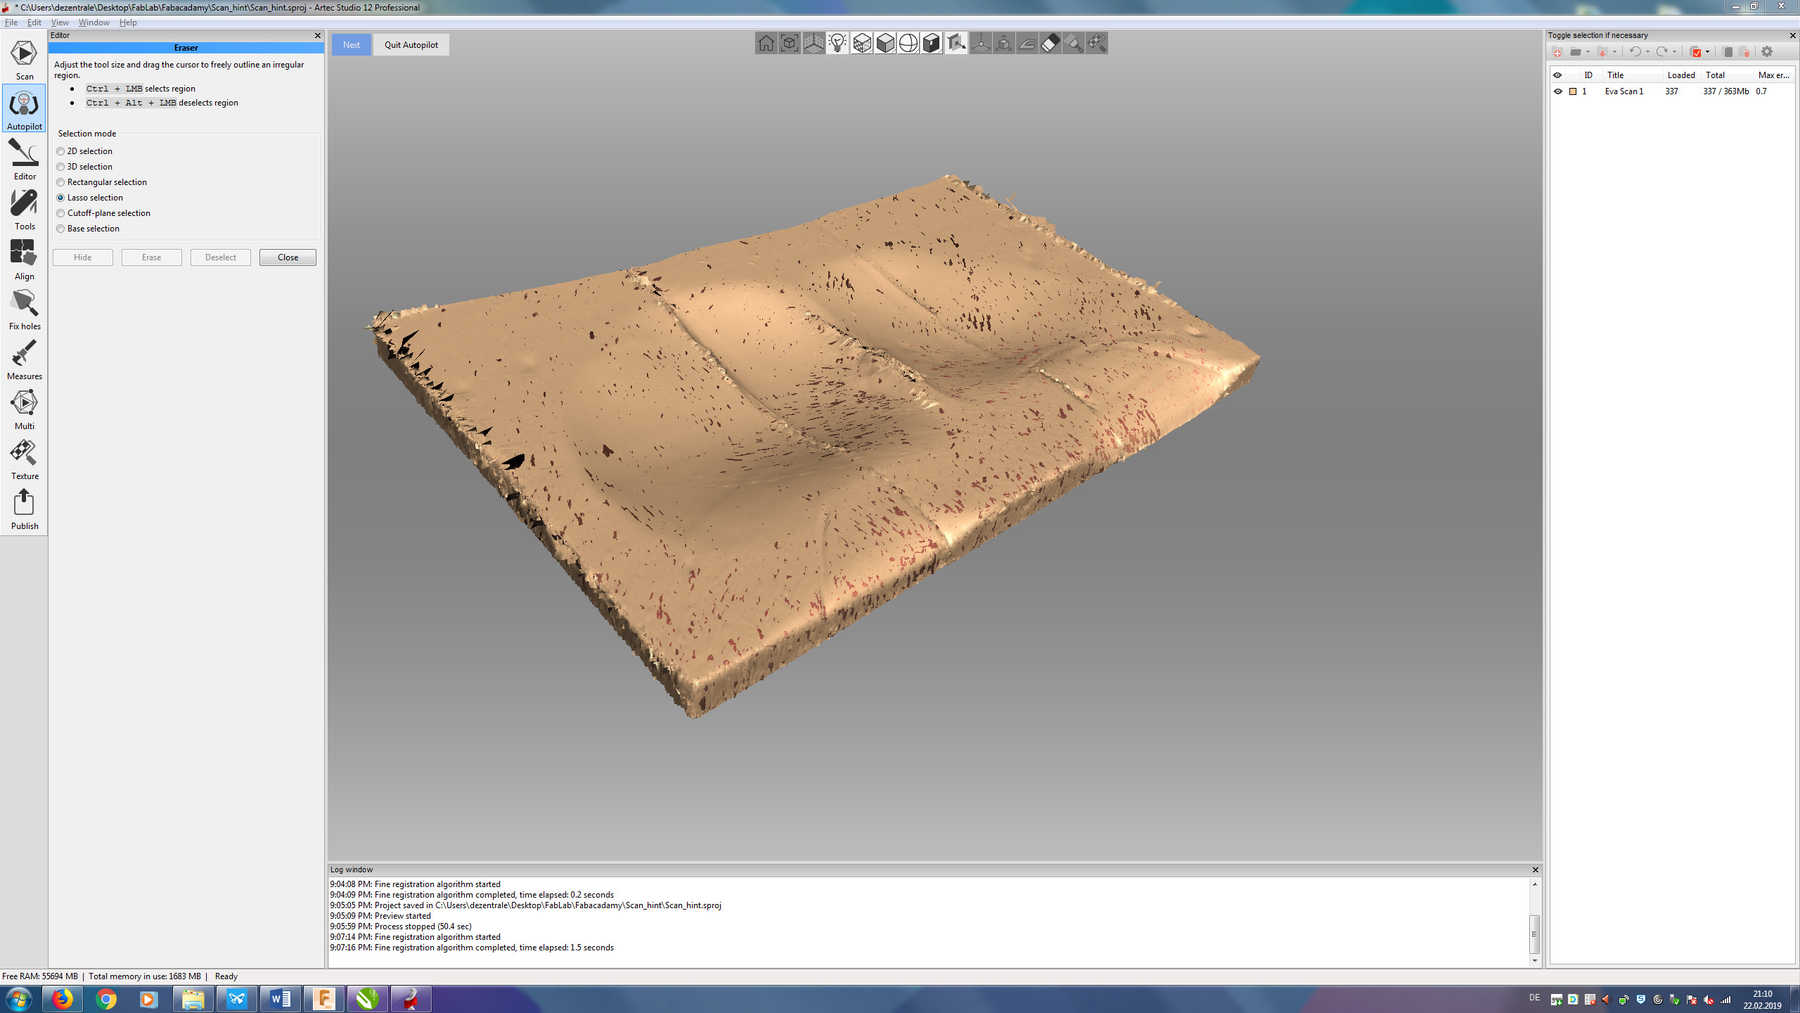
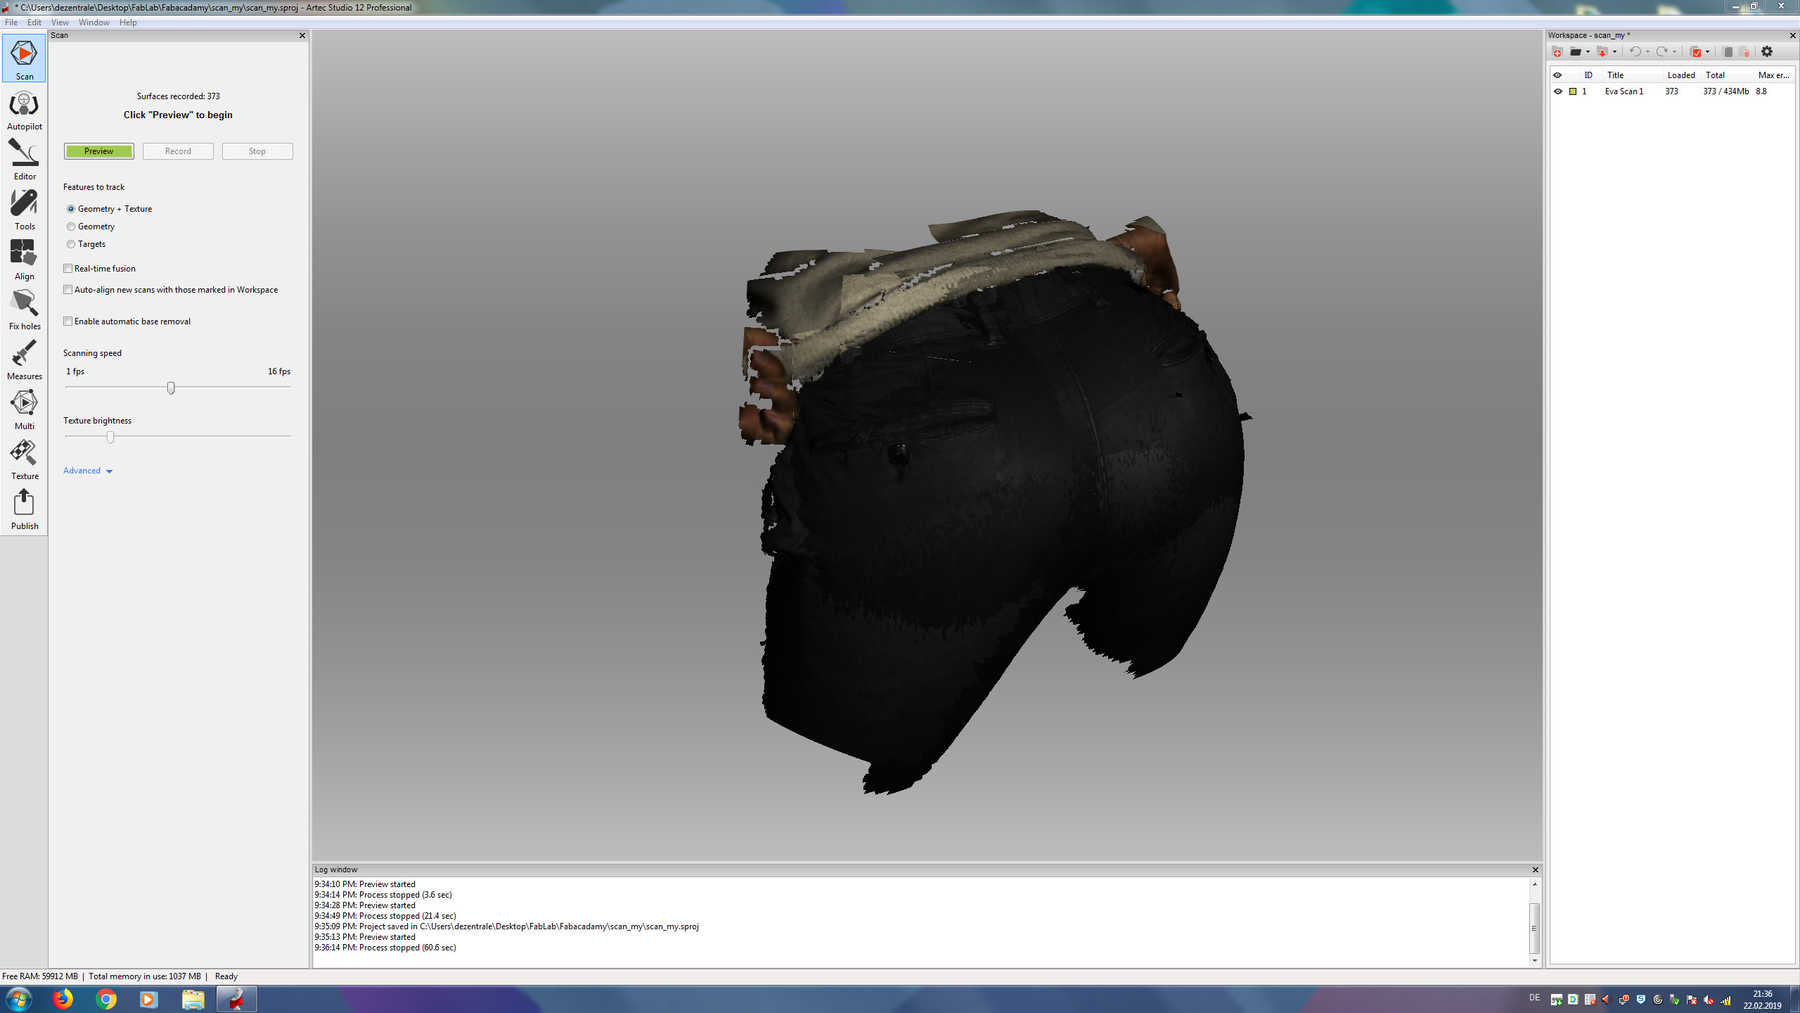
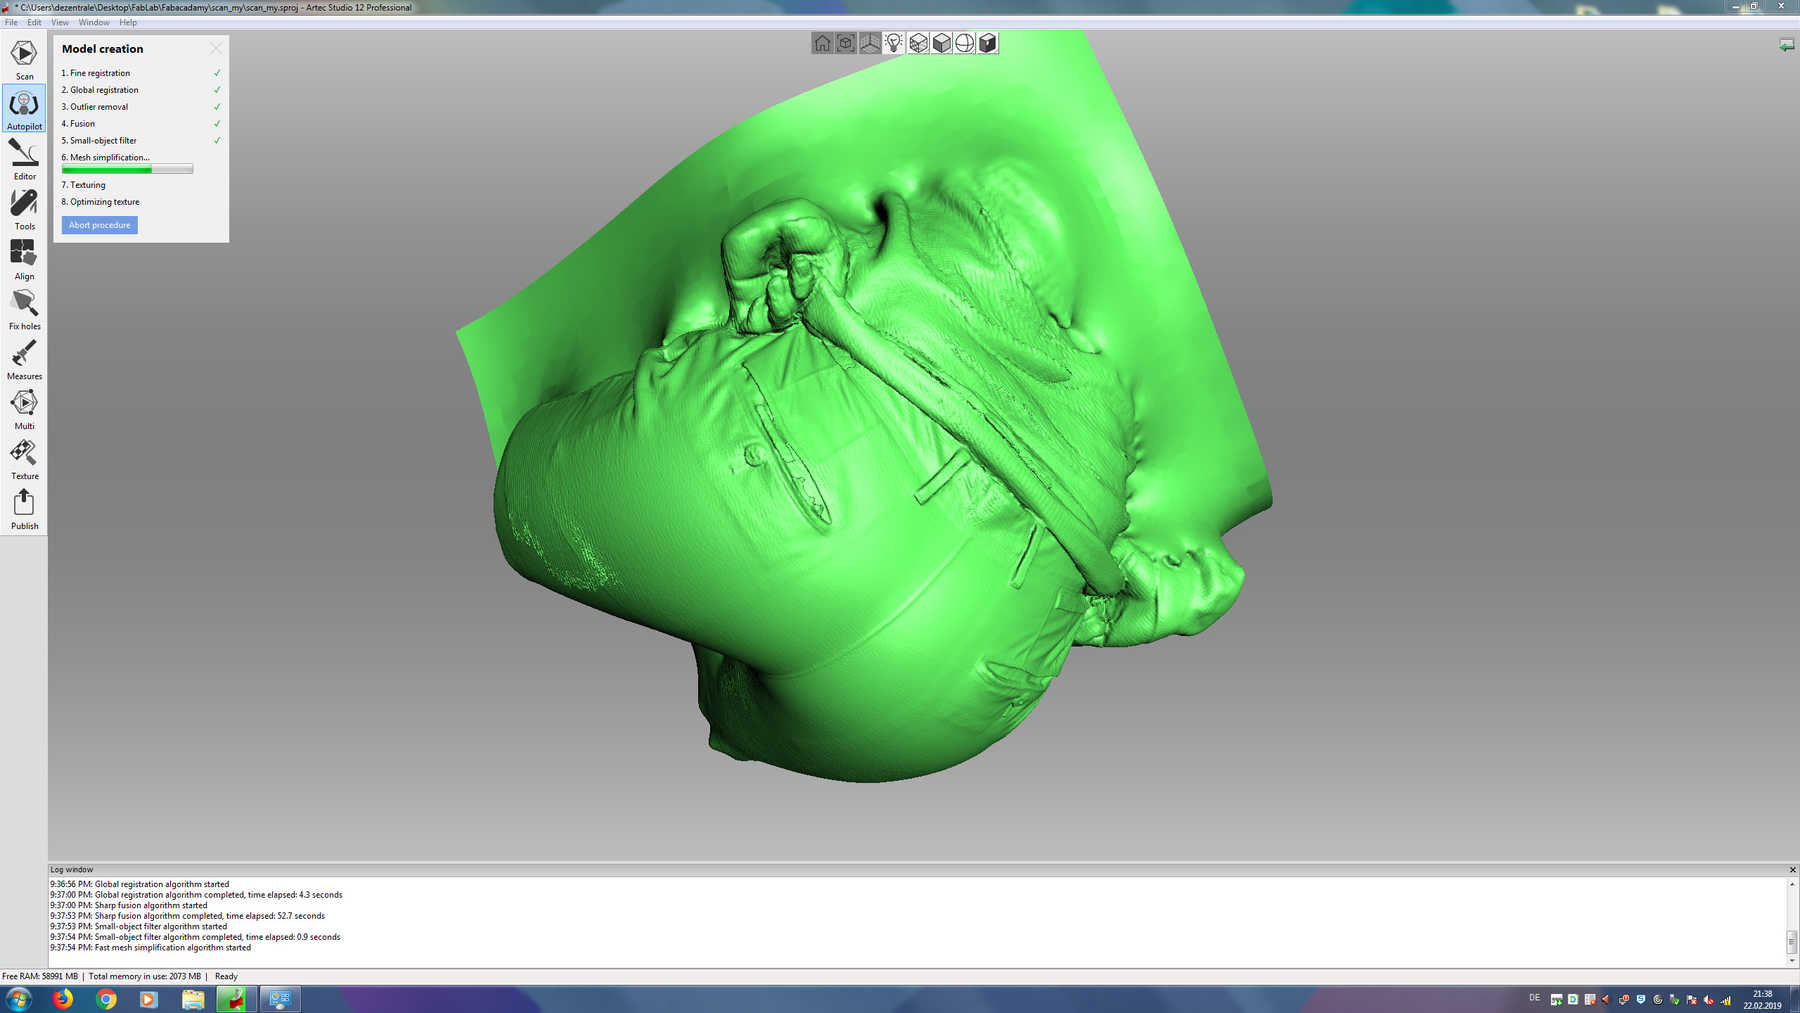
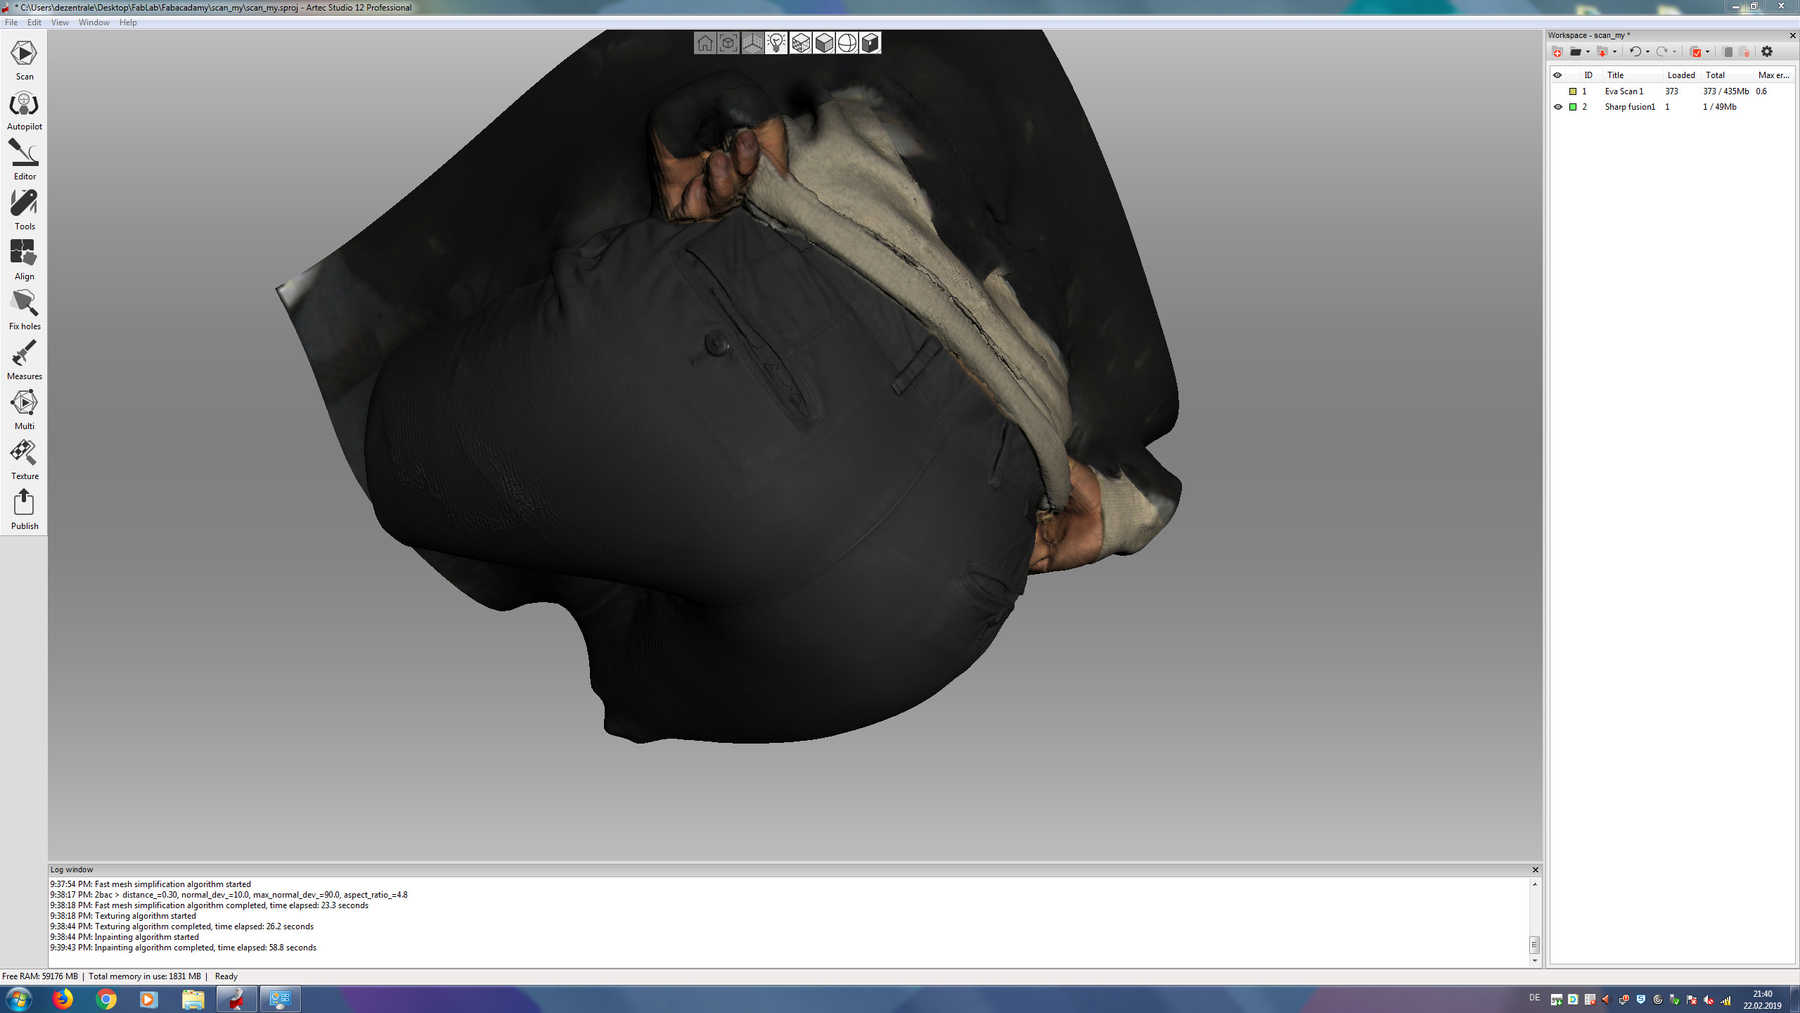
The used software is Artec Studio, which offers many possibilities. Primarily there are two ways, the use of the autopilot or an odyssey of click options. Both lead to relatively similar results. The following pictures show the way from 3D scanning, the different models that were scanned and the help I got.
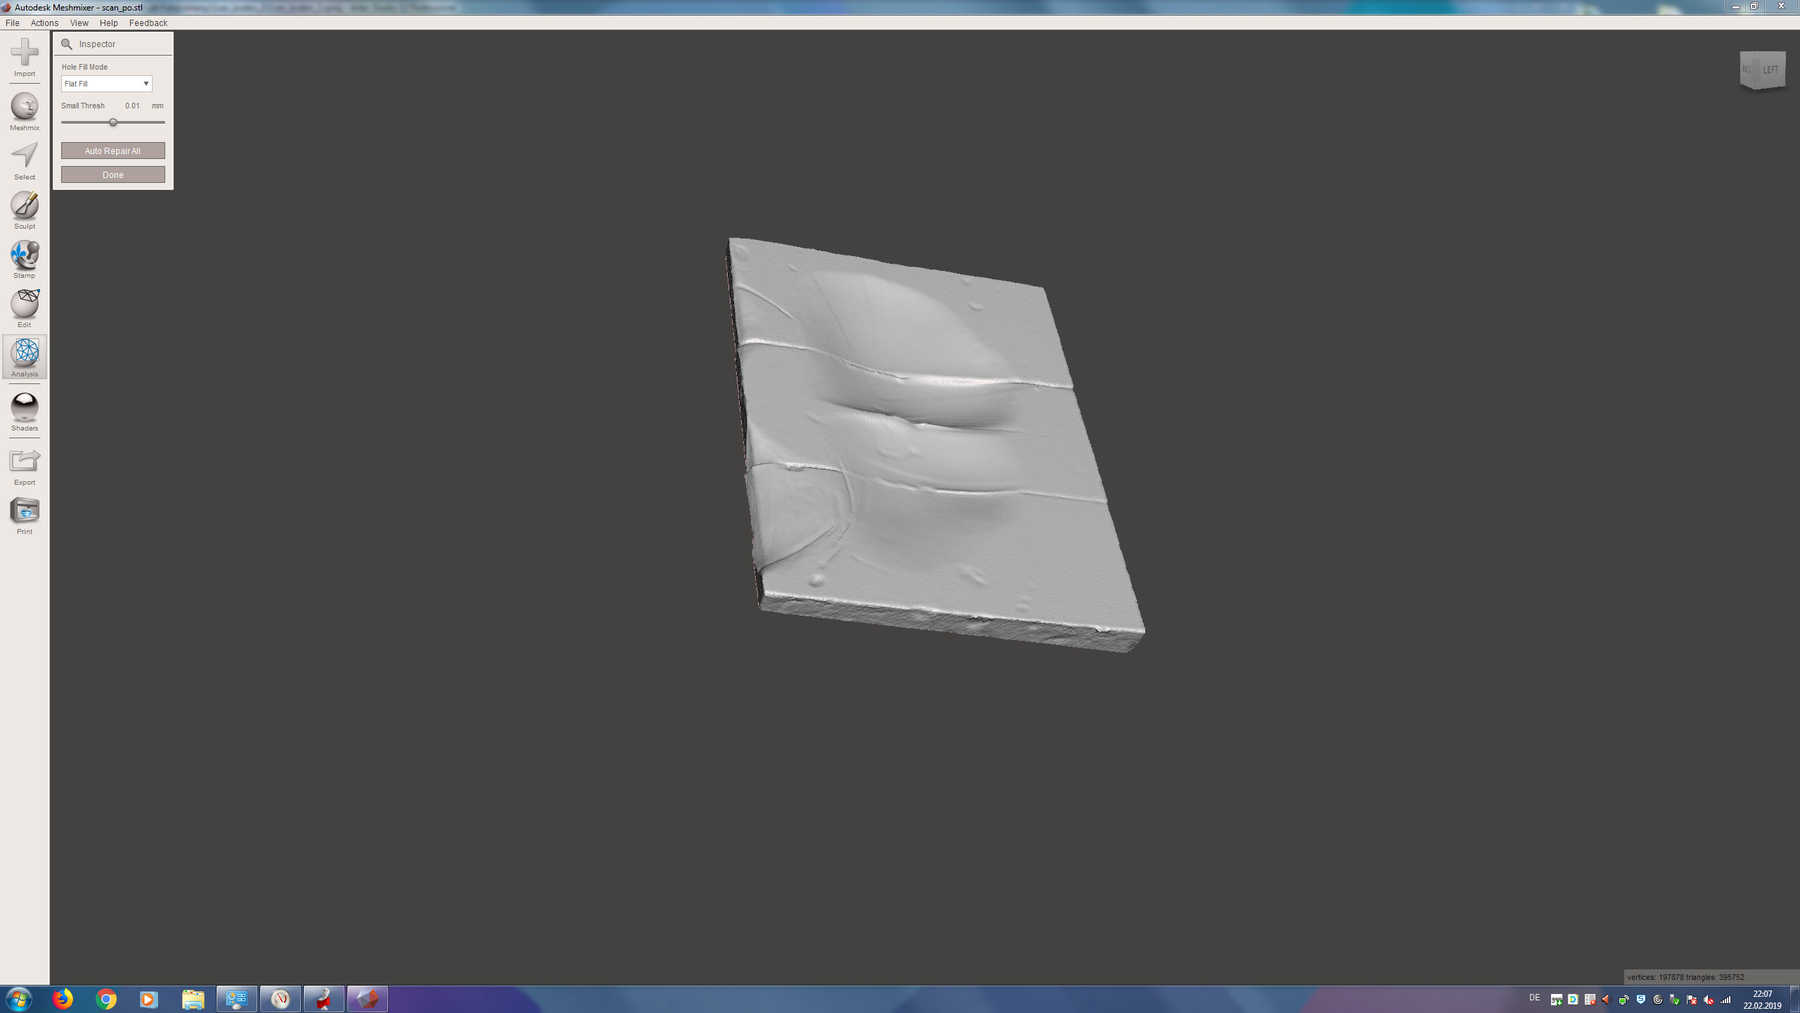
Fixing the model with meshmixer
Unfortunately, there were some difficulties with the one scan, so the water filling function did not give correct results. After several experiments I wanted to use the simpler variant, Meshmixer to correct the object. The following picture show the result.
Here you can download the files:
Print settings SVG and AI File
3D printing file