18. Wildcard Week
assignment
- Design and produce something with a digital fabrication process (incorporating computer-aided design and manufacturing) not covered in another assignment, documenting the requirements that your assignment meets, and including everything necessary to reproduce it. Possibilities include (but are not limited to) composites, textiles, biotechnology, robotics, folding, and cooking.
My assignment
Design and produce a clay vase using a 6-axis CNC machine.
Designing the model
First step was to watch a quick tutorial to get started with a tutorial on surface modeling.
Then I hopped into Fusion to make my design. To start, I did not want to make anything specific or complicated. One for the lack of knowledge into making surfaces. Two for being my first print and there are a lot of variables.
With that said, I wanted to test a little bit the machine somehow and not simply do a cylinder.
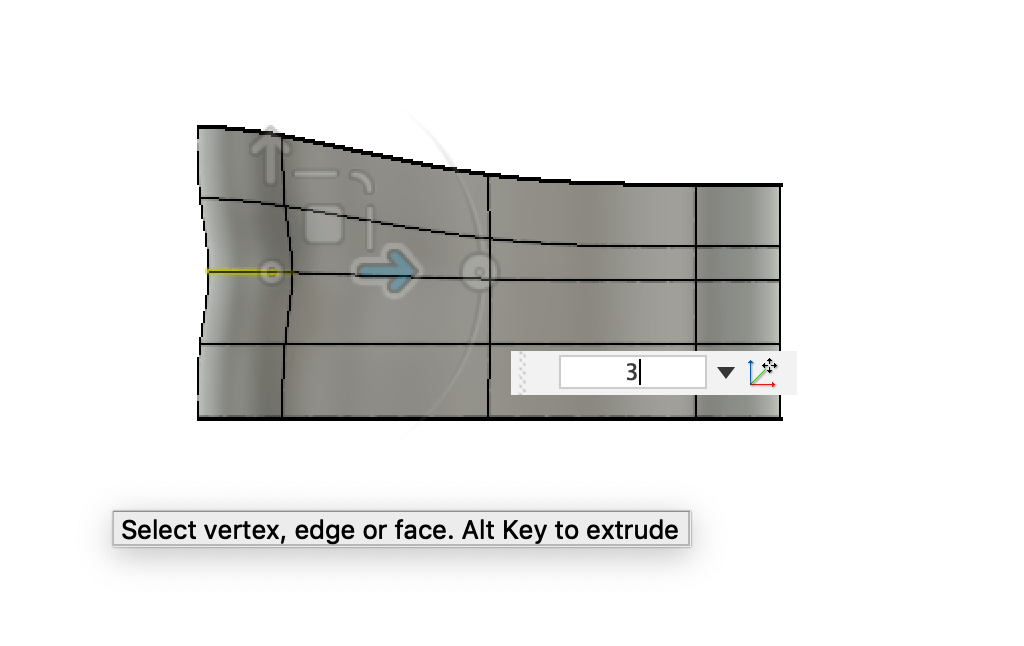
I started with entering sculpt mode
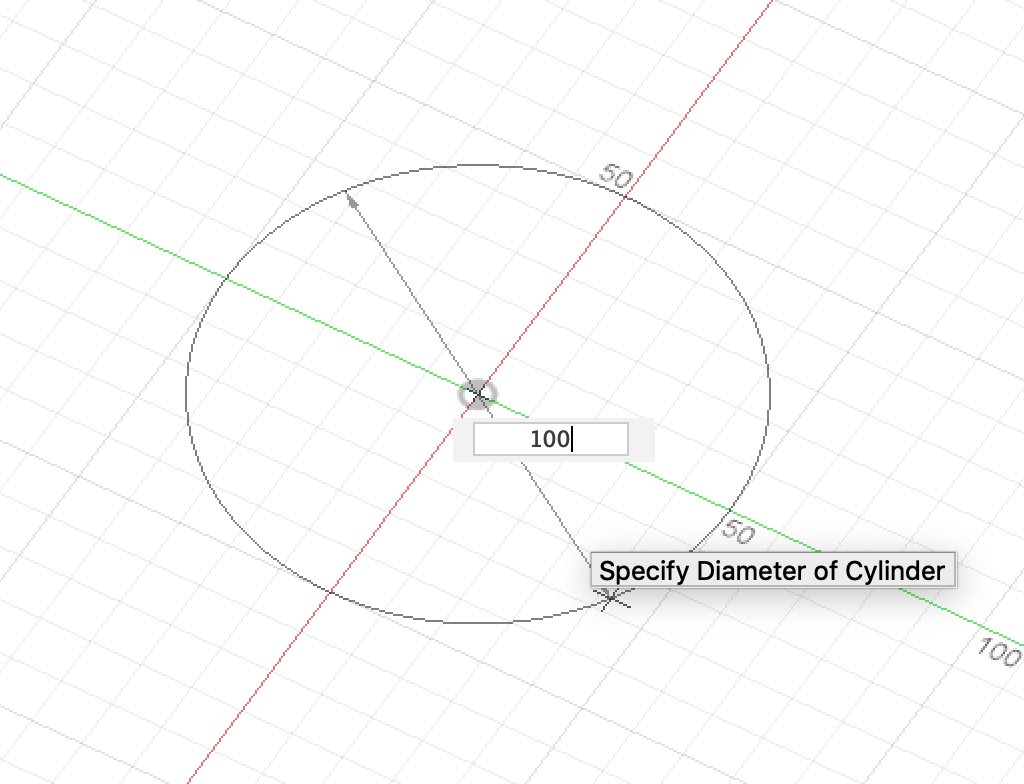
Then generating a cylinder
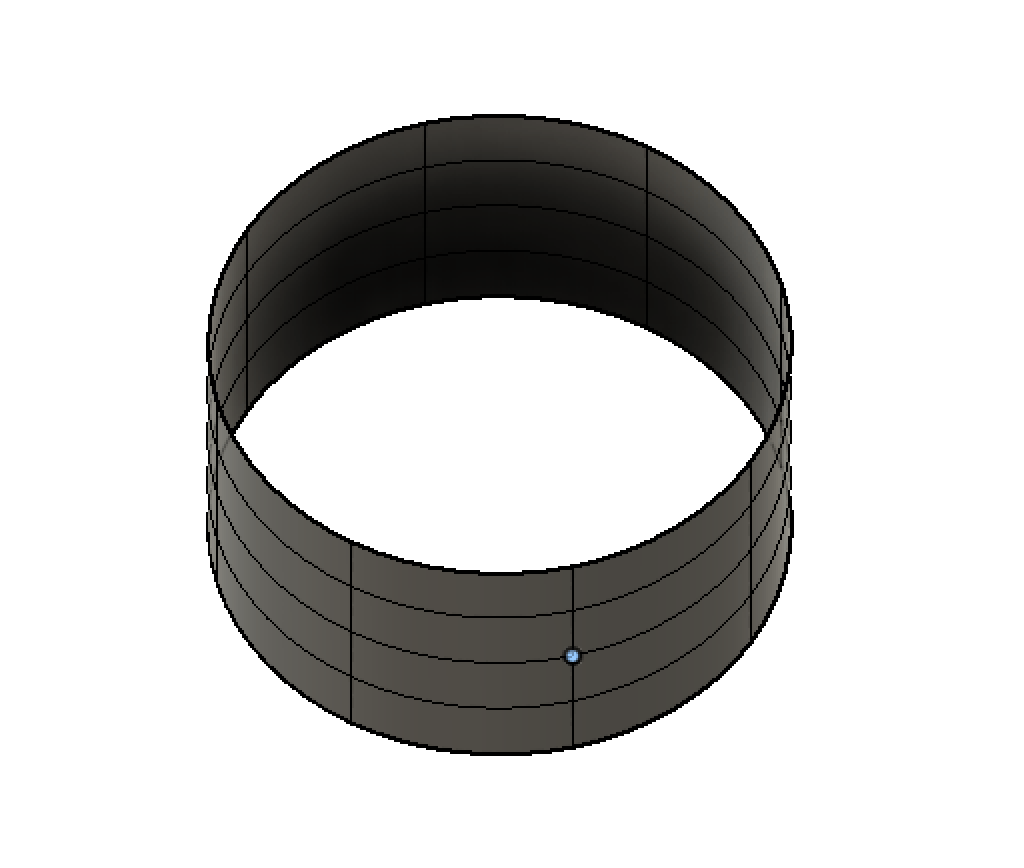
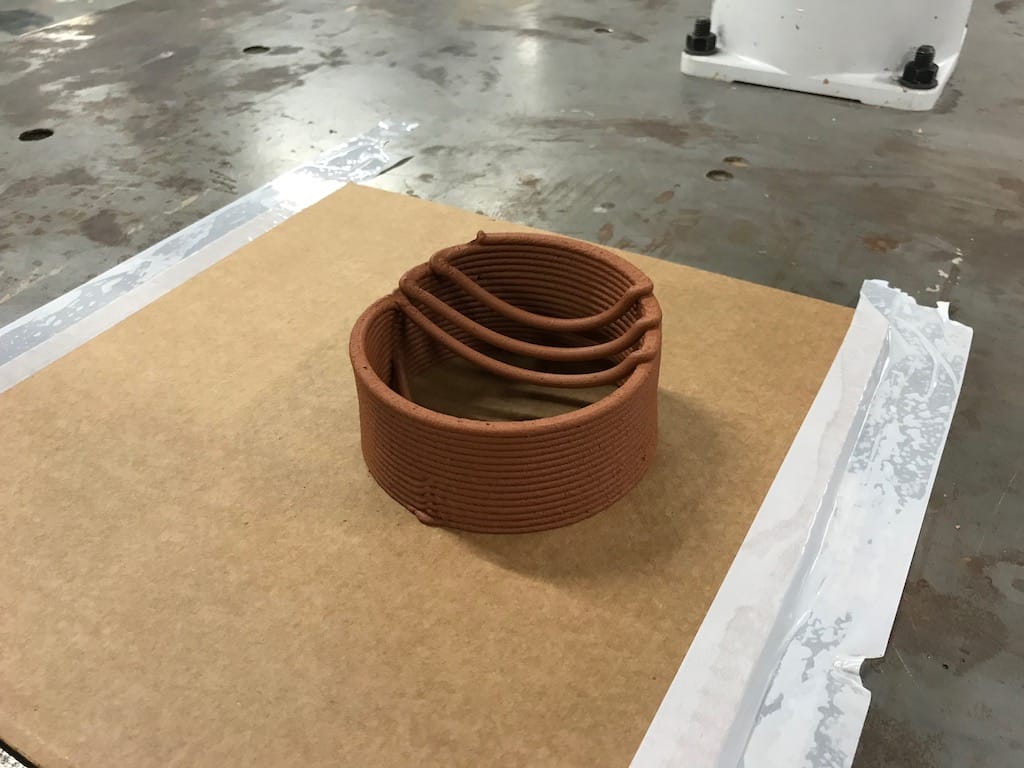
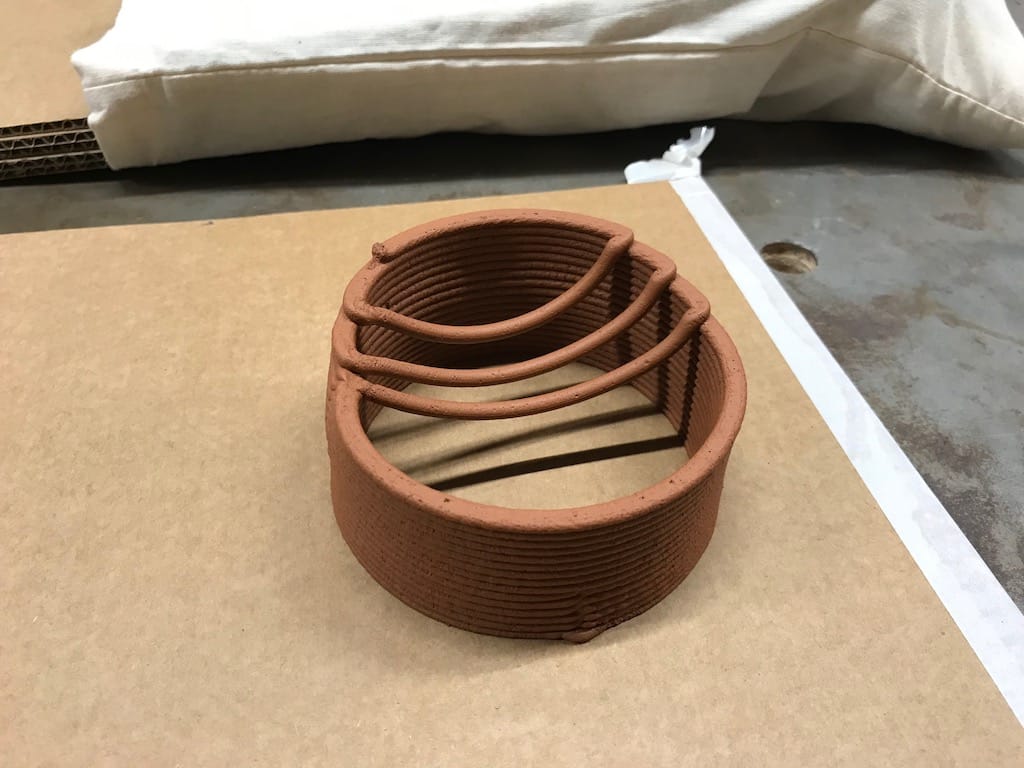
With that, I was able to select the vertices and faces and manipulate them into shape. Two things I want to test are vertical and horizontal inclination, but still I cannot get too crazy. Since the machine is full I only have one shot.
This will probably make a cool bridging effect
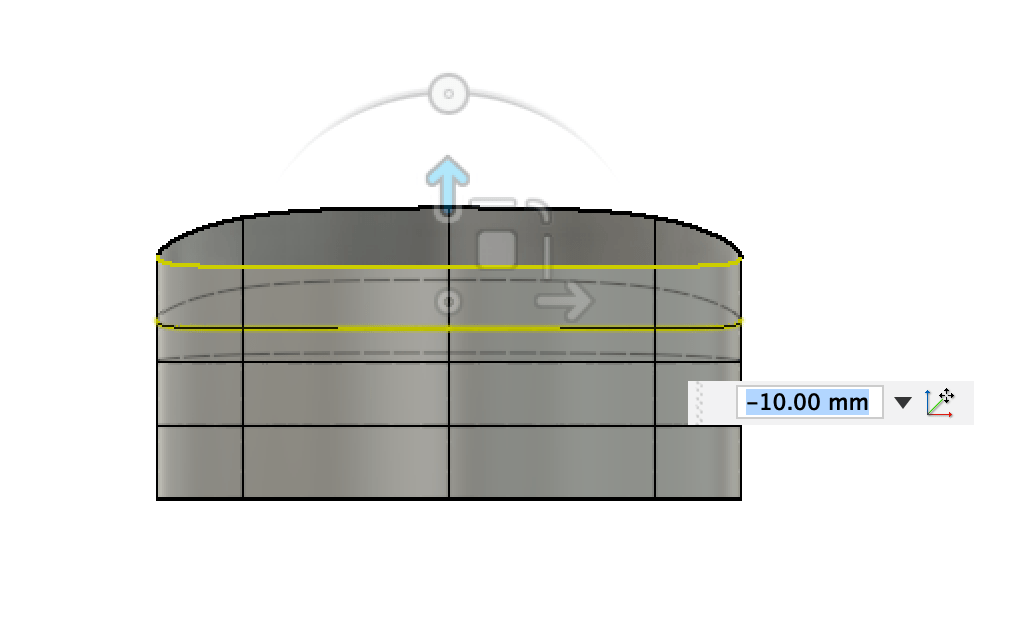
And this little reduction makes a test on the horizontal line
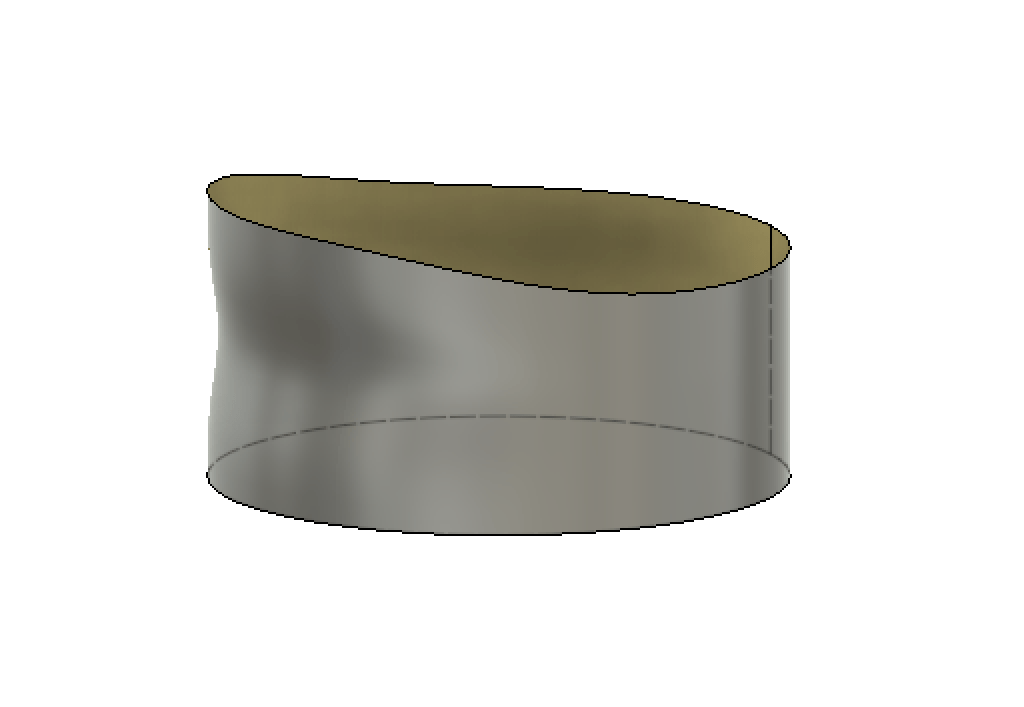
Finished model:
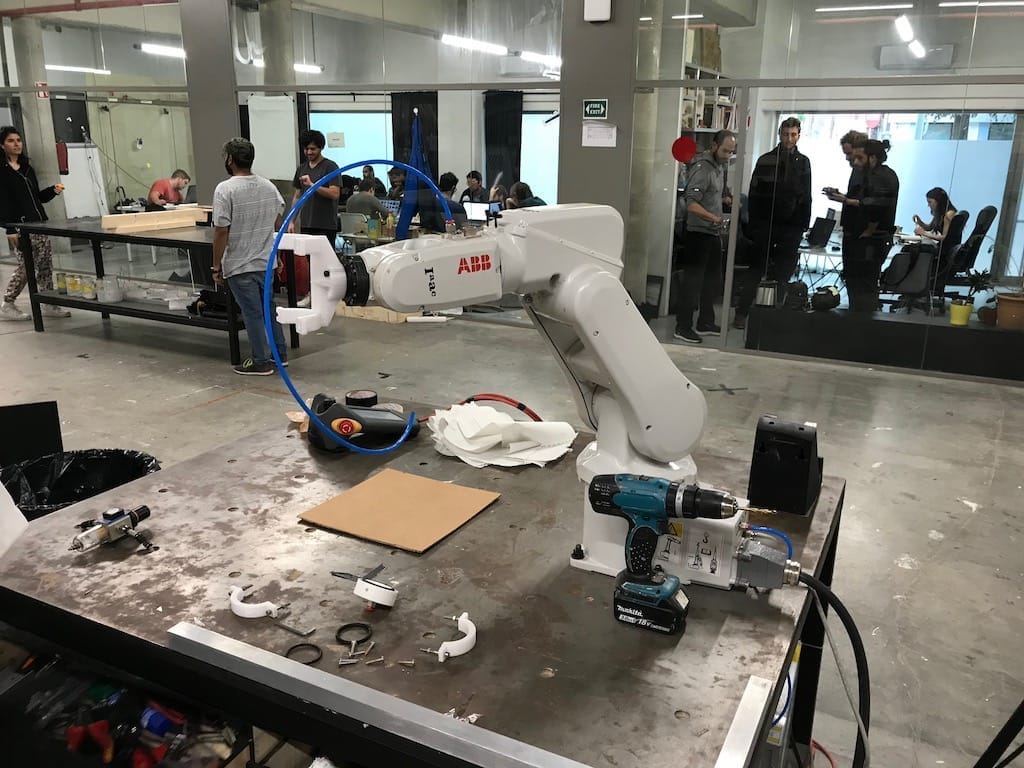
Robot Setup
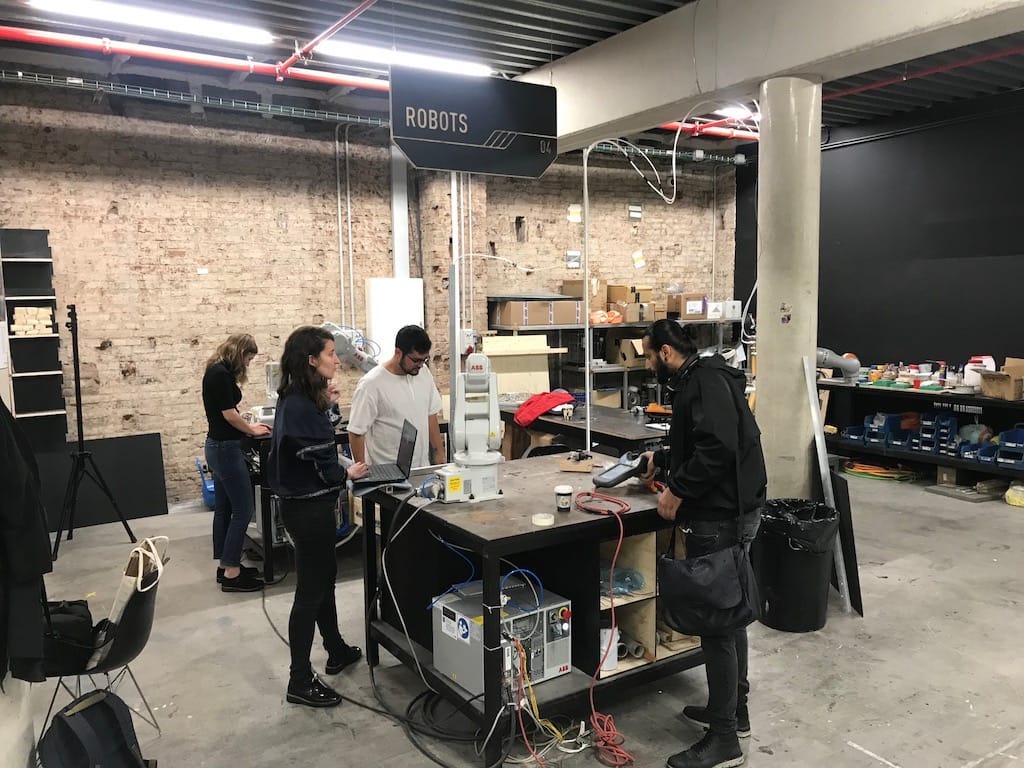
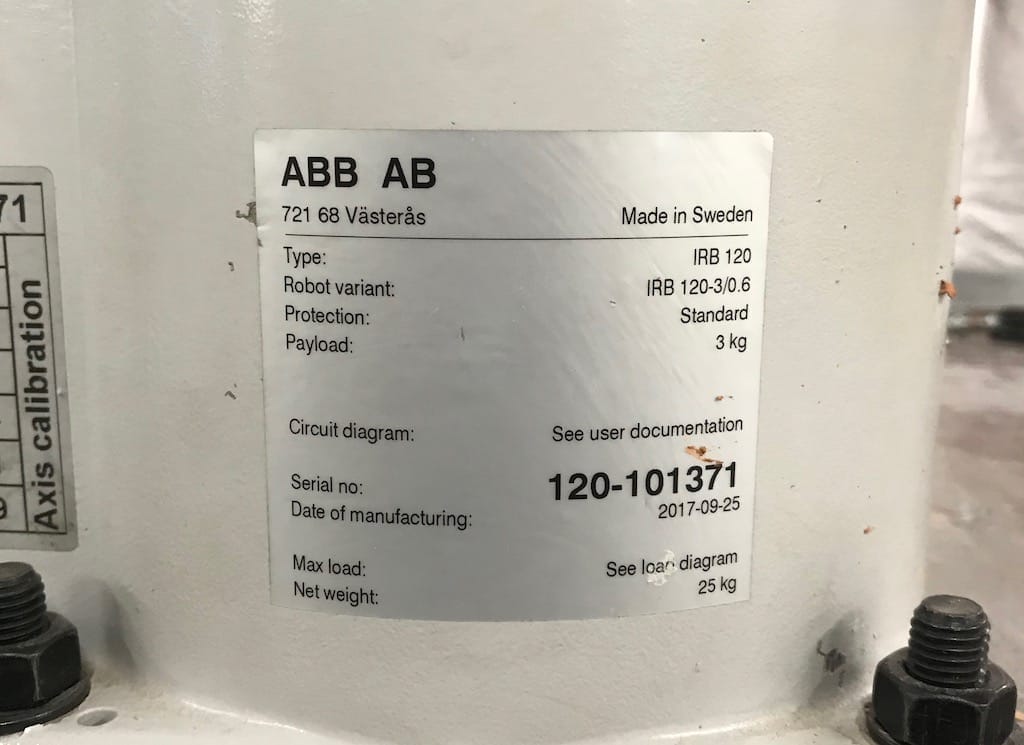
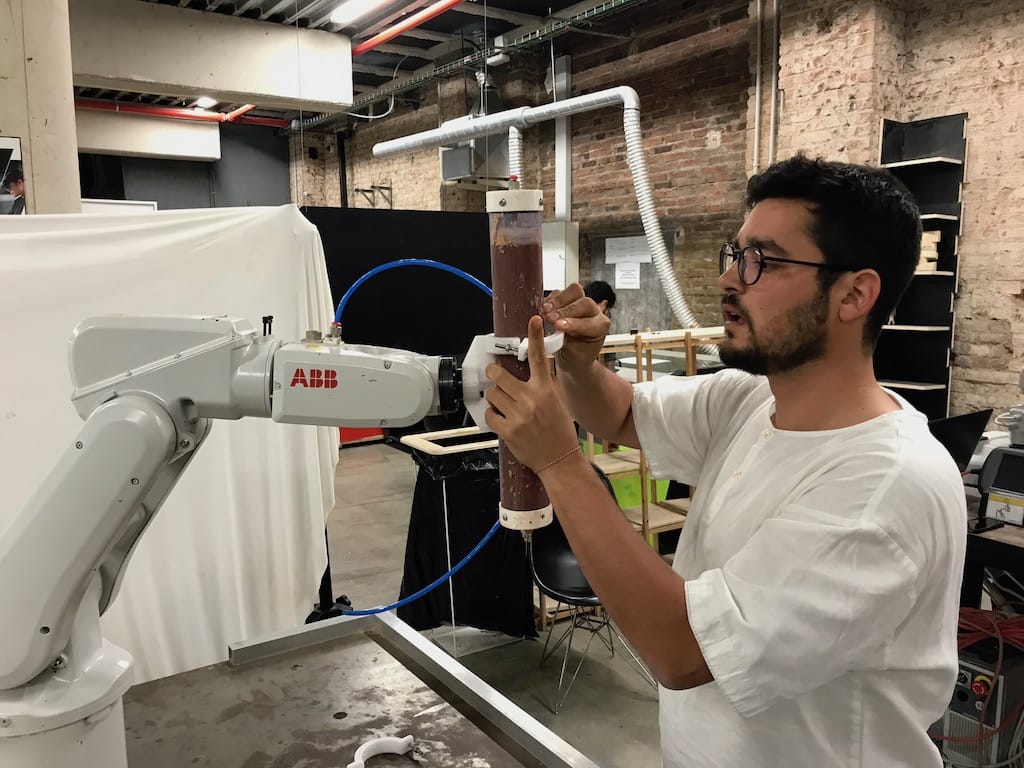
The machine we’re using is a IRB-120.
We started getting the extruder holder in place. For that, we needed to adjust the holes on the support and make sure everything was properly installed.
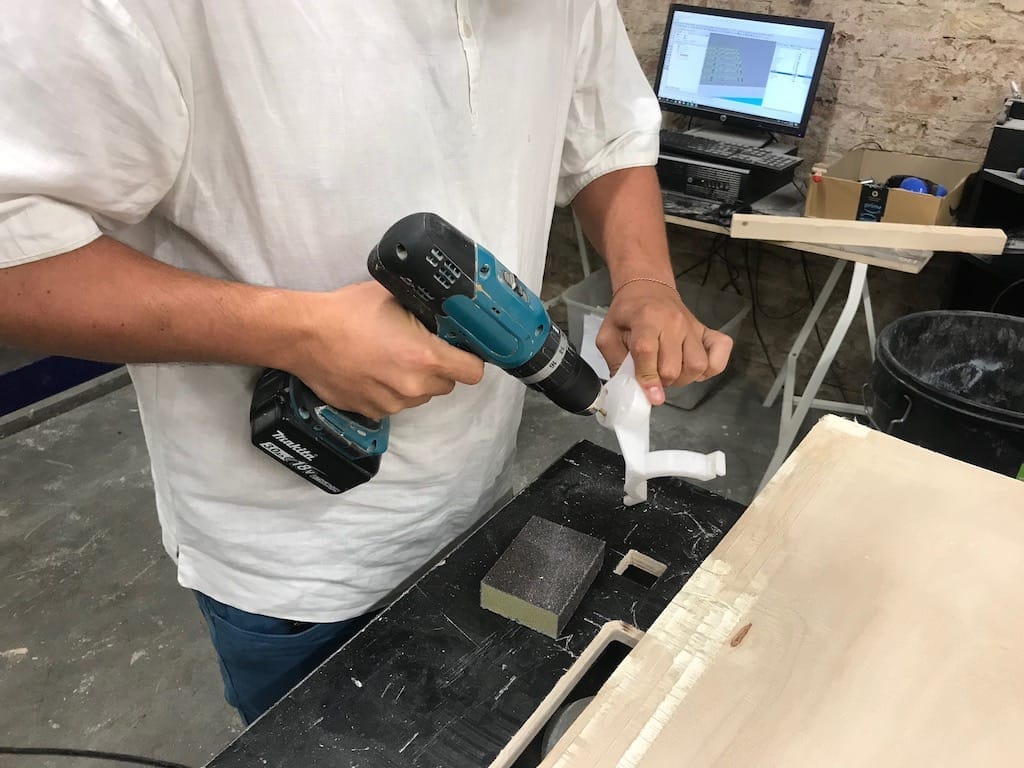
Then fixing it
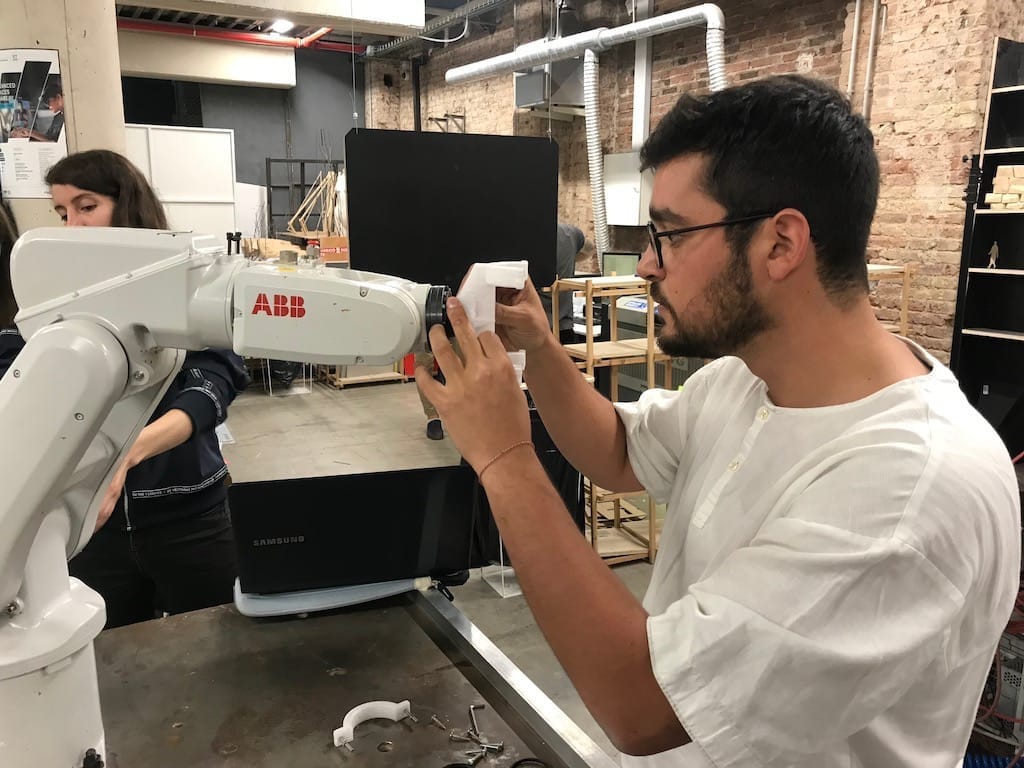
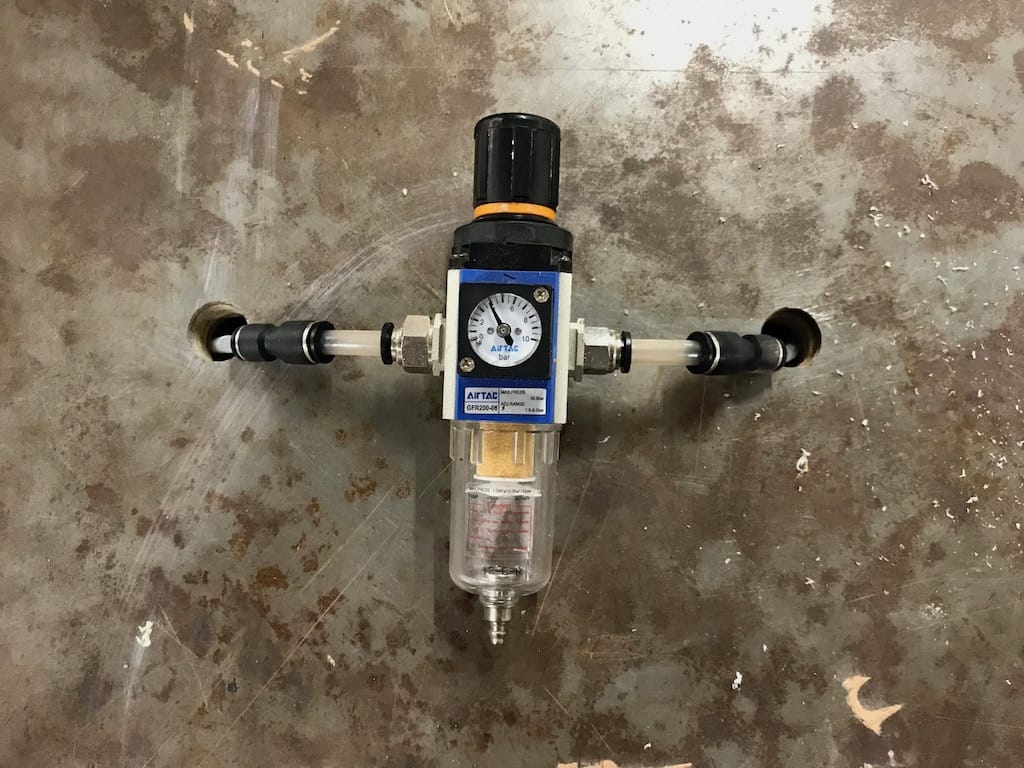
And installing the air pressure hose to the building system.
While that was happening, part of the team started getting the clay ready as well. Mainly what we need to do is to fill the tube with clay and press fit the connectors. It sounds easier than it really is.

Then, we need to clean the edges and fit the connectors
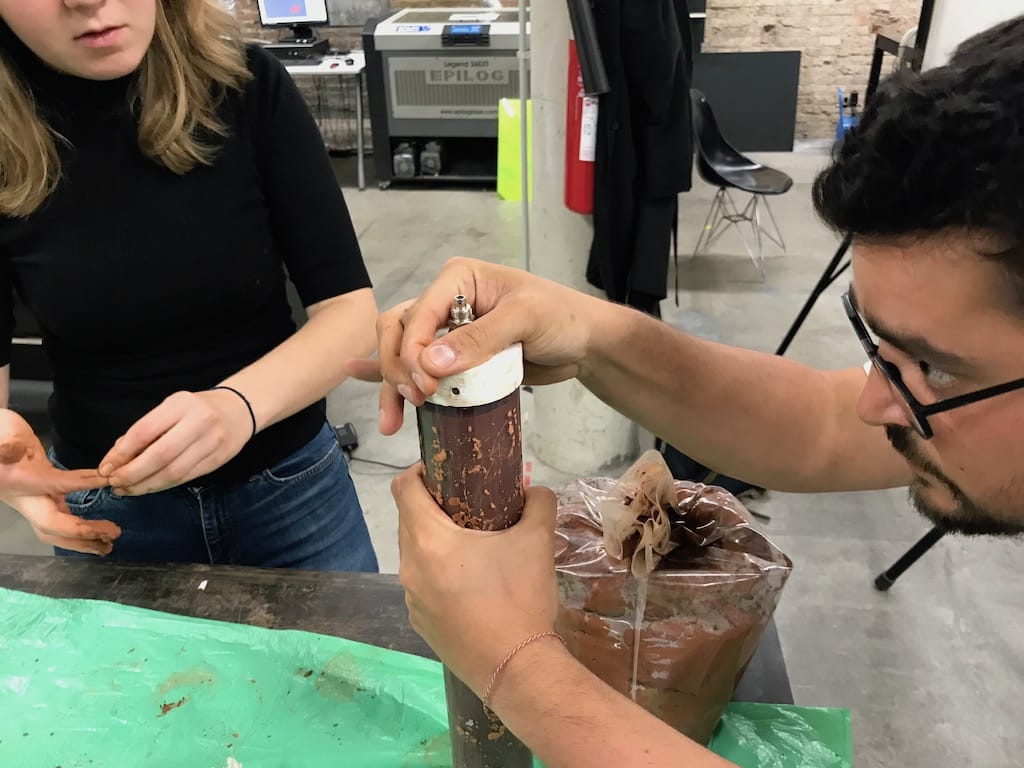
A couple of screws are needed in order to fix it

Once everything is ready we can attach the tube to the machine
To move it, the control has a button that needs to be pressed while in movement. If not, it stops.
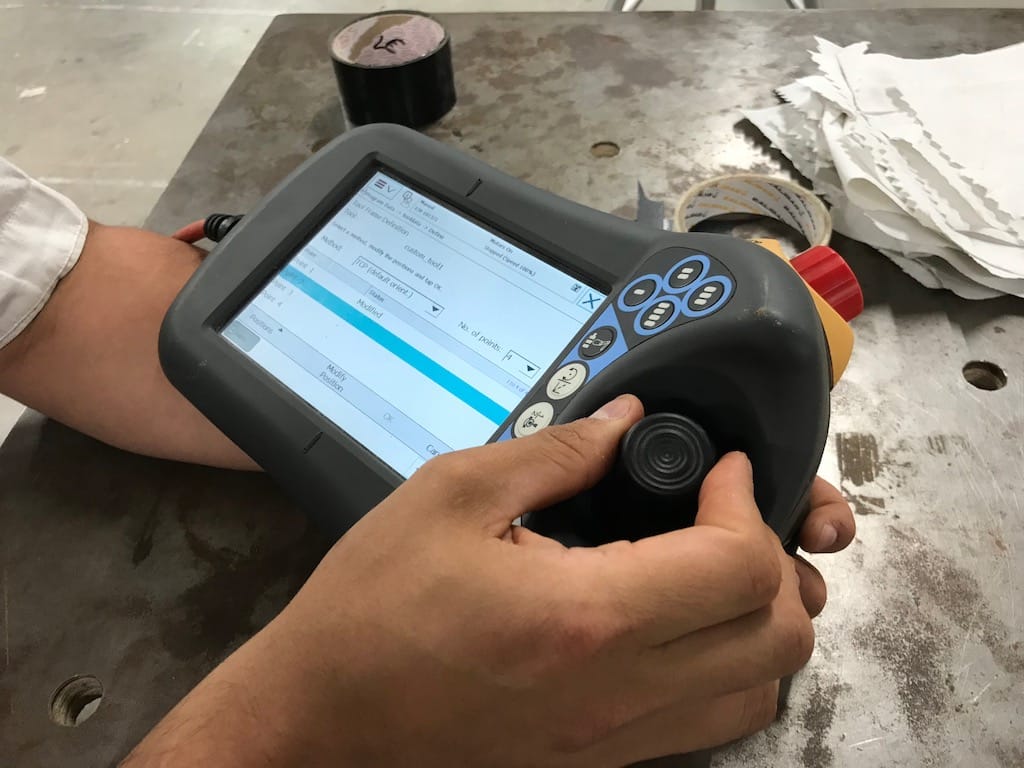
This machine needs to be zero’d by 4 different locations with the tip of the nozzle touching the same point.
Other than being centered, we can freely rotate the axis during the calibration.
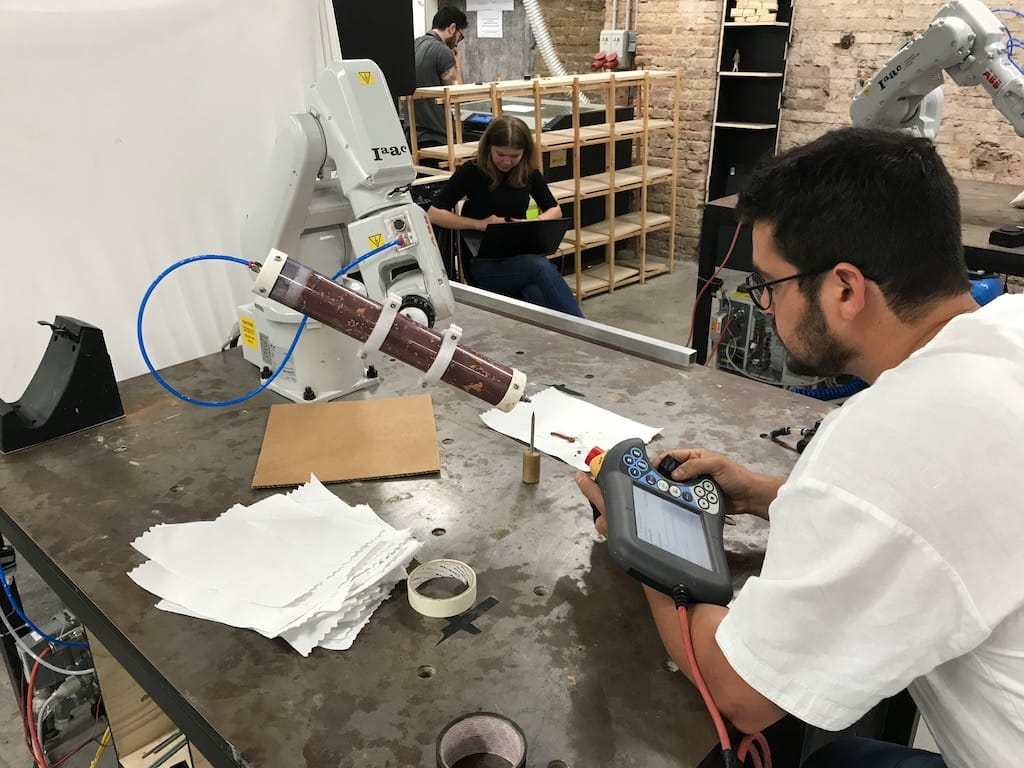
Generating the CAM
The way we do it here is using a grasshopper script in order to generate the machine instructions based on your model. It is tailored for printing vases and as of now should be used only for it.
This is a sample script that should be used as a starting point. Basically what we do is change the input file and make sure the simulation is running smoothly.
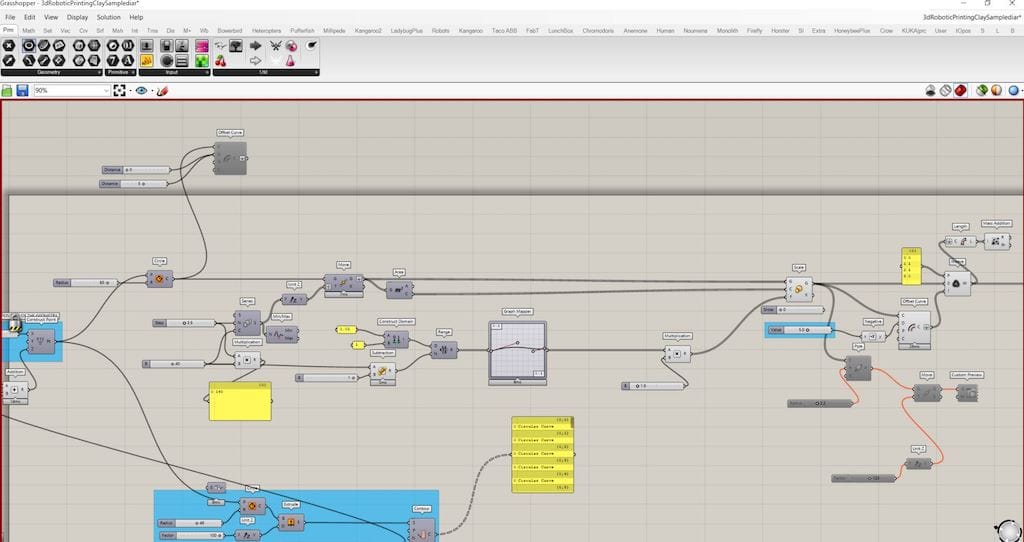
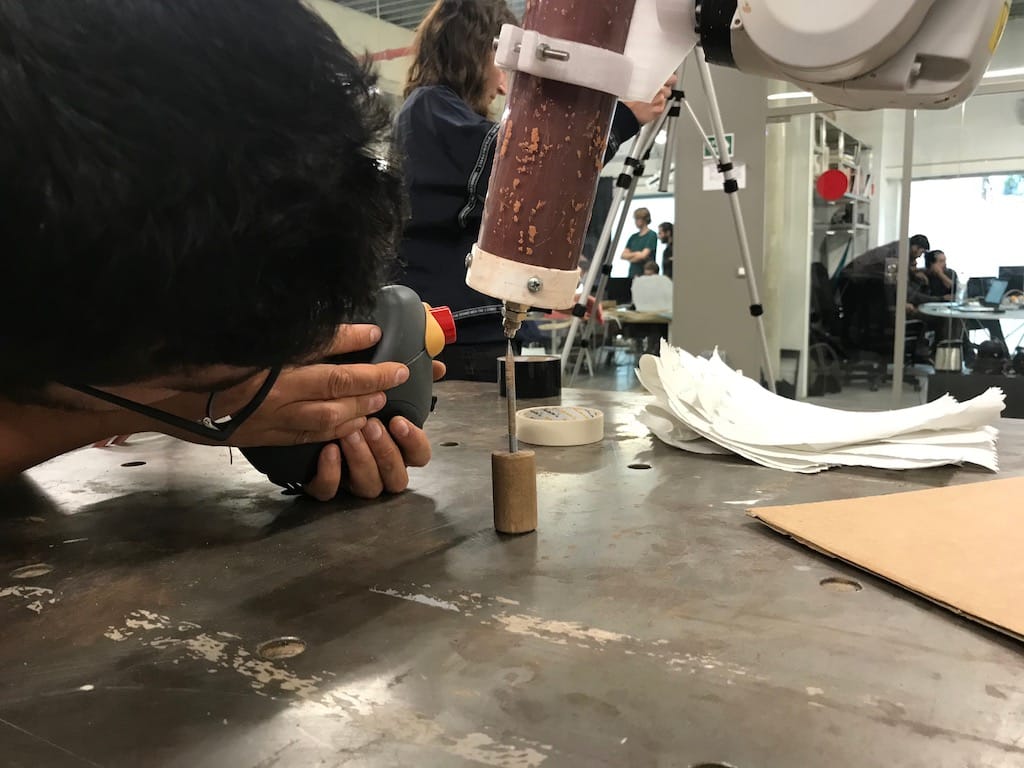
First step was import the calibration parameters into the script

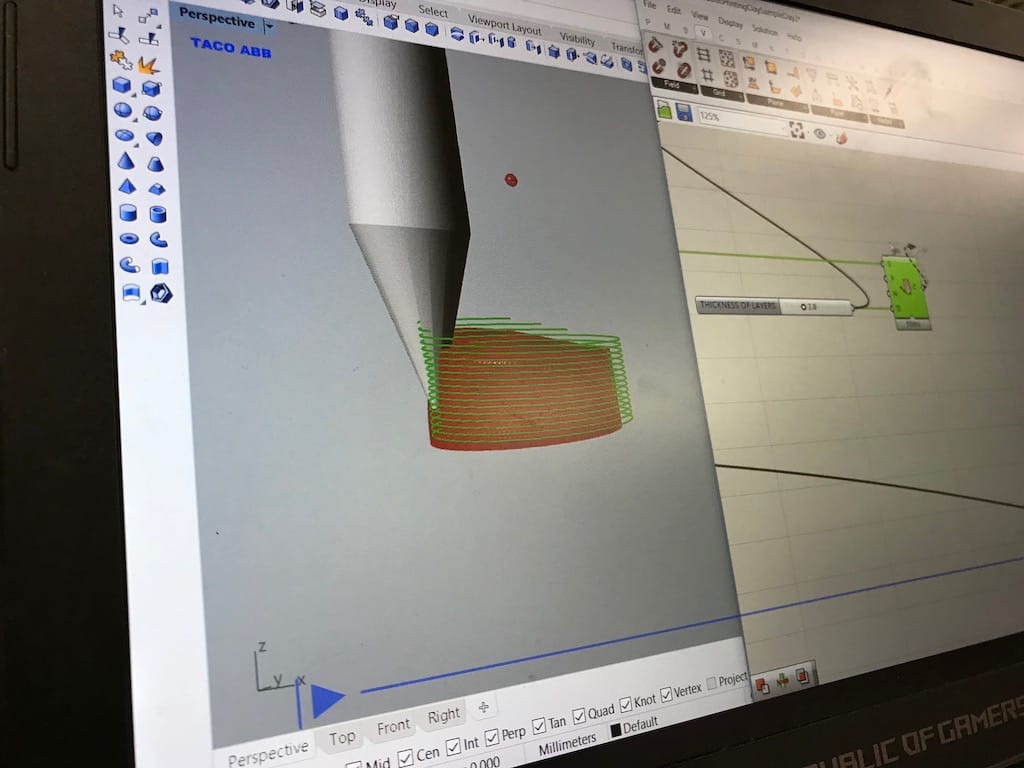
Then we generated the toolpath for the machine
It looks decent enough
After we adjust the pressure to around 4 bar (It still needs to be tweaked even during the prints)
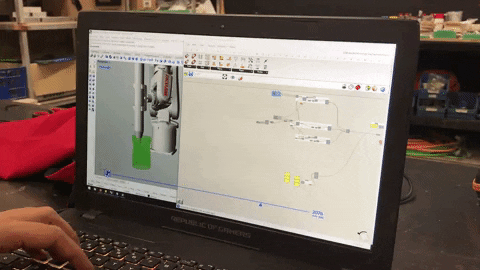
Printing
Then, the big moment. Time to start the print
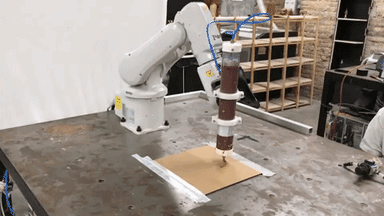
Watching the machine do the bridges at the end was priceless
I’m super pleased with the results. The bridges actually look great
Downloads: Fusion360 File Grasshopper File