2. Project Management
assignments:
- Build a personal site describing you and your final project.
- Upload it to the class archive.
- Work through a git tutorial.
Build a personal site
This year we got a working environment and a template for the website using MkDocs, hosted on GitLab. I’ve done web development in the past, but never used this tools. So I’ll stick with it so I can learn the process.
What is GitLab
From their website:
GitLab is an open source project with over 2000 contributors maintained by GitLab Inc. You can install and self-manage GitLab Core under and MIT license or use GitLab’s commercial software built on top of the open source edition with additional features. We call this, “open core.”
GitLab provides everything you need to Manage, Plan, Create, Verify, Package, Release, Configure, Monitor, and Secure your applications.
I’m not a heavy repository user, I’ve played with GitHub before. But it seems that GitLab has a couple of neat features on top of it. I hope to put them to good use. So far, it’s only a place to host my website files and publish it.
Link to my personal repository hosted there
What is MkDocs
From their website:
MkDocs is a fast, simple and downright gorgeous static site generator that’s geared towards building project documentation. Documentation source files are written in Markdown, and configured with a single YAML configuration file.
I’ve made HTML websites enough to know how difficult it can be to build it from scratch. I’d always rely on some sort of template but still took a good amount of work to get everything going.
Using only markdown to generate the content and having the whole website built around it sounds really interesting.
By looking at the source code, I can see that it is basically a bunch of python scripts. When you edit any file in the folder, they run in order to generate a HTML page from your content and chosen template.
Then, by having a web serving that HTML file you have the whole website generator cycle. It seems pretty neat.
Setting up environment
As we got an already made website. There was no need to create any structure, configuration files and so on.
This also includes the configuration for the CI/CD. That is one of it strengths.
From their website:
GitLab CI/CD is a powerful tool built into GitLab that allows you to apply all the continuous methods (Continuous Integration, Delivery, and Deployment) to your software with no third-party application or integration needed.
This means that whatever code that is pushed to the repository, is tested, and if it passes, is published automatically.
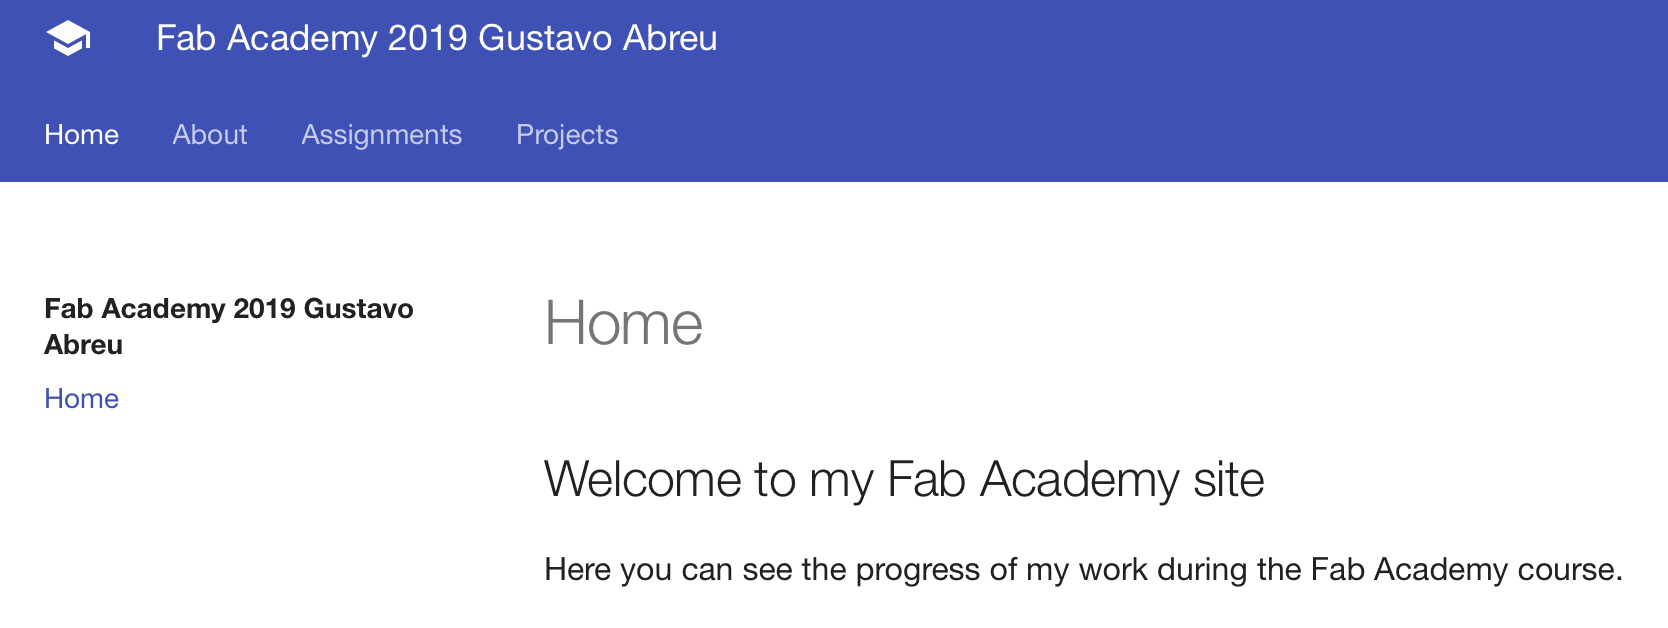
Since GitLab has an online editor. It makes it really easy to just edit text on the repository itself.
First thing I had to do was edit some file on the repository so it would trigger the webpage update and bring the site to life. After saving it. I could already access the web page, located at: http://fabacademy.org/2019/labs/barcelona/students/gustavo-deabreu/
Working locally with git
From there, I just had to manage the content of the pages. But I wanted to do it locally instead. So I cloned the repo to my laptop using GIT with the command clone:
git clone [url]
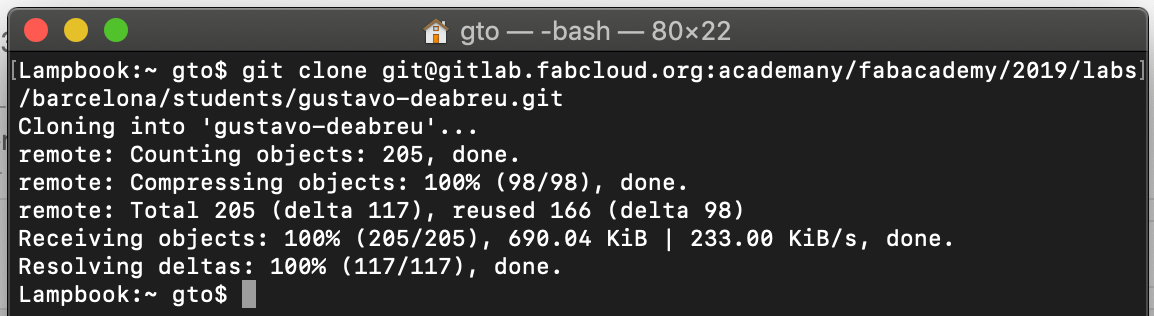
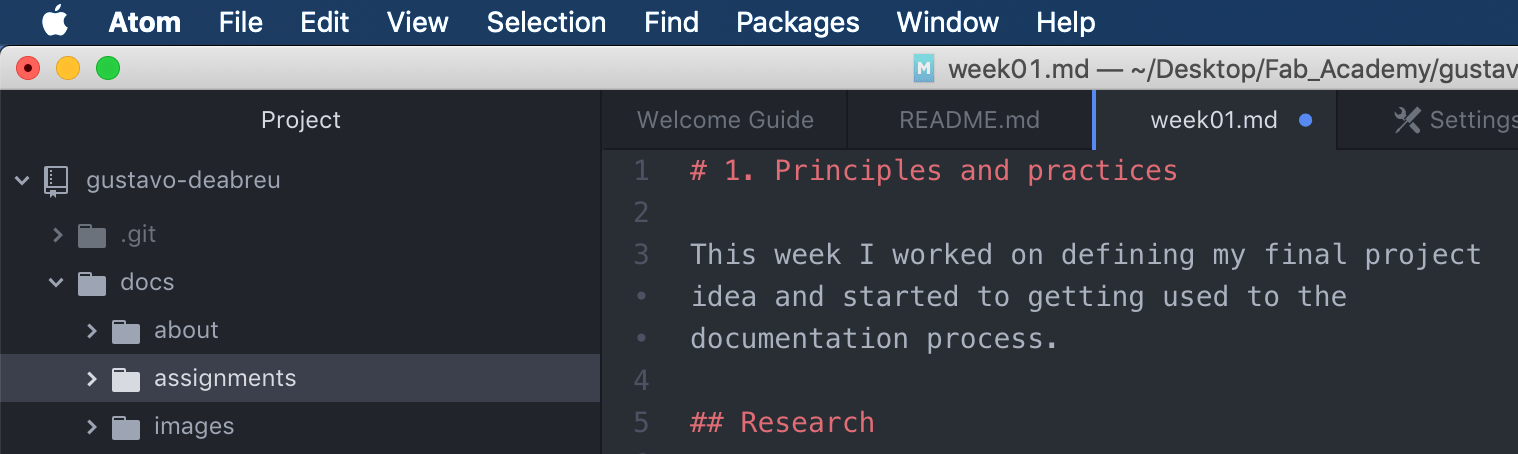
Now I have access to all the files from the website on my computer, and can use a text editor like Atom to make changes
Local webserver
A problem I just faced is needing to actually push every commit and wait for the site to update to see the changes I made. I want it to be simpler and faster. So the solution I came about is to have a local version of the website, and then push to the repo only when everything is in place for that week.
As MkDocs is just a bunch of Python scripts, it should be easy enough to get it up and running locally on my MacOS. Since the system already has Python installed.
Even though, managing different python versions and packages manually is a lot of work. And this applies for many other things as well. For that, there are a couple of package managers out there to help us out.
Their official recommendation it to use pip. That is a specific Python package manager and you can install anything listed on the Python Package Index. But they also refer to homebrew as one of the options. And since I use it to manage other packages as well, I’ll stick with that.
Homebrew is one of them that I’ve been using for a while now. What it does it running lots of Ruby scripts in order to automate the whole process of checking package versions, installing dependancies, and linking it’s installations /usr/local. So you can just type the package name afterwards and use it.
I’ve fought so much trying to install things in the past to know the benefits of using a package manager. I highly recommend it.
If you have homebrew, in order to install MkDocs, simply run
brew install MkDocs
To start the webpage, you should run inside the folder of your site
mkdocs serve
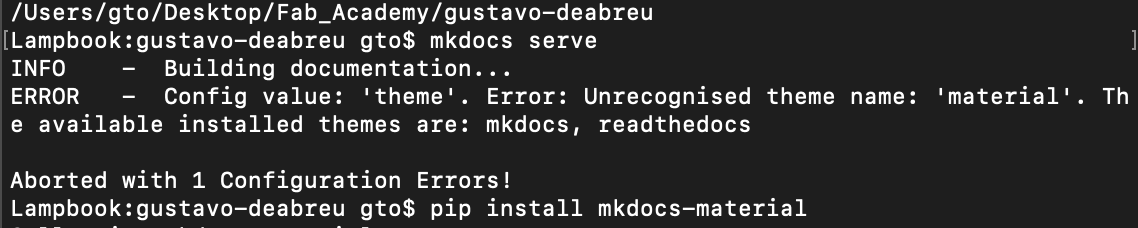
Since I did not have the theme I’m using installed, I got an error, easily fixed by installing it with
pip install mkdocs-material
And then I could serve again
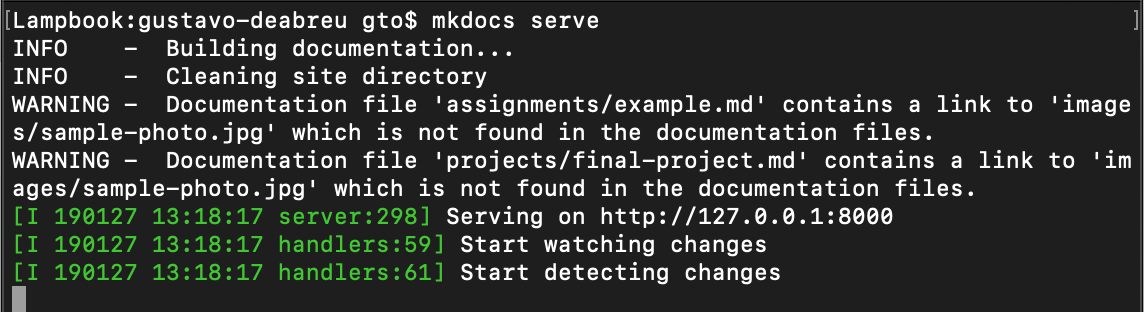
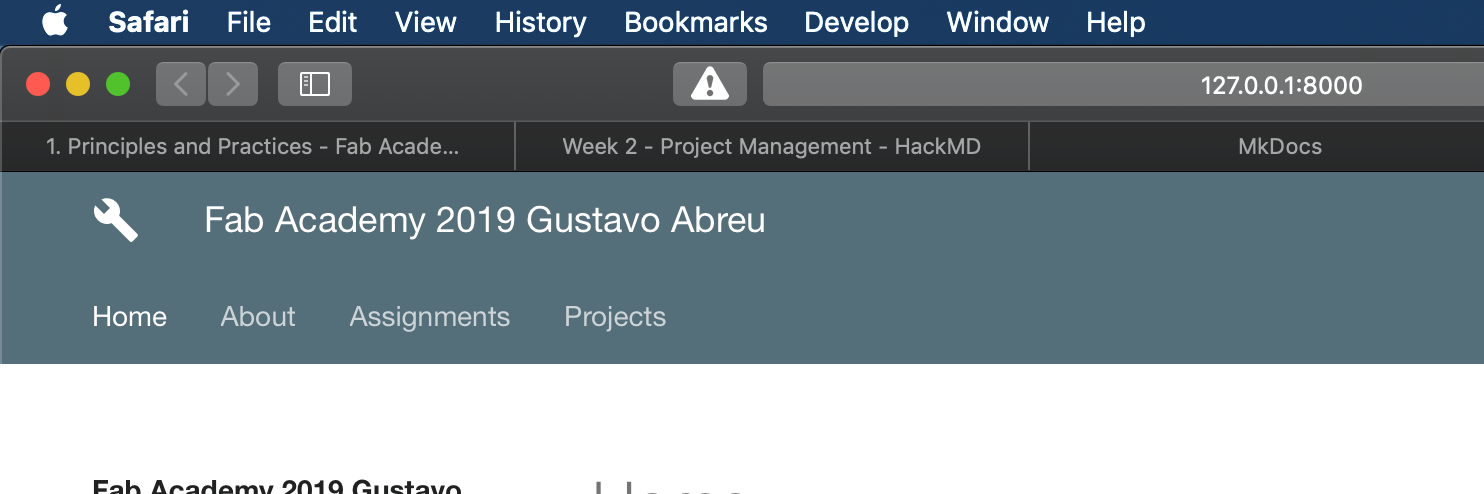
Now I have a local version of the site available at http://127.0.0.1:8000
A great thing about MkDocs is that it will even auto-reload and refresh your browser whenever you save your changes. Making it easier and faster to make and preview what you’ve changed.
Image management
Since I was using HackMd for the documentation, every image was being uploaded to imgur. For some reason, a couple of them load on a browser but I get a 403 error on my server. I’m going to take it as a hint to start hosting the images locally.
For that, I’ll try using what was recommended by Neil. ImageMagick.
To install, simply
brew install imagemagick
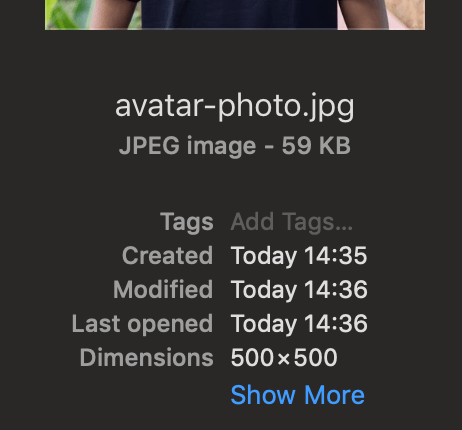
Then I can use it to convert, resize and do a bunch of cool stuff with the pictures on the terminal. My first use will be to resize my avatar picture.
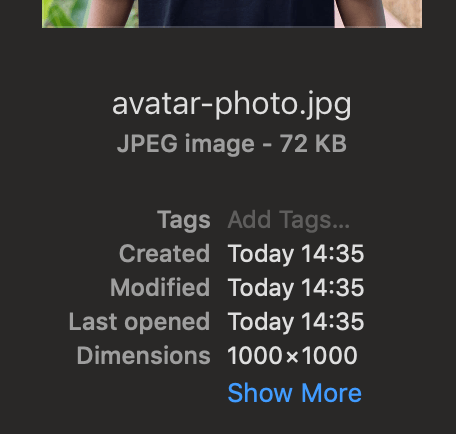
convert avatar-photo.jpg -resize 500 avatar-photo.jpg
One important thing is to compress the images for web as well. You can use
mogrify -quality 50% *.jpg
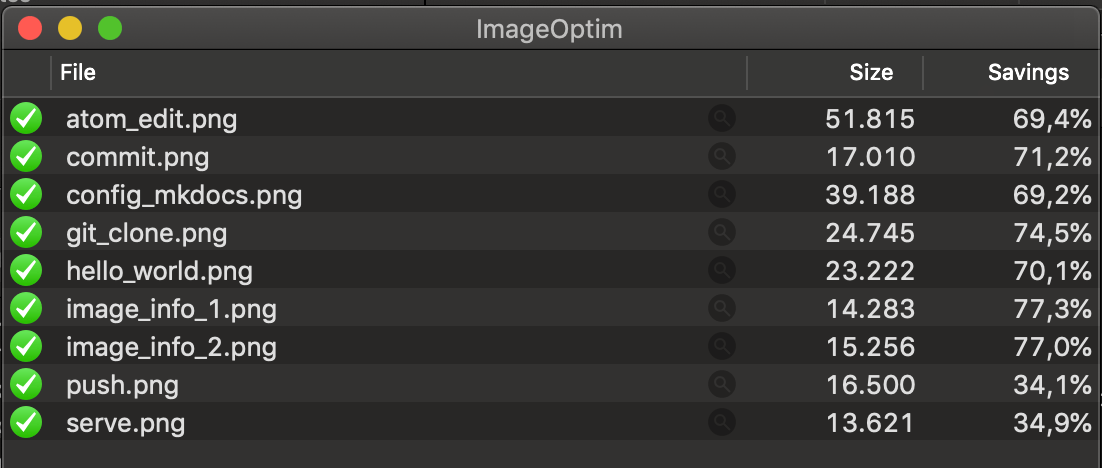
Another option I found was to use ImageOptim. It is a nice graphical tool that does a great job compressing every image recursively inside a folder.
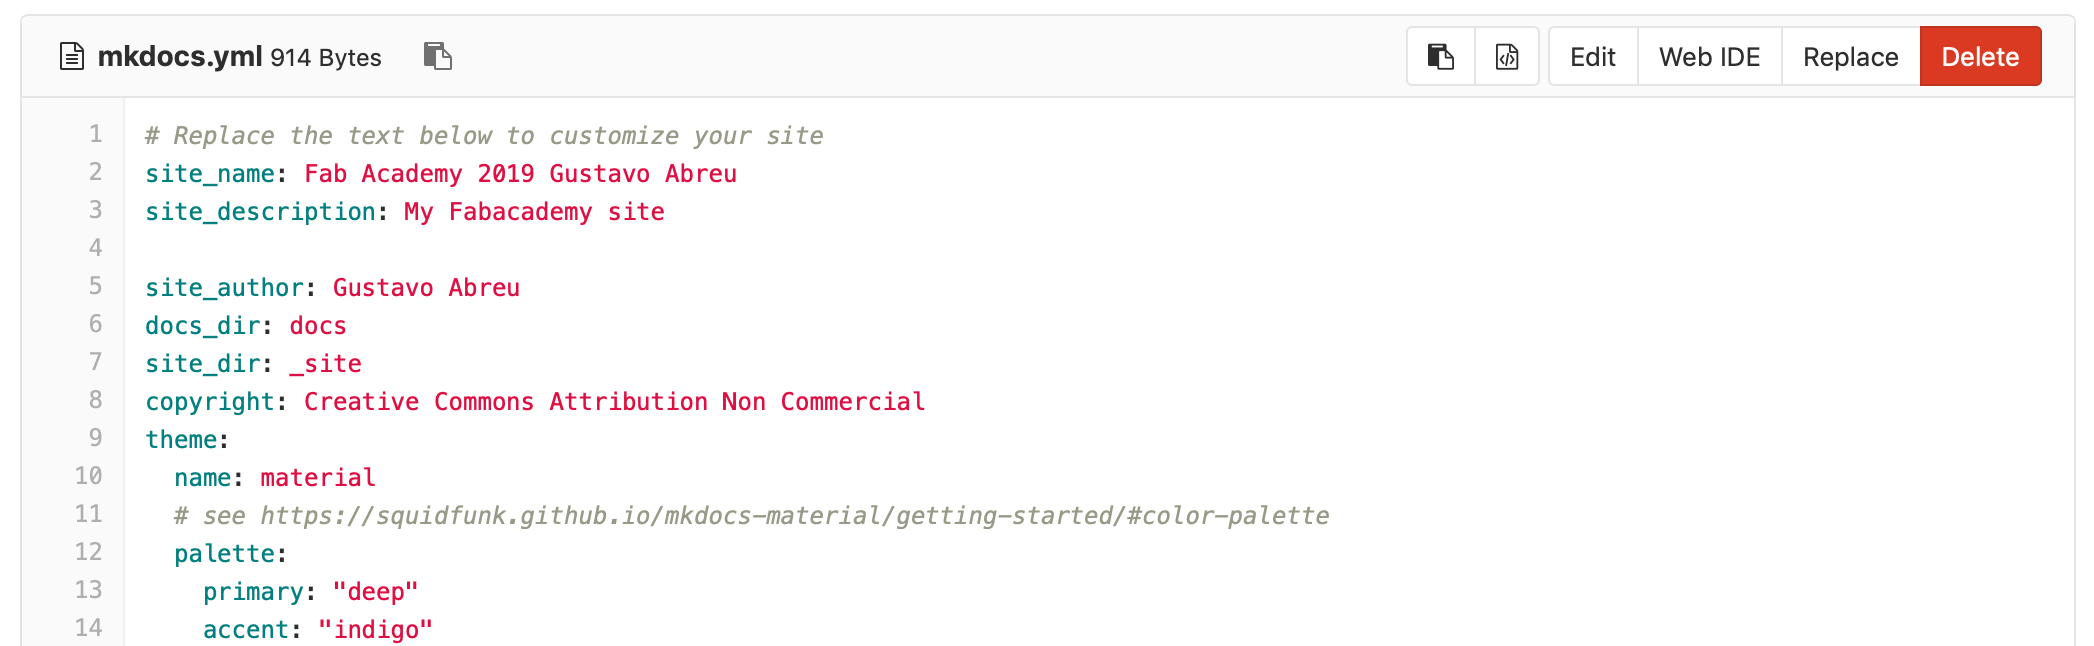
Customization
I really liked the material theme of MkDocs, but wanted to customize a couple of thins. Mainly the home page. My goal is to show a grid with each week’s assignments. For that, I took a look into mkdocs documentation and found the customization part. https://squidfunk.github.io/mkdocs-material/customization/
For basic CSS and JavaScript editing, you can just add the files:
docs/stylesheets/extra.css
docs/javascripts/extra.js
But, to change the theme template, you need to ‘extend’ it, creating a folder for overrides and adding it to mkdocs.yml file
theme:
  name: 'material'
  custom_dir: 'theme'
Now I can just create the file I want to extend and start customizing it. This is the theme’s directory layout
.
├─ assets/
│  ├─ images/                          # Images and icons
│  ├─ javascripts/                     # JavaScript
│  └─ stylesheets/                     # Stylesheets
├─ partials/
│  ├─ integrations/                    # 3rd-party integrations
│  ├─ language/                        # Localized languages
│  ├─ footer.html                      # Footer bar
│  ├─ header.html                      # Header bar
│  ├─ hero.html                        # Hero teaser
│  ├─ language.html                    # Localized labels
│  ├─ nav-item.html                    # Main navigation item
│  ├─ nav.html                         # Main navigation
│  ├─ search.html                      # Search box
│  ├─ social.html                      # Social links
│  ├─ source.html                      # Repository information
│  ├─ tabs-item.html                   # Tabs navigation item
│  ├─ tabs.html                        # Tabs navigation
│  ├─ toc-item.html                    # Table of contents item
│  └─ toc.html                         # Table of contents
├─ 404.html                            # 404 error page
├─ base.html                           # Base template
└─ main.html                           # Default page
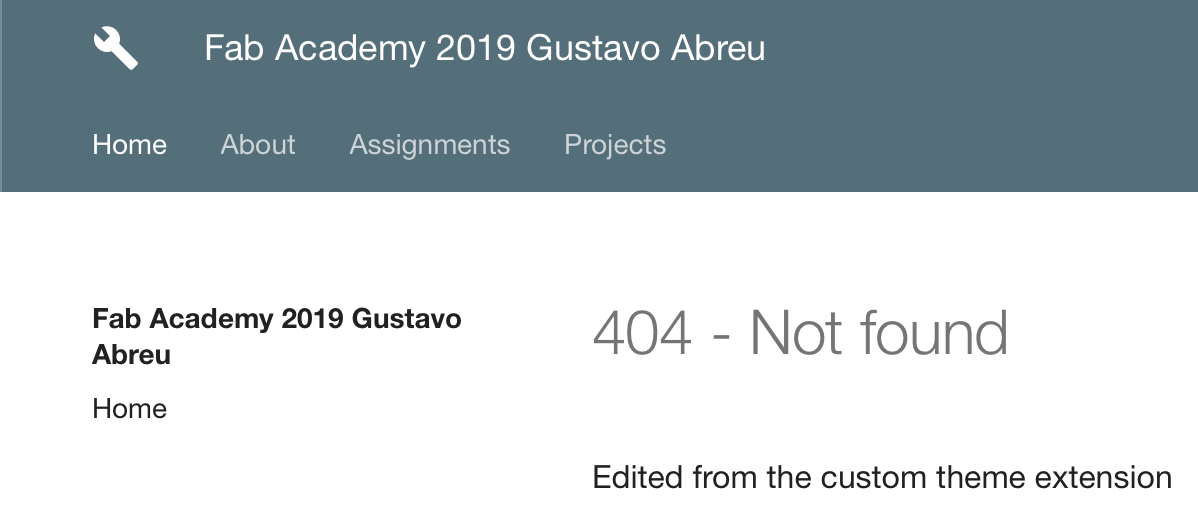
To test it, I’ll mess with the 404.html page and see how it works.
GitLab authentication
In order to upload content to the server repository, it’s required to have some sort of authentication. The primary way is to generate a ssh key in your computer, then add it to the trusted keys on gitlab. That way your computer will always be able to push code directly to the repo.
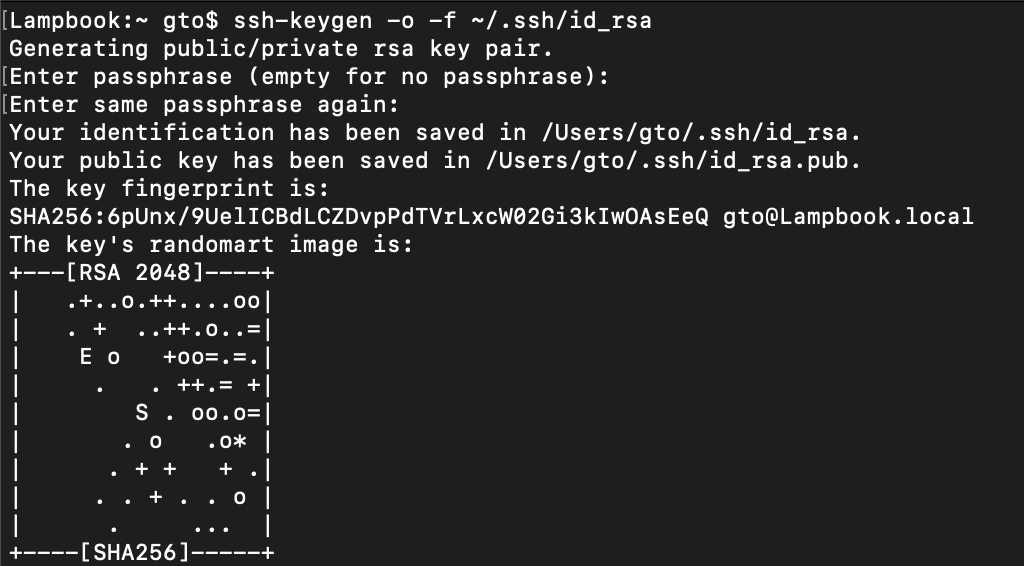
Creating a SSH key
ssh-keygen -o -f ~/.ssh/id_rsa
Adding a SSH key to GitLab
Copy the content of the newly created key from BEGIN to END

Then, go to https://gitlab.fabcloud.org/profile/keys and paste it there. Giving it a descriptive name to know where the access is coming from.
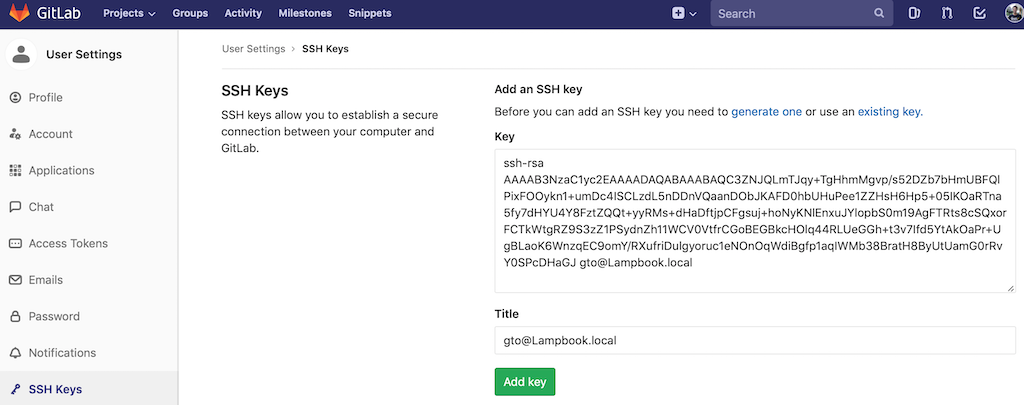
Note: All the keys were changed after documenting this, they are not the ones authorized on gitlab.
Upload it to the class archive.
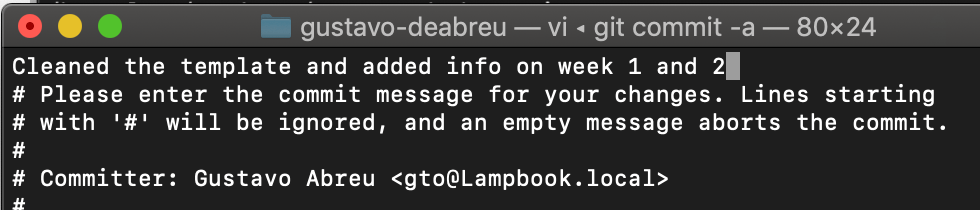
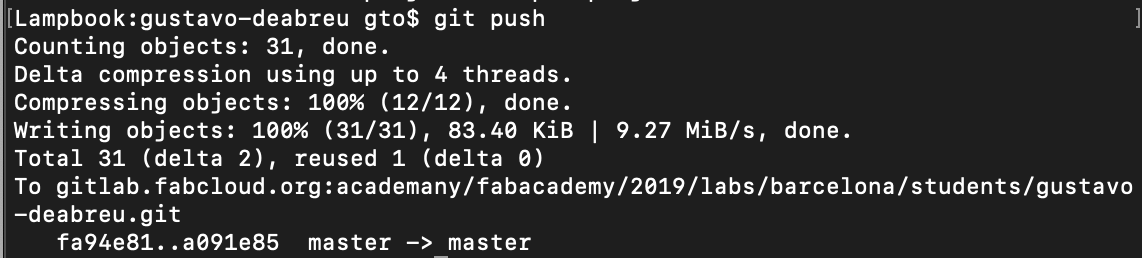
So after changing everything I wanted, now it’s time to commit the changes with a descriptive note and push it to the cloud repo. After that, it will automatically appear on the website.
git add .
git commit -a
git push
Work through a git tutorial
During the Version control and Project management recitation by Fiore Basile, he included a git tutorial on the examples, so that’s what I’m going to follow now.
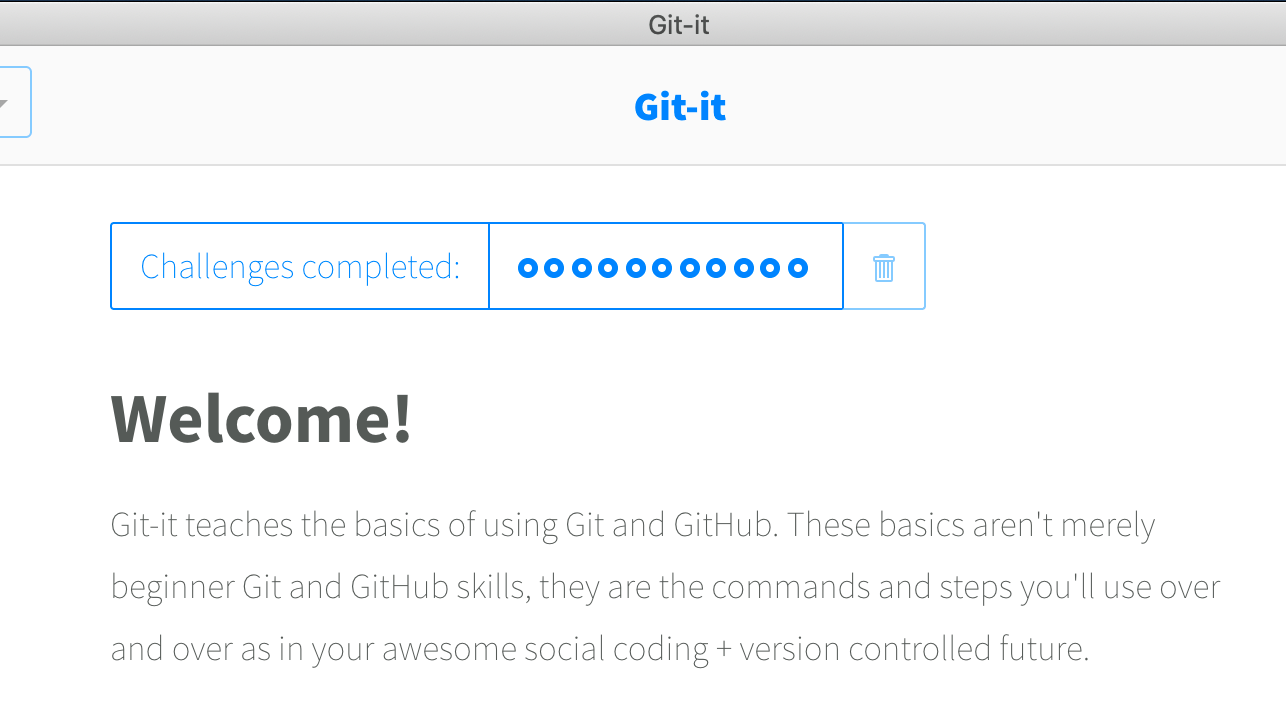
Git-it is a challenge based tutorial app available at https://github.com/jlord/git-it-electron
You just need to download it and run to start
The first step is to install and configure git
brew install git
git config --global user.name "Gustavo Abreu"
git config --global user.email "gus.abr@gmail.com"
Create a folder and initialize git
mkdir hello-world
cd hello-world/
git init
Create a file and commit it
echo 'Hello!' > readme.txt
git status
git add readme.txt
git commit -m "Created readme"
Modify the readme file and diff
echo 'world!' >> readme.txt
git diff
Add github username to git, add origin and push there
git config --global user.username ghabreu
git remote add origin https://github.com/ghabreu/hello-world.git
git push origin master
Fork a repo and clone it locally, adding the right upstream for updates
cd ..
git clone https://github.com/ghabreu/patchwork.git
cd patchwork/
git remote add upstream https://github.com/jlord/patchwork.git
git remote -v
Create a branch and work on it
git branch add-ghabreu
git checkout add-ghabreu
echo 'ghabreu' > contributors/add-ghabreu.txt
add .
commit -m "added txt to contributors"
git push origin add-ghabreu
Pull updates
git pull origin add-ghabreu
Github automatically detects your fork and shows a button to create a pull request. After clicking it, the work was pulled. Now for merge and do some clean-up after the work
git checkout gh-pages
git merge add-ghabreu
git branch -d add-ghabreu
git push origin --delete add-ghabreu
Upload Student Agreement
Available in the root of my repo. See here