16. Interface and Application Programming
assignment
individual assignment:
- write an application that interfaces a user with an input &/or output device that you made
group assignment:
- compare as many tool options as possible
Previous work
Over the past weeks, I’ve been developing an iOS app to create the navigation logic for my final project. I’ll add what I’ve done so far here, and increment along my development.
If possible, I’d like to try other interfaces as well, using python and javascript. Let’s see if there will be enough time.
iOS app development
Getting started with the Apple environment was a big learning curve for me. Setting up Xcode IDE, using the Swift programming language, understanding the whole phone logic, installing the app on the phone, etc.
Every step required research and a lot of trial and error. Mainly my own fault, for not having the patience to go through the whole documentation. I sometimes prefer just get to the point and make the thing work.
Xcode and Non-market App Distribution
Installing Xcode is super straight forward, just download it from the App Store and you’re good to go. The thing is that for publishing your app to the app store you need a developer account, that costs $99.
Thankfully, you can install apps locally for tests without needing to pay that fee, it just takes a couple of steps. The only downside is that each build lasts a couple of days before expiring, but you can build again and be good to go.
I followed a tutorial with the steps to be able to install apps on your phone. I’ll paste the most relevant parts here.
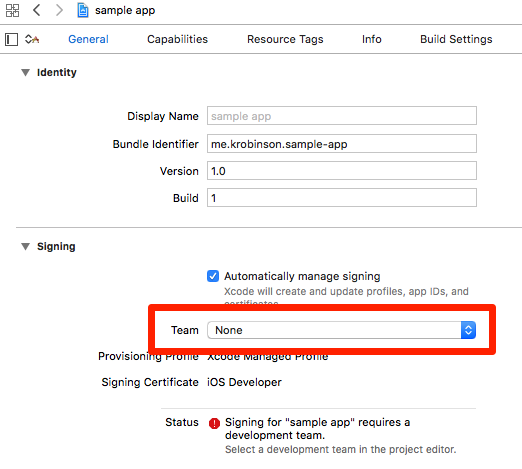
Before being able to push an app to your phone, you have to setup a team and bundle identifier on your app, if not you receive an error.
So basically you need to go to the General configuration tab of your app and fill the Identity and Signing sections.
The most important part is setting up a “Team”
After that you’re able to use it normally.
Simple sample
Before jumping into building the navigation, I wanted to try BLE with the iPhone. So I downloaded an app for sending messages with bluetooth.

When I got to the point where I was able to send and read the characters sent, I jumped into developing my own app.
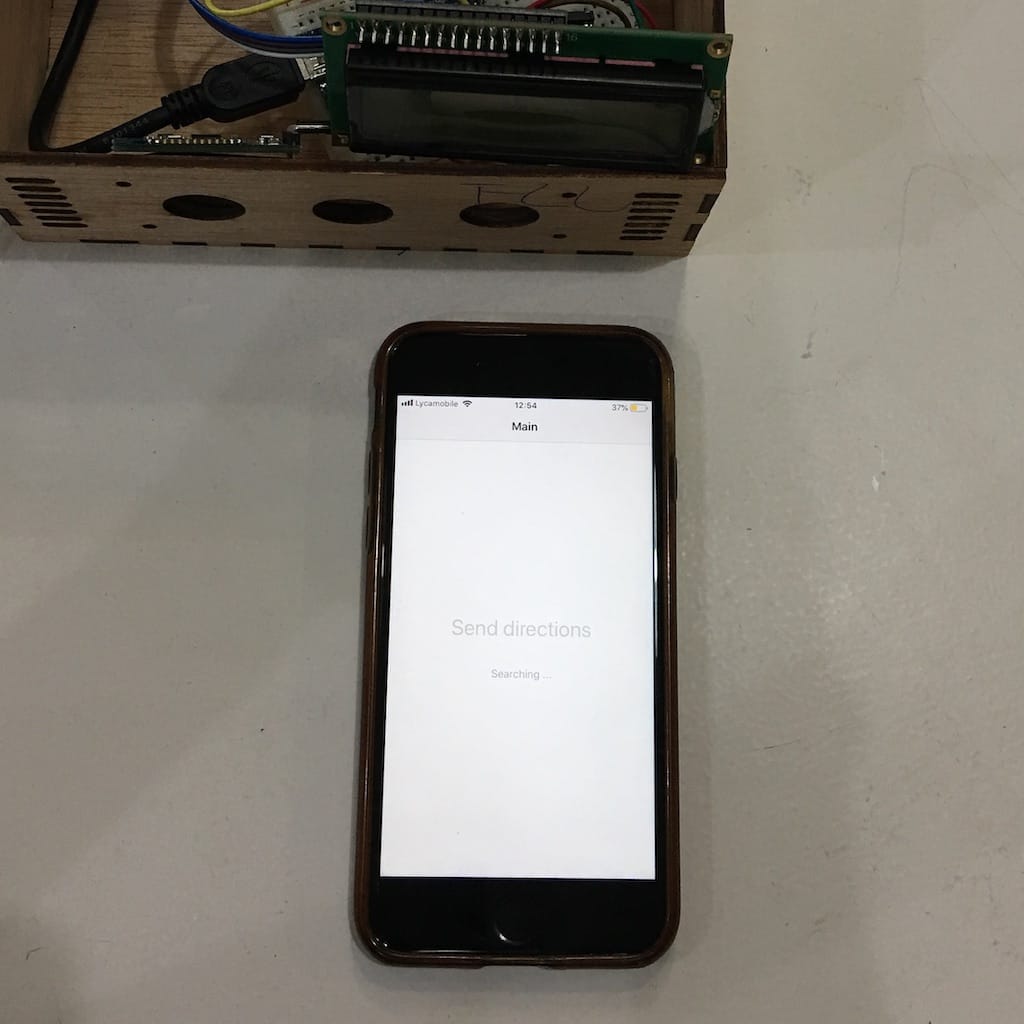
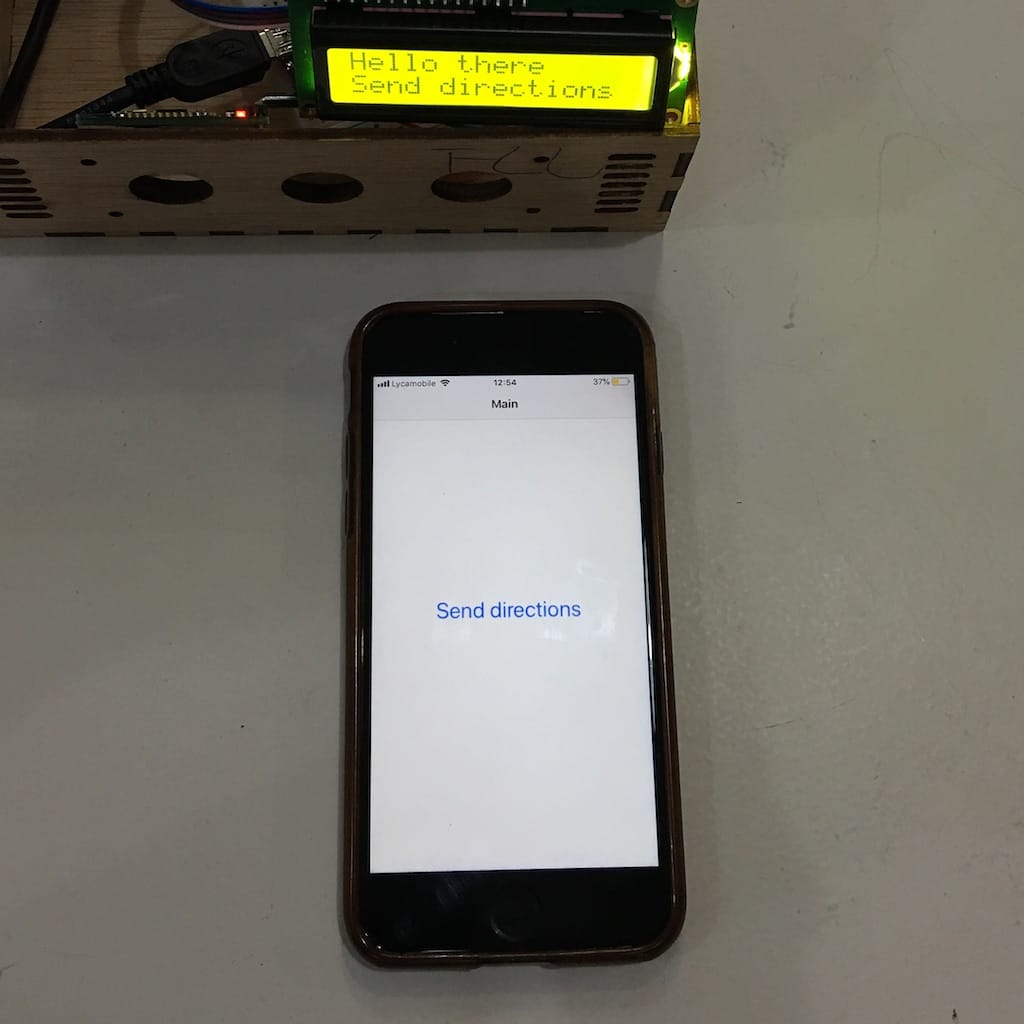
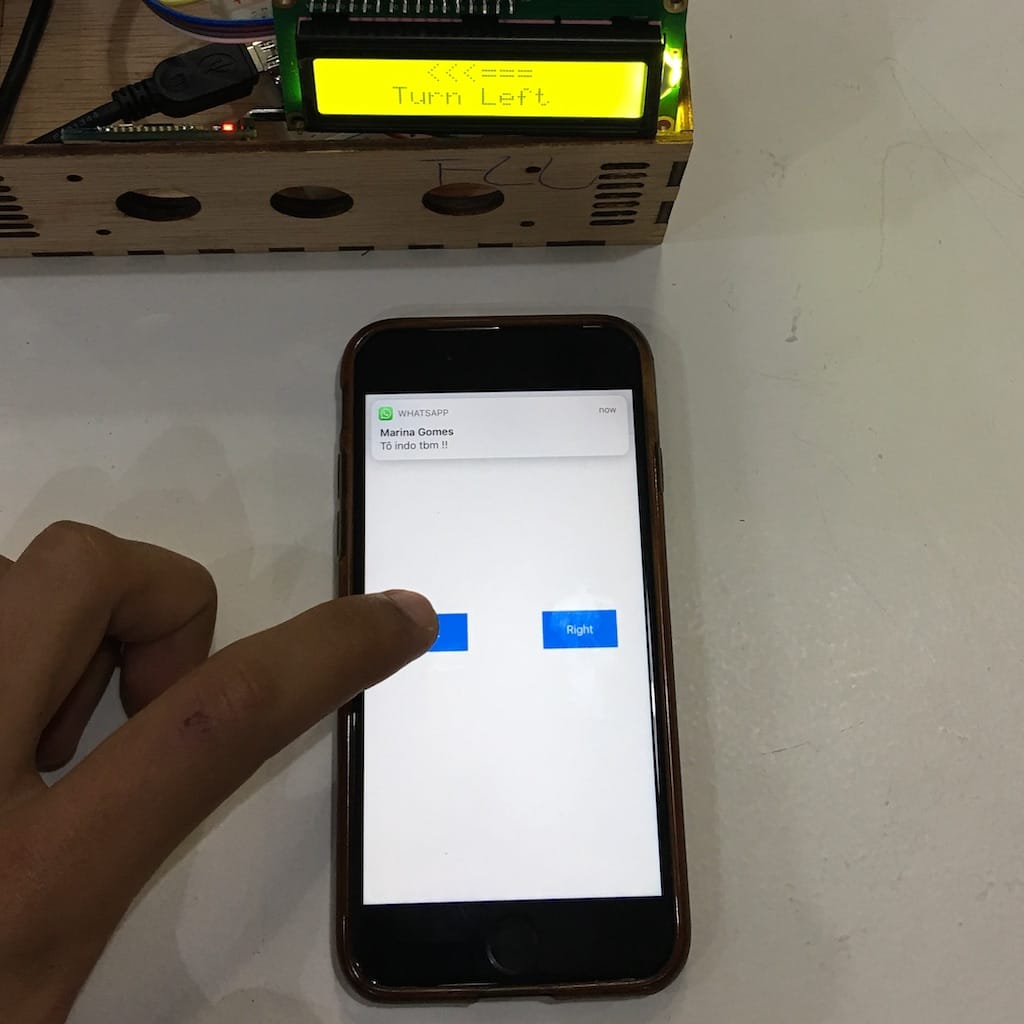
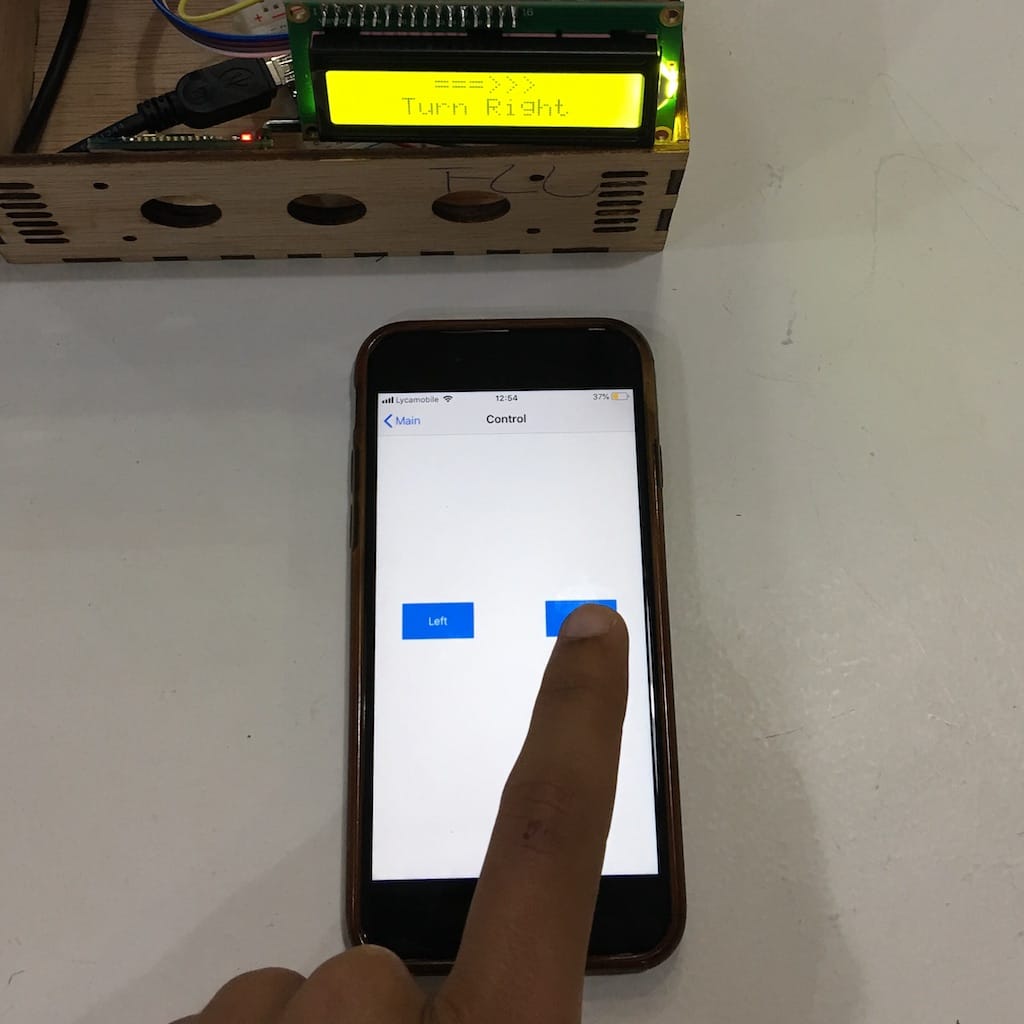
I found a really basic youtube video showing how to wire and program the board to light an LED with a bluetooth command. So I copied the code and changed it to show directions on the LCD screen.
Mapbox SDK
Talking to a couple persons, I luckily got to know Mapbox, that is a maps commercial solution. But they have don’t charge for up to 50 thousand requests per month. So I believe I’ll be good to go.
They have a powerful navigation logic ready to use, that can be implemented with just a few lines of code.
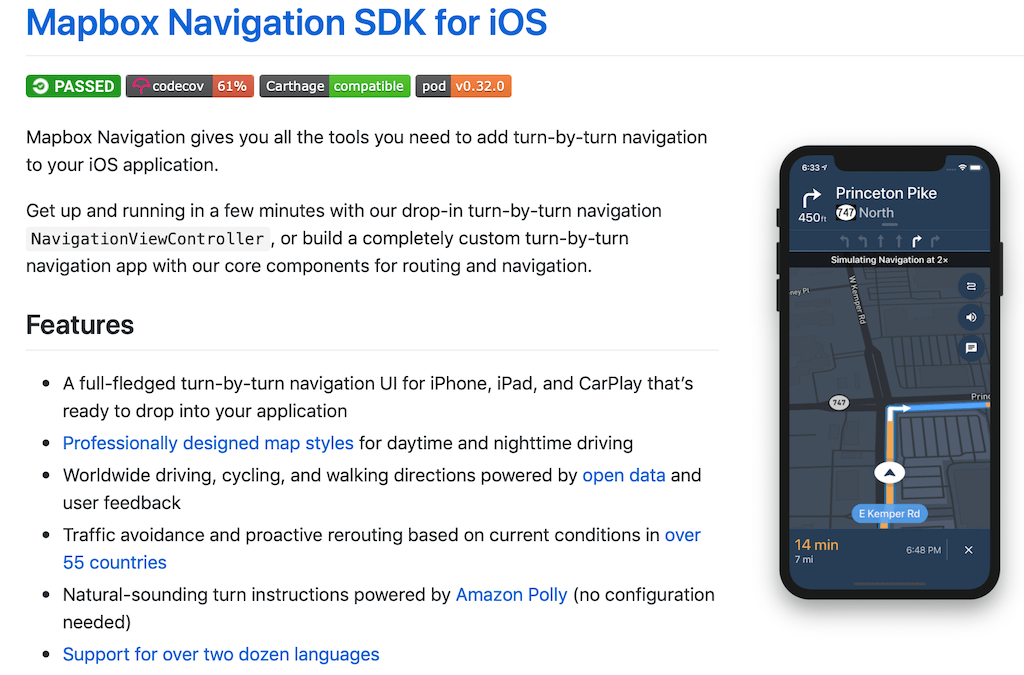
I found a nice repo: Mapbox iOS examples that was incredible to see what the SDK was capable of.
Building basic navigation
With just a few lines of code you can already have a working navigation app
import MapboxDirections
import MapboxCoreNavigation
import MapboxNavigation

let origin = Waypoint(coordinate: CLLocationCoordinate2D(latitude: 38.9131752, longitude: -77.0324047), name: "Mapbox")
let destination = Waypoint(coordinate: CLLocationCoordinate2D(latitude: 38.8977, longitude: -77.0365), name: "White House")

let options = NavigationRouteOptions(waypoints: [origin, destination])

Directions.shared.calculate(options) { (waypoints, routes, error) in
    guard let route = routes?.first else { return }

    let viewController = NavigationViewController(for: route)
    present(viewController, animated: true, completion: nil)
}
But it doesnt have everything I need. I found This example has a fully working navigation with everything I need, without a lot of additional features

Getting data and send via BLE
iOS part
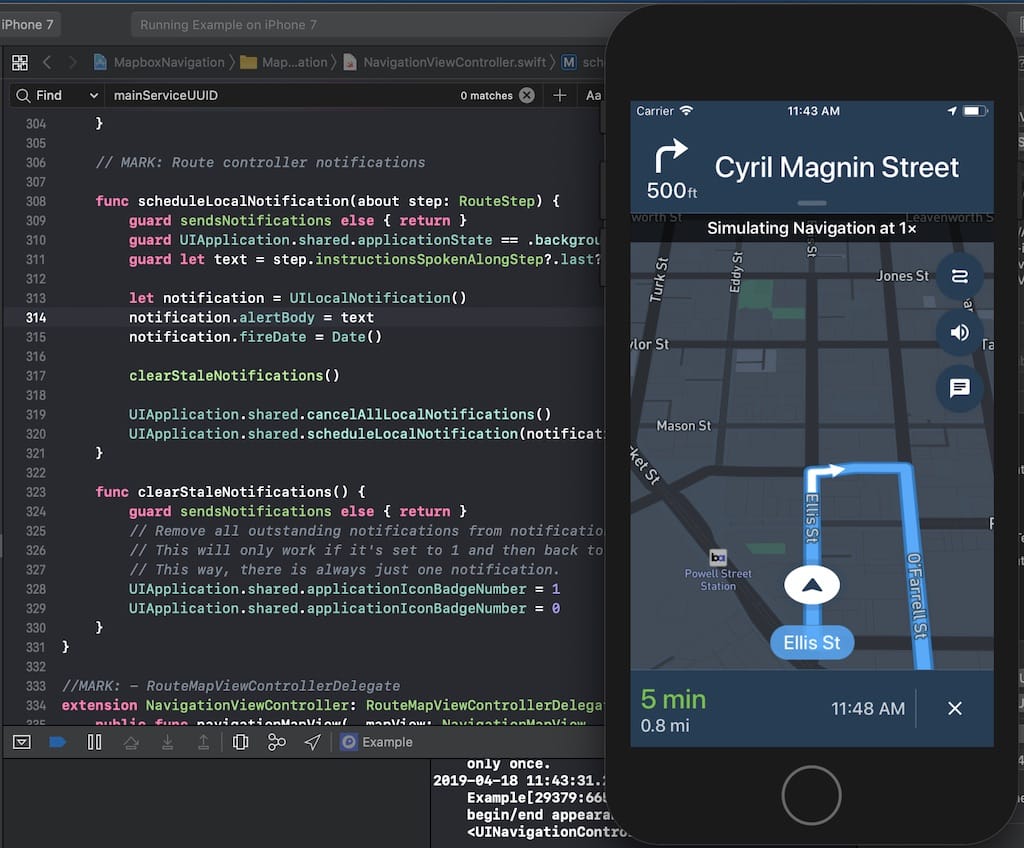
In iOS development, there is this concept of notifications inside the app, that are basically callback functions. This helped me a lot to reduce code and not needing to mess with the core navigation logic. I was able to just act on the user’s position being updated.
// Function called whenever the user's location is updated, with the current information.
@objc func progressDidChange(_ notification: NSNotification) {
        // Gets info from core navigation
        let routeProgress = notification.userInfo![RouteControllerNotificationUserInfoKey.routeProgressKey] as! RouteProgress
        let visualInstruction = routeProgress.currentLegProgress.currentStepProgress.currentVisualInstruction
        // Gets remaining distance to next maneuver
        let stepDistance = distanceFormatter.string(from: stepProgress.distanceRemaining)

        // Concatenate data into a string to send
        var string = ""

        if let unwrapped = visualInstruction?.primaryInstruction.maneuverDirection.description {
            string += unwrapped
            string += "\t"
        }

        string += stepDistance
        string += "\t"

        if let unwrapped = visualInstruction?.primaryInstruction.text?.description {
            string += unwrapped
        }

        // Sends string data trough BLE
        peripheralHRM?.writeValue(string.data(using: String.Encoding.utf8)!, for: myCharacteristic!, type: CBCharacteristicWriteType.withoutResponse)
    }
Arduino part
My first try was just reading the string directly out of the serial communication. It worked, but with a little bit of delay and inconsistency that would definitely not be good when using the device on the street.
SoftwareSerial mySerial(10, 11); // RX, TX

String myString = "";

void setup() {
  Serial.begin(9600);
  mySerial.begin(9600);
}
void loop() {

  if(mySerial.available() > 0){
    myString = mySerial.readString();
    Serial.println(myString);
  }

}
After a lot of research, turns out that the readString() function from the Arduino library it not really good at doing things quickly. So I found a faster way to do it. Building an array out of each char received on the data.
// Parses the data received into strings
String getValue(String data, char separator, int index)
{
    int found = 0;
    int strIndex[] = { 0, -1 };
    int maxIndex = data.length() - 1;

    for (int i = 0; i <= maxIndex && found <= index; i++) {
        if (data.charAt(i) == separator || i == maxIndex) {
            found++;
            strIndex[0] = strIndex[1] + 1;
            strIndex[1] = (i == maxIndex) ? i+1 : i;
        }
    }
    return found > index ? data.substring(strIndex[0], strIndex[1]) : "";
}

void loop() {

  if(mySerial.available() > 0){
    myString = mySerial.readString();
    maneuver = getValue(myString, '\t', 0);
    distance = getValue(myString, '\t', 1);
    street = getValue(myString, '\t', 2);
  }

  Serial.println(maneuver);
  Serial.println(distance);
  Serial.println(street);
}
This turned out to work great. Then I just added some status messages and centered the text displayed. This is my final code:
/*
*  print chars received through BLE into display
*  HC-08 3.3v
*/

#include <LiquidCrystal_I2C.h>
#include <LCD.h>
#include <SoftwareSerial.h>
#include <Wire.h>

LiquidCrystal_I2C lcd(0x27, 2, 1, 0, 4, 5, 6, 7, 3, POSITIVE);

SoftwareSerial mySerial(8, 9); // RX, TX

String maneuver = "";
String distance = "";
String street = "";
String readString;


String getValue(String data, char separator, int index)
{
   int found = 0;
   int strIndex[] = { 0, -1 };
   int maxIndex = data.length() - 1;

   for (int i = 0; i <= maxIndex && found <= index; i++) {
       if (data.charAt(i) == separator || i == maxIndex) {
           found++;
           strIndex[ 0] = strIndex[1] + 1;
           strIndex[1] = (i == maxIndex) ? i+1 : i;
       }
   }
   return found > index ? data.substring(strIndex[0], strIndex[1]) : "";
}


void setup() {
 mySerial.begin(9600);
 lcd.begin(16, 2);
 lcd.clear();
 lcd.print("    Power On    ");

}
void loop() {
 while (mySerial.available()) {
   char c = mySerial.read();  //gets one byte from serial buffer
   readString += c; //makes the String readString
   delay(2);  //slow looping to allow buffer to fill with next character
 }

 if (readString.length() >0) {
   // parses the string
   maneuver = getValue(readString, '\t', 0);
   distance = getValue(readString, '\t', 1);
   street = getValue(readString, '\t', 2);
   readString="";

   // determine length for centering
   int maneuverPosition = (16 - maneuver.length())/2;
   int distancePosition = (16 - distance.length())/2;

   // determine if arrived
   if (street == "You have arrived"){
     lcd.clear();
     lcd.print("You have arrived");
   }
   else{
     lcd.clear();
     lcd.setCursor(maneuverPosition,0);
     lcd.print(maneuver);
     lcd.setCursor(distancePosition,1);
     lcd.print(distance);
   }
 }
}
Then, it was time to port the code into my own board and see the full solution working:

Demo:
Download files: