10. Molding and Casting
assignments
group assignment:
- review the safety data sheets for each of your molding and casting materials, then make and compare test casts with each of them
individual assignment:
- design a 3D mold around the stock and tooling that you’ll be using, mill it, and use it to cast parts
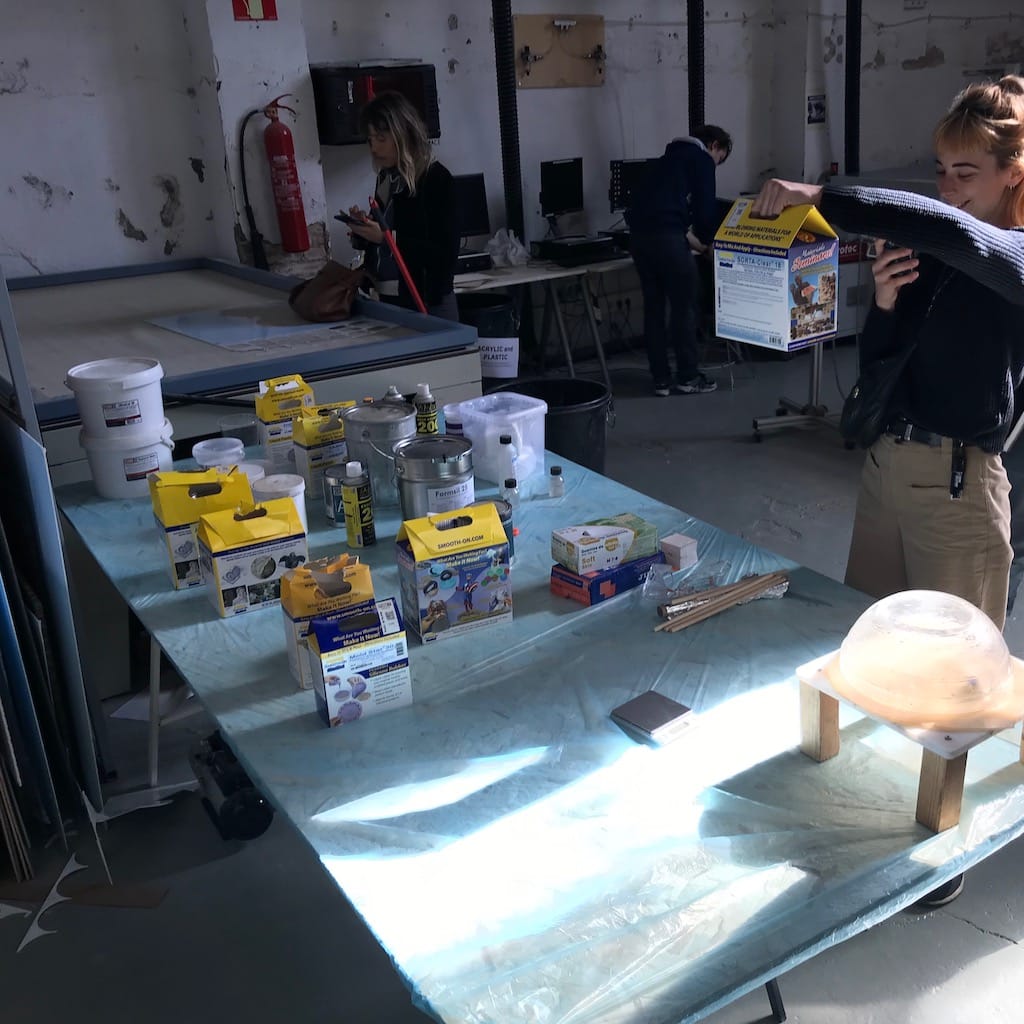
Molding and Casting class
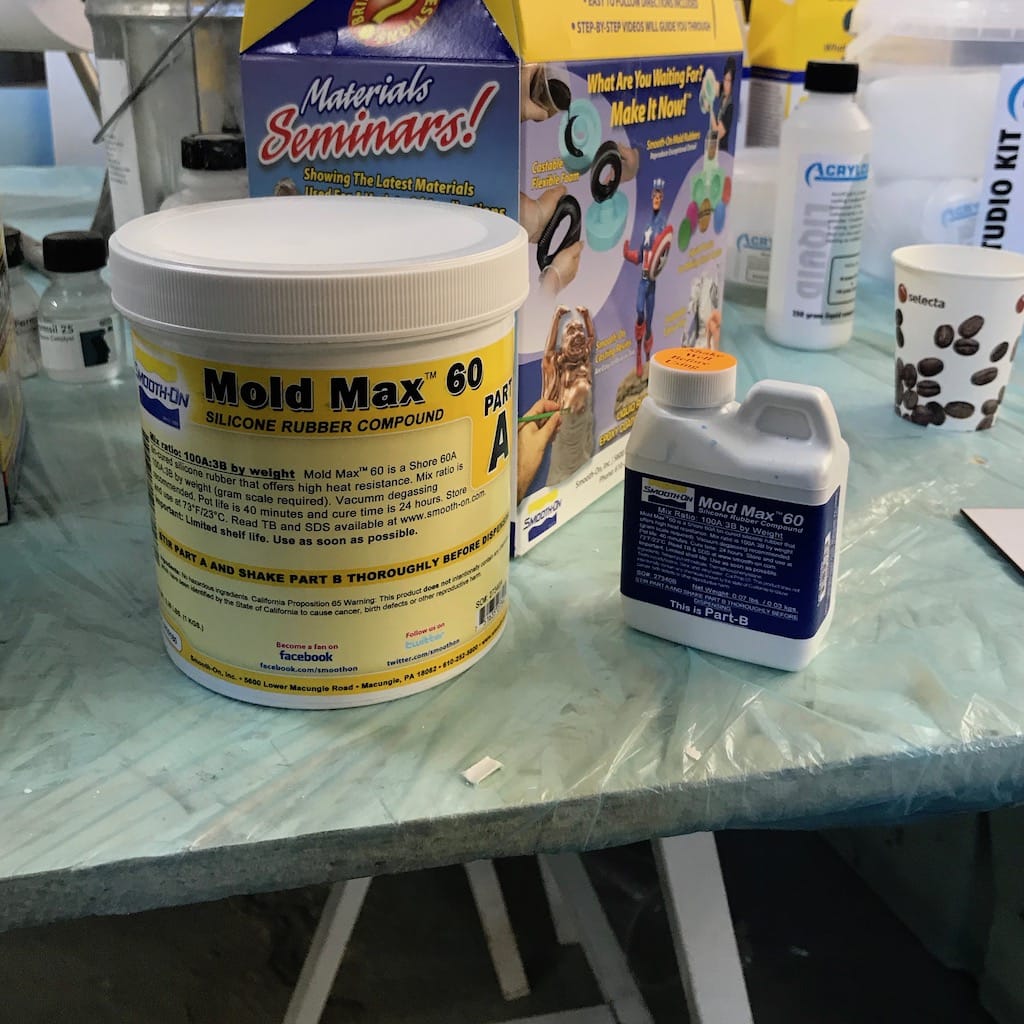
We started the week with a class showing different materials and the process of molding and casting.
Our first test was with a translucent silicon mold.
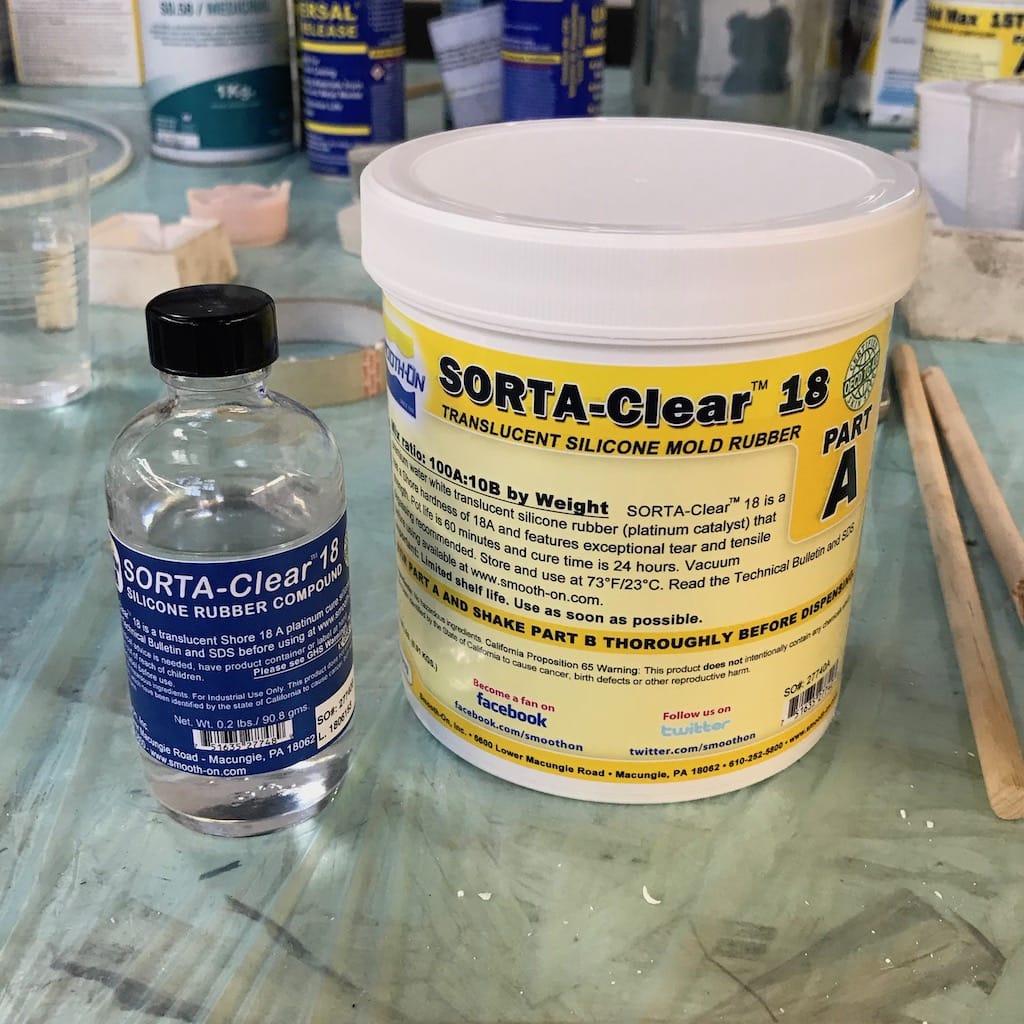
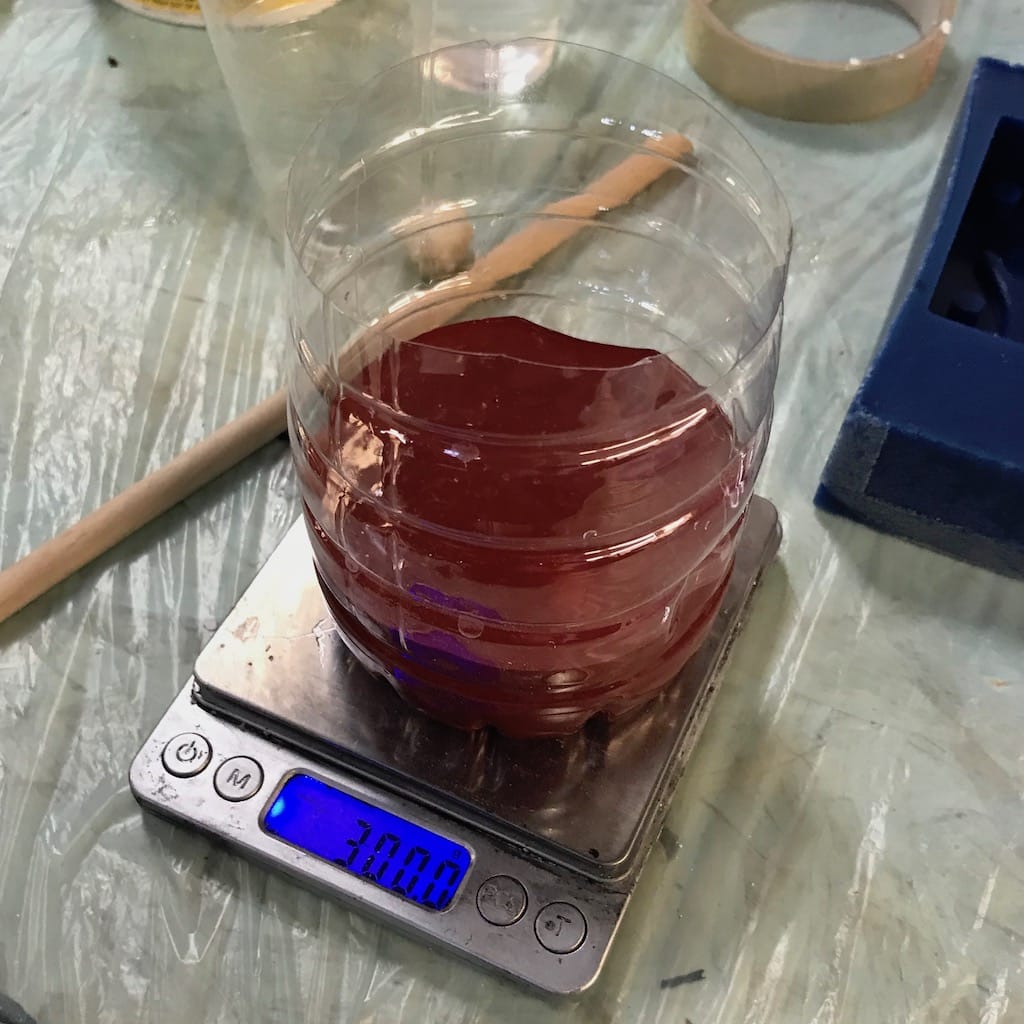
After reading the datasheet, started measuring the quantities we needed.
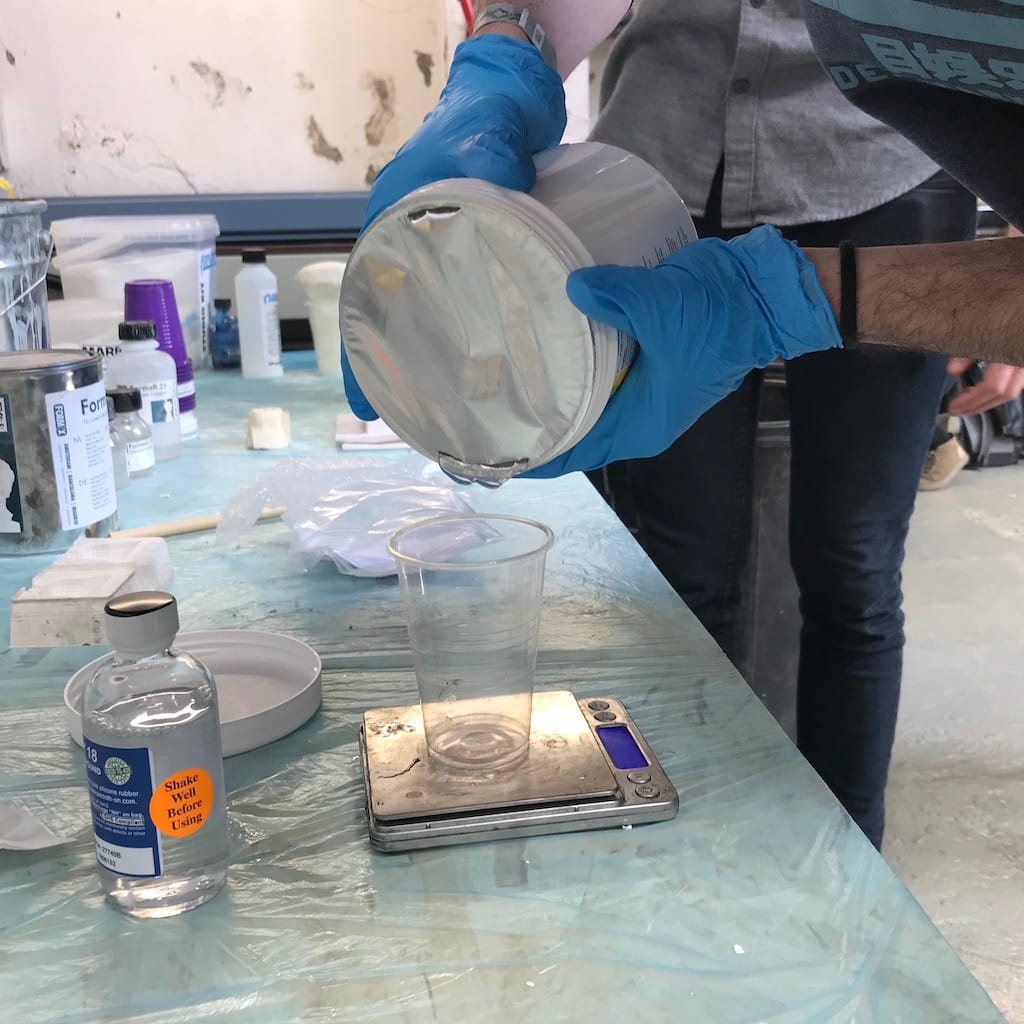
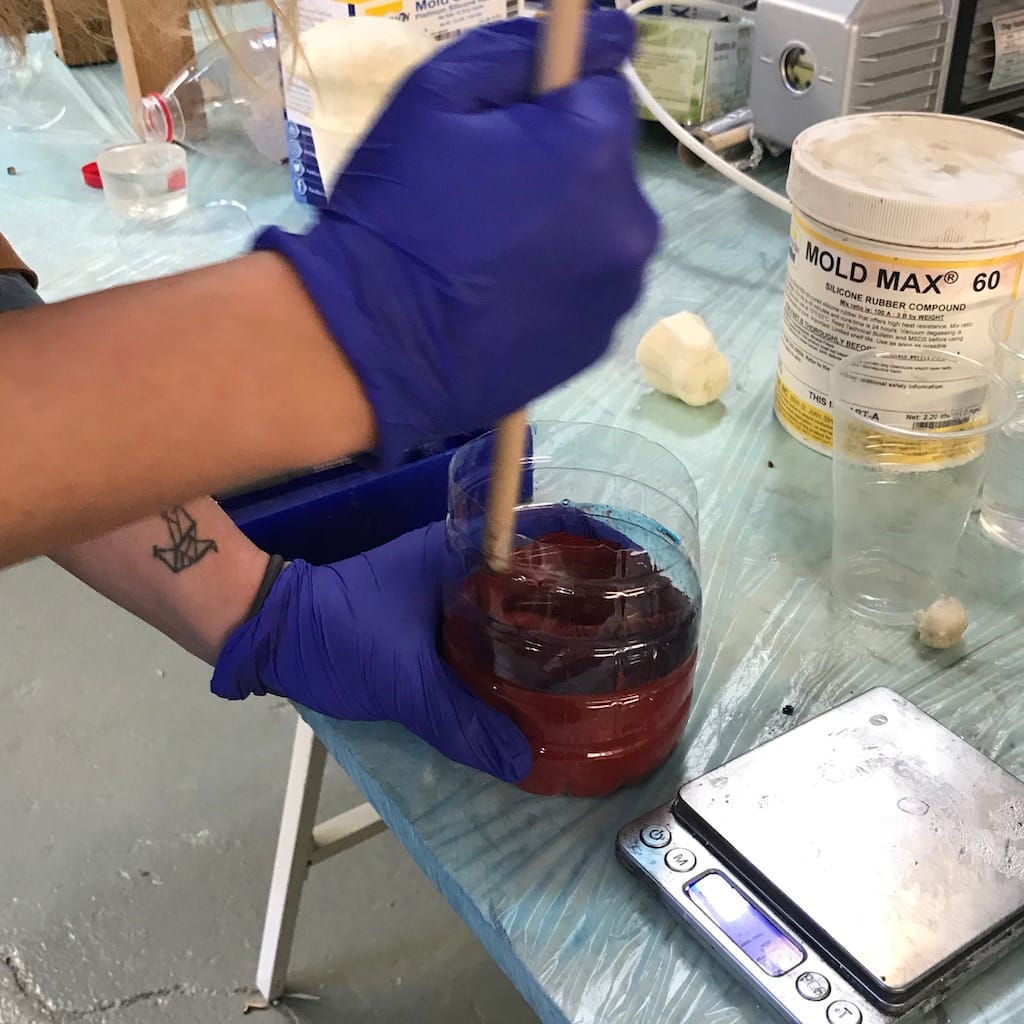
It needed to me mixed a lot, so we improvised a tool for it.
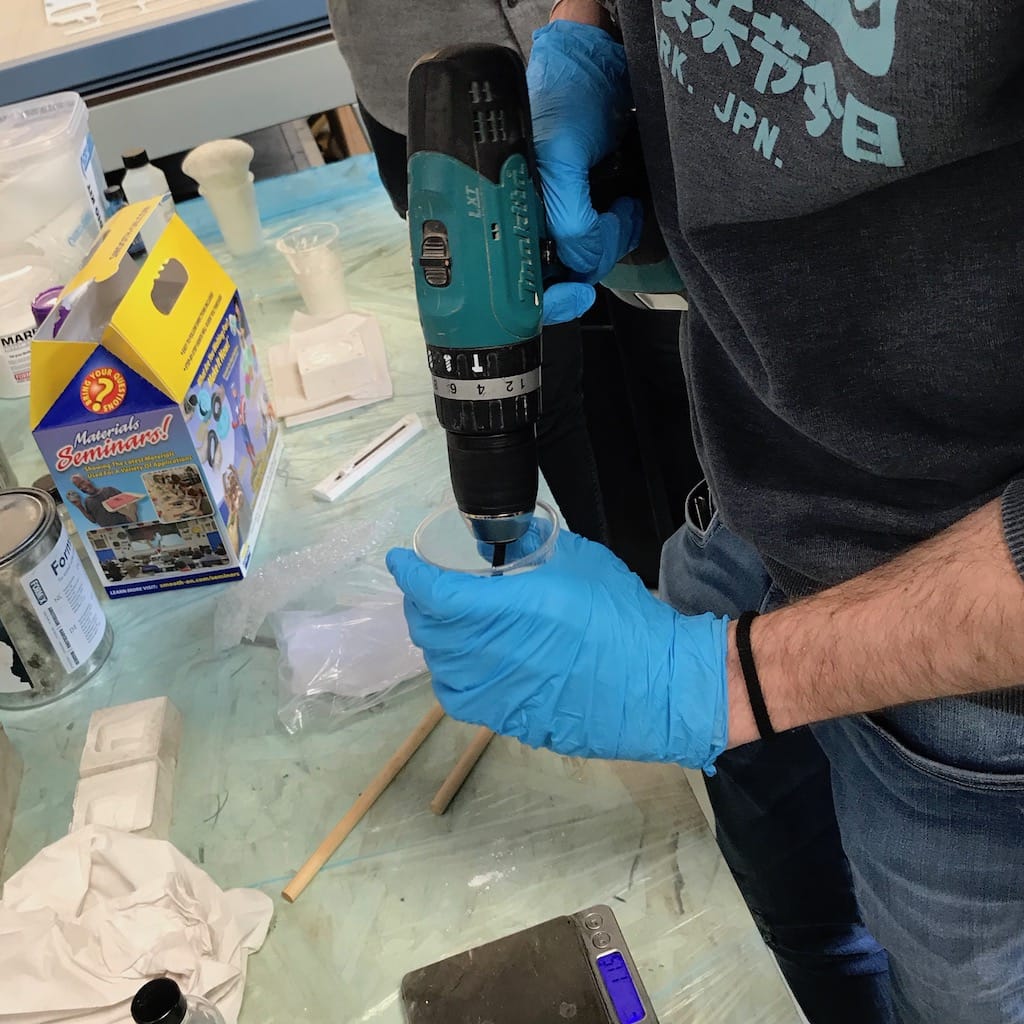
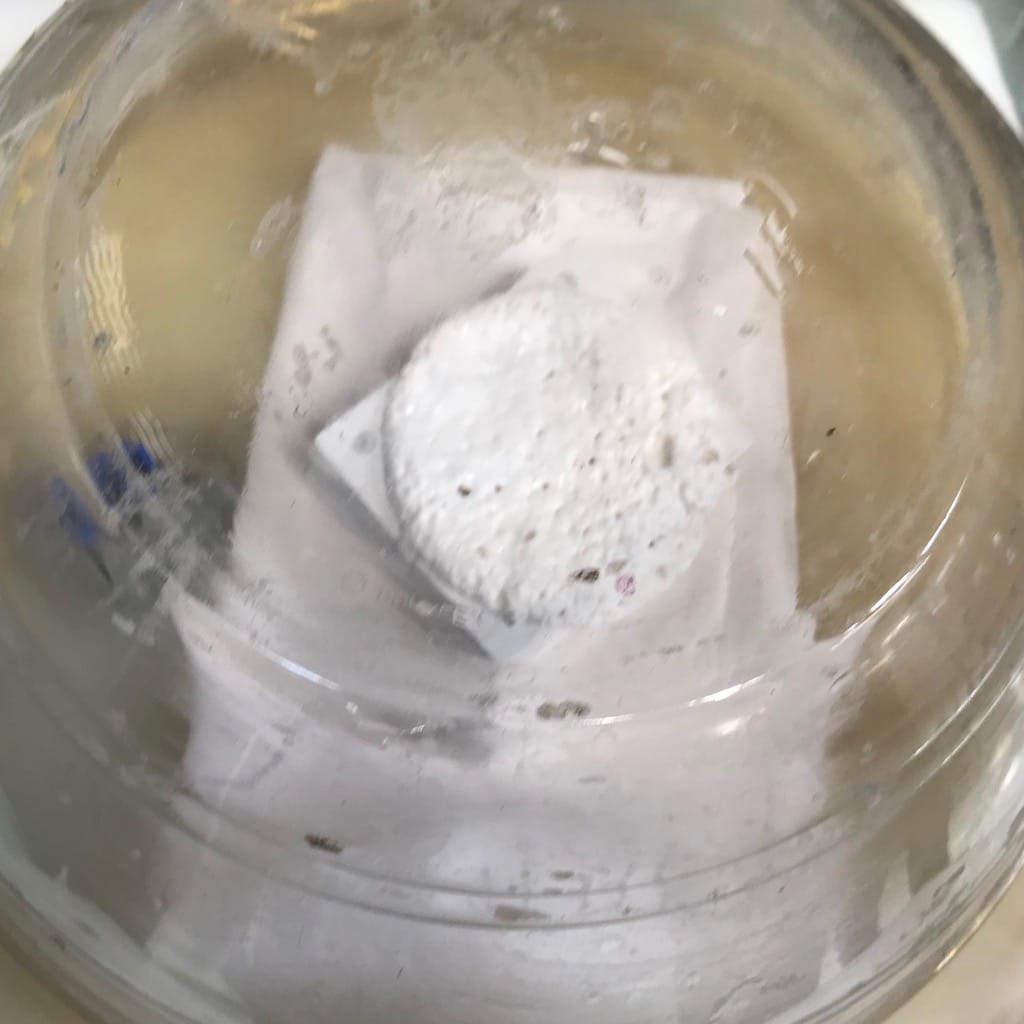
Then, we wanted to take the bubbles out, so we put the container inside a vacuum chamber, but, it expanded so much almost all of it went out of the cup.
Then, poured it into the mold and let it rest for the day.
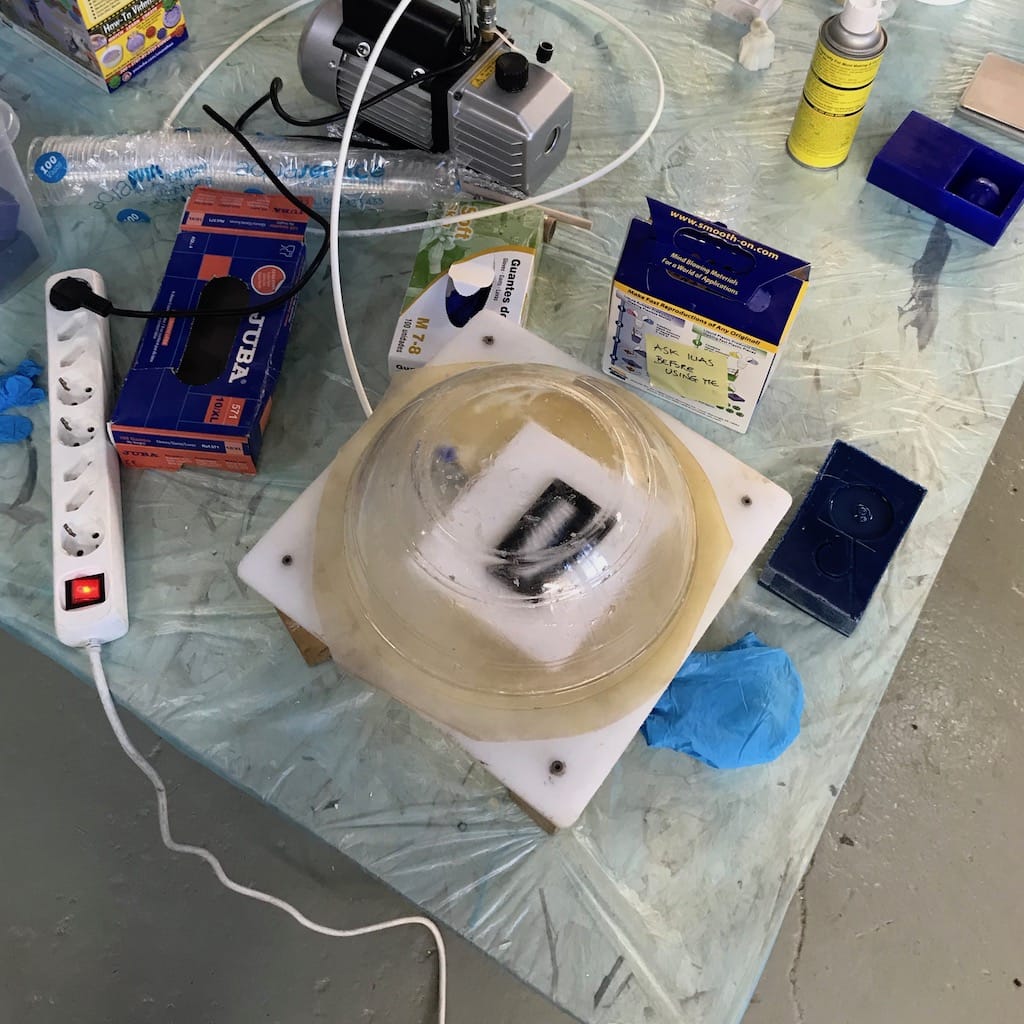
Then, for the second try with the vacuum, we covered the base and one of the students stayed controlling the valve to let some air in / reduce the pressure, whenever the material was approaching the limit.

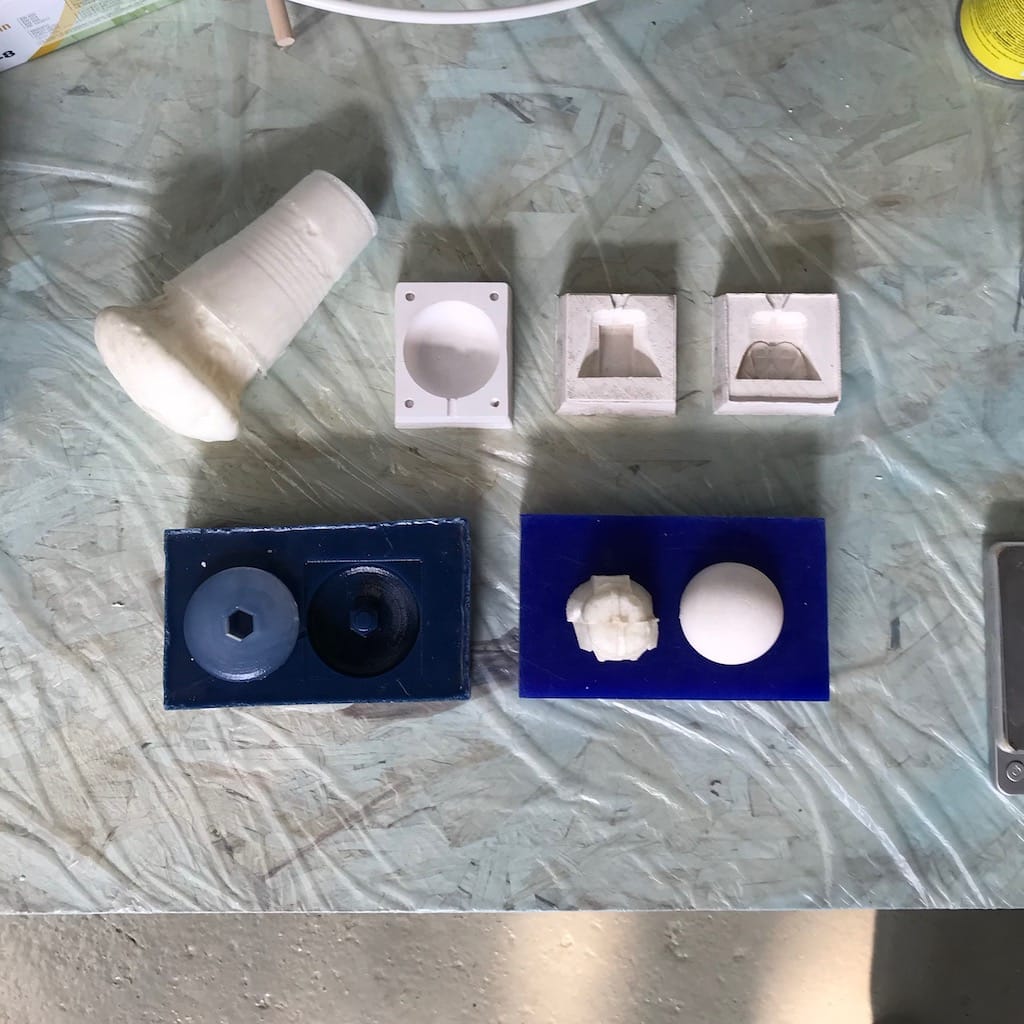
Then, after one day, we had all our pieces ready to be displayed.
Final project test
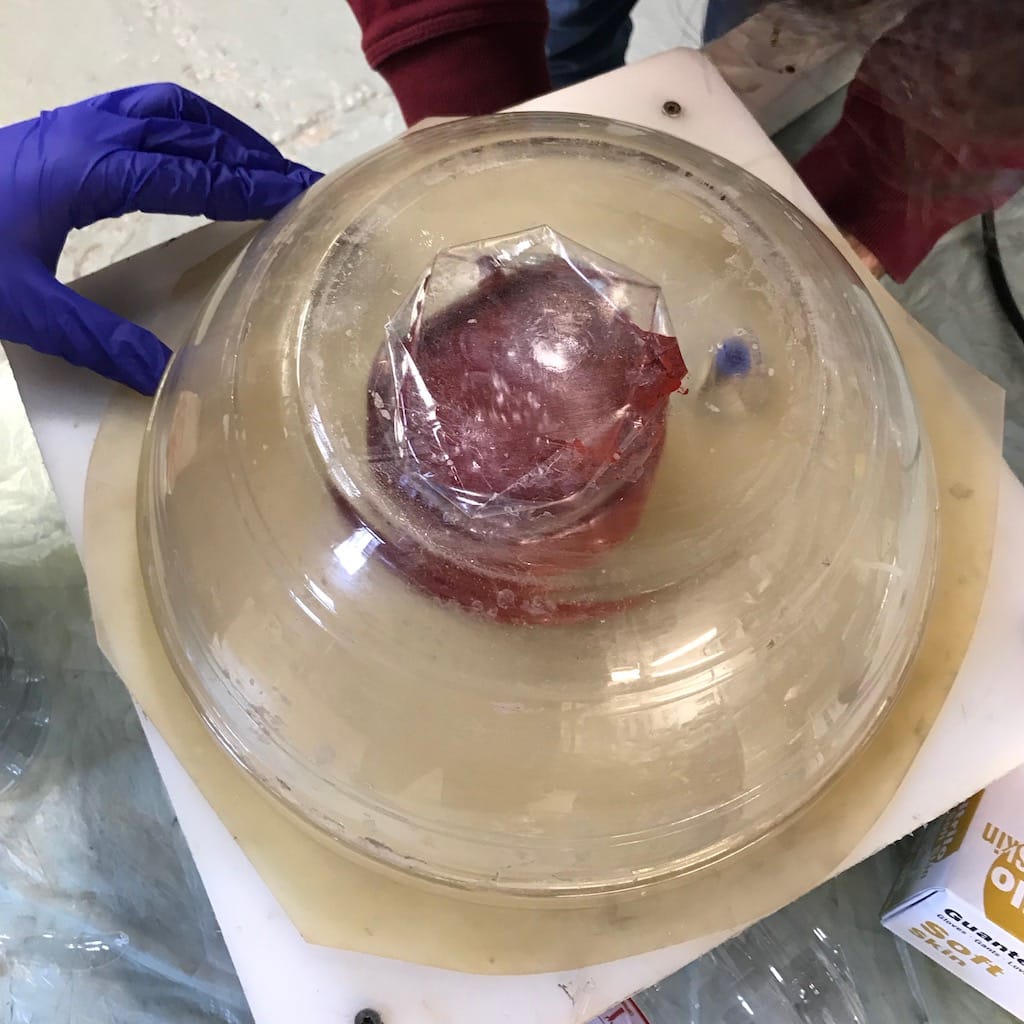
I wanted to test the silicon as a transparent display cover, since the resin we have is really toxic, I’d be nice to find an alternative.
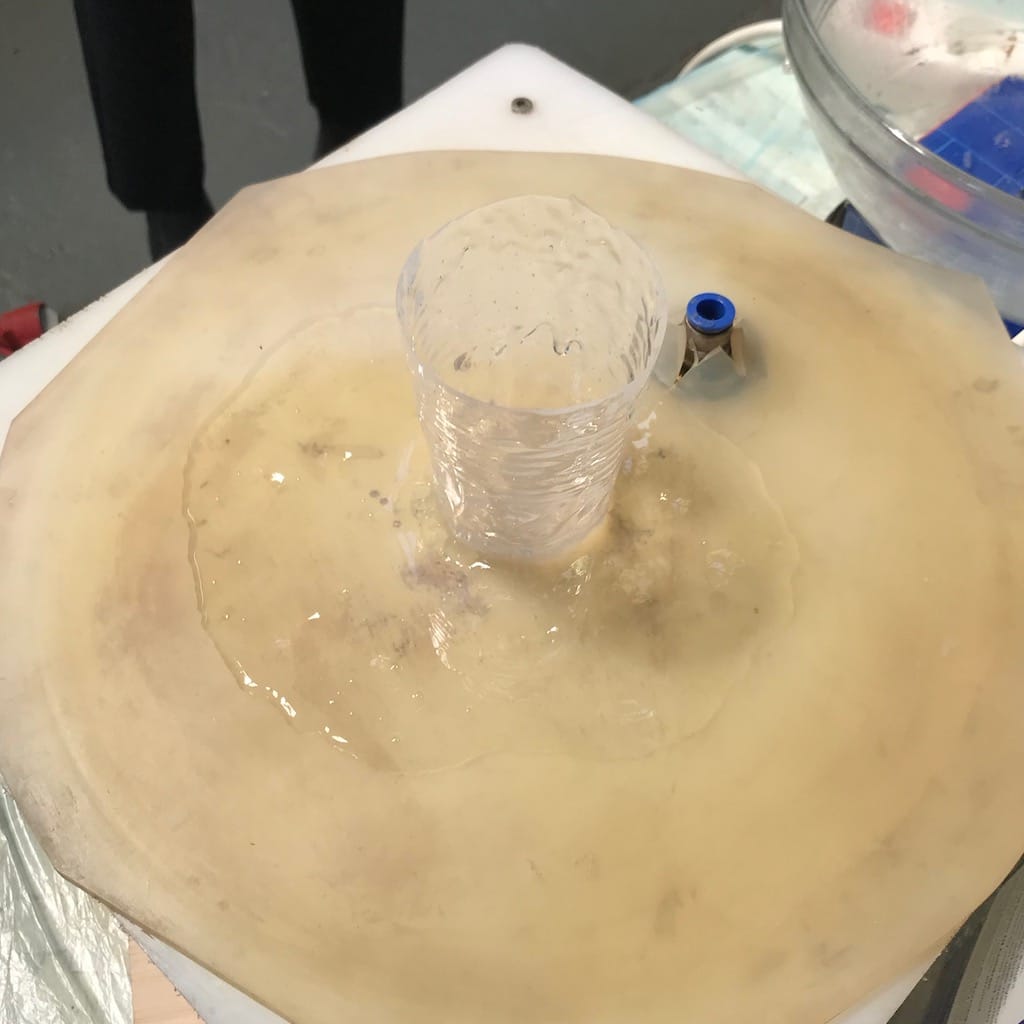
I started taping the display into a clear acrylic board.
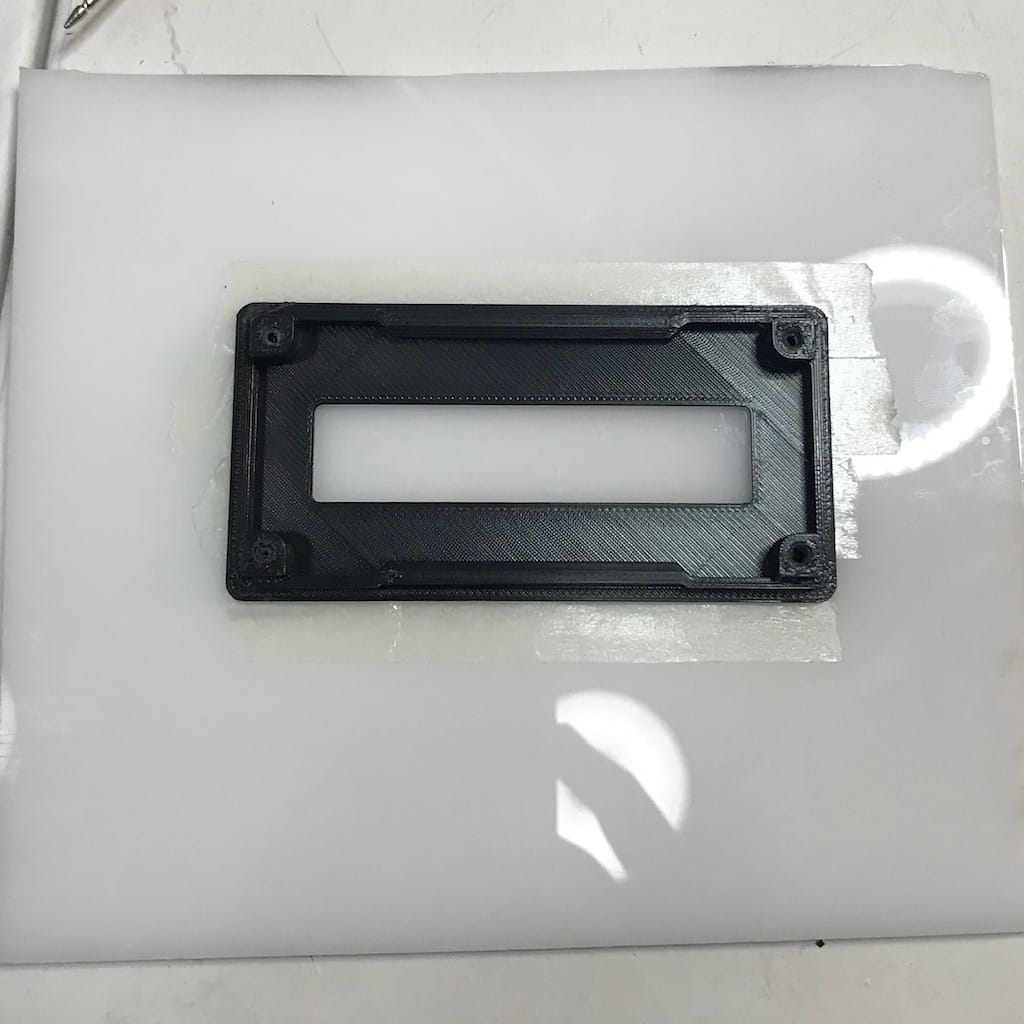
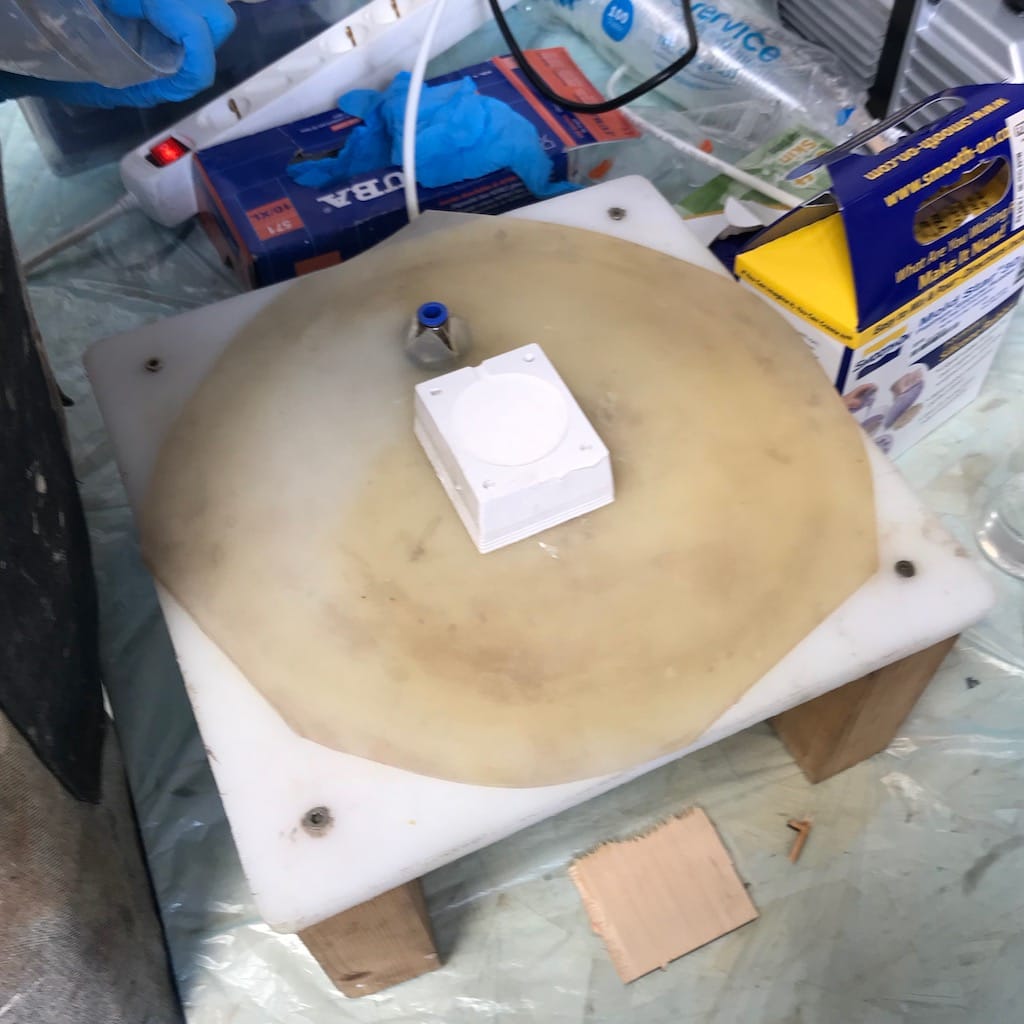
Then, poured the silicon but got a few bubbles. So it went into the vacuum chamber a couple of times before looking nice.
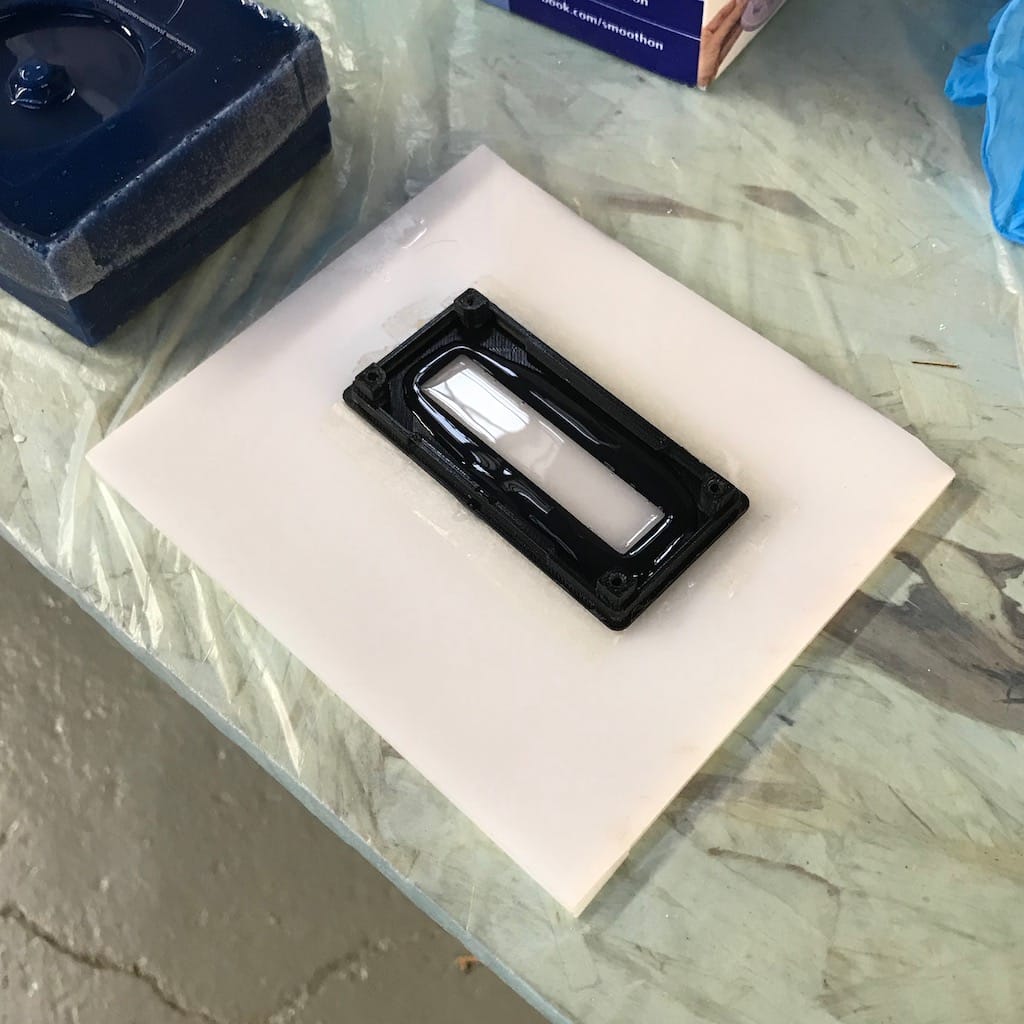
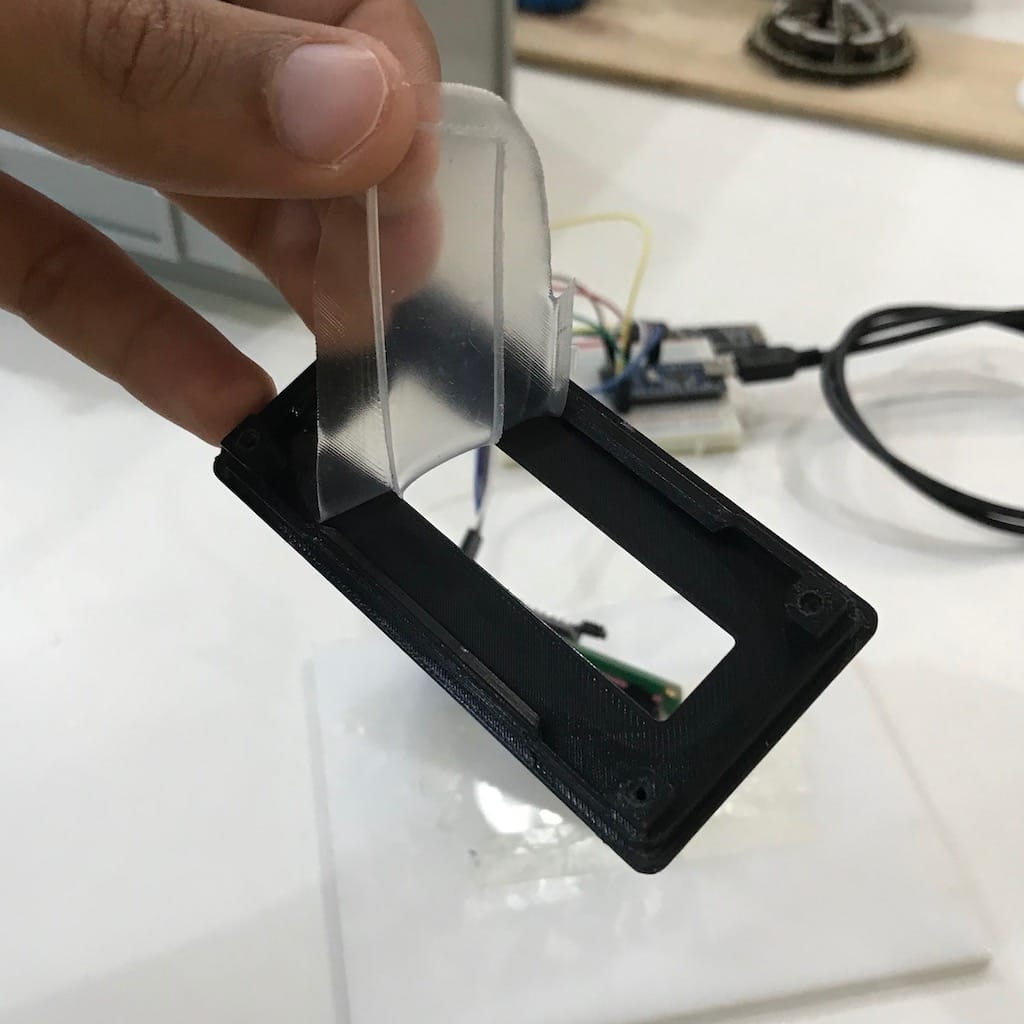
After one night, it was ready and it seems that is an option to use instead of the resin. Still need to make water resistance tests.


But, since I sprayed the release agent on top of the whole piece (somewhat intended), I was able to take it off.
3D milling
I spent the weekend trying to think of useful ways to spend this week with my final project, but most of them needed me to design the whole project again in order to cast something. So, I decided to look for a model online and just learn the process. Witch it seems to be a lot of information to digest.
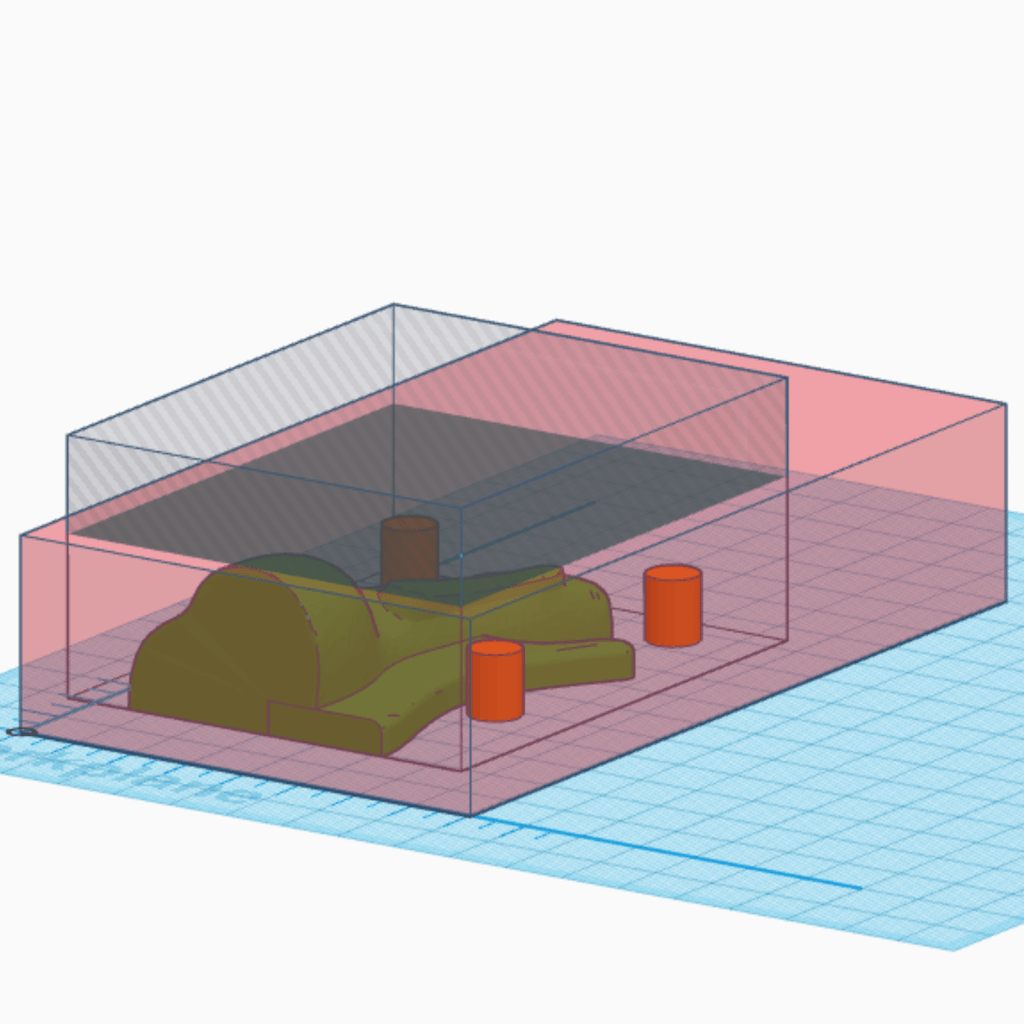
Found this design on thingiverse. Since we had material size restrictions, I had to scale it down a lot. So I 3d printed it to make sure it would work.

Since it looks like it, I’m going to go for it.
I took me actually a lot of time to manage to understand every step of the process, and how I should design everything.
It is a bit difficult at first to visualize the the positive wax, then the negative mold, and finally the piece. Specially because fabmodules works with height maps, so that was bending my mind a bit.
Since this is just a simple setup, I skipped the heavy cads and went into tinkercad, I find it really easy and fast to test concepts that don’t need a lot of modeling.
To make the CAM files for milling, Fab Lab Barcelona had a great documentation for the whole process.
To resume, these were the steps:
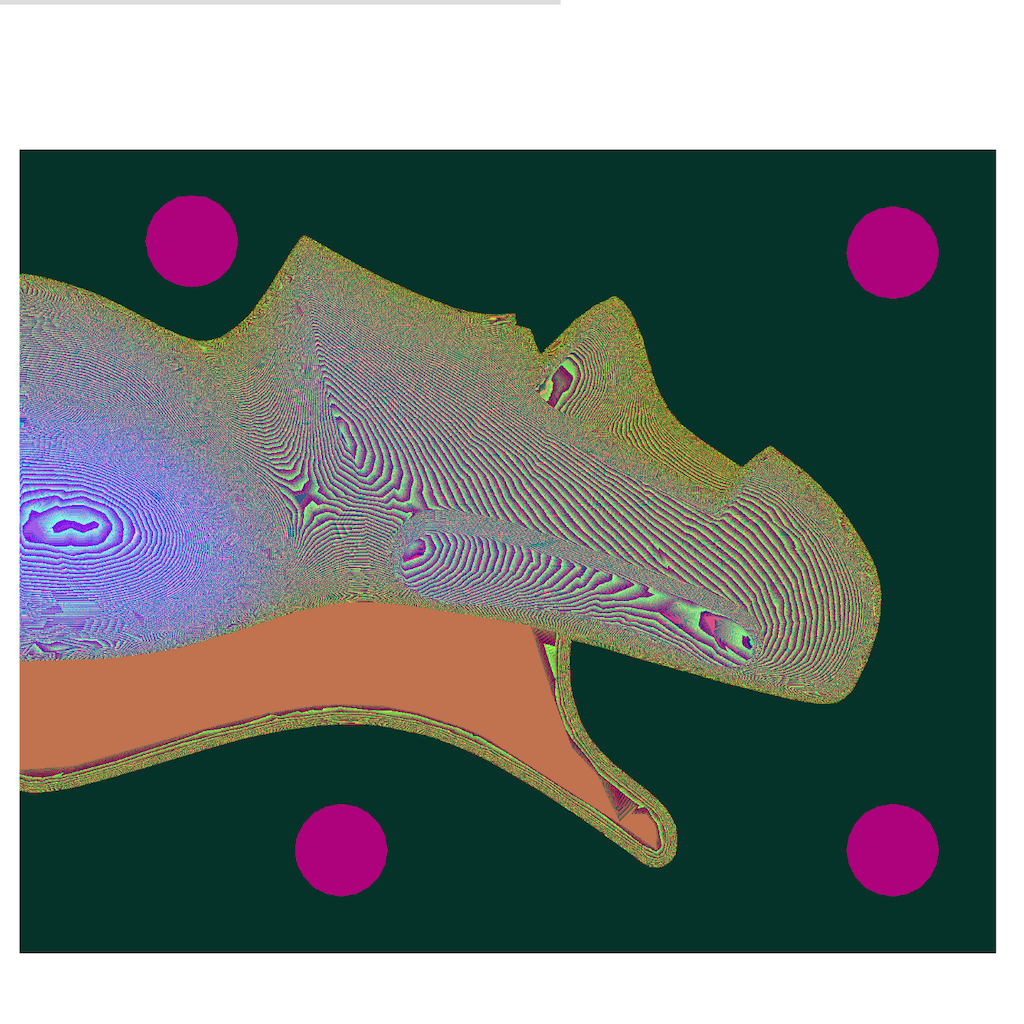
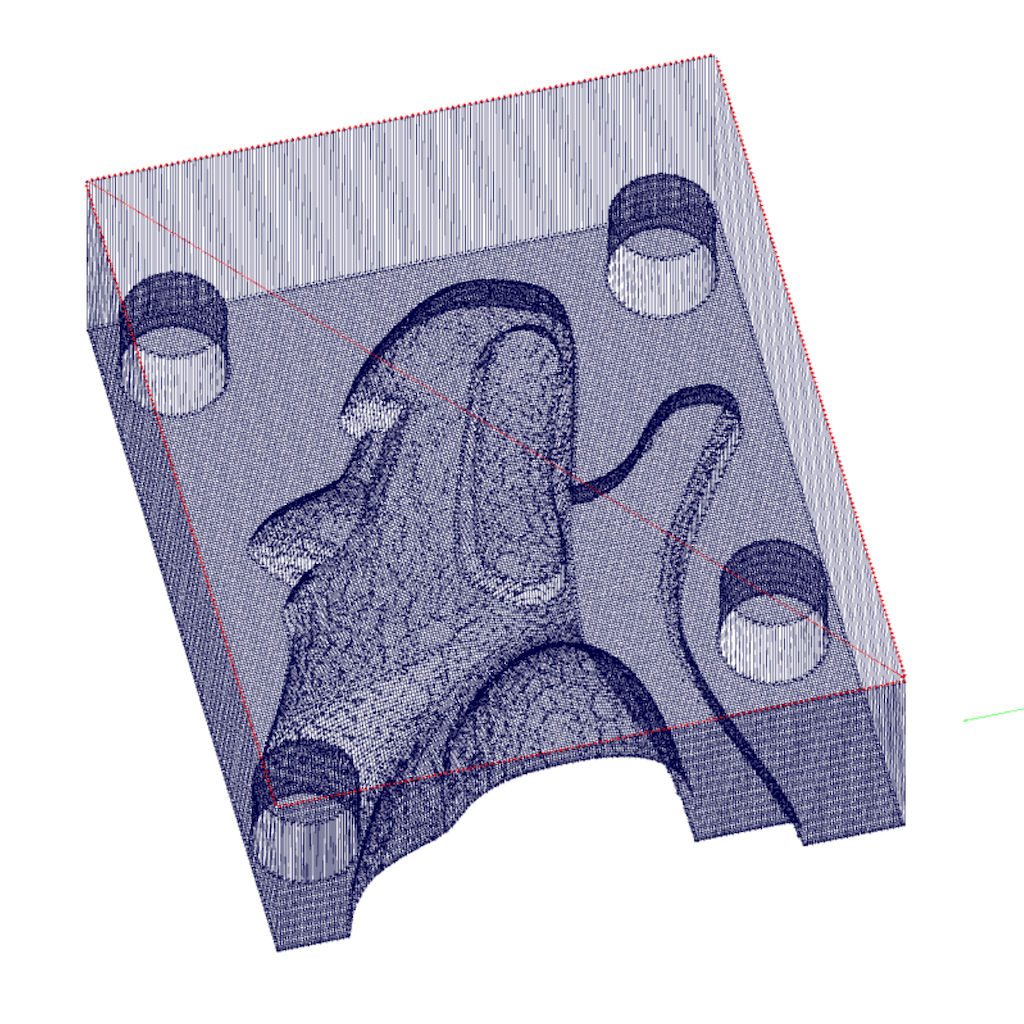
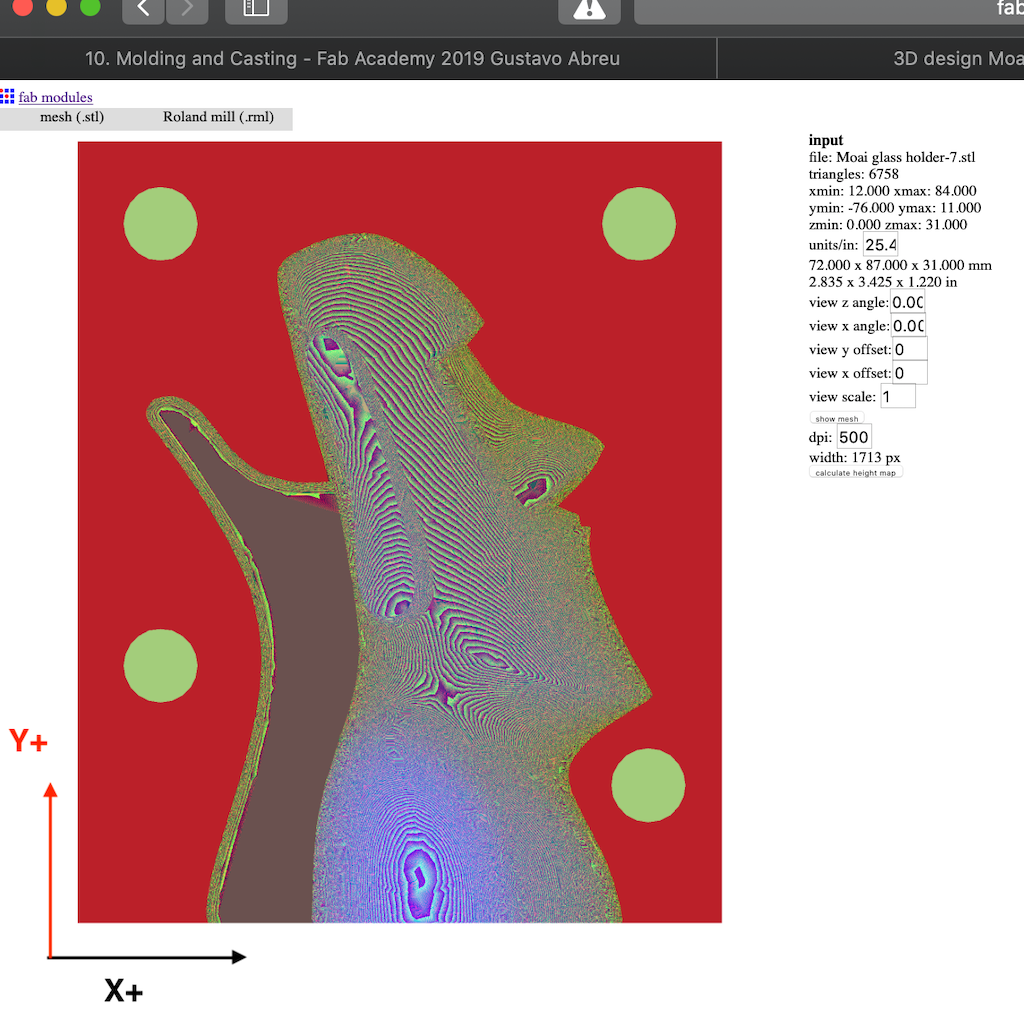
Import model into Fab Modules
Adjust units (Inches/mm) and resolution
Calculate height map
Generate rough cut and then finish cut
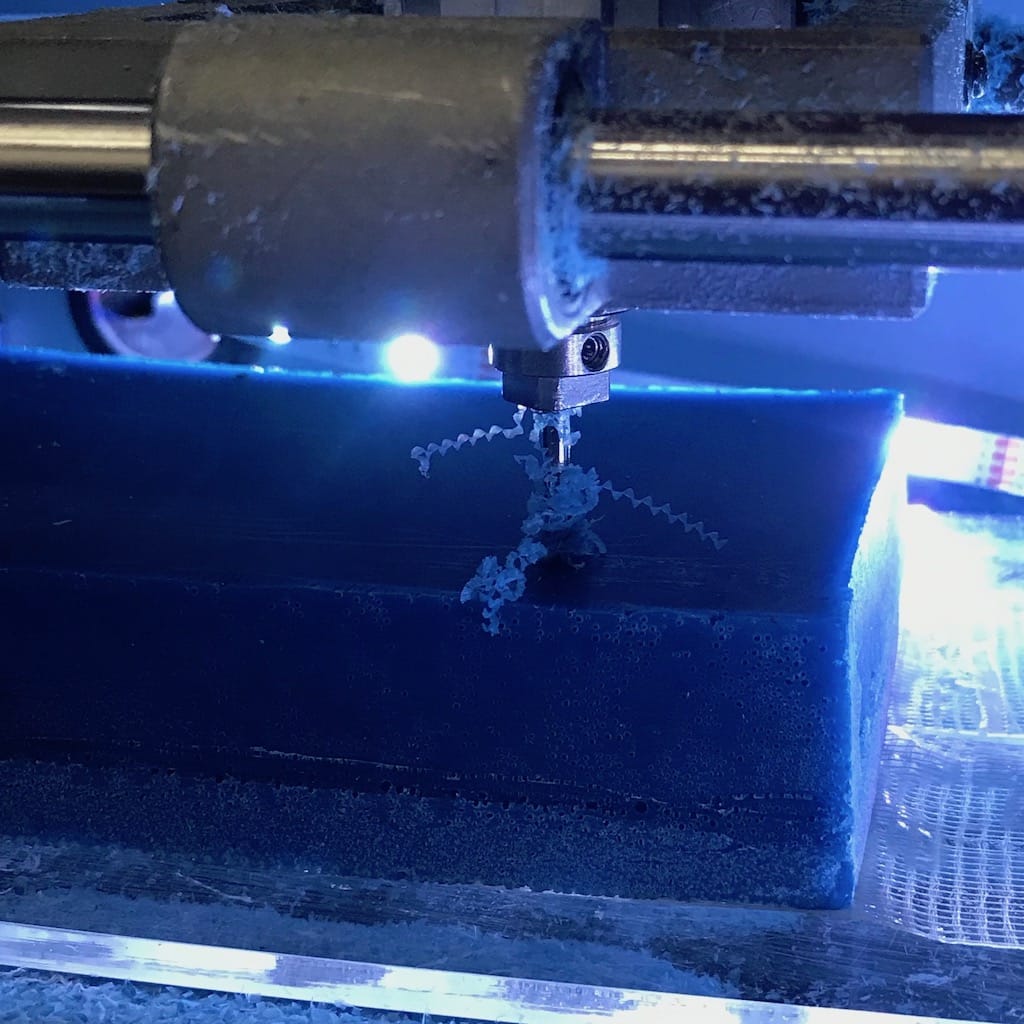
Everything seemed fine, but when I started the job, it was way off the stock.
It was late and I did not want to generate a new file (fabmodules took a lot of time to process this), so I just eyeballed it and moved the axis by a couple of clicks. This made the home position be out of the stock completely.
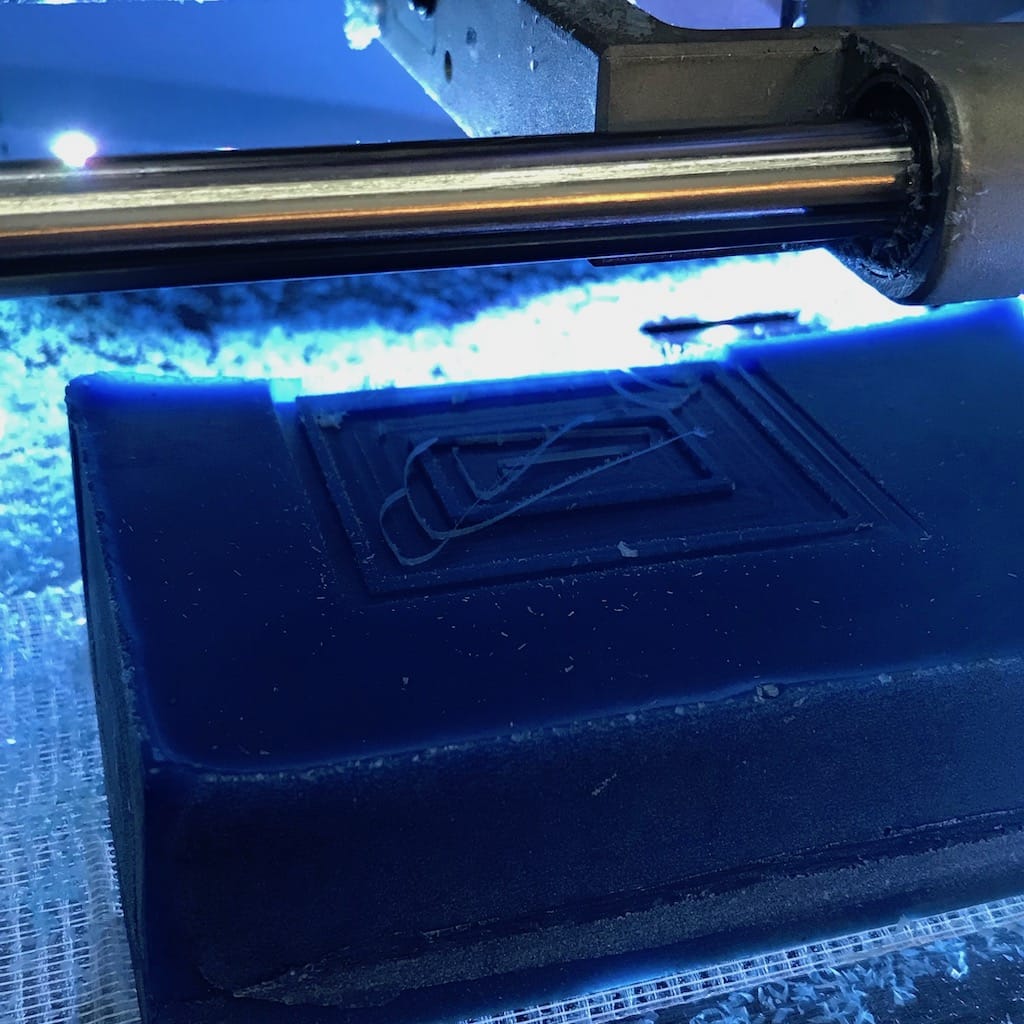
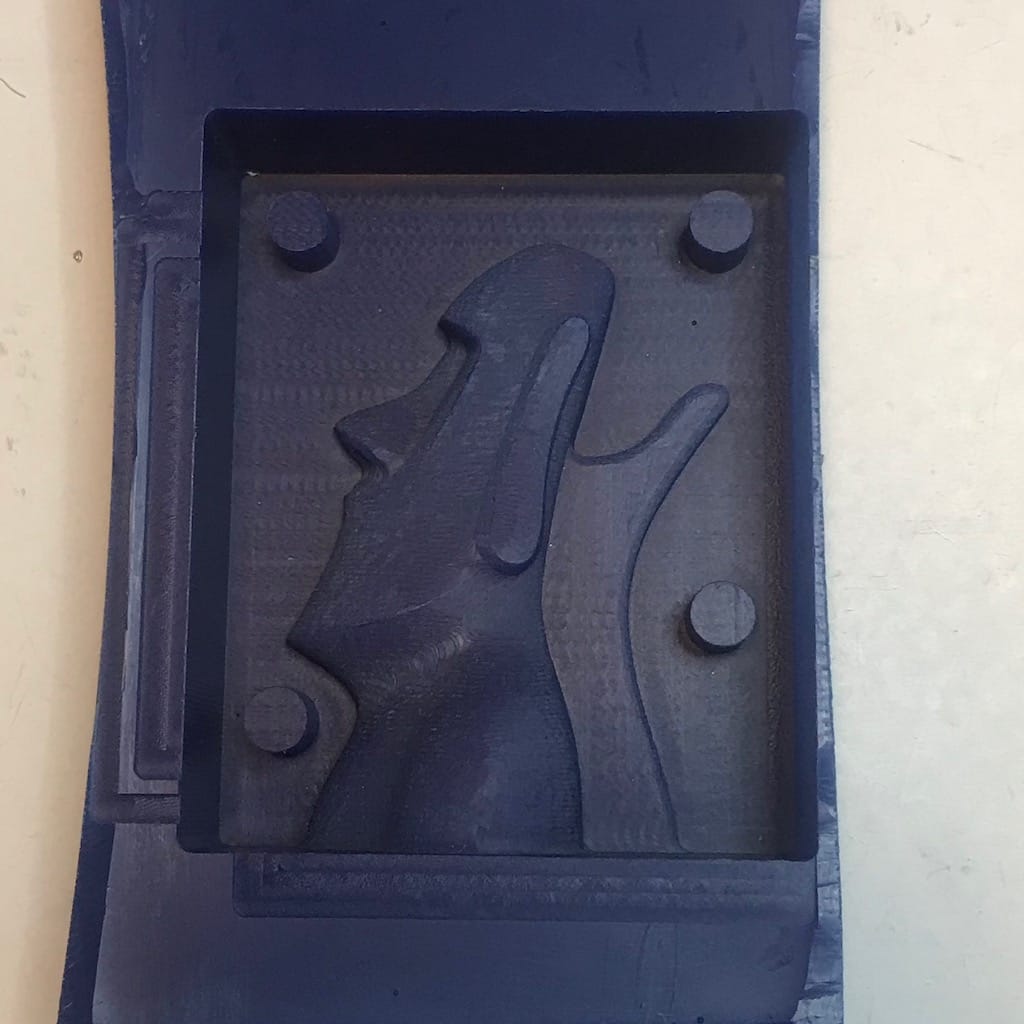
I was really lucky, the job turned out great. And I was only a few mm off the edge.
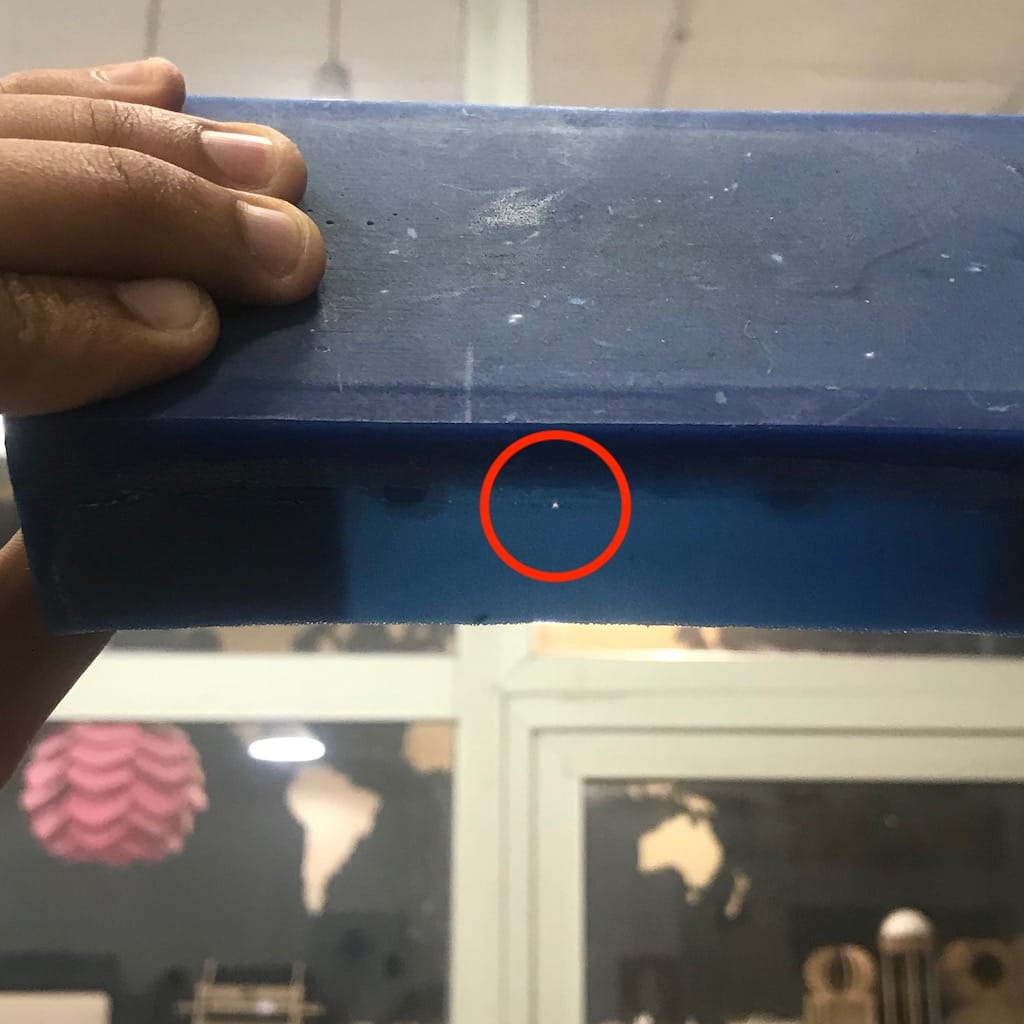
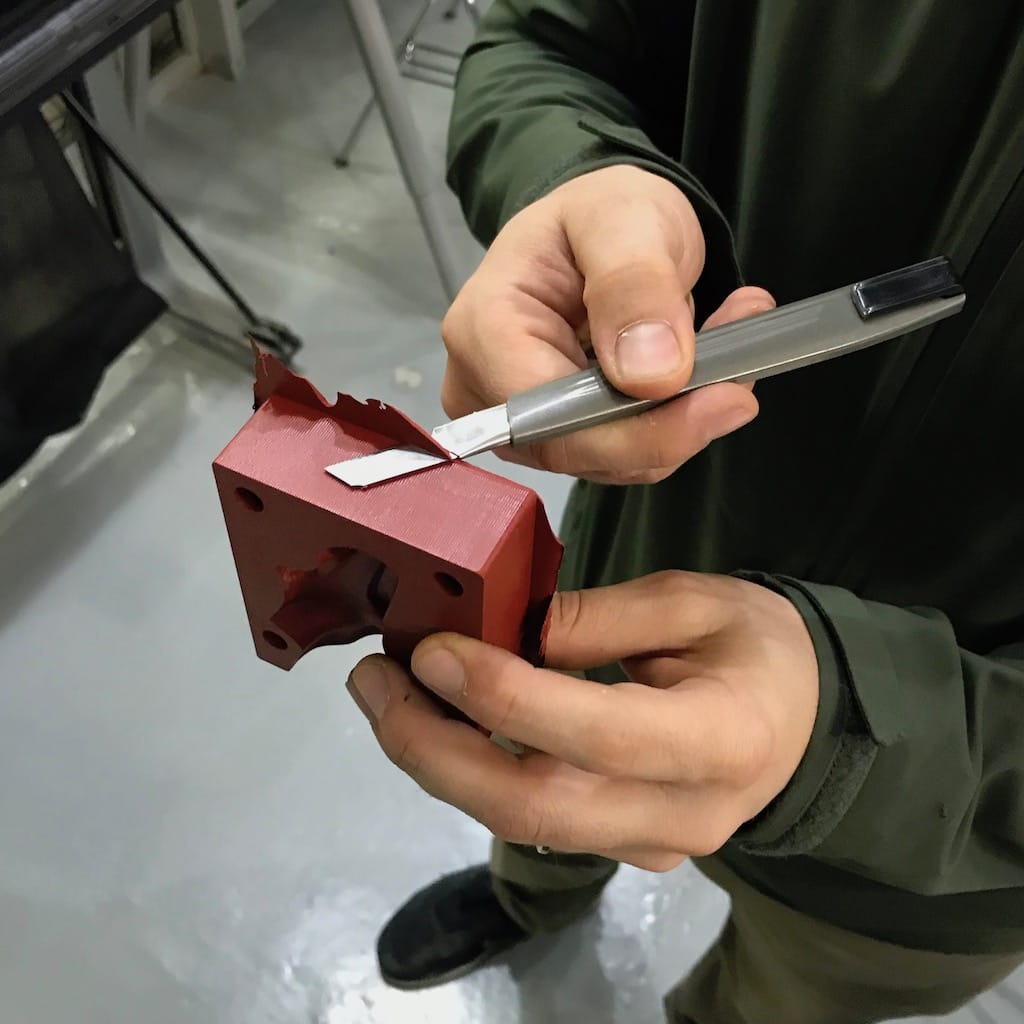
It even has a little hole that I’ll need to cover before making the mold.
Since the tool was out of the stock, I decided to not change the tool to a ball end. It was actually a good test to see if a flat end mill was able to do decent rounded corners.
Everything seemed fine. So now for the second part.
One thing I changed other than mirroring the piece, was to make the walls thinner, so I’d have a smaller travel.
Fab modules offset
In order to accurately position your piece over the stock, fabmodules have a x and y offset option. The starting point is at the bottom left corner.
Second piece fail
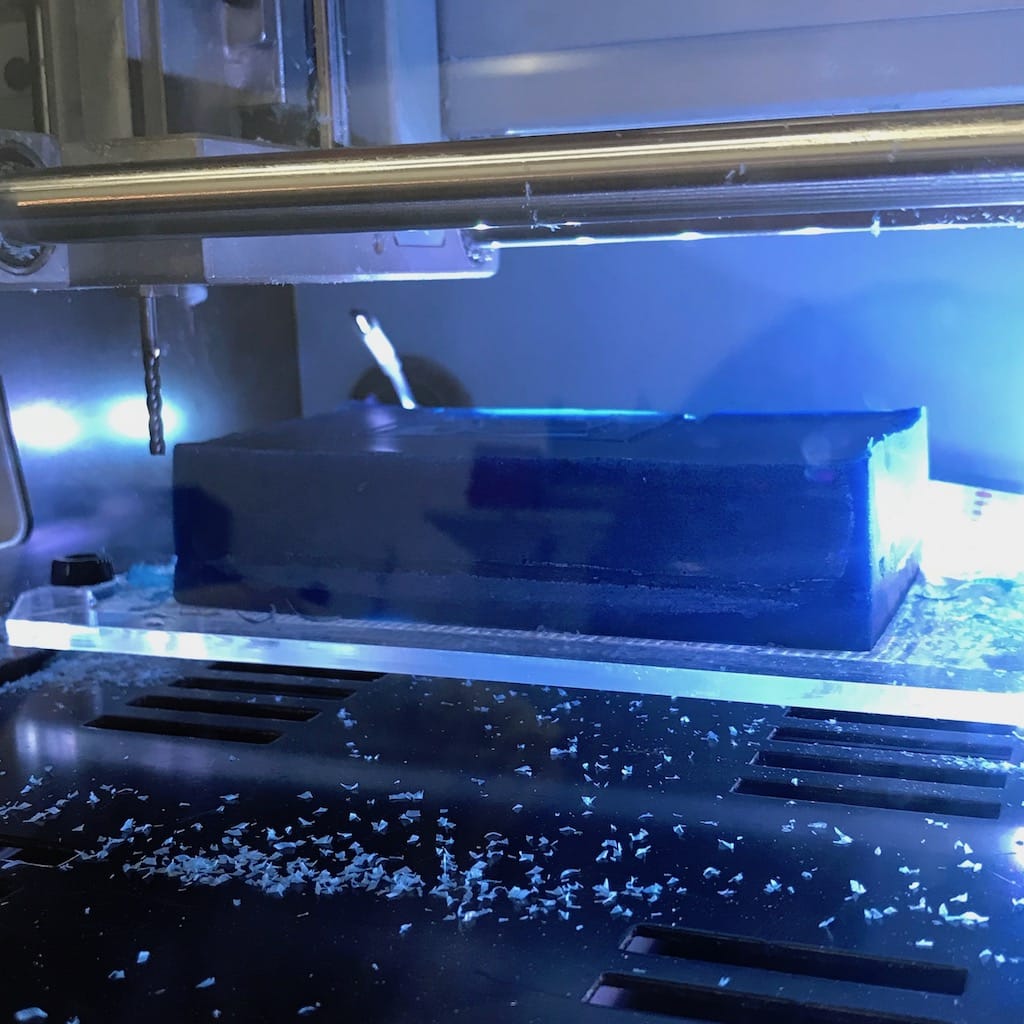
After setting everything up, started the job and the machine just plumbed all the way to the bottom.
Thankfully, it has sensors all over and it stoped because the motors were overloaded.
After checking everything, the only two possible problems would be for the machine to have started the old finishing job or the cam generated an odd file.
So I did everything again, tested with an air pass beforehand and then it seemed to work fine.
Now to make the resin mold.
Making the silicon mold
We have a heat resistant silicon, that holds up to almost 300ºC. Since we have a low melting temperature metal here. I’ll try to use it.
Pot Life: 40 minutes
Cure Time: 24 hours
Mix Ratio: 100A:3B
Safety:
Use in a ventilated space, without contact to skin or eyes.
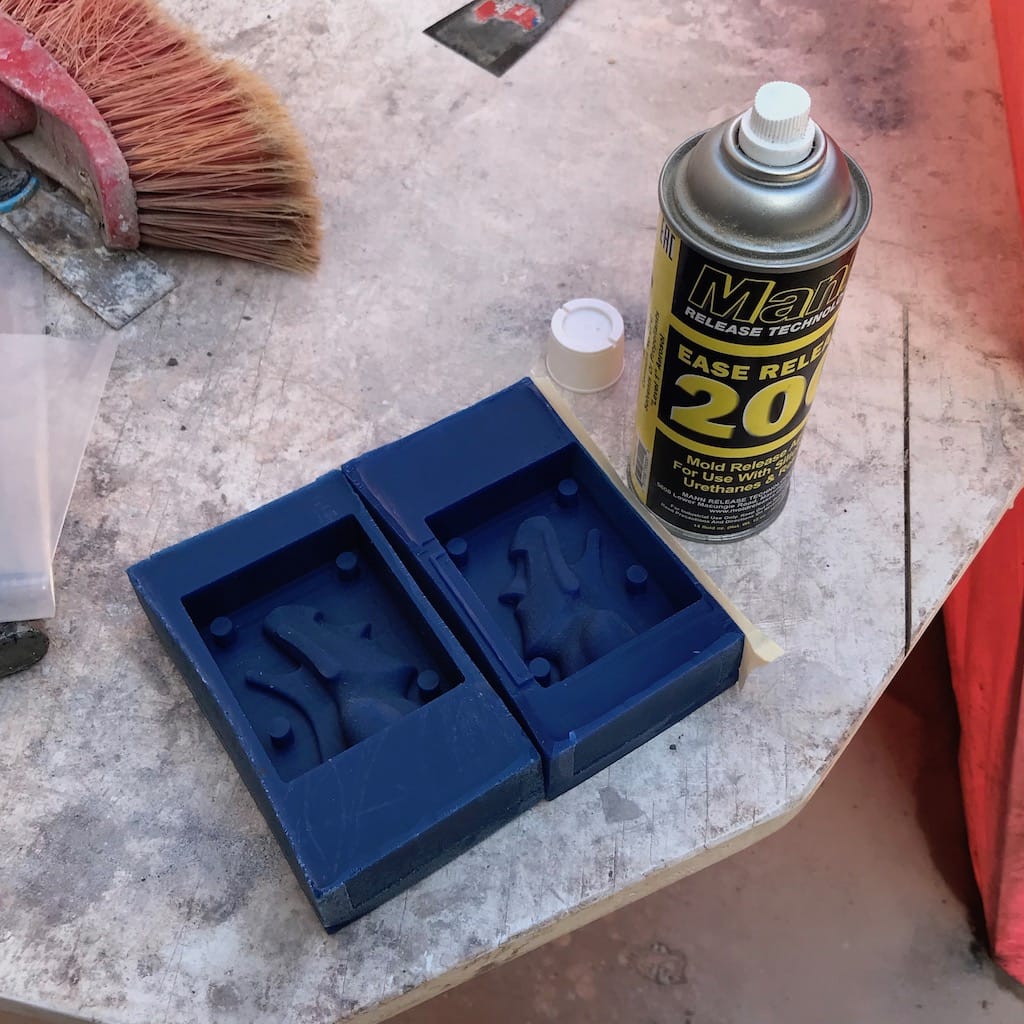
Placed a layer of release agent to the wax, before starting everything.
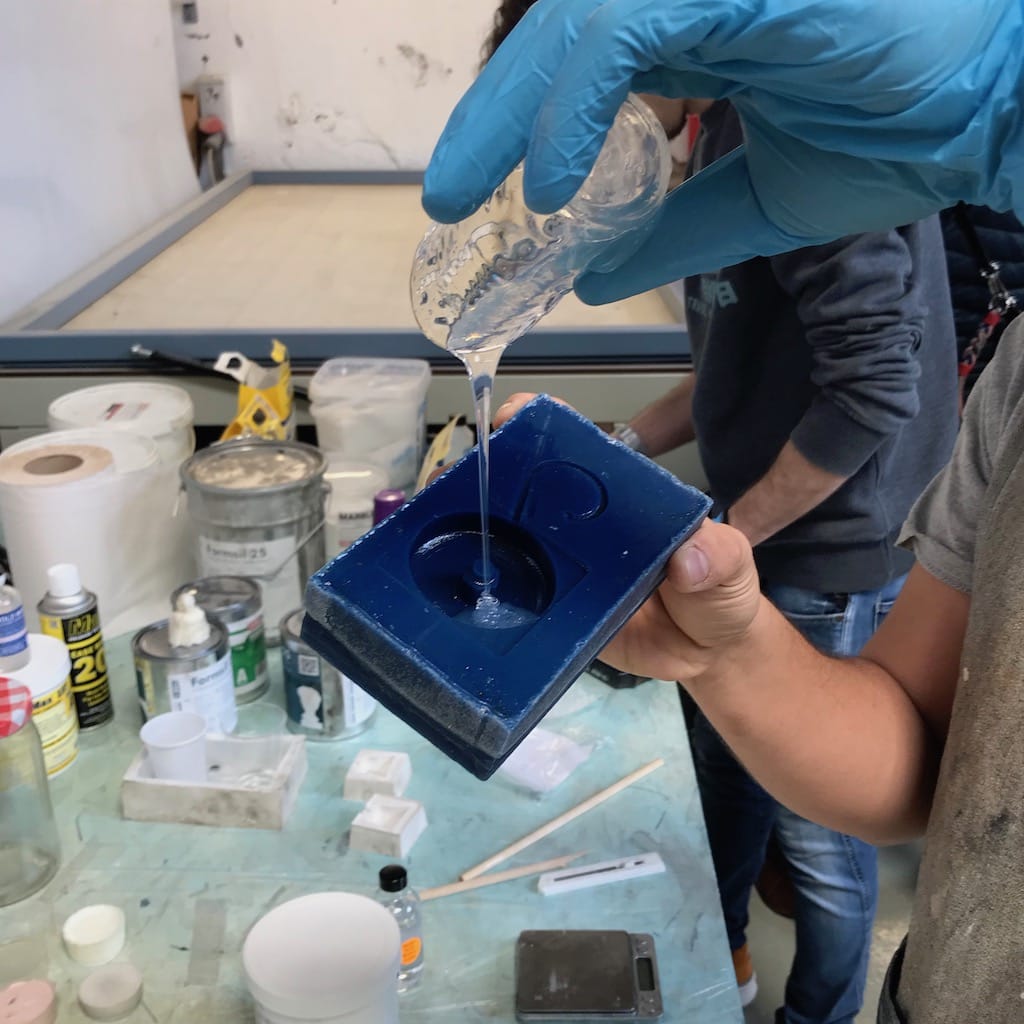
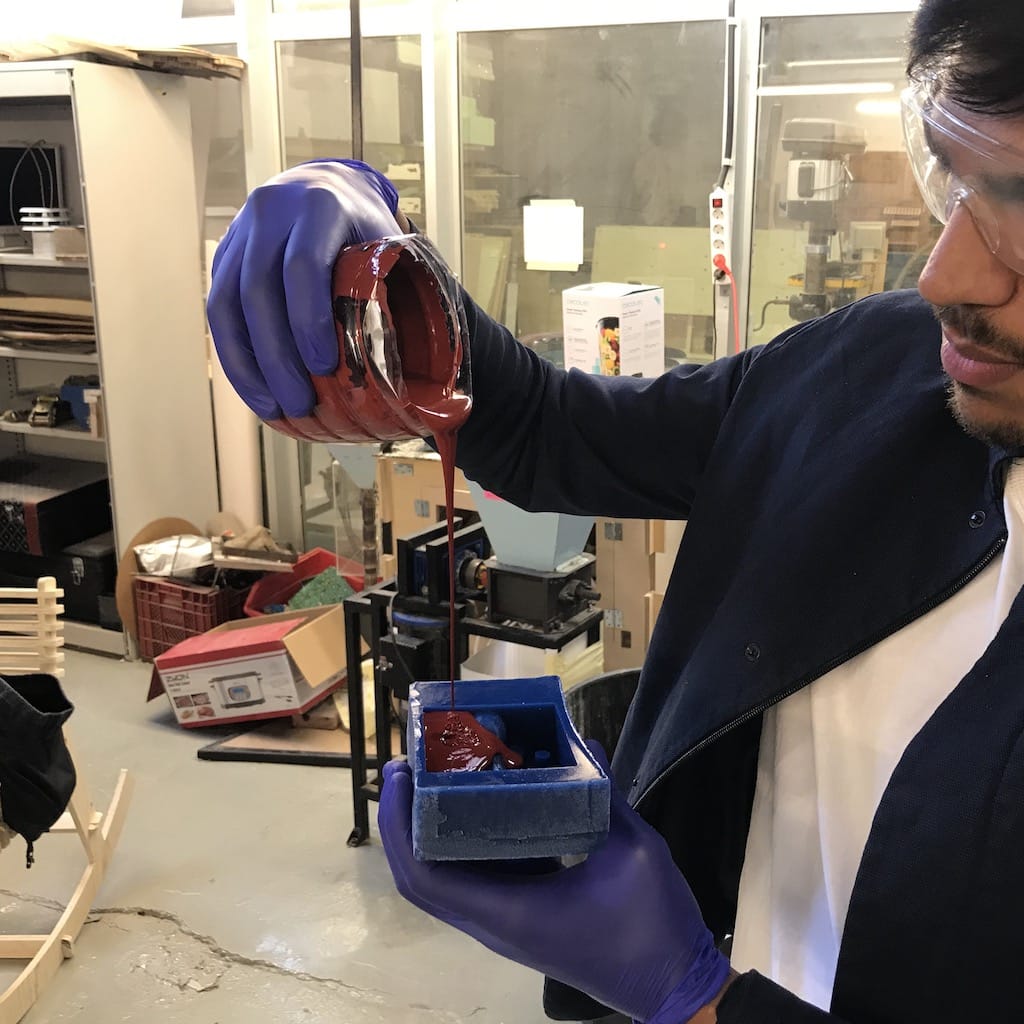
Then, after reading the instructions, started measuring and mixing the silicon.
Mixed for 3 minutes
Then, let it for 3 more minutes under the vacuum
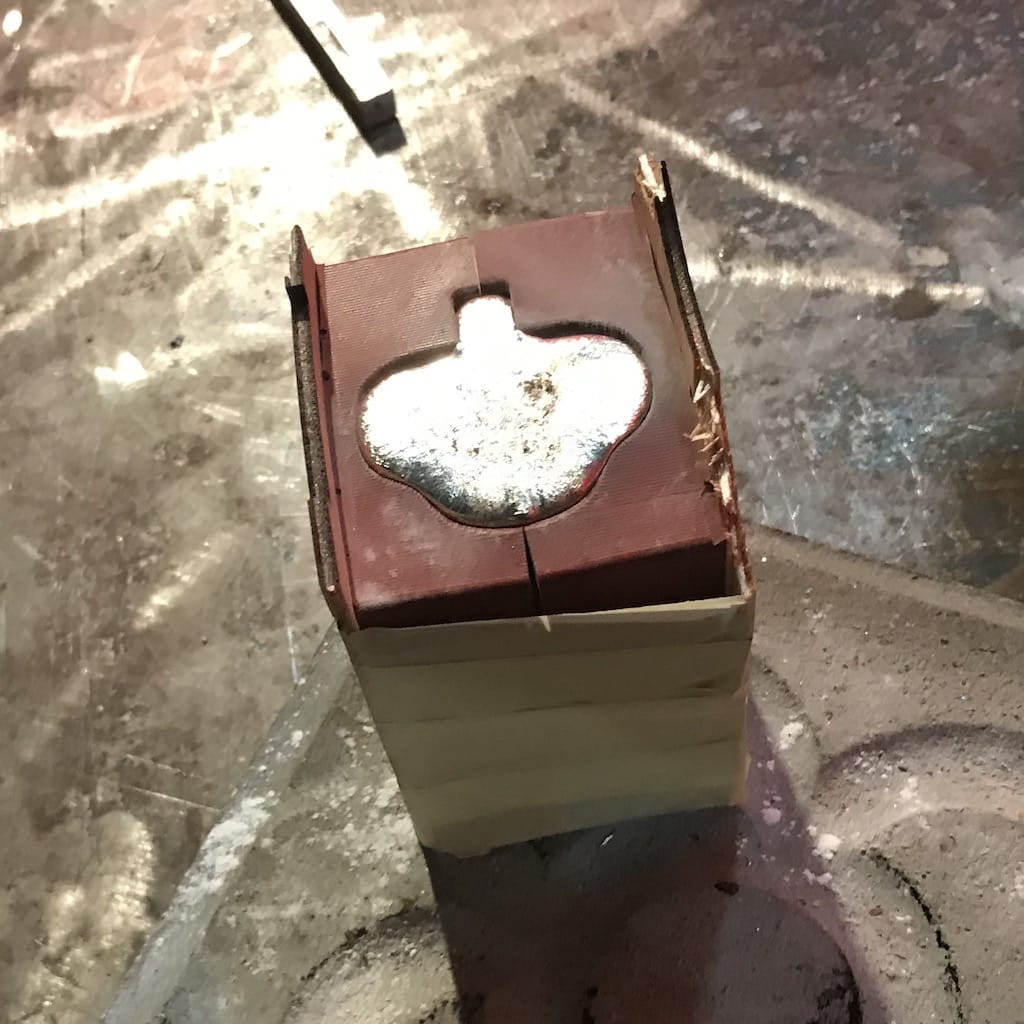
The mixture started to get hard quickly, making pouring properly difficult.
Looks a bit ugly, but since I used the vacuum, I hope not to have any bubbles on the inside.
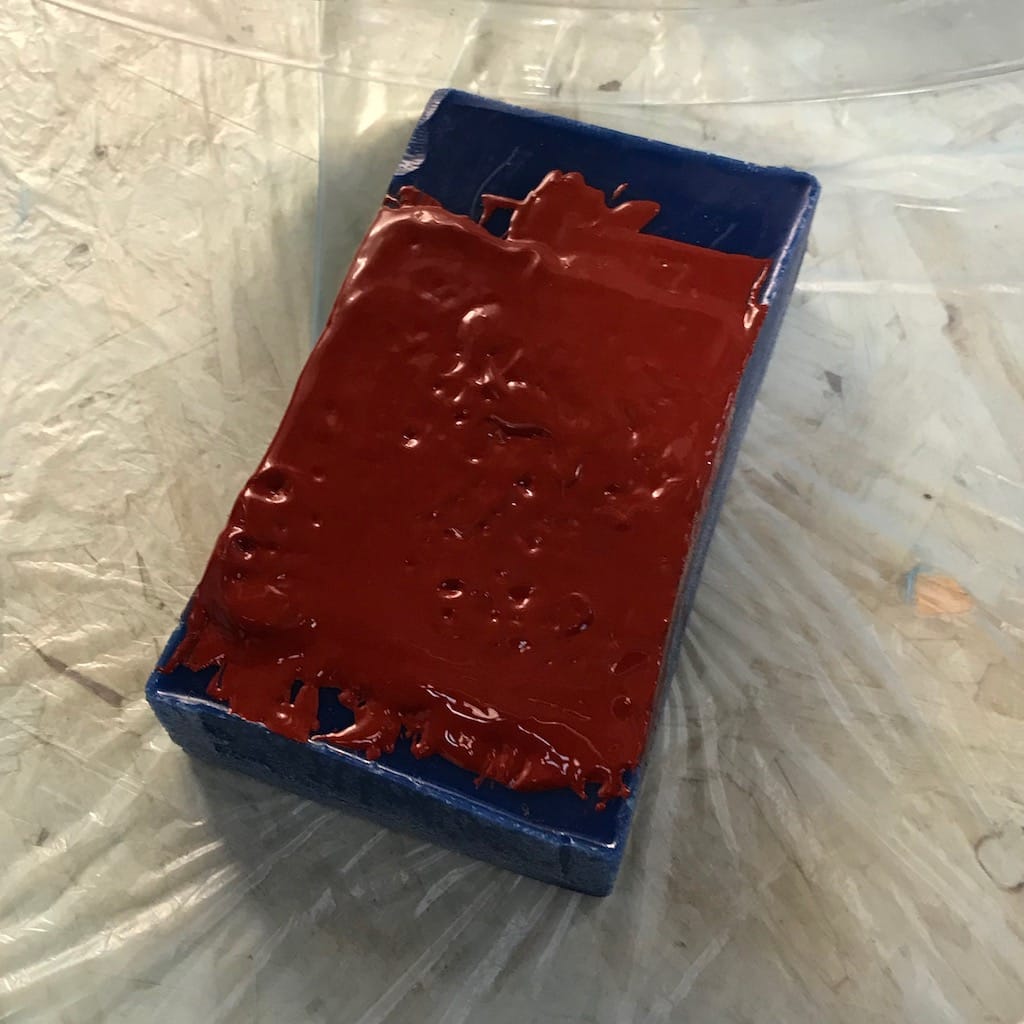
Then, the datasheet states that the complete curing cycle is 24hors. So I let it rest for a day.
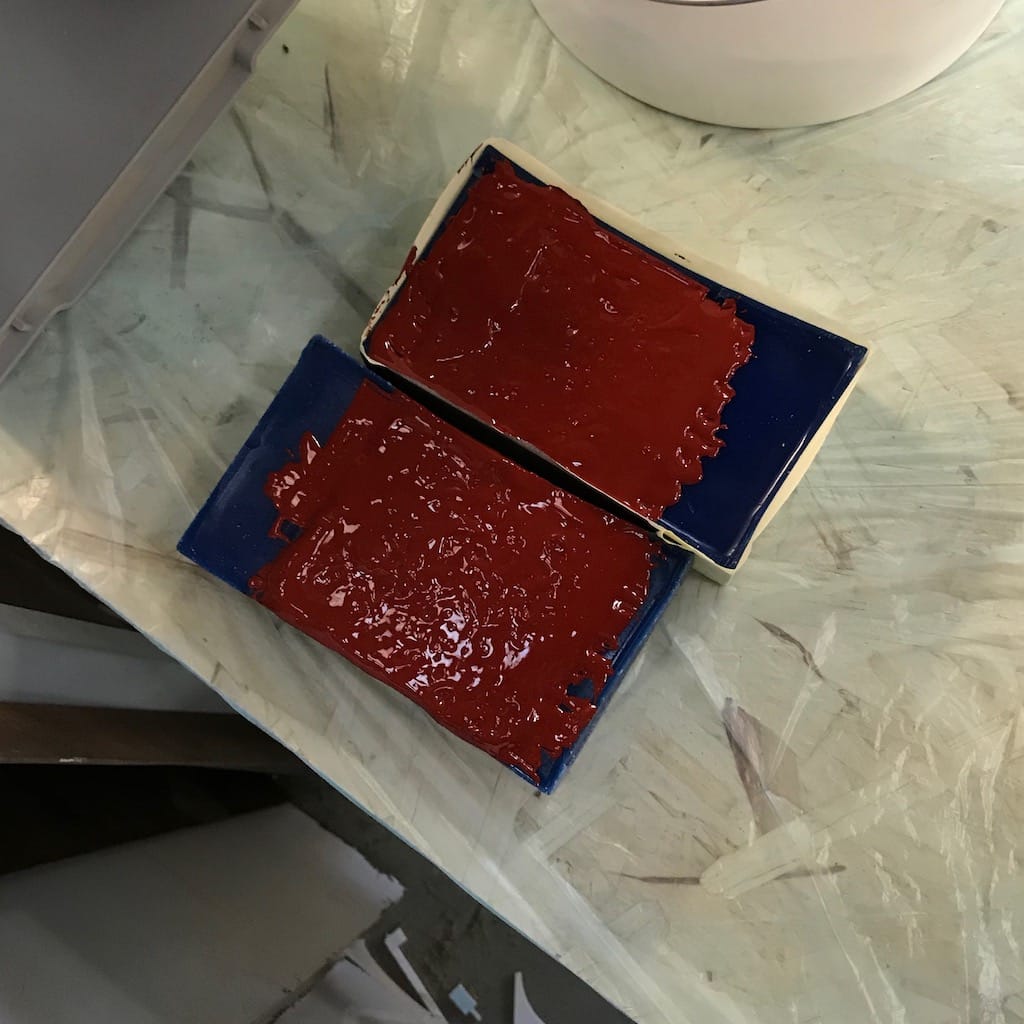
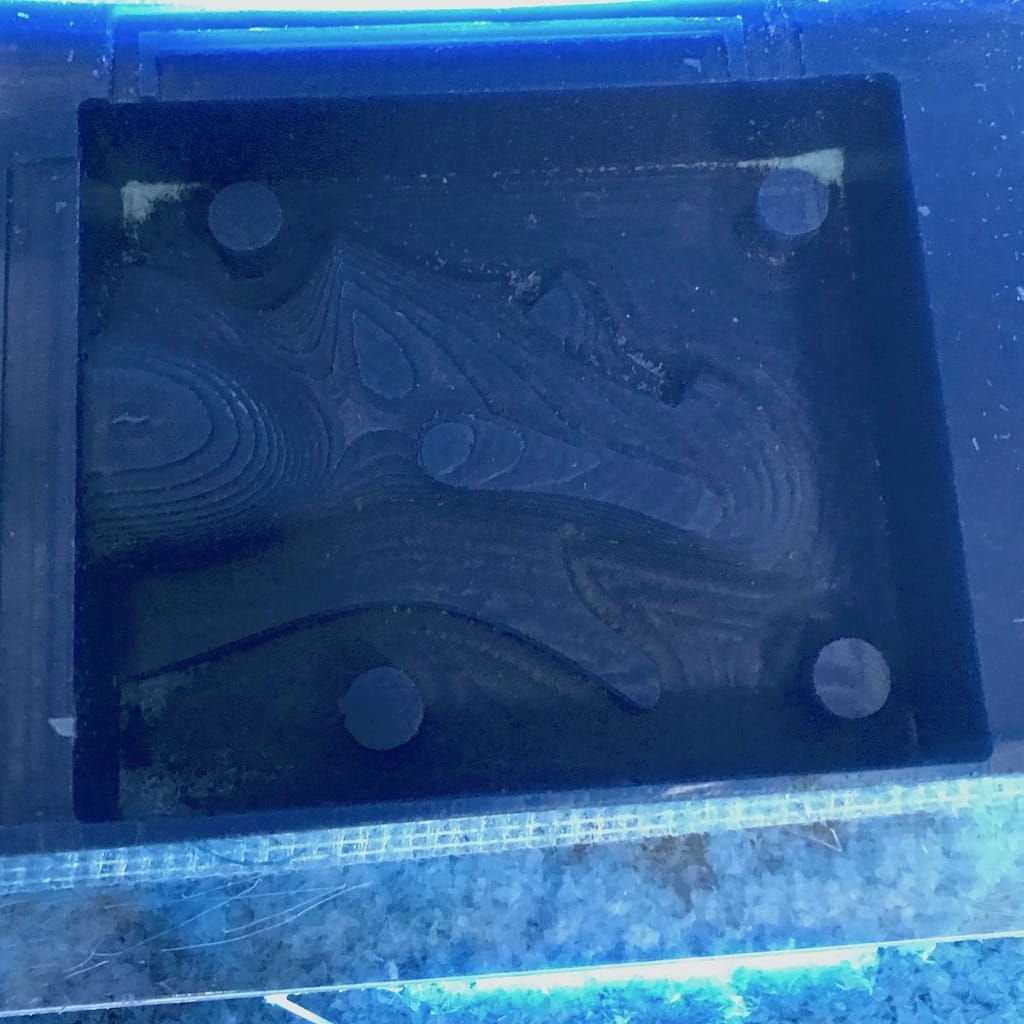
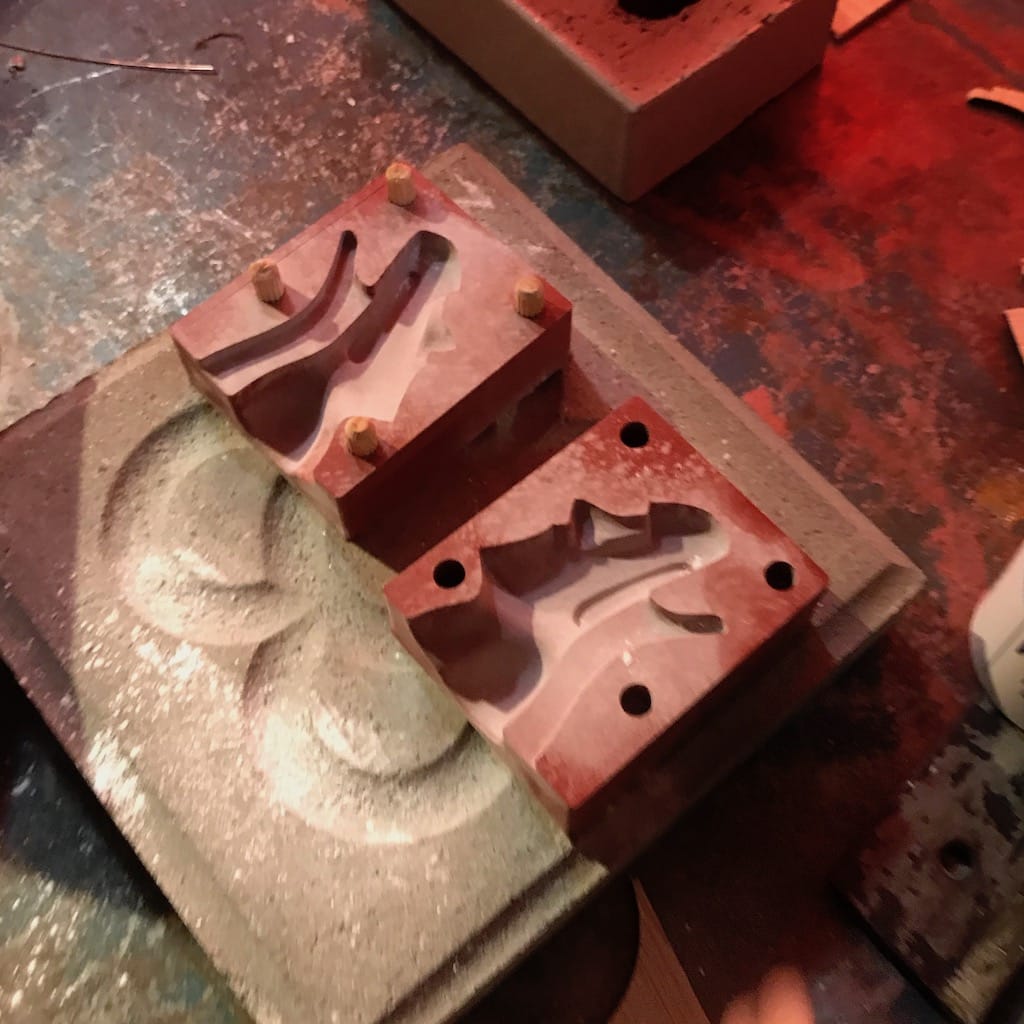
Using the air compressor was fairly easy to take it out.

Bubble free mold!

After trimming, time to get into action
Casting metal
It is recommended to use powder as a release agent
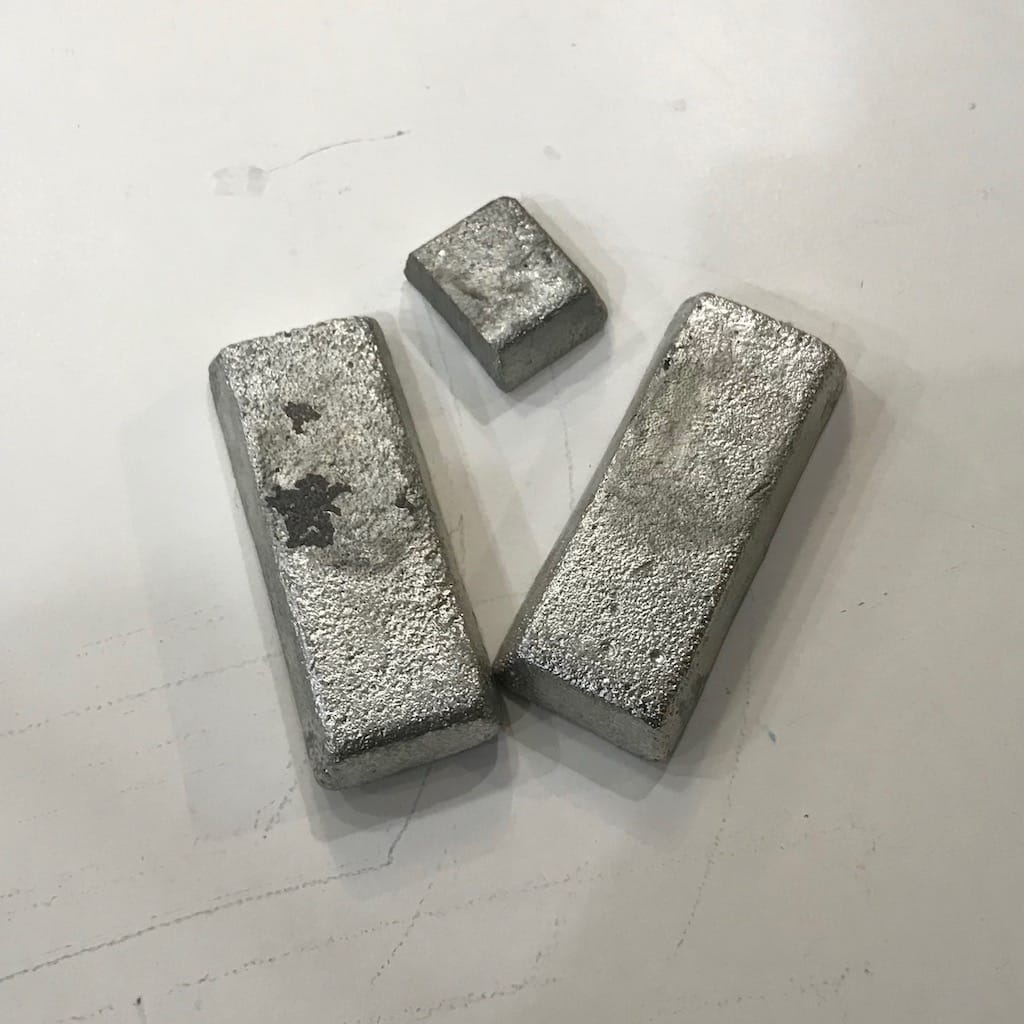
We had a 88% Bismuth, 12% Tin metal, it has a low melting point. Perfect for our application
Now, to melting the metal
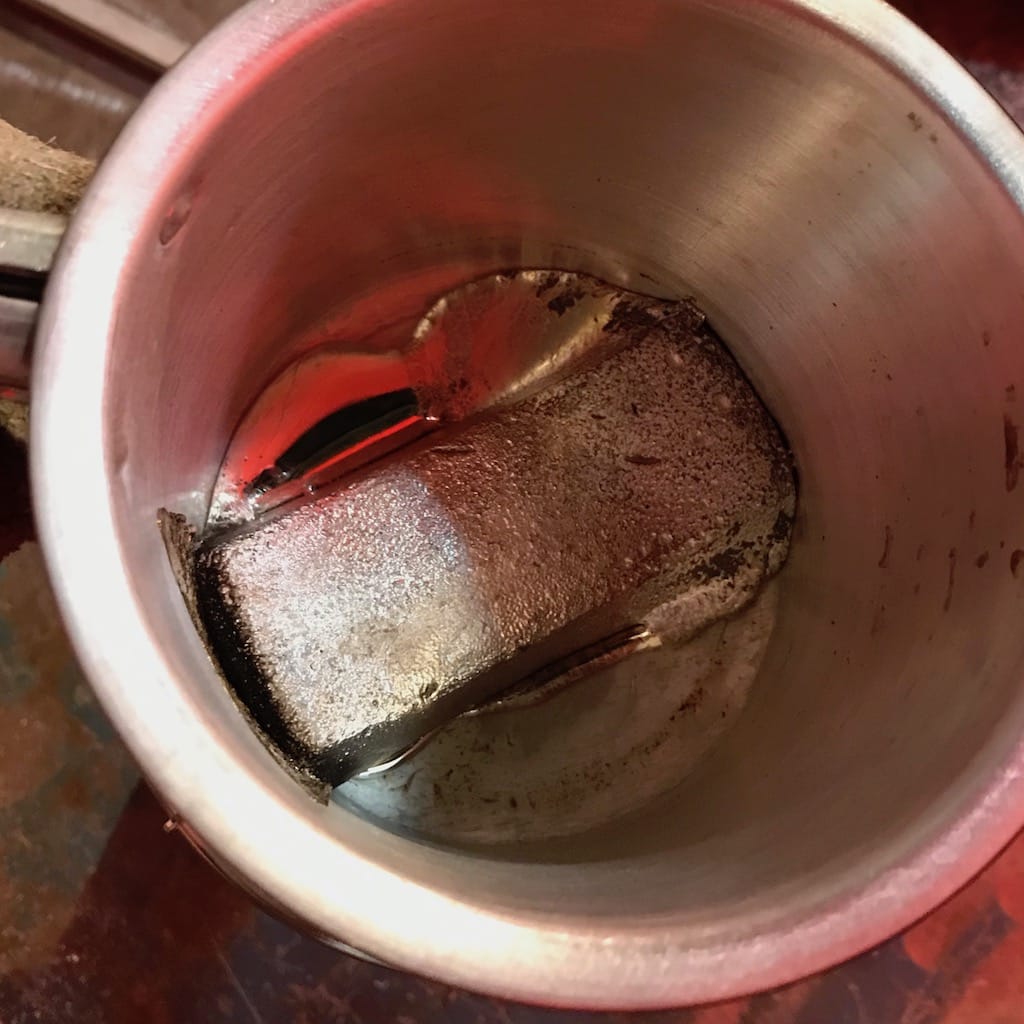
Pouring needs to be quick, since the edges of the metal tend to cool quickly
To speed up the process of cooling, we soaked it into water

Then, in just about 5 minutes after melting the metal, I had the piece
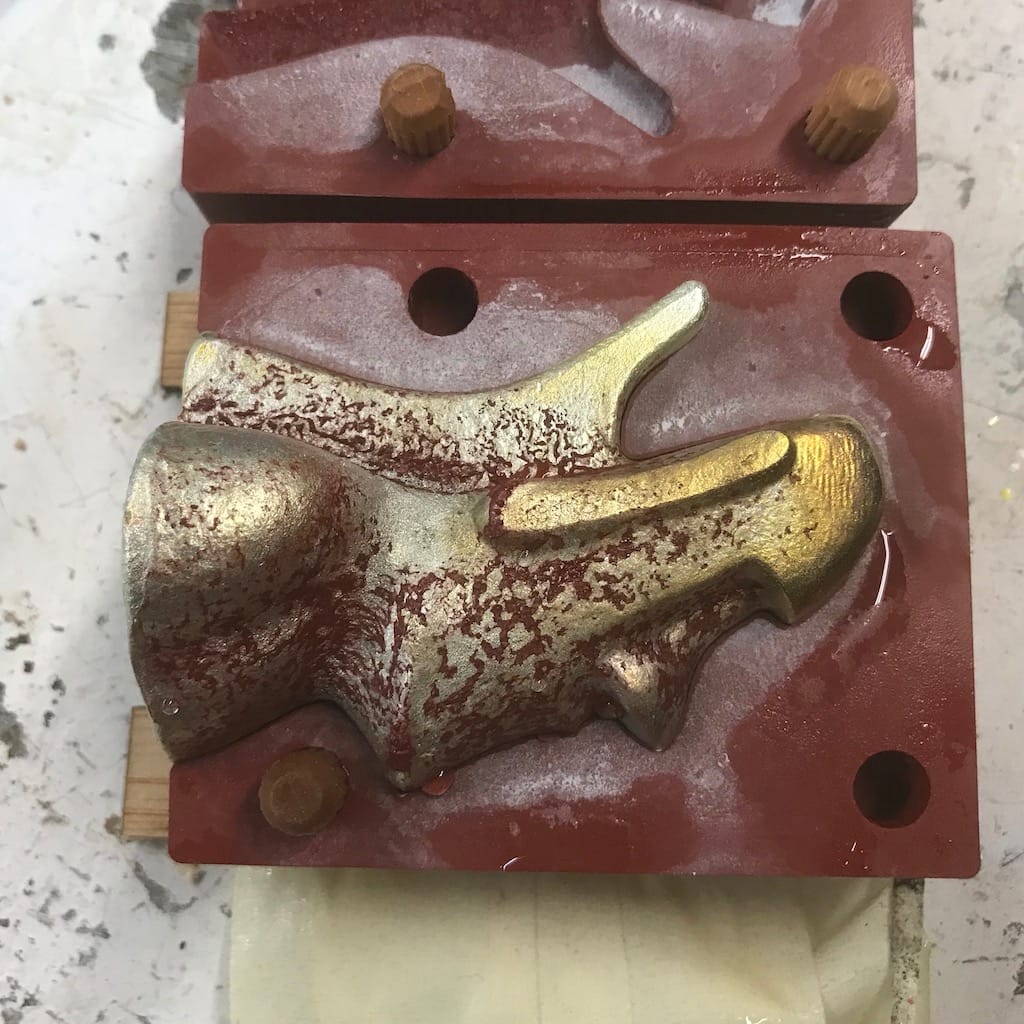
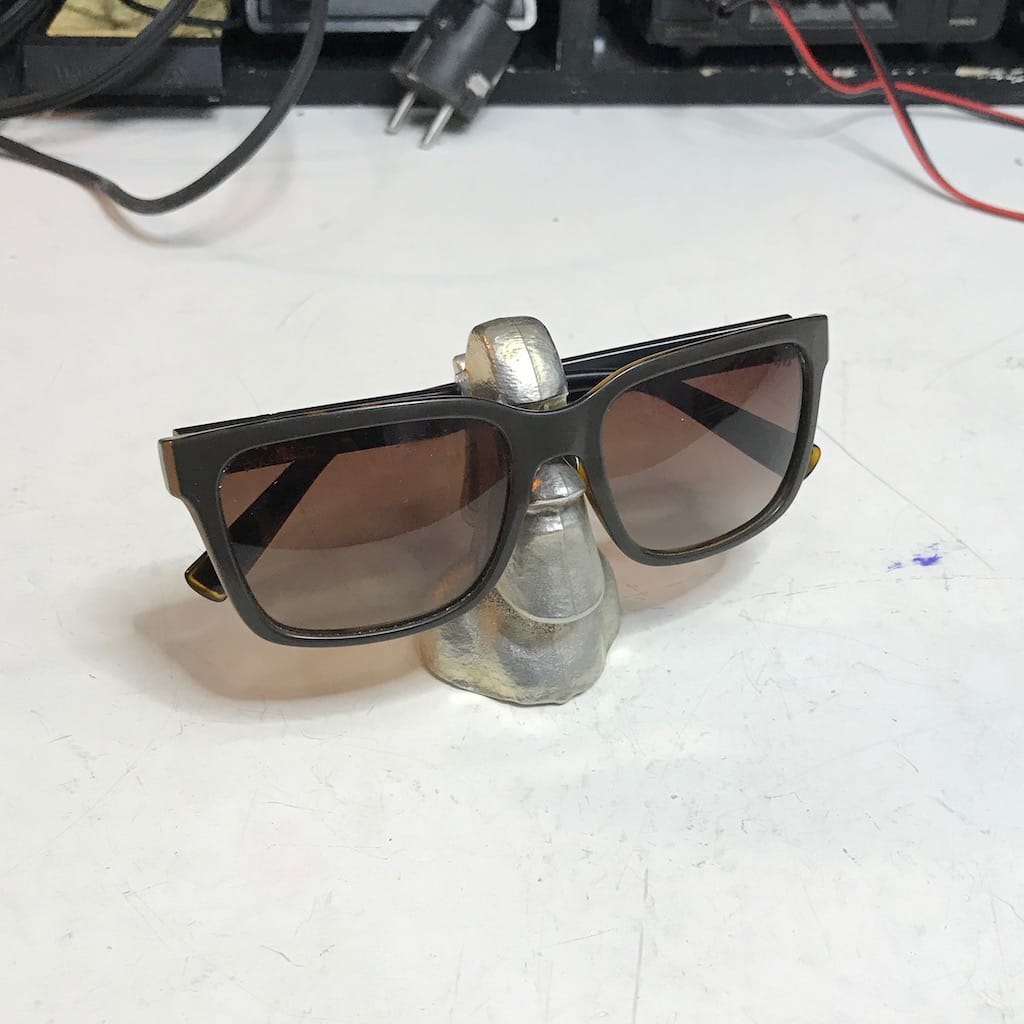
After just rubbing it with a rag with soap, it looked nice and shiny
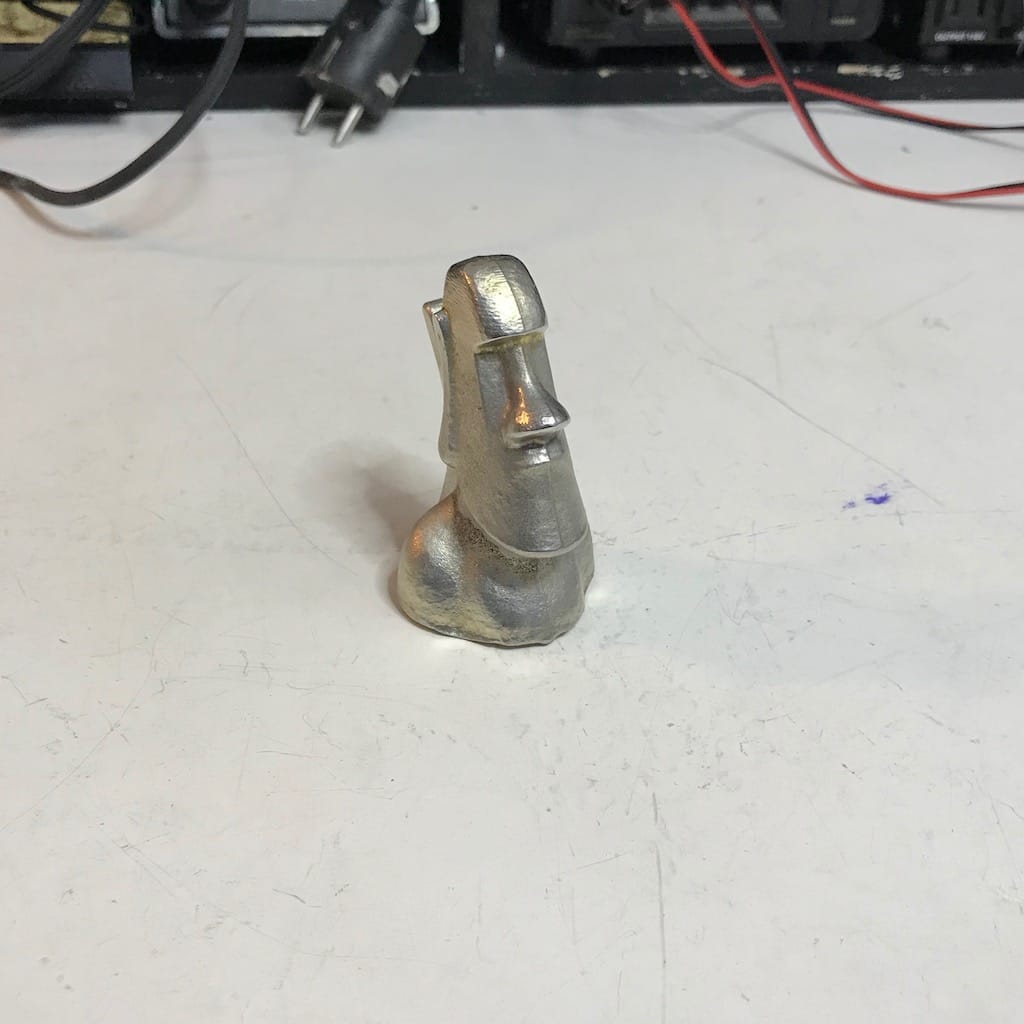
Now I have a great sunglass support