
#9 Molding and casting
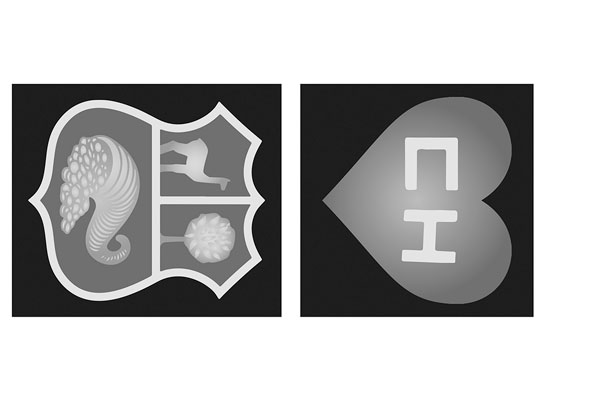
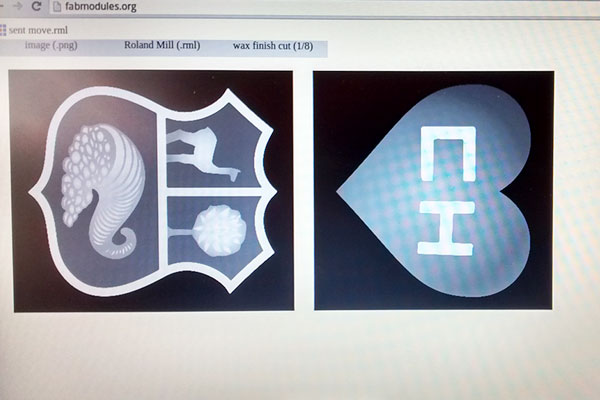
I designed two coats on Adobe Illustrator. First I vectorized them from pictures. Then I painted them with different scales of grey to give them some volume.
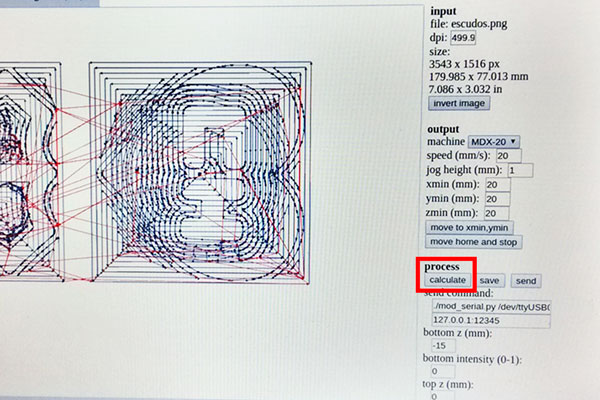
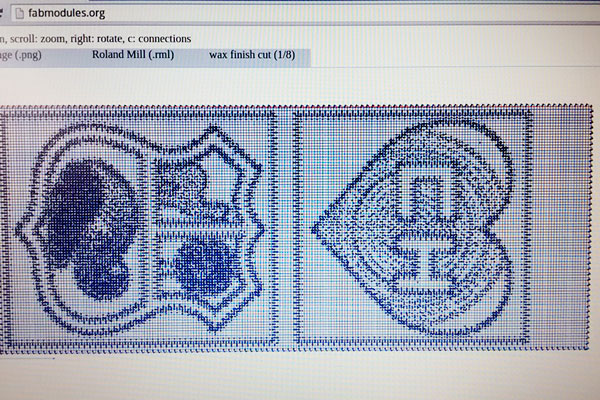
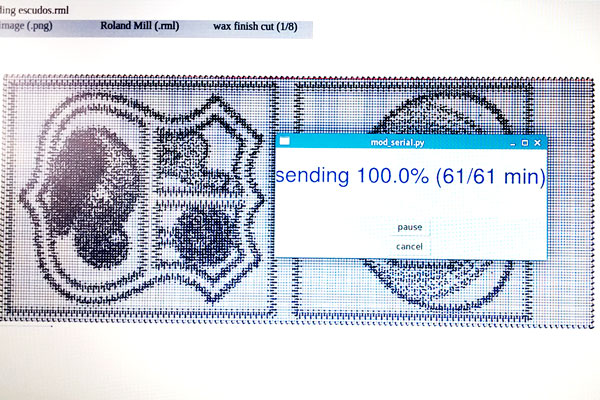
I used the Fab Modules, with all the settings for the rough cut. This also went in accordance with the resolution of my pic 500dpi.

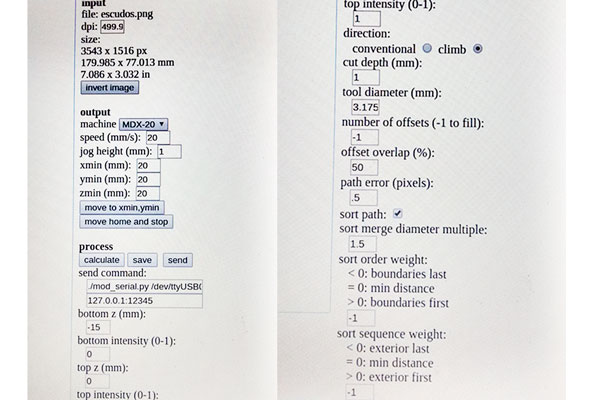
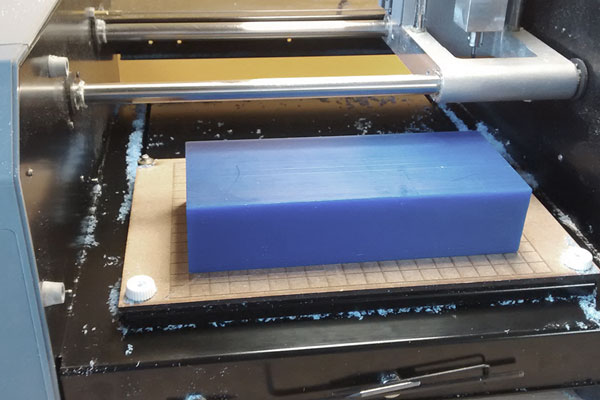
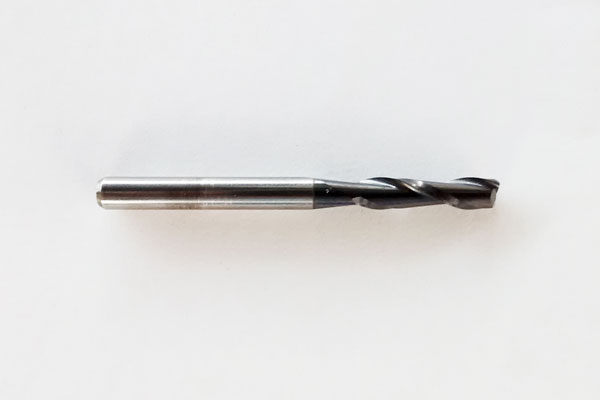
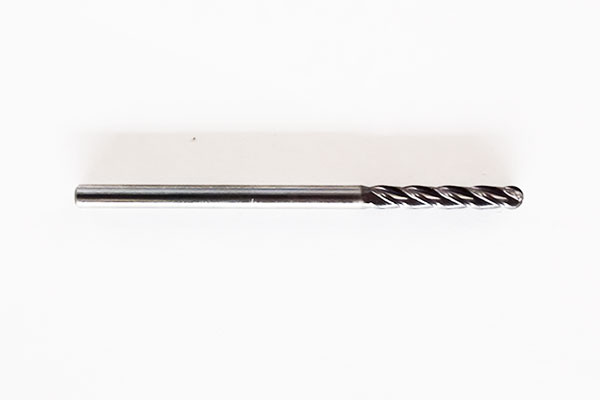
1/8 inch flat end.
The estimated time was too long, but in the end it was shorter than estimated.
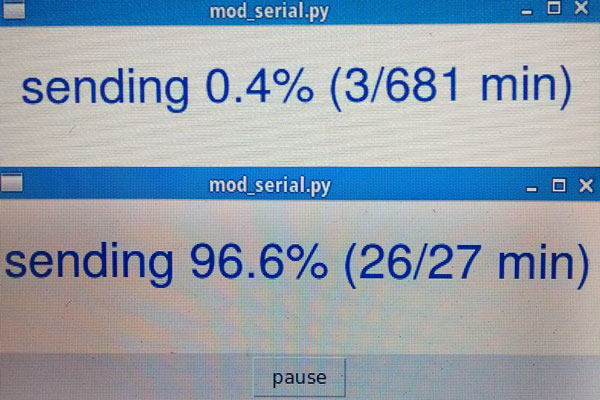
After the cut I noticed that it hadn't gone through the entire design.
So I made the calculations again, and sent it once more.
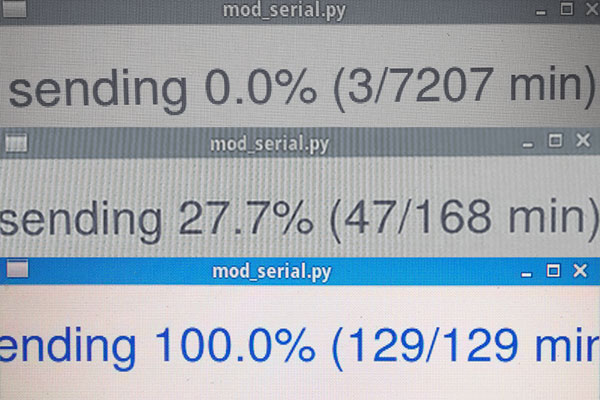
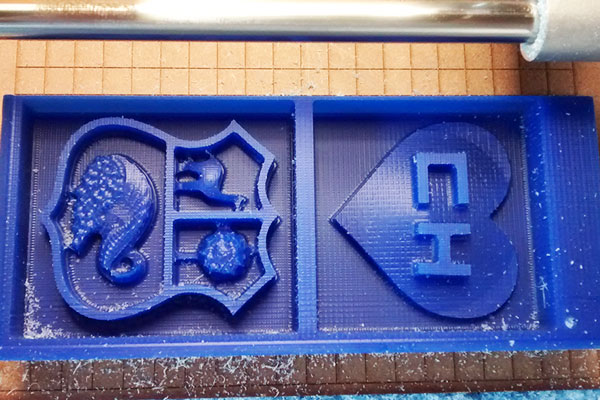
This time the cutting went perfectly.
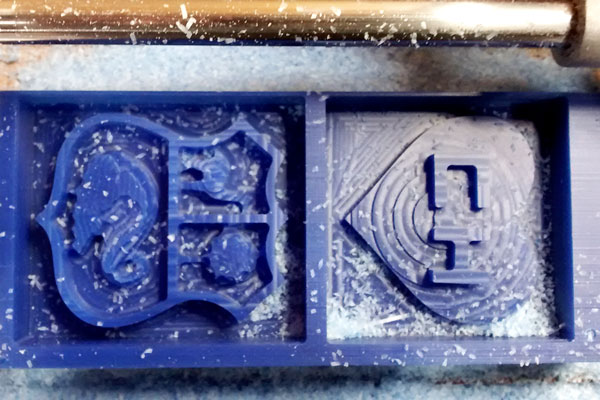
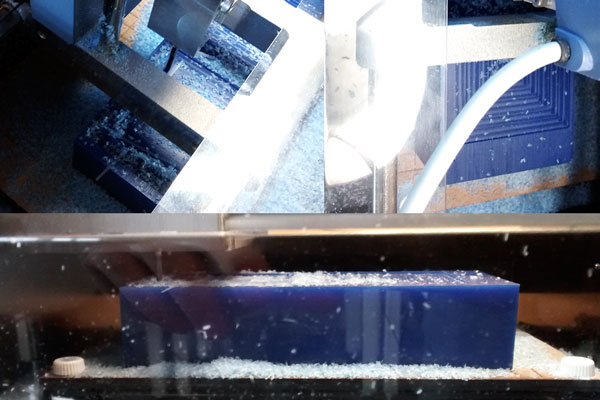
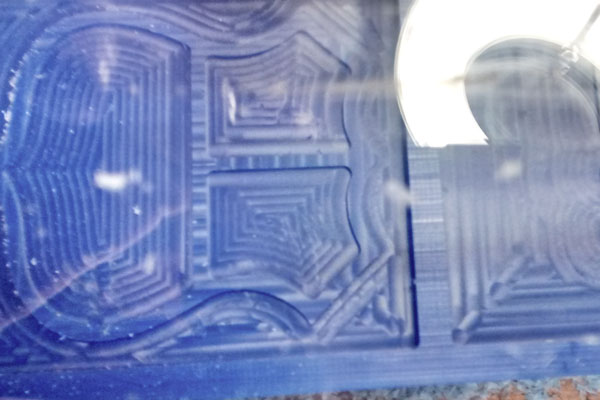
Then the finish cut.
1/8 inch ball end.
I noticed that the cut wasn't smooth enough, so I changed the parameters and sent it again.
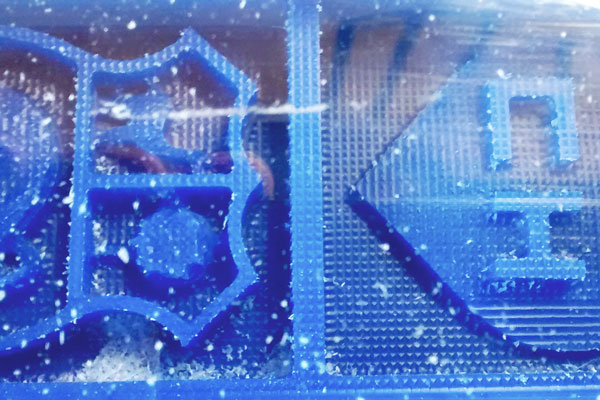
I adjusted the tool overlap to 75%,

and it was much better.
For the Molds, I first calculated the volume of material I would use.
Then I blew the remains of wax with the compressor.
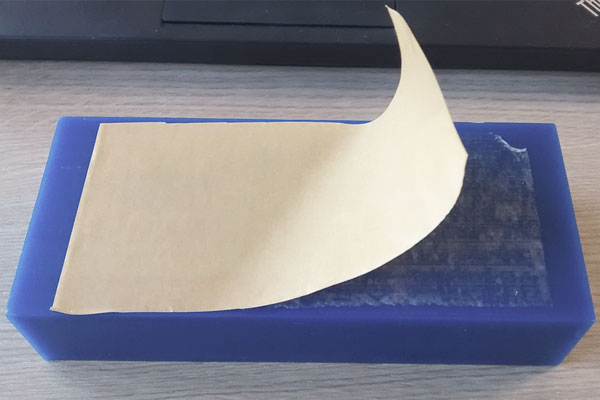
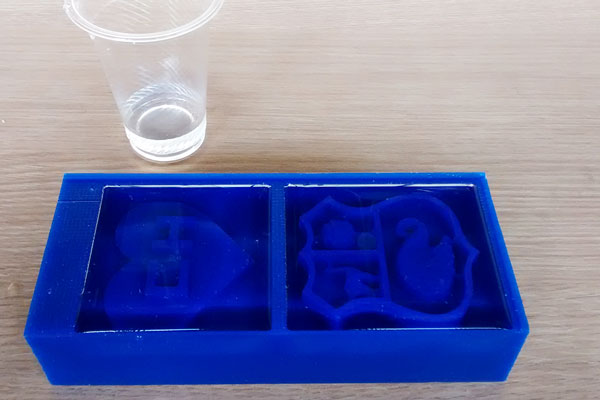
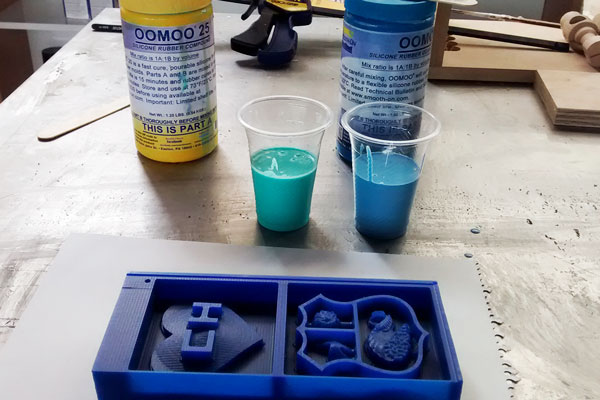
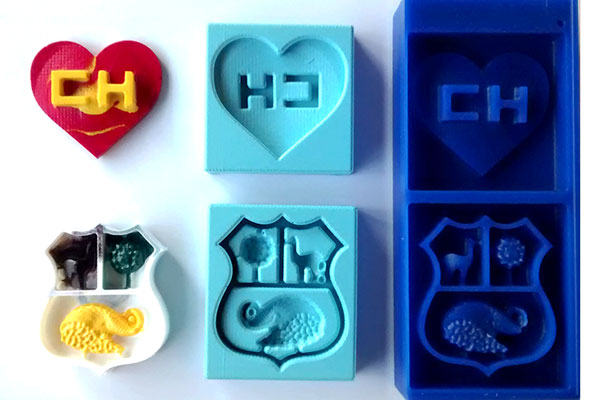
It was time for molding with the silicone rubber oomoo 25.


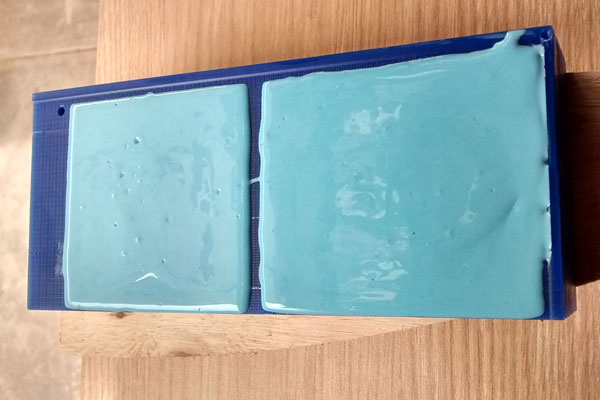
After sitting for 1 day.
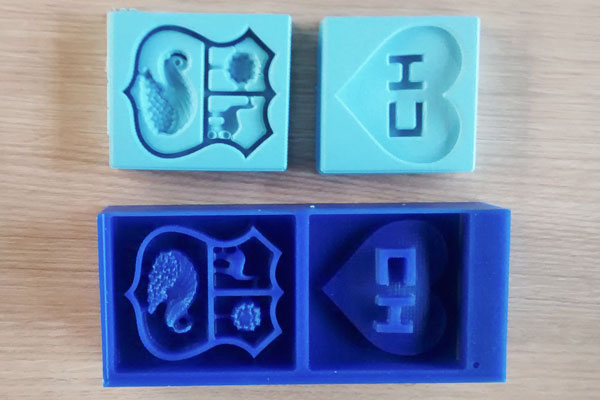
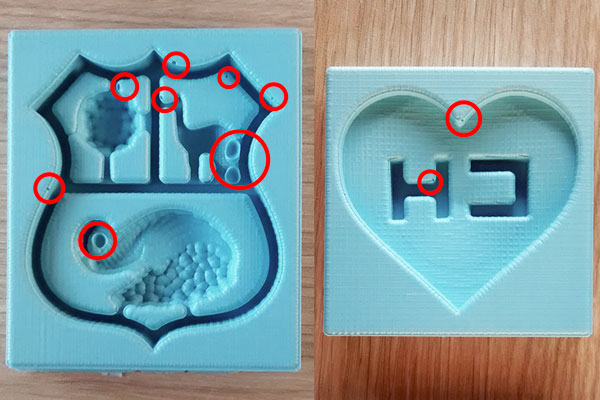
I found some air bubbles, but they weren't dramatic enough to compromise the final pieces.
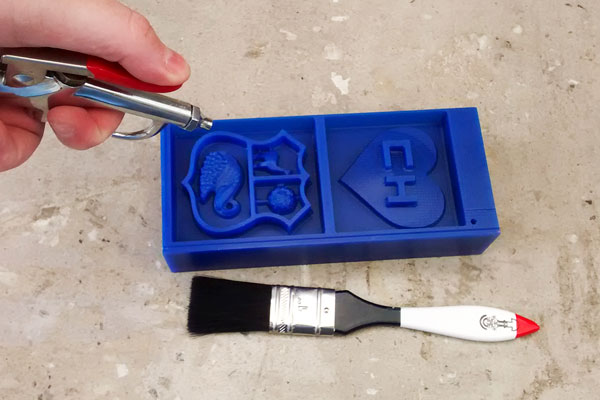
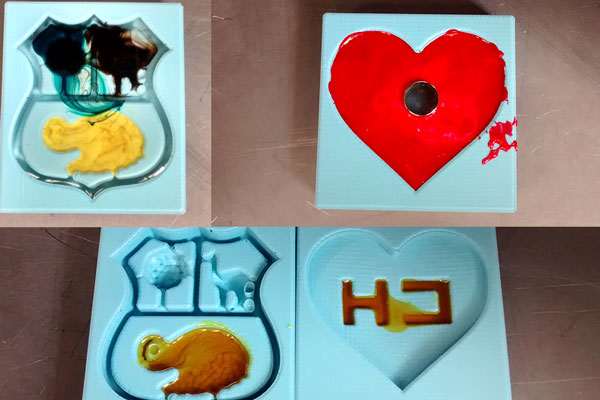
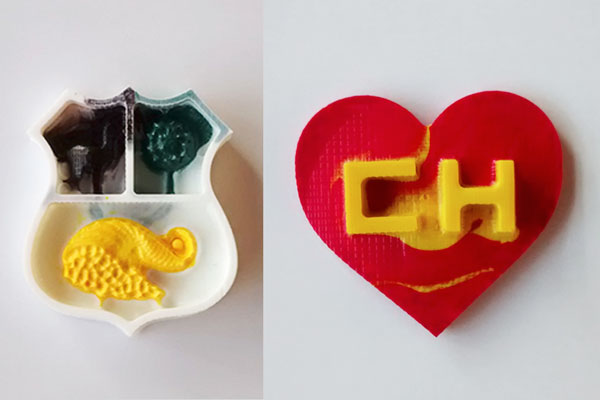
Now came the moment of casting with the smooth cast 305 liquid plastic.

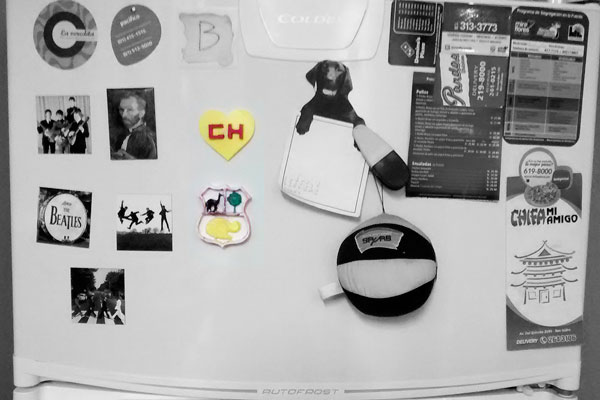
I used ink to color the pieces and also added one magnet on the bag. To get it nicely colored, it is recommended to do it color by color. I let it sit for 5 minutes, and then poured in the other colors, so they wouldn't get all mixed in the process.