
#18 Project Development - Graphics Generator Console
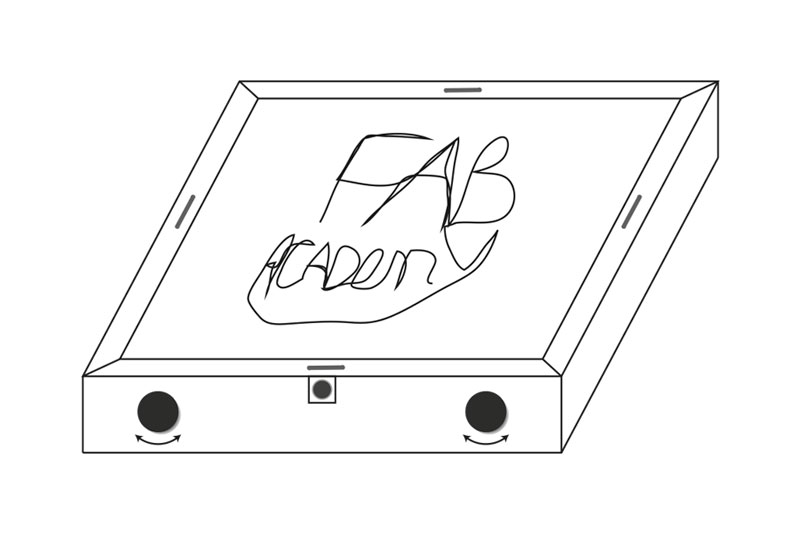
I was inspired by the toy "Etch a Sketch" to create a digital console that is able to recreate that toy. But by modifying the code in Processing, is capable of also generating other type graphics.
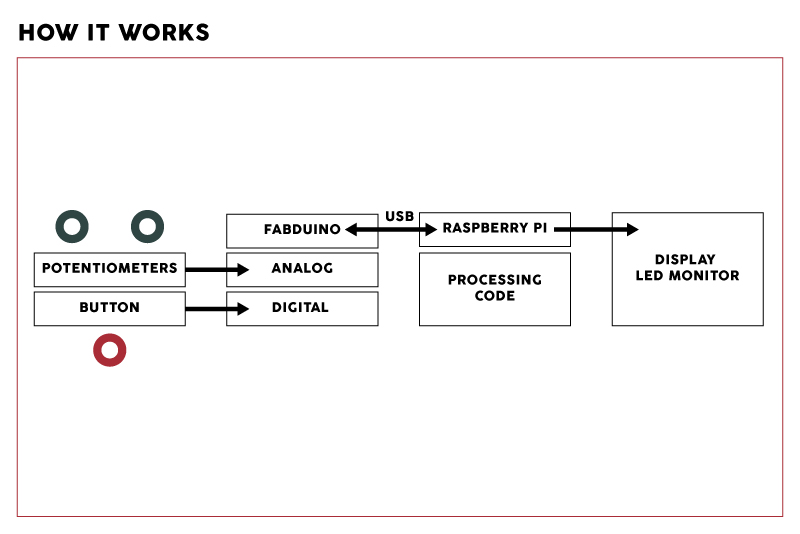
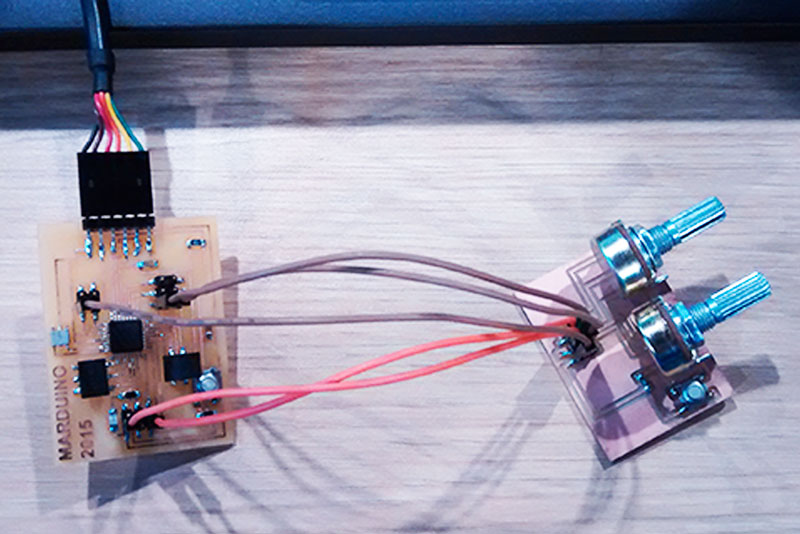
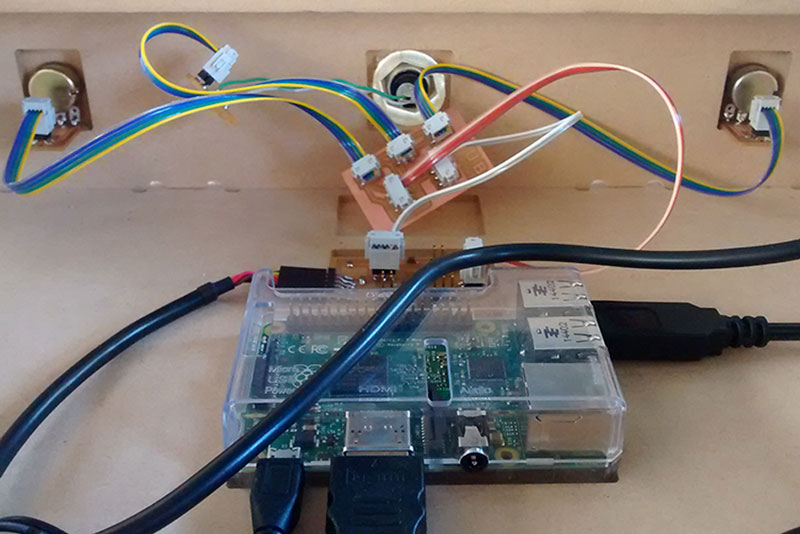
The first thing I did was assemble the system with a protoboard to make sure it works. I used the Marduino (produced in the week # 11) for receiving the analog signal from the potentiometers and digital from the button.
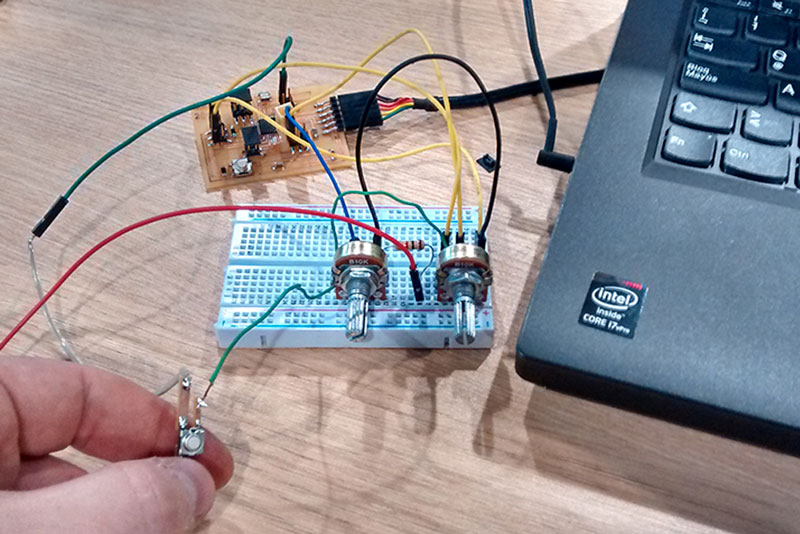
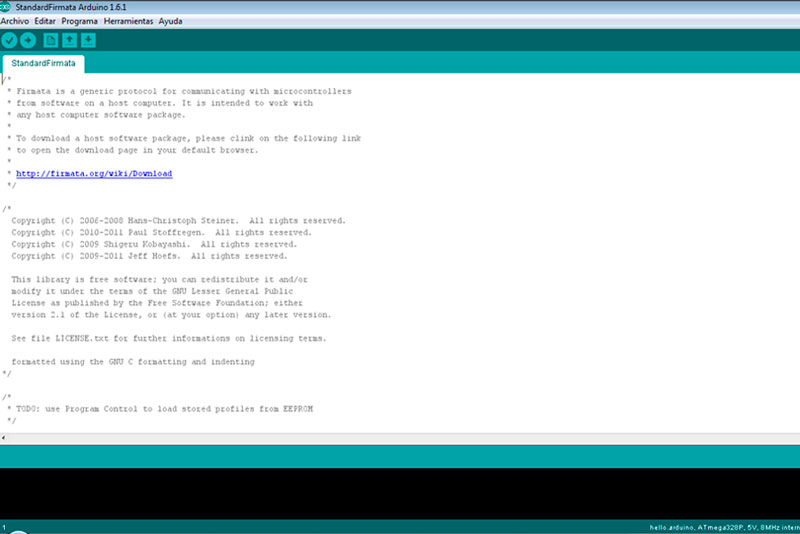
For that I use the Arduino IDE to embedded the Firmata code, which allows to receive such signals.
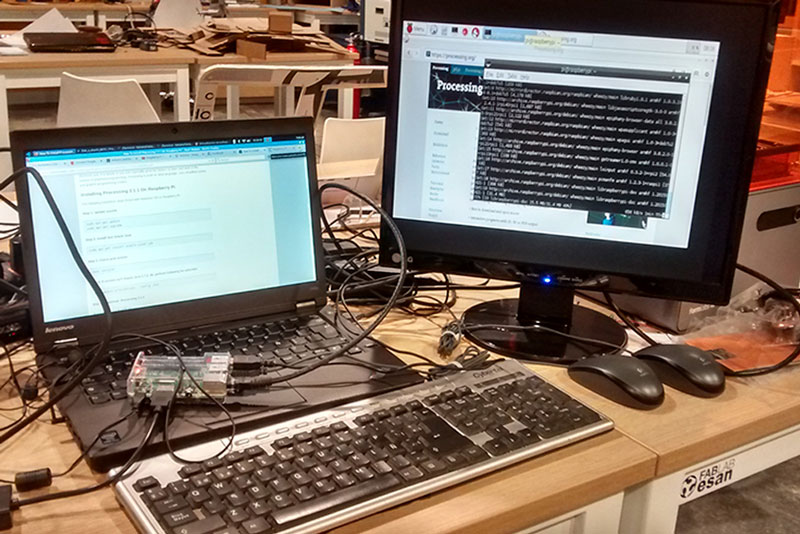
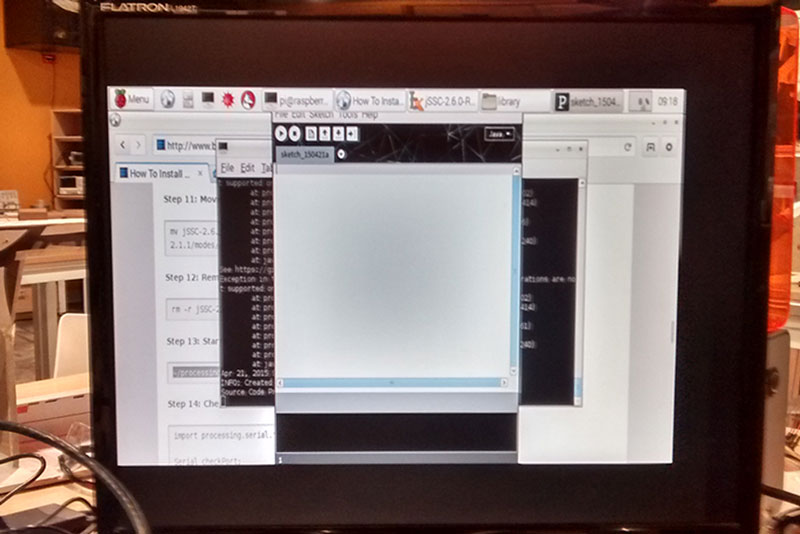
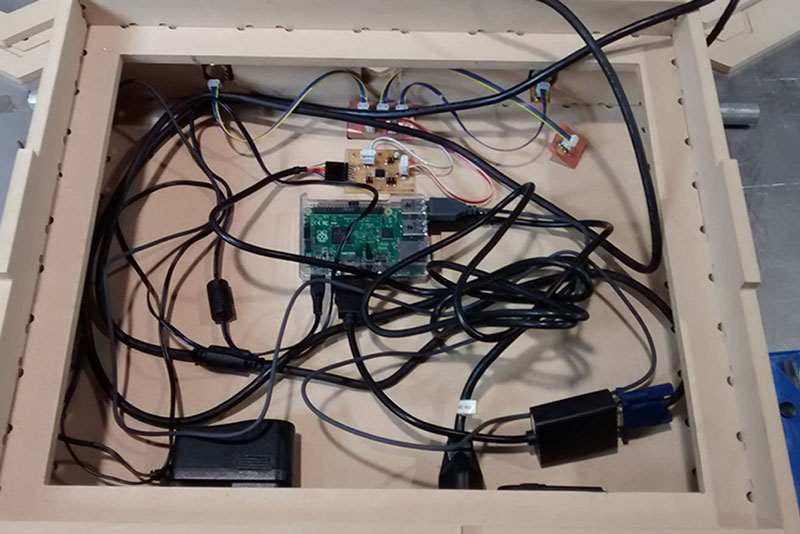
I did the tests with a small Processing code on my PC and apparently all worked well. But the system was not stable, so I decided to mount all the components on a board and get on with the tests.
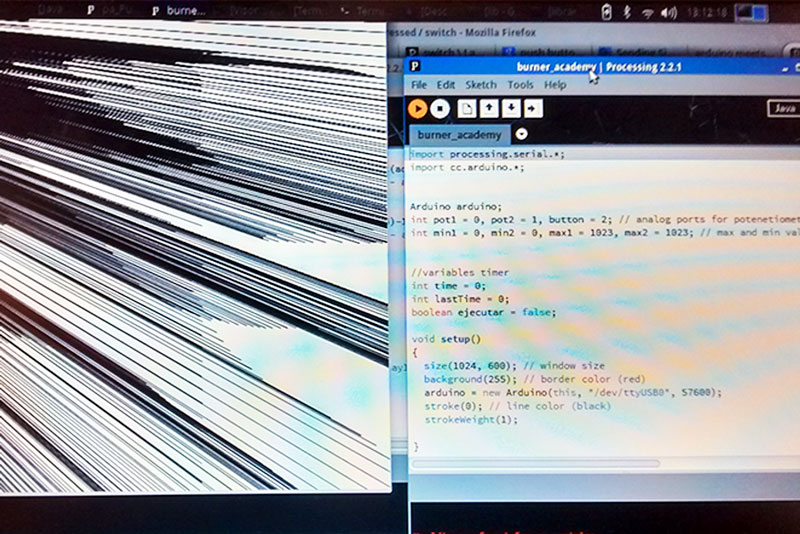
To do this I had to install Processing in the Raspberry Pi, because this would be the processor use to output the signal on the display. I used the following tutorial and everything worked perfectly. The process can be a bit tedious but it's pretty straightforward.
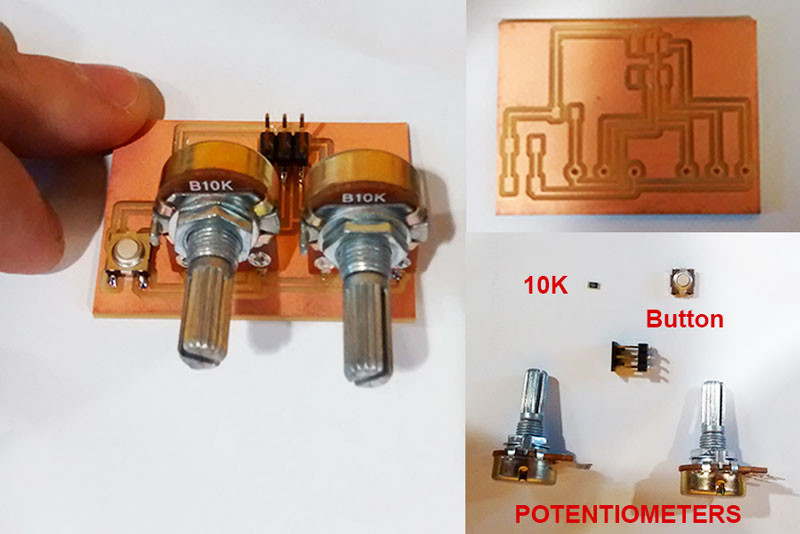
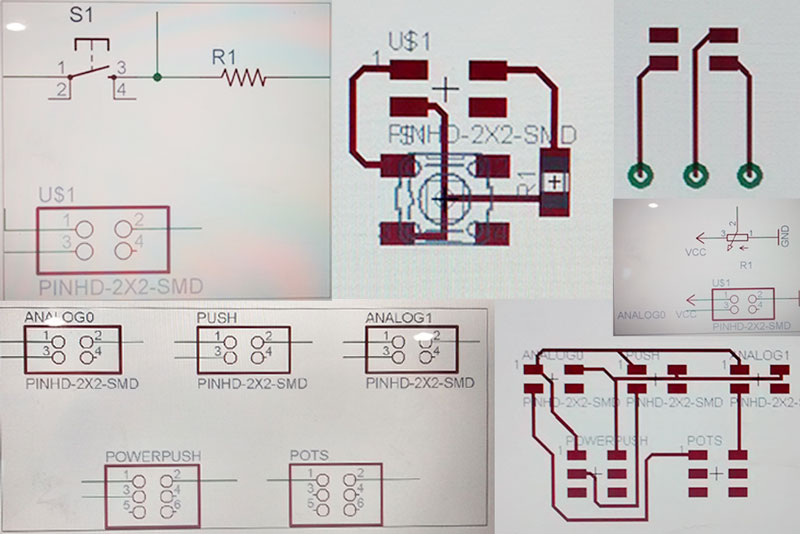
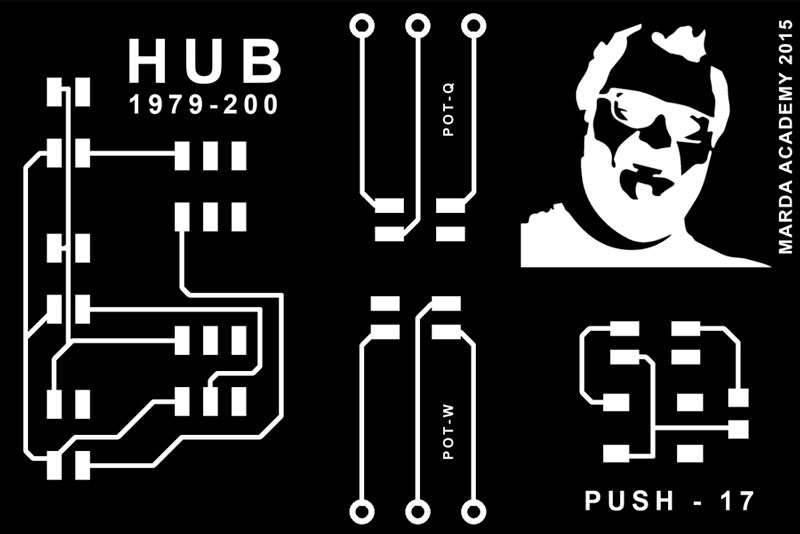
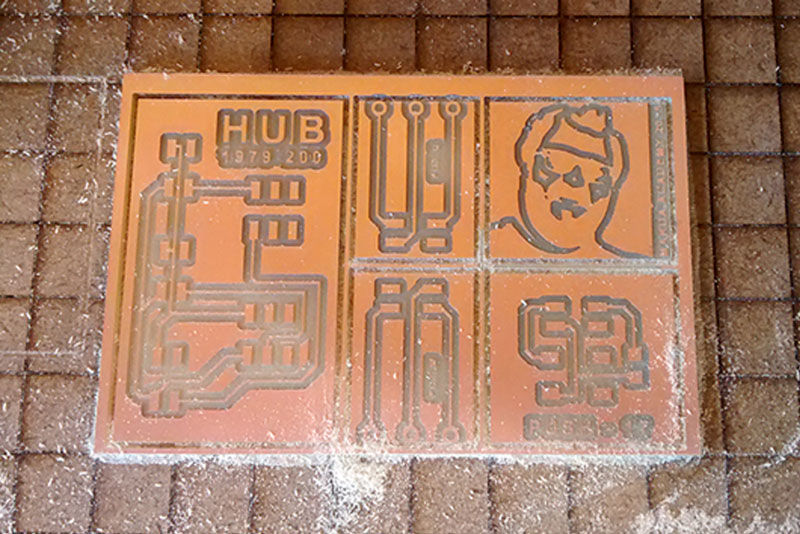
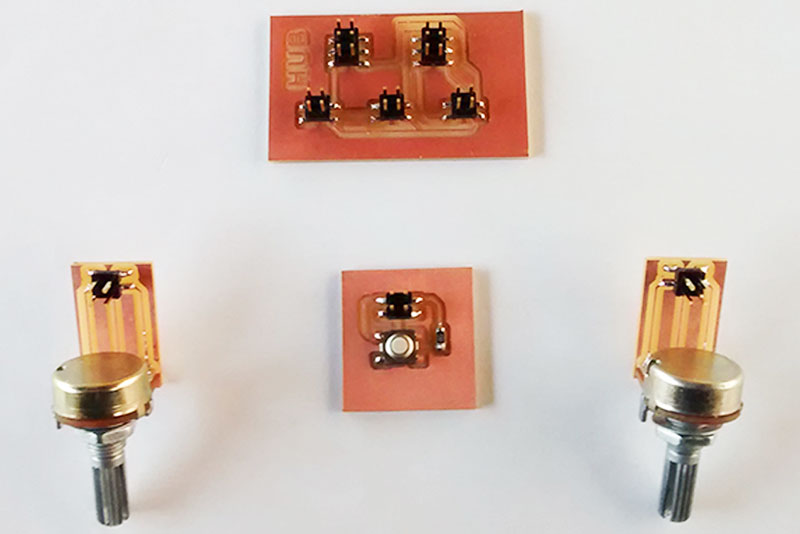
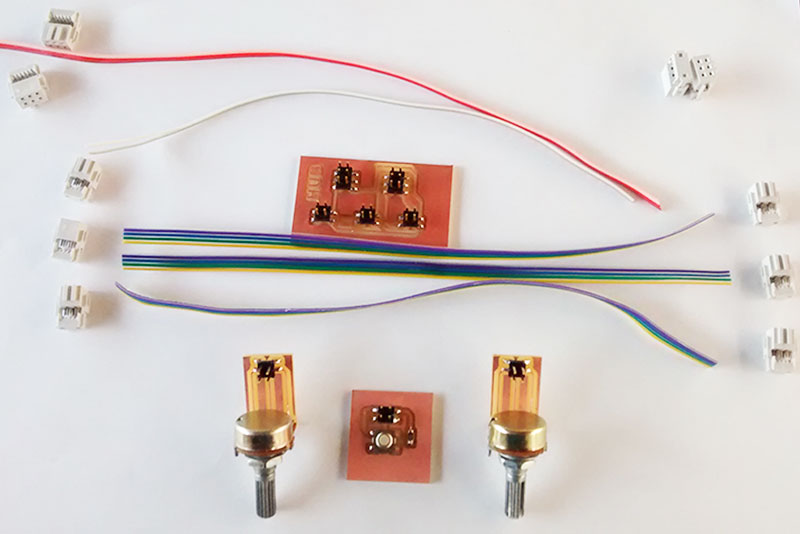
And with the system working well, I proceeded to design the boards containing the potentiometers and the button. Besides, functioning as a board between them and the Fabduino, the “HUB”.
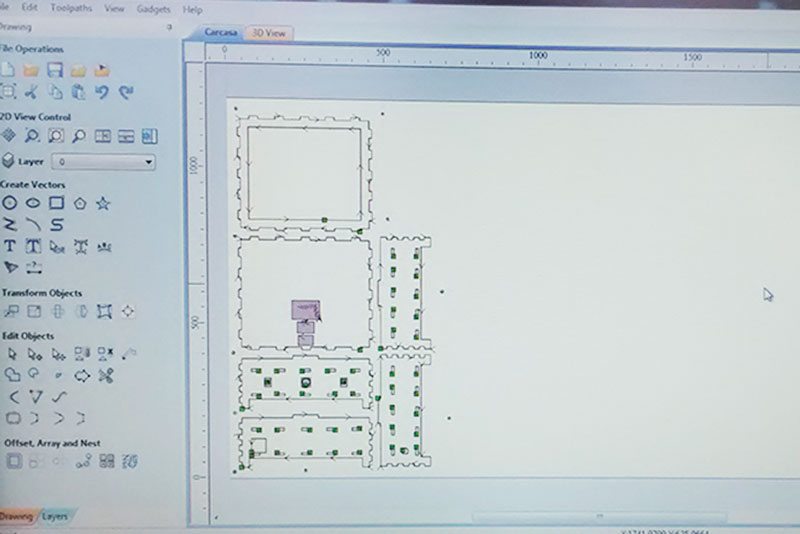
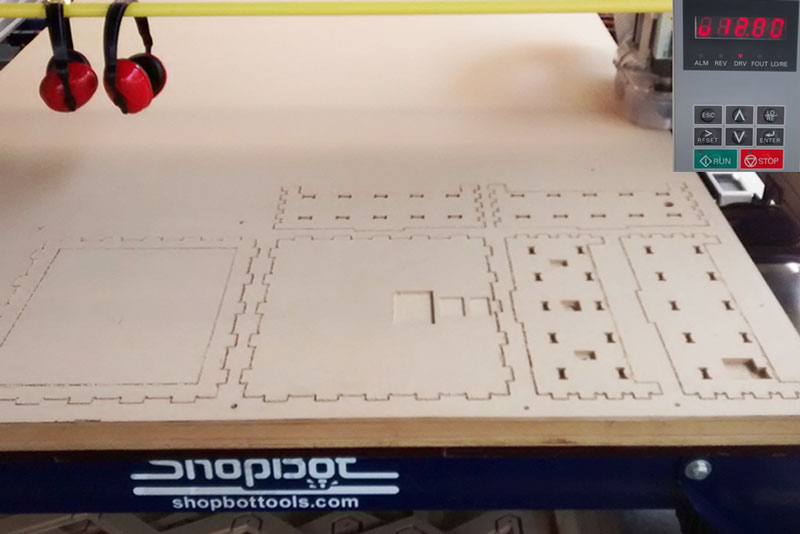
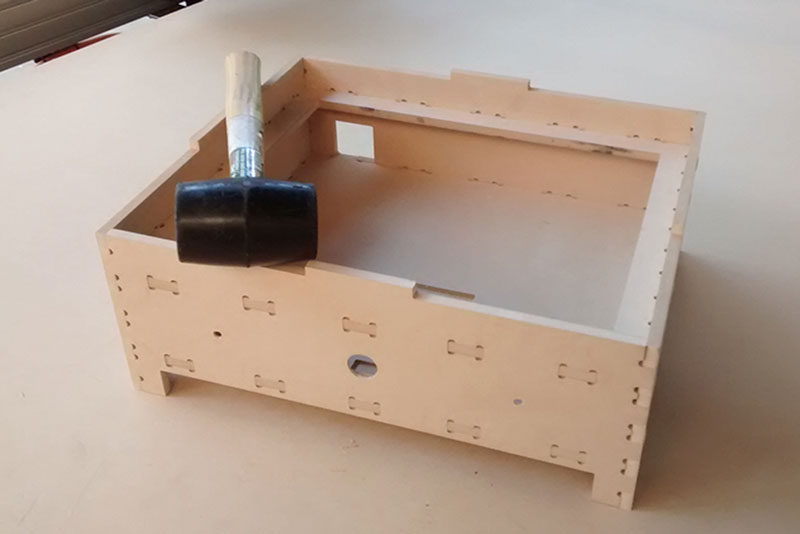
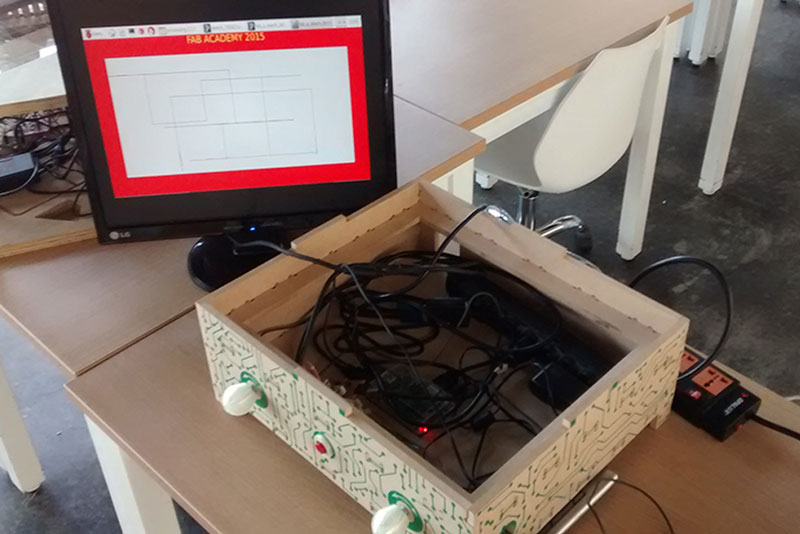
Now it was time for the box would contain the entire system compact. First I did some tests unions that went well. I then proceeded with the shopbot milling of all the parts. These fit pressure without glue or any type of screw.
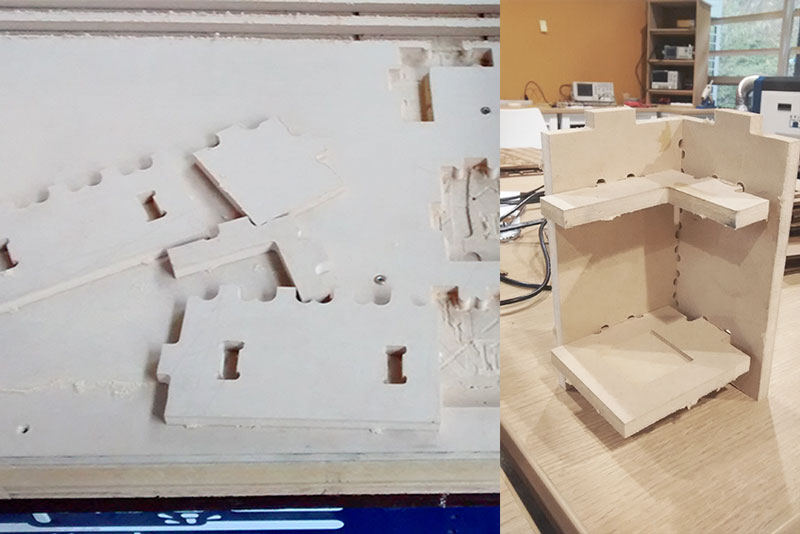
For this process I use a 1/8 inch Cut Up mill, spinning at 12,000 RPM, which end up a very good result.
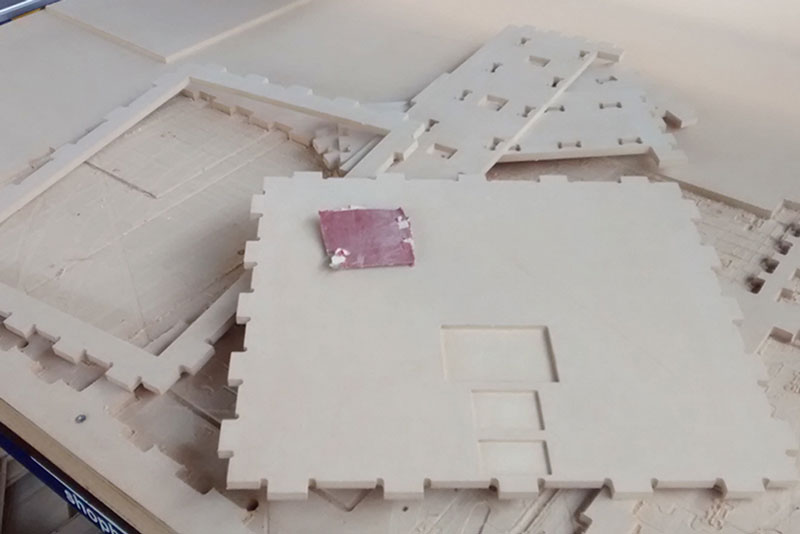
After a slight sanding was needed and everything ready for splicing.
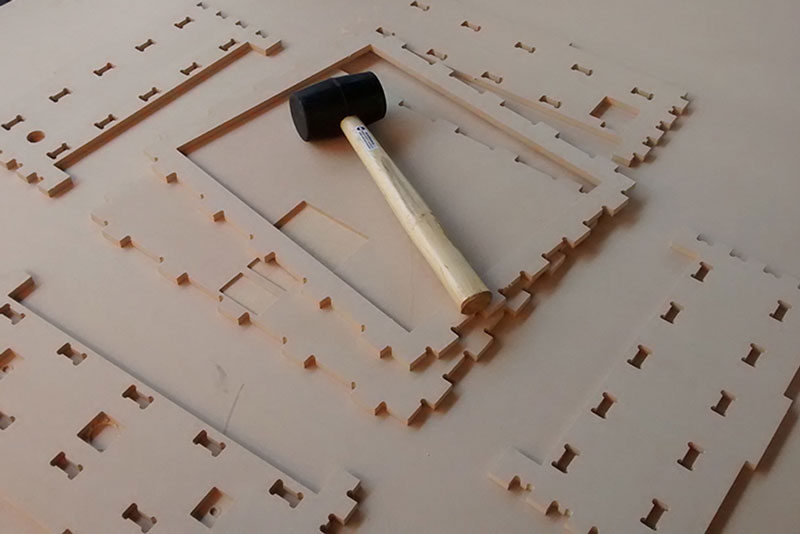
This process was not quite simple, but with a little patience and some strength with the hammer, the box was impeccable.
To begin to assemble everything.
Doing some final tests.

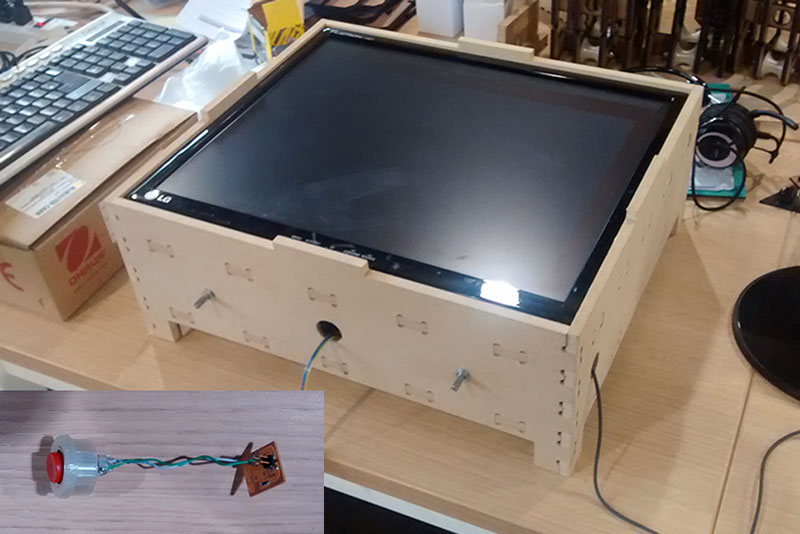
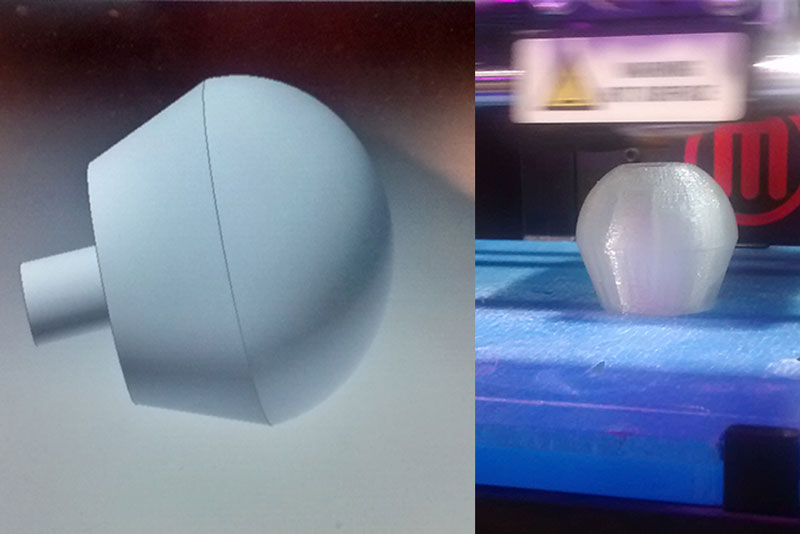
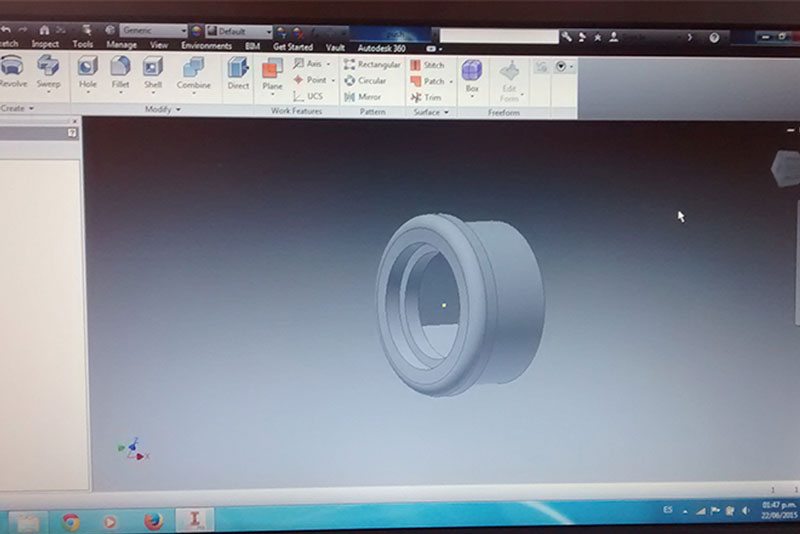
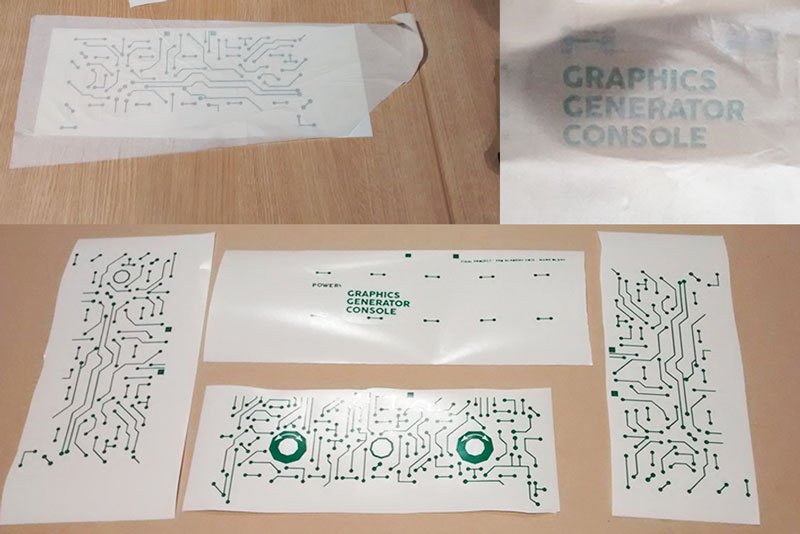
It needed some details. Knobs for the potentiometers design in Inventor and printed in the Makerbot, likewise as the capsule for the button.
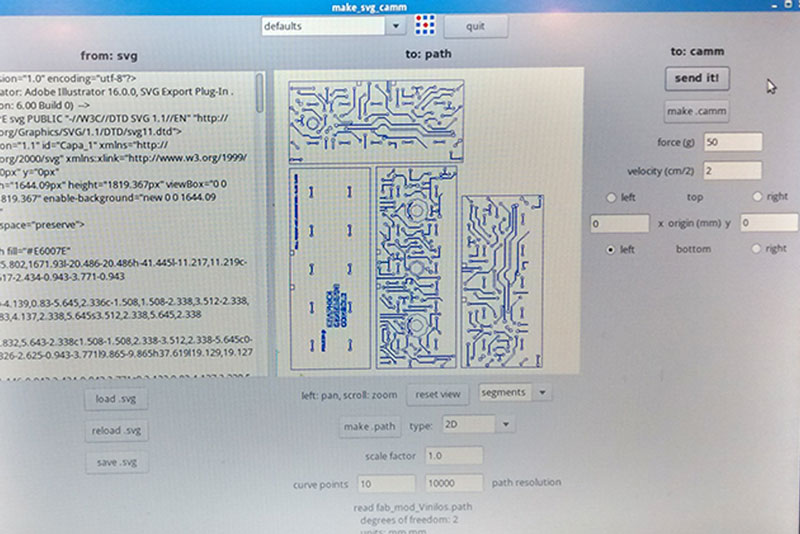
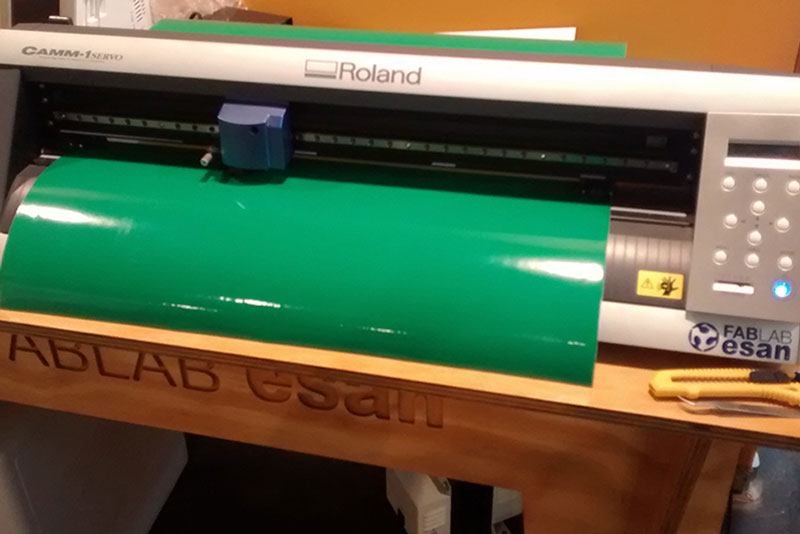
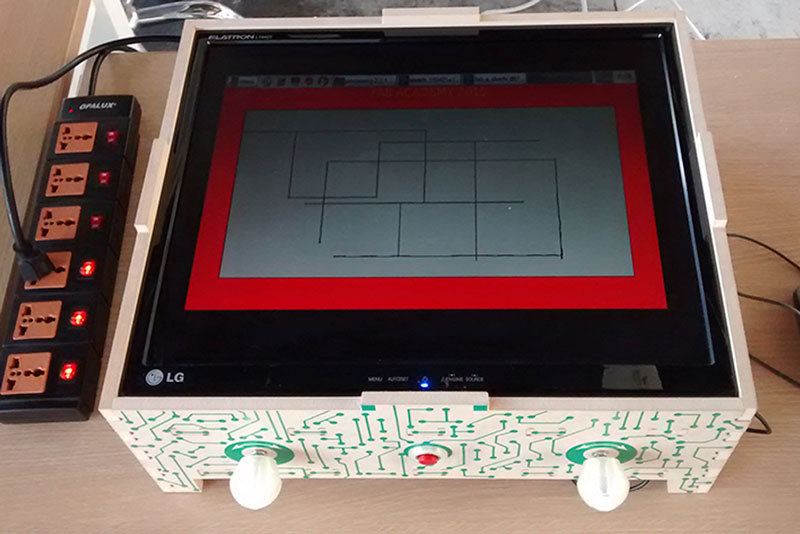
Finally it needed a little touch of color and design. So with some vinyl I got a more attractive appearance for my project.

The end result.

Making some final adjustments to the code, and Voila!
Back To Top