
#7 Embedded Programming
For this assignment I programed my PCB board with arduino as ISP.
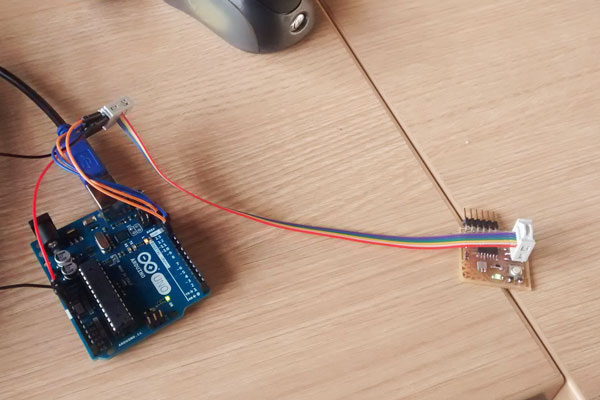
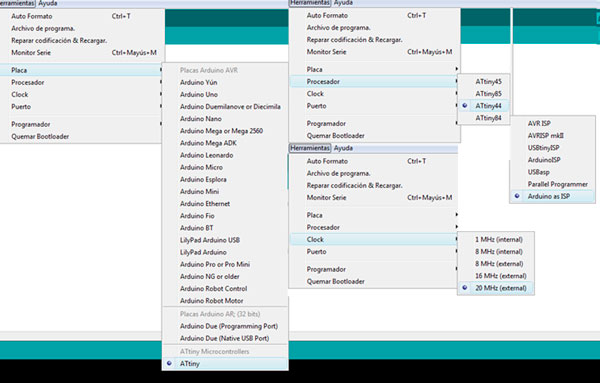
First I had to download the library for the ATtiny so I could set up the arduino software for programming. When that was done, I had to make sure that all the configuration was correct by using the TOOLS option.
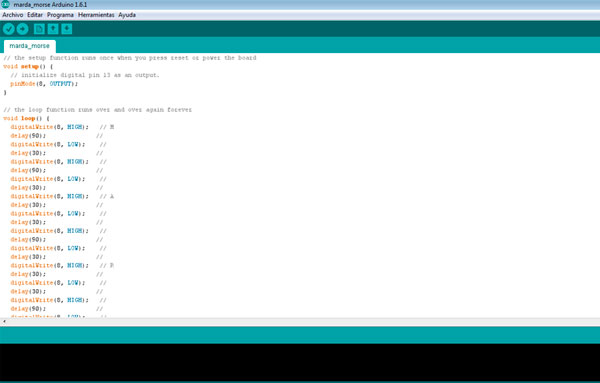
I made my first code only for the led, so I used the Morse Code. How does this work? Each letter has a specific code made out of points and lines. Each point has a value of 1, each line has a value of 3, the spaces between the dots and lines are valued as 1 and the spaces between words are valued as 7. So with that logic I used the Blink code and modified the delay of each blink, ending up with my nickname in morse code embedded on the board.
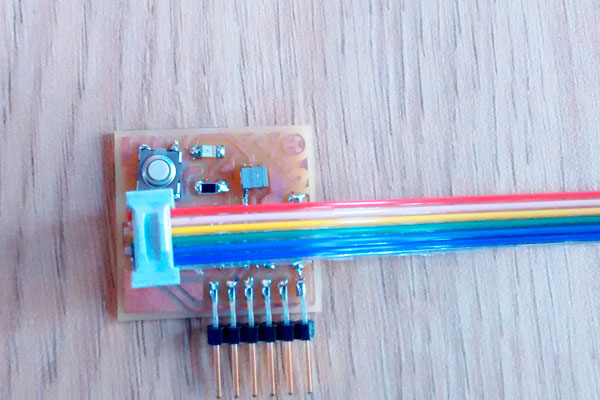
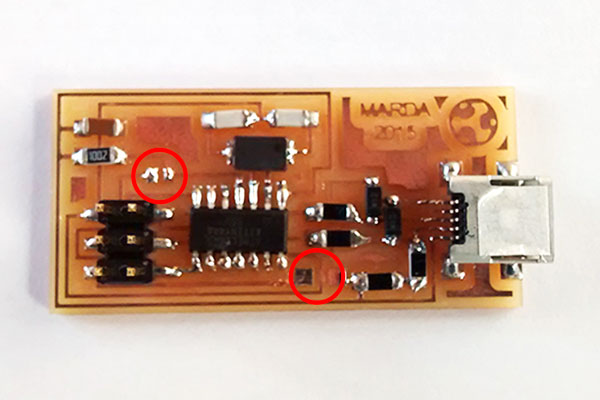
After that I tried to make a code to use the button on the board, but I had some problems designing the board. Apparently what happened was that I missed a resistor connected to the button. Without this resistor, the button looks like it is not doing anything and it doesn't recognize the coding.
I hope I can rearrange my board to make a code that can use the button and thus make it more interesting. Still, it was satisfying to see how the led turned on in the end.
UPDATE
After discussing with other faber colleagues on how to program with the FabISP, we discovered that one step was missing: the unsoldering of the bridges on the board. So I did that and voilá! Problem solved.
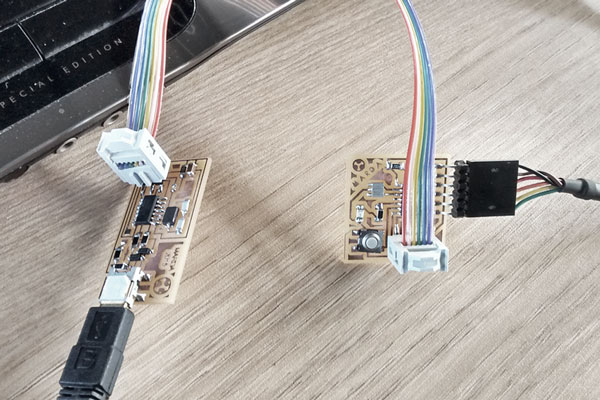
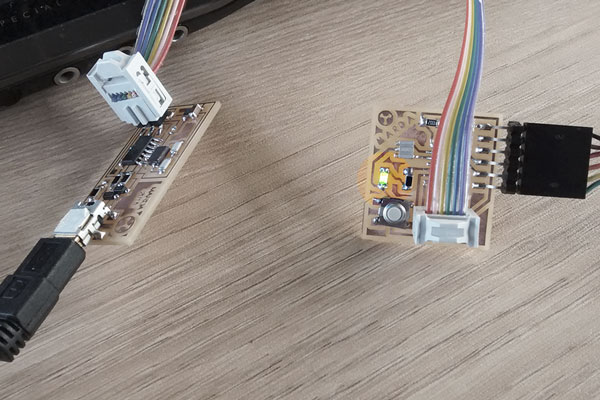
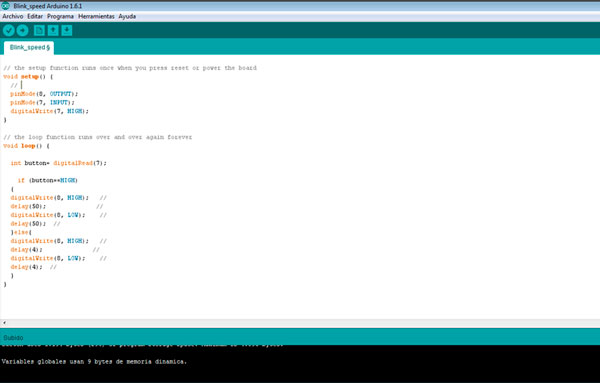
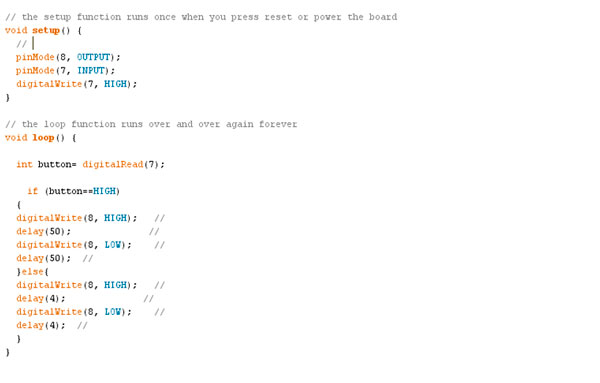
I finally had the pleasure of programming my helloboard with my own FabISP. I made a simple program that used the button to control the led. So I coded a simple blinking program, in which the led is blinking at a certain speed, and when the button was pushed, the light started blinking faster.
It was very rewarding to complete this assignment. I now get really excited each time I see the led blinking.
Back To Top