#3 Computer-controlled cutting
I started this assignment by writing down a working line. I had nothing clear to work with but I wanted to explore, and I knew that something would come of that exploration.
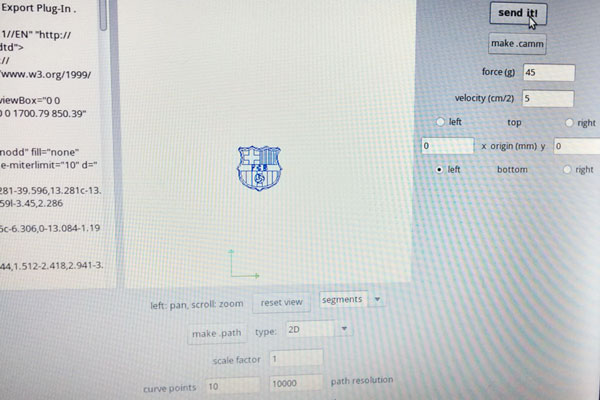
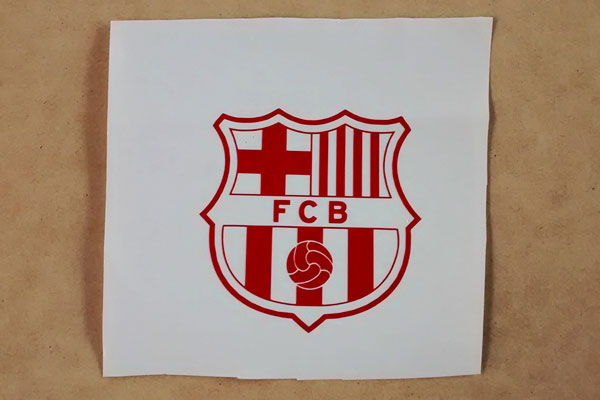
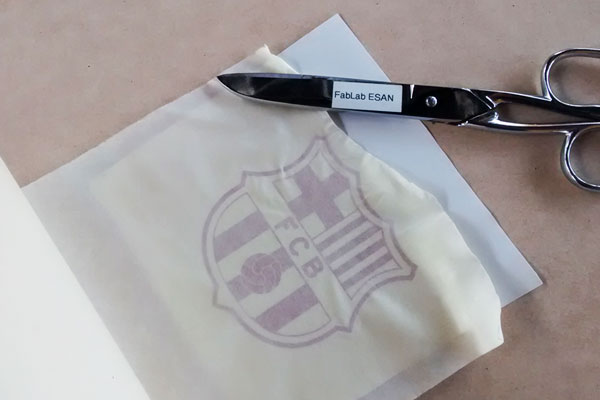
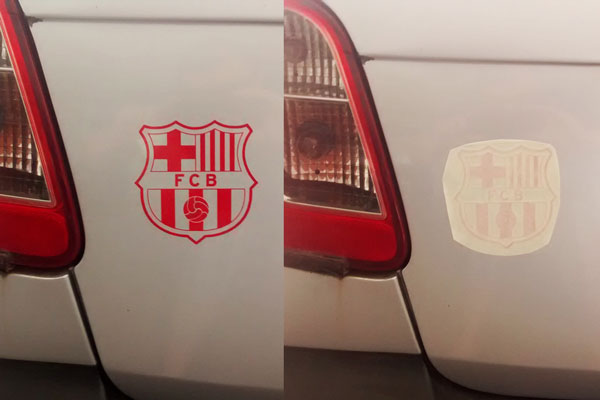
At first I sat down with the Vinyl Cutting Machine. I downloaded a vector logo from my favorite soccer team, from Brands of the World. I used the program Adobe Illustrator to improve the design, and then saved the archive with an SVG extension. In my first attempt, I cut it with 120gf and everything went ok. But I noticed some difficulties when peeling out the excess parts, so I decided to try one more time with 140gf. In that case the cut went a little bit through the paper. So next time, I'll go with 130gf.
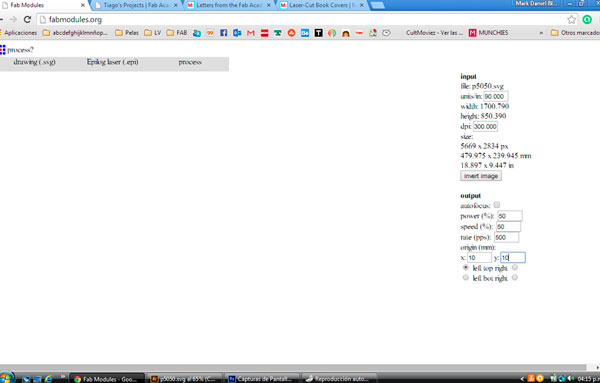
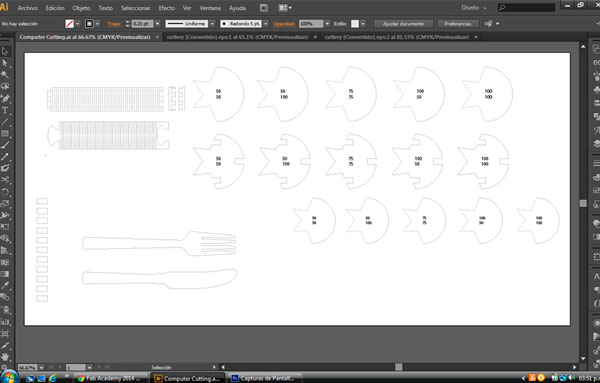
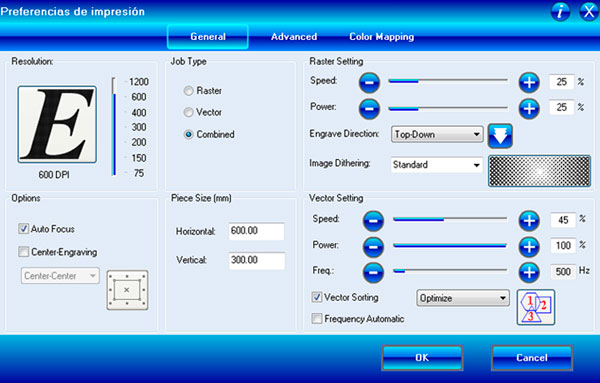
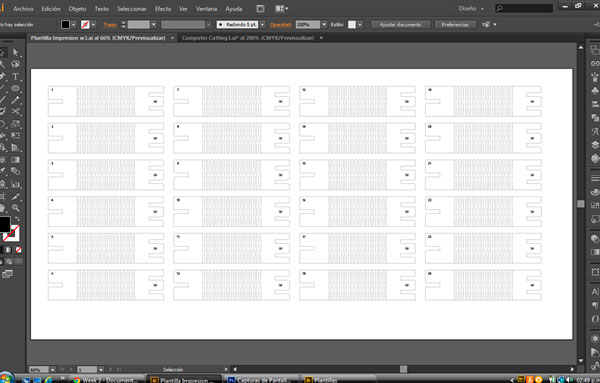
Then it was the turn of the laser cutting machine. I decided to use Adobe Illustrator again; perhaps Inventor could have been more accurate, but illustrator works very well for me. I tried to use Fab Modules but I didn't have much luck, so I installed the machine drivers and immediately started with my first cutting attempt.
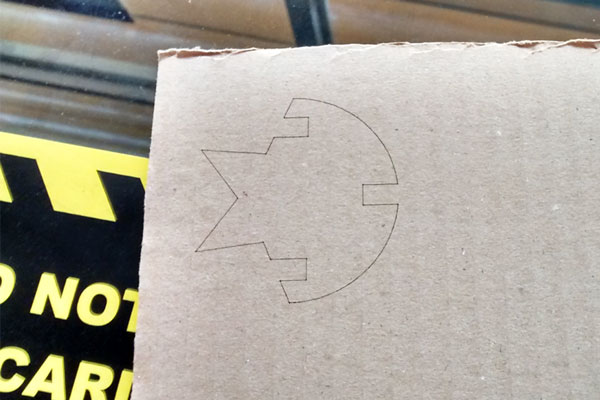
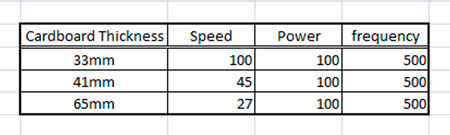
I drew a basic half circle, half star shape, suited for press-fit, and started with a 33mm cardboard which I easily cut.

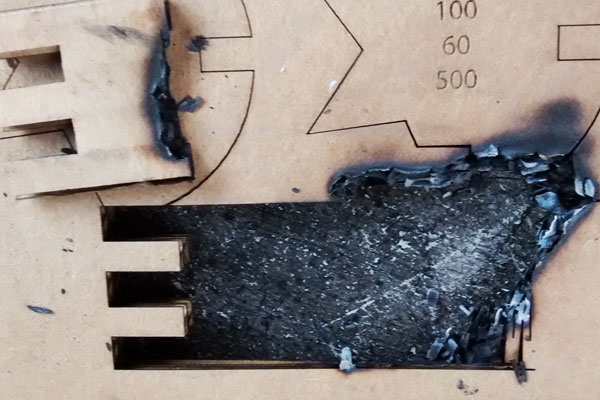
Then I changed to a 65mm cardboard, thus taking me more time to set the speed and power of the laser. I set it up with S27 P100 F500 and it cut ok, but there was a serious and unexpected problem: the cardboard was set on fire! Some lines were too close in my design. After that mishap, I modified my design a bit by adjusting the distance between the lines, and also went for a thinner cardboard so I could adjust a faster speed and did not burn any more cardboards.
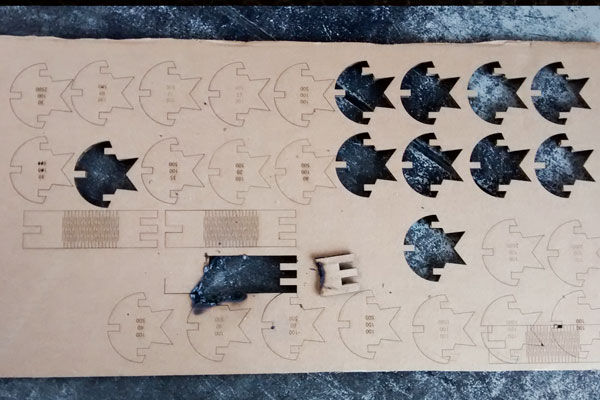
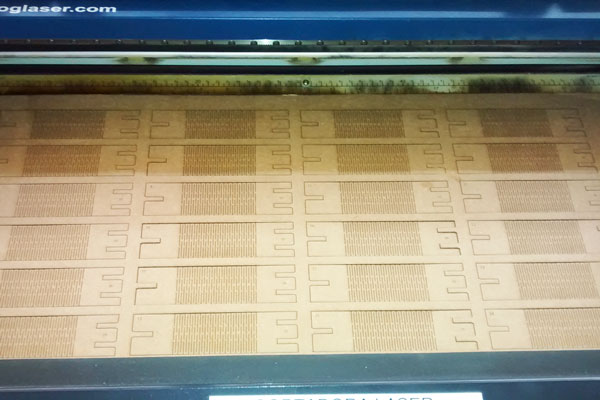
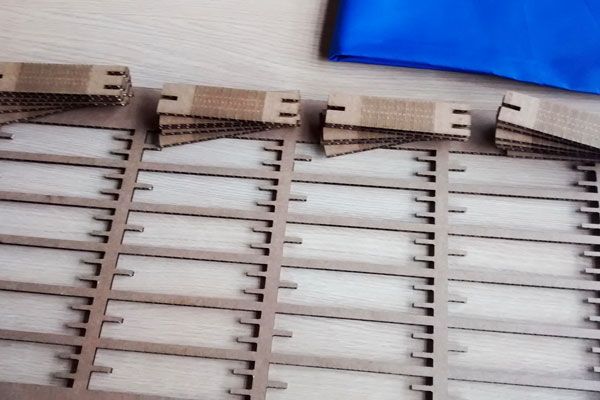
Finally I used a 41mm cardboard, which was the chosen kind for my assignment project.
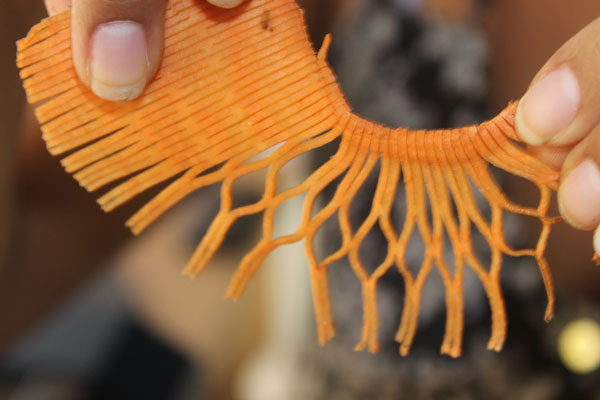
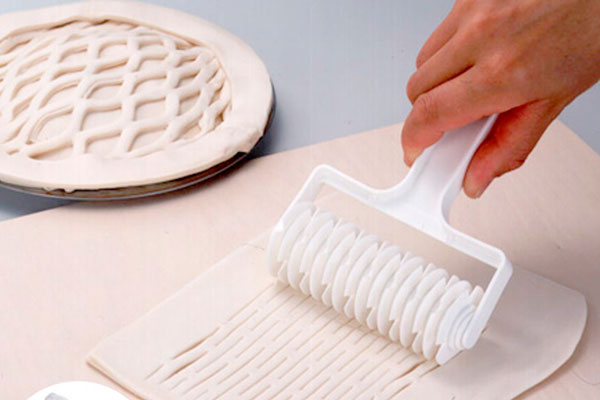
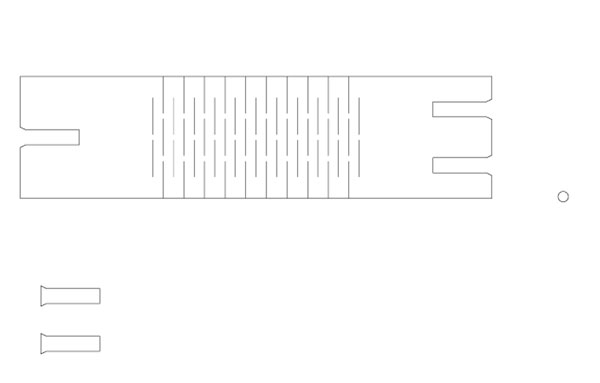
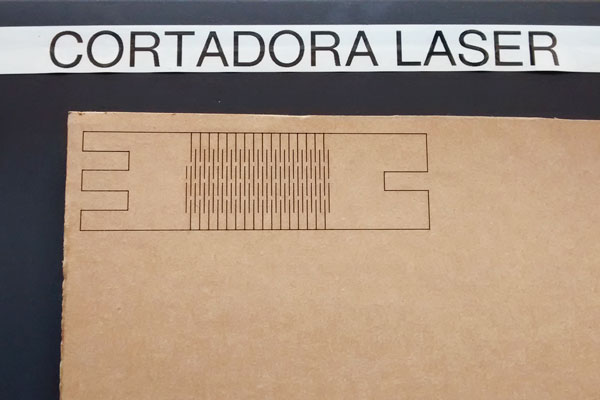
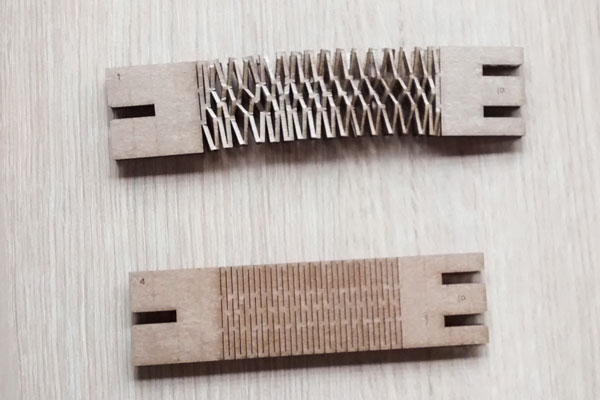
After some experimentation I came up with a cutting design to make the cardboard flexible and expandable. I got my inspiration from a cutting pattern for pie top decoration. In order for the cardboard to be flexible, the distance between the cutting lines was important. If they were too far apart, the cardboard wouldn't blend; if they were too close together, the cardboard would get burned.
After that, I came up with a bracelet with two different kinds of buckles. I was satisfied with the result but it was still not good enough.

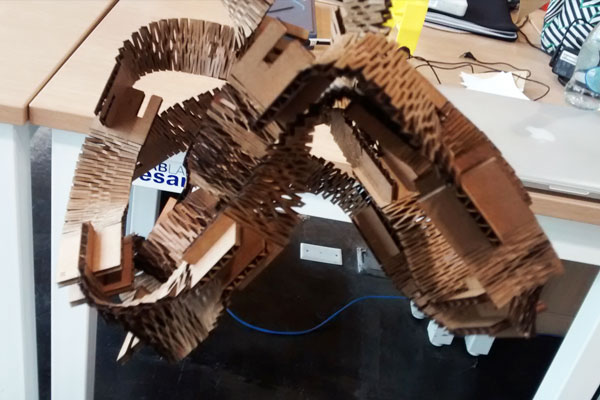
That made me think of a piece that could be part of a bigger device, kind of like a typical puzzle piece. So I ended up with something I named
Two to the N
referring to how each piece can be attached to two more pieces. If you use all the slots, you end up with a number of individual pieces equivalent to 2 raised to the number of levels you have attached. And If you close all the open slots, you get a flexible, changing, playful piece.
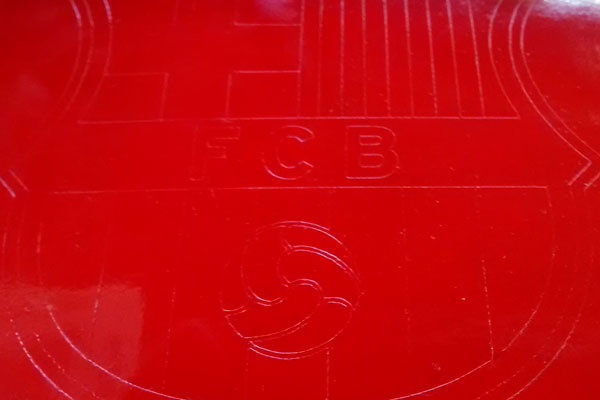
I experimented some more trying to make some stencil cutting. This is one activity I normally do by cutting with a knife, but from now I will start using the cutting machine. Faster and more accurate.
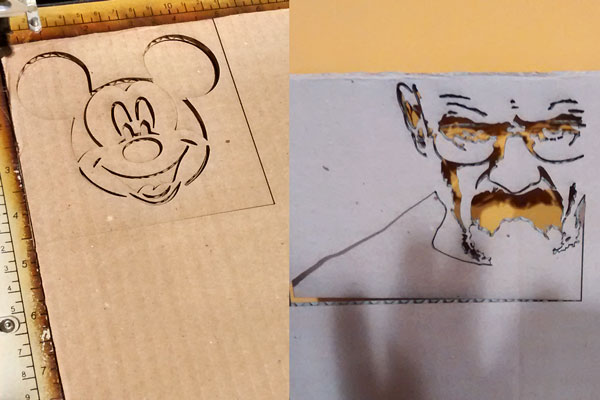
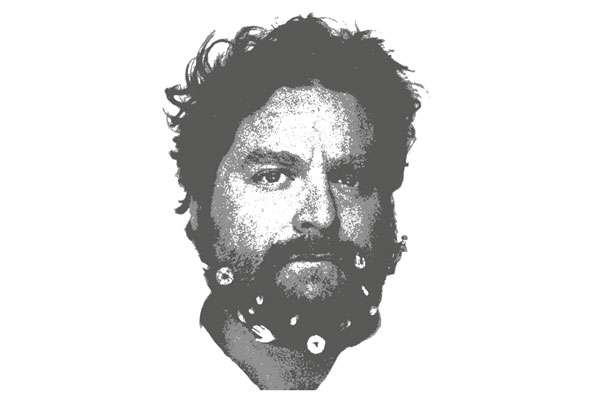
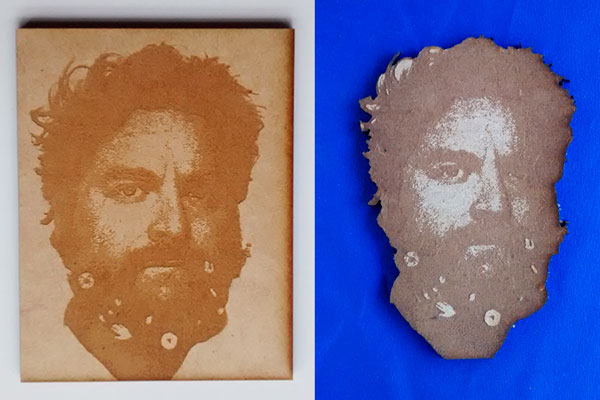
I also experimented some rastering. I took a picture and worked it in Adobe Photoshop. I made two layers of the same picture with “posterize” and after that generated a grayscale image with only two tones that looked very good. I also combined the raster with the cut to generate a nice shape from the picture itself.
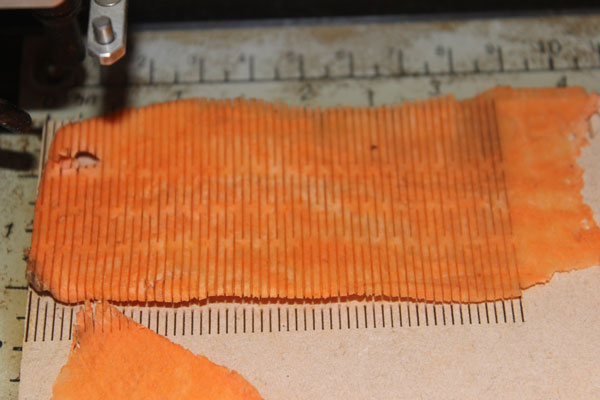
Last but not least, I played with some sweet potatoes. I cut them very thin and then line them up on top of a cardboard. The tricky thing was that the yam layers weren't so even. But still I ended up with some cool stuff. If only I could get a mandolin slicer and be able to make some nice and even slices of food, I guess we can have very impressive results. This could also be used to shape potatoes before frying them, or even make some great work with pasta. Lots of things and applications yet to be discovered.