
#5 3D scanning and printing
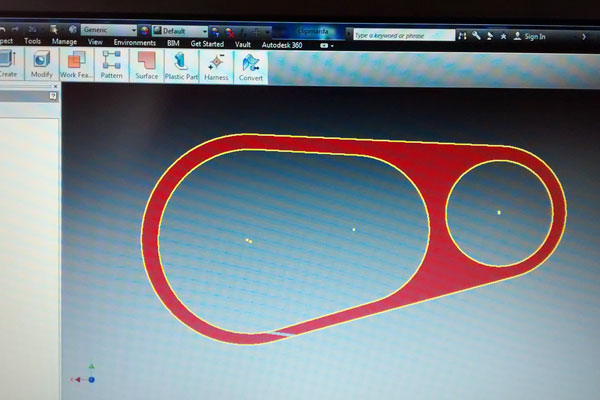
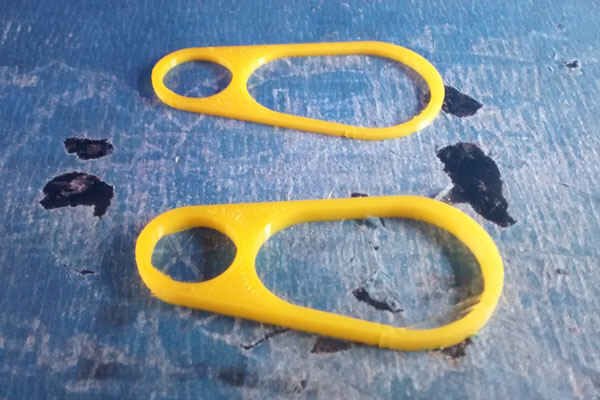
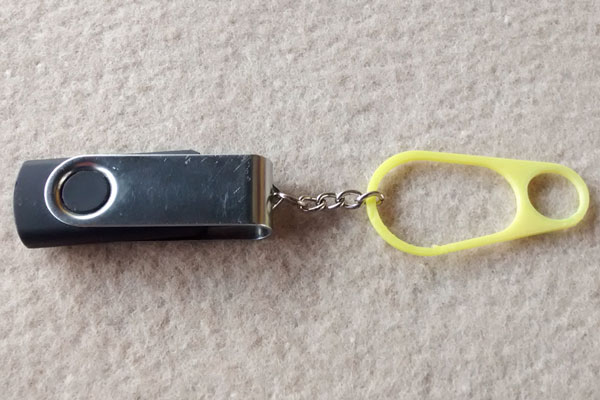
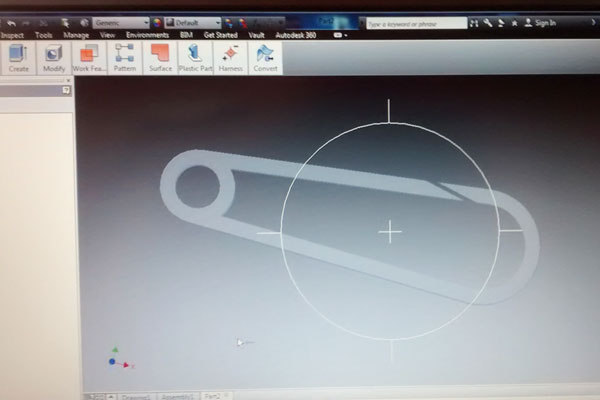
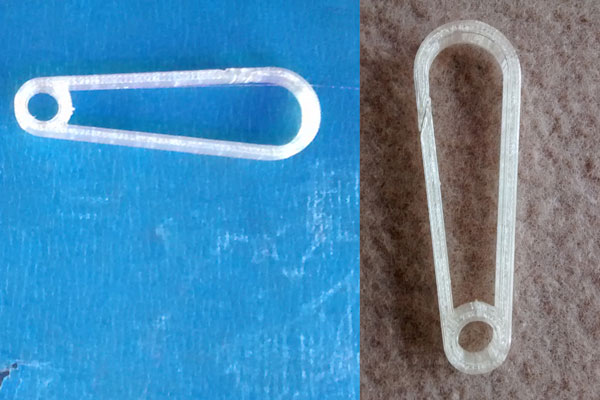
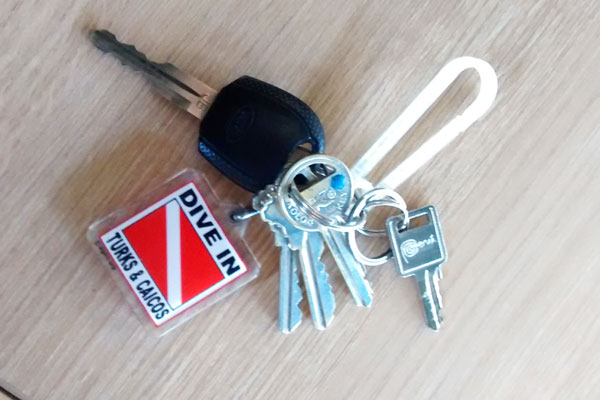
I used Inventor to design a clip. I decided to print this object because it is something useful that I can keep. The first challenge was to make this piece have an open side in which it would be easy to put keys or chains, but hard to take them out, therefore preventing them from falling out. I made a diagonal cut on one side so the material could bend a little and allow other objects to be attached. The problem with my first iteration was that the edges were too thin, so with the weight of a couple of keys, the clip stretched out and deformed. My second iteration was a stronger clip, longer and more narrow. The structure became more rigid, but the cut on the edge still allow the piece to be hooked through a buttonhole or through other chains. I used the Makerbot to print these pieces. Everything went smoothly since they were very simple pieces, with no supports nor raft.
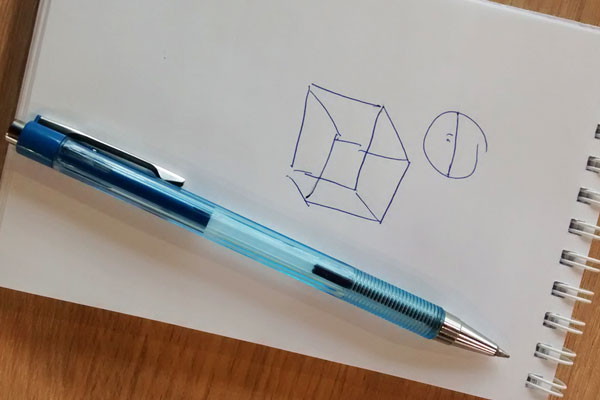
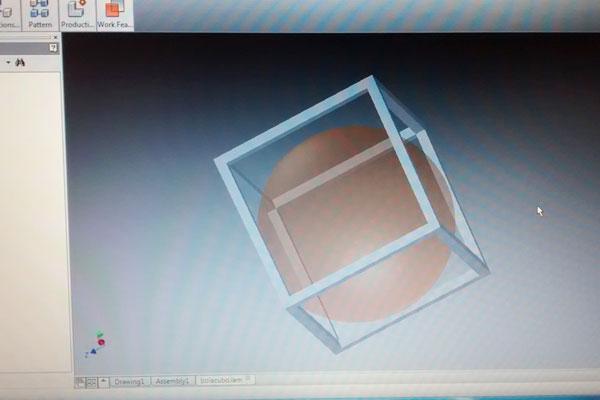
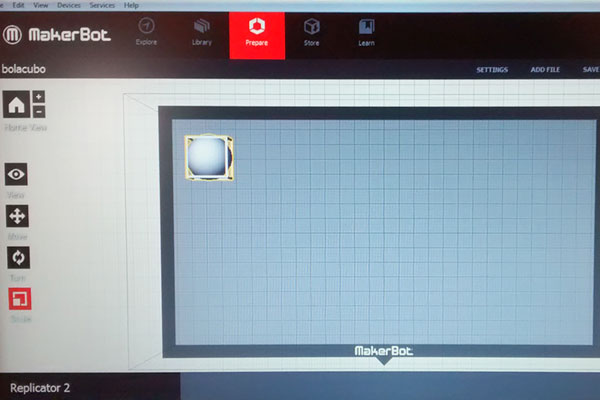
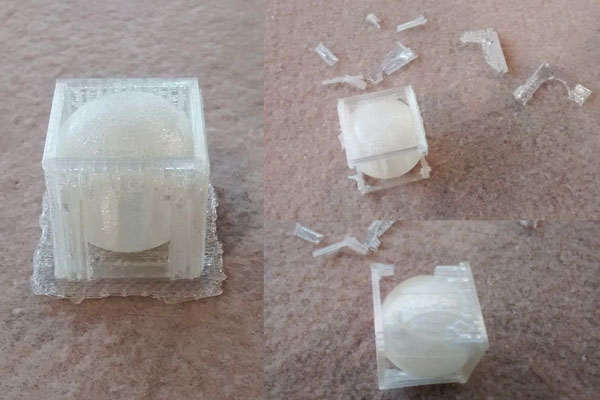
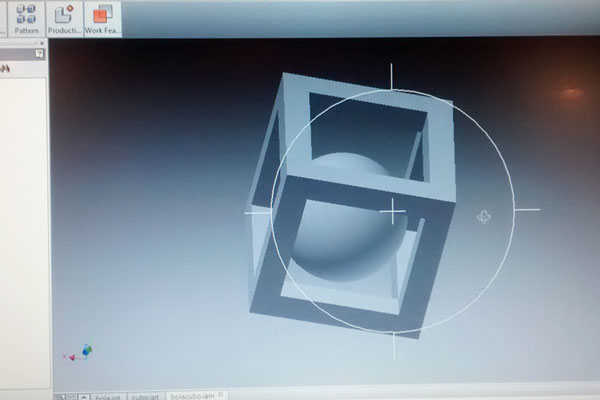
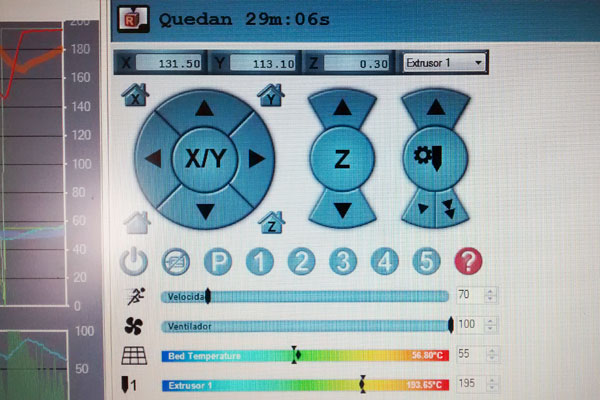
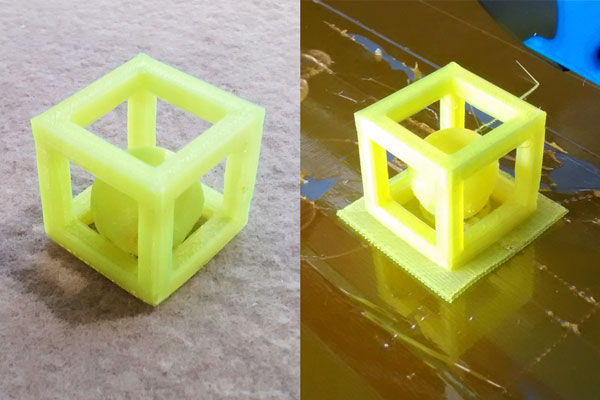
I then decided to design a more conceptual and enlightening piece. It was a very basic concept: a sphere trapped inside a cube. I used Inventor as well. However, my first iteration fell apart. The sides of the cube were too thin and the ball too big, so it was really hard to take out the supports. On my second iteration I enlarged the edges of the cube and reduced the size of the ball. The design came out ok, but the twice Makerbot stopped printing when had only reached 75% of the final product. After trying to reduce the temperature, changing 5 different cartridges of PLA, and cleaning the extruder, it still didn't work. We presume that it was a malfunction of the printer, for the same thing happened to my other fellows. We concluded that by now the printer was probably acting a little whimsical.
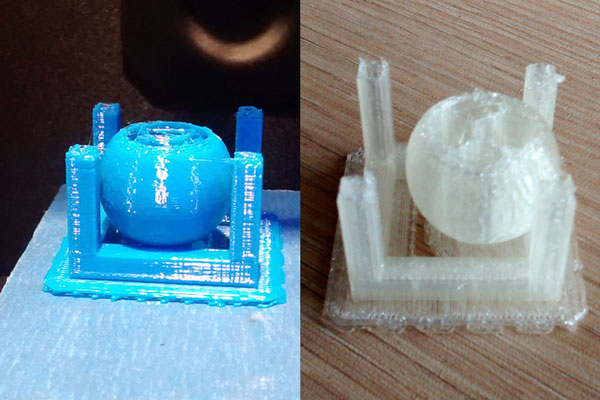
Then I tried the Felix 2.0. At first I had a hard time leveling the platform. After many trials I finally came out with a very cool piece, kind of like a simple puzzle. This was a very good example of what you can do with the 3D Printing Technology.
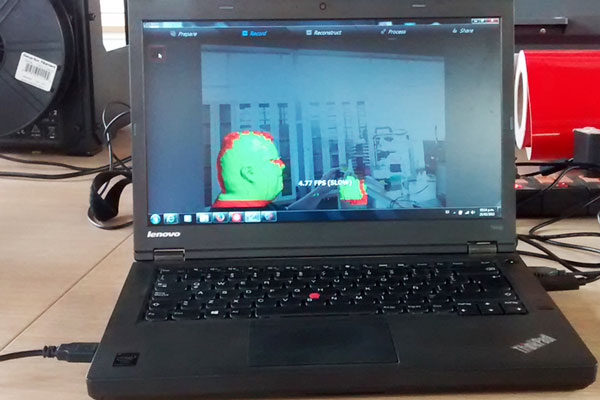
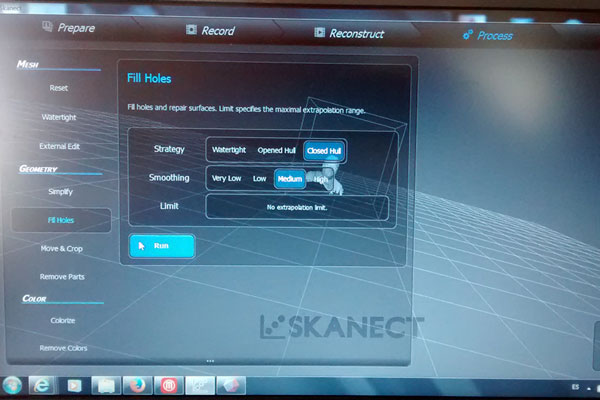
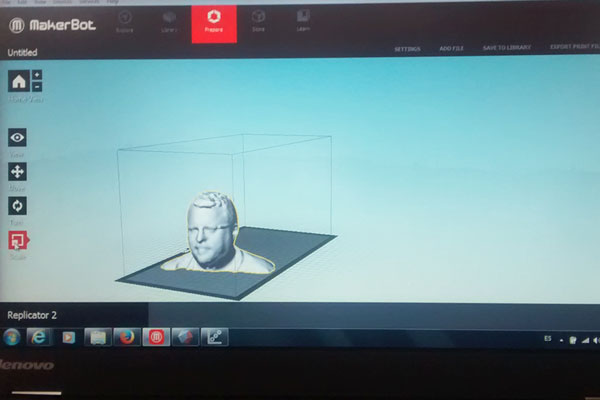
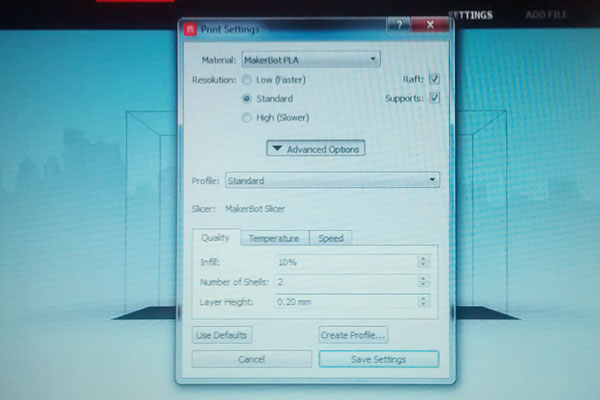
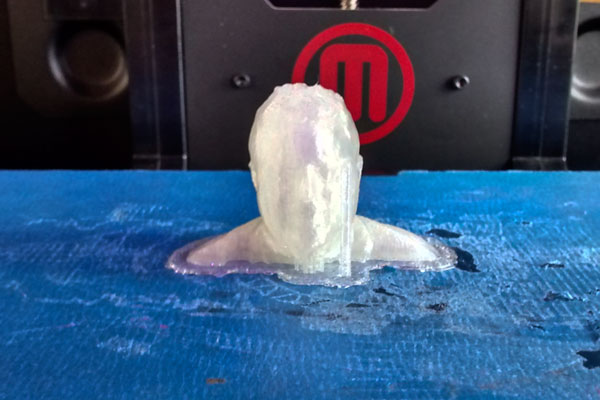
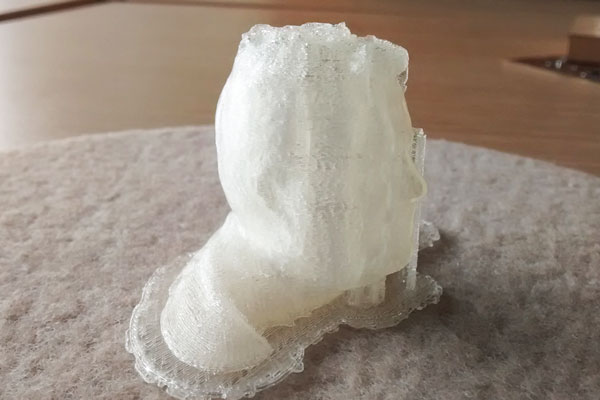
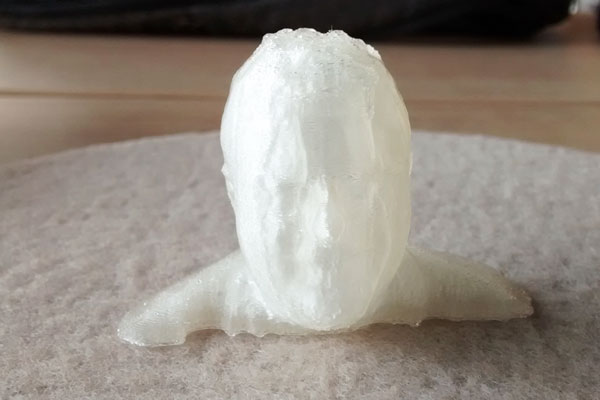
For scanning I first used an XBox Kinect and worked with SKANECT. It was pretty easy. The only tricky part was to get the right pace going. Somebody was holding the Kinect very still and another person was seated on a swivel chair rotating gently with the help of their feet. If I did that too fast I had to start over again, but when I got the right pace, everything went ok. After that the program gives you the tools to fix some parts of your capture. I personally fixed some holes on my head, and cut my bust flat to be able to print afterwards with an STL archive. I printed my bust with the Makerbot and it went very well. The only problem was that the filament was transparent, so it was a little hard to recognize features. What I found very interesting were the different properties that the same material (PLA) had depending on the color. Specifically, how some colors can reflect better the light and generate different effects.

Finally I started experimenting with 123D Catch. I downloaded the app (Android) and used my phone to take the pictures. I took 49 pictures as recommended, from all around the object (Mr. Potato Head), every side, up and down. It took about one hour to upload the photos, and 45 minutes more to process them. I struggled a bit with the app to edit the final caption and I ended up with a 3D image that was much larger than the object. I downloaded the file and it was 36MB. I tried to edit the file from the web platform but I couldn't. I think It is a very accessible and useful tool but it still takes some time to master it.
