Lesson 6 - Electronics design
The Eagle has landed...
We have been introduced to the Eagle software - besides the fact that it has 2 screens to swap from each other, it is a pretty easy software to learn...in case you understand electronics....In case you don't - which was my case..I was following Ana's tutorial on this matter.
The moment I have started to edit the board things started to clear up, and the logic behind VCC and GND suddenly made a lot of sense.
Since it was my first board ever..i didn't try to be Uber creative...
I followed the tutorial with some minor changes of my own. the outcome was satisfying,
But definitely need to be improved, I did learn few rules about the future planning of the boards...and the first of them is spacing...as much as possible...
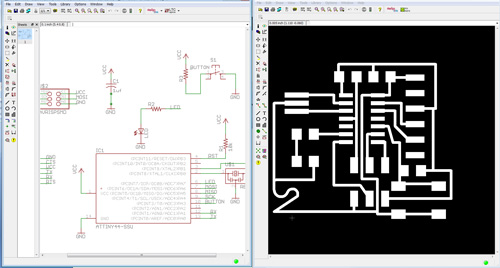
The Eagle did give me some warnings concerning the spaces i have left between the milling path..I should have listen then...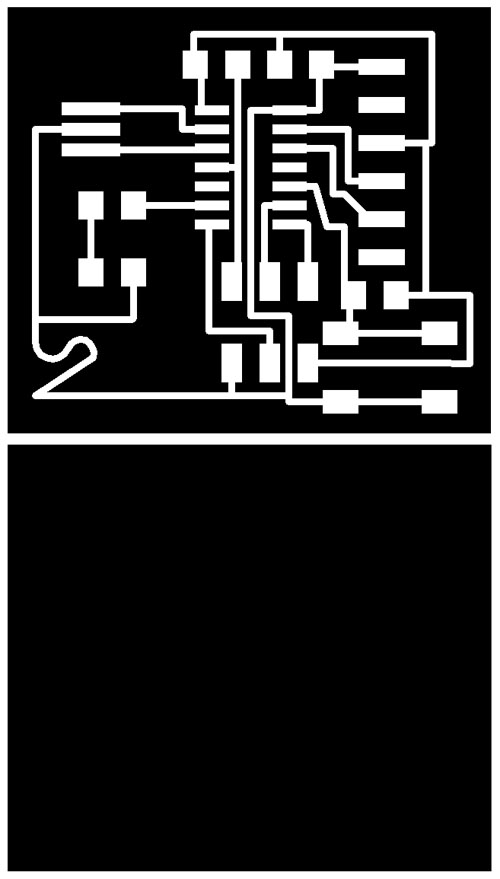
Milling the board
After the PNG was ready and transformed to the Gcode - the Modella took over and I have started the milling process,
as before - 2 different tips, 1 for the circuit and the other for the frame. 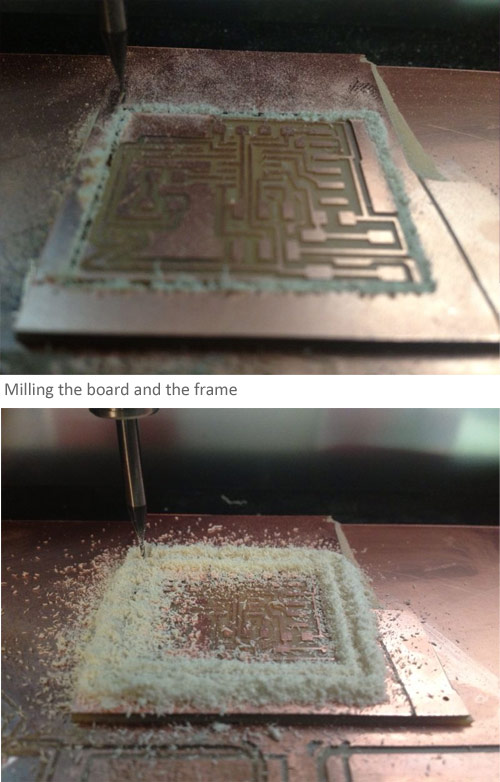
I need glasses...
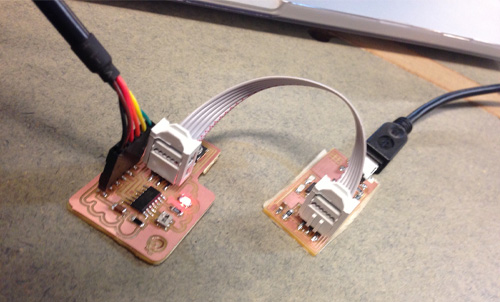
The Board went out of the machine , I gathered the necessary components and the patience for the solder.
Since the PCB is so small and the Microcontroller is even smaller,
I first placed it in its position and then used a masking tape in order to fix it still
while connecting at least one of its legs.

The rest of the work was minuscule and hard..but eventually...
I was happy with a genuine Hello world board of my own.

We did try to connect the Board to the FABisp , and then to the computer for programming,
we downloaded the Arduino software and we have installed the 01 libraries with the necessary components in order to program the button and the LED.
we have seen how to change the input and output intervals to determine the LED's behavior.

Copyright 2014 | Designed by Oded Shorer