Lesson 4 - Electronics Production
This week we had to create our own Circuit board , using the milling machine , the solder and compiling the hardware.
I have started with Installing the Ubunto OS to my 10" old Vaio notepad, and it worked well, next step was to install the fab modules.
From image to board
From the Fabmodules I have processed the PNG image into a Gcode file that could interact with the milling machine. (we could not convert to Modella formats because of a software problems)
The file became a readable format for the milling machine.
Now we could determine the course of the mill and the different parameters.
Milling
Eventually we have started to mill after introducing the machine, types of end mills and milling parameters such as speed etc.
We have fixed the x and Y coordinations and then carefully we set the Z.
We have worked with both 1/64 and 1/32 bits for engraving and cutting.
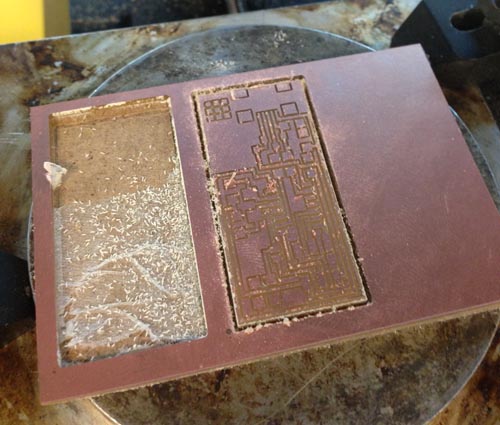
After few trials we understood how to optimize the milling process in order to get a clean circuit board.
Solding
I have introduced to the solder process from handling and safety up to accessories and components to ease on the precise work,
it was not easy !!
We have started with the USB and its connections to the board, then the microcontroller, crystal, diodes etc...
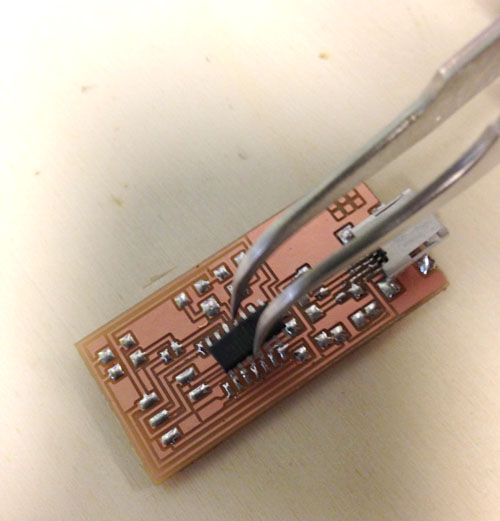
It took a while to get the precision and we had to check the circuit board every now and then to make sure we didn't create any shortcuts.
Eventually the board was ready. now it was the crucial moment of making it alive!
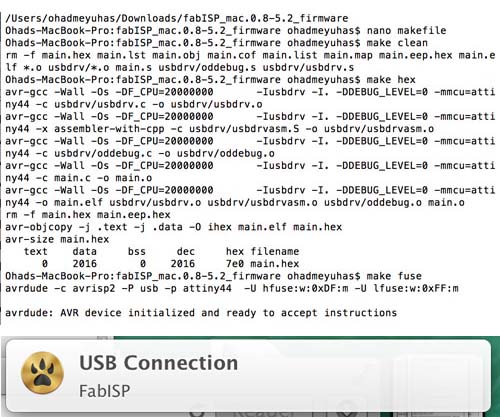
The FabISP in circuit programmer.

we have connected the AVR to the ISP - pin 1 to pin 1 and USB to computer, and started to run the commands.

Copyright 2014 | Designed by Oded Shorer