Building a 3d model on rhino5 of an axis head to run some tests
A longtime ago I’ve learned rhino at school and that’s the reason I used it for these task.
First I started by drawing a circle , than using offset curve
 I drew more concentric circles that I copied to a certain distance, by making a line
  and using mirror
  in the mid point of that line. From there i made more horizontal and vertical lines using some of the above tools, and used trim
  to take out the some parts off the lines leaving behind just some out lines do extrude my model.
Press Fit
I started my press fit task based on a triangle as base material I used some old 3mm acrylic from a store front.
2nd - some basic ideas I already have in mind…( at this point everything is changeable):
Motors - I intend to use dc motors for many reasons, the 1st one being they are more common, then it's easier to buy a used powerful one. And, as I recovered many encoders from hp printers, I can get the proper positioning feedback I need; and the 2nd reason is that I'm going to learn how to read and control input and output devices, nothing better than combine them both on my final project. With hi-torque, both stopped and in motion, good gear reduction, hi-durability and being available as cheap used parts, I found car window and windscreen wiper motors to be apparently ideal for my project…
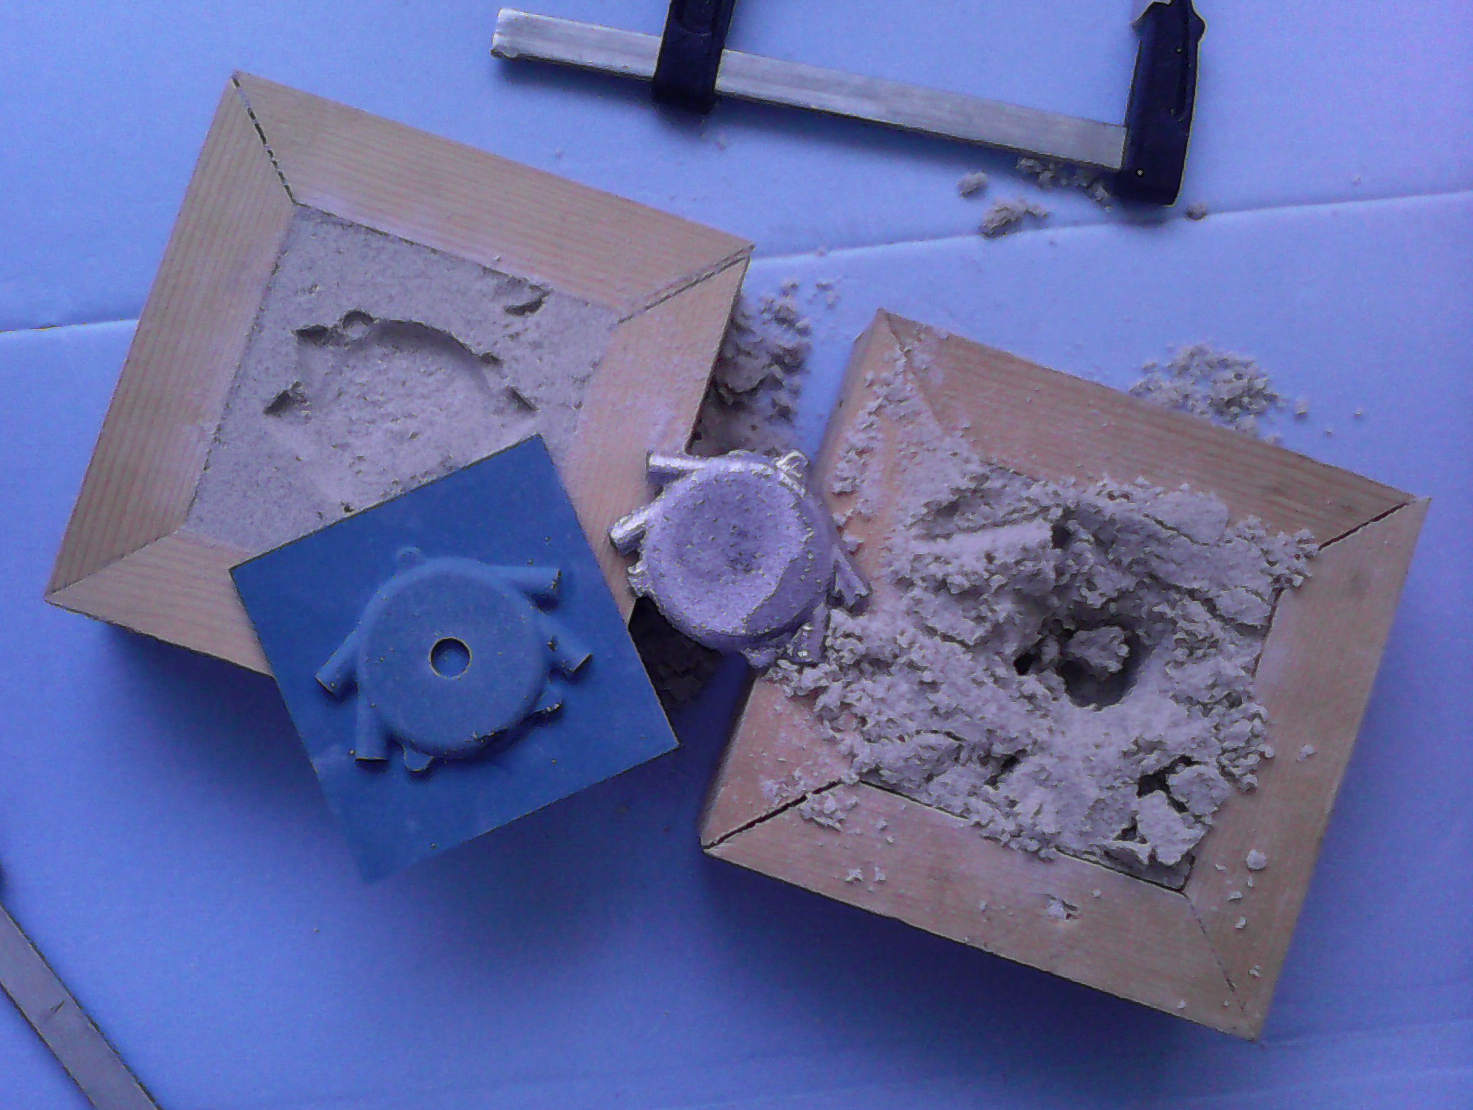
molding and casting
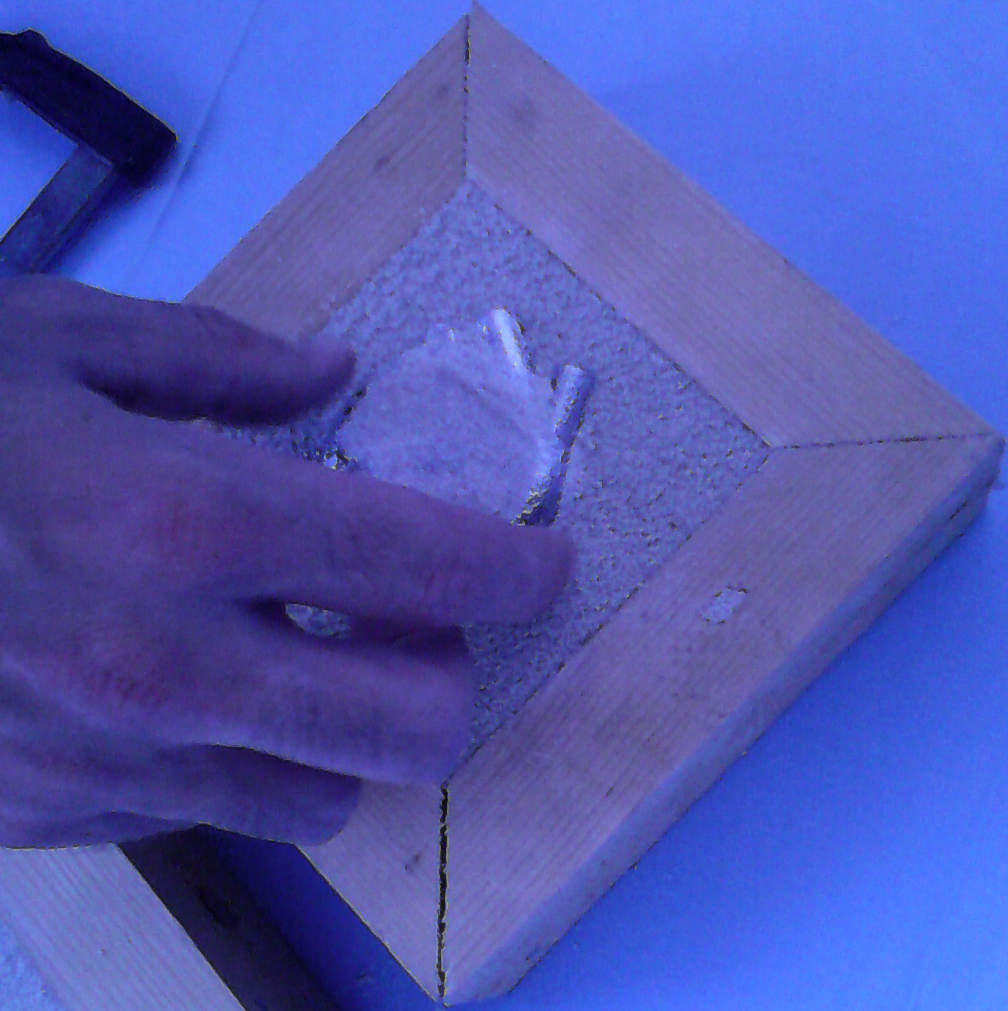
This week, my intention was to sand cast aluminum so I started by milling 2 sides of a master mold, top and bottom, from VALCHROMAT with a SHOPBOT-like machine.
the folowing video was accelarated by a factor of 42x so as to illustrate the milling process
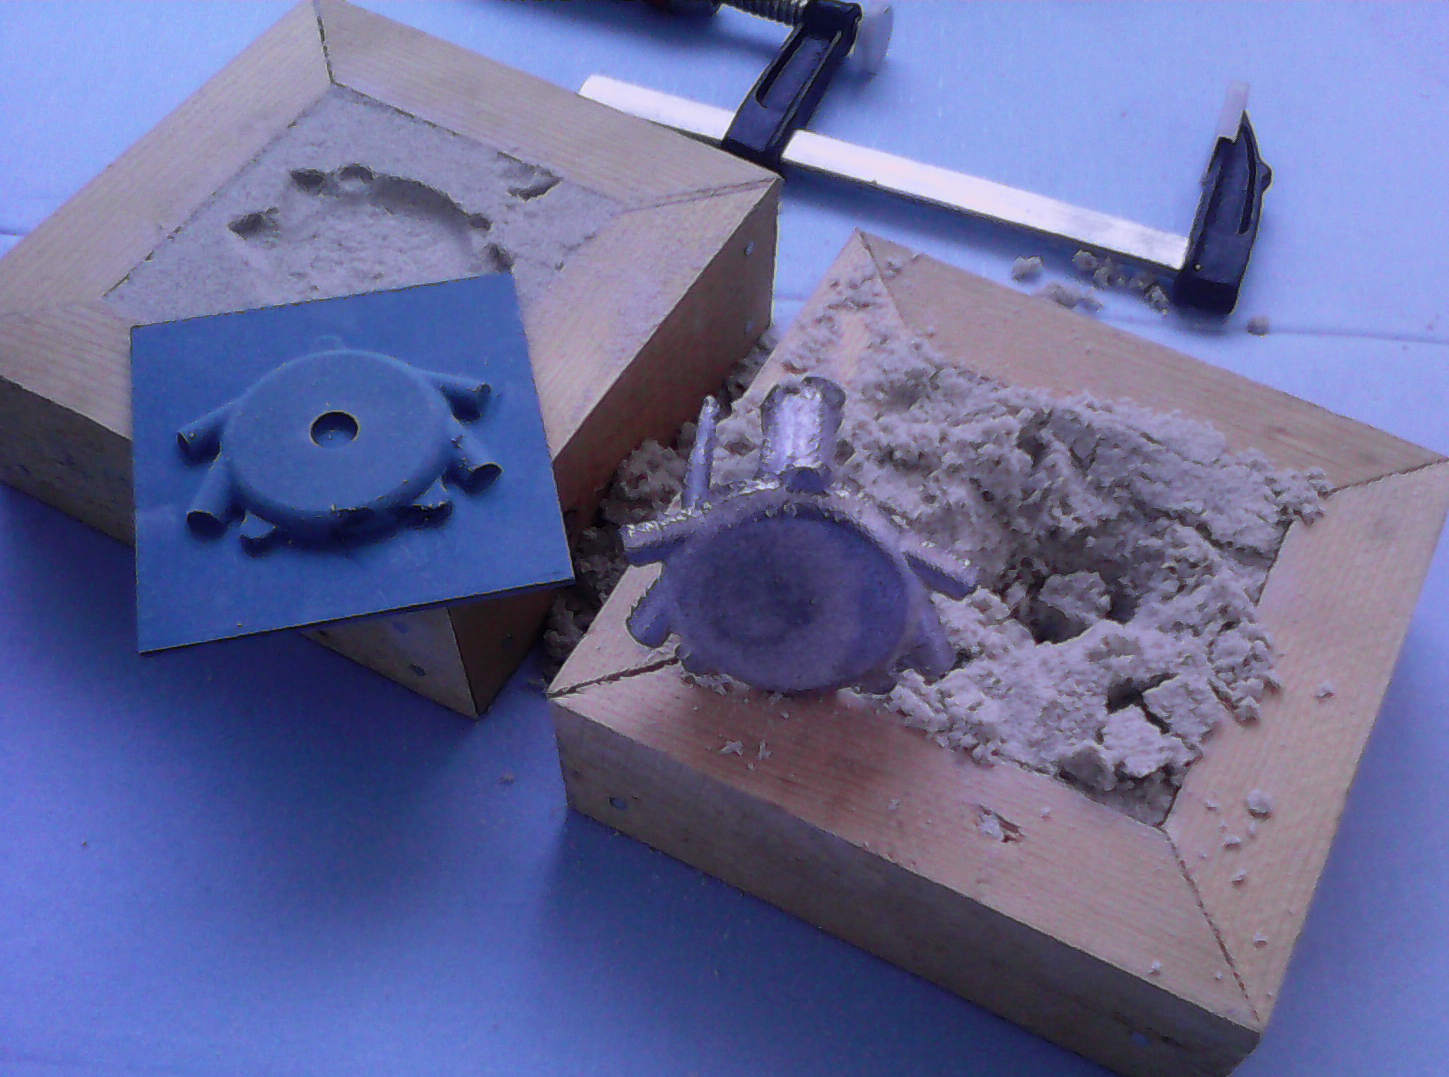
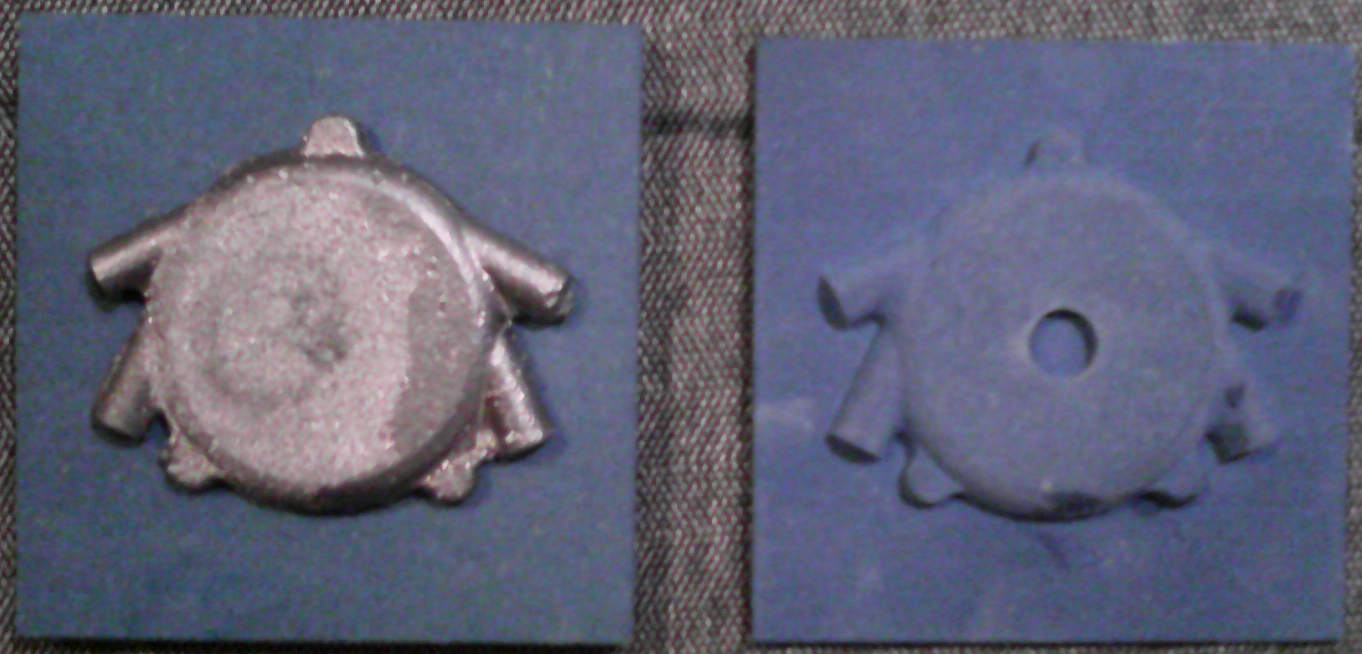
It worked very well, getting a smooth surface. Unfortunately, it wasn't possible to melt aluminum due to unexpected rueful weather and outdoor makeshift installations. I ended up using lead instead and, as the local supplier of green sand didn't deliver, used regular mortar sand for the casting. It had the good moisture level, so I used it “straight from the box”. But the grain was too big and it could not resolve the smaller cavities so I chose only to cast the outside shape of the piece. On the overall it worked better than expected for a first-run with so many set-backs. The surface came out with some roughness probably due to the boiling of water contained on the sand, the fact that it is not even throughout the surface lends some support to possibility of uneven water distribution and problems thereof. It spikes my curiosity to see what would have came out with oil-based green-sand.

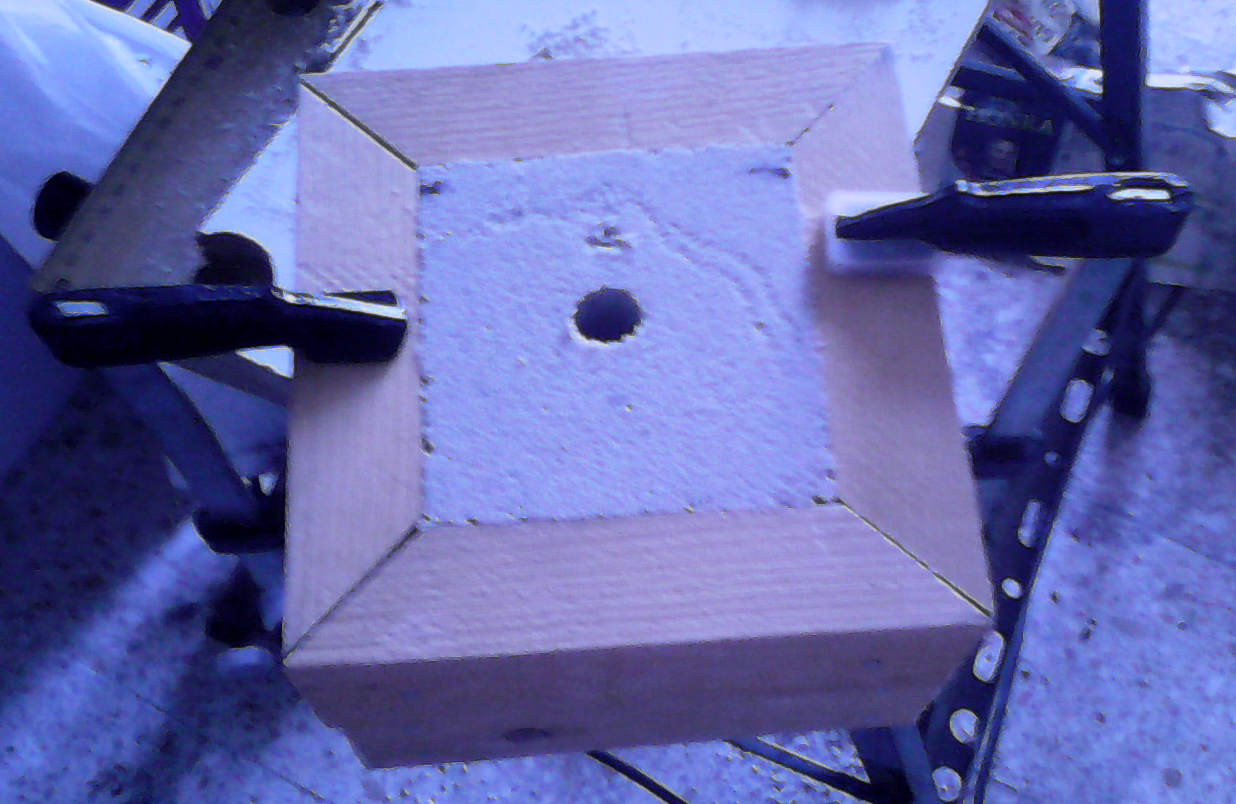
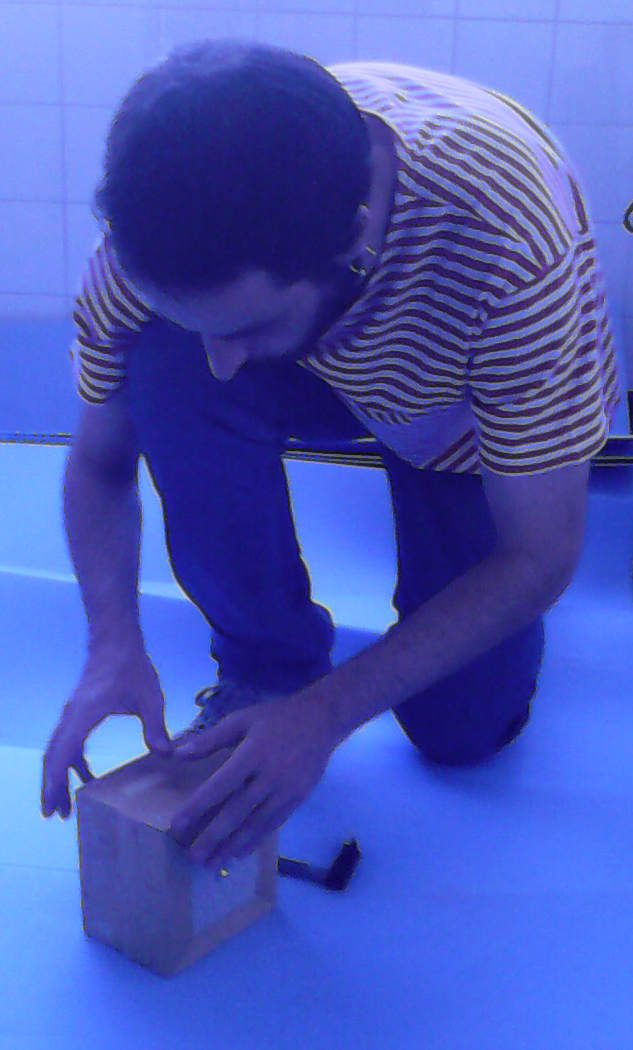
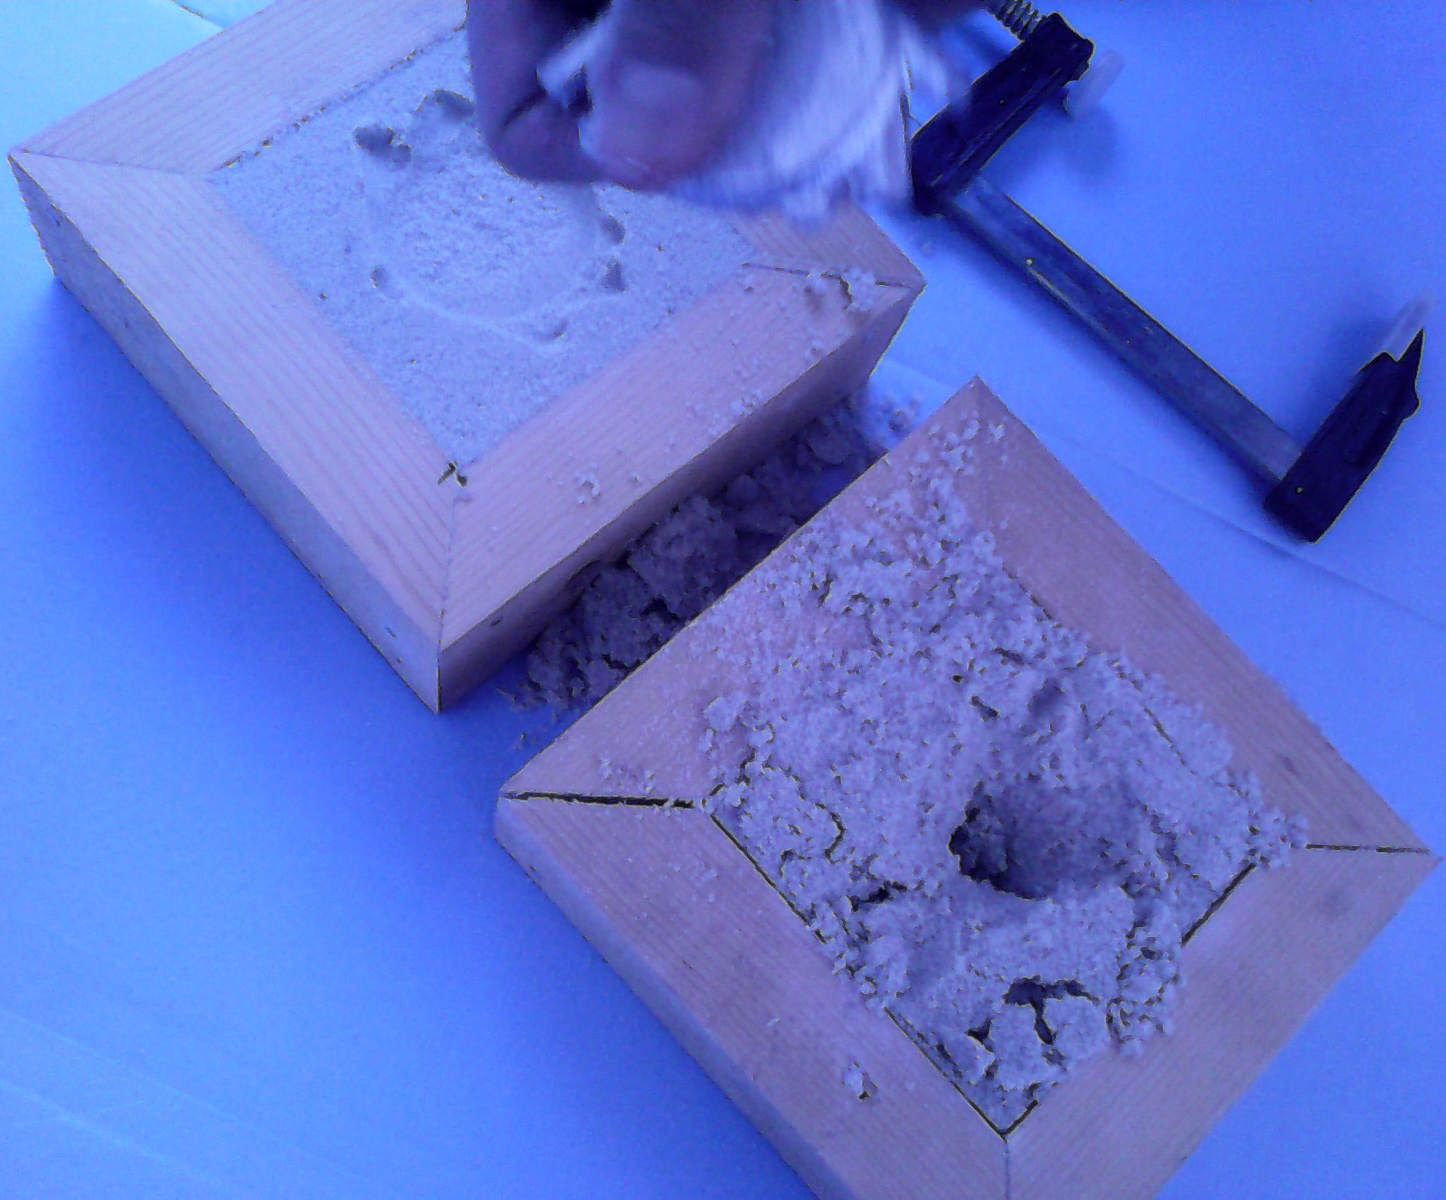
The process used was:
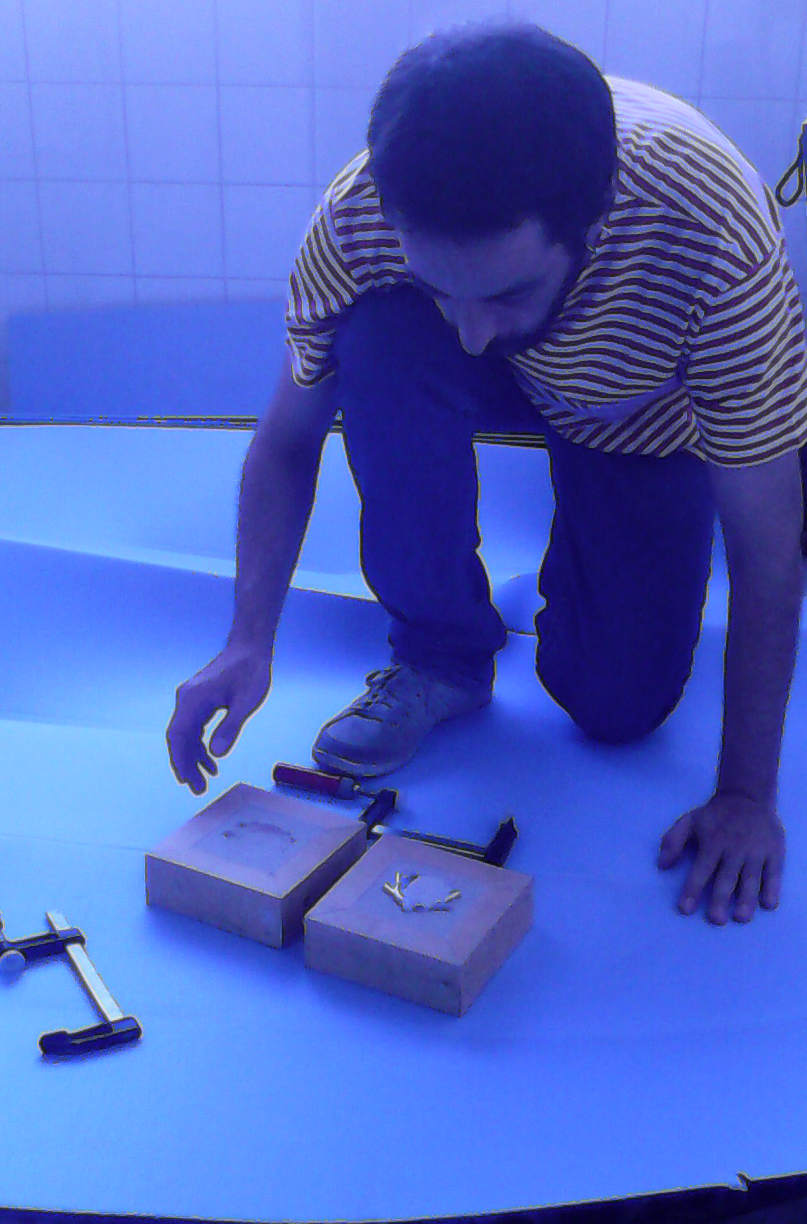
- two wooden frames were made with an angle-saw ( and a couple of nails);
- then proceeded to make the pouring hole with a rigid PVC tube and the exhaust hole with a Chinese chopstick, pressing the sand around them to compact it;
- as soon as the compactness was correct, the tube and chopstick were removed;
- the surface was then leveled and smoothed with a simple straight piece of cardboard;
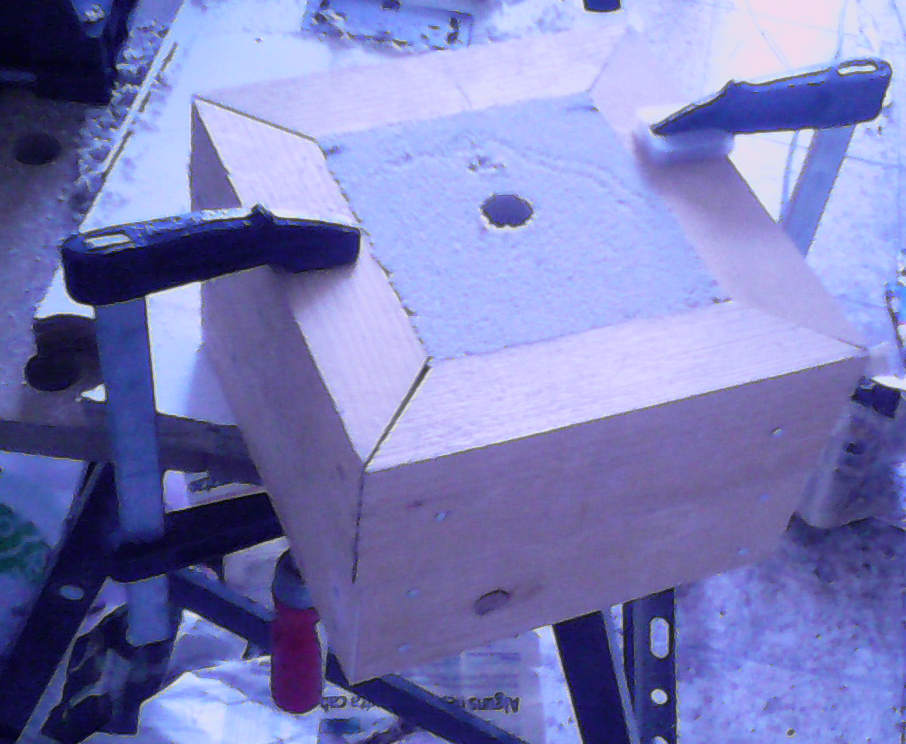
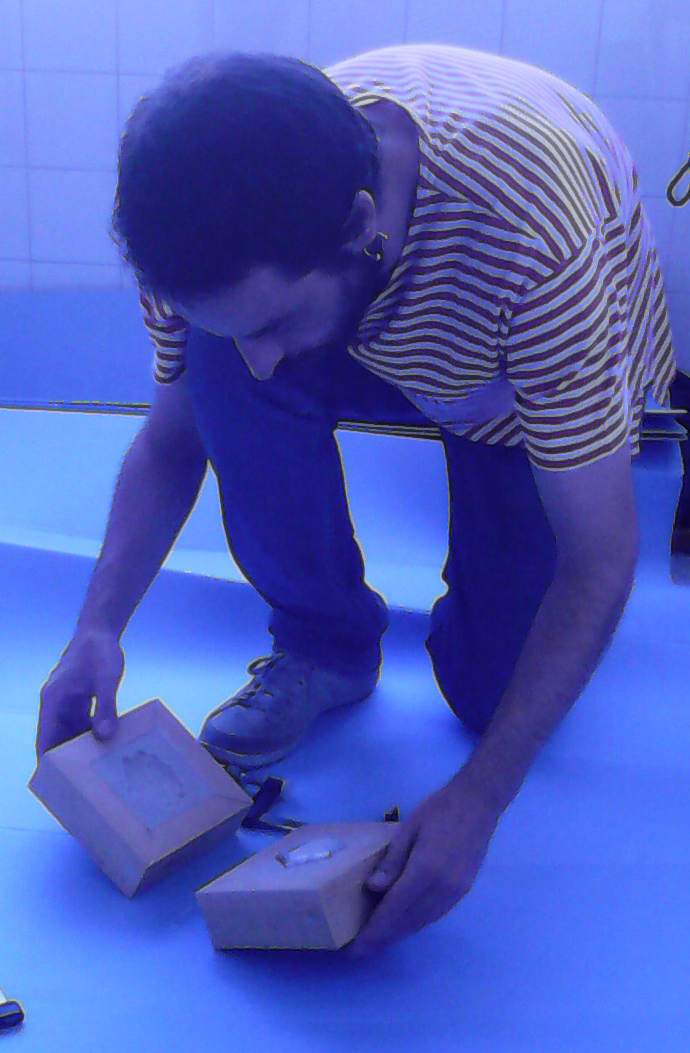
- then the second frame was filled with sand and compacted, them a small portion of sand from the center was removed and the master-mold was pressed against it;
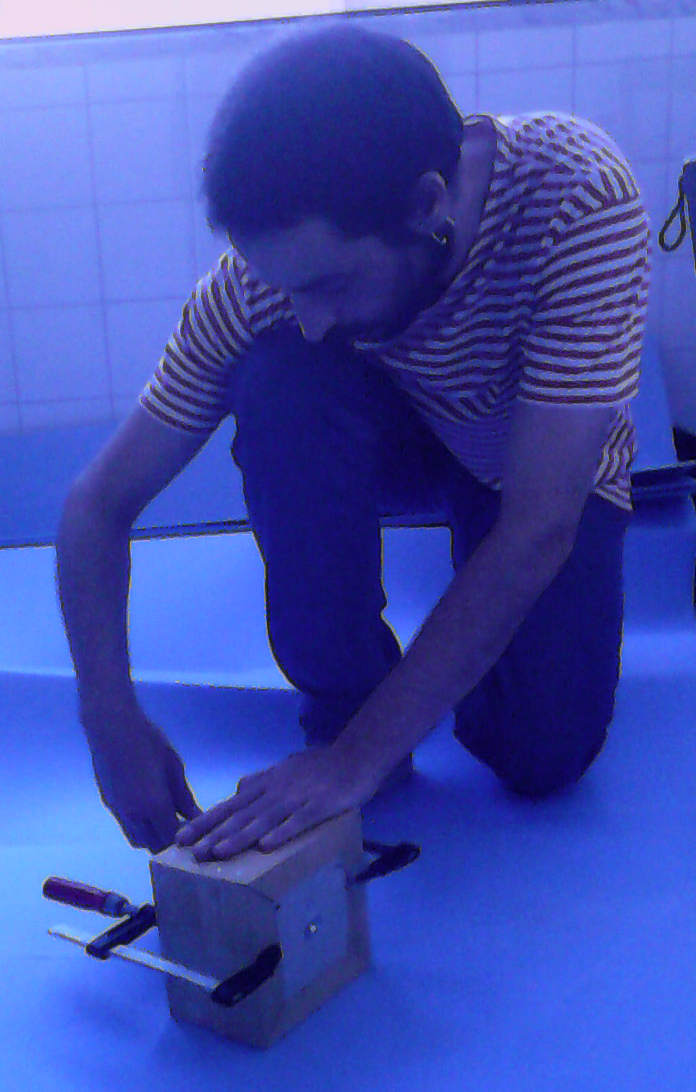
- the two frames were clamped together and were laid down so the one with orifices faced upward;
- melted some plummer's lead in an old pan;
- scooped the impurities that were on the surface with a spoon to a water-filled pan prepared for the task;
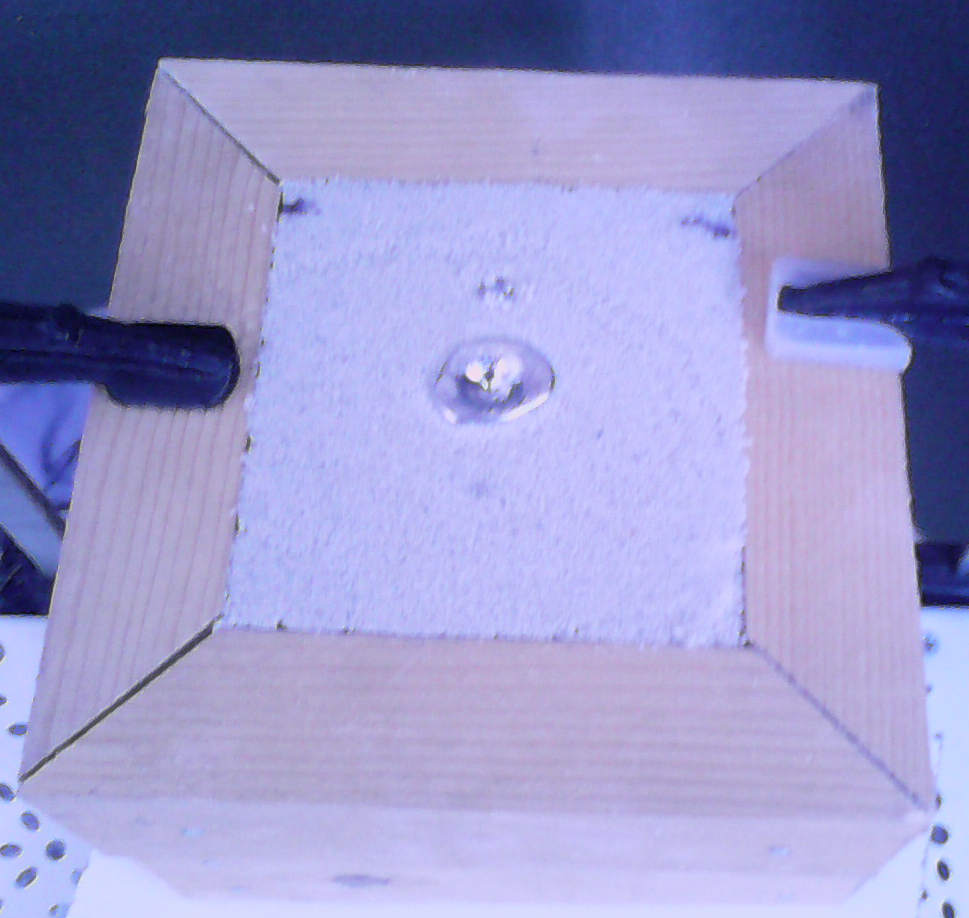
- after getting an homogeneous-looking melted lead I poured it into the mold;
- it was left to cool down for nearly an hour;
- the clamps were removed when it cooled;
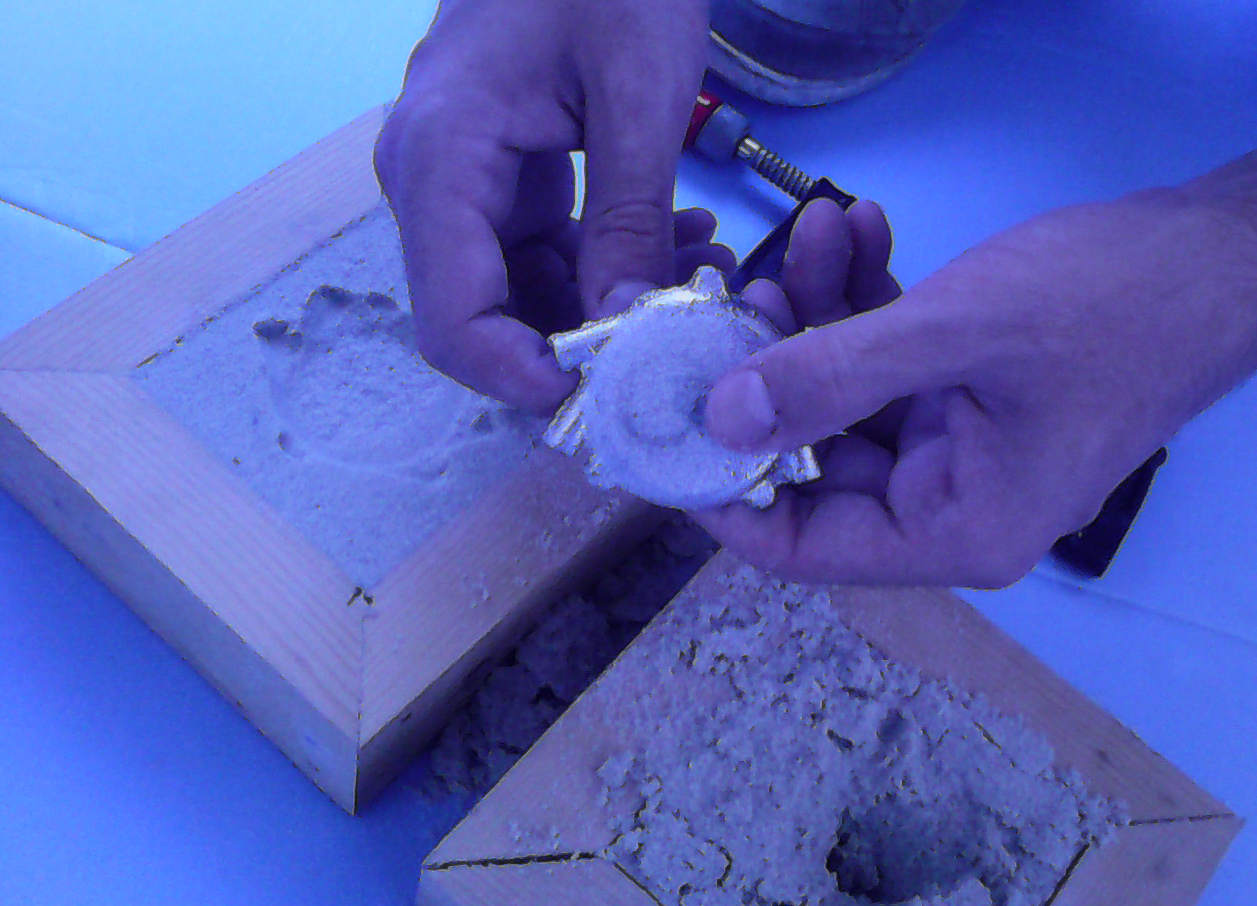
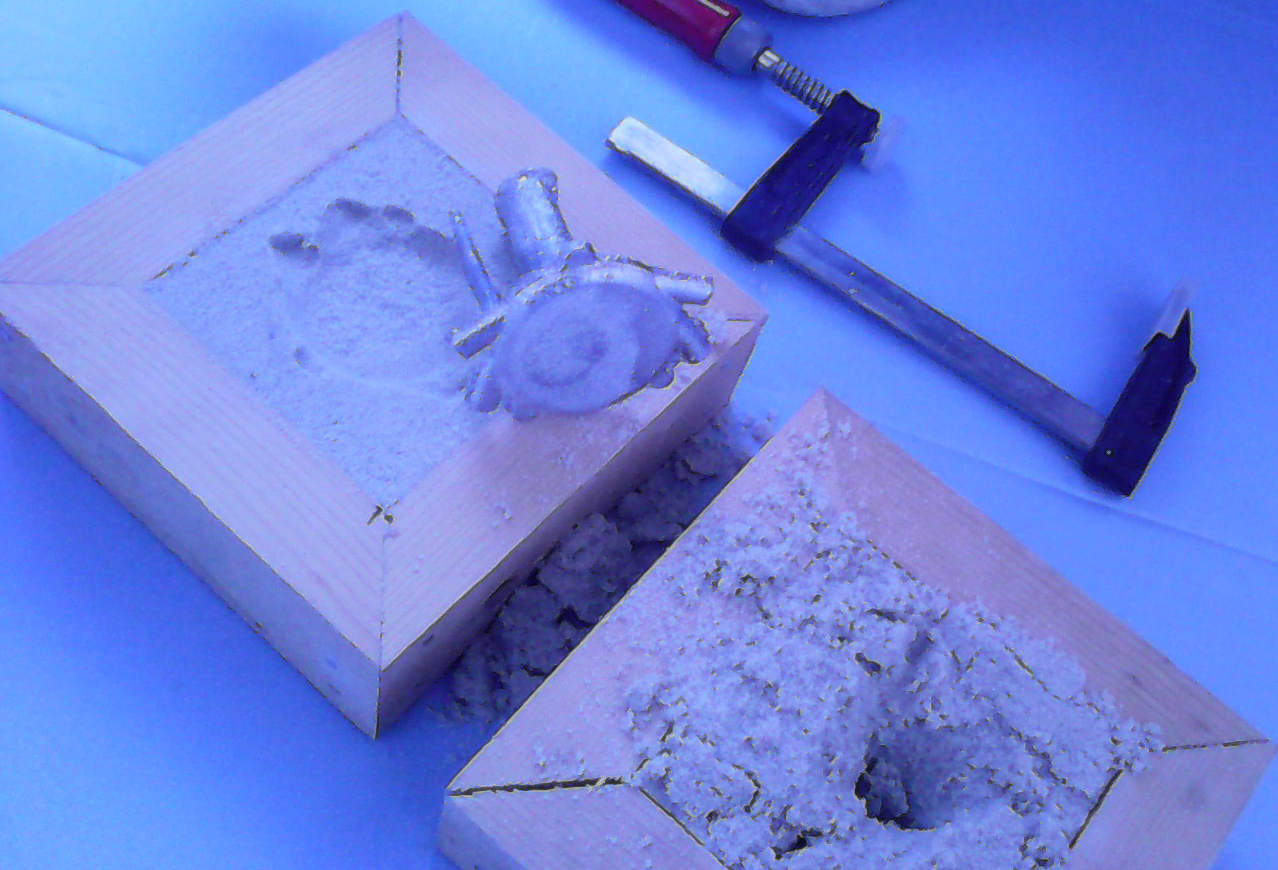
- the frames were separated and the casted piece removed by hand;
- finally the lead sprues were cut out.


see https://drive.google.com/folderview?id=0B-zSpF8Sy3QLM0pIZmw4c1lRb1k&usp=sharing for files
Guilherme Moreira | 18-01-2014 | 04:46 AM | Lisboa | Portugal | para Fab Academy 2014 (pt)