Building a 3d model on rhino5 of an axis head to run some tests
A longtime ago I’ve learned rhino at school and that’s the reason I used it for these task.
First I started by drawing a circle , than using offset curve
 I drew more concentric circles that I copied to a certain distance, by making a line
  and using mirror
  in the mid point of that line. From there i made more horizontal and vertical lines using some of the above tools, and used trim
  to take out the some parts off the lines leaving behind just some out lines do extrude my model.
Press Fit
I started my press fit task based on a triangle as base material I used some old 3mm acrylic from a store front.
2nd - some basic ideas I already have in mind…( at this point everything is changeable):
Motors - I intend to use dc motors for many reasons, the 1st one being they are more common, then it's easier to buy a used powerful one. And, as I recovered many encoders from hp printers, I can get the proper positioning feedback I need; and the 2nd reason is that I'm going to learn how to read and control input and output devices, nothing better than combine them both on my final project. With hi-torque, both stopped and in motion, good gear reduction, hi-durability and being available as cheap used parts, I found car window and windscreen wiper motors to be apparently ideal for my project…
composites
To exemplify the use of composite materials I chose to use fiberglass and cast it Guilherme's style.
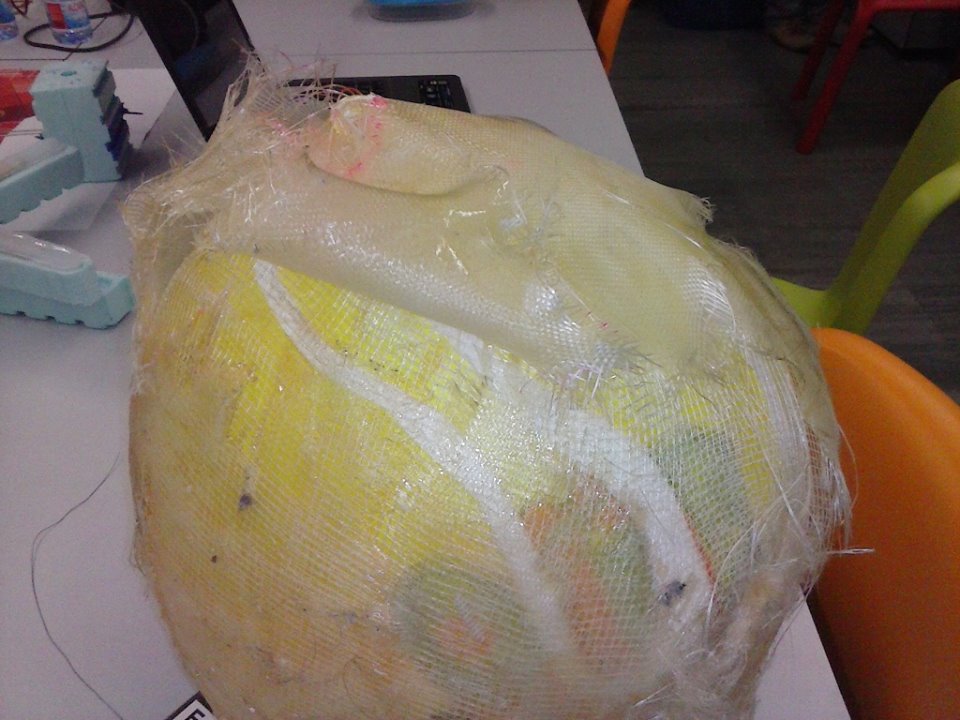
The idea was to come up with an easy and rapid way to make a fiberglass container using an ordinary balloon filled with polyurethane foam as a mold on which the container would take shape. Once hardened, I would remove the foam chemically melting it. Pretty straightforward, right?
So I picked the balloon, filled it with polyurethane and water – as a hardener – and waited for it to “dry”. Then it was time for the resin and glass fiber and just apply it over the balloon, it went dire... The resin was poorly chosen, it just was too fluid and not sticky enough to hold the glass fiber and it ended up sliding all over the place. The molding was a failure but, if the thinking was sound, I learned how the planning and choosing your resins accordingly was important.
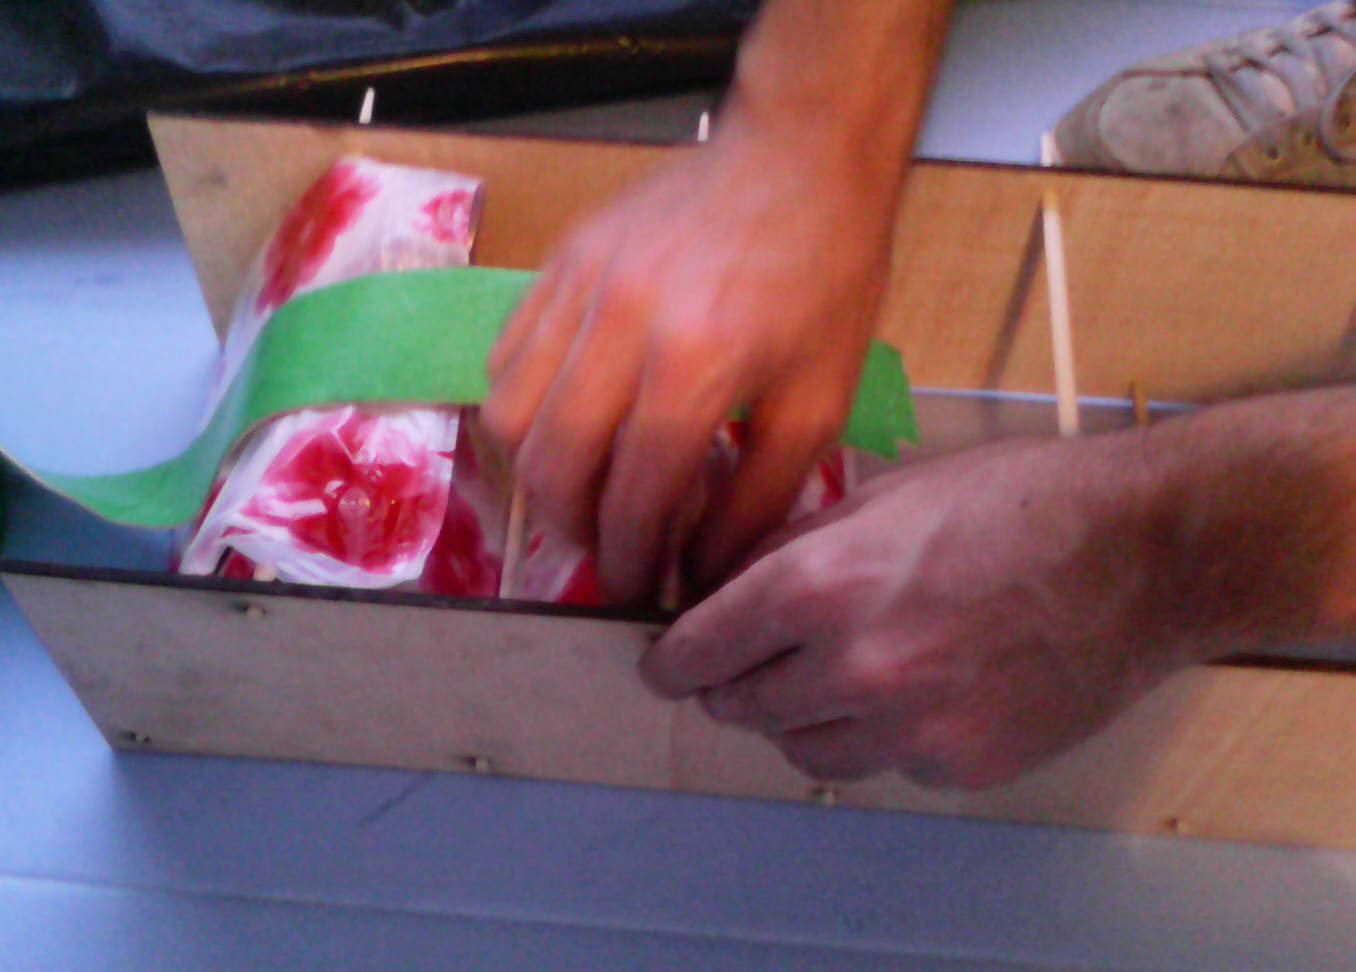
Keeping exploring rapid and easy to make processes and trying to get a better understanding of the inner workings of fiber-casting, I proceeded to make a simple structure comprised of two planes perforated in a triangular pattern where chopsticks were inserted.
First the holes were laser-drilled then the structure was assembled with the chopsticks . The resin was then applied over the fiberglass and folded it in several layers – extremities inward – so as to get the assembled structure width.
I was then inserted in a regular clothing vacuum bag, and the air was sucked ut with a vacuum cleaner.
It was then folded around the chopsticks in a “W” shape and left to dry for 30 minutes.
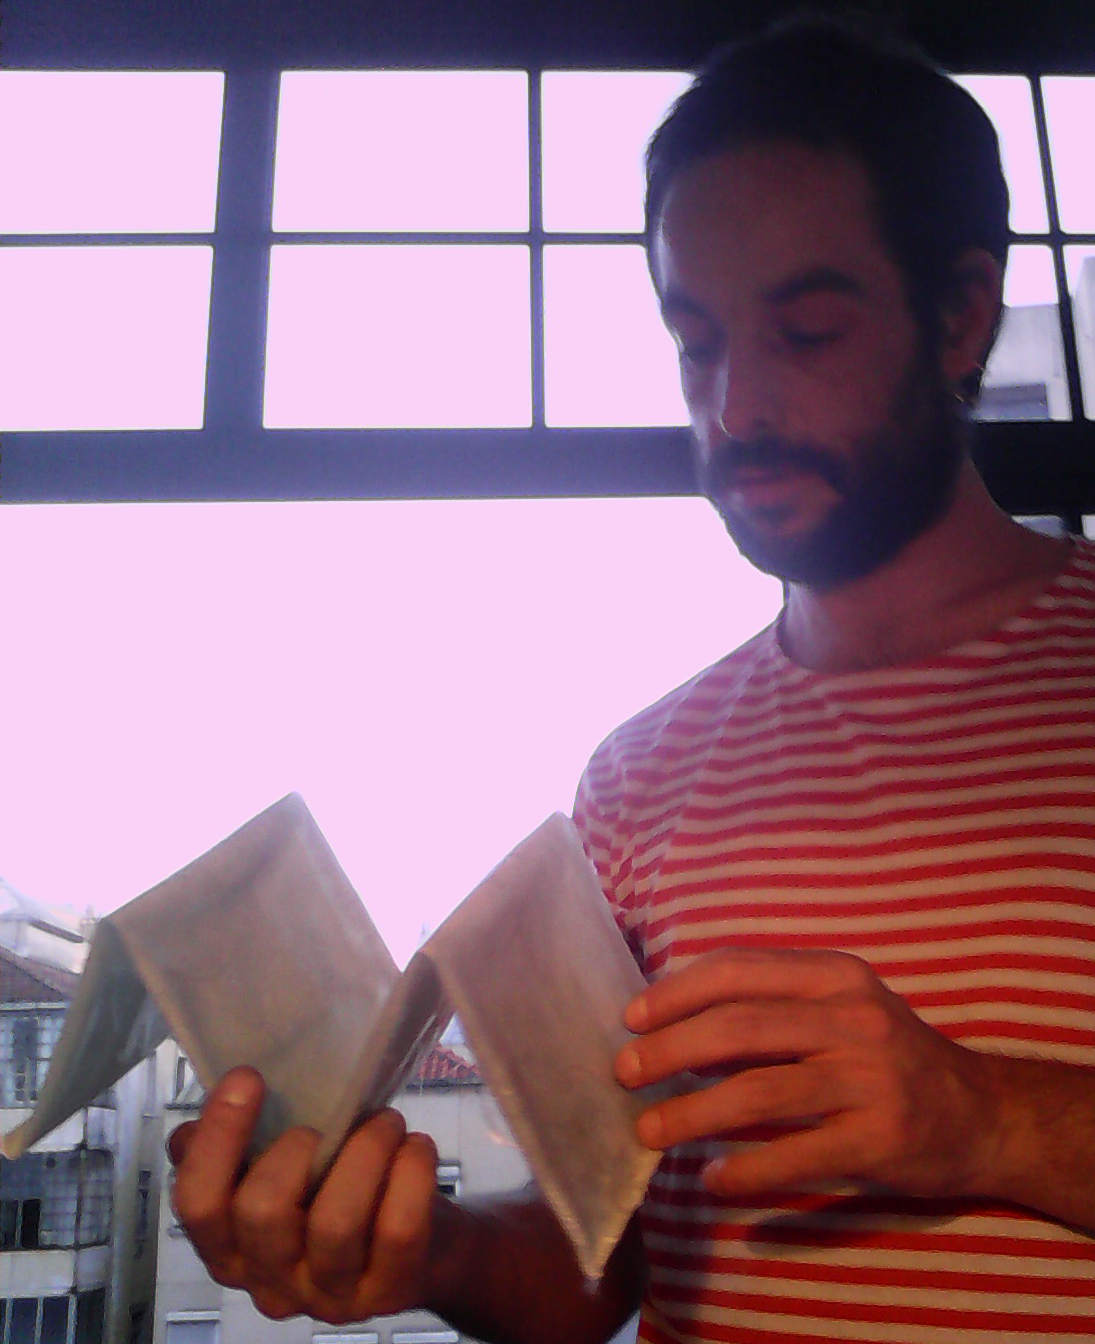
When it was hard and dry it was taken out of the frame and the bag, as it can be seen on the video. It is my little letter or CD holder.
The same way this example was made, it can easily be extended to make “abat-jours”, boxes and so on.


see https://drive.google.com/folderview?id=0B-zSpF8Sy3QLM0pIZmw4c1lRb1k&usp=sharing for files
Guilherme Moreira | 18-01-2014 | 04:46 AM | Lisboa | Portugal | para Fab Academy 2014 (pt)