Building a 3d model on rhino5 of an axis head to run some tests
A longtime ago I’ve learned rhino at school and that’s the reason I used it for these task.
First I started by drawing a circle , than using offset curve
 I drew more concentric circles that I copied to a certain distance, by making a line
  and using mirror
  in the mid point of that line. From there i made more horizontal and vertical lines using some of the above tools, and used trim
  to take out the some parts off the lines leaving behind just some out lines do extrude my model.
Press Fit
I started my press fit task based on a triangle as base material I used some old 3mm acrylic from a store front.
2nd - some basic ideas I already have in mind…( at this point everything is changeable):
Motors - I intend to use dc motors for many reasons, the 1st one being they are more common, then it's easier to buy a used powerful one. And, as I recovered many encoders from hp printers, I can get the proper positioning feedback I need; and the 2nd reason is that I'm going to learn how to read and control input and output devices, nothing better than combine them both on my final project. With hi-torque, both stopped and in motion, good gear reduction, hi-durability and being available as cheap used parts, I found car window and windscreen wiper motors to be apparently ideal for my project…
Too big or not too big
That became the question
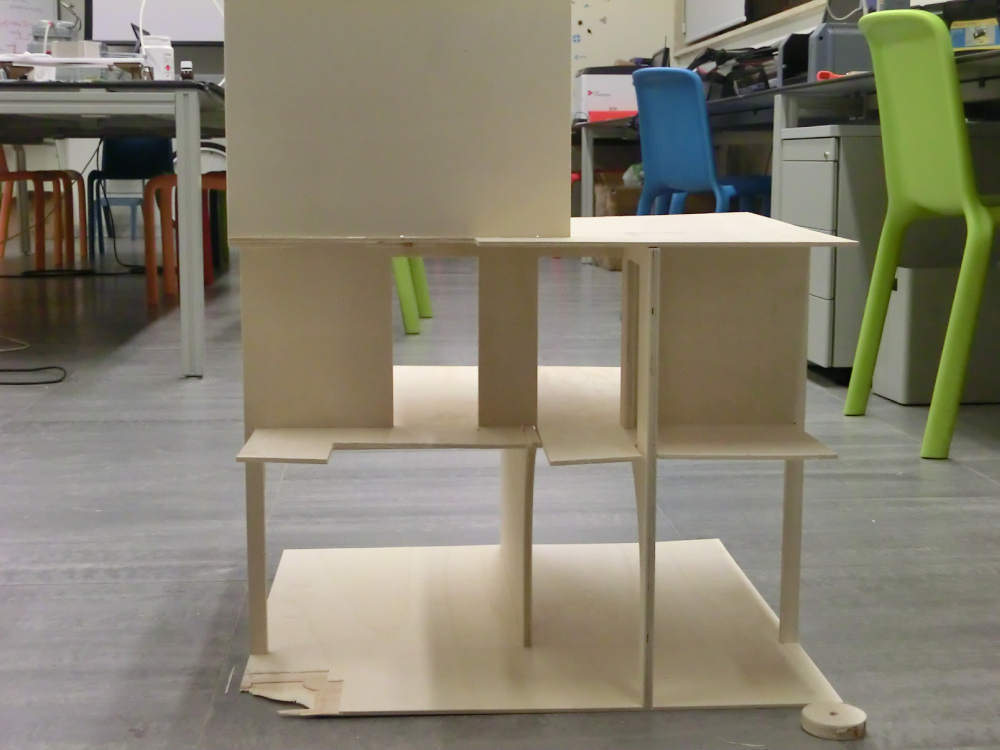
so let’s do the math, 5 colleges, one machine, 5 days, make something big and no project yet ,clearly a challenge but obviously not enough. So here comes the first example of something big to build: “A HOUSE “.Now that my head is kind of turning around and around and completely lost in a pile of crazy big projects, I have to control myself and choose a big, but clearly not too big, thing to do. Ss I simply don’t have the time, after a lot of thinking, I decided to follow the master proposal and build a HOUSE, but a doll one.
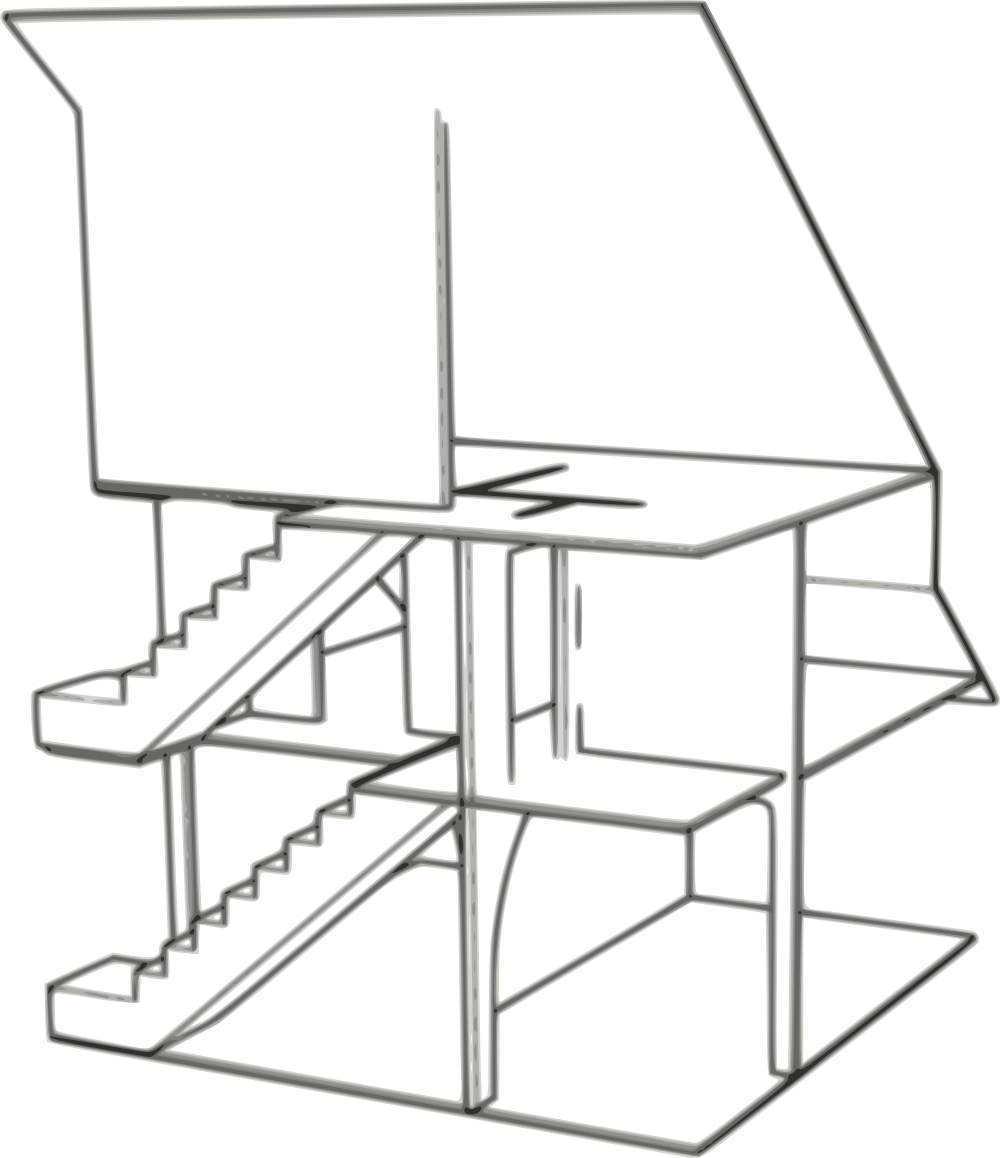
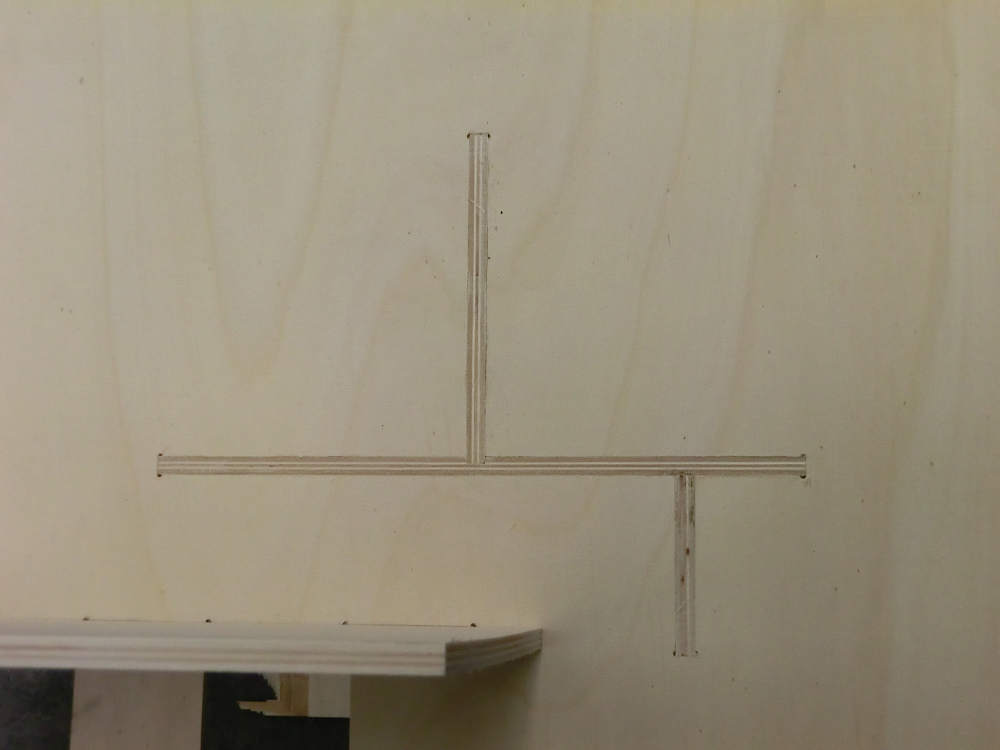
It was sugested to me that the parts should fit together without glue or nails.
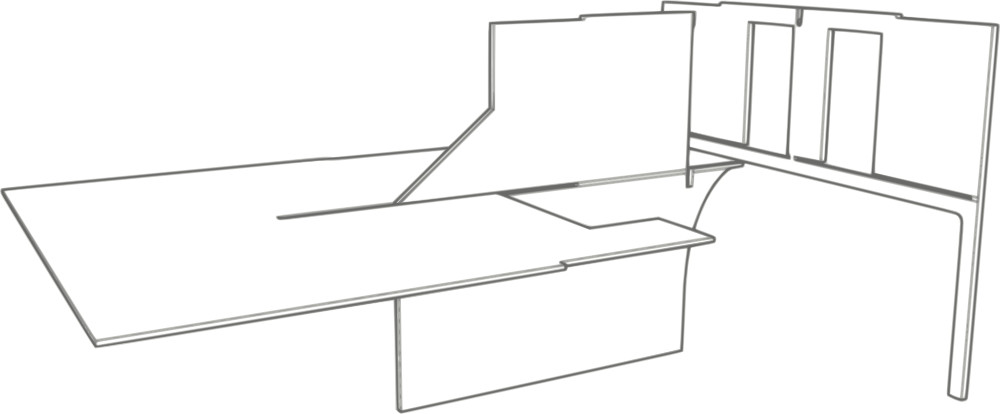
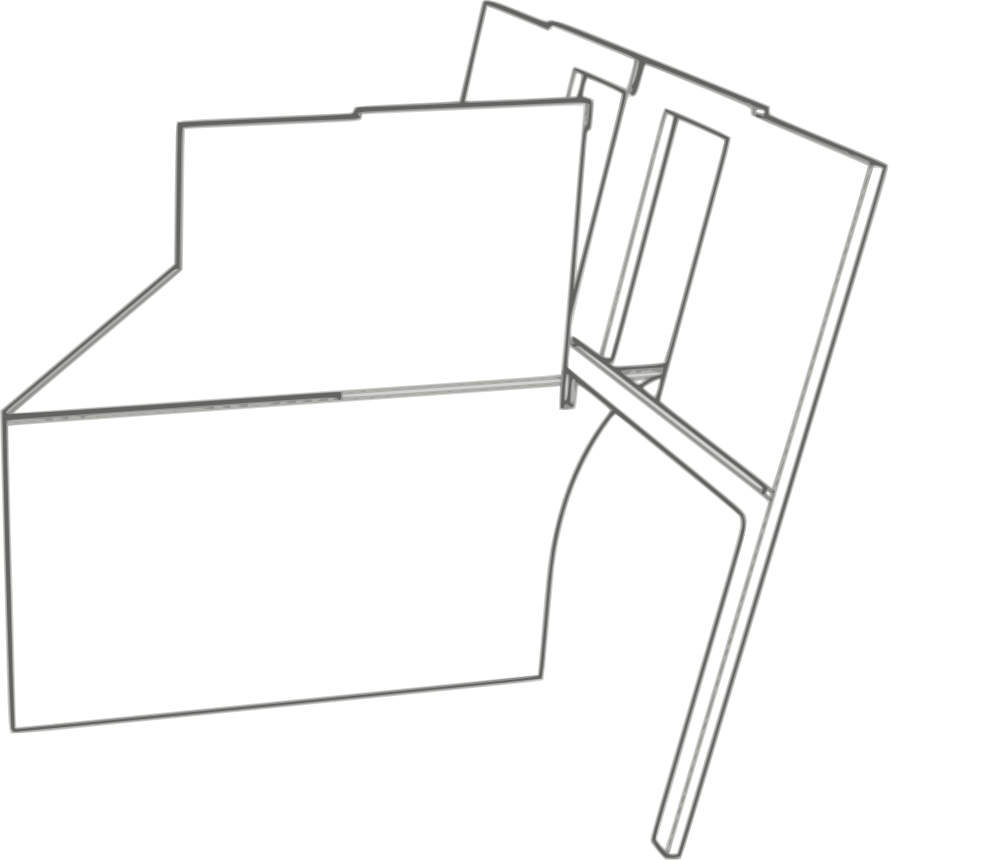
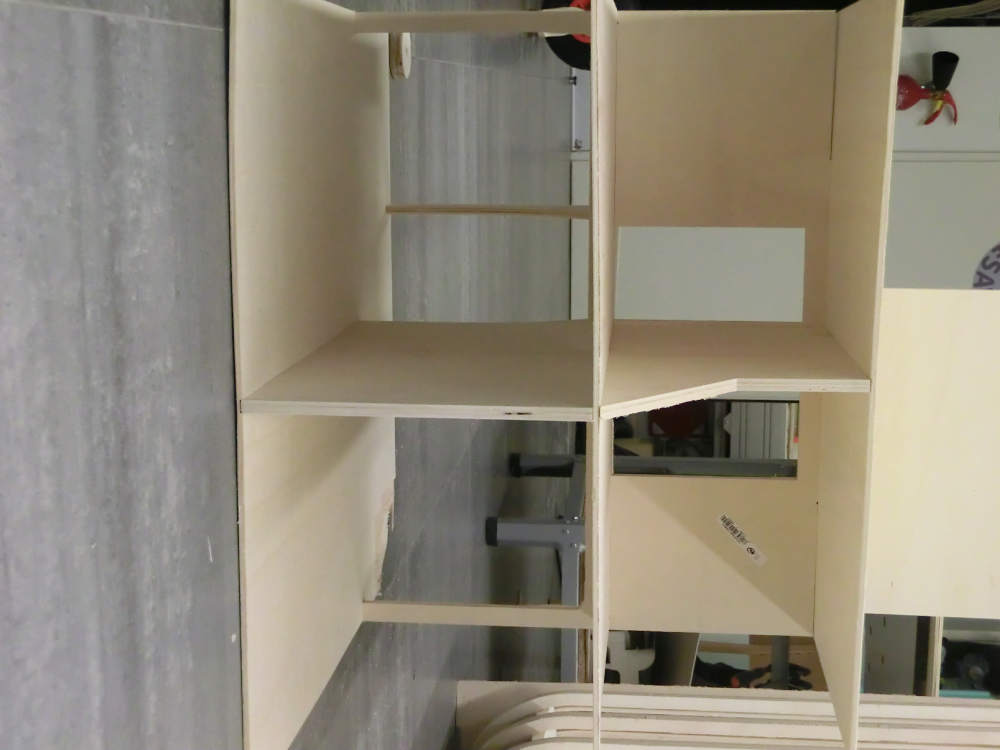
To make it possible I created the following 2 and 3 part joints


One of them I canceled as I didn’t had the time to make a 2 side work.

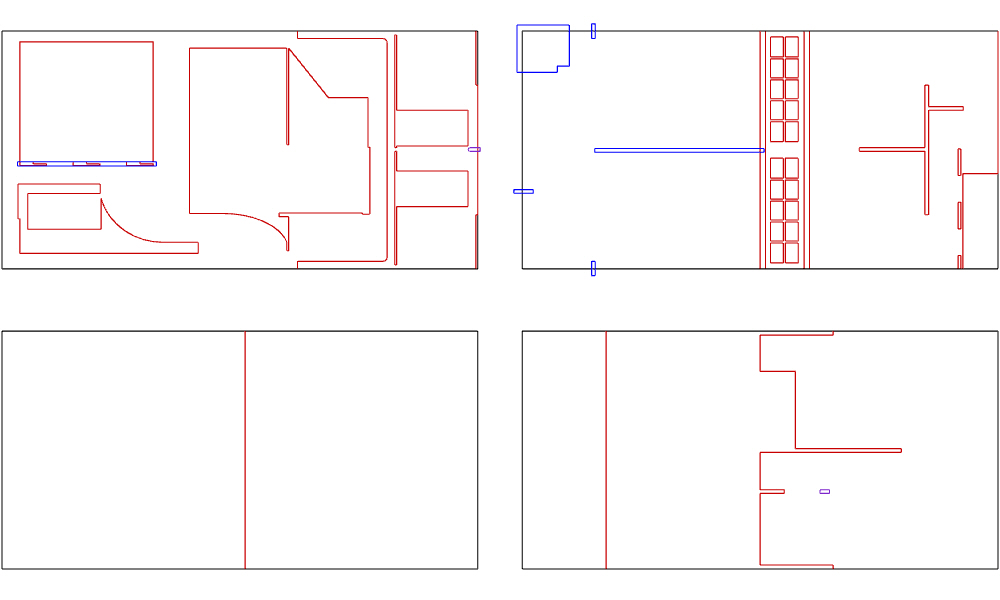
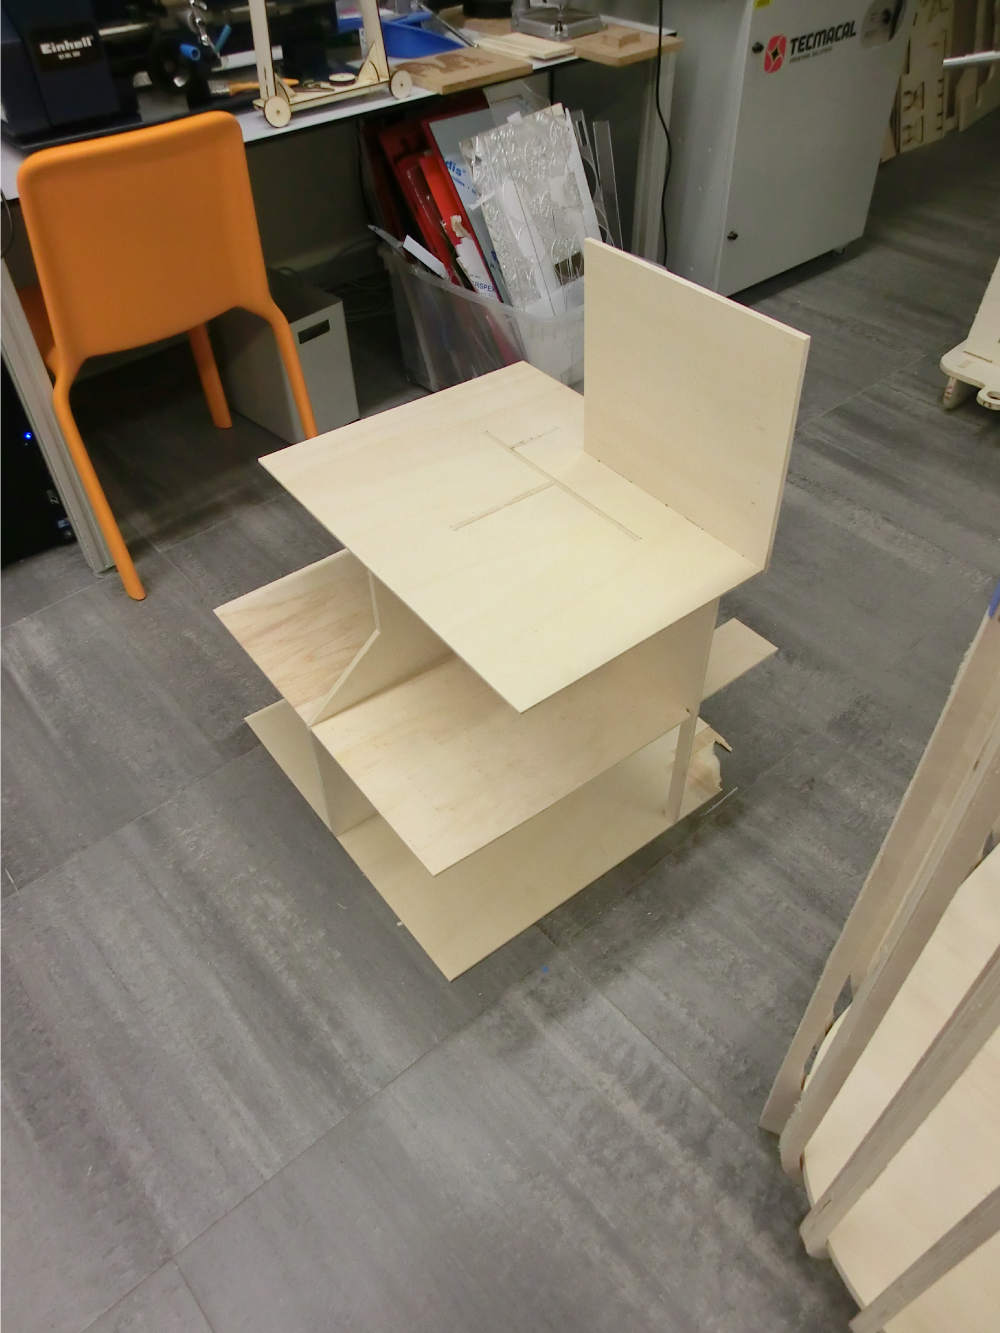
Then I made the vectors for cutting the parts and organize them on 4 600x1200mm size boards, 1 with 9.3mm thickness and the others with 4.8mm .
When cutting I made a mistake designing the toolpath of the 1st floor which resulted on a slit difference on the joins, but nothing fatal. I used it anyway as there was no time to repeat it.


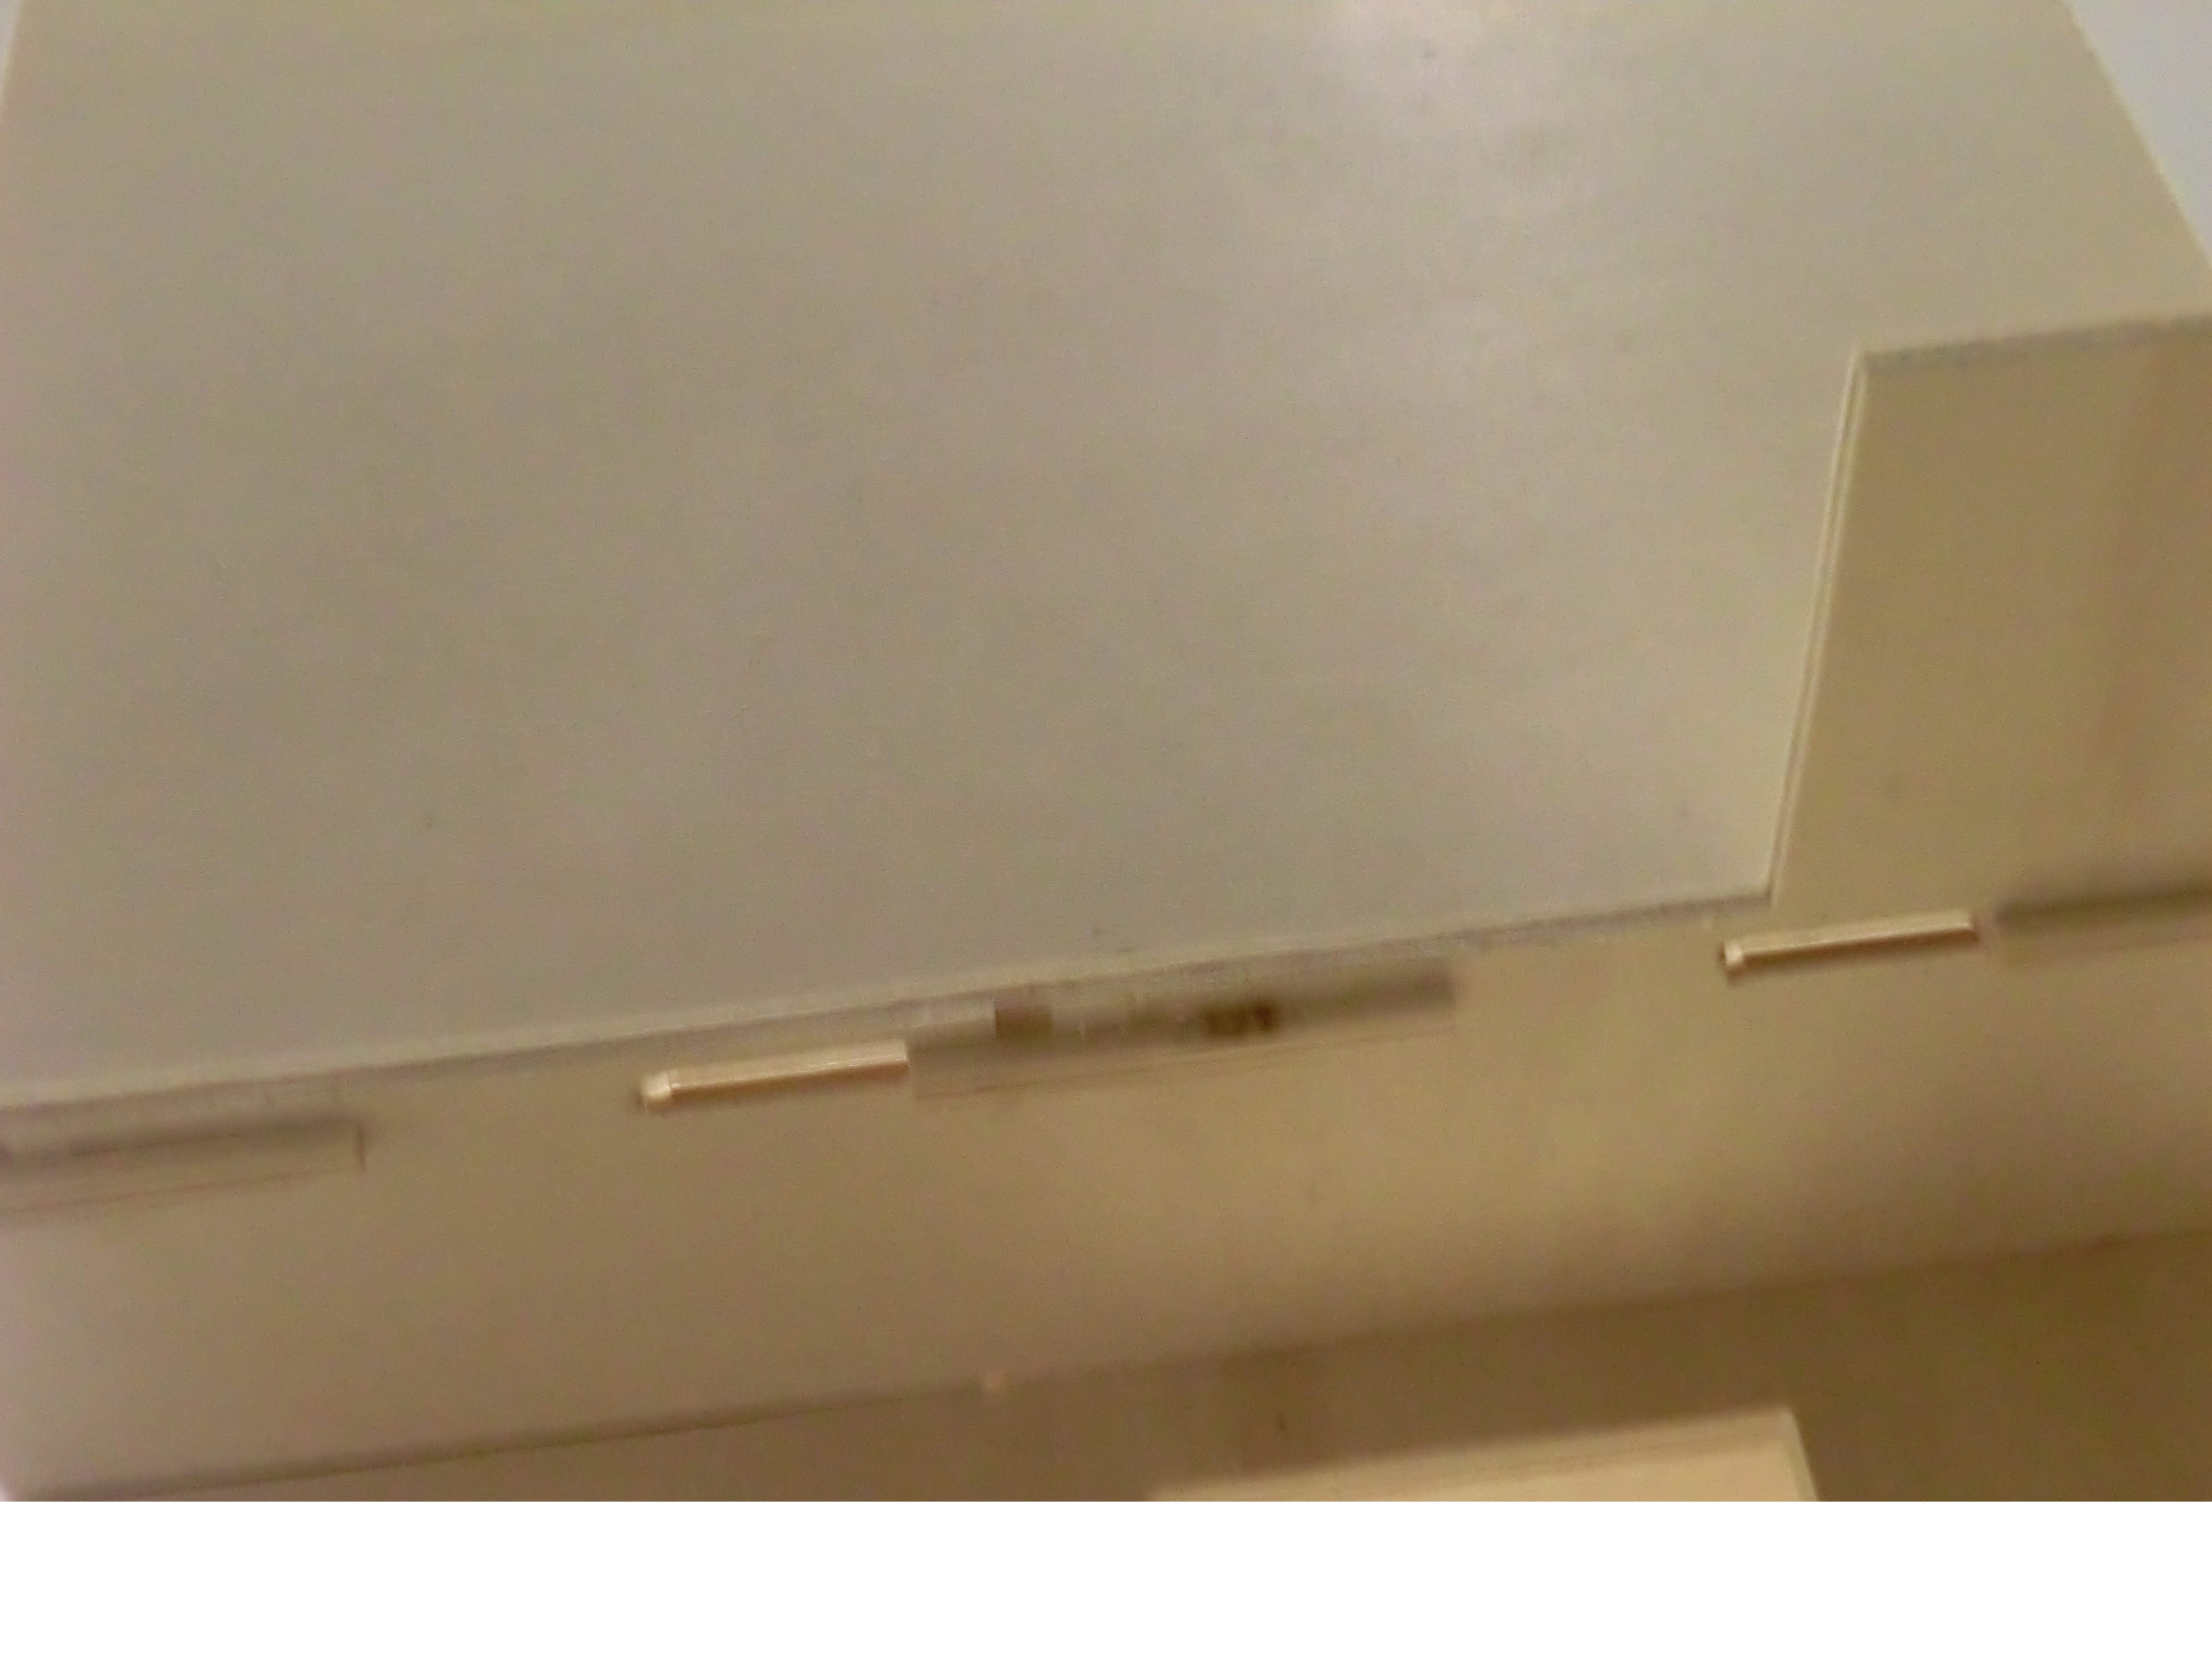
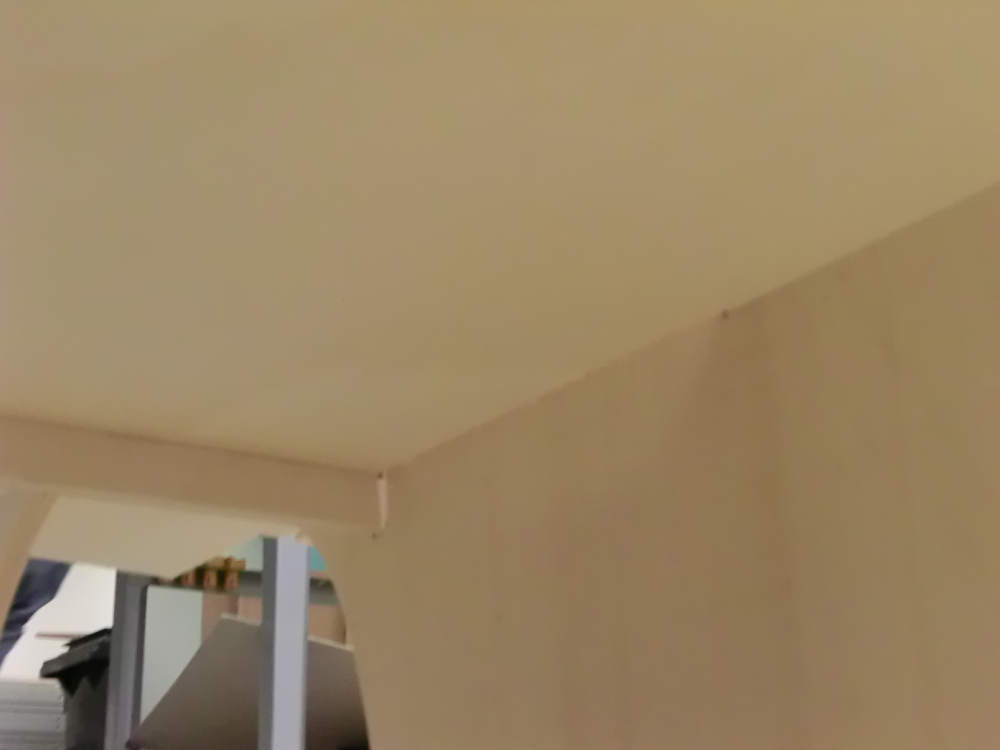
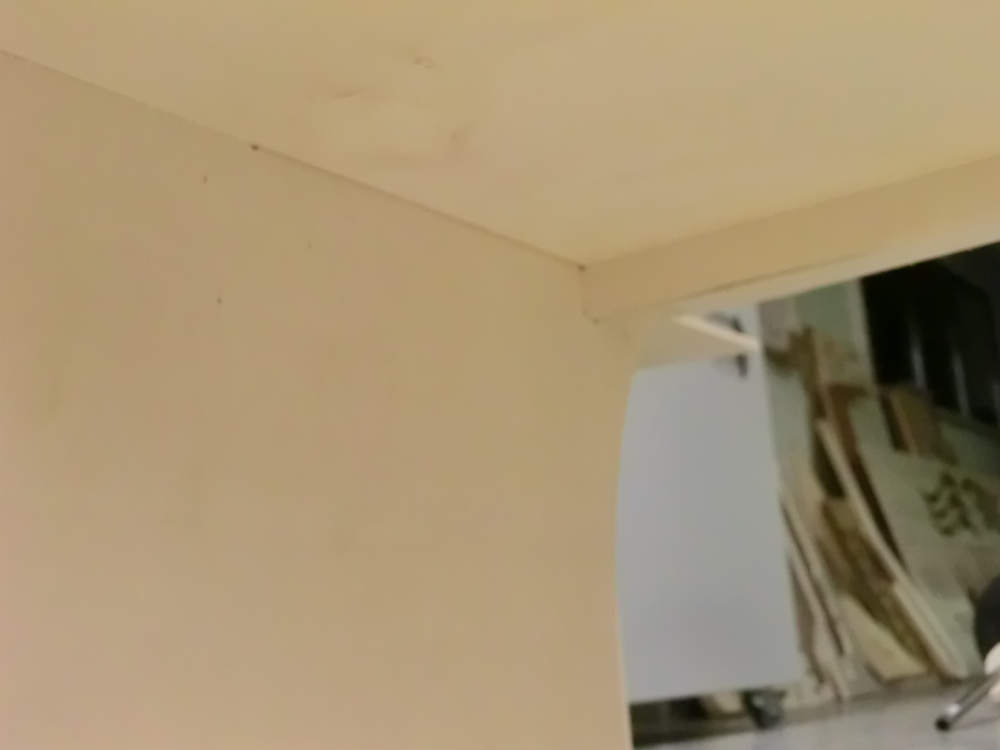
Joining the parts turned out pretty well
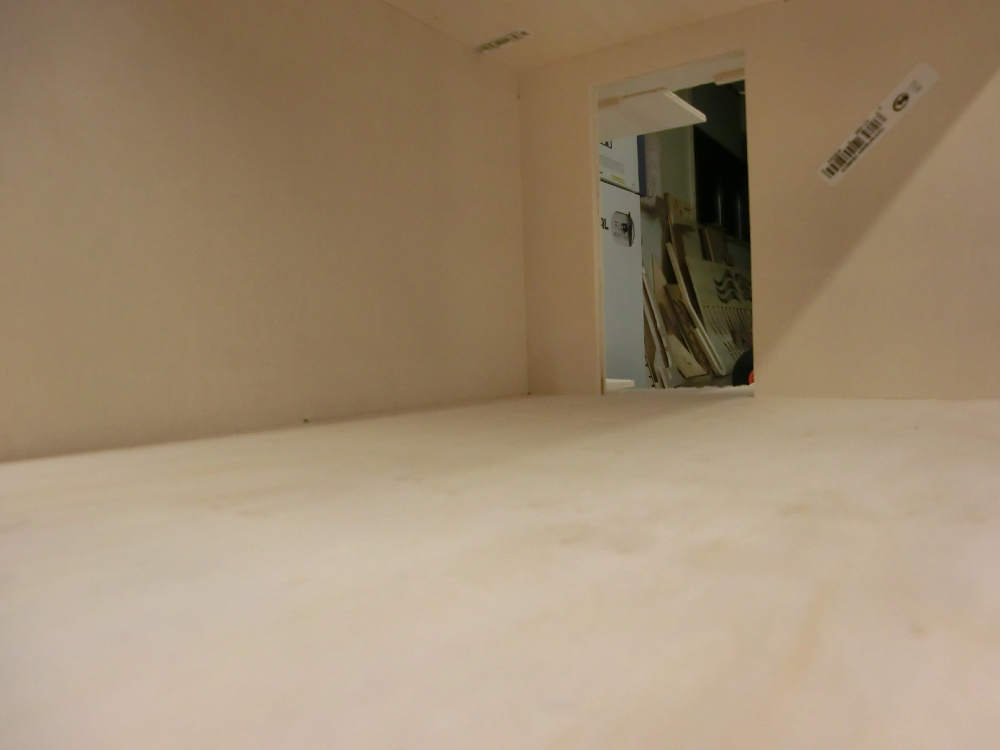
The roof I nailed it because I wished to add some more stuff in it and the joints would be in the way.
see https://drive.google.com/folderview?id=0B-zSpF8Sy3QLM0pIZmw4c1lRb1k&usp=sharing for files
see https://drive.google.com/folderview?id=0B-zSpF8Sy3QLM0pIZmw4c1lRb1k&usp=sharing for files
Guilherme Moreira | 18-01-2014 | 04:46 AM | Lisboa | Portugal | para Fab Academy 2014 (pt)