Building a 3d model on rhino5 of an axis head to run some tests
A longtime ago I’ve learned rhino at school and that’s the reason I used it for these task.
First I started by drawing a circle , than using offset curve
 I drew more concentric circles that I copied to a certain distance, by making a line
  and using mirror
  in the mid point of that line. From there i made more horizontal and vertical lines using some of the above tools, and used trim
  to take out the some parts off the lines leaving behind just some out lines do extrude my model.
Press Fit
I started my press fit task based on a triangle as base material I used some old 3mm acrylic from a store front.
2nd - some basic ideas I already have in mind…( at this point everything is changeable):
Motors - I intend to use dc motors for many reasons, the 1st one being they are more common, then it's easier to buy a used powerful one. And, as I recovered many encoders from hp printers, I can get the proper positioning feedback I need; and the 2nd reason is that I'm going to learn how to read and control input and output devices, nothing better than combine them both on my final project. With hi-torque, both stopped and in motion, good gear reduction, hi-durability and being available as cheap used parts, I found car window and windscreen wiper motors to be apparently ideal for my project…
3D scanning and printing
scanning:
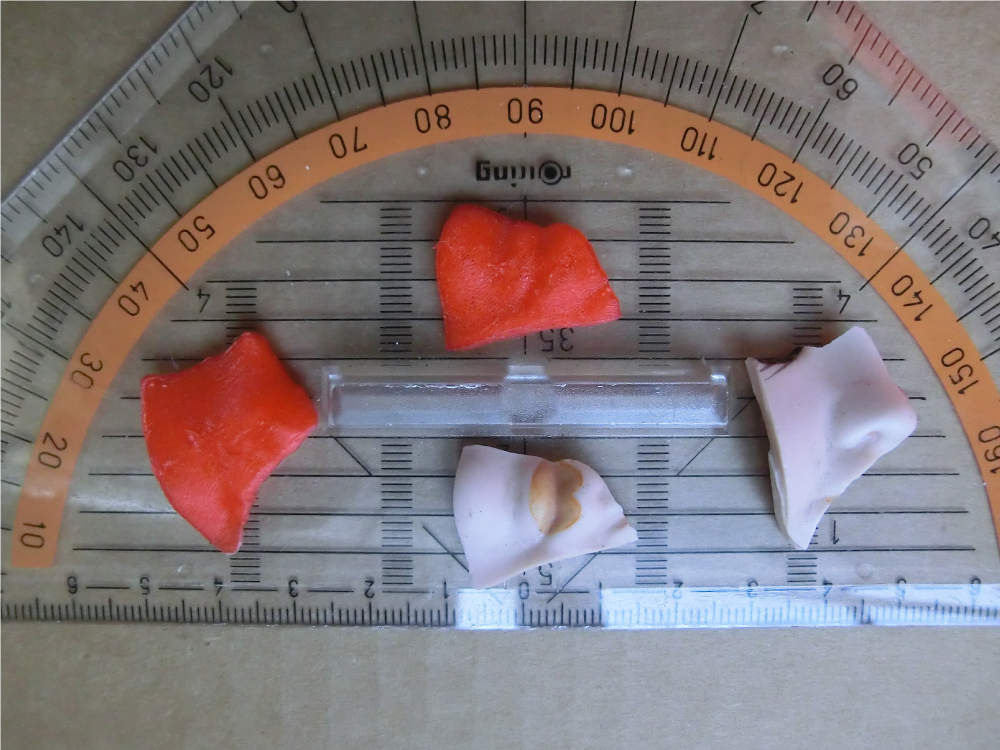
As I already had scanned and printed some broken ceramic doll parts on Modela,
and because modela scanning takes a long time, this week I left it to my colleges and directed my efforts to other scanning methods and machines such as Kinec, Artec Eva and Fab Scan, which, by the way, I didn't manage to make it work although it was an interesting project and great learning process.
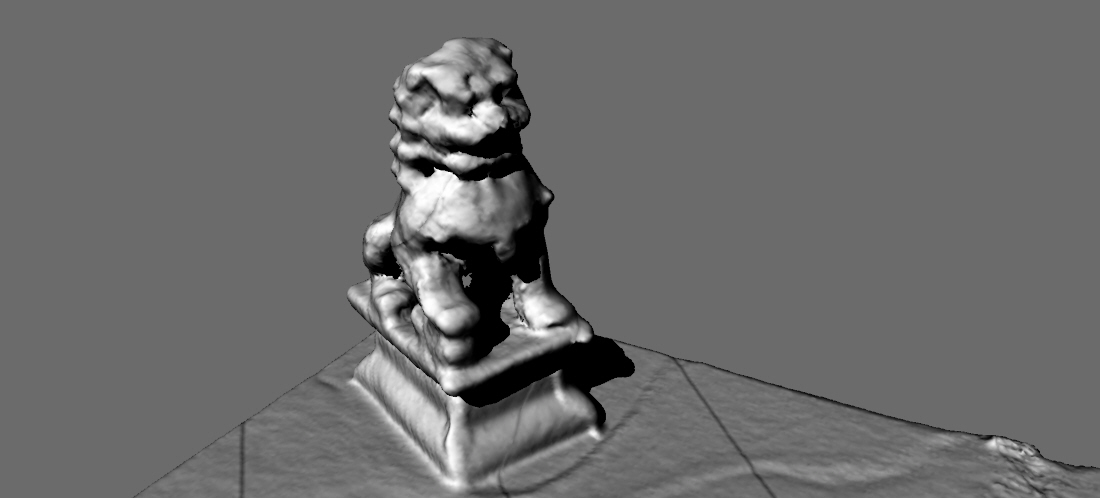
Modela-
It is a 2,5D high-precision scanner that is quite reliable and simple to use, with enough sensibility to detect plasticine.It gives you a perfect mesh cut at the bottom on a strait open plan, and even not being watertight, it prints well both with Dimension and Cura. Besides the 2,5D limitation, time seems to be the only other negative characteristic on this scanner.
fab scan-
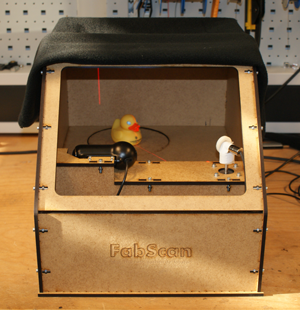
Ok, here I'm going to talk not so much about scanning and more about a "hello Arduino" task I putted myself into. After learning about FabScan from this link and with only a week to do it, which is a tight schedule specially if you consider that I live in Portugal and it takes at least a week to get most of the stuff because it comes from abroad. So, lets try to build a FabScan with what we have at home :
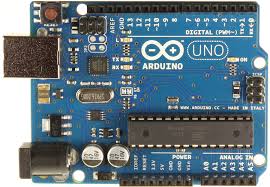 Aduino UNO
 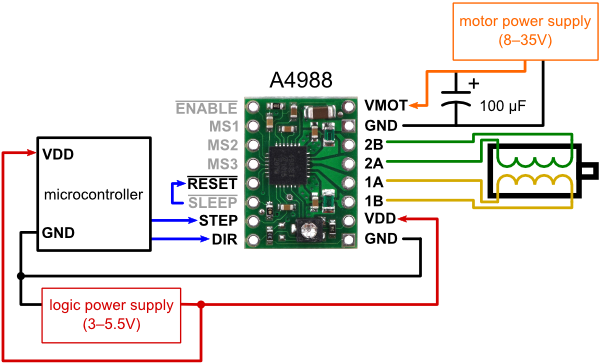 stepper motor drive polulu 49 88
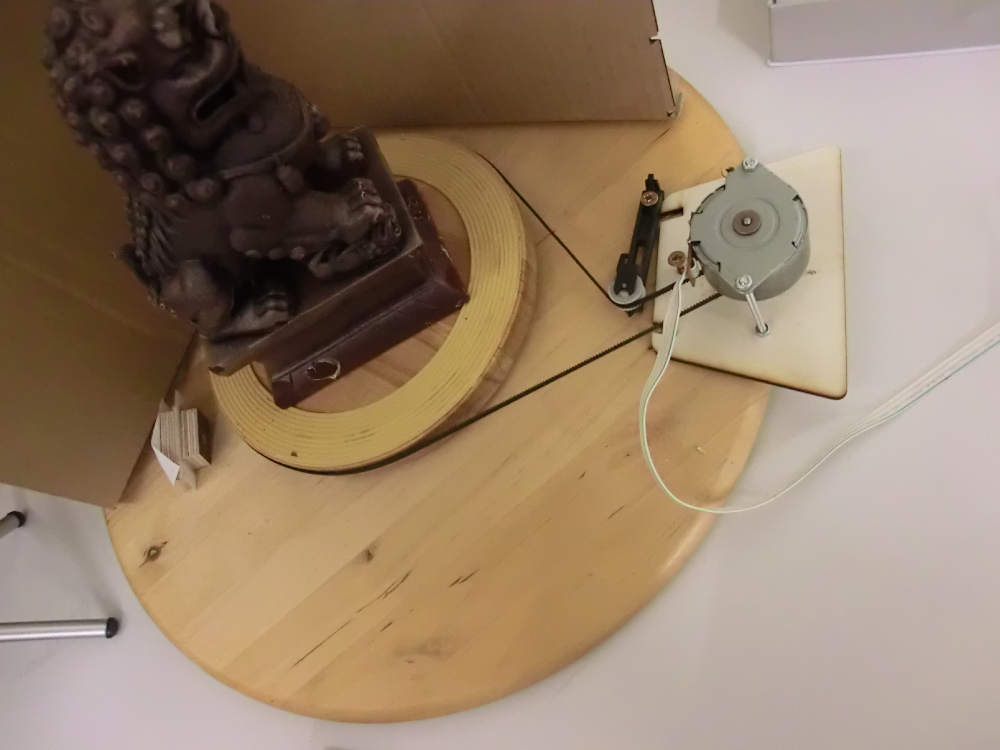
  bipolar step motor a belt and some wheels from a jet printer
 - ikea rotary table centerpiece
- level laser form cheap store
- a Microsoft hd webcam
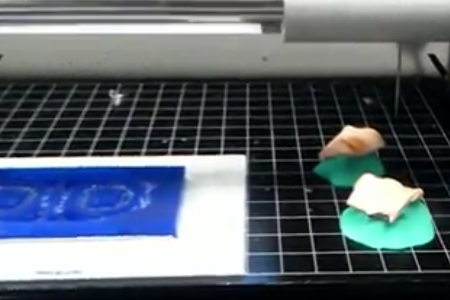
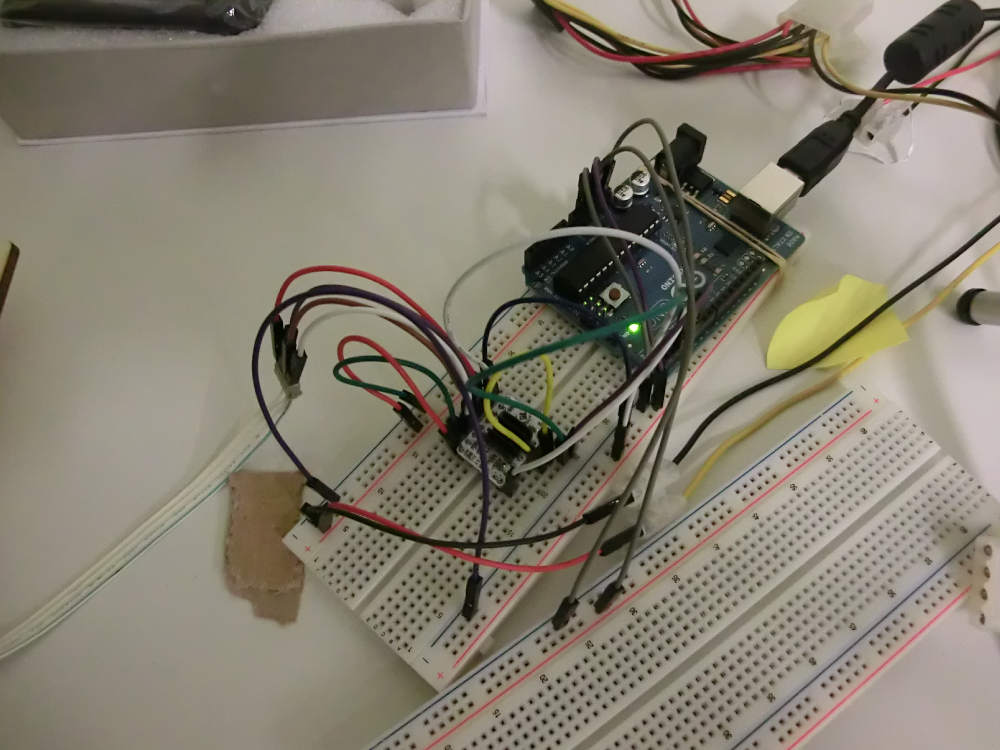
All these items collected, I started by using the bread board to make all the connections. For that I based myself on the 2nd img. and the FabScan code for Arduino where I found the Arduino pin-out for the table motor control .
Then, with a drill and some screws, I worked out the mechanical part.
That done and with the FabScan ubunto.iso already installed on a pen drive, the next step was to test out the motor witch didn't work at the first time.
but with some help from Ferdi I ended up finding that I only needed to learn what was the correct delay for my stepper
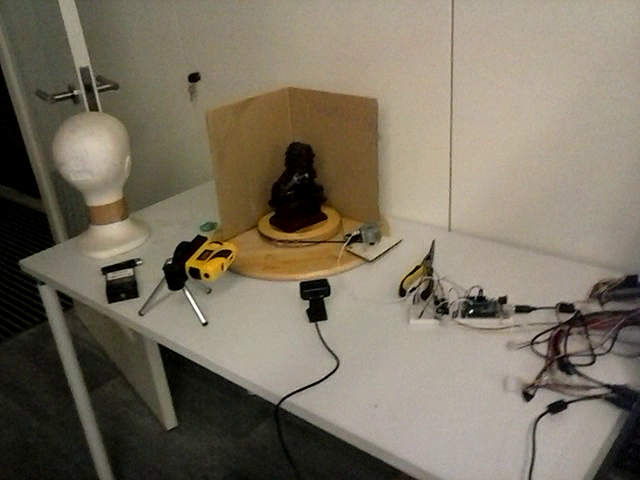
With the motor running, lets see what can we get from the software as it was at this point that I realized that FabScan does not recognize my "laser" beam
Then I tried a true laser but with no success, this time I think it didn't worked because it was a green beam .

So for now this is the point where I stand. Anyway there are already some new lasers on the way, I expect soon I will have more to tell you.
For now there is only one consideration I would like to make and it's that probably a red line over a red beam is not the best way to give feedback on the recognition of the same beam.
kinnect and artec Eva scanner-

although showing more sensibility to shining surfaces, it turned impossible to scan some objects without altering them. But these are just a 1st impression, there is still more tests to run. The skanect software proved to be a powerful tool .
pretty fast both of them but with no great results in terms of resolution where artec get the lead


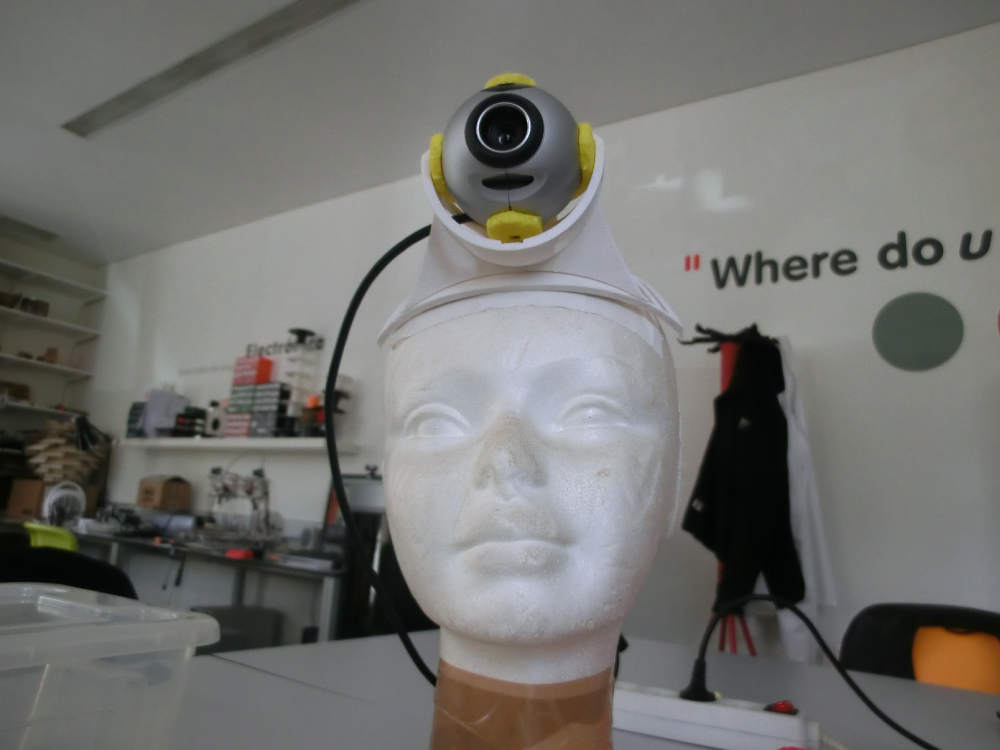
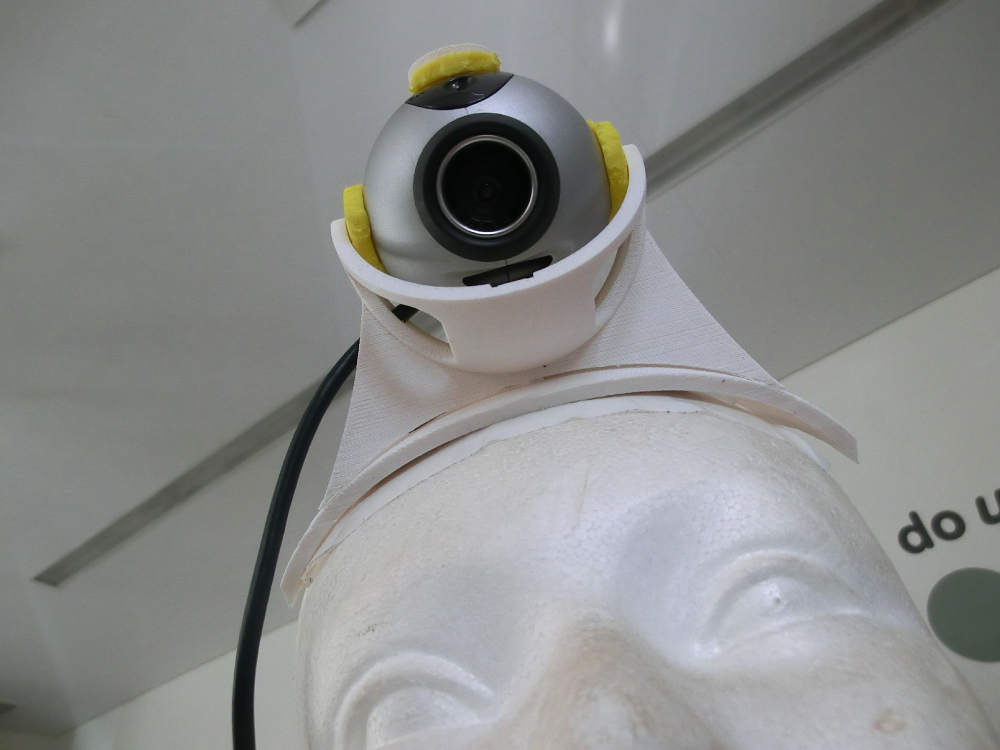
For printing I made a head webcam holder on Rhino based on mining lamps, this holder is designed for Logitec 4000pro and it was printed both in Ultimaker and Dimension .
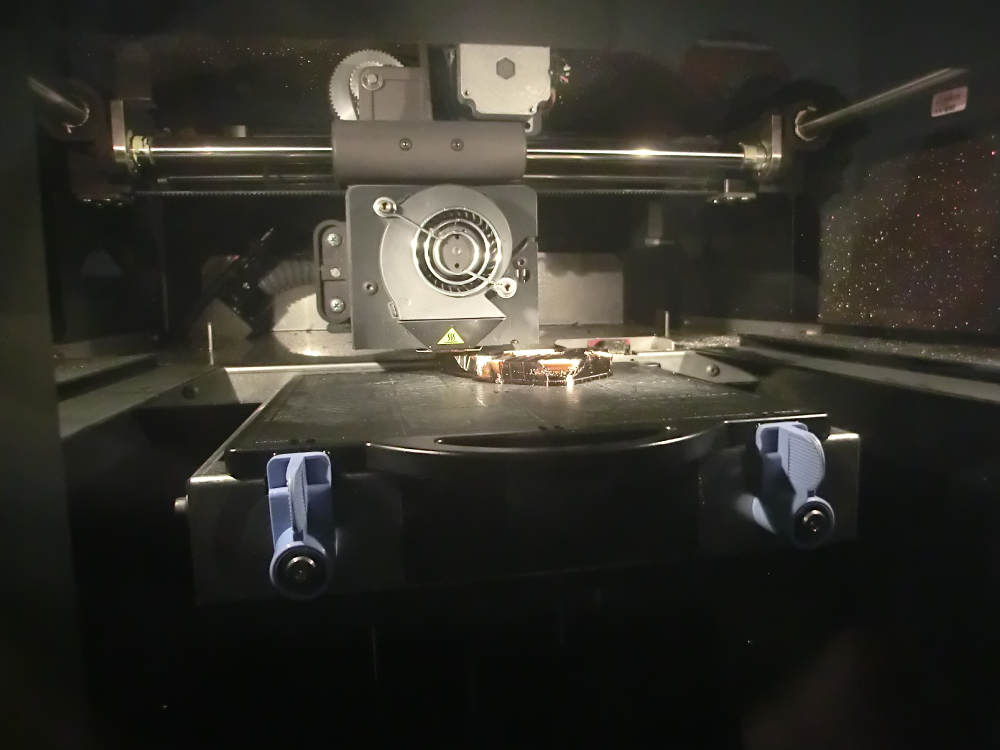
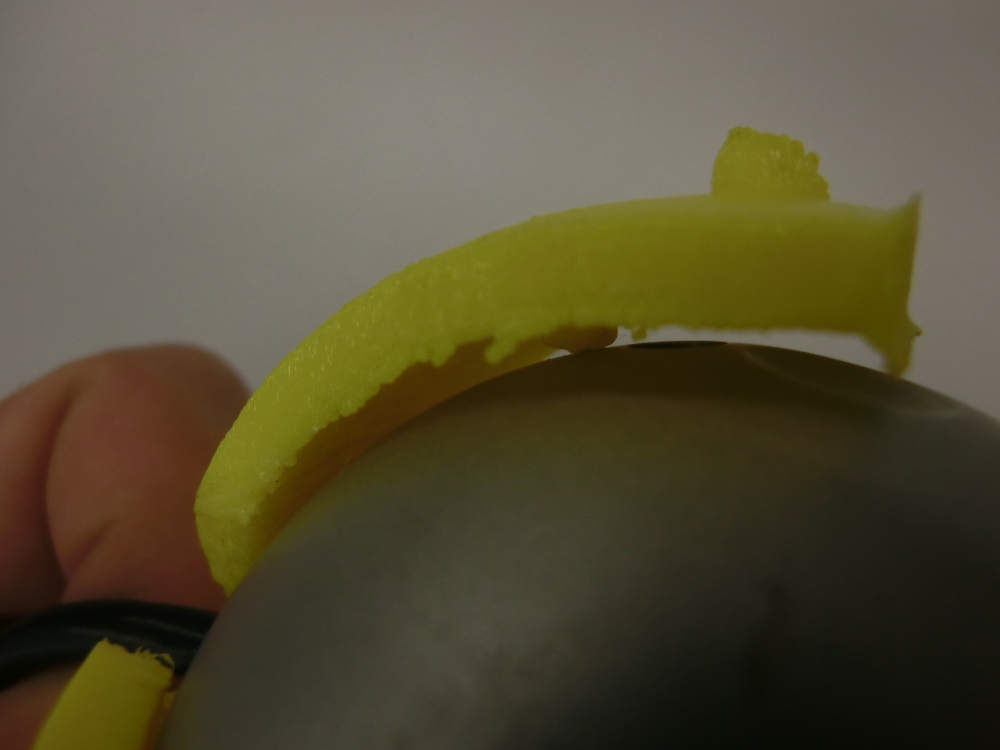
It went really well in Ultimaker, at the first 2 runs the nosel of Ultinaker hit part of the extrusion and knock it down, as it was fixed by a thread.
I work it out cutting the tips of the piece, as a first trial.

which was a great opportunity to check out any design fault or measurement error.
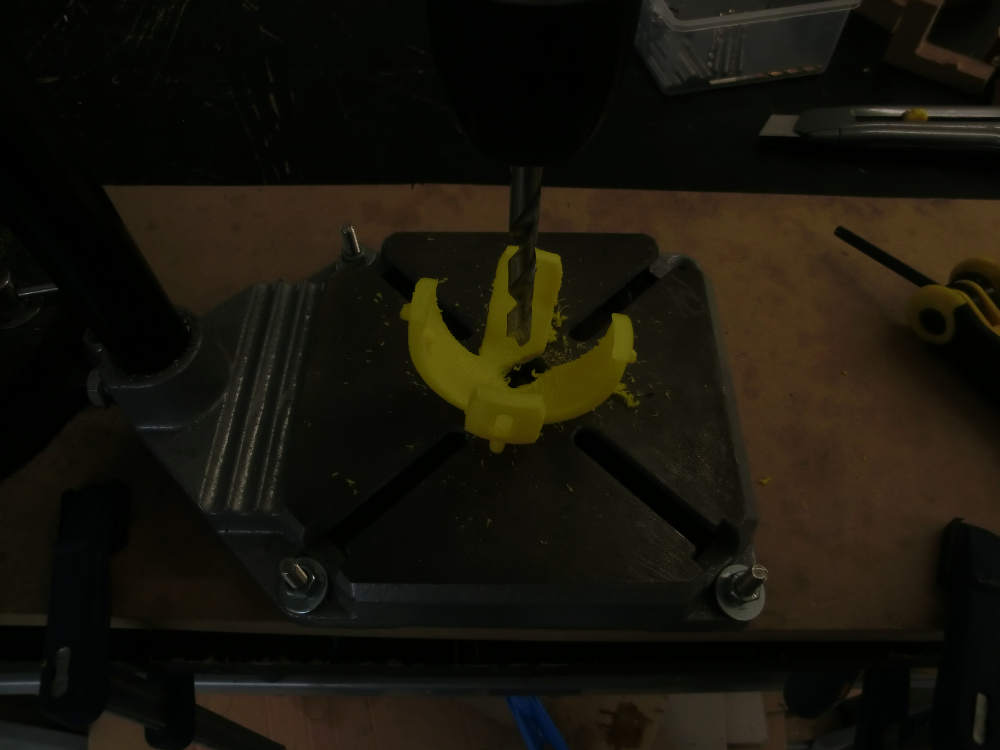
Then to overcome that situation I've build some cones to give it more support, and corrected the detected faults.
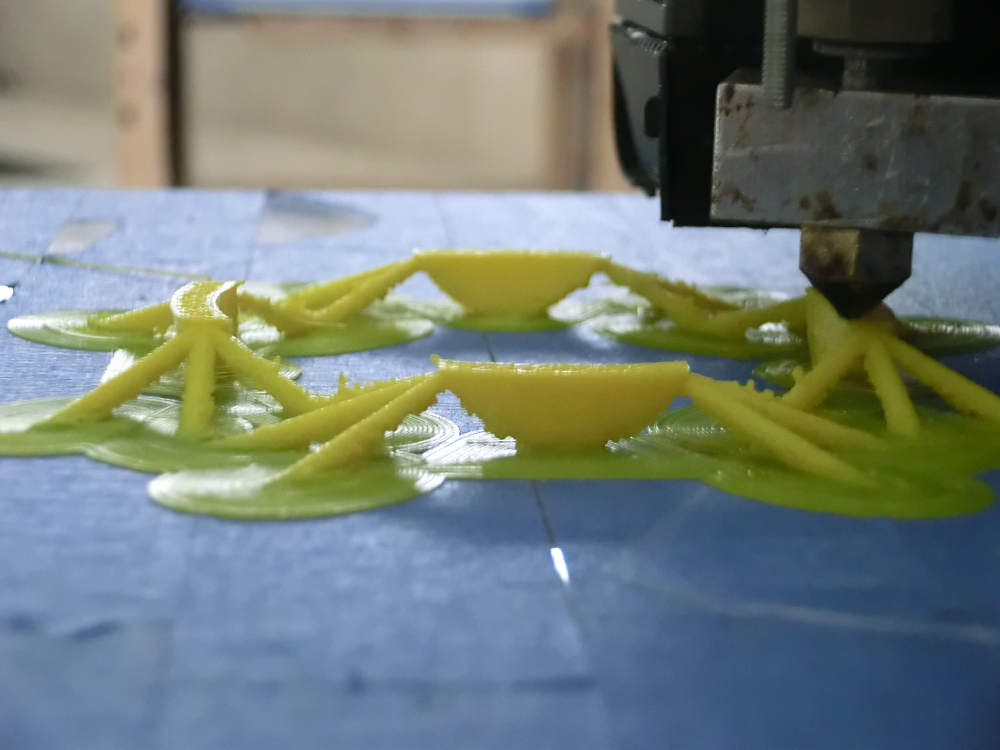
It went perfectly and the supports came out easy by hand.

As it was previously calibrated by us, it matched perfectly the dimension.
I will repeat it all ,this time 100% in Utimaker, and then I will share my files already with the necessary supports and Cura definitions.
see https://drive.google.com/folderview?id=0B-zSpF8Sy3QLM0pIZmw4c1lRb1k&usp=sharing for files
see https://drive.google.com/folderview?id=0B-zSpF8Sy3QLM0pIZmw4c1lRb1k&usp=sharing for files