08 Embedded Programming
This week is about microcontrolers, programming, arduino and beyond.
Assignments for this week are:
- take the board which you've built during electronic design week and program it.
- build your own adruino
- read a data sheet of ATtiny44a
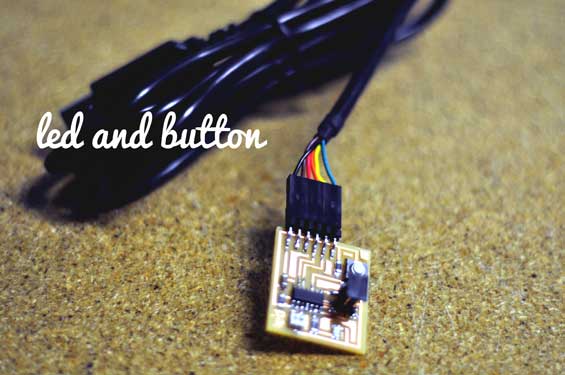
Ad.1 This is a picture of the board which I made during "electronic design" week. The board is called hello Echo and has assembled a led and a button. I tried to code the board using C language and the arduino IDE program software.
*** C ***
To be able to program the board you need to download:
- avrdude
- hello.ftdi.44.echo.c
- hello.ftdi.44.echo.c.make
Open the terminal -> go to start and type cmd
For windows type "dir" if you want to see a list of files.
Paste a command: make -f hello.ftdi.44.echo.c.make program-usbtiny ( for Windows you have to erase sudo from the command).REMEBER you have to be in the same place where have you saved hello.ftdi.44.echo.c files.
After sending the command to the system you should get response:

Open Arduino software. Go to Tools -> Serial Monitor
A new window should pop up. Change number in the right bottom corner to "115200 baud" and start talking to your board. Your board should send you answers according to the characters you have typed.
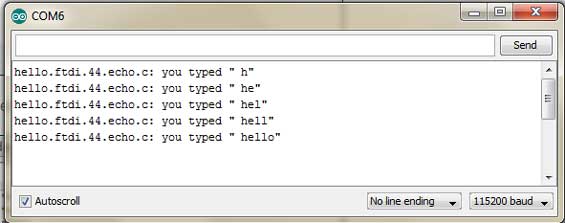
It seems that the board can talk with my computer.
Later I tried to program ATtine44a using Arduino IDE software. I get avrdude: verification error.
To solve this problem I closed a terminal and SerialMonitor Window and I restarted Arduino. Before uploading new skecth I bootloaded board again. This time I was able to send arduino's sketch to the board.
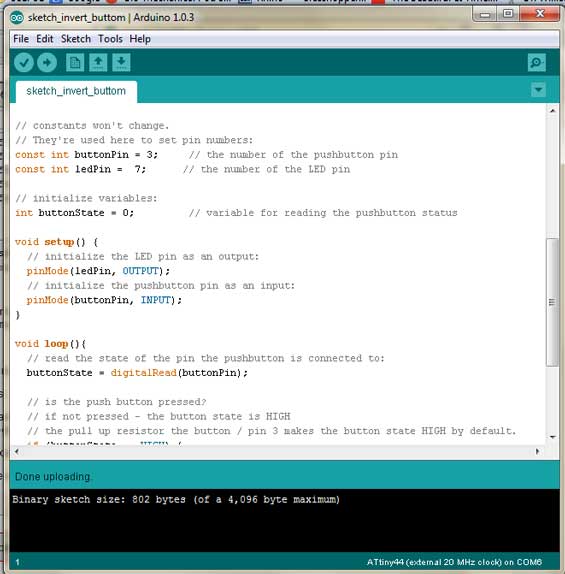
step by step my second attempt to program led and button board using arduino software
open arduino software
check tools :
- Board -> ATtiny44a 20 MHz clock
- Programmer -> USBtineISP
Burn Bootloader
Browse file and apply. You shouldnt see any errors.
The led is on when you press the button.
PROBLEMS: almost every time when I pressed the button I get a sound message from my PC that my board is out or in USB port.
Unfortunetly my board was so fregile and shortly after I programmed it ... the 6 pin header fell off the board. I didnt manage to take a picture when the board was still able to talk.
Ad.2
*** Building Arduino ***
Next board wchich I built was Arduino. I used Anna's files and Roland Modela machine.
After my board was soldered I tried to program through Arduino IDE Software.
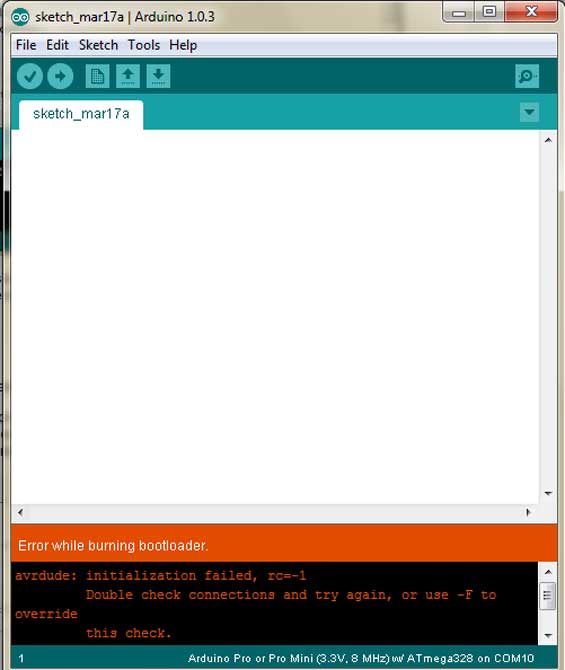
ERROR : I chosed correct Serial Port, Board (Arduino Pro or Pro Mini (3.3V, 8 MHz) w ATmega328) and Programmer ( ISPtiny ) and then I selected Burn Bootloader. I get an error message telling me to double check all connections. I checked all possible variations and all connetcions but still I couldnt fix the error. There could be problem with the image resolution which I sent to the milling machine or with soldering.
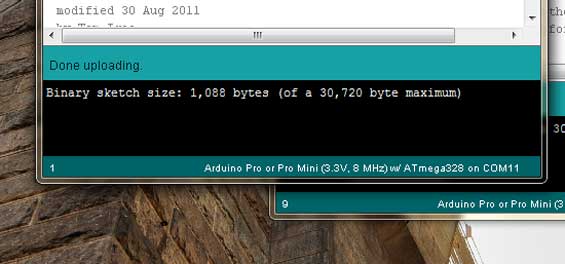
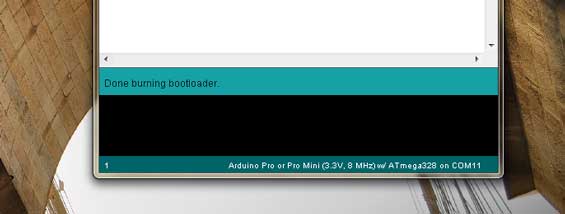
I did second Arduino board. I used diffrenete cables and an ISP programmer. I tried again and this time I was able to burn bootloader.
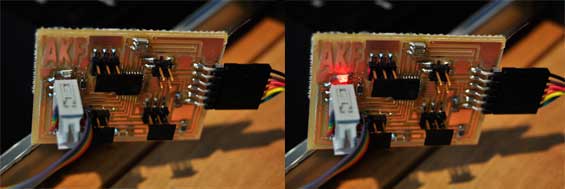
INTRESTING: The led on Arduino was blinking just after burning bootloader.
I removed the FabISP and uploded new sketch without erros. To upload a sketch you need to select right type of board : Tools > Board > Arduino Pro or Pro Mini (3.3V, 8 MHz) w ATmega328