Keys
I decided to scan a pair of keys. I hope you understand that I won’t tell for which doors and that I won’t publish the files ;-) This will be the first time that I can send some spare keys by e-mail!
I placed the keys on some putty on the modela. This turned out to be a bad idea, because like this they might not lie perfectly flat and complicate the joining of the two halfs later.
It is worth it to spend a while on adjusting the scanning are to the smallest area possible, because this will save time on scanning. I used a resulution of 0.2mm.
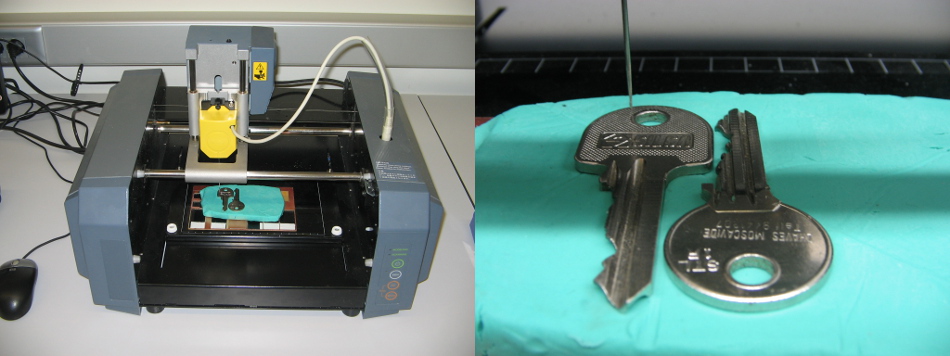
After the first scan I flipped the keys to the other side and ran a second scan.
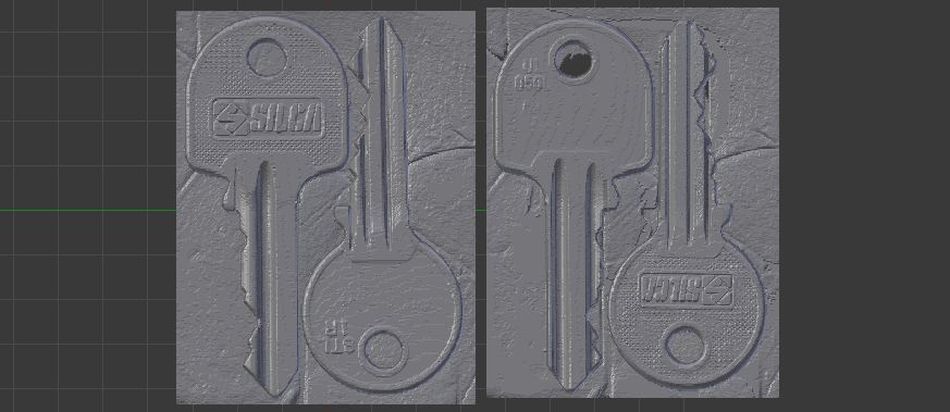
The result are two meshes, one for each side.
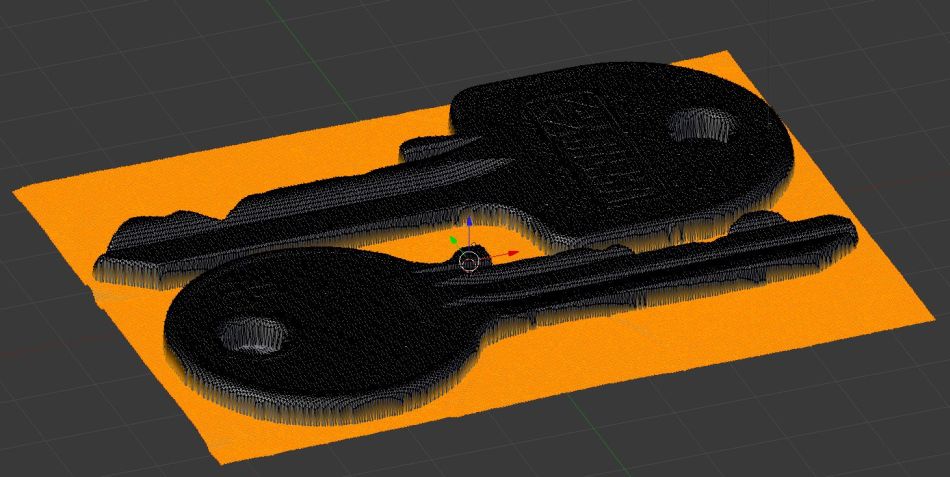
The first task was to eliminate the vertices around the keys. I used blender for all the mesh editing.

Next I place the two sides over each other, trying to orient them as good as possible for getting proper alignment in position and thickness.

Then I used the Boolean-Modifier to join the two halves. This works surprisingly well with never versions of blender that use the carve library!

The results are two closed meshes ready to be printed or milled.
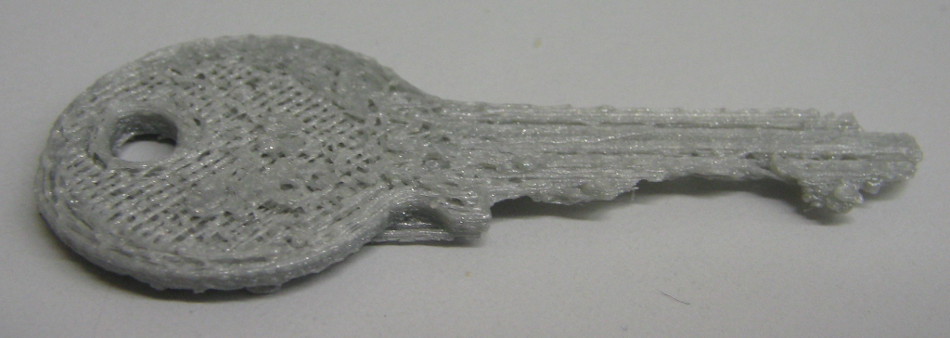
This was a not very serious print of one of the keys on a not very well adjusted Ultimaker with PLA.
Shell
At the opening ceremony of Fablab Lisbon I made a scan of a shell that turned out quite nice:
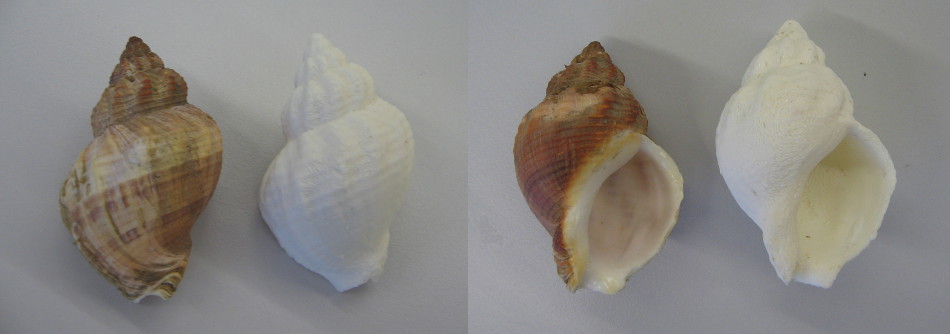
left: original, right: 3D-print (Dimension Elite)
Here you can download the .stl-file.
3D printing
I am trying to build an SLA-3D-printer at altlab and I needed a modified version of the z-arm. I used some of the parts from the DLP-Based Resin Printer at Thingiverse but I would like to have a stiffer part for the z-axis.
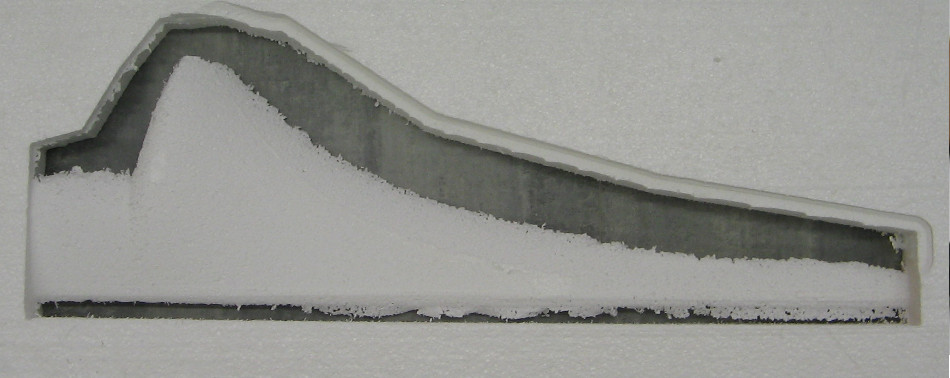
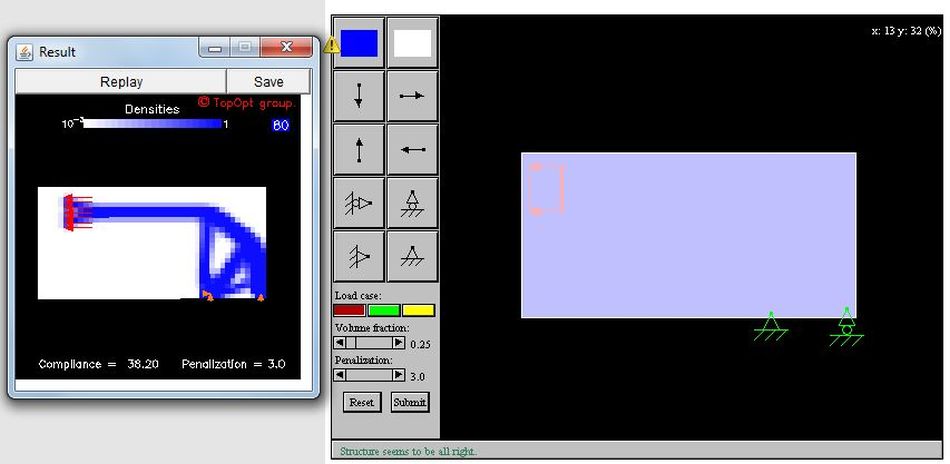
I started to make some test with the topology-optimization applet at TopOpt for getting an idea for a good design.
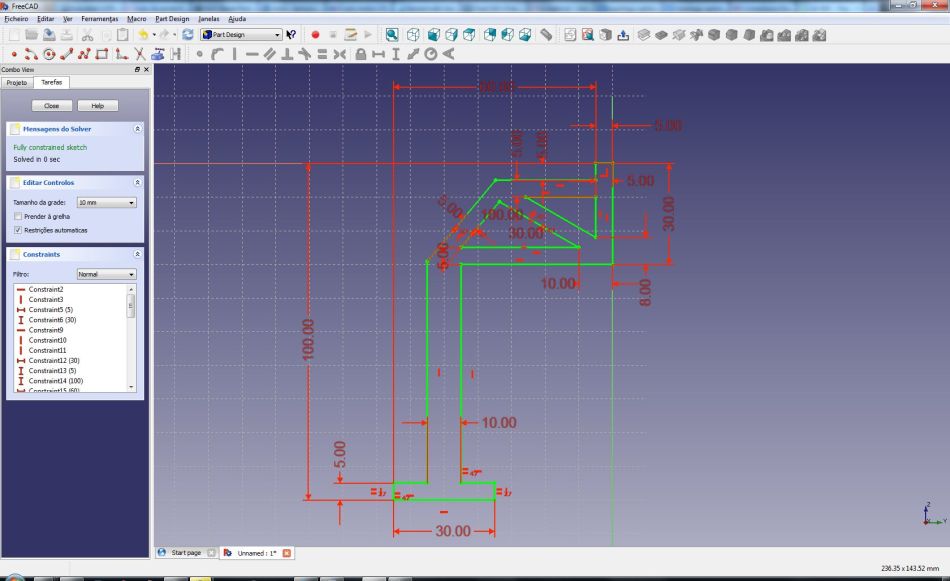
The model was made in FreeCAD 0.13
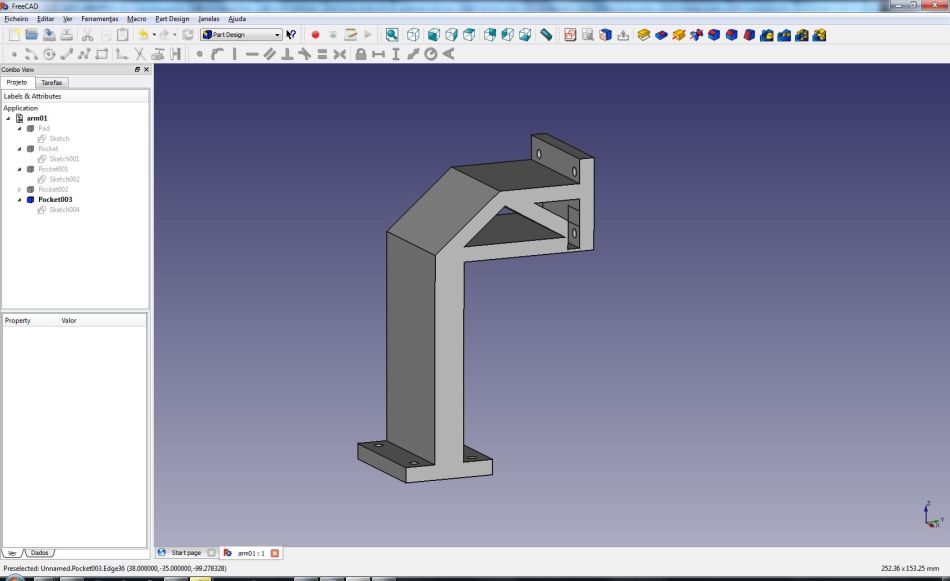
Above you can see the main sketch and below the finished model.
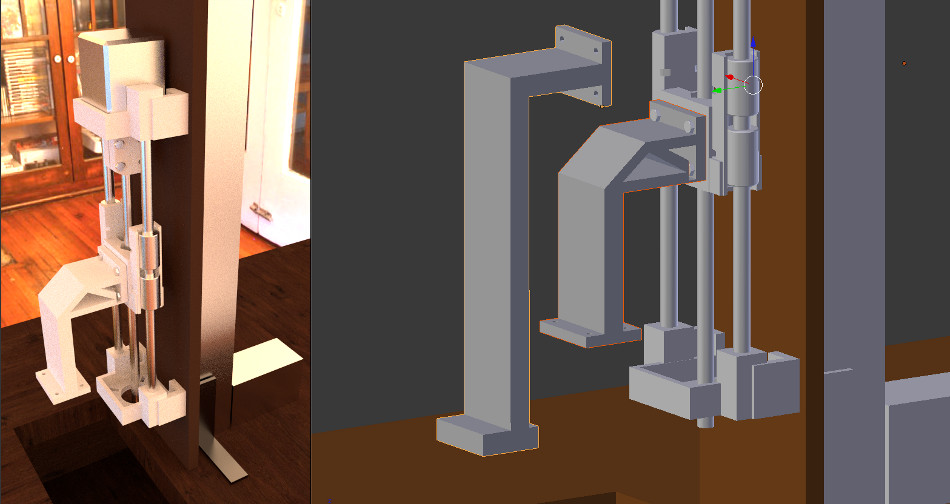
Below is a comparison of the old and the new design.
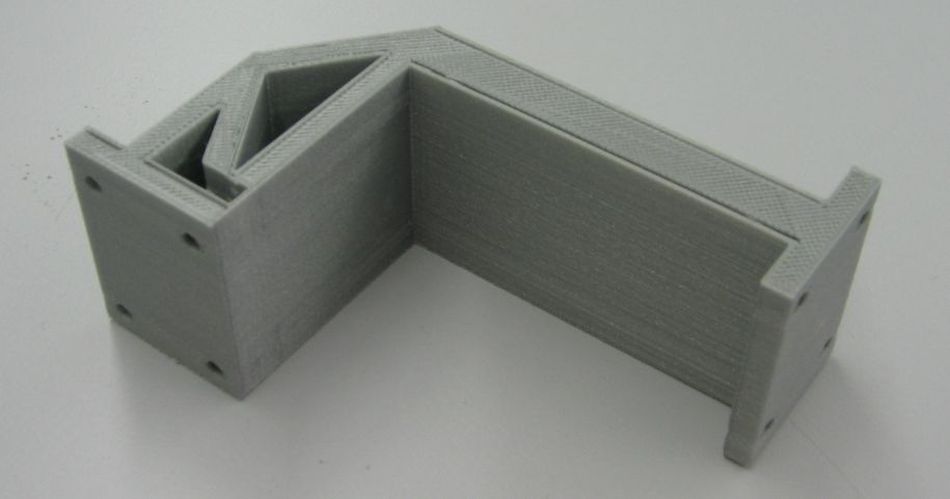
This is the finished part printed on an Ultimaker.
.blend-file of the sla-printer.


