4. Computer controlled cutting
This week I worked with the vinyl cutter and produced a sticker for my laptop and also used the Laser cutter to cut an object designed using parametric design.
Vinyl Cutter
-
A vinyl cutter is used to cut shapes using a knife as directed by a computer software. I used the Roland CAMM-1 GS-24 Vinyl cutter to cut a shape of the African continent and use it as a sticker for my laptop
-
First, I downloaded the picture from Google.
- Afterwards I imported the picture in Inkscape( File -> Import ) and then converted the bitmap to vector form by selecting the picture>Right click>Trace bitmap and
the dialogue that popped up I chose “Edge detection” and the original image was converted to a vector form as shown in the image.
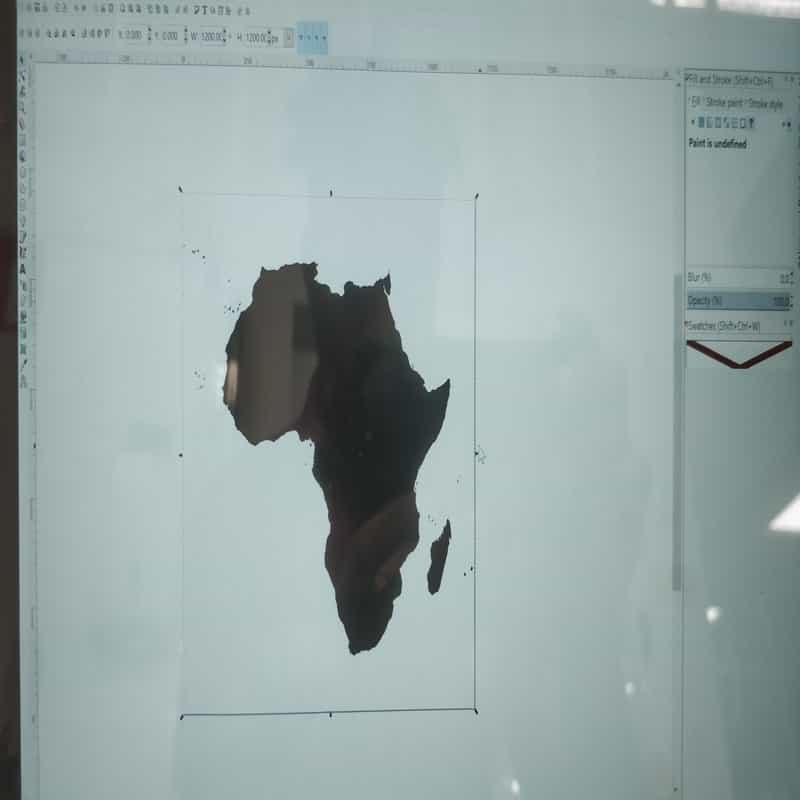 original Image
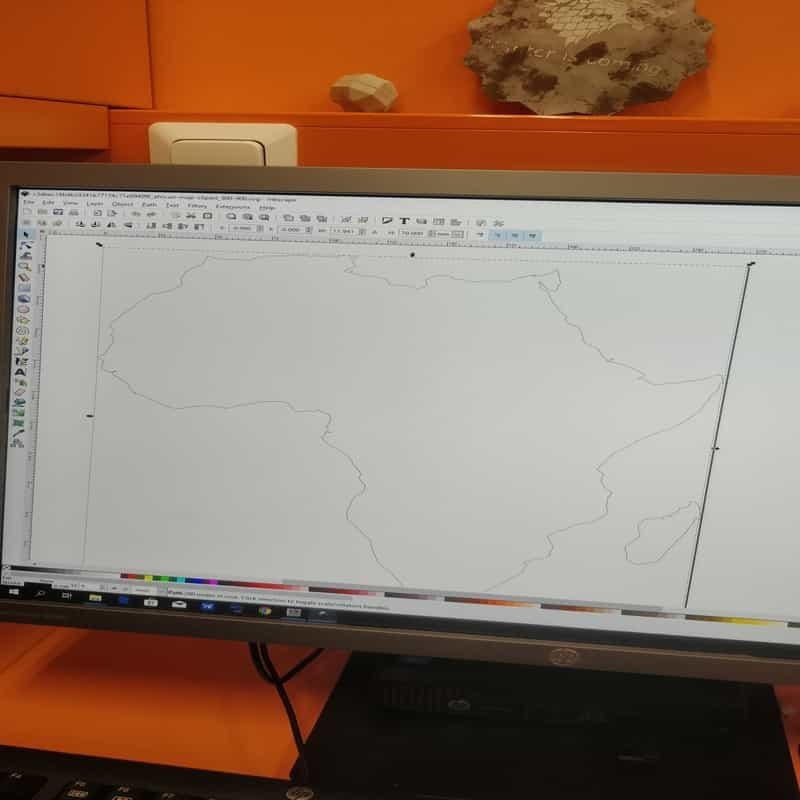 Vector Form
 - Then, my design was ready for the vinyl cutting process.The process of vinyl cutting starts by turning the vinyl cutter on and the inserting a roll
depending on color of preference. then, by adjusting the roller pinches the size of the cut can be defined.The first roller needs to be fixed at the left end directly parallel to the white grit mark and the second roller needs to be adjusted depending on the desired size of the cut, However, it should also be parallel to one of the white grit marks placed at some intervals to allow size increase.After this, then I went to menu and selected “edge”,
then the vinyl cutter will measure the length roll by travelling from one gear to another. At this point we select the origin i.e. where the vinyl cutter
should start cutting from by pressing until the machine says origin set.
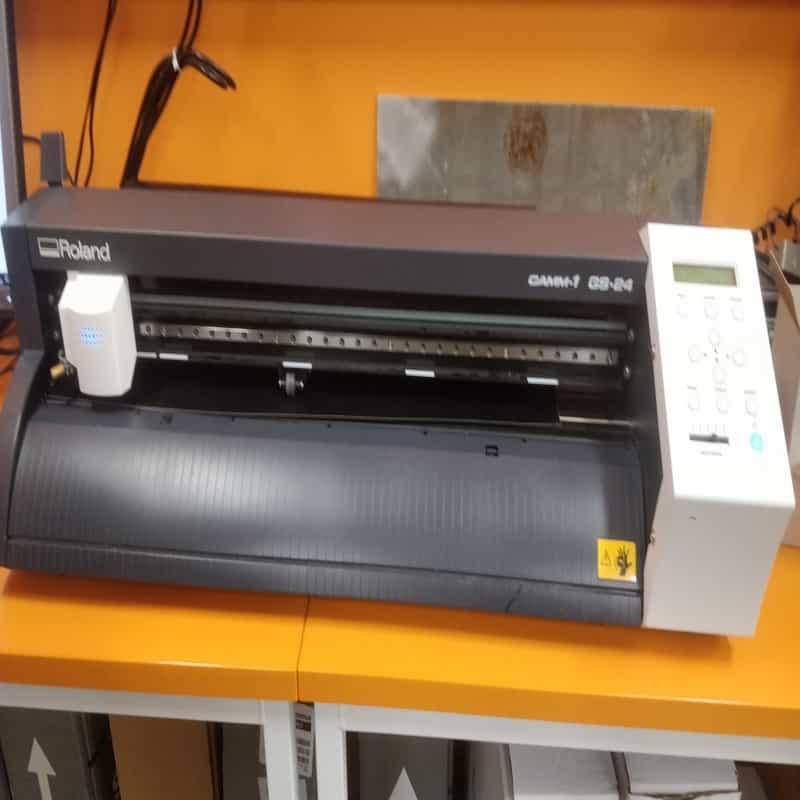 Vinyl cutter setup
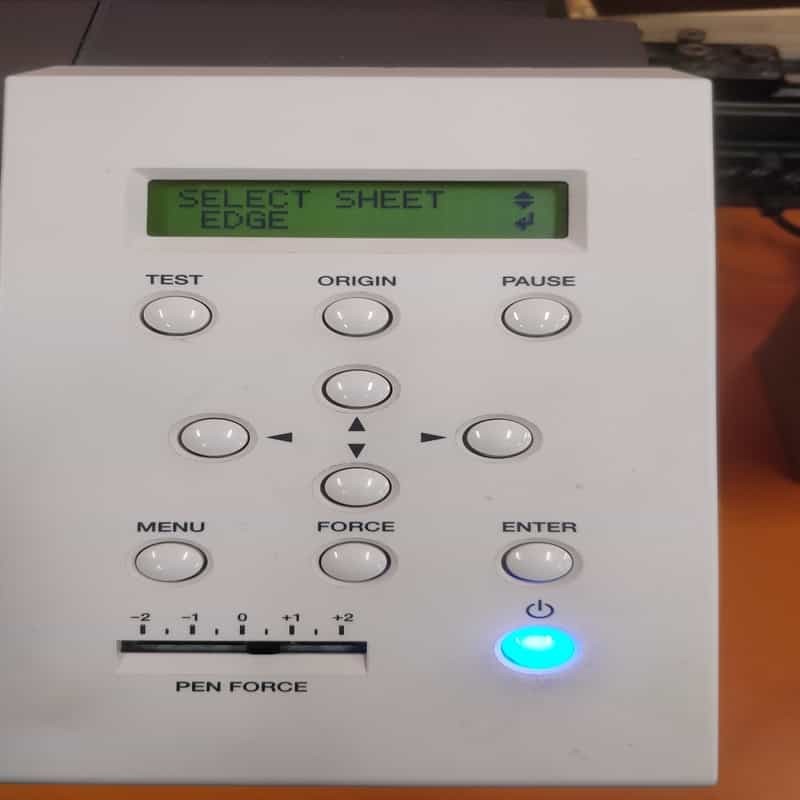 Vinyl cutter options
 - To send the print order to the vinyl cutter fom Inkscape and then go to >Printing Preferences menu click Cutting area> Get from machine and confirm.Then the vinyl cutter starts cutting the design.
 Width and Length after sending print
 -
On the menu there’s another option labeled as piece which when selected measures the length of the whole roll by unrolling it and roll it back again. there’s another option (as shown in the above picture) called penforce which selects the force that the vinyl cutter uses while cutting.
-
After cutting, the portion with the design is cut using a pair of scissors and then peel off the portion surrounding the design, and then make use of a transfer sheet to remove the design and stick it to the required object.
- The final product after my design looks as shown by the image.
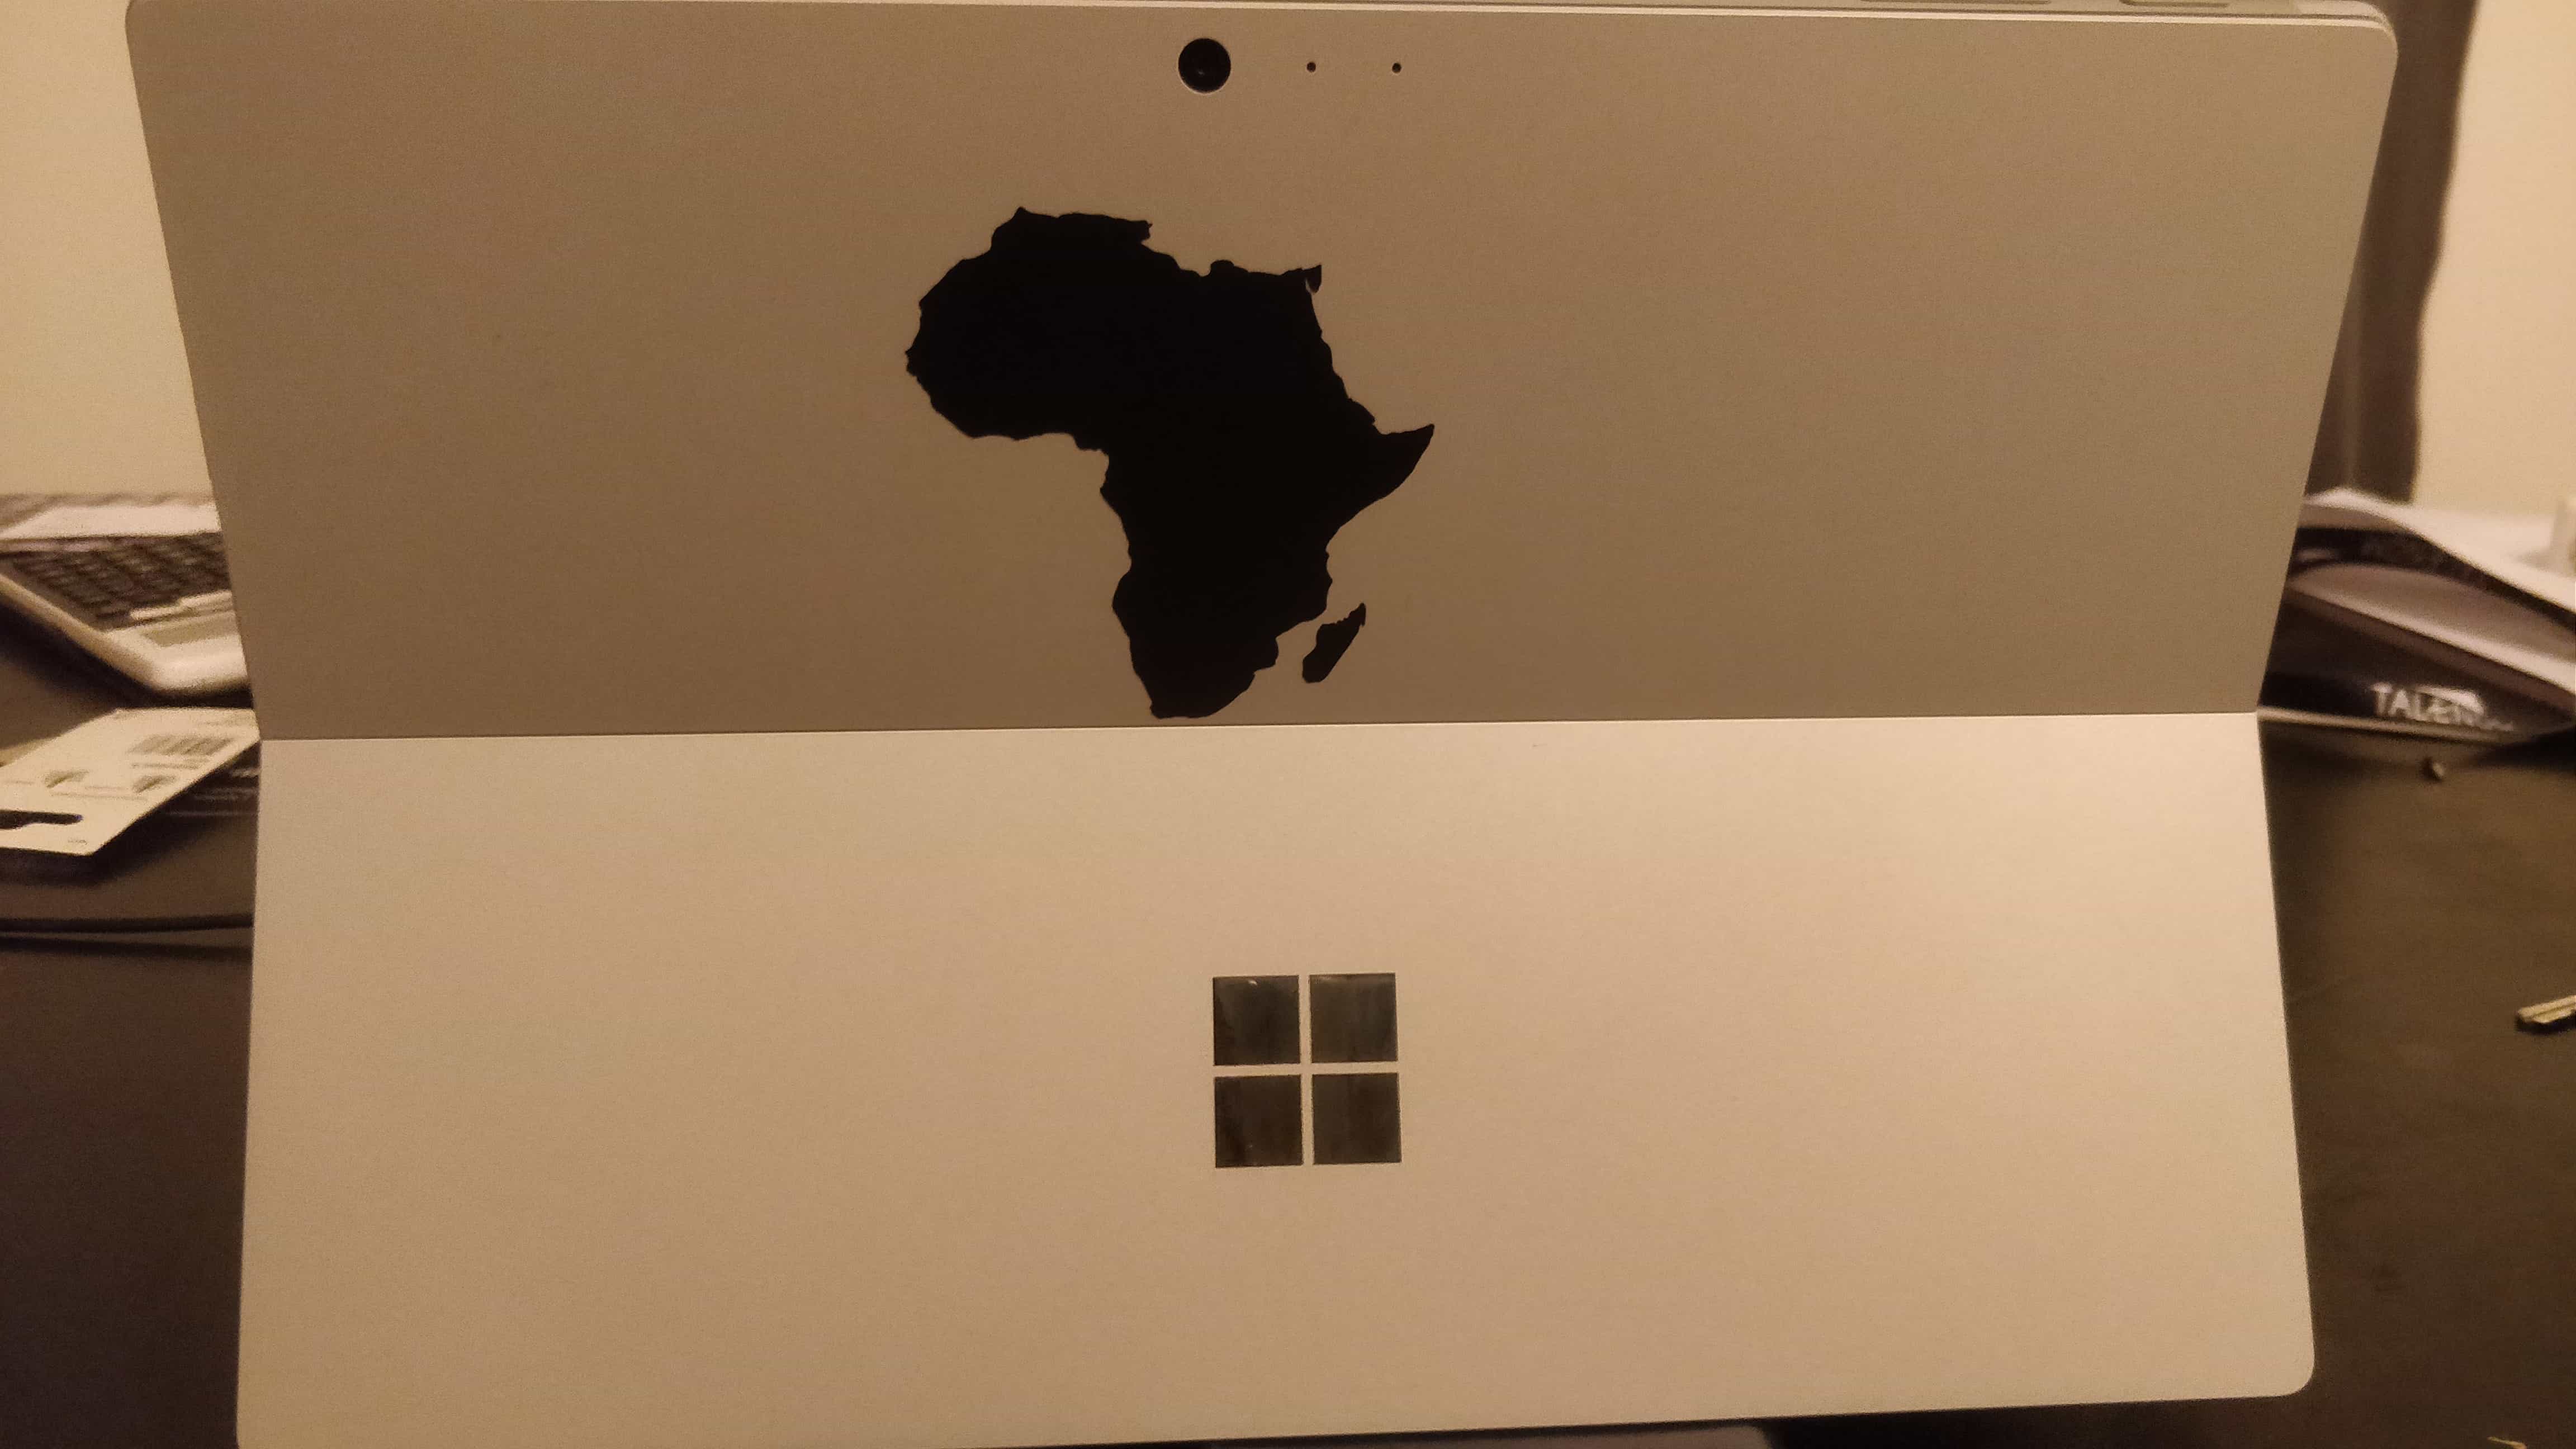 Final Product
 - My Vinyl cutting experience was smooth and everything went perfectly. I learned how to make stickers, and I think next time I will try making T-shirts.
Laser Cutter
- Parametric design is an approach where dimensions are set as variables and change in the value of the variables makes changes to the whole design. In parametric design always takes into account the kerf and how to compensate for it.
- In my design I decided to make a box like container with Epilog laser Fusion, this tutorial helped me understand how the design can be done in Fusion 360 and the use of parameters to make sure the design goes smoothly.
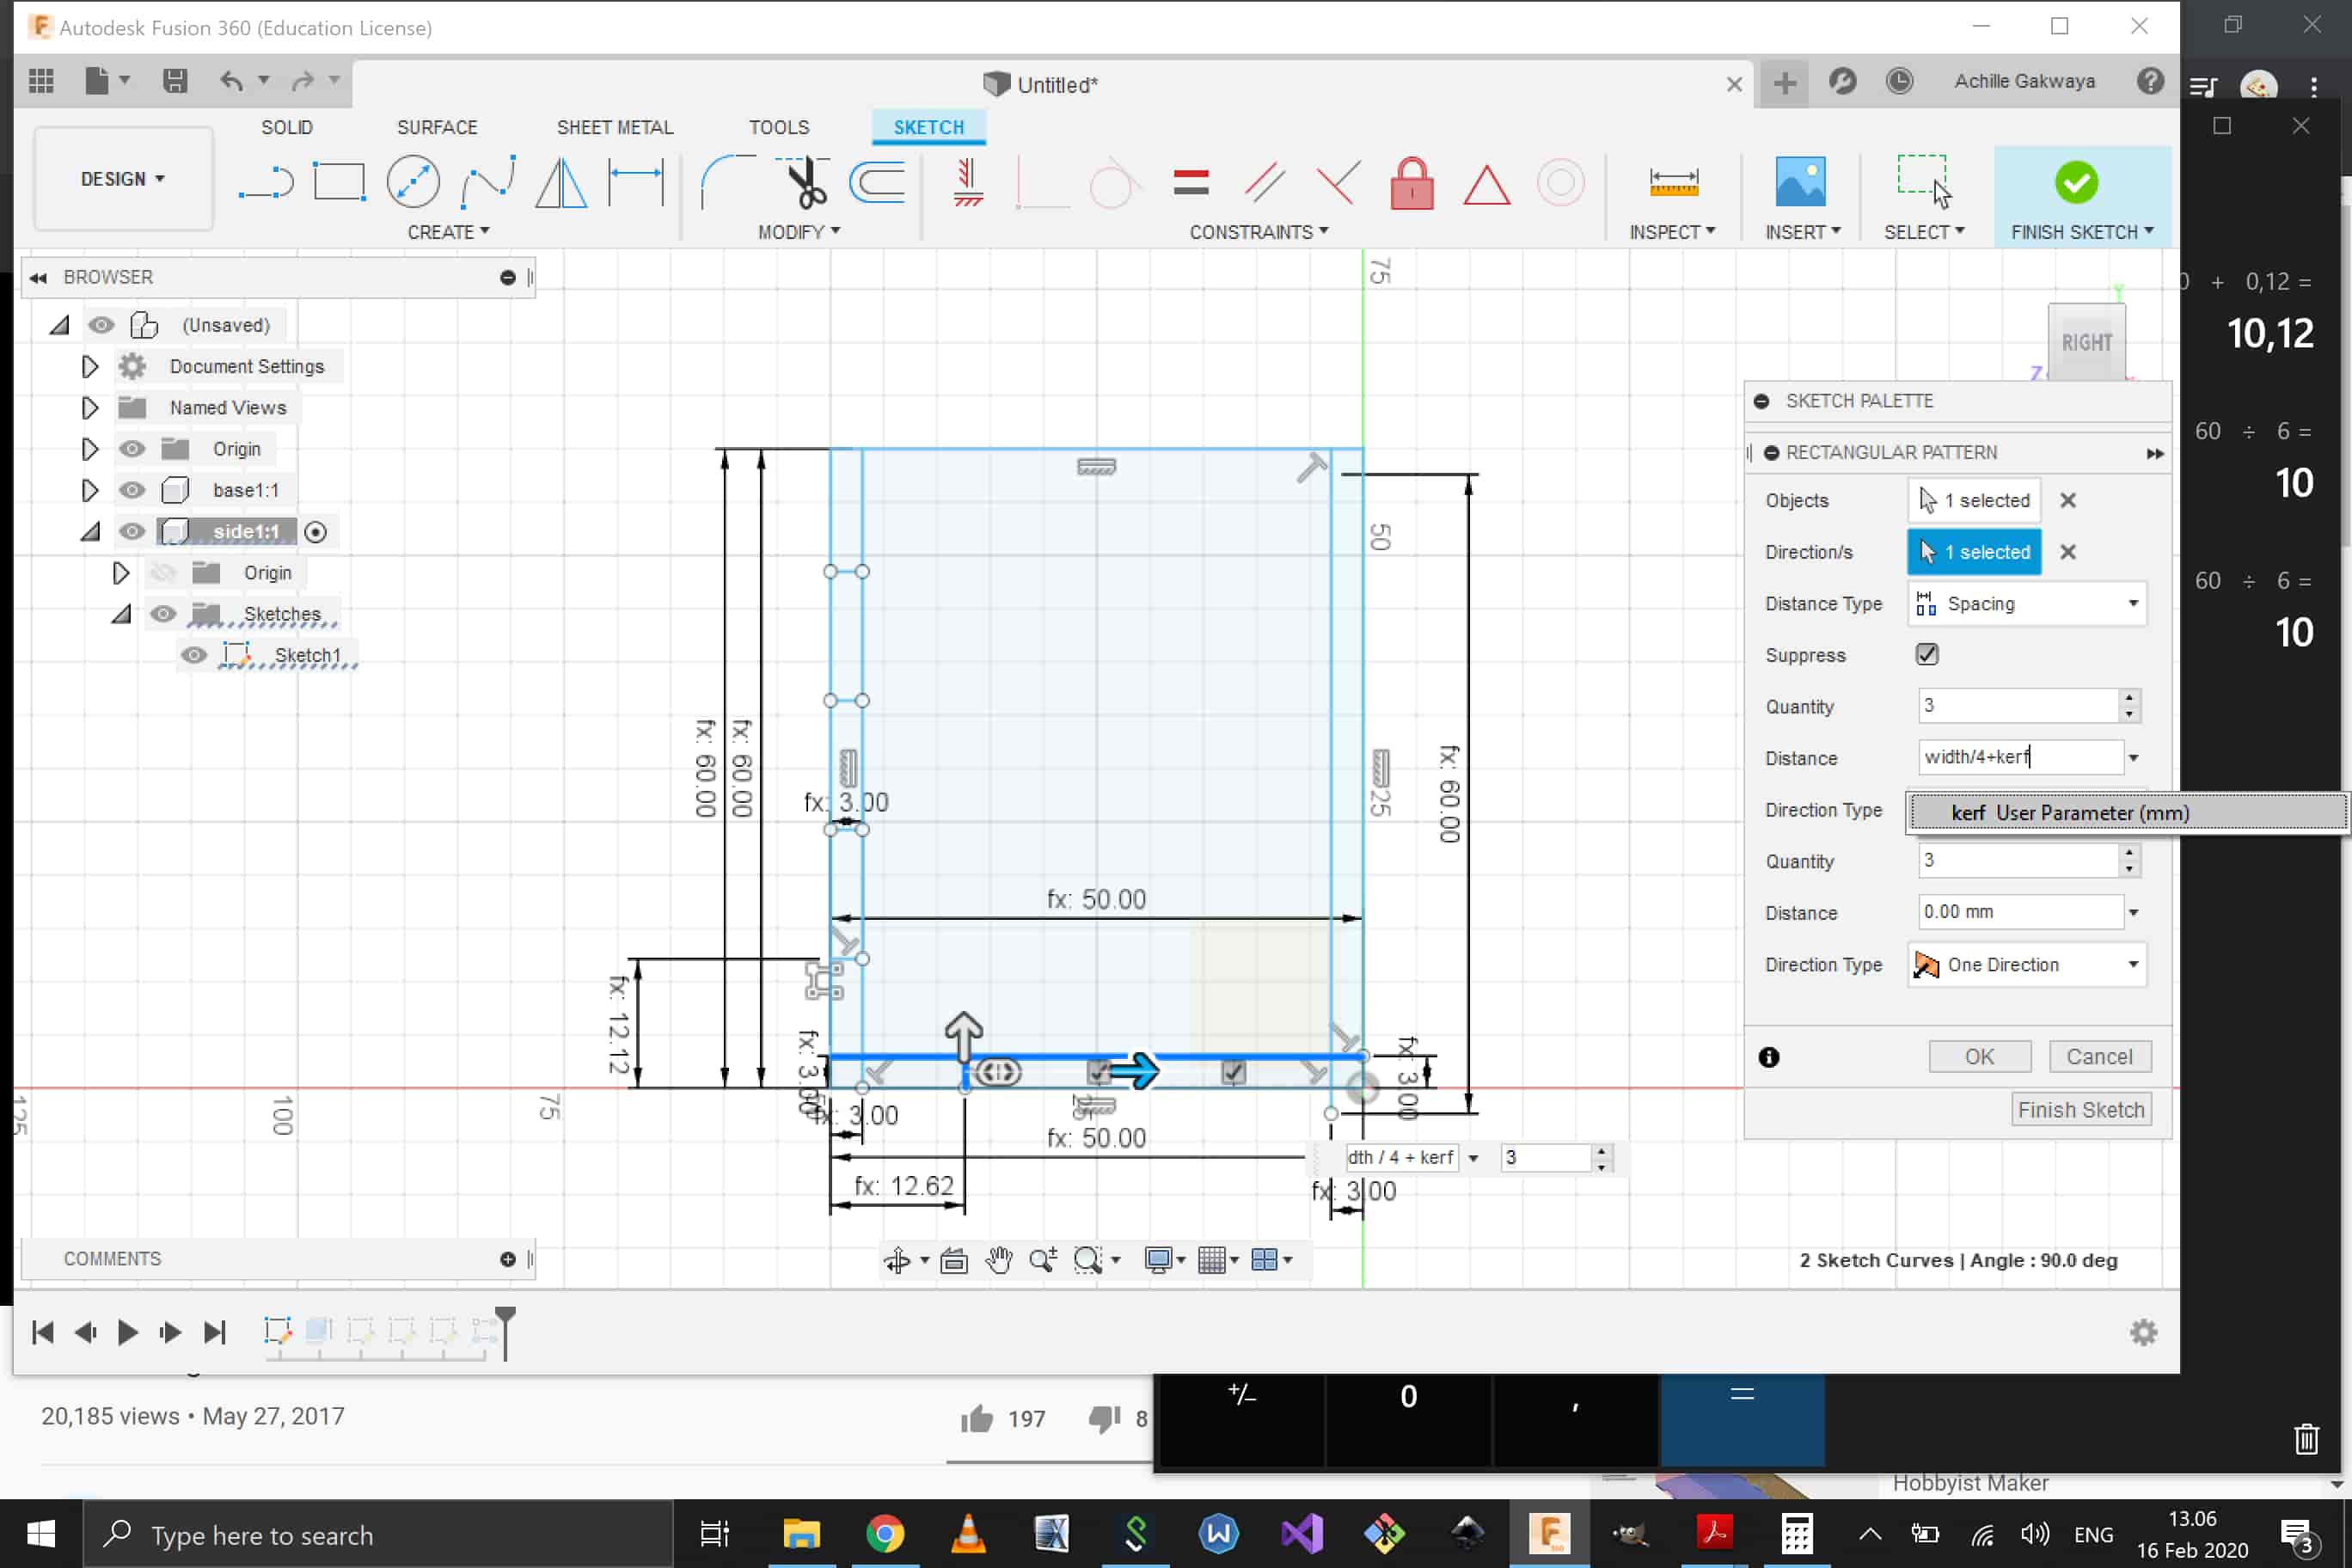
- In order to do this design I first drew a square base in Fusion 360 by going to sketch>Rectangle and used “pull” to set the thickness and then proceeded to build another sqaure for the side and one for the back
to create the other squares I used “create rectangular pattern” to duplicate the original sides and make new ones. after that I drew Rectangles on the Squares and later turned them into slots
by using extrude function in order to allow the sides to interlock.
 Fusion model
 - The laser kerf is the amount that the laser burns away when it cuts through a material. Kerf depends on several factors including the laser beam. For the width of the slots that are inside a material, we deduct the laser kerf from the material thickness and for the width of the slots that are outside, we add the laser kerf to the material thickness. Throughout my design I took into account the kerf and used it to design
for example I have added the kerf for the outer slots size(slot_width_out=width/5+kerf) and subtracted the kerf for the inner slots(slot_width_out=width/5-kerf)(as shown in the image of paramters).
 Parameters1
 Parameters2
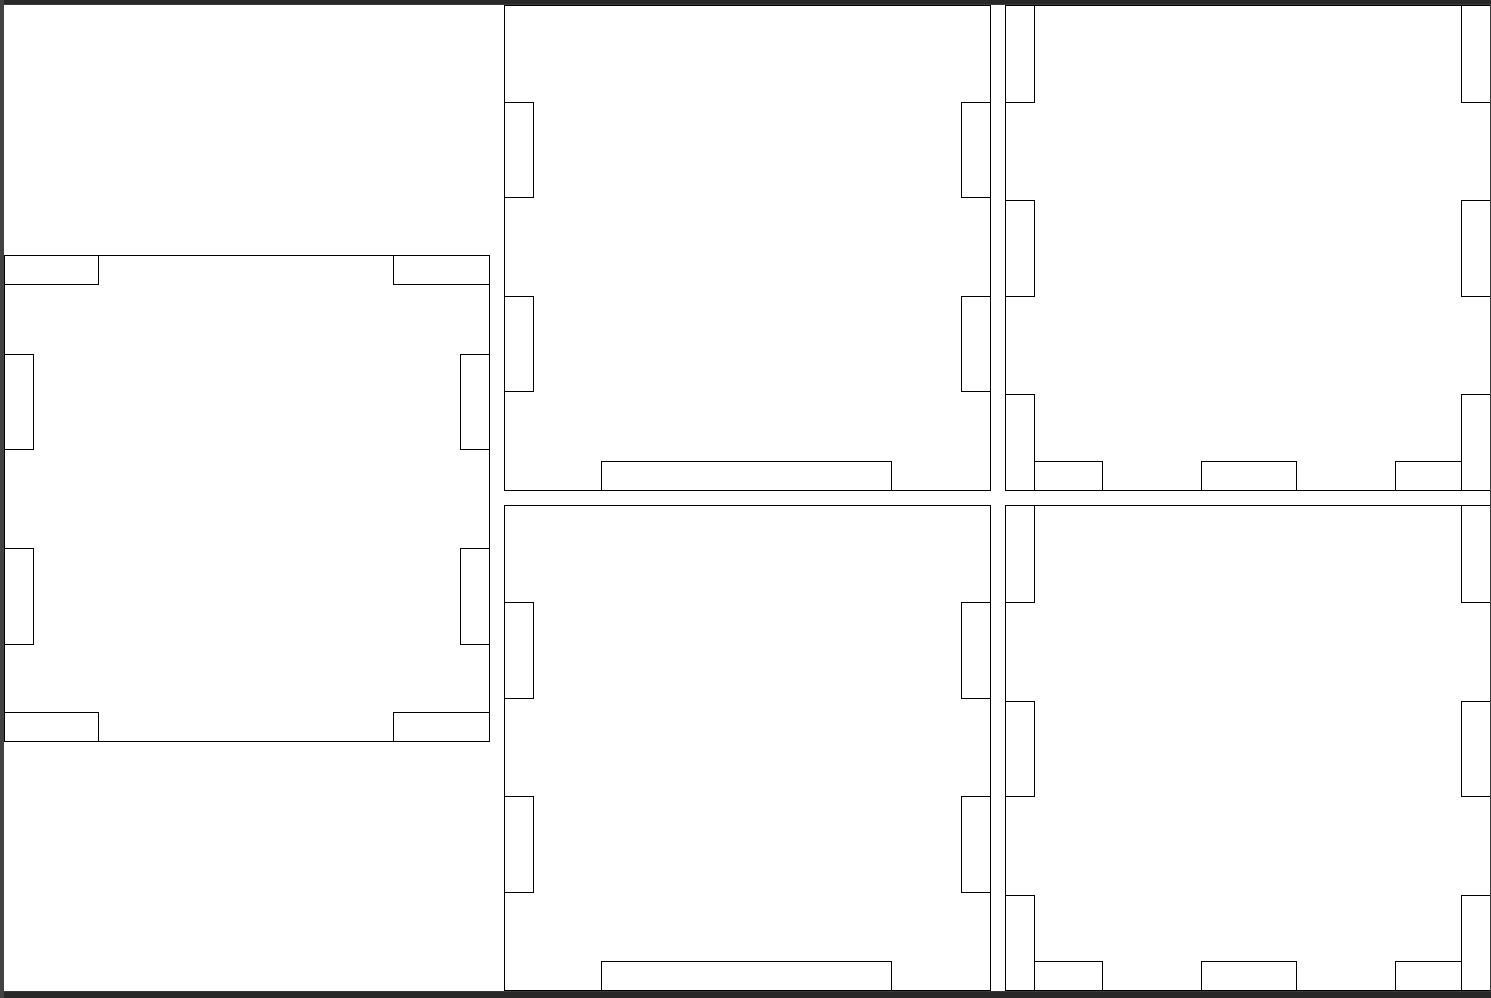
 - After the design was ready in order to send it to the laser cutter I went to design>drawing>from design and there I selected the faces of my design that I wanted to print
and then I selected the faces that I wanted and then made a pdf.
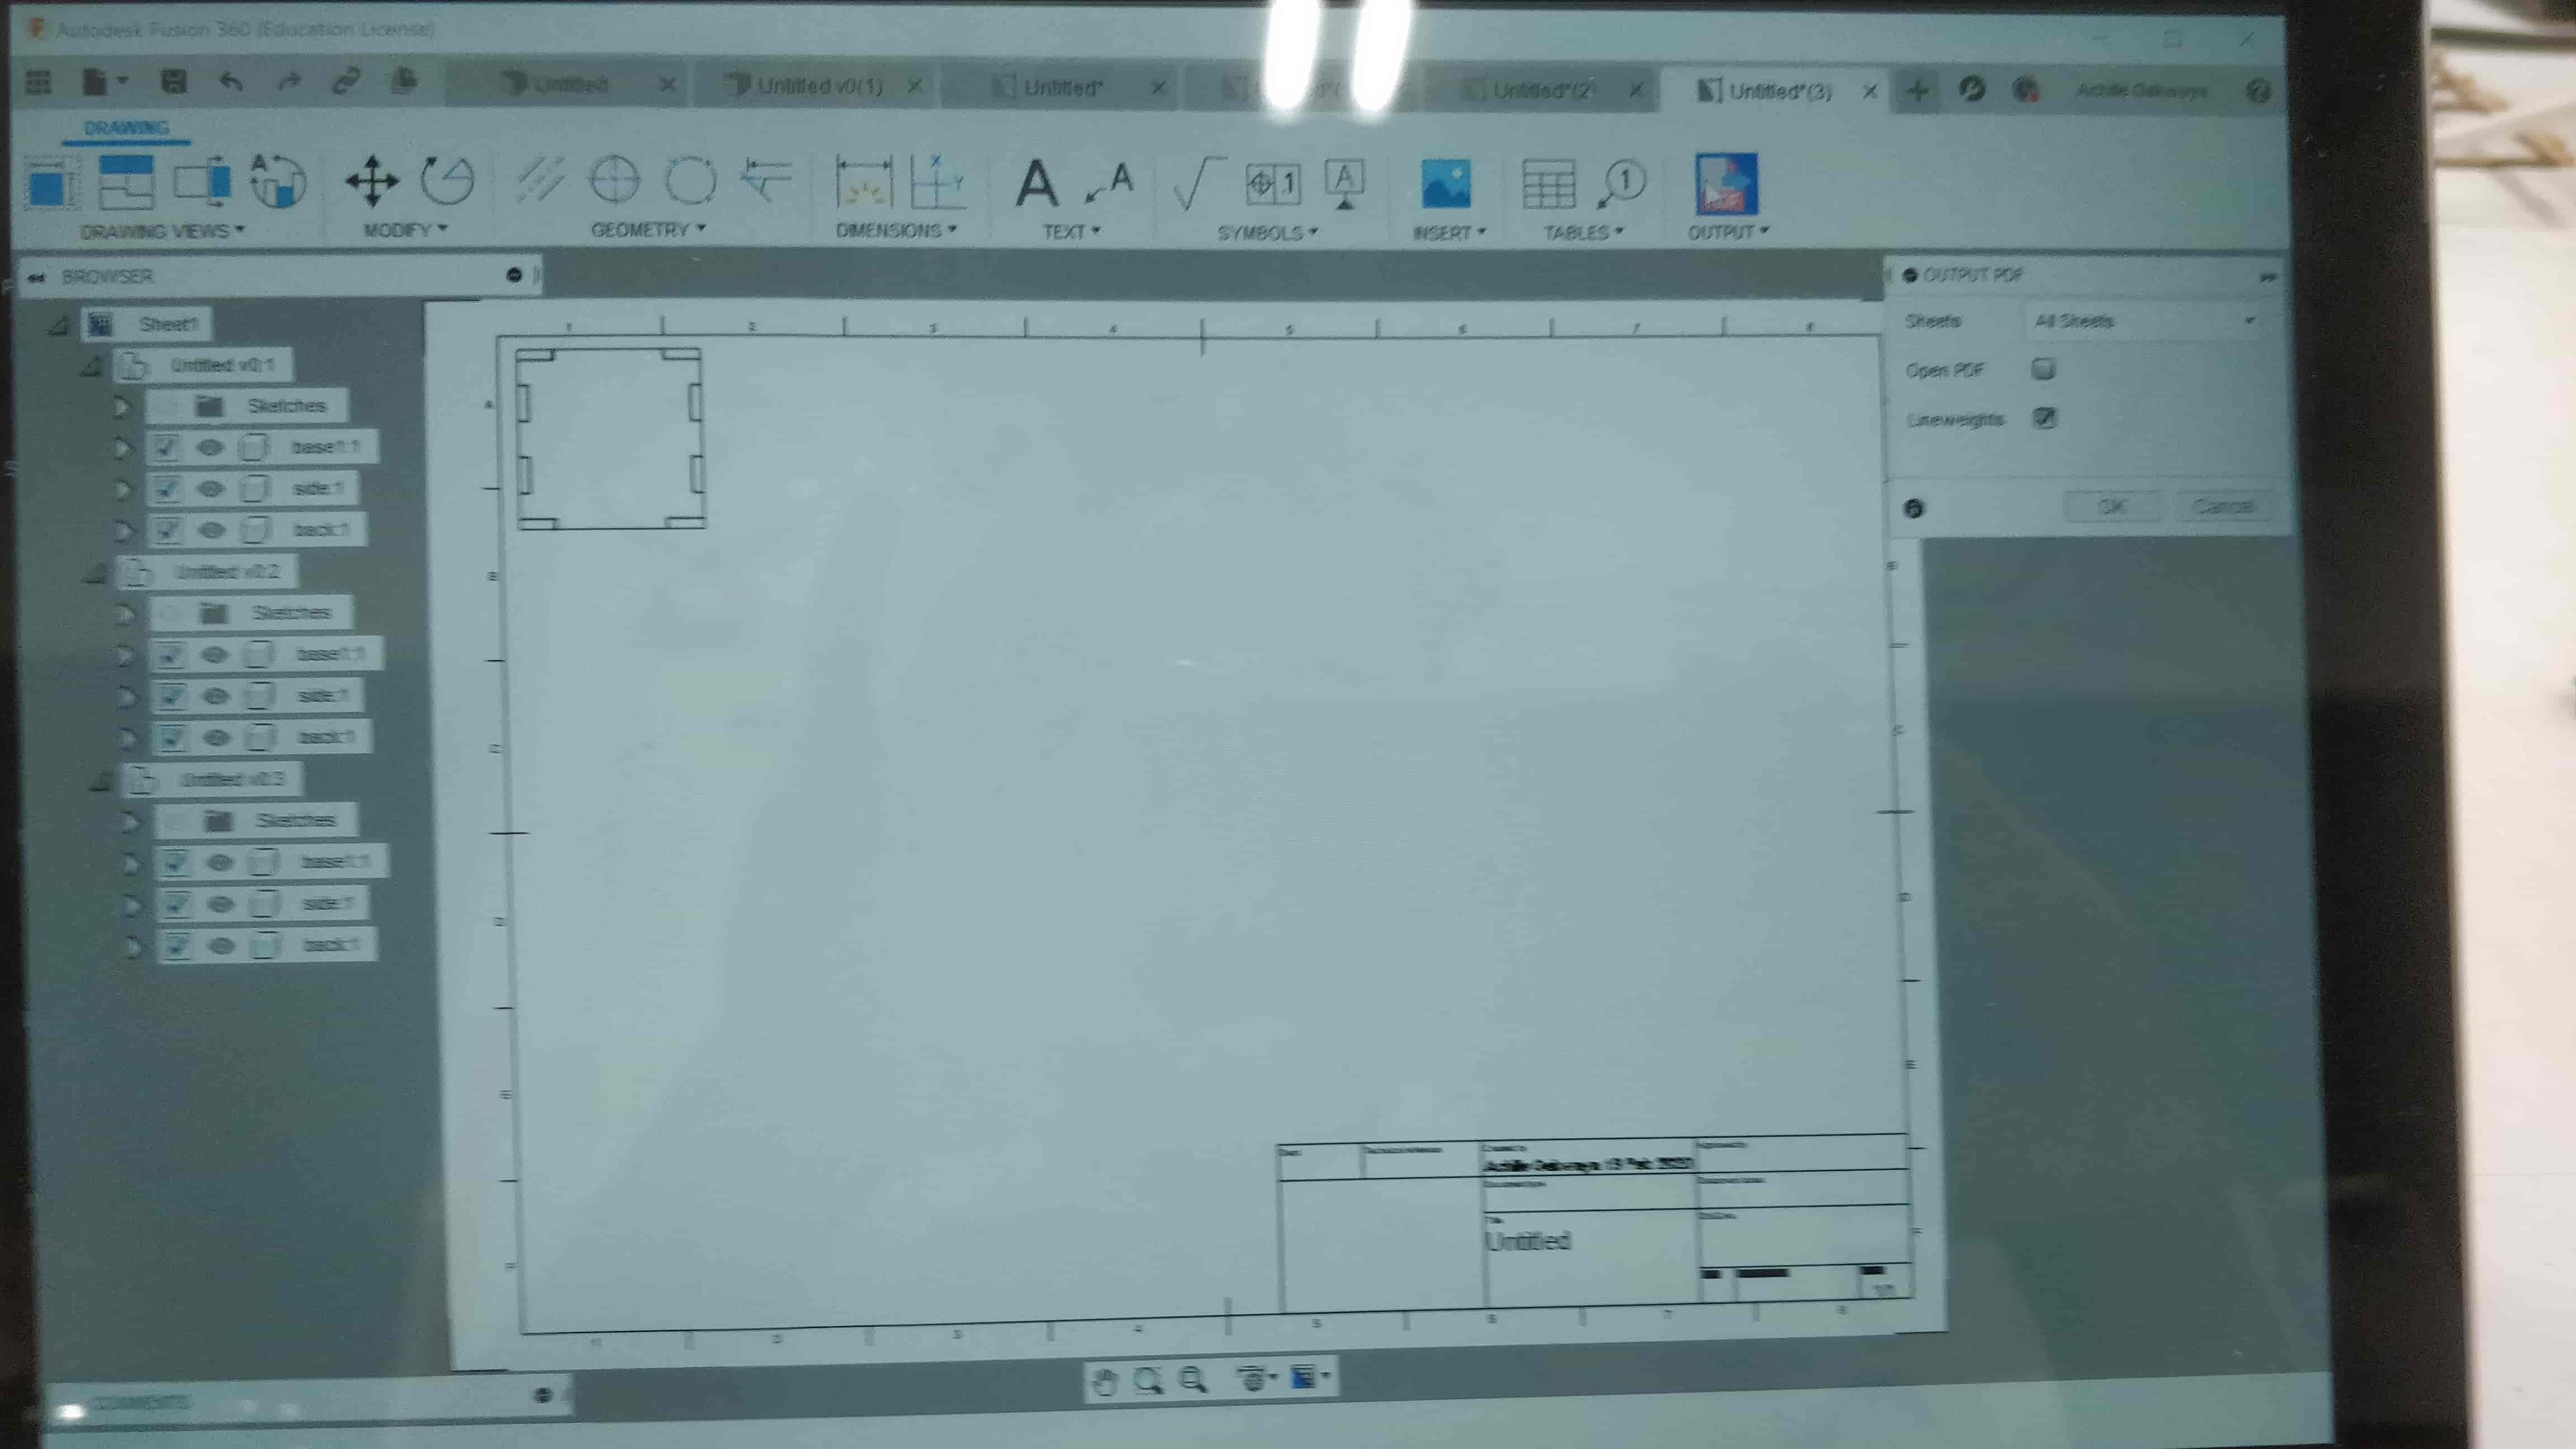 PDF export
 - The line width should be 0.02 mm for a good output and this can be done in inkscpape by setting it in the stroke style.
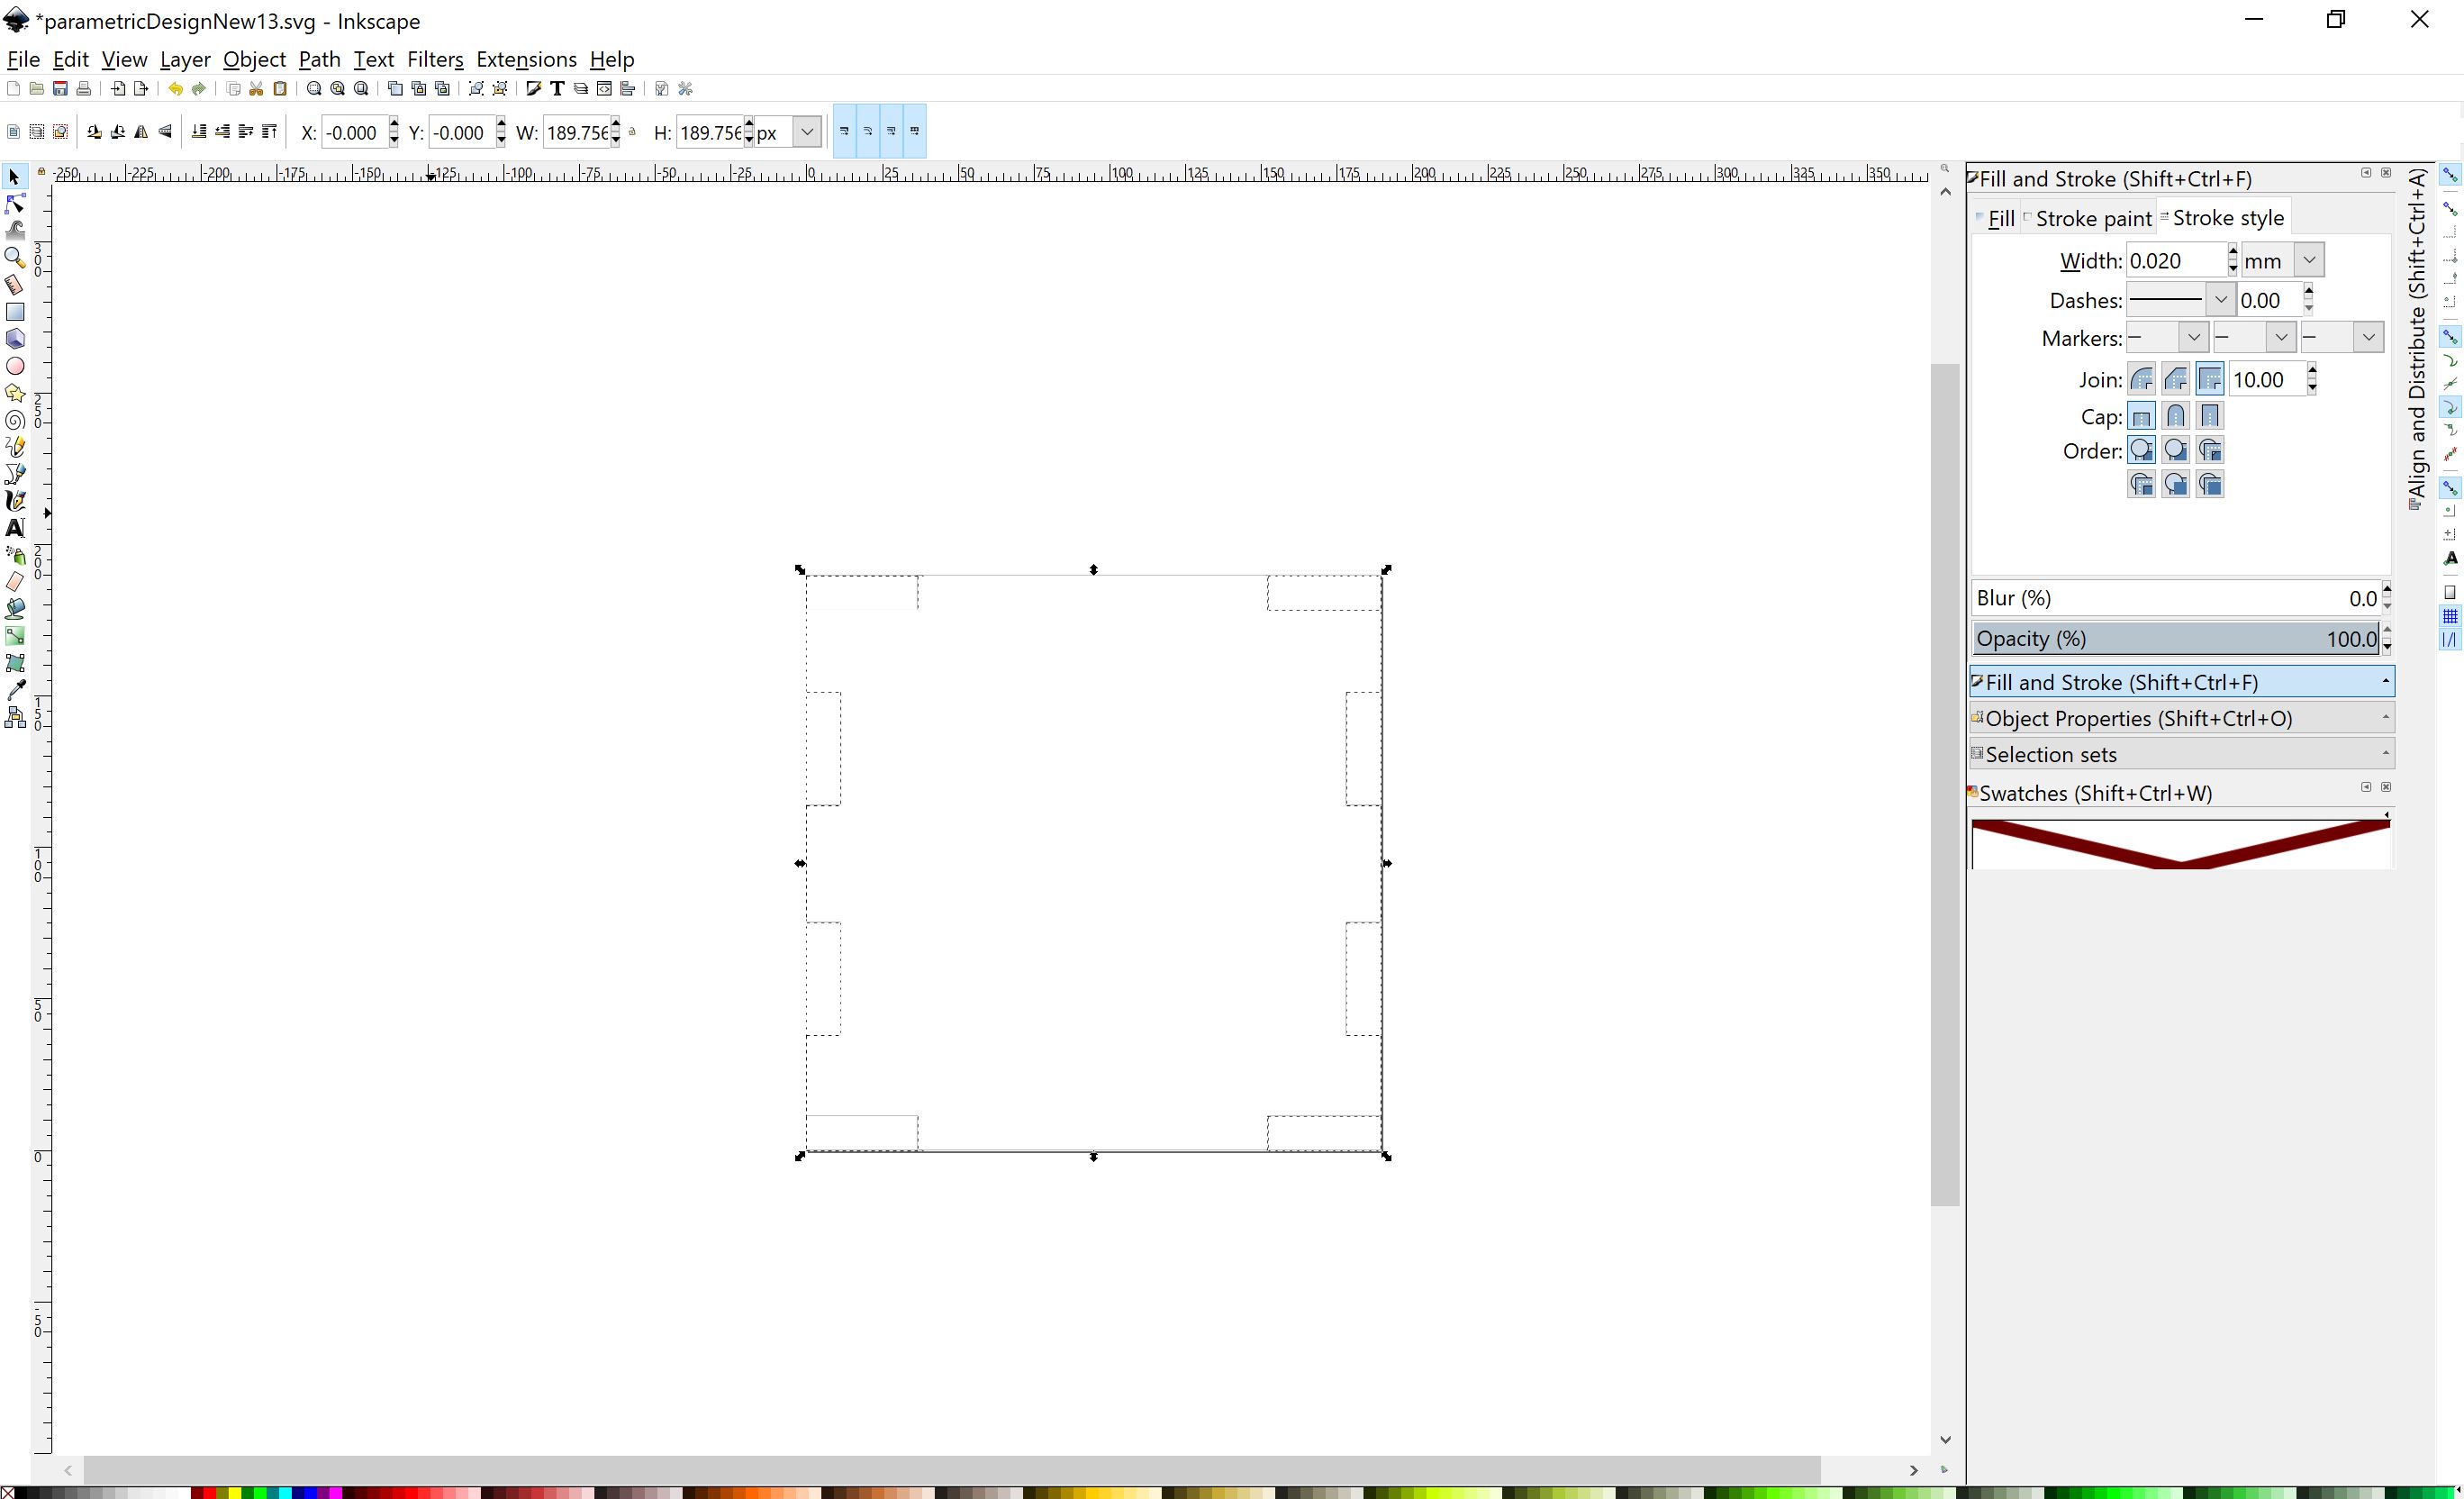 Line width
 - After setting up the line width the design can be printed by selecting print and adjusting properties to the type of material to be used.
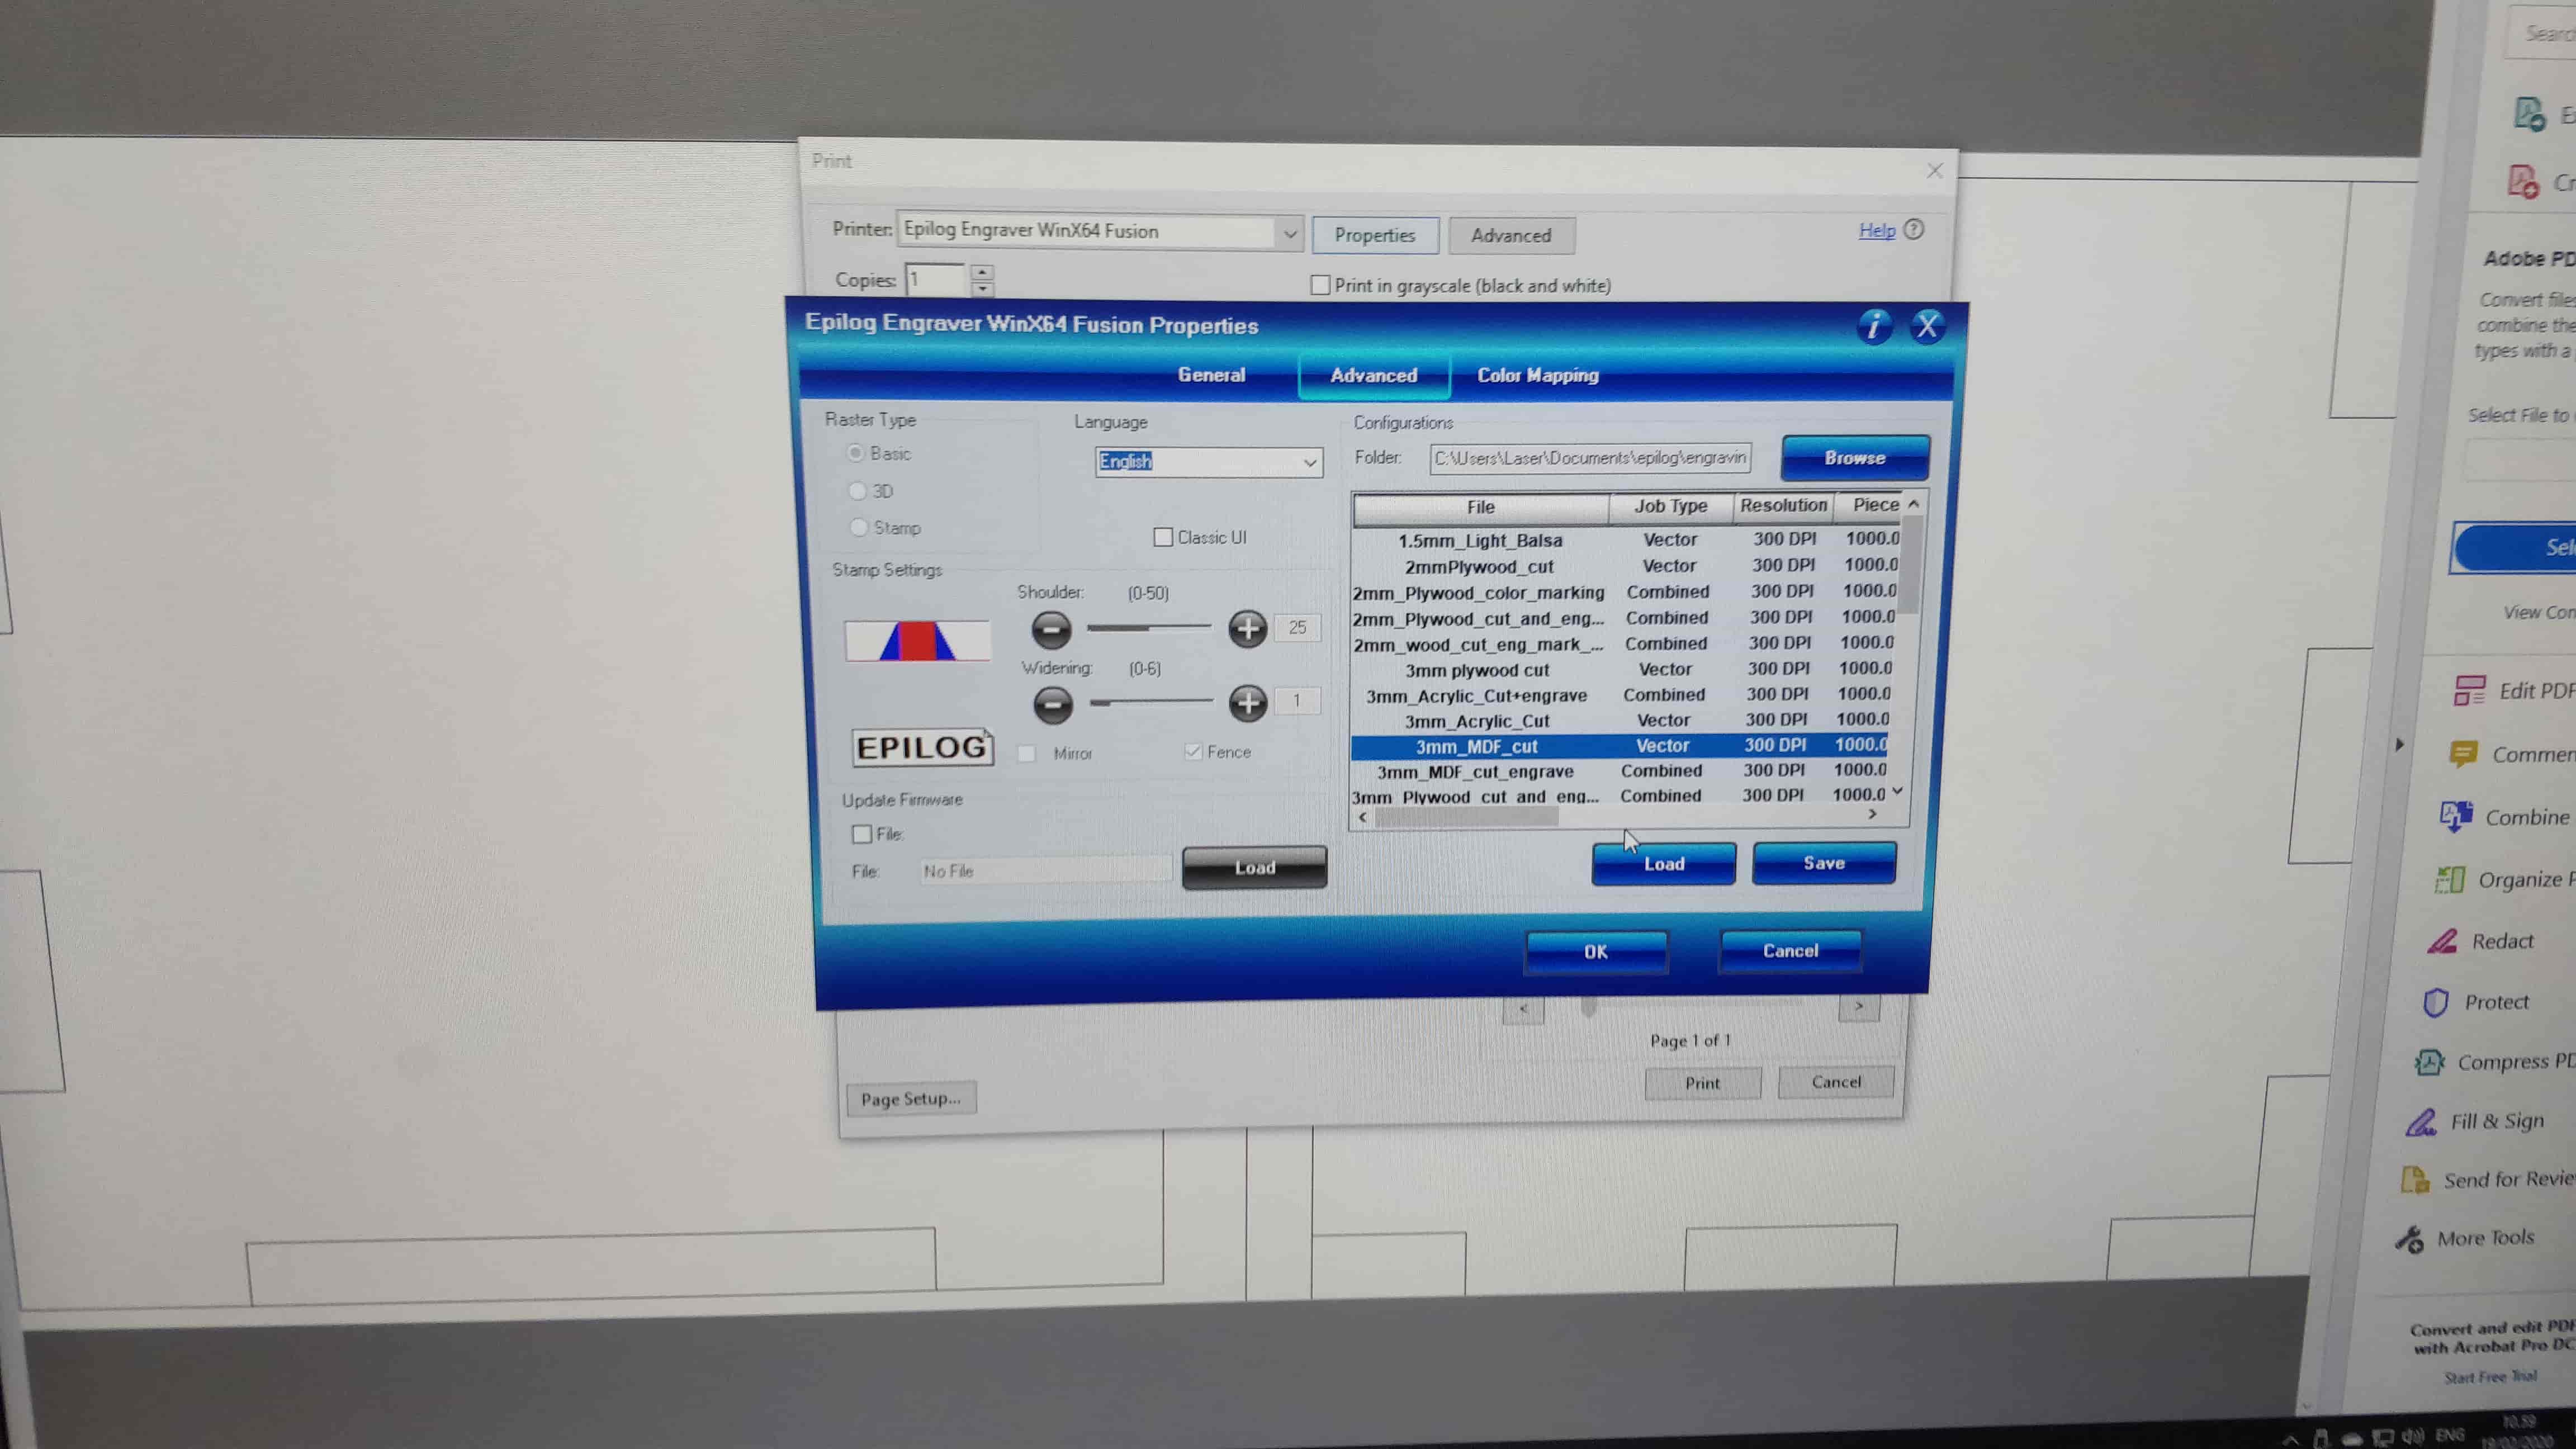 Laser settings1
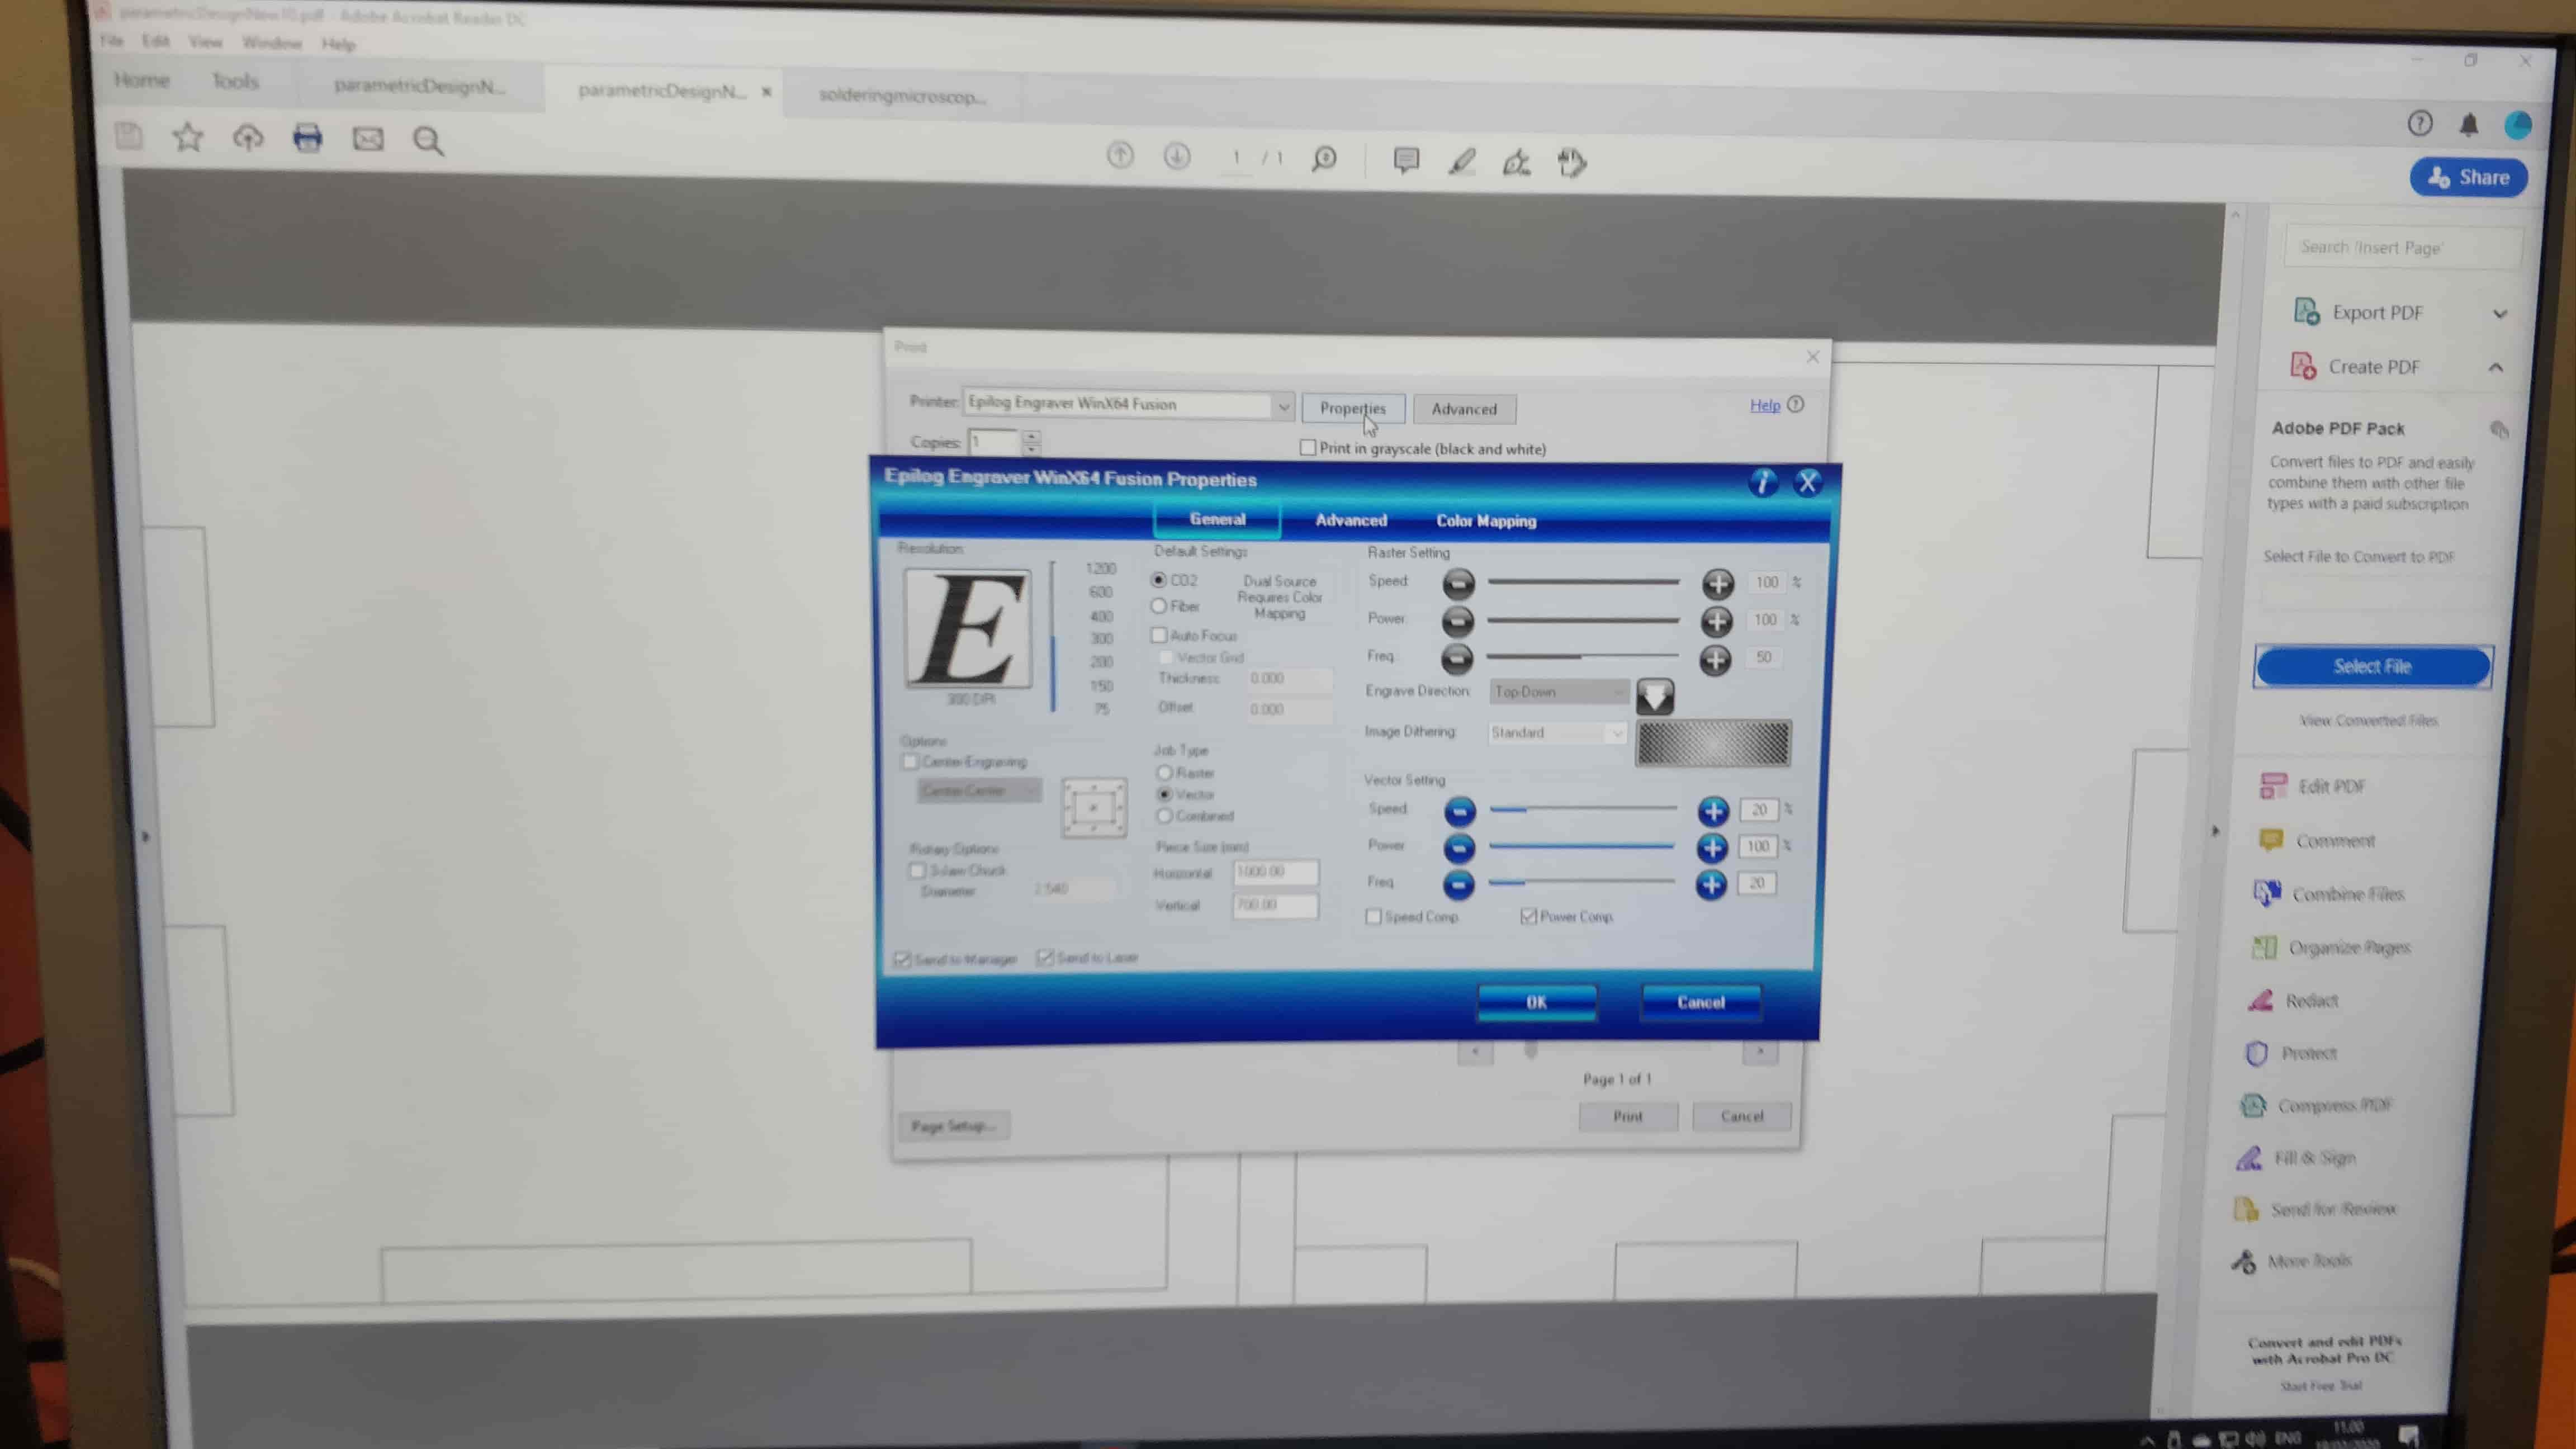 Laser settings2
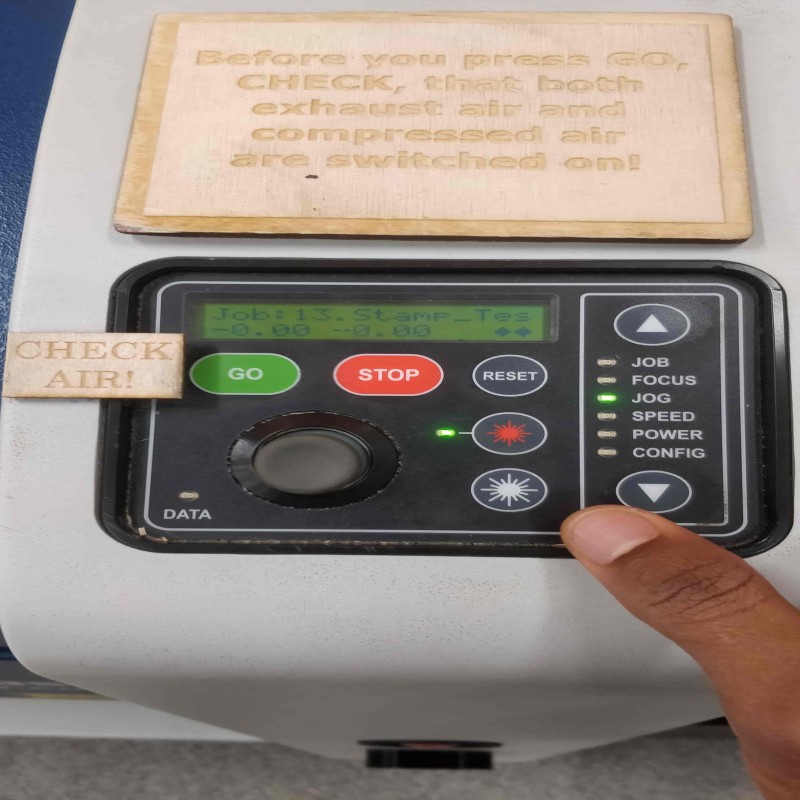
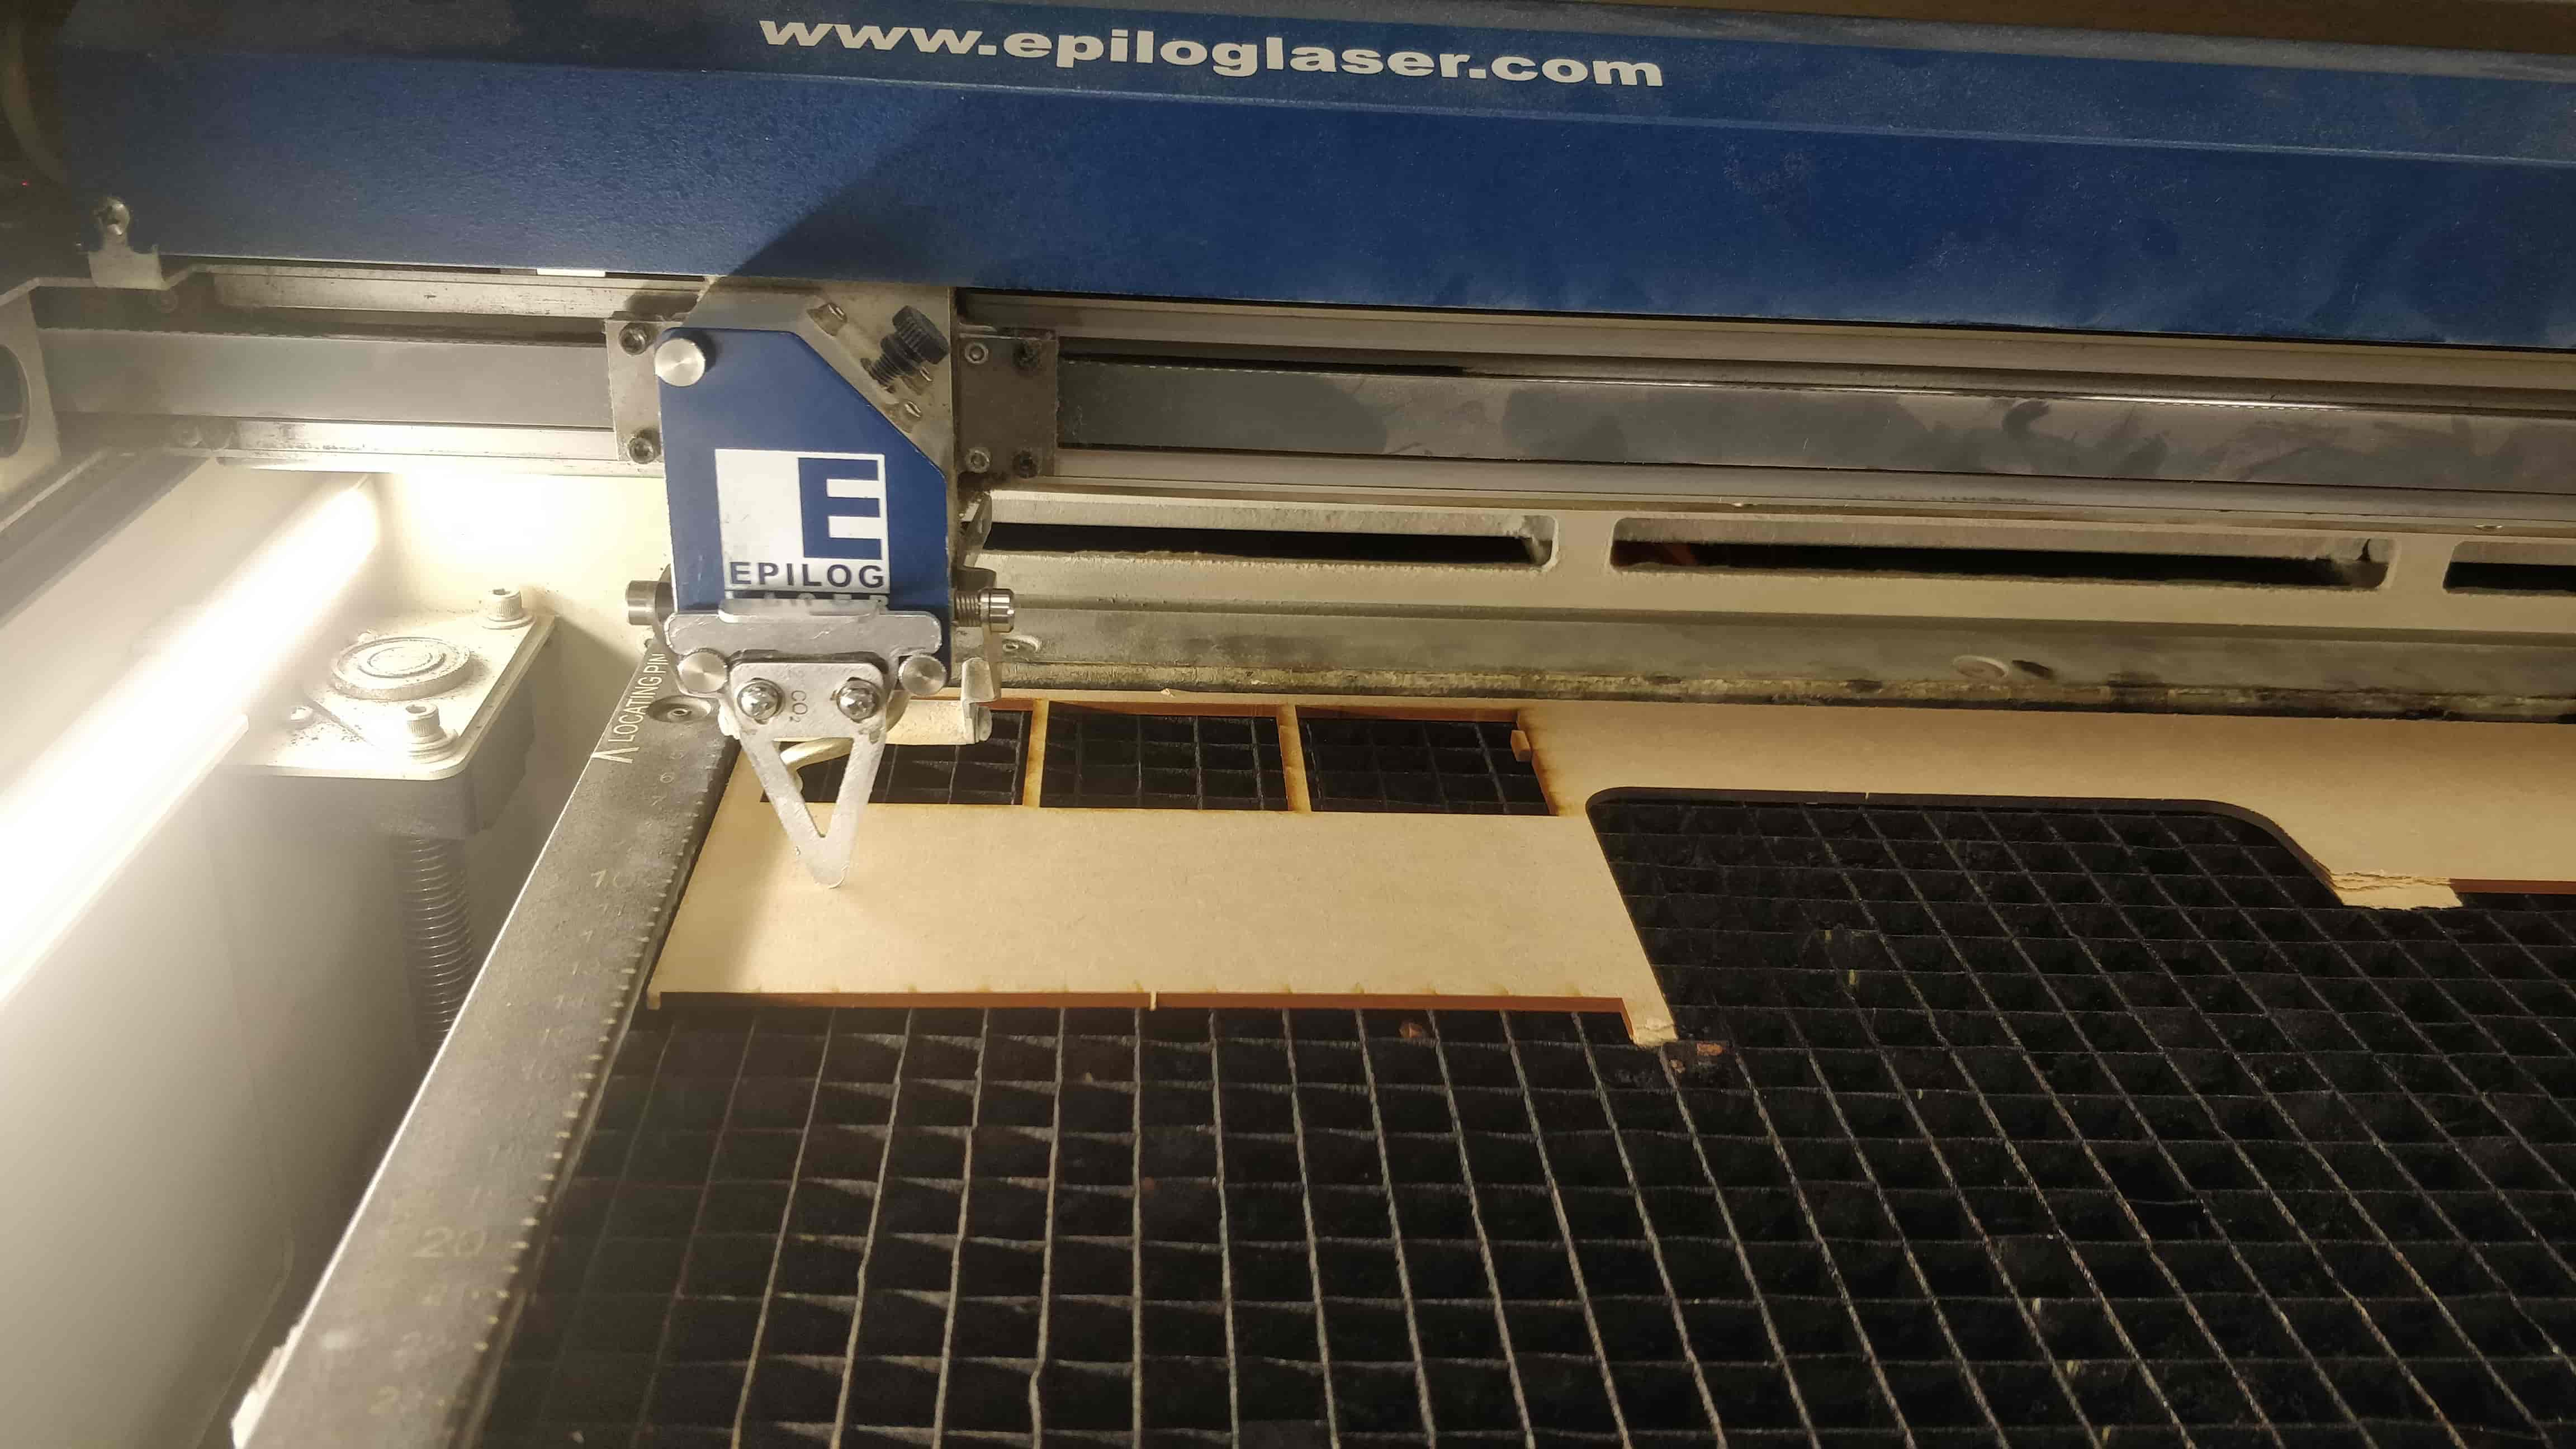
 - For the laser cutter,first it needs to be powered on and then adjust the origin by selecting jog on the menu and move the laser to the point that it needs to start printing
from.
 Step 1
 - Then setting the focus by selecting focus and use one of the triangular shaped objects to make sure the objects length is that between the material and laser, next after all these the design can be printed by selecting job>Go
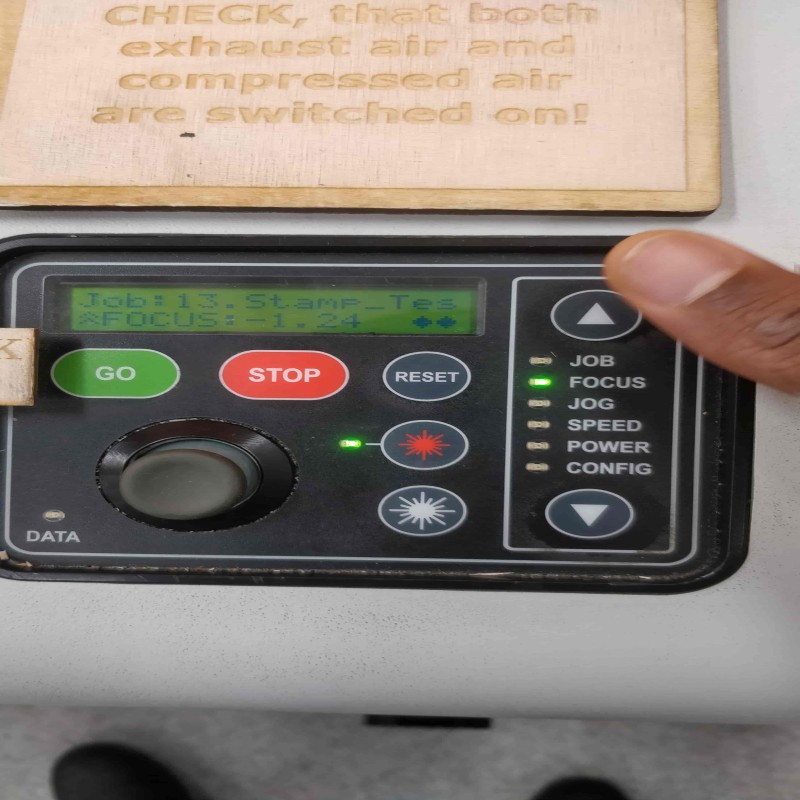 Step 2
 Step 3
 - while the laser is printing it is important to stay near it to detect any problem that may arise. for example in case of a fire it is advisable to open the door and stop the laser cutting process if this doesn’t work try to use a blanket (or if severe a fire extinguisher) to quench it.
-
After the design was printed I assembled it to get the final product
 Design
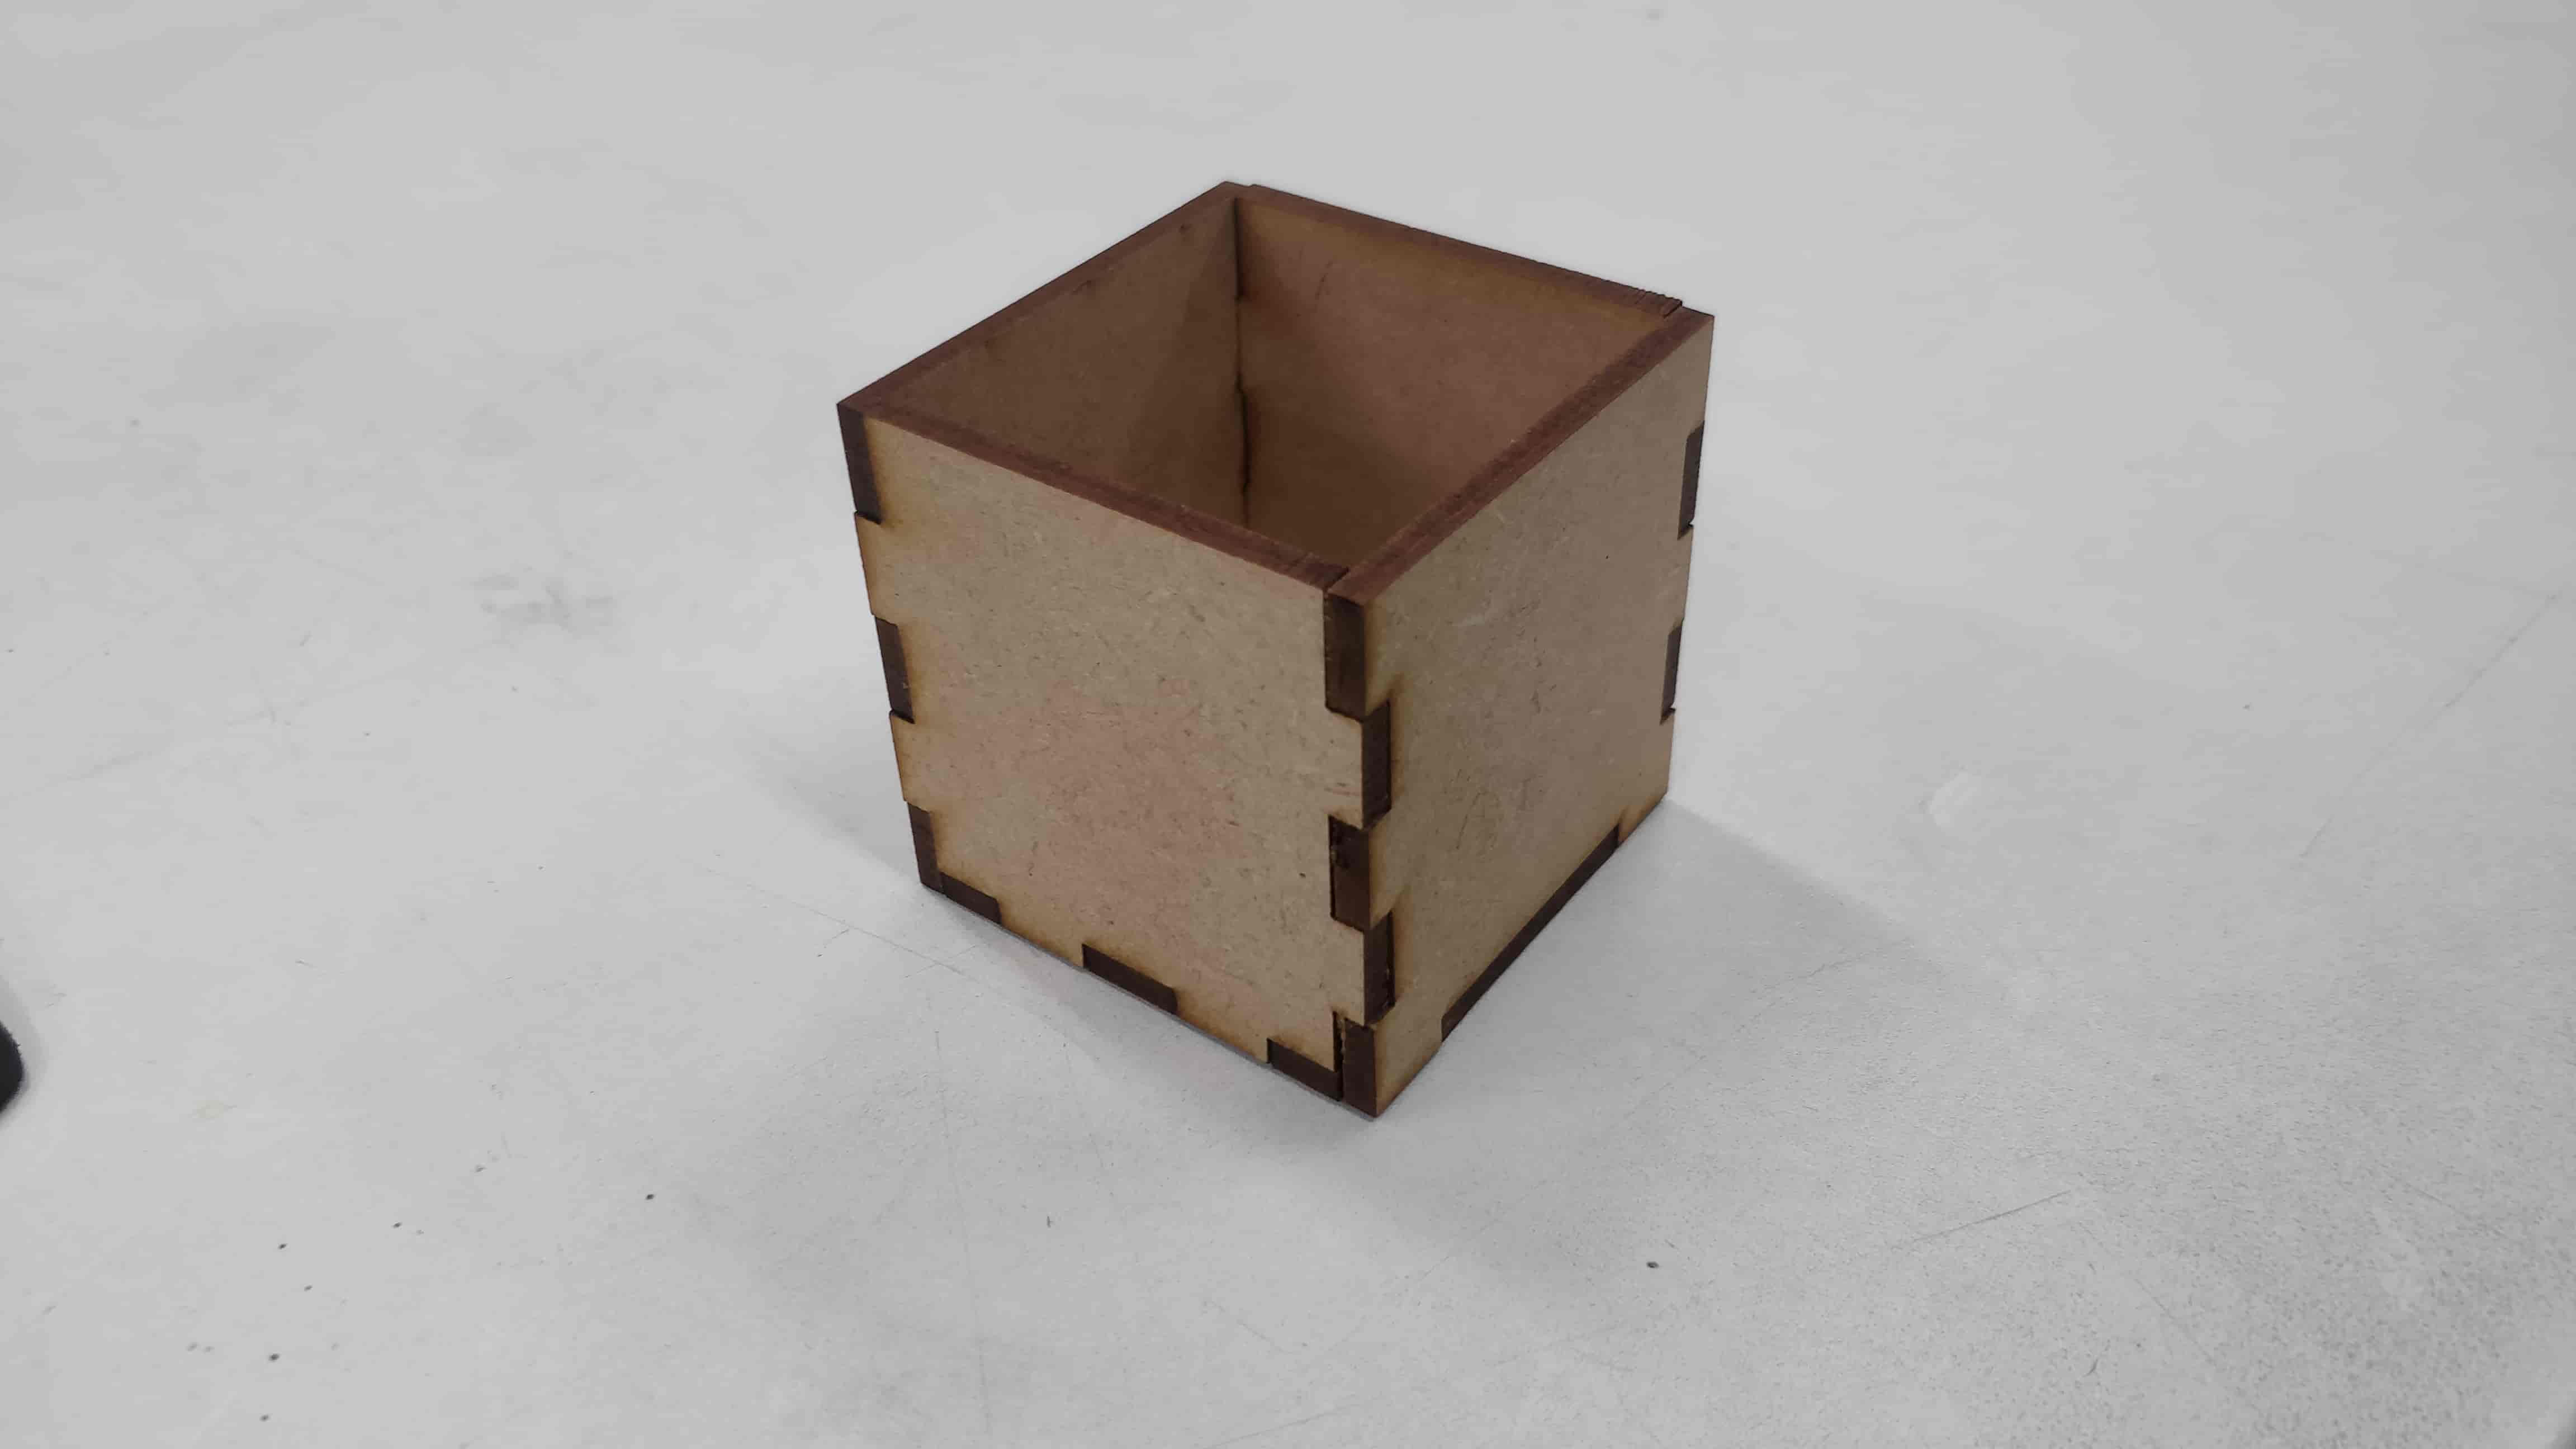 Final Product
 -
My Laser cutting experience was challenging because for many hours I didn’t get the box to fit. But, with the help of my local instructor I noticed that the 3d view made the box to intersect and the intersection was also cut by the laser hence the faces didn’t fit.I later on modified this in Inkscape and got to print my design successfully.
Group Work
- In the group work I learned different characteristics of the laser cutter(power,frequency and speed) and their impact on the final output For example High power makes the laser cut deep, low frequency makes the laser cut shallow because the laser pulses are further apart and slow speed makes deep cuts because the laser spends more time cutting.
- I also understood the principle behind the kerf and how to compensate for it.
- Finally, different experiments were done to find out values for kerf for MDF and acrylic materials.
- The detailed documentation of the group work can be found here
Files
(Vinyl Svg/parametric svg/Parametric pdf /Parametric f3d/parametric stl)