3. Computer Aided design
This week I learned to work with 2D and 3D software. which I can say was really fun and equally challenging because I didn’t have any background with the software used, so I had to learn everything. I’m learning how to work with software like GIMP, INKSCAPE and FUSION 360. In the following section I will go through how I interacted with these different software and share some of the work done.
2D
2D software help model objects in 2 dimensions and are very useful for applications like Laser cutting, image editing,etc. They come in two different types: * Raster Software: This software renders designs in the form of pixels, and is very useful for appplications like image editing, logo design and more.
- Vector Software: This software renders designs in the form of Vectors, therefore it uses mathematical formulas to represent its designs.This type is very useful for applications like Laser cutting and more.
GIMP(RASTER)
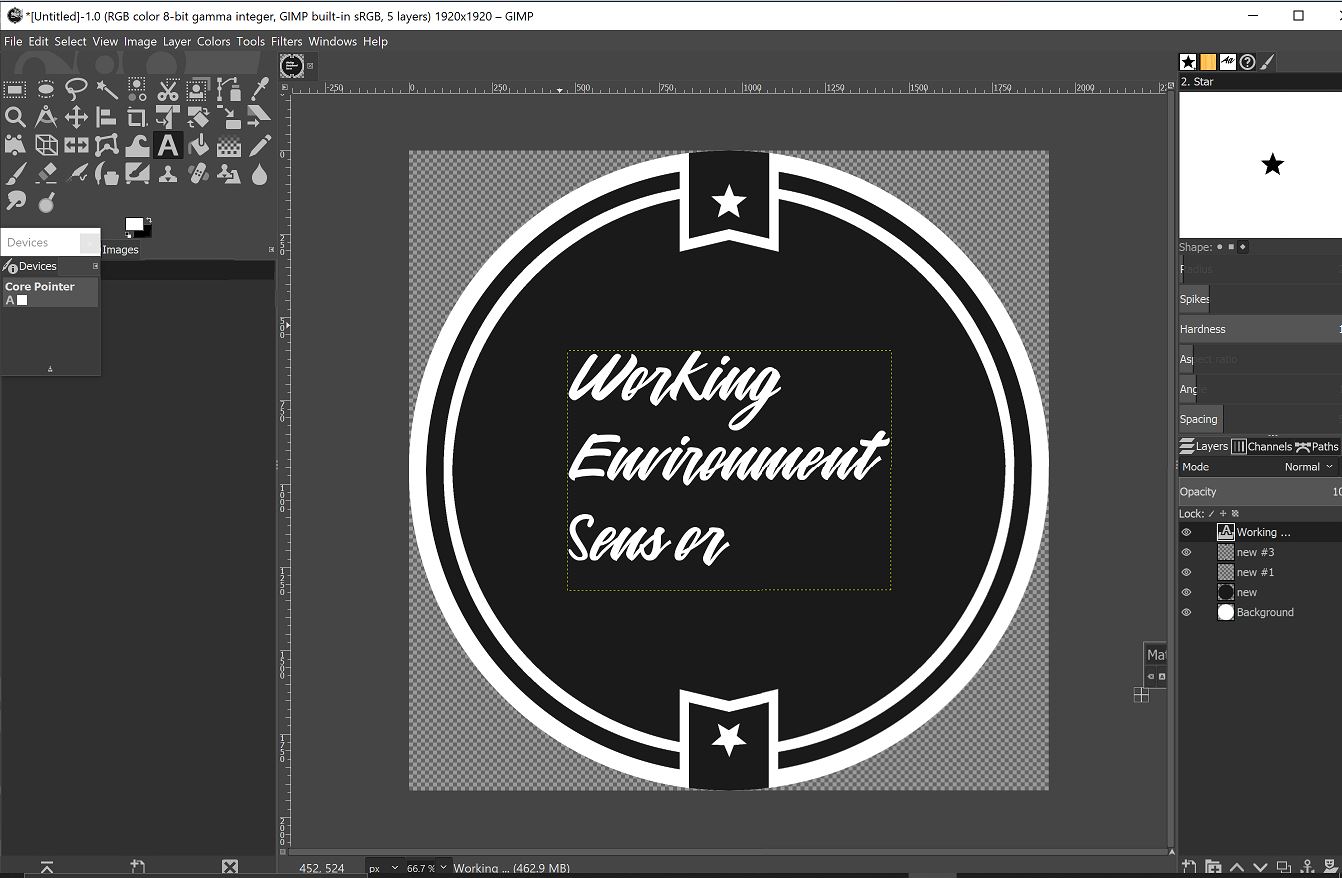
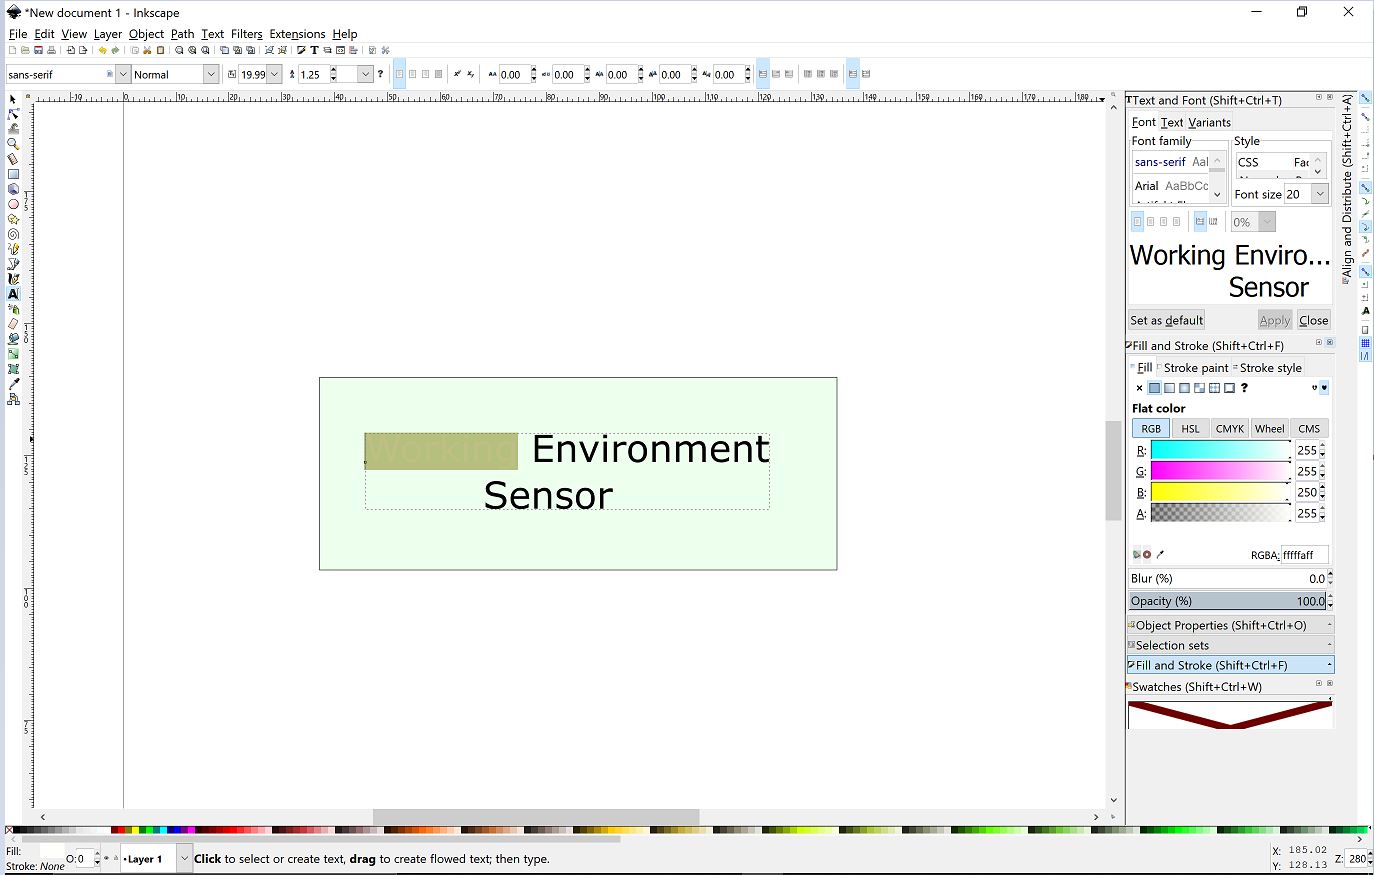
- My work with raster software focused on the GIMP software. I used this software to design a logo for a potential final project. I followed this example and used the same template in order to design the logo. I had to download a font called Mattilda which can be found here . this made the design look beautiful. my logo after the tutorial looked as shown below.
![]() Logo with GIMP
Logo with GIMP
-
I first started by creating a white circular surface and then I added a layer of a another circle inside the white space I drew the top and bottom designs and included stars in them and then lastly, I typed the text inside using Mattilda font .The step by step images are shown below.
-
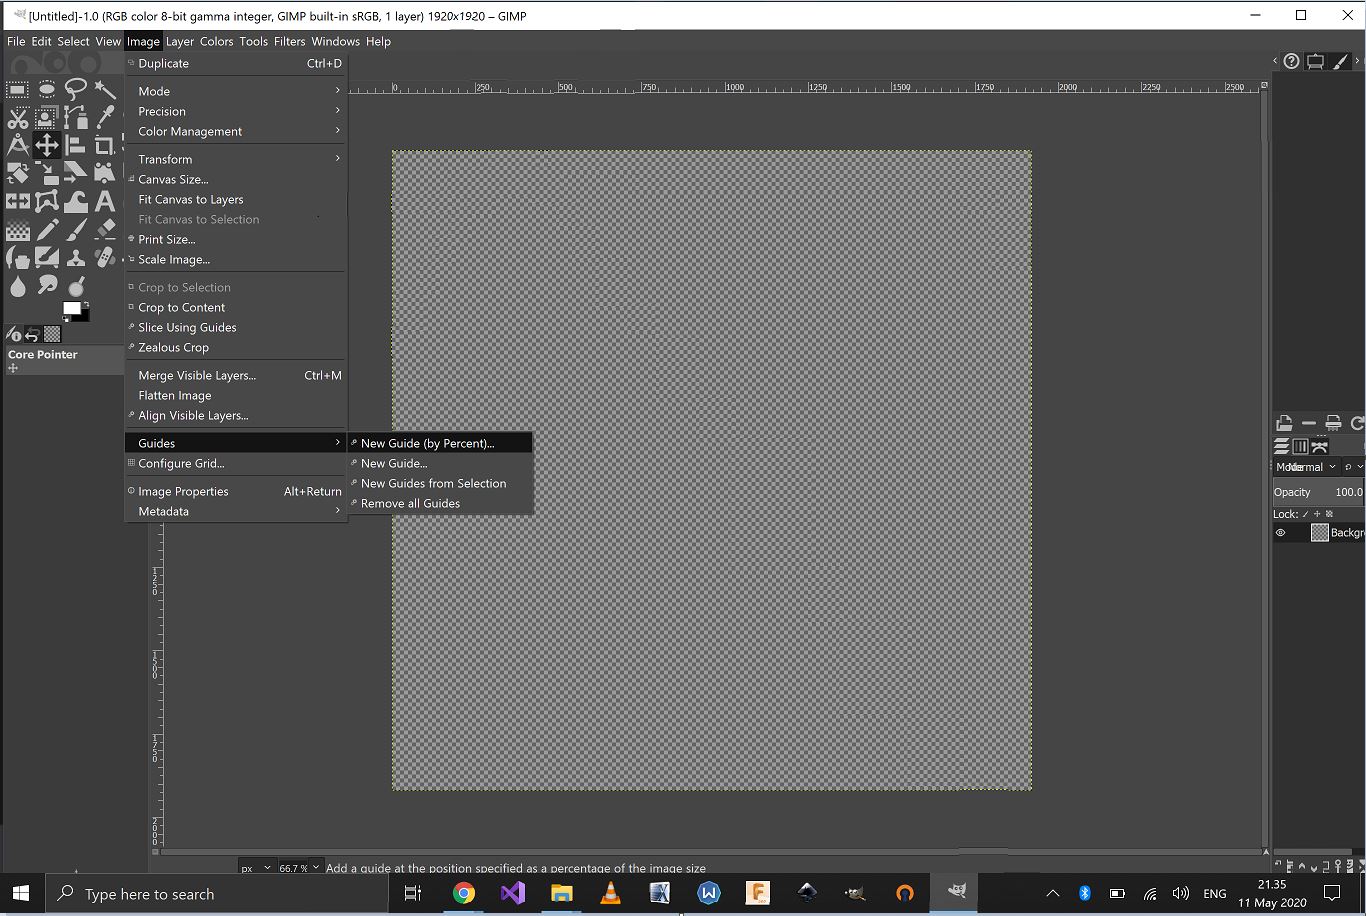
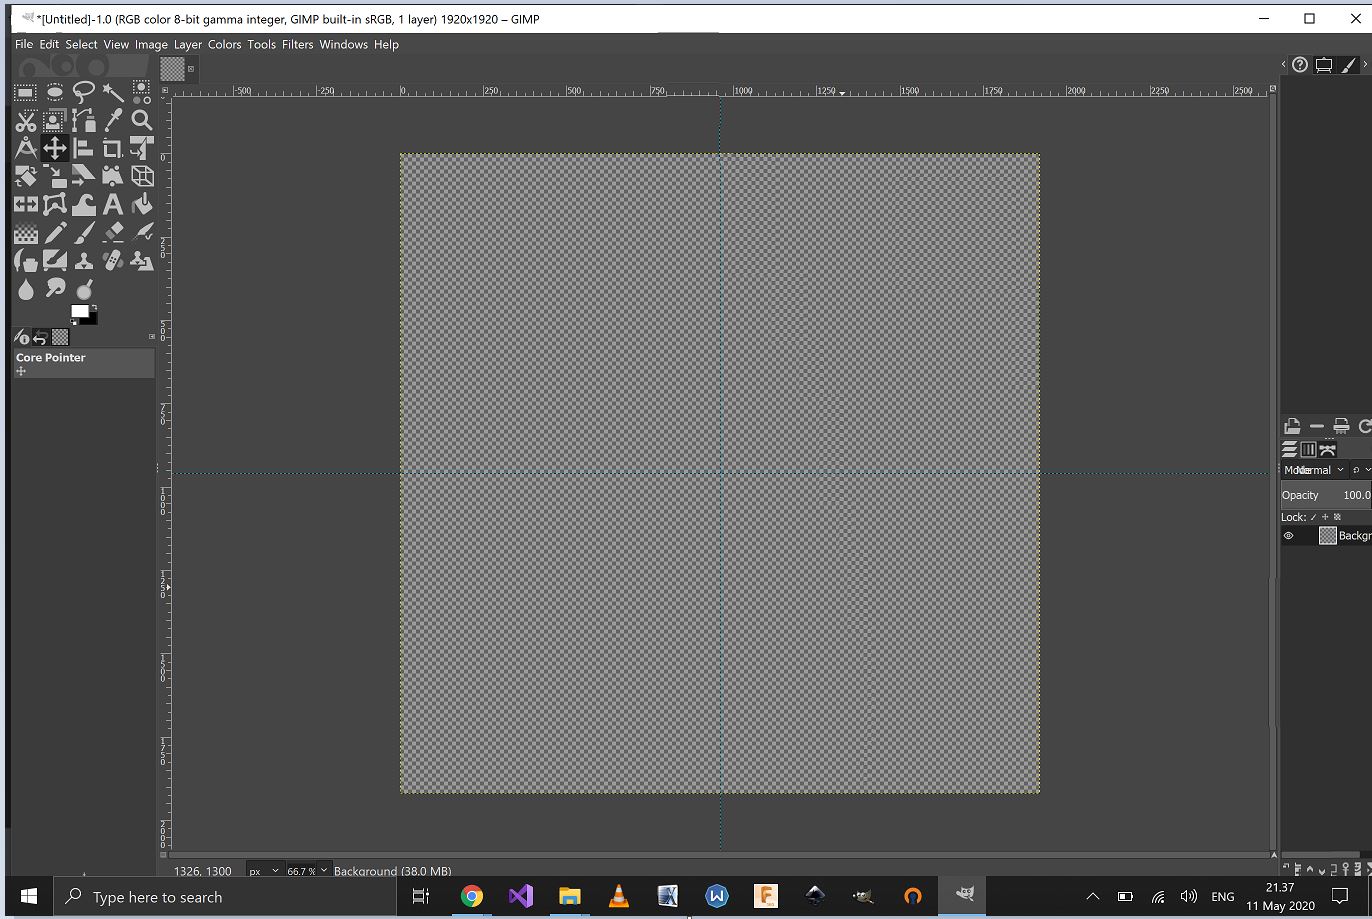
The process started by creating vertical and horizontal guides to help draw the Logo (They act as references as shapes are drawn) this is achieved by going to image>Guides>New Guides and select the vertical and horizontal guides as shown in the images.
 Creating Guides
 Guides
Next, I drew circles for the logo by going to Draw circle and use the guides as reference for the center and then draw the circle, after drawing the first circle I went to Edit>Fill with BG color * the background color was white. Similarly, I next drew a smaller concentric circle and this time I selected Fill with foreground color which was black(but this is done on a new layer). Therefore we get results as shown in the image below.
 Creating Circles
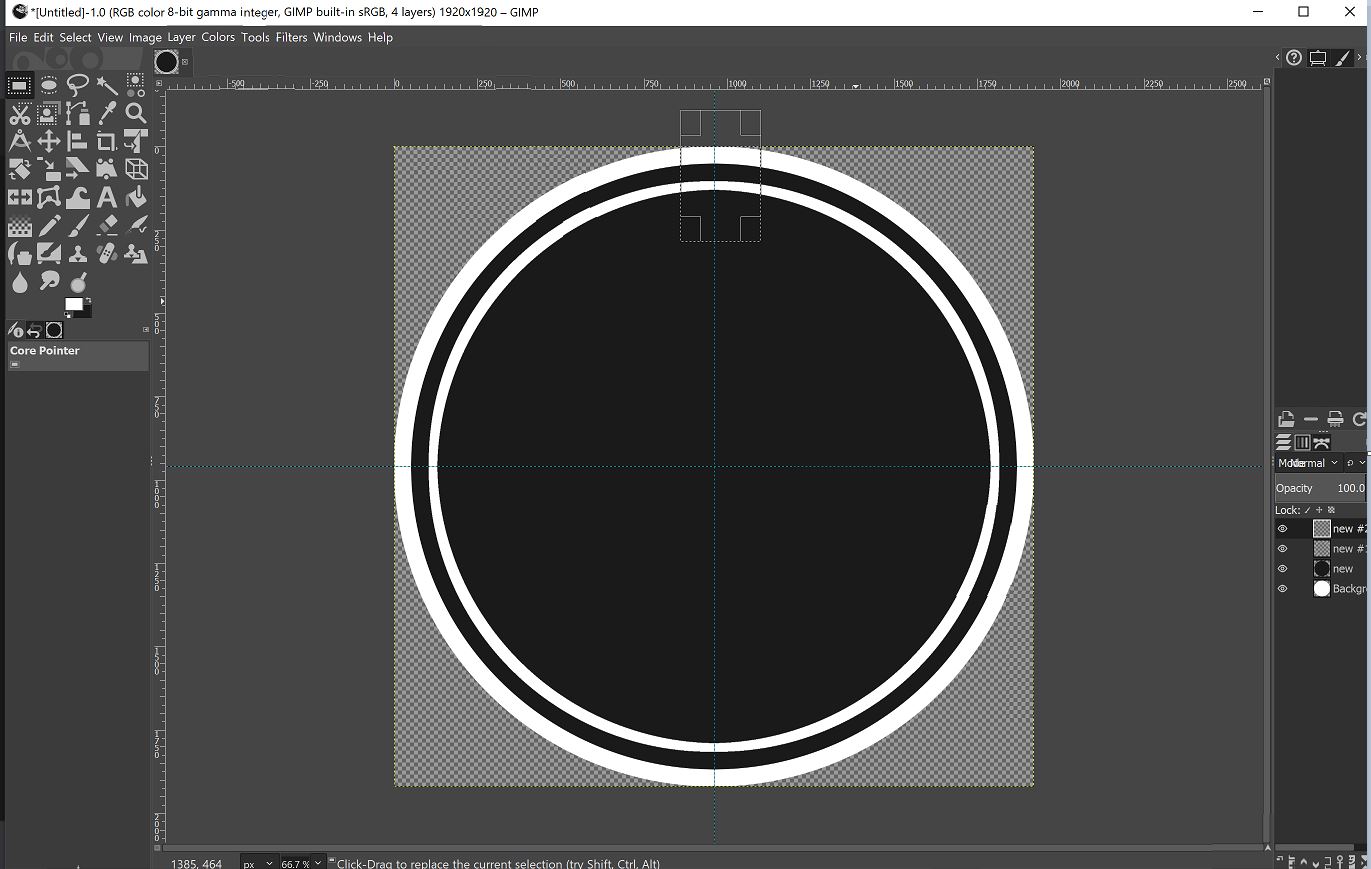
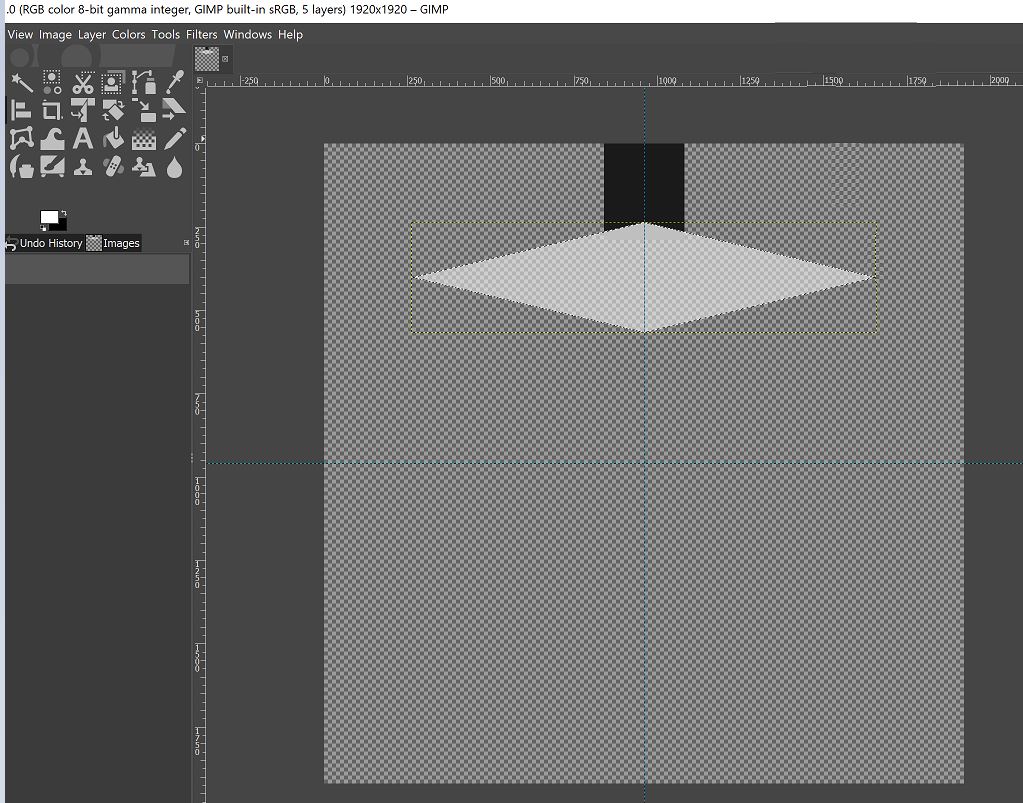
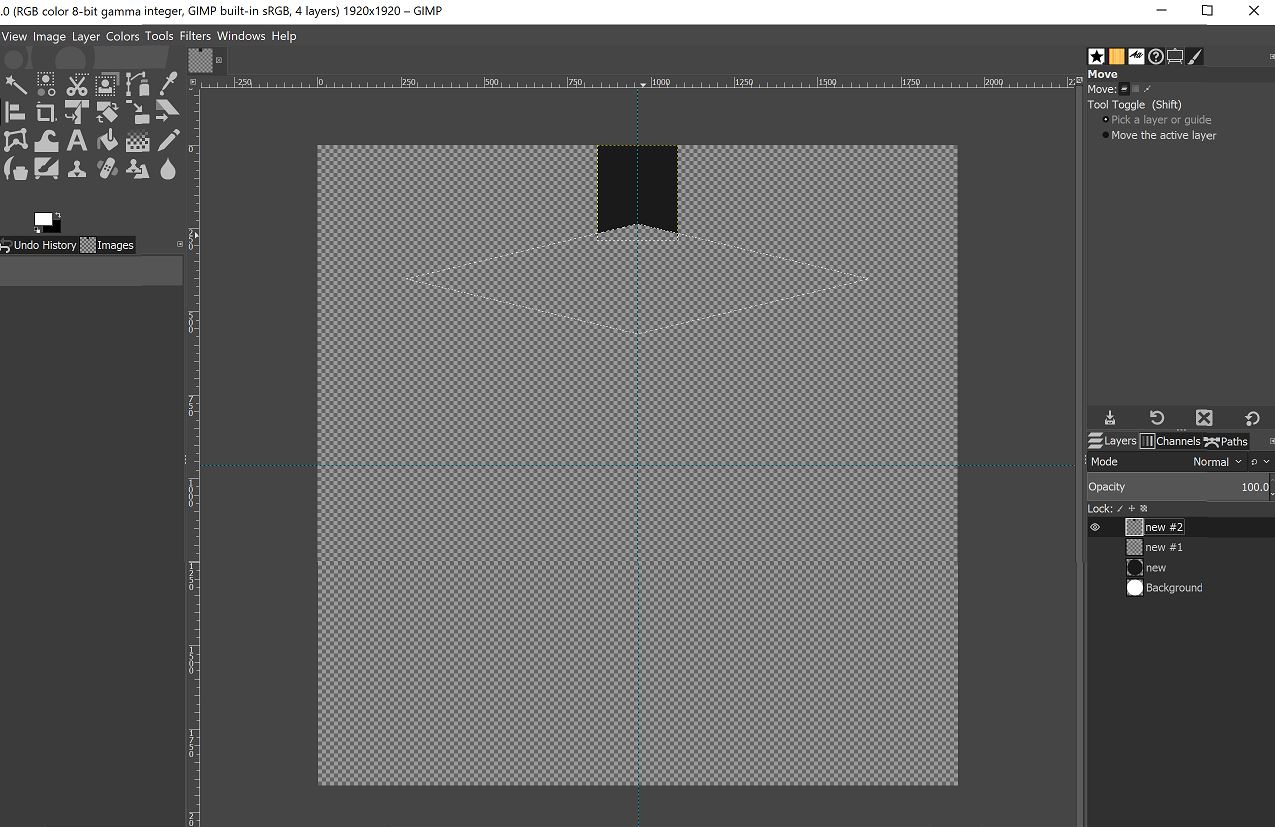
Next, I hid all layers and drew a rectangle and this time filled it with foreground color as shown in the image below. Then, I also wanted to cut a v shape in it and to do this I drew a rectangle(on a new layer) and filled it with the white backgound color and then rotated and scaled it to fit the size of the cut and next I aligned it with the black box where I needed to cut then selected Alpha to selection and then deleted the layer to give the cut result. Similarly, I copied the black box and made it larger and now filled it with white color and then put it on the black one to give the final result shown in the image. To complete the part I then selected paintbrush and selcted the star which I put on the box.
 Top logo part
 Creating a V in the part
 Result of Cut*
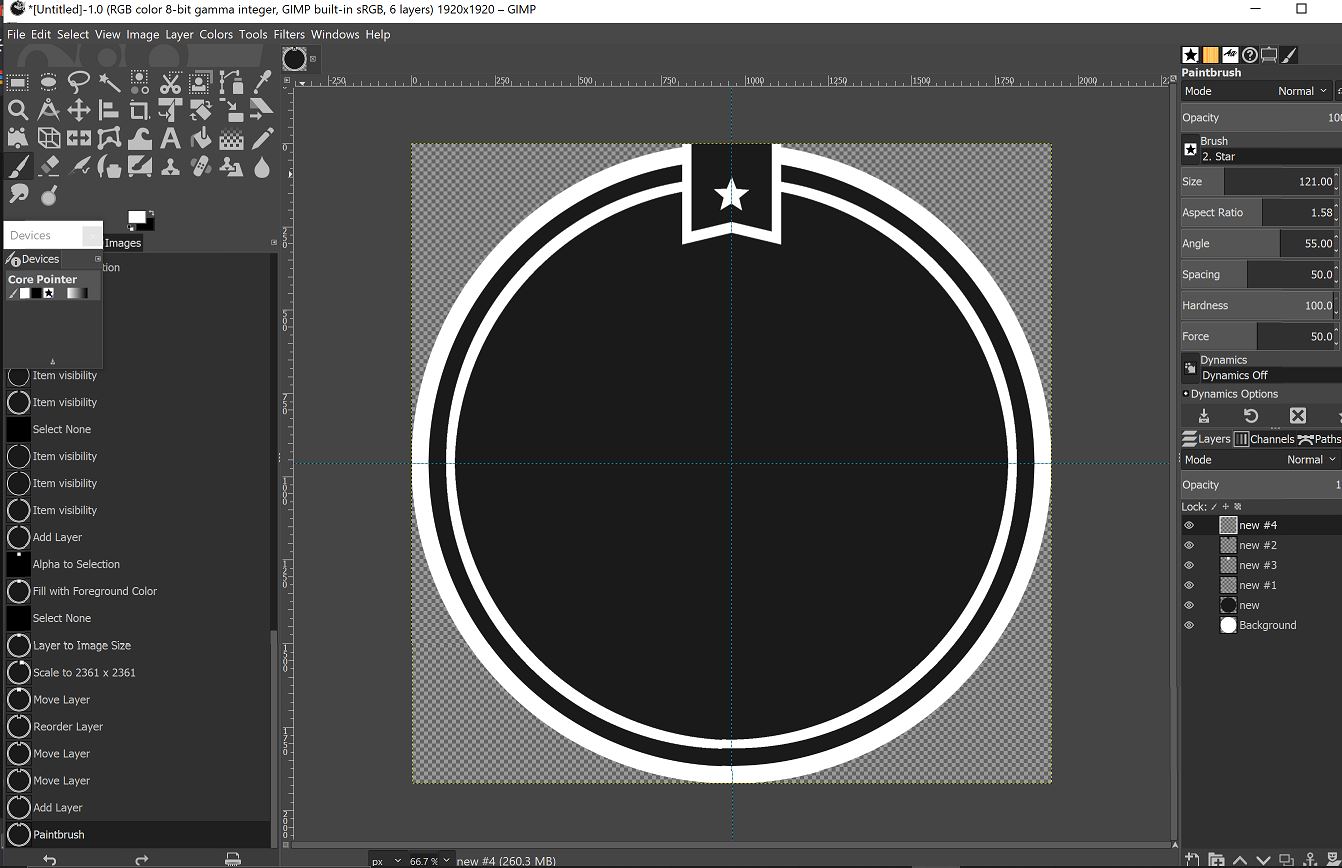 After showing the layers
- The Final step I chose Duplicate layer in order to create a similar top design and then also selected Text in order to write the words.
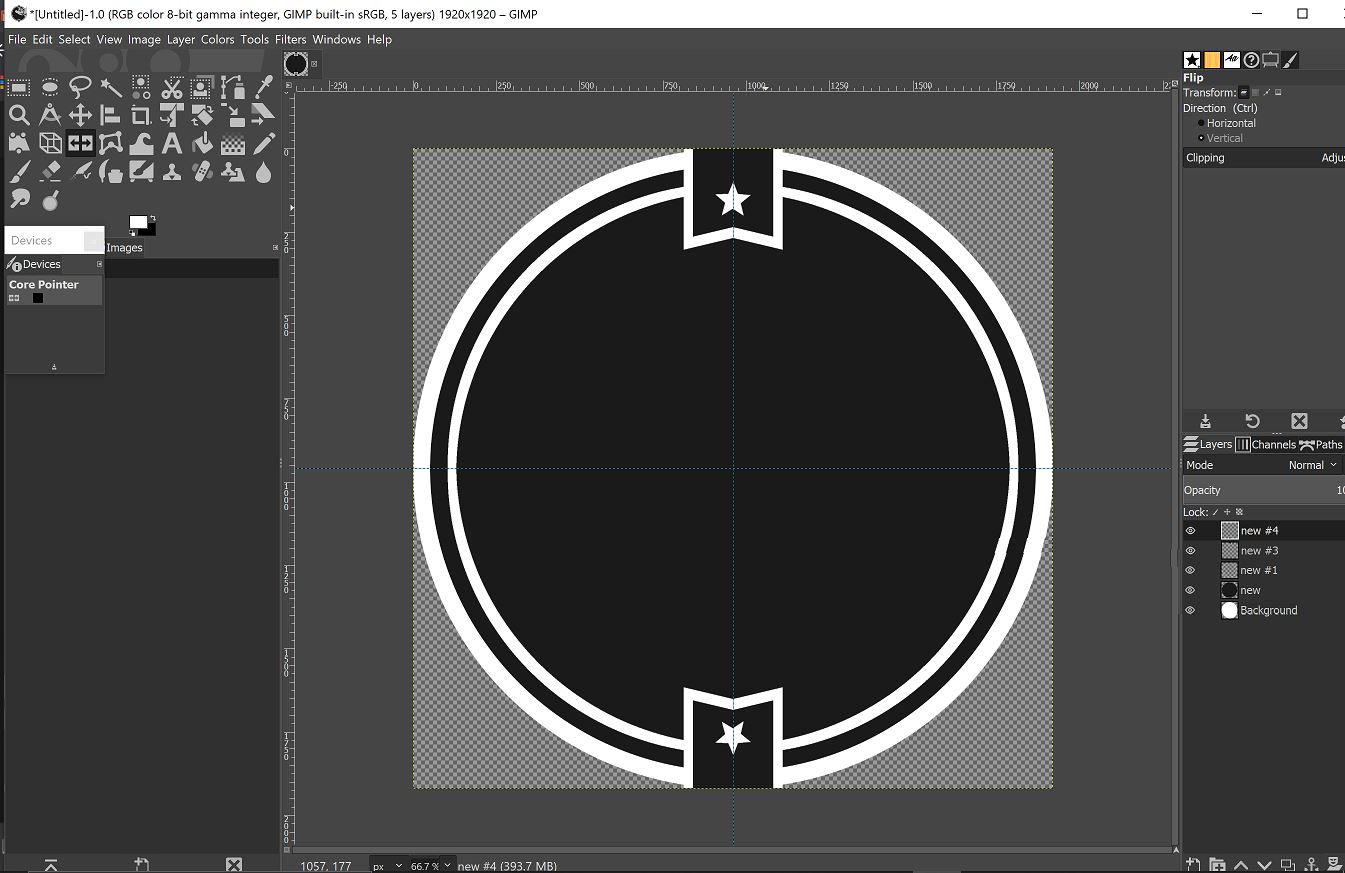 Duplicatelayer
 Adding text
INKSCAPE(VECTOR)
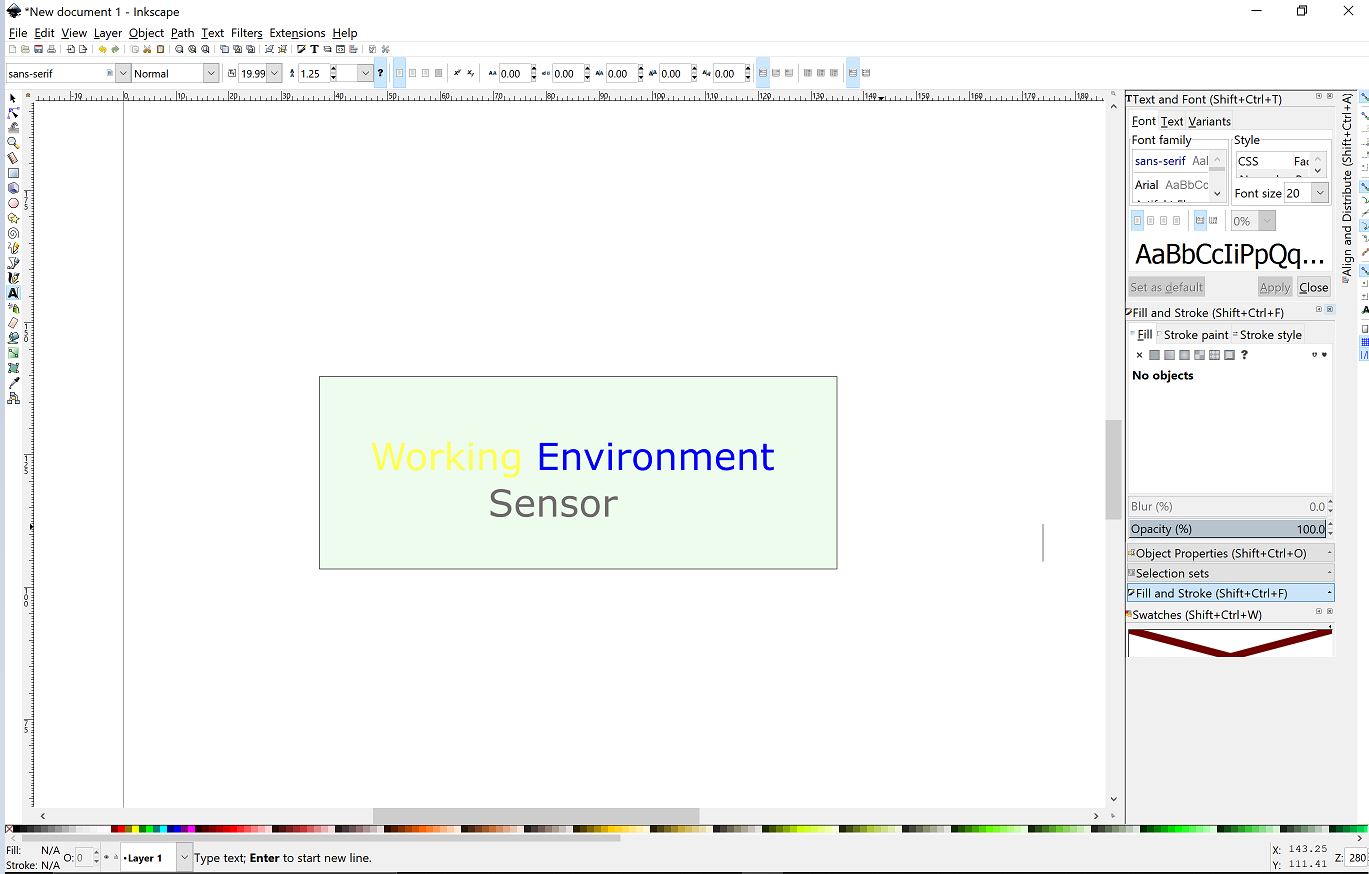
My work with Inkscape was not as much as that with GIMP. However, I did follow some tutorials on how to get started with Inkscape which can be found here . I found the video really useful and shows how to get started with Inkscape. With that I was able to design a simple Logo shown below.
 Logo with Inkscape
- To create the logo I first went to create rectangles and after making the rectangle I filled it with green color by selecting the rectangle and then choosing fill color .
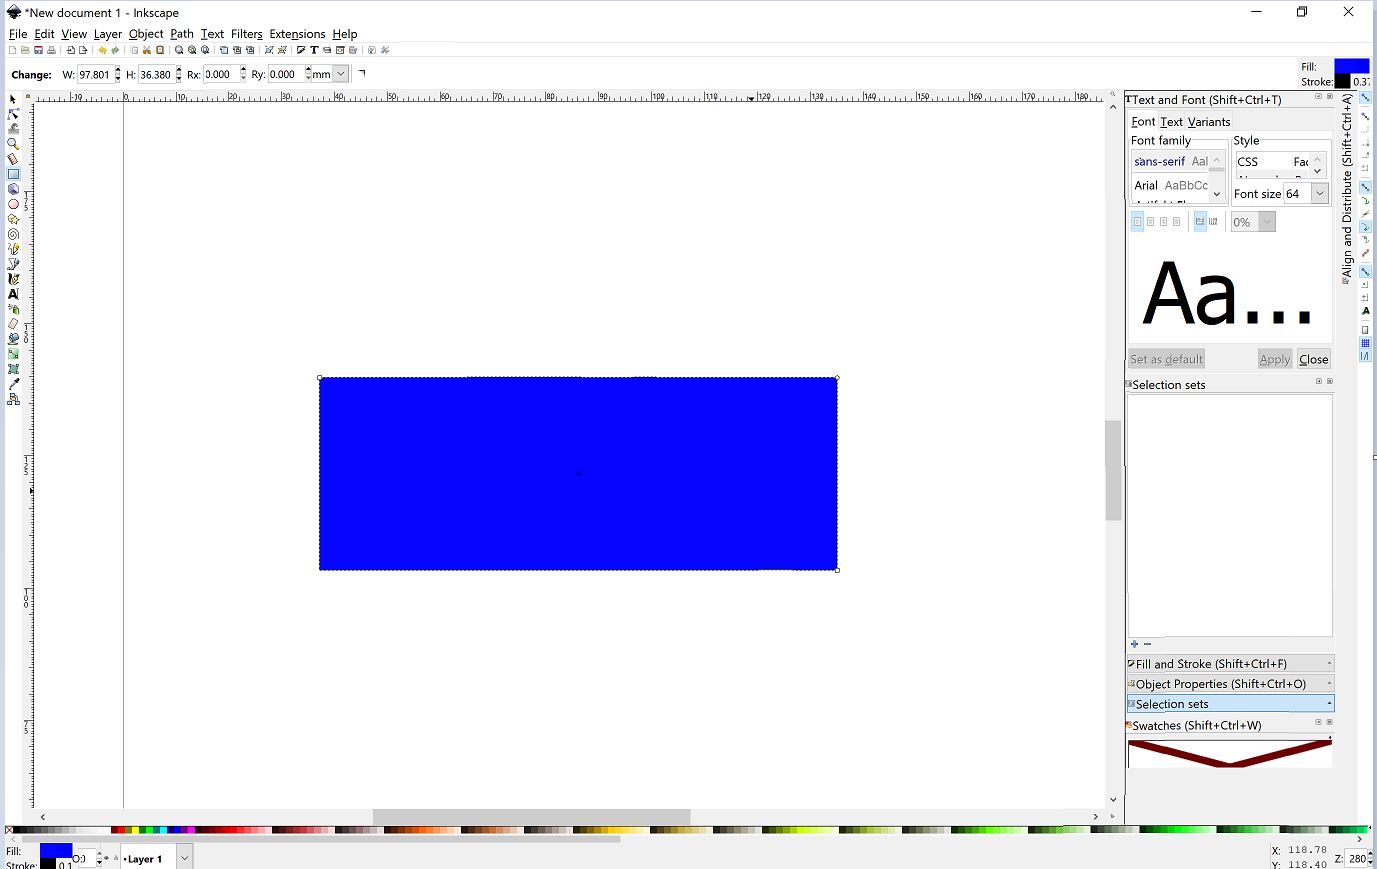 Draw rectangle
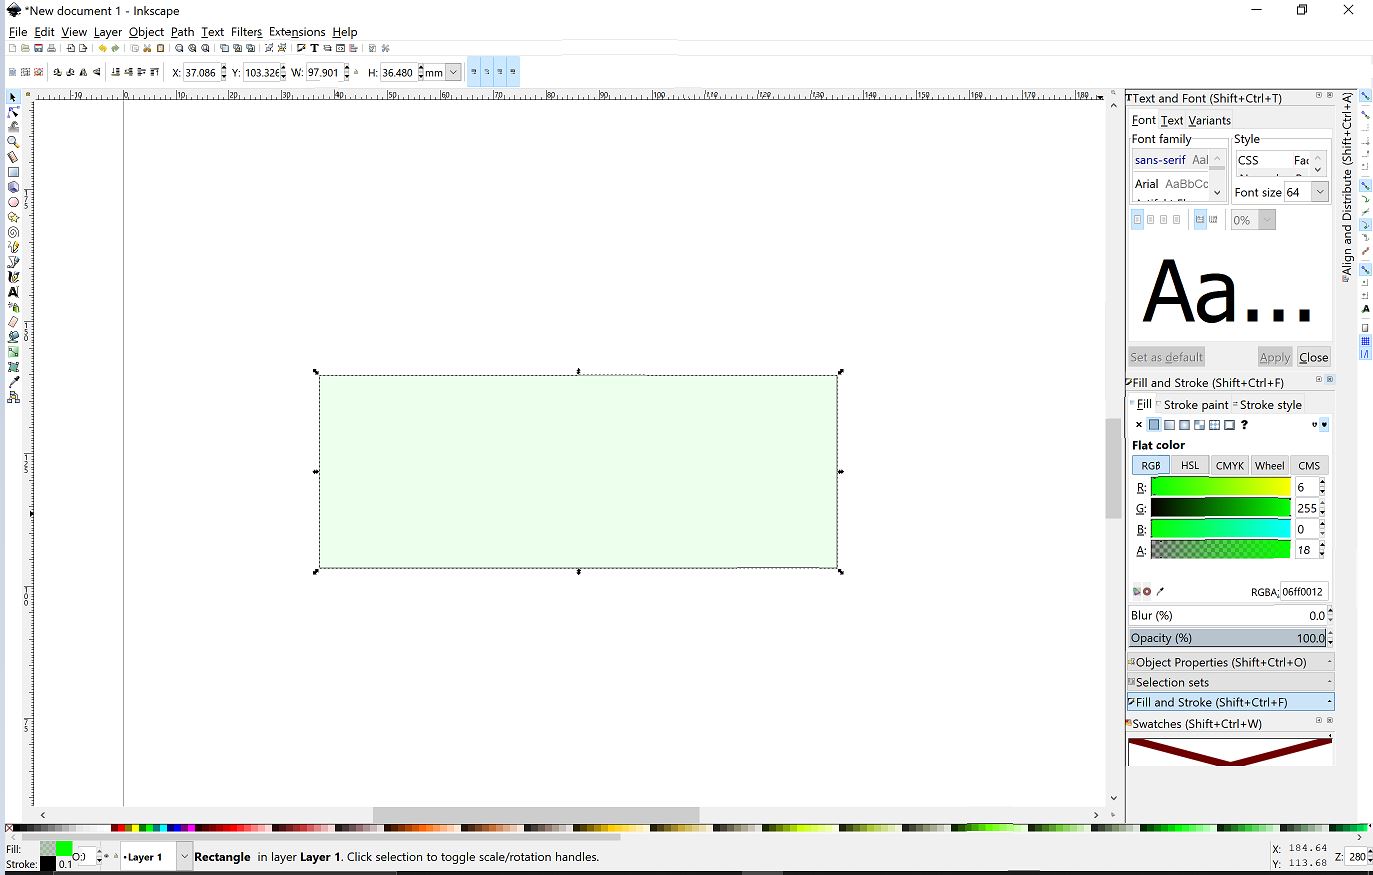 Select fill color
- Next, I selected create and edit text objects and then I added the text and later on selected each individual word and changed its color by choosing fill color .
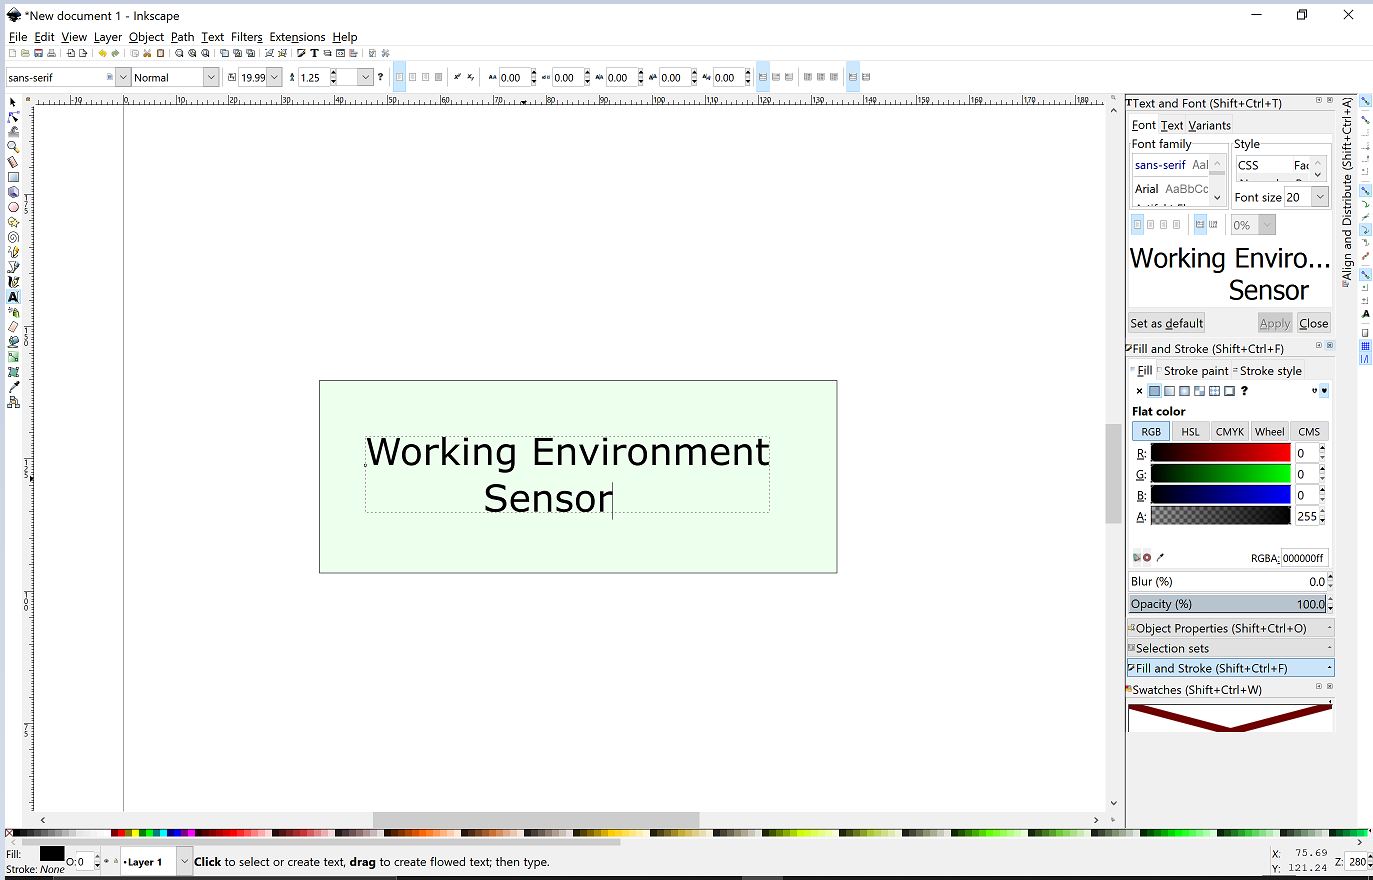 Write text
 Change text color
 Finalresult
3D
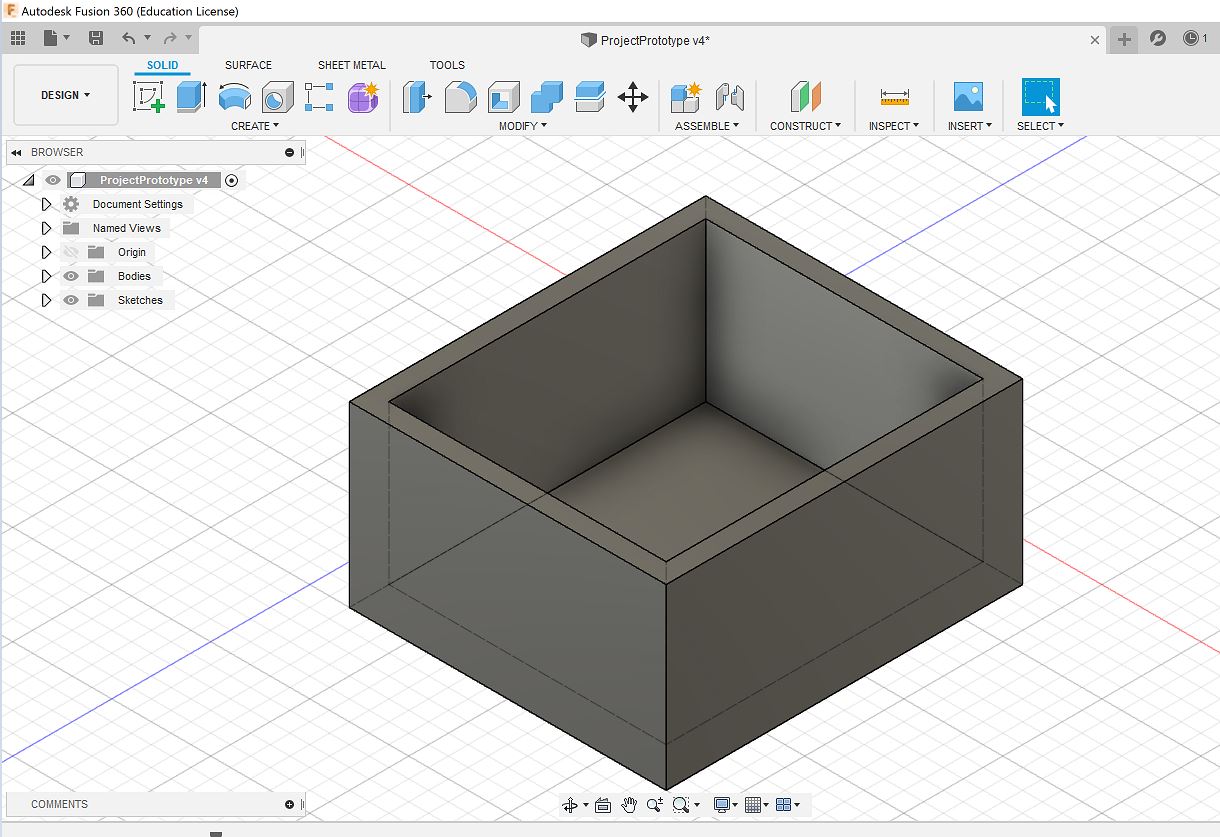
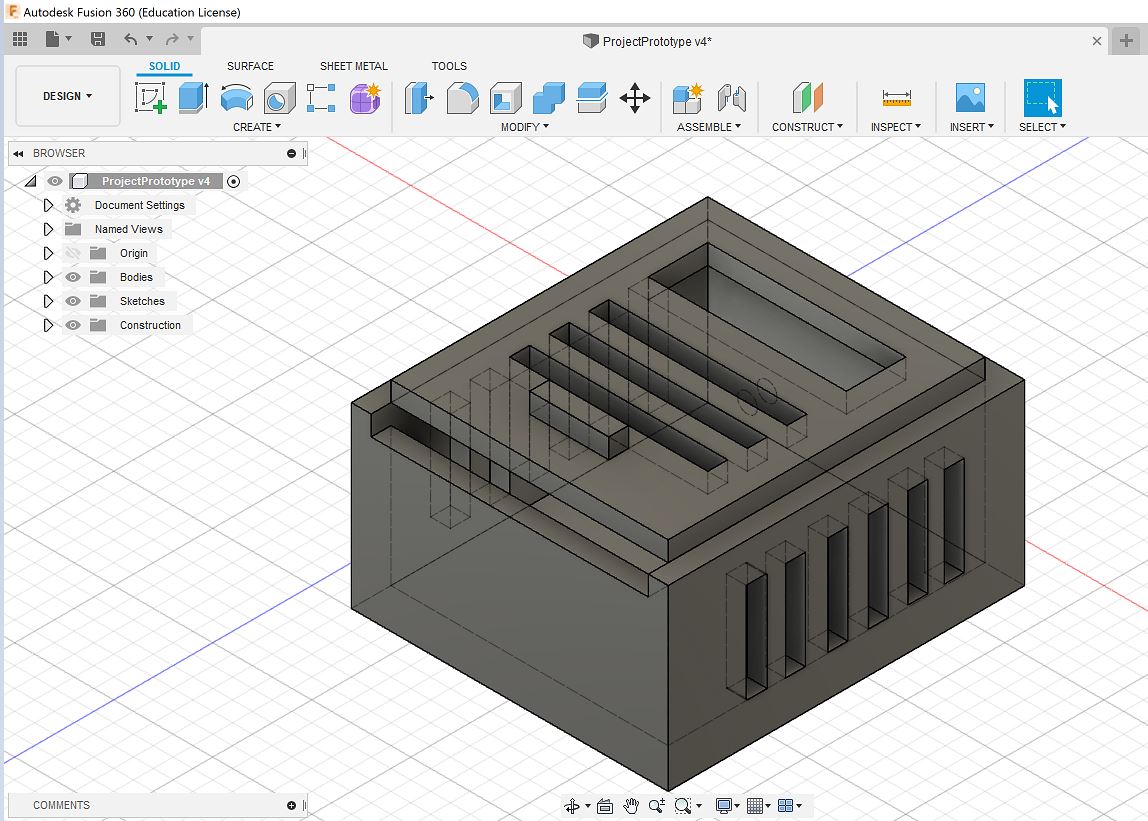
3D software help model objects in 3 dimensions and are very useful for 3D printing. my work with 3D software focused on Fusion 360. I used it to model a potential final project’s enclosure. throughout my work I faced several challenges and used many different places to get answers which I can’t list all here. I’m still facing challenges but hopefully, with time I will get to master this software. The picture below shows my design.
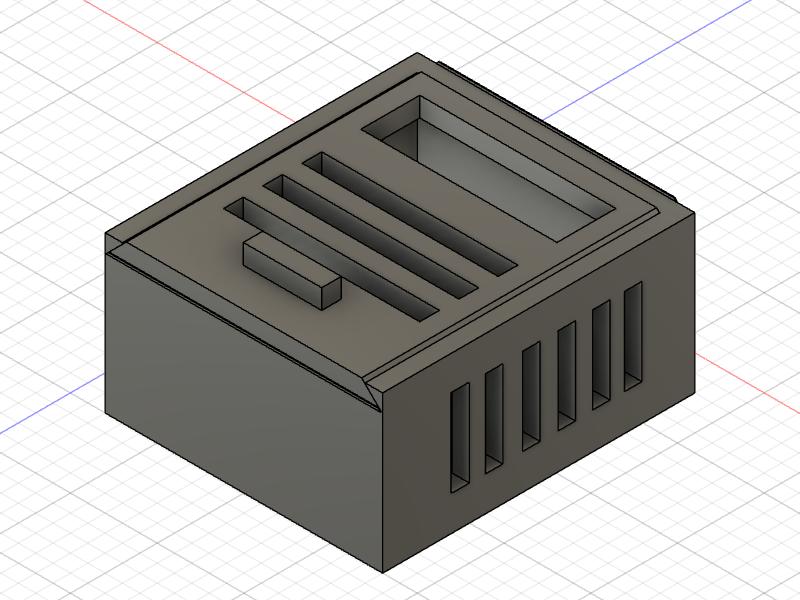 Project prototype
-
First I selected Sketch then I drew a rectangle and then used pull to make a Box. After this, I selected the Box and chose shell in order to create a space inside it. I then selected Sketch again and drew rectangles on the side of the box and extruded them to get the results shown below.
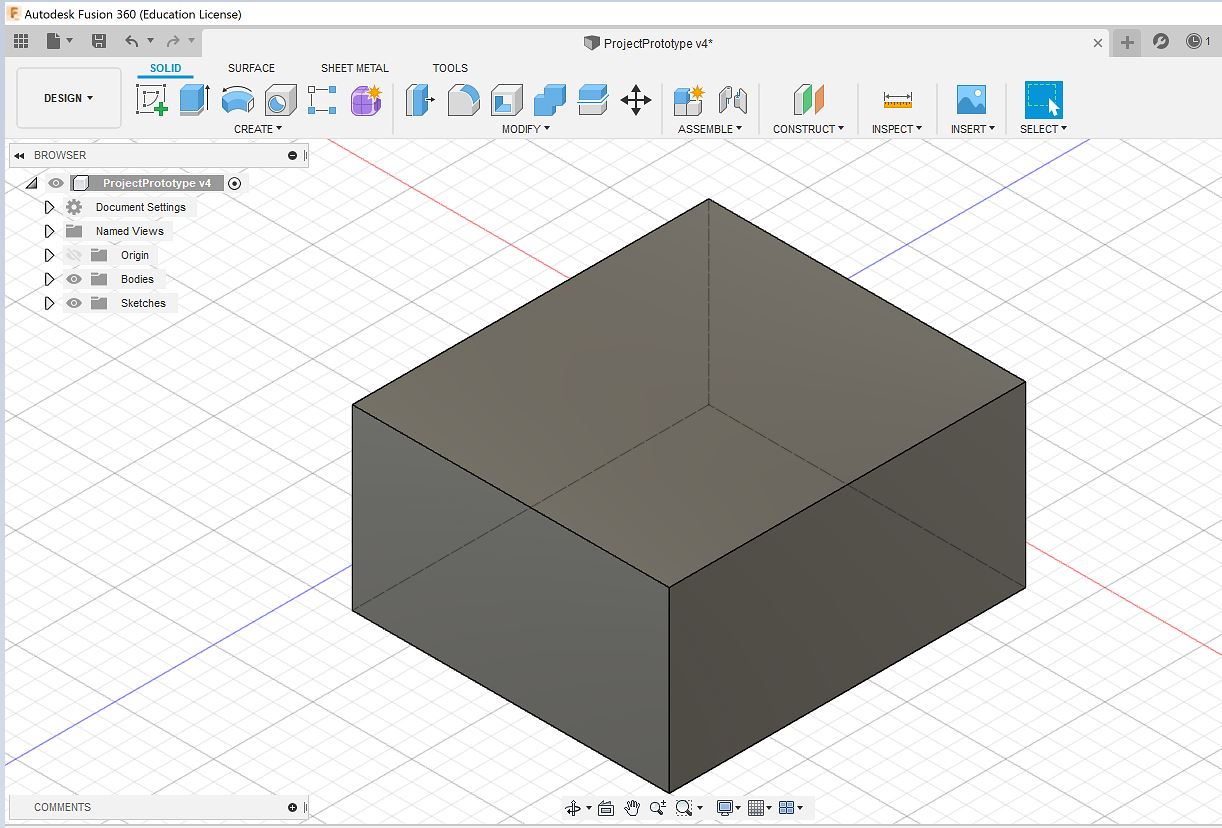 Box
Box
 Shell
Shell
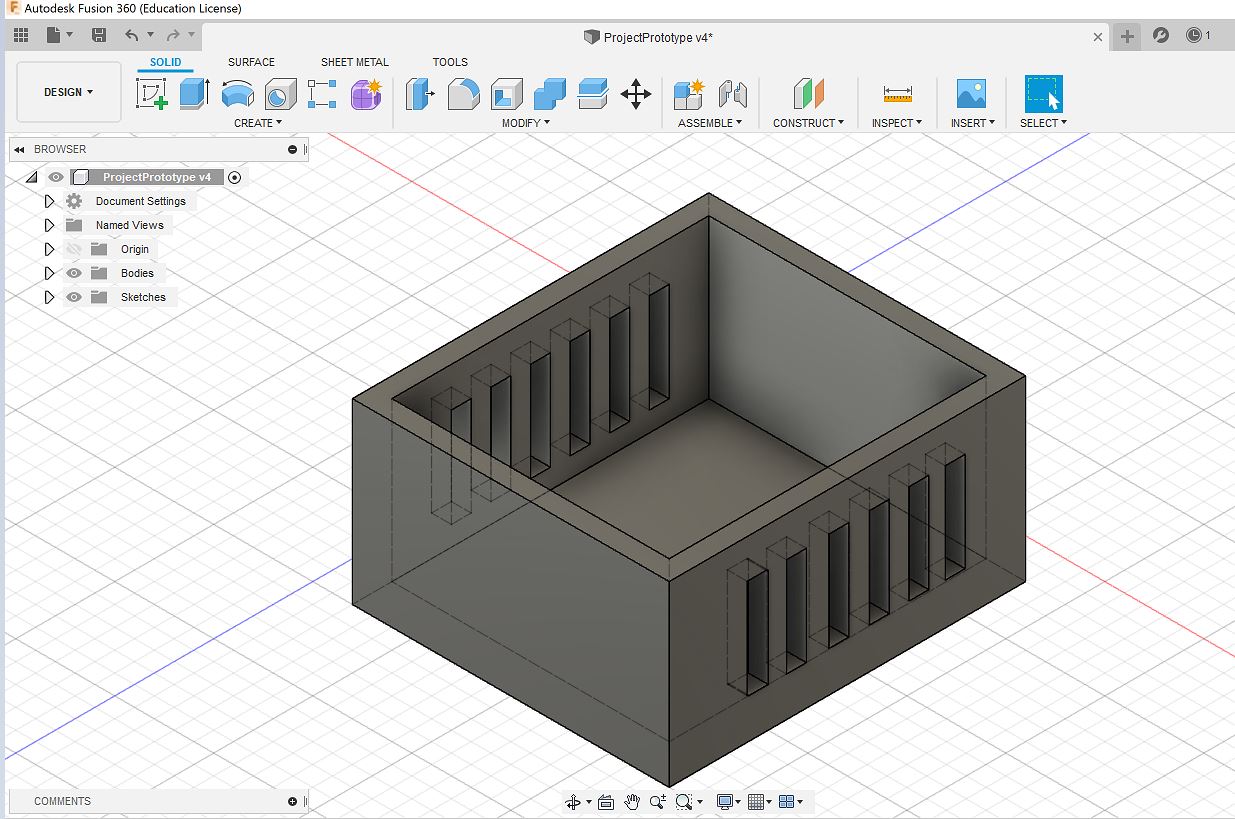 Side extrudes
 -
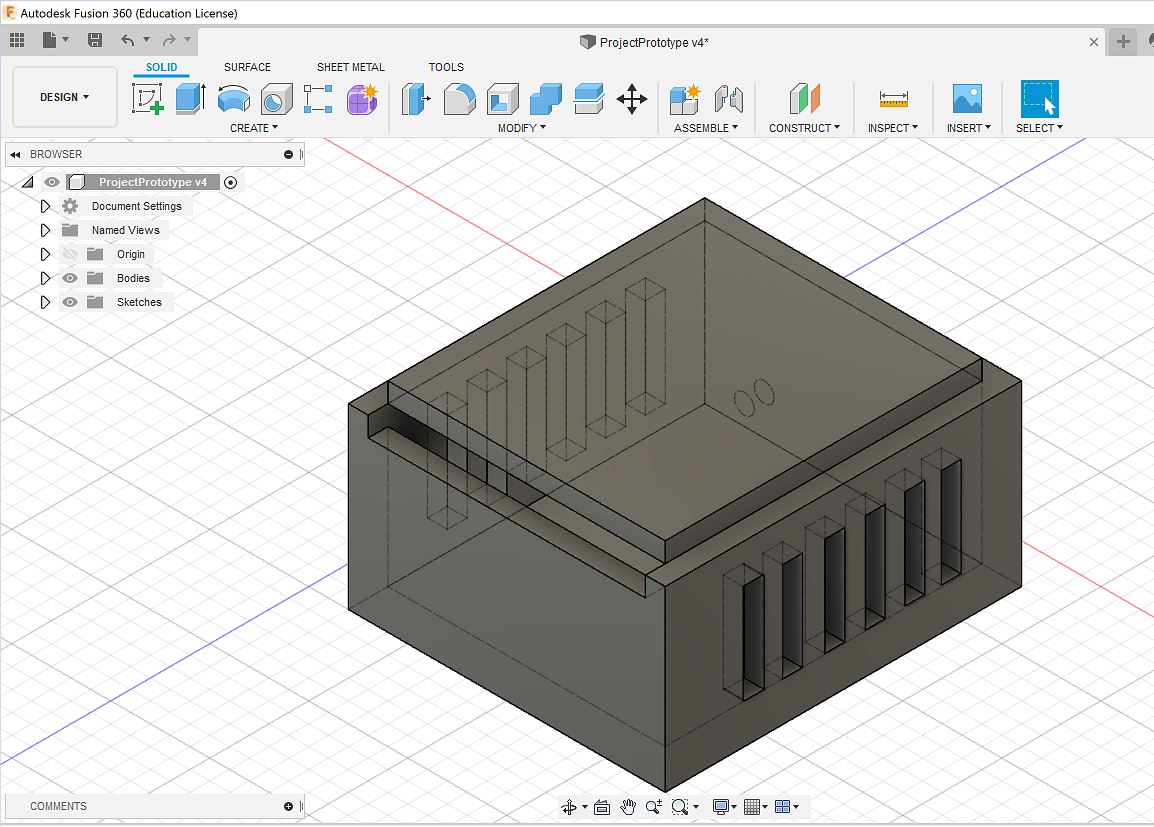
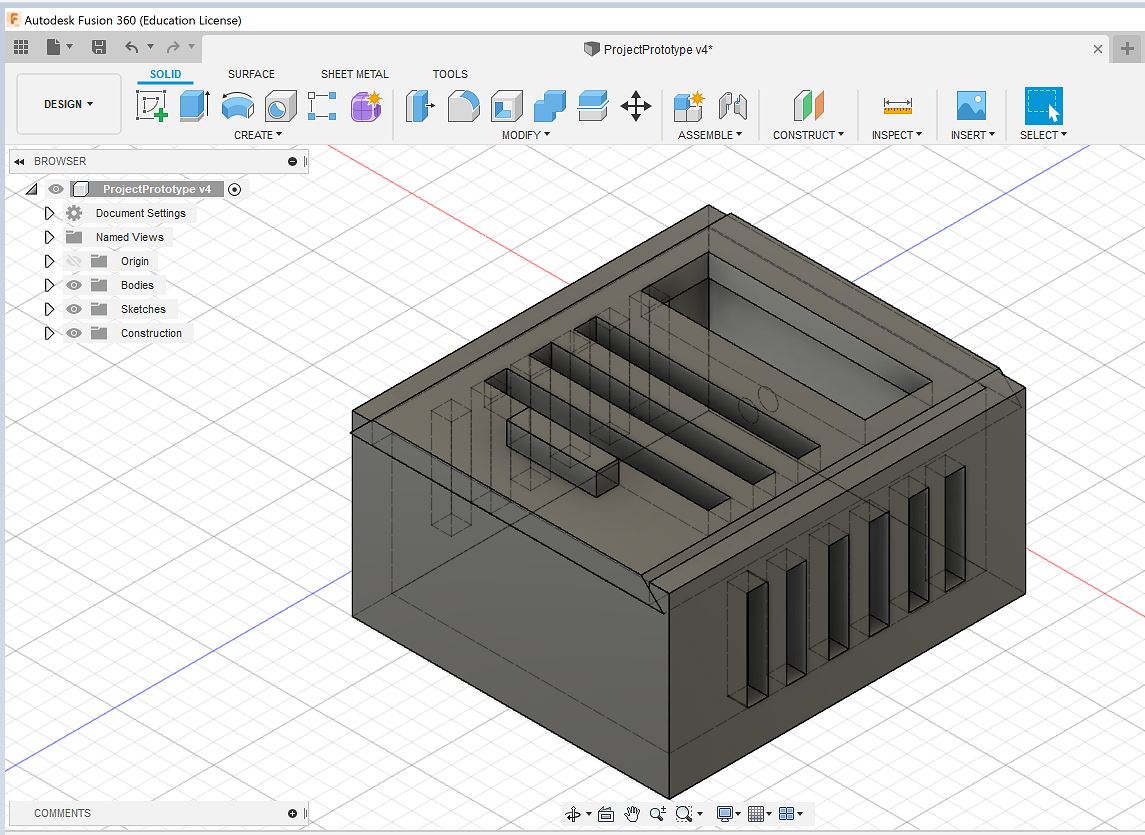
Next, to create the door of the design I created another object on top of thebase. During the design of this prototype the biggest challenge I faced was to cut through the base container and be able to insert the top material. for this I first built the whole design as one body and then proceeeded to separate it into two bodies so that I can edit the top body with sharp edges. The picture below shows an idea of how to do this: The main commands involved are split body and create components from bodies.
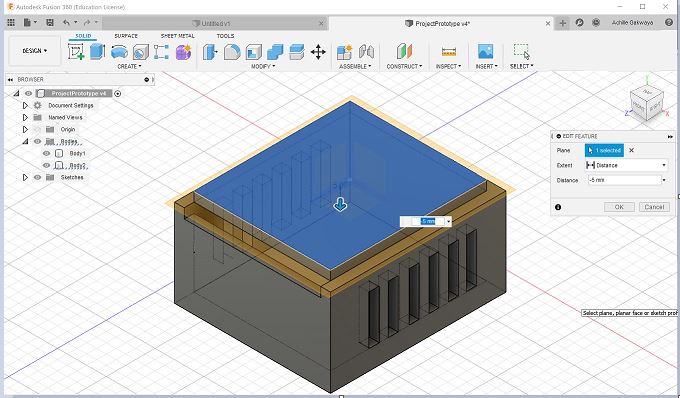
- I Started with the single body and then used Offset wokplane (from construct in menu) and set the distance to where I want the split to happen.
-
Then I used split body (from Modify in menu) by selecting the body to split and the offset plane as splitting tool.
-
This time I had two bodies. To get two components from bodies use create components from Bodies.
- And After that 2 different components are obtained
 Door
Door
 splitting Bodies
- After this I did some extrusions in order to create openings on the door and in my case creating the sharp edges I selected chamfer then, I used the top body in order to shape it as I wished and then combined it whith the bottom body and then after I subtracted Top Body from bottom body to get the required shape.
 Doorextrudes
 Door chamfer