15. Molding & Casting
Group Assignment
Review the safety data sheets for each of your molding and casting materials - then make and compare test casts with each of them.
The link to our group assignment can be found right at the bottom here
Individual Assignment:
Design a mold around the stock and tooling that you’ll be using, mill it (rough cut + (at least) three-axis finish cut), and use it to cast parts
Molding & Casting process
The three stage process of molding and casting can be broken into:
-
design and mill the wax Mold
-
pour the silicon in it to produce the flexible silicon mould
-
with silicon Mould to create the actual model/object
Fusion 360 and modelling the object
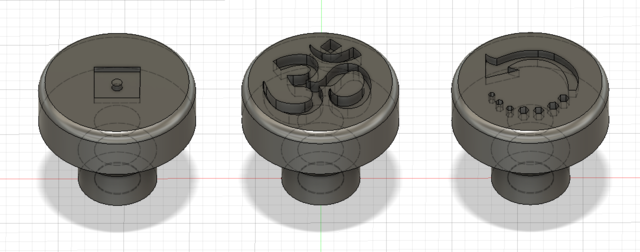
My idea was to design an important element that links the “input devices” week to the Final Project.
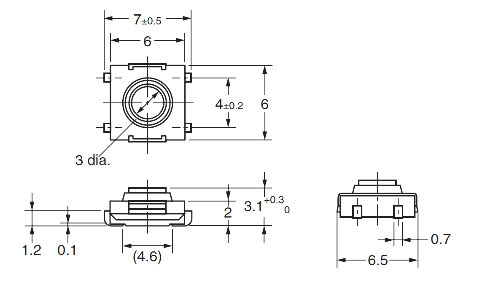
i.e. using Molding & Casting to mold an external ergonomically comfortable CUSTOM button switch or keypad - that could push (one of the) switches (for instance, the SW262CT-ND tactile switch) used to trigger a specific function of the chanting box, for instance playback.
As a result I initially set out to get the parameters of the generic Tactile Switch that I will be using.
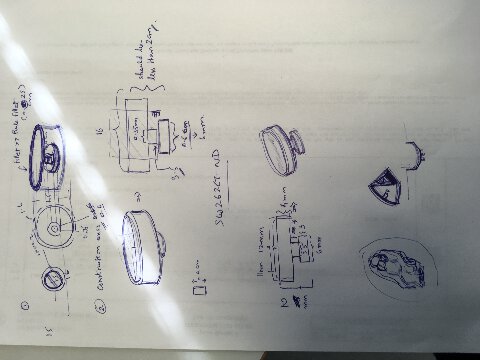
I started by measuring the Tactile switch that I wanted to support with the button cast.
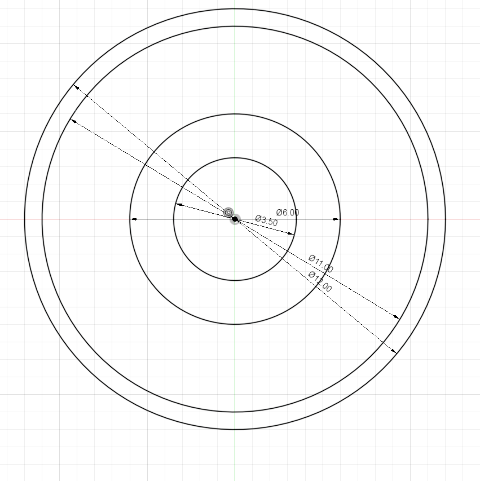
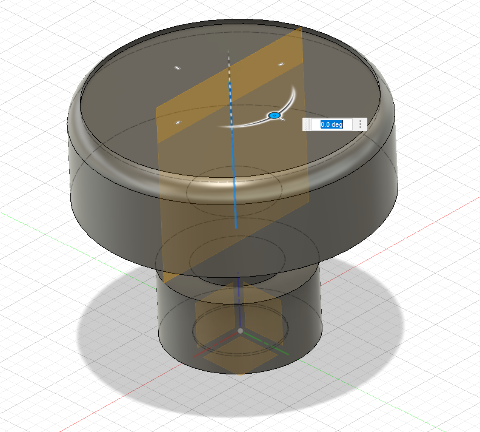
On Fusion 360, I started creating the dimensions for the button to be modelled.
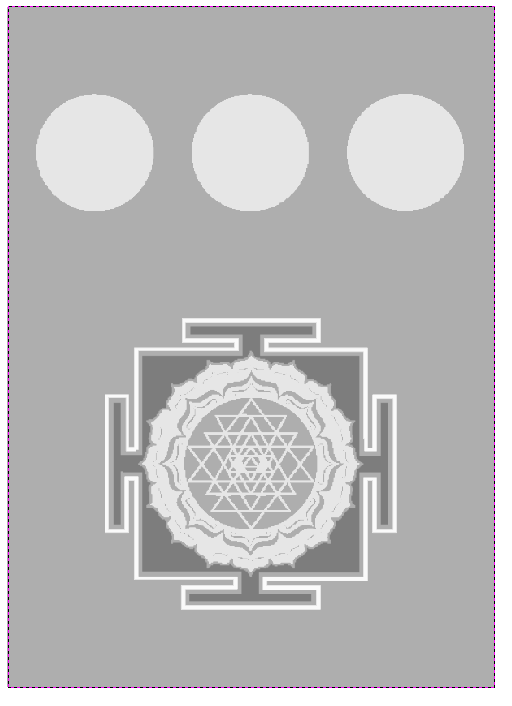
I went with the mold design for three buttons - one for looping, playback and stop.
However at this point, I checked the process for the mold with the switch design I had. A bit late, I realized that one would need to make a complicated 2 sided mold process to create a mold from a double surface. In this situation a 3D printed object is a far more viable solution.
So I decided to flatten one end of the design - especially after checking a similar project done for Fab Academy 2019 by Peter Holm - he had cast parts needed to make a jog button controller and had given me an idea to take this to a new direction.
I would go on to create a single mold that would cover the three buttons and also an interesting design pattern for possible controllable LED’s to glow under it.
As a result, I evolved the design further to look like this.
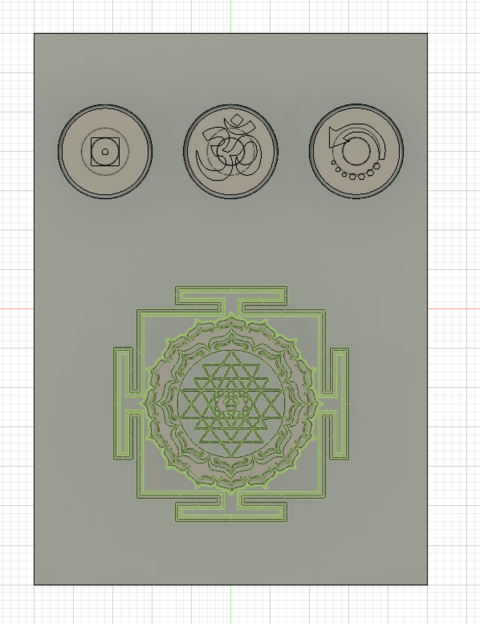
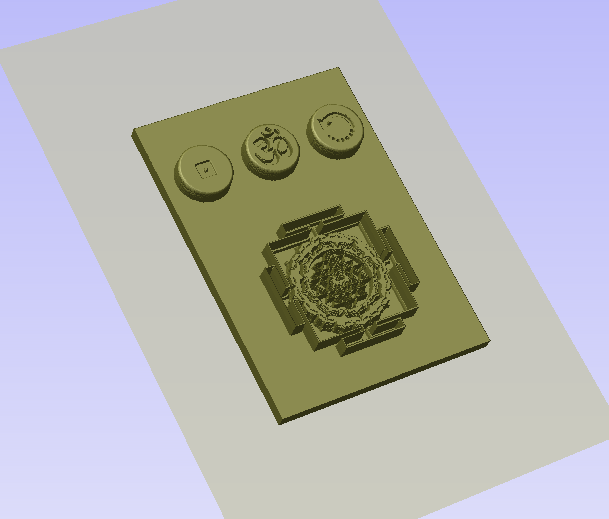
I went on to adjust the width of the design accordingly and fuse the different bodies into one solid object.

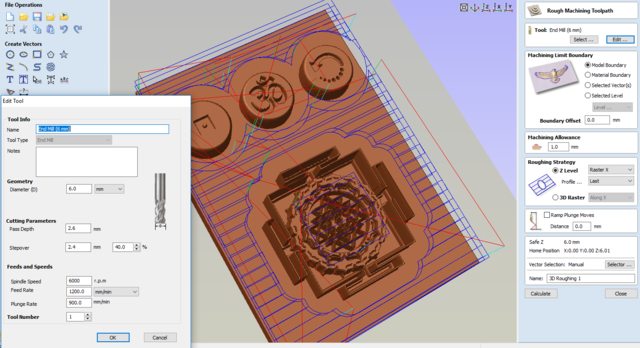
Using Vcarve Pro 9.5 for generating the ToolPaths
After exporting the STL file from the project, I imported it in VCarve Pro 9.5 software, in order to prepare it for the toolpaths and milling - either in Roland MDX-40 or SRM-20 depending on availability (a packed milling week & extended milling jobs had the machines overbooked).
For VCarve, this tutorial provided a lot of beneficial information in the no. of esoteric steps to understand when preparing for mold.
The roughing and finishing tool path strategies are critical to getting the desired outcome (the roughing paths clear the excess material and prepare the basic structure around the fine milling bit).
The Tool Path setup is also possible in Fusion 360, however setting it up in V-Carve was a good way to do it, next to the milling machine in question.
The steps I followed in VCarve were as follows:
Import the STL file into the Vcarve interface after opening a new project.
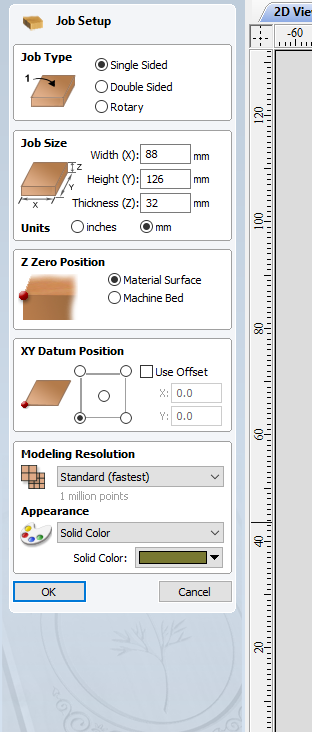
Setup the job according to the size of the Wax block I am using (88 mm width (X), 126 mm height(Y), thickness 32 mm(Z)) in ‘single sided’ mode.
Orient the model and check the sizes of the model that they match the materials - also pull down the zero plane to be at the base of the cad design so that everything above the plane is considered as mill worthy and not to be discarded in this case.
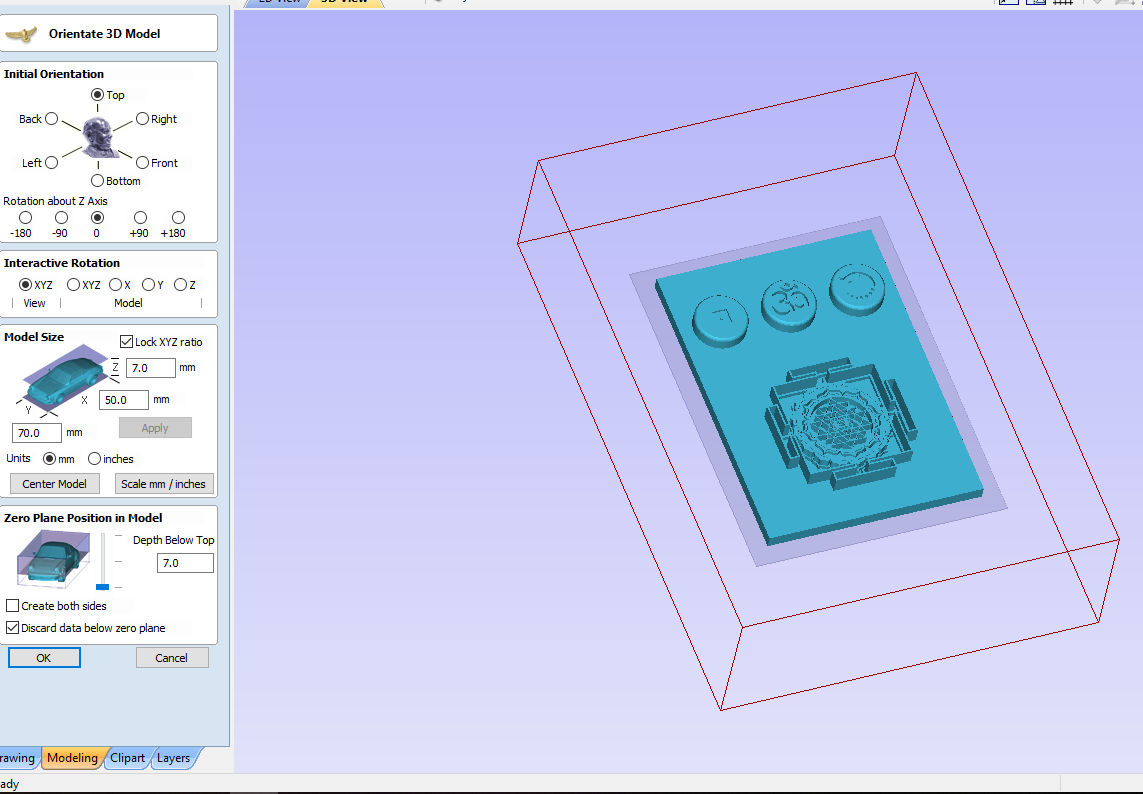
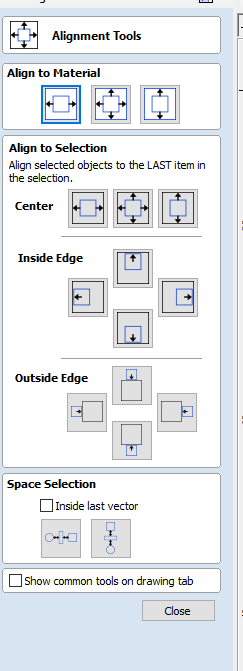
Play with the shape height if more resolution is needed and Align the model to the Wax piece and adjust the vector border around the work.
Adjust the 3D toolpaths for Roughing and Smoothing processes respectively.For the roughing toolpath, we need to generate one for the 6mm toolbit.
Roughing:
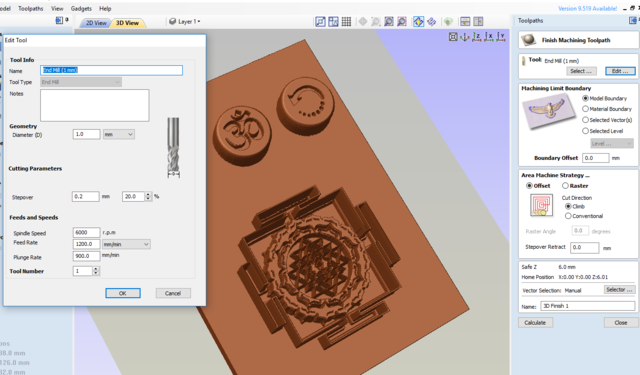
Likewise, for the smoothing toolpath, we need to generate one for the smallest possible milling toolbit available. This is because the patterns in there are quite detailed.
Smoothing:
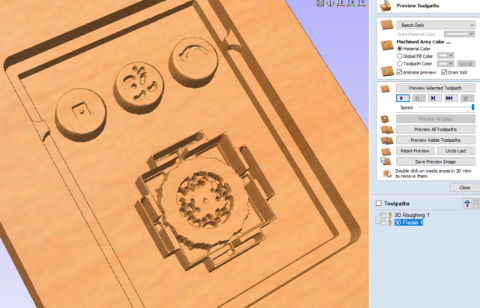
Checking the ToolPath simulation for Smoothing and Roughing.
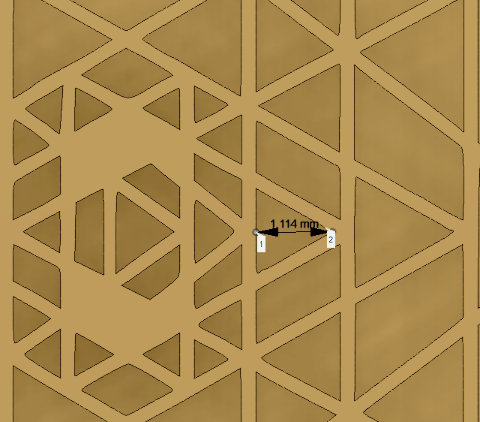
Unfortunately even with a 1 mm tool bit for smoothing toolpath, the resolution of the design details were too fine to be captured.
The reason is that “detail” is OK to have - however the toopath clearance between those details need to be at least double the size of the toolbit for optimal clearance, which is around 3mm.
Back to the Drawing Board to resolve the issue..
Since there was no sufficient clearance within the design, I decided to simplify the pattern. And ignore the buttons for now so that a Mold and Cast is created just for the geometric pattern.
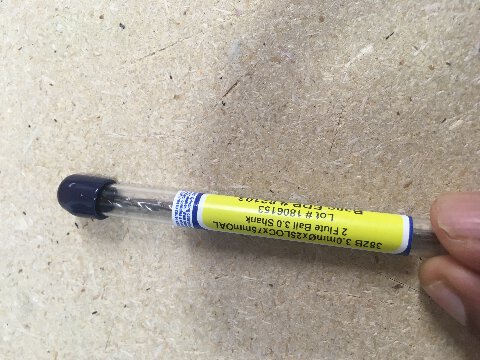
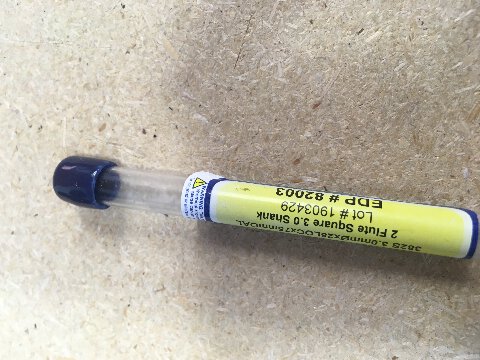
Also, the tools available were explored and chosen appropriately - such as the square and ball mill bits of 3mm each (and if possible would check if its possible to adjust the smallest pattern in the design to 3mm toolpaths minimum)
Choosing the correct Mold (silicone mold rubber) for the negative impression
Sorta Clear series
Sorta Clear series in general offer a high tensile and tear strength. This product also offers the convenience of a 1A:1B by volume mix ratio. Materials such as urethane, epoxy or polyester resins can then be cast into SORTA-Clear™ silicone without application of a release agent. Other materials such as wax and low melt metal alloys can also be cast into SORTA-Clear.
Mold Star 16
I used the Mold Star 16 Fast to create my first mold. I initially mixed the 1A and 1B in an equal ratio by carefully weighing the contents in a plastic cup. I stirred the contents thoroughly in a clockwise motion first and then poured it into the wax mould, in order to create the negative.
The attempt did not succeed well as the Vacuum pressurization was left off too fast. As a result I had my negative mold full of bubbles. The challenging angle and small distance between the base and the top of the shape (head) also makes it challenging if the mold is not completely flat.
Sorta Clear 37 - Silicone Mold Rubber
Sorta-Clear 37 - Silicone Mold rubber (mix ratio 1A:1B) is FOOD SAFE and can be used for culinary applications including casting chocolate and other confections.
The key thing is to also remove all previous contaminants and spray a mold release onto the surface as well in order to create this new mold experiment.