# 12. Output devices
individual assignment:
      add an output device to a microcontroller board you've designed,
         and program it to do something
   group assignment:
      measure the power consumption of an output device
Individual Assignment
For this week, I decided to prototype for what will go onto my final project. Thus, I would make a board simulating a LED blade and then I needed a board to send information to an ESC connected to a Brushless DC Motor.
LED Blade
I first tried to understand how I would need to wire up these SMD 5050 Neopixels as they weren’t simply VCC and Ground. I found a little diagram from a user post on the Arduino forums that gives a great explanation on how to wire them up.
![]()
I simply needed a 0.1uF capacitor in between each Neopixel and a 450Ohm resistor going from my Attiny to Data In.
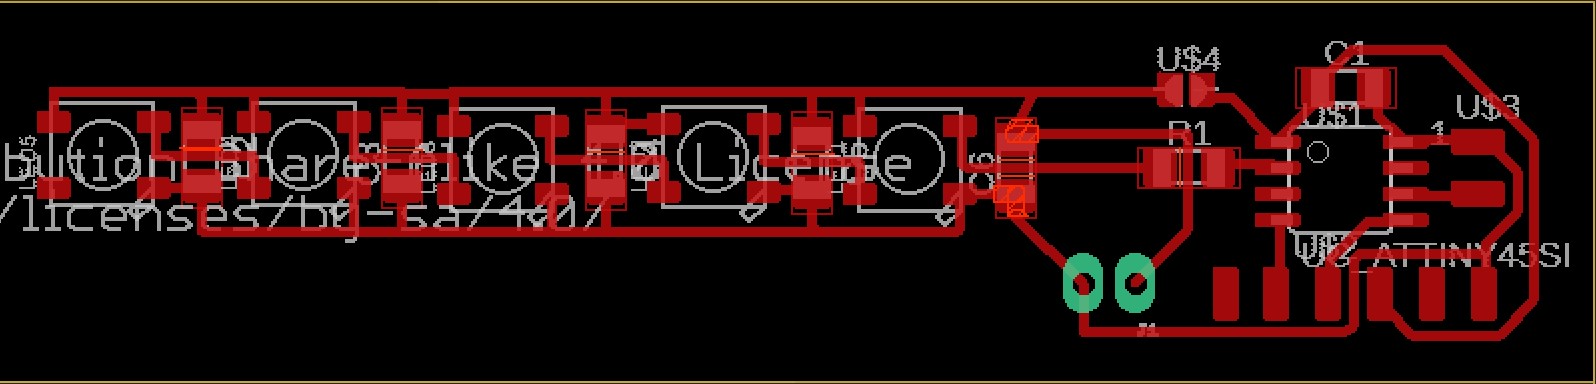
Now that I knew this, I made a schematic for my LED board. I did not want to use up too many Neopixels as these were just a prototype for the final design which would be using more advanced and more expensive LEDs from Adafruit called Dotstar LEDs. Here is the final schematic and board below:

Soldering the Board
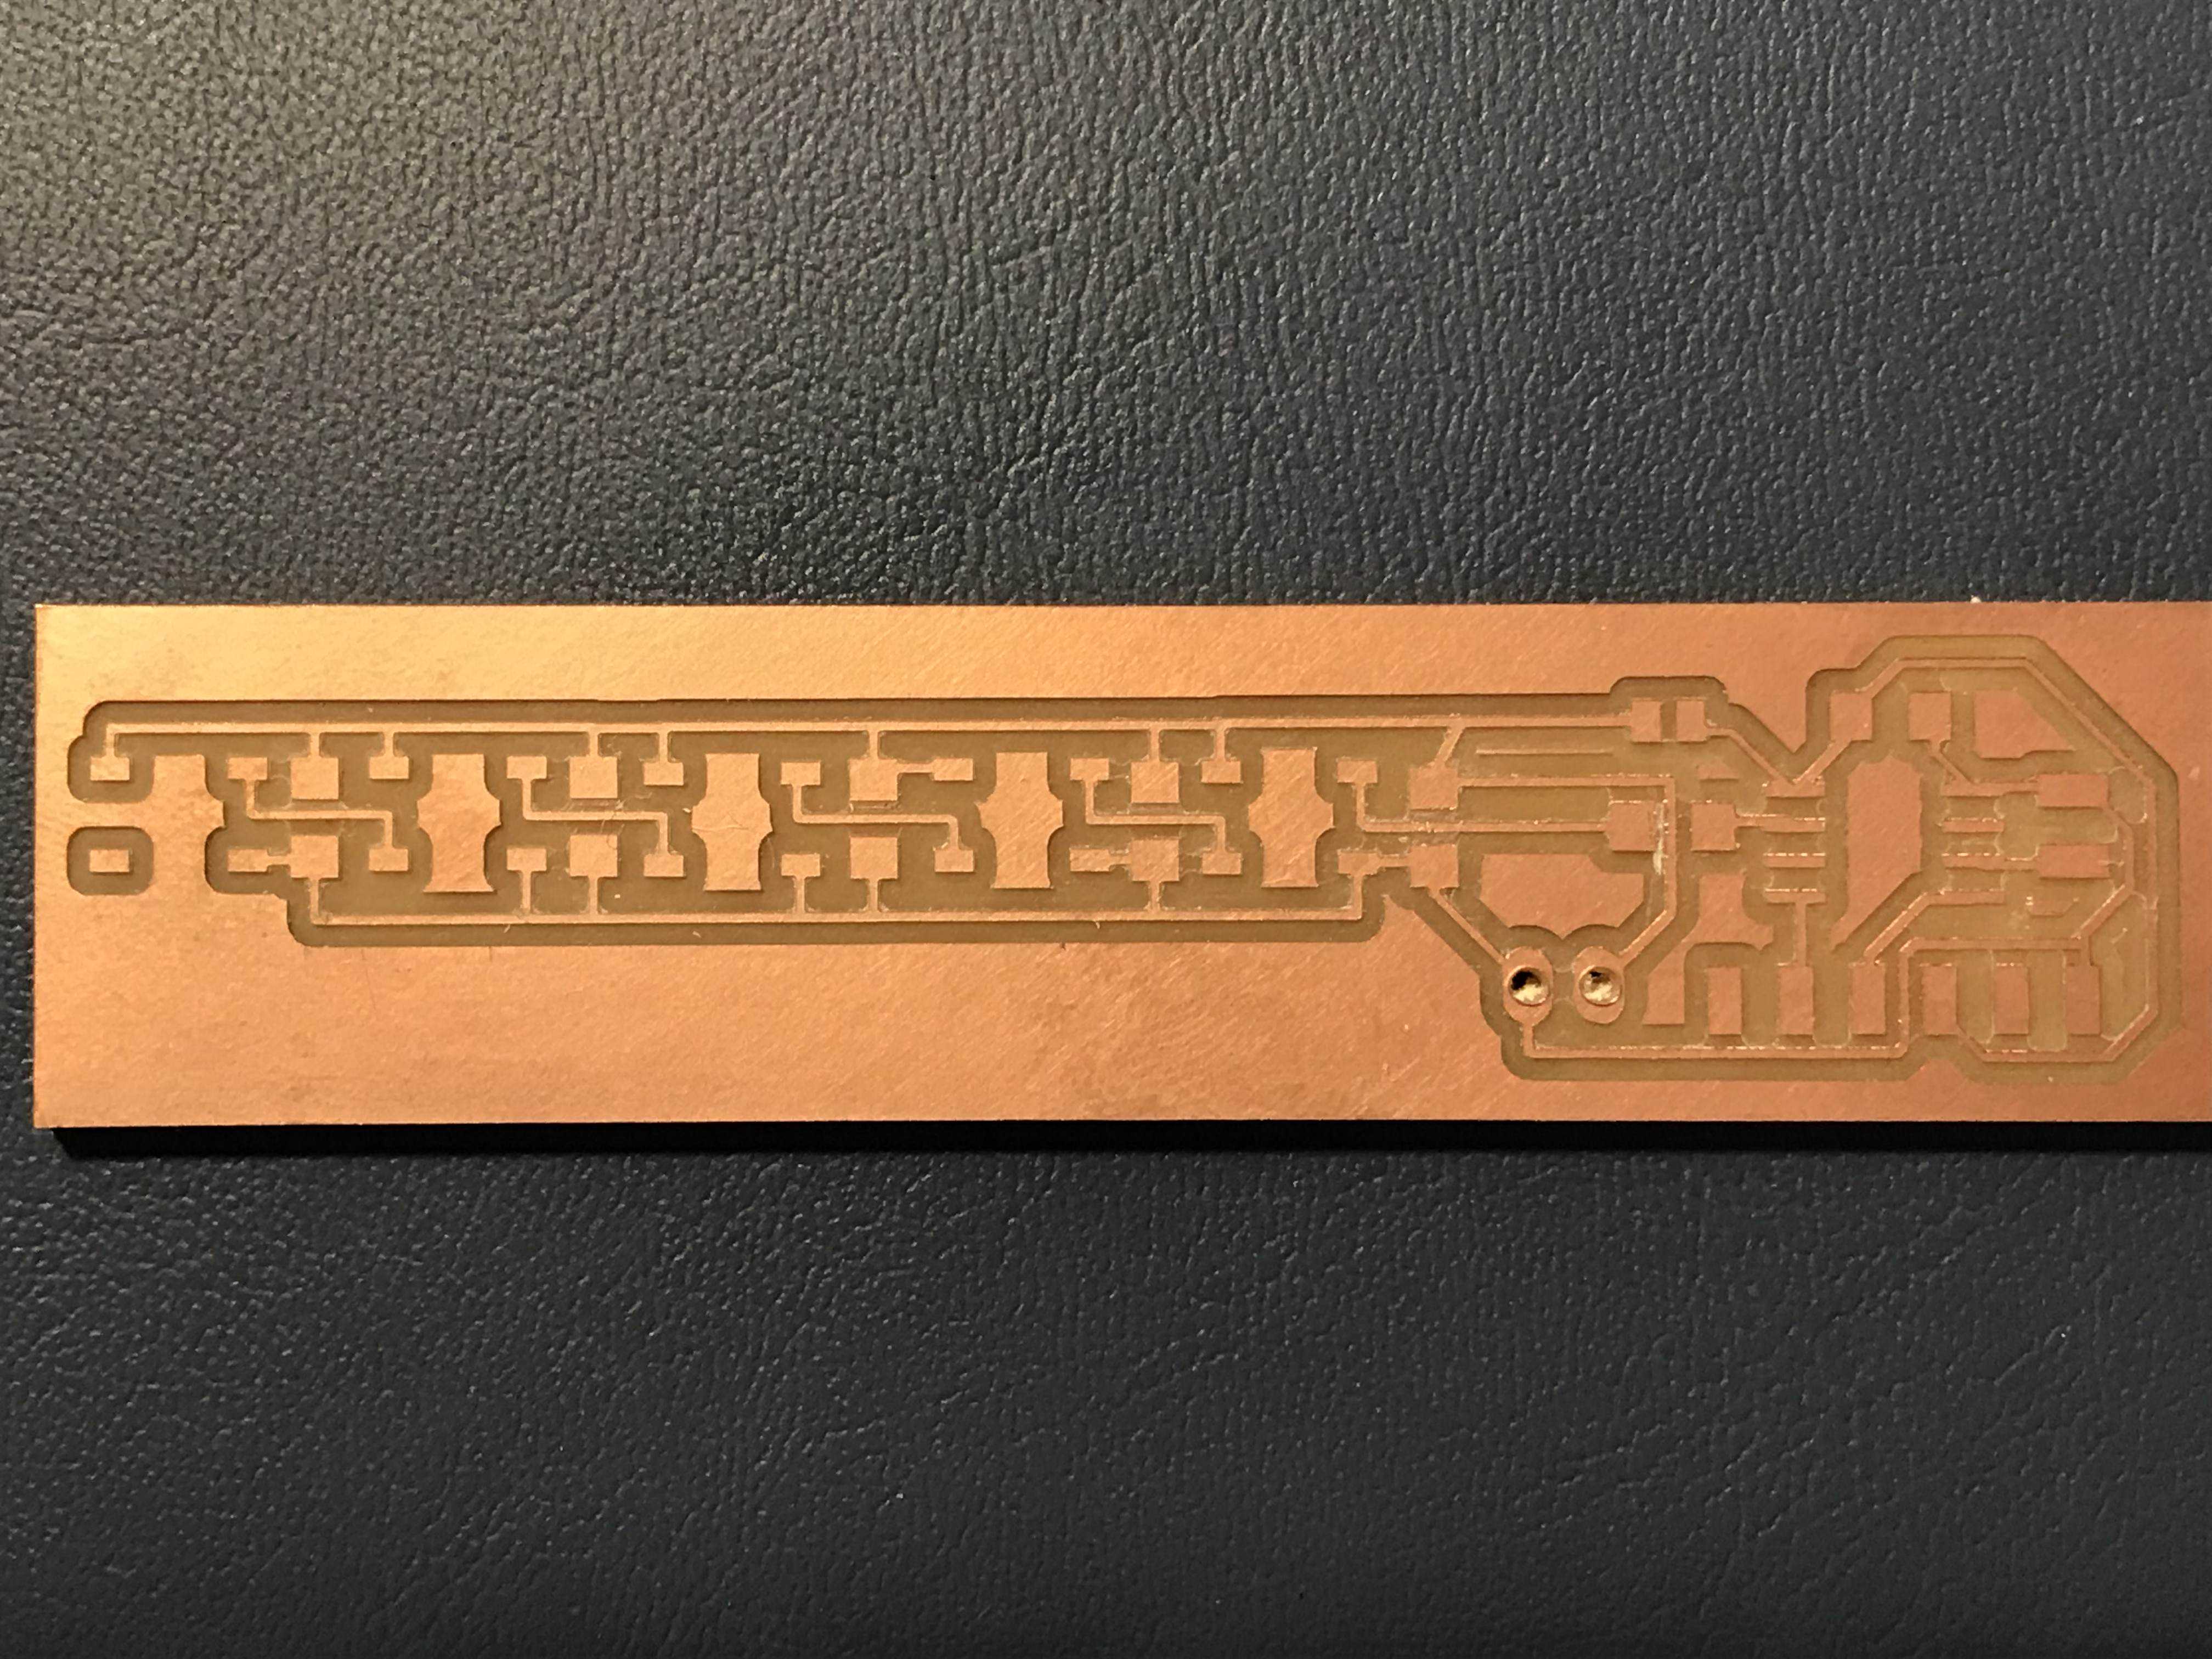
This is what the board looked like milled out:
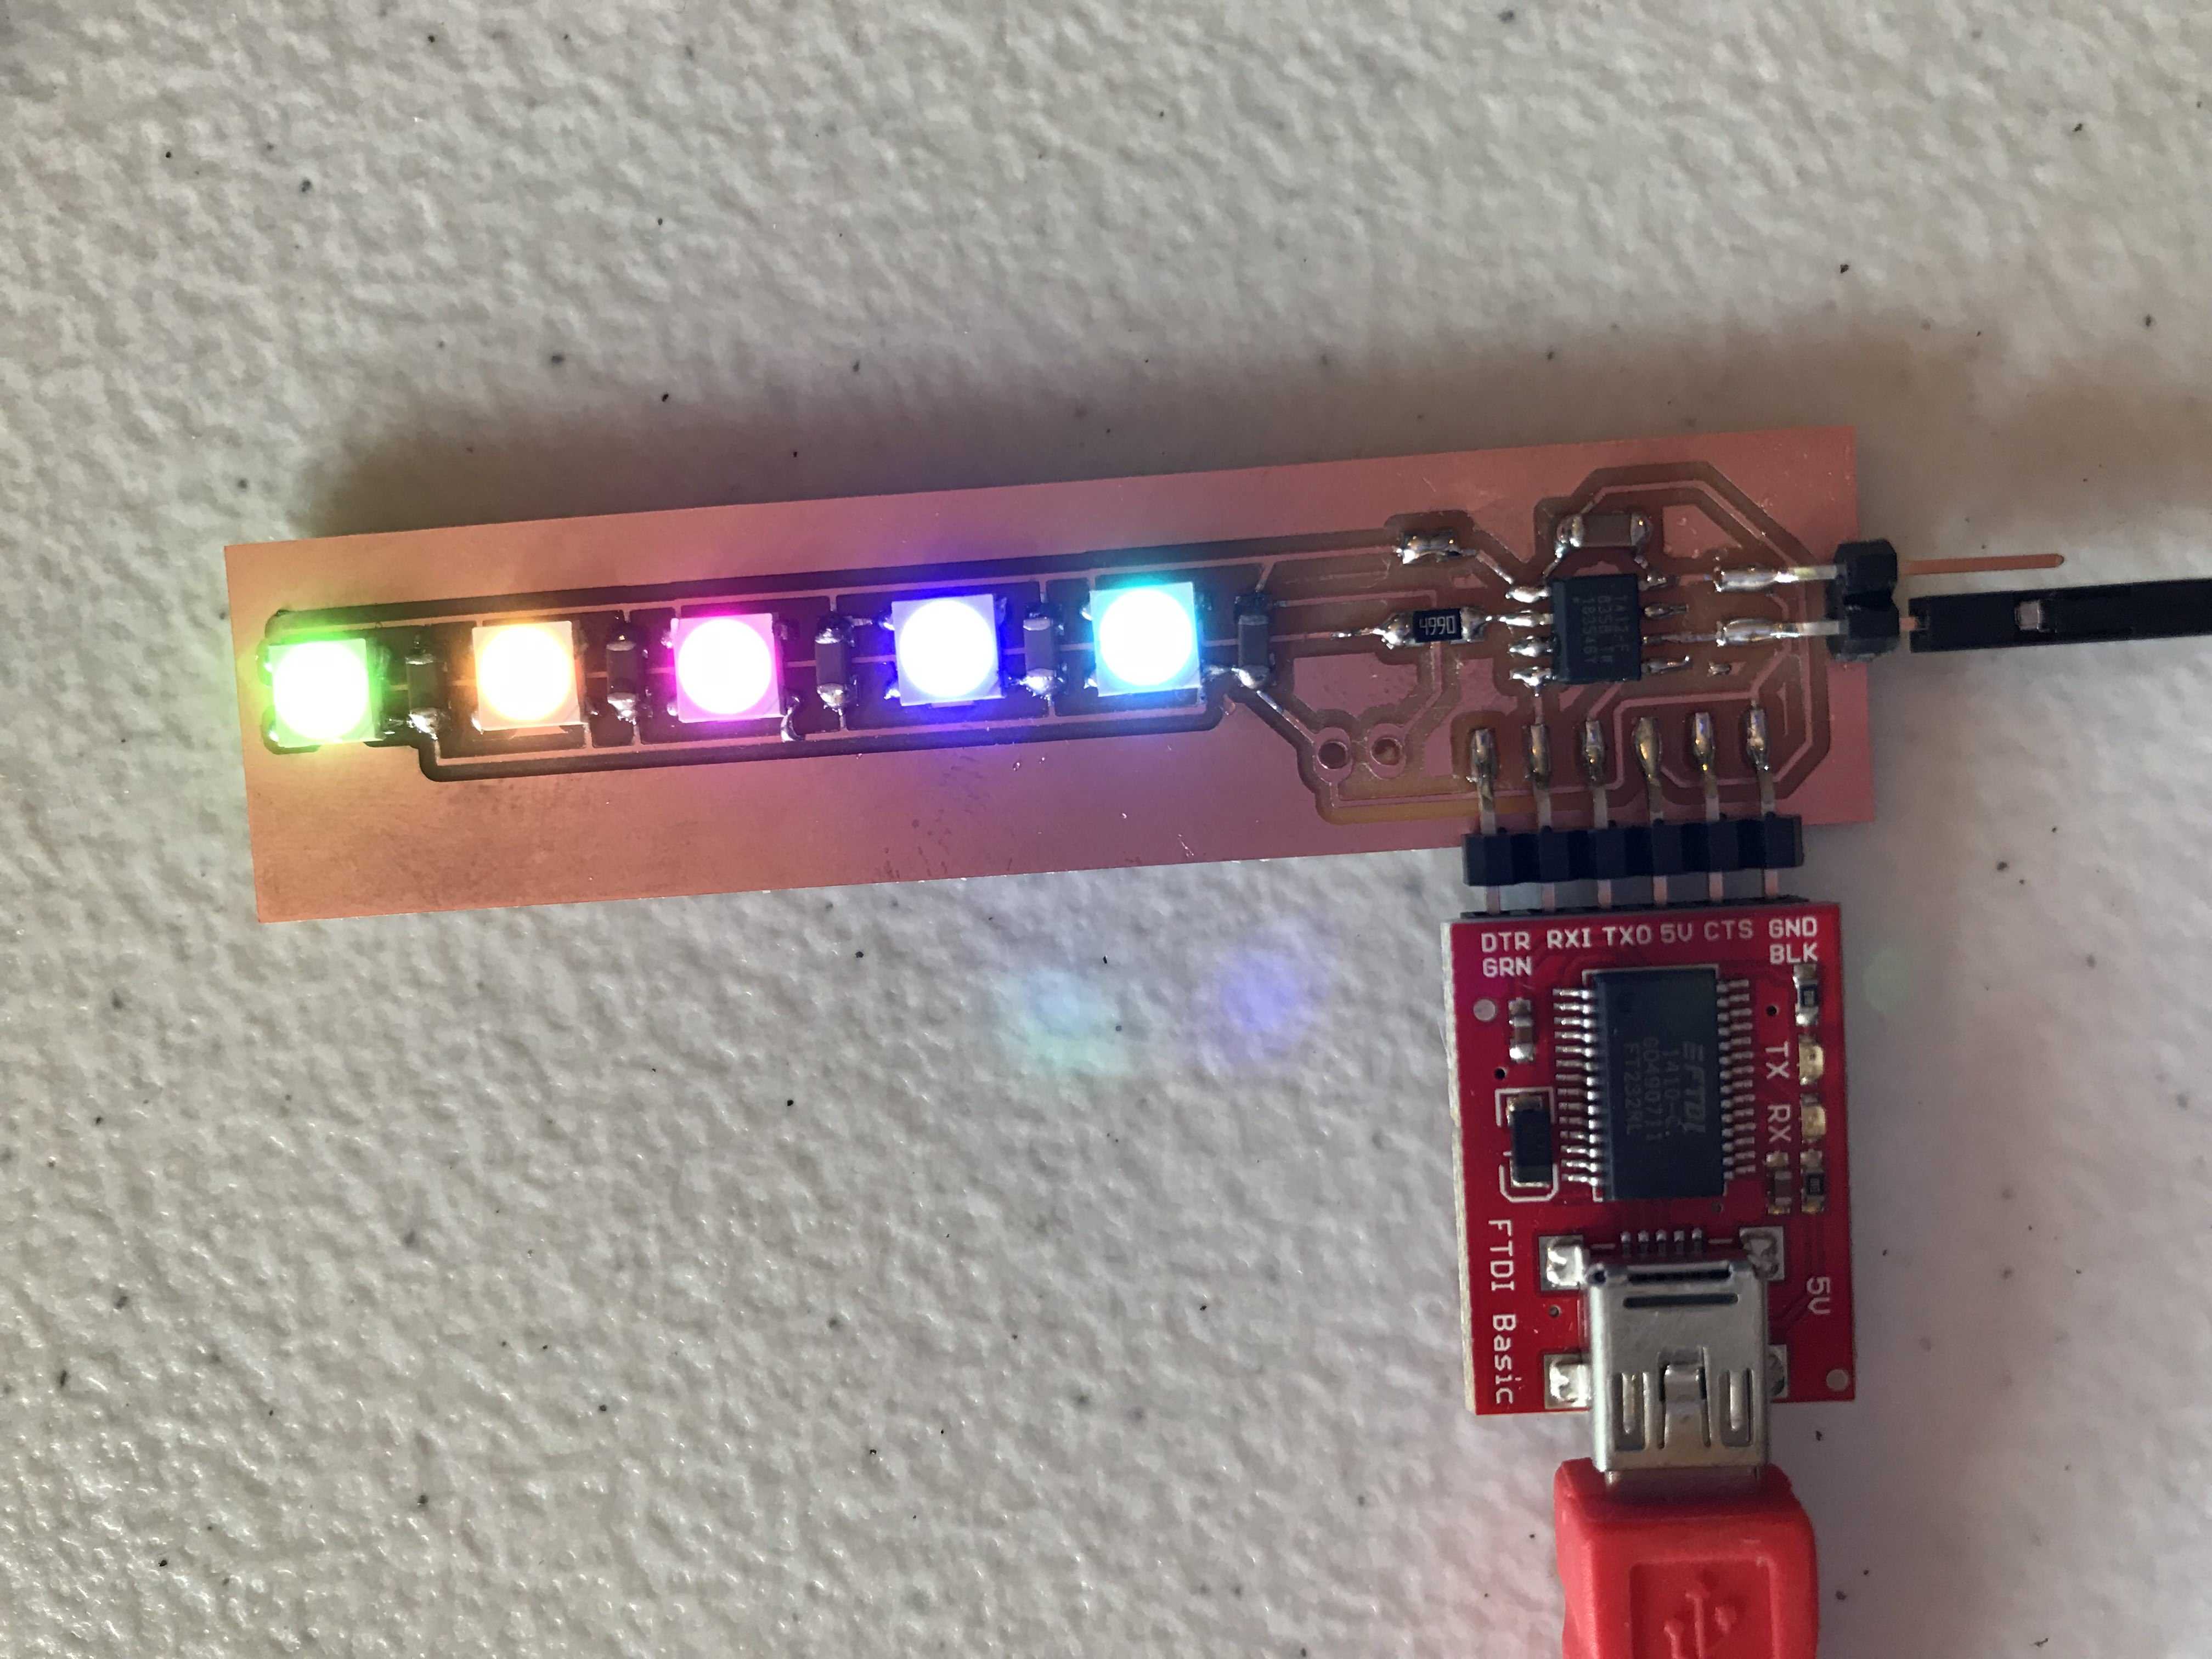
This is after I soldered it:
Testing the Neopixels was pretty easy as Adafruit gives a very handy Arduino library for everyone to use that makes the process very simple. However, the library does not support the ATTiny412, and this is where megaTinyCore comes in. This core includes two libraries based on the original NeoPixel library that support the NeoPixels and that is what I will be using. It has identical commands as the NeoPixel library and includes the same example code to try. I opened up strandtest and modified the necessary parameters to test my series of five LEDs.
The code goes as follows:
#include <tinyNeoPixel.h>

#define PIN 0

//Creating a tinyNeoPixel object: Parameters in the constructor are (# of LEDS, PIN, Color System)
tinyNeoPixel strip = tinyNeoPixel(5, PIN, NEO_GRB + NEO_KHZ800);

void setup() {
  strip.begin();
  strip.show();
}

void loop() {
  strip.setPixelColor(0, strip.Color(0,0,255)); //Setting each individual NeoPixel a different color
  strip.setPixelColor(0, strip.Color(0,255,255));
  strip.setPixelColor(0, strip.Color(255,0,0));
  strip.setPixelColor(0, strip.Color(255,255,0));
  strip.setPixelColor(0, strip.Color(0,255,0));
  strip.show();
  delay(50);
}
Here is what it looked like:
Here are the files for this week: download
This is a big step towards my final project where I will be doing something very similar to this week. While I will not be using the same board nor the same LEDs, the code for these two LEDs are relatively similar. Thus, I may be able to migrate some of the code I produced in this week over to my final project and expedite the process.
Group Project
The group assignment can be found here.