8. Computer controlled machining
   group assignment
      test runout, alignment, speeds, feeds, and toolpaths for your machine
   individual assignment
      make (design+mill+assemble) something big
Designing My Project
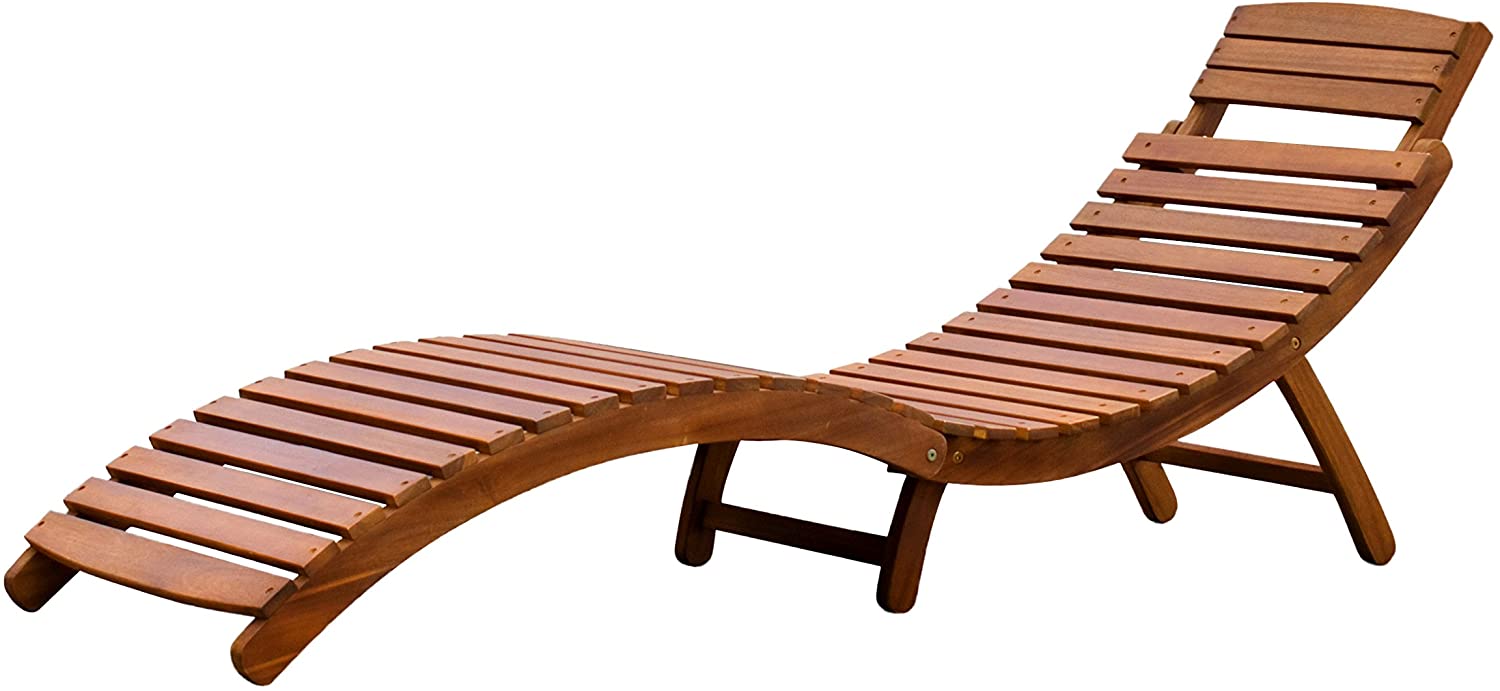
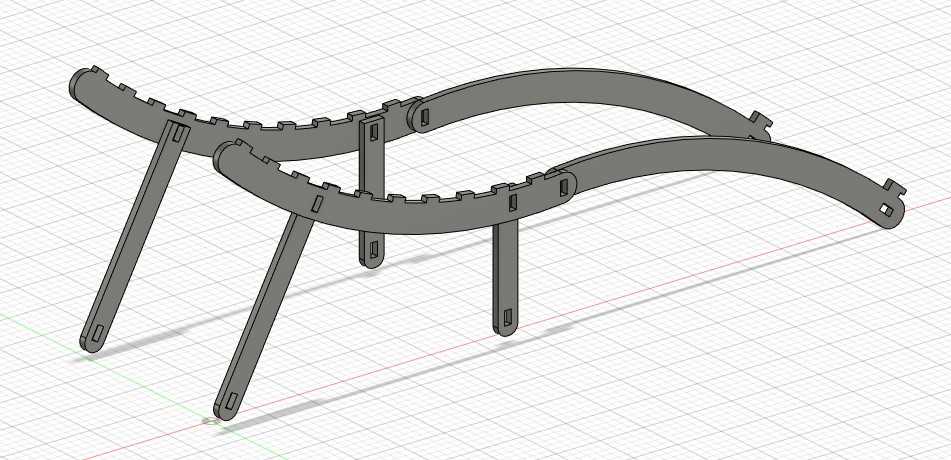
For my project, I decided to create a chair that would have a living hinge laid across the top. I found a wooden pool chair on Amazon that seemed to have great potential in implementing the living hinge into its design. The description also includes some rough dimensions of the chair that I used in my design.
I then made a sketch in fusion with a rough shape of the chair I was trying to design.
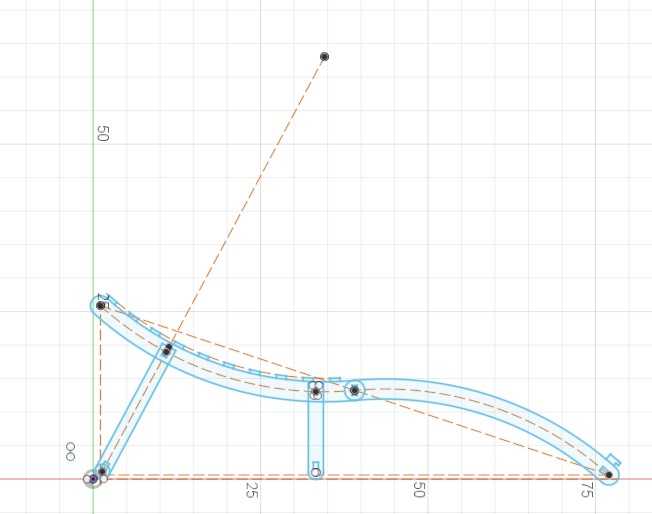
Tabs were only added to the back and a pair of hooks was added to the lower part to allow the living hinge to stay on the chair.
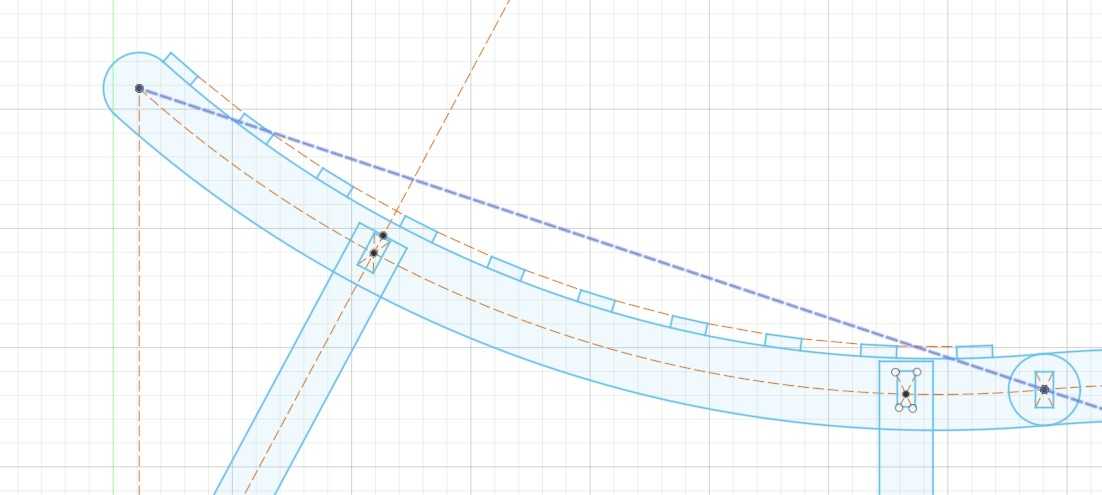
To help visualize this in 3D, I extruded the sketch and mirrored it so that there were two sides.
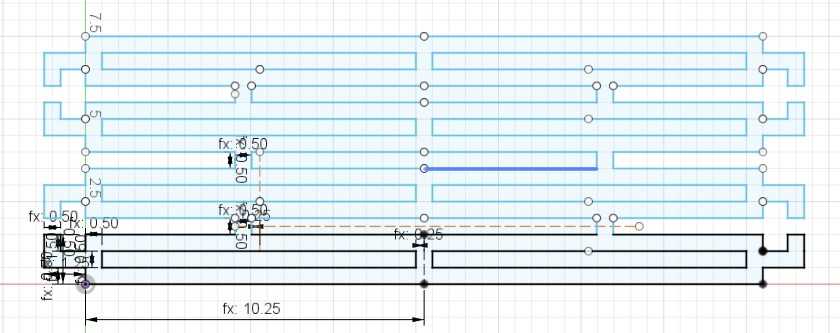
I created 1/4 of a section of the living hinge and then mirrored it two times. The rest of the length would be created later using a rectangular pattern to the distance I want.
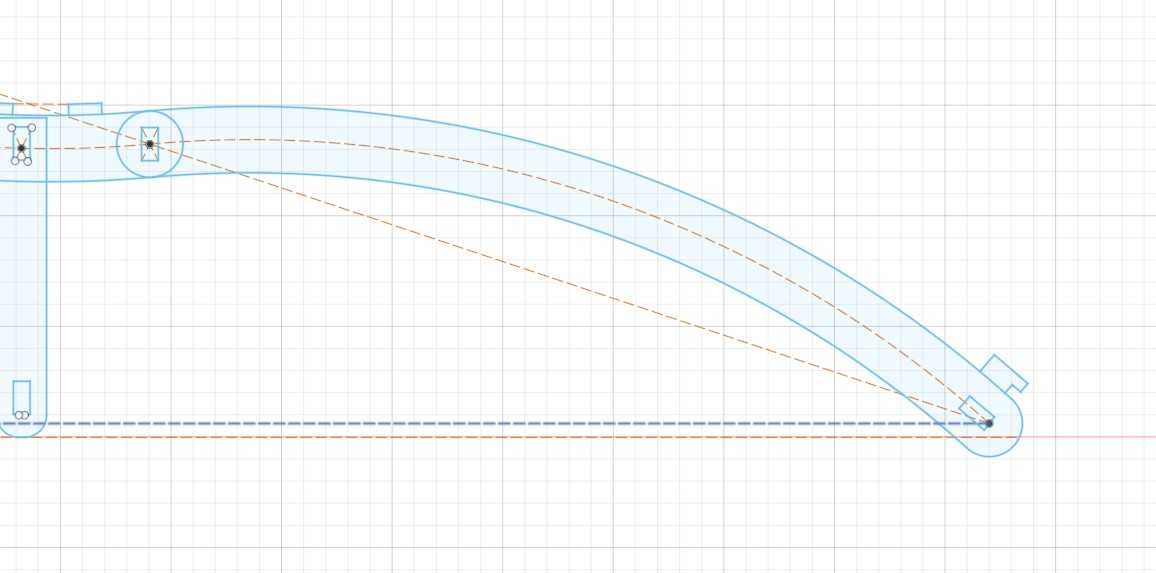
Here is my final fusion model:
Using Aspire
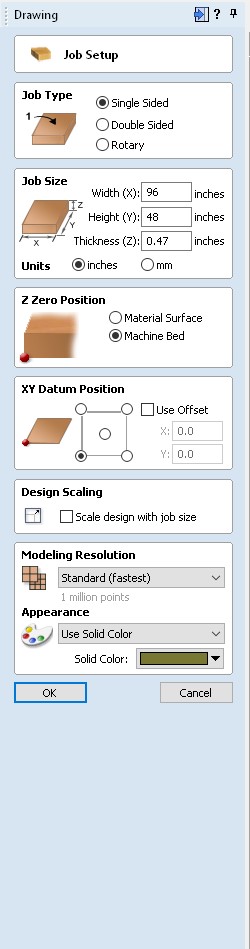
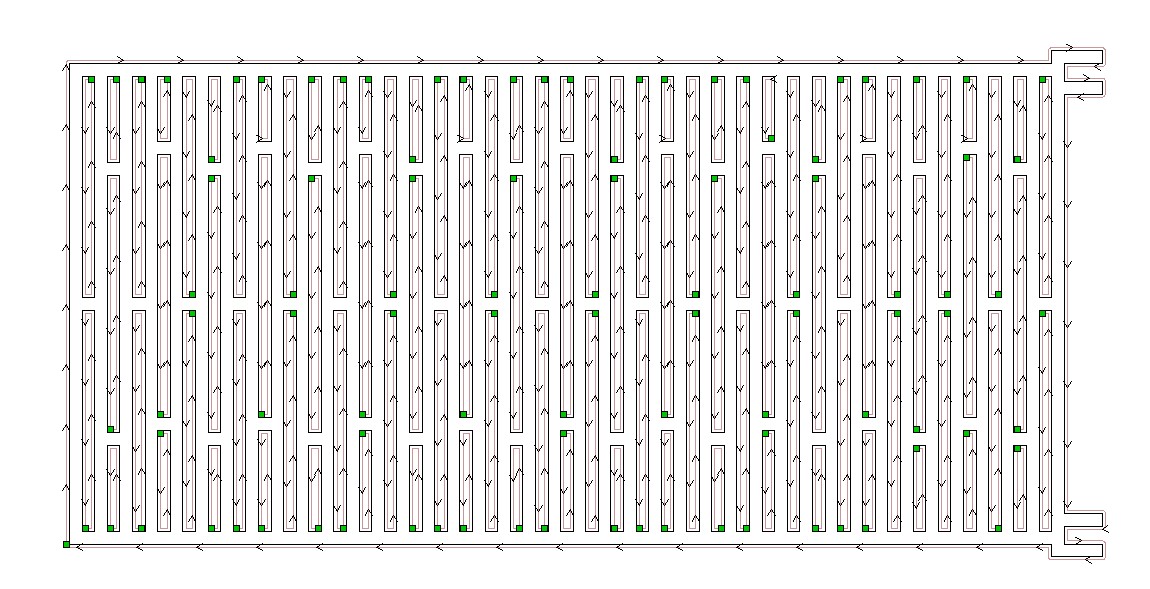
I exported the living hinge as a dxf file and loaded it into Aspire. First, I configured the job setup so that the dimensions of the workspace matched the size and thickness of the wood I would be using. In addition, the Z Zero position should be on the machine bed and the XY Datum position should have no offset along with being in the bottom left corner.
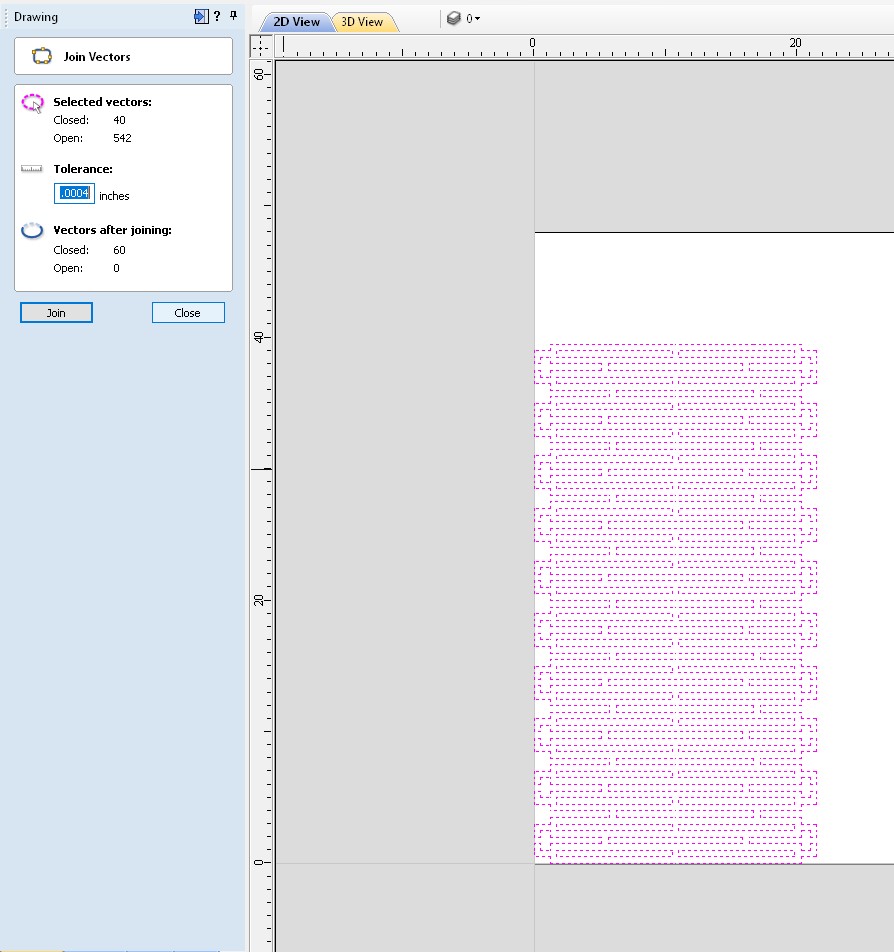
First, I used the Join tool on any line segments that are supposed to be connected, but are not in Aspire.
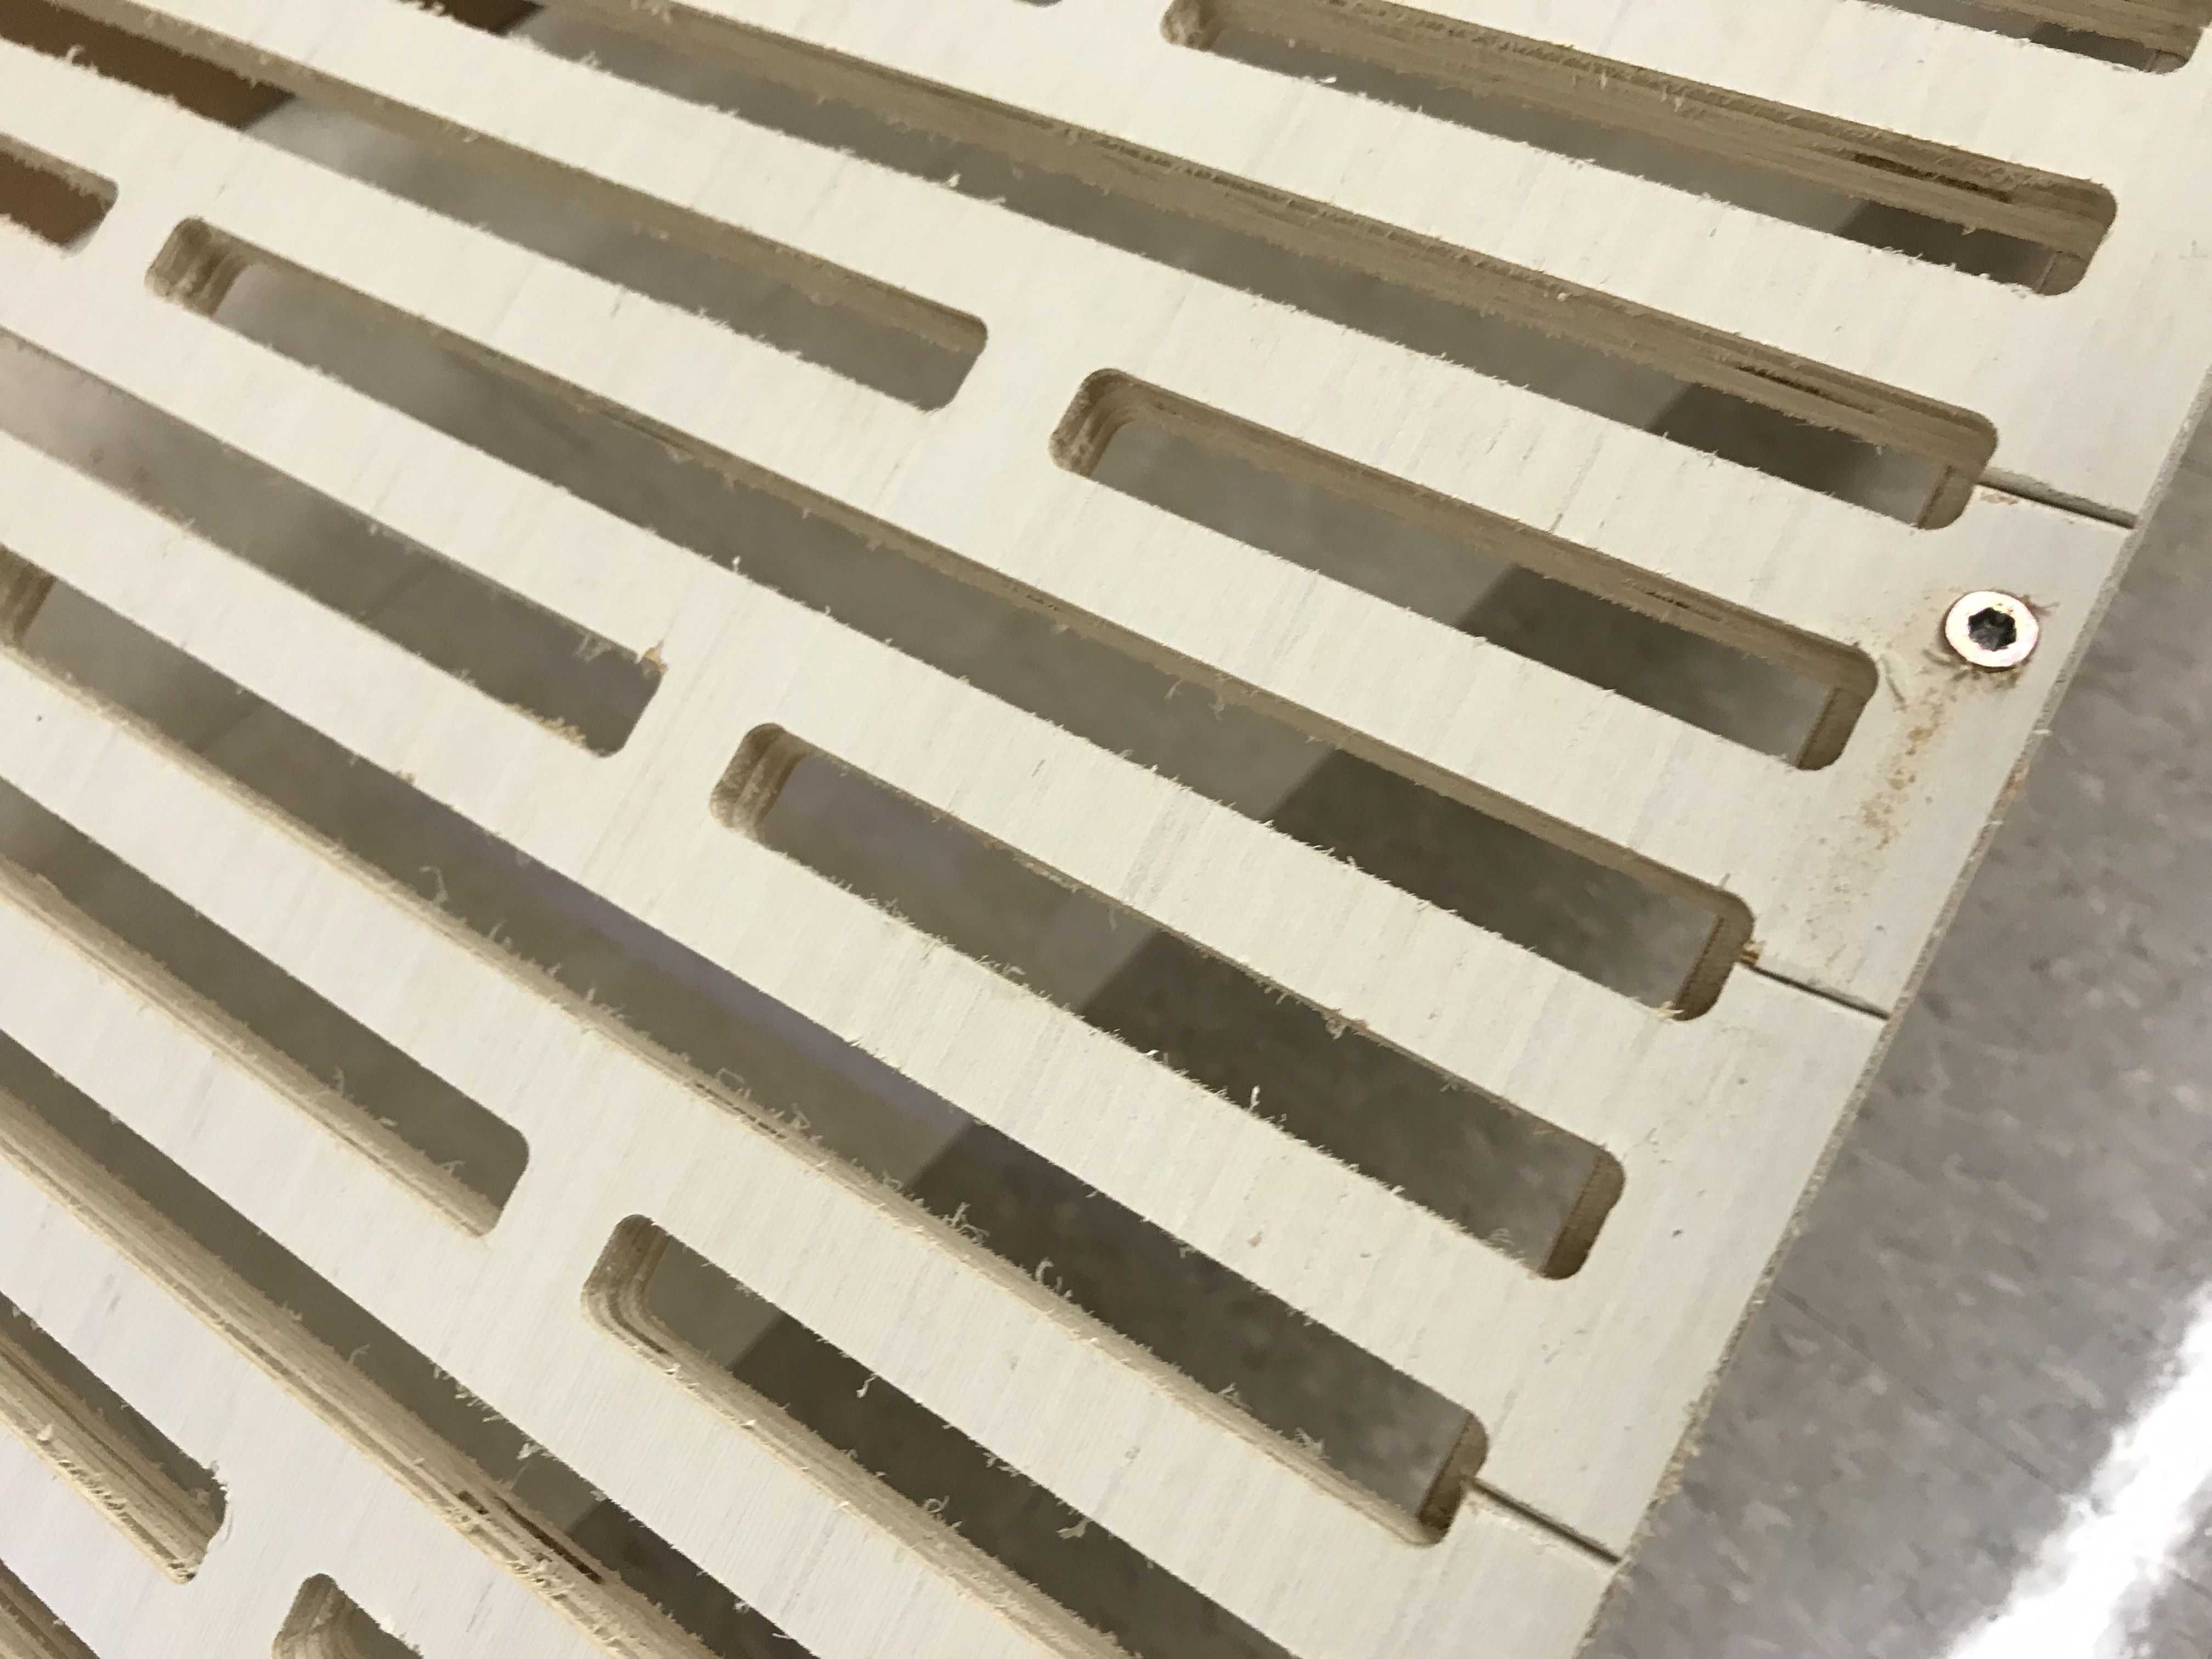
Then I selected the outer edge and used the 2D profile tool as this is the operation I wanted to use. I adjusted the cut depth to the thickness of my material, changed the bit size to a quarter inch, and then set the machine vector to an outside cut as this was what I wanted it to do. I will add dogbones later on.
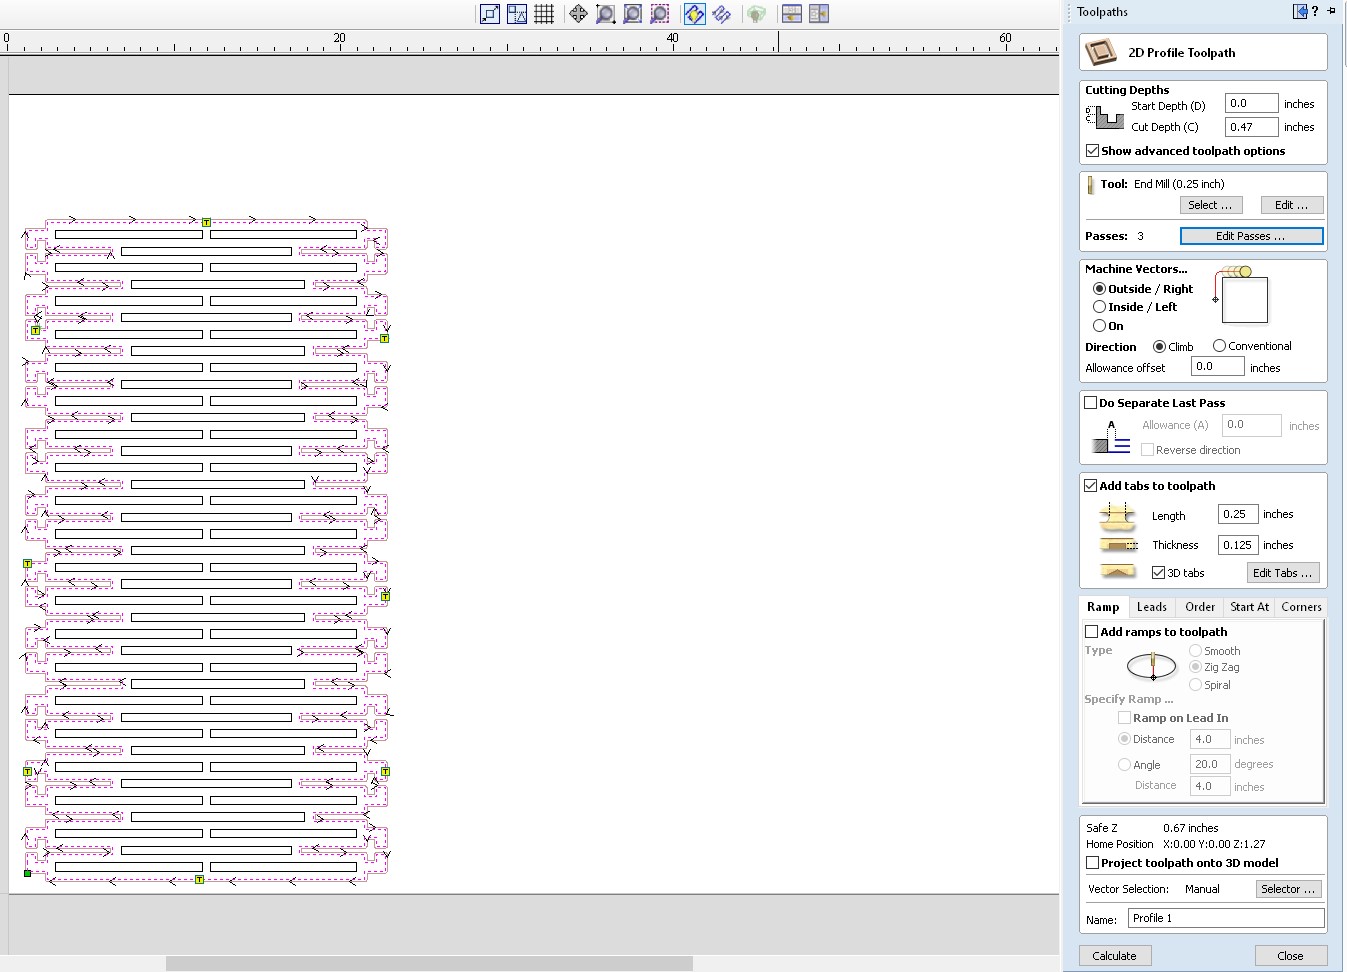
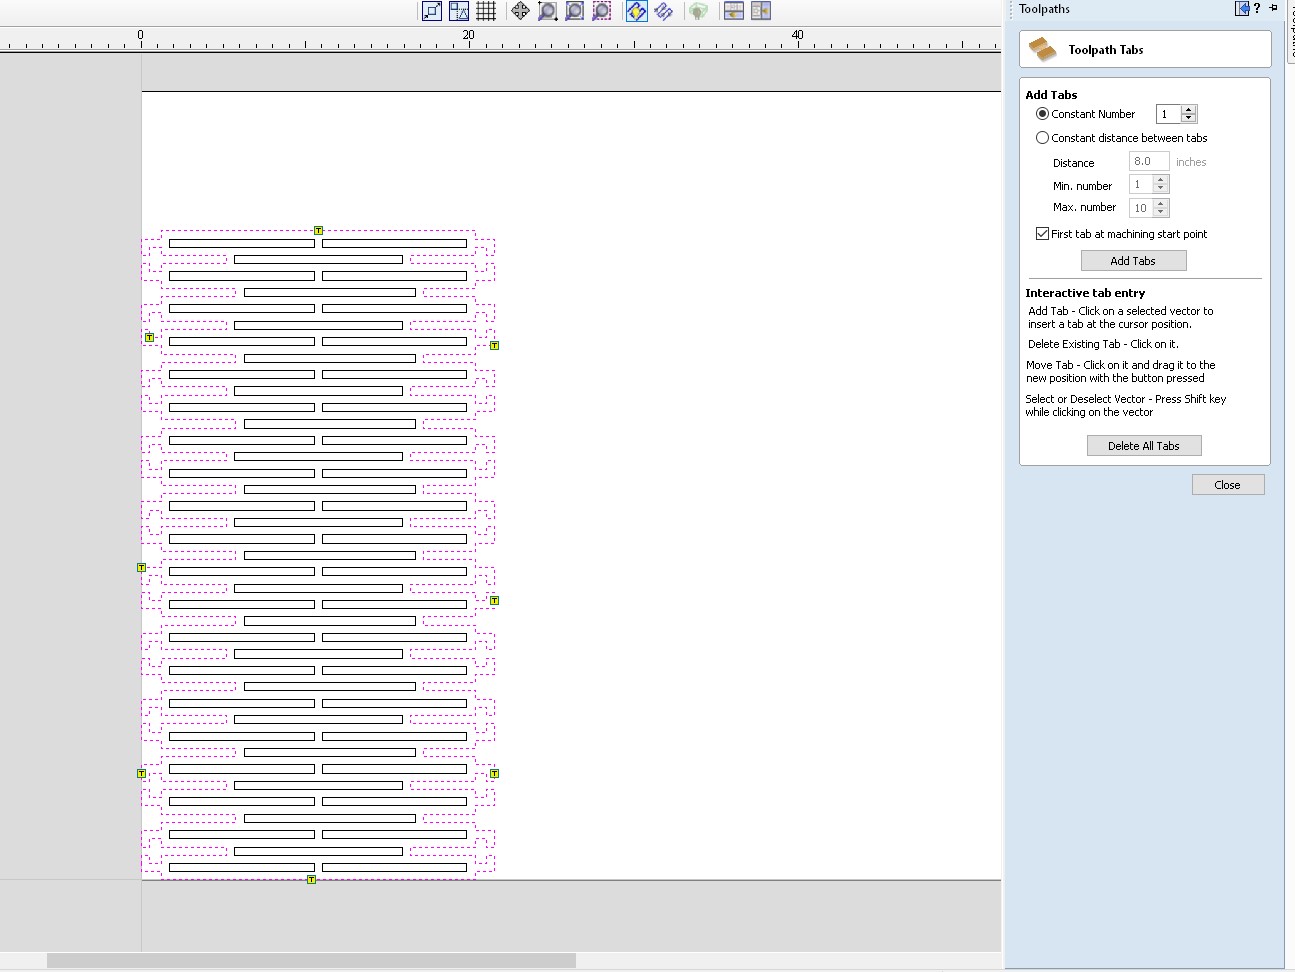
I added tabs on the outside of my living hinge in order to keep the living hinge on the bed and prevent it from going loose while being cut by the CNC.
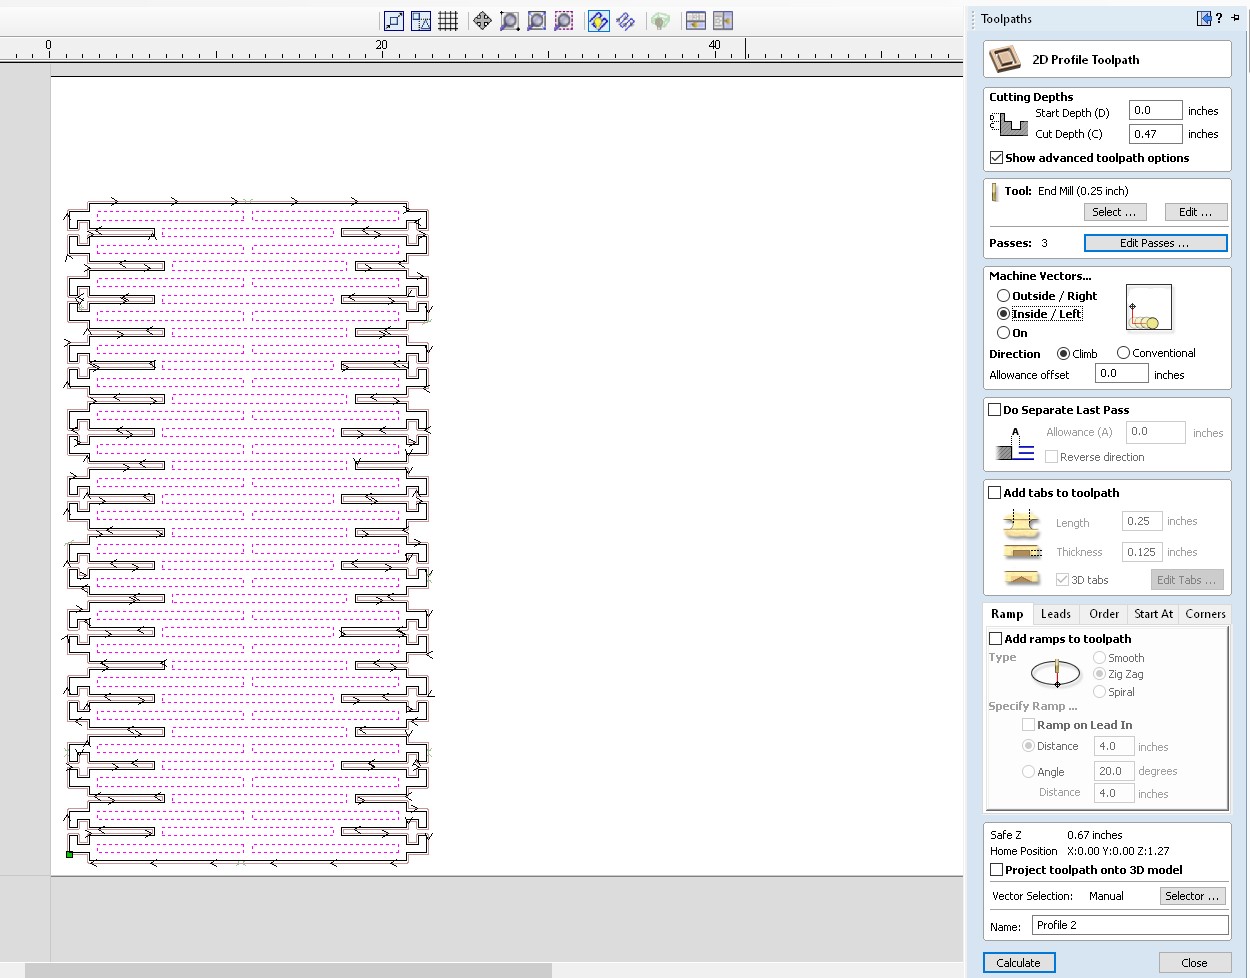
On the other hand, the inside of the living hinge will use an inside machine vector and I will not worry about dogbones for this cut as nothing will be fit inside these holes.
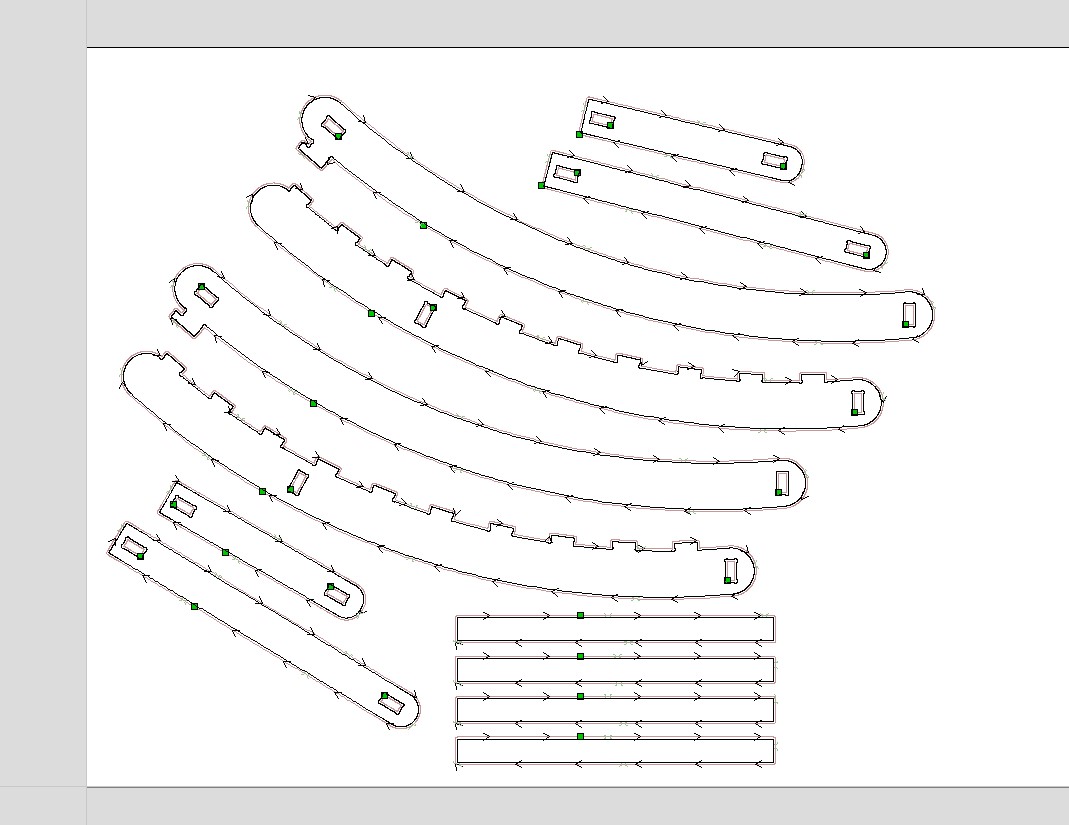
This is a 3D view of the path that the CNC will take to cut out my living hinge.

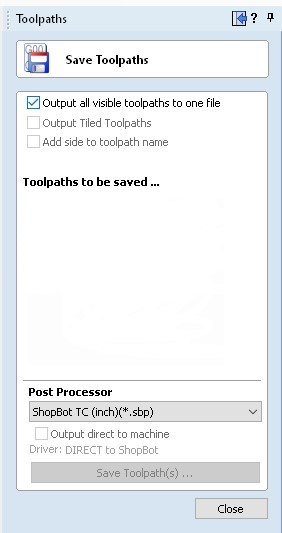
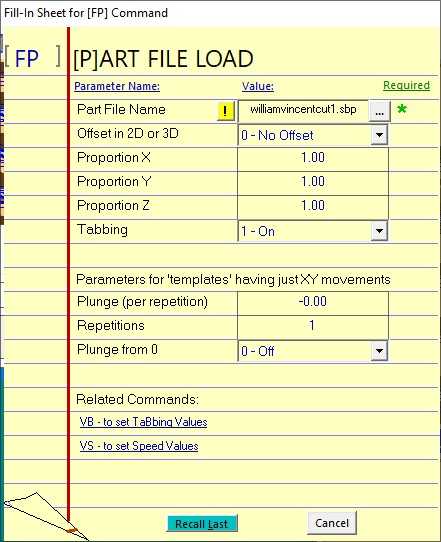
I saved this toolpath and exported it as a .sbp file for the Shopbot.

Now before I did the actual cut, I set a 3-D offset where the CNC machine would make the cut in the air. Once I saw that everything was fine, I selected no offset and proceeded with the actual cut.
Here is a video of the CNC in action:
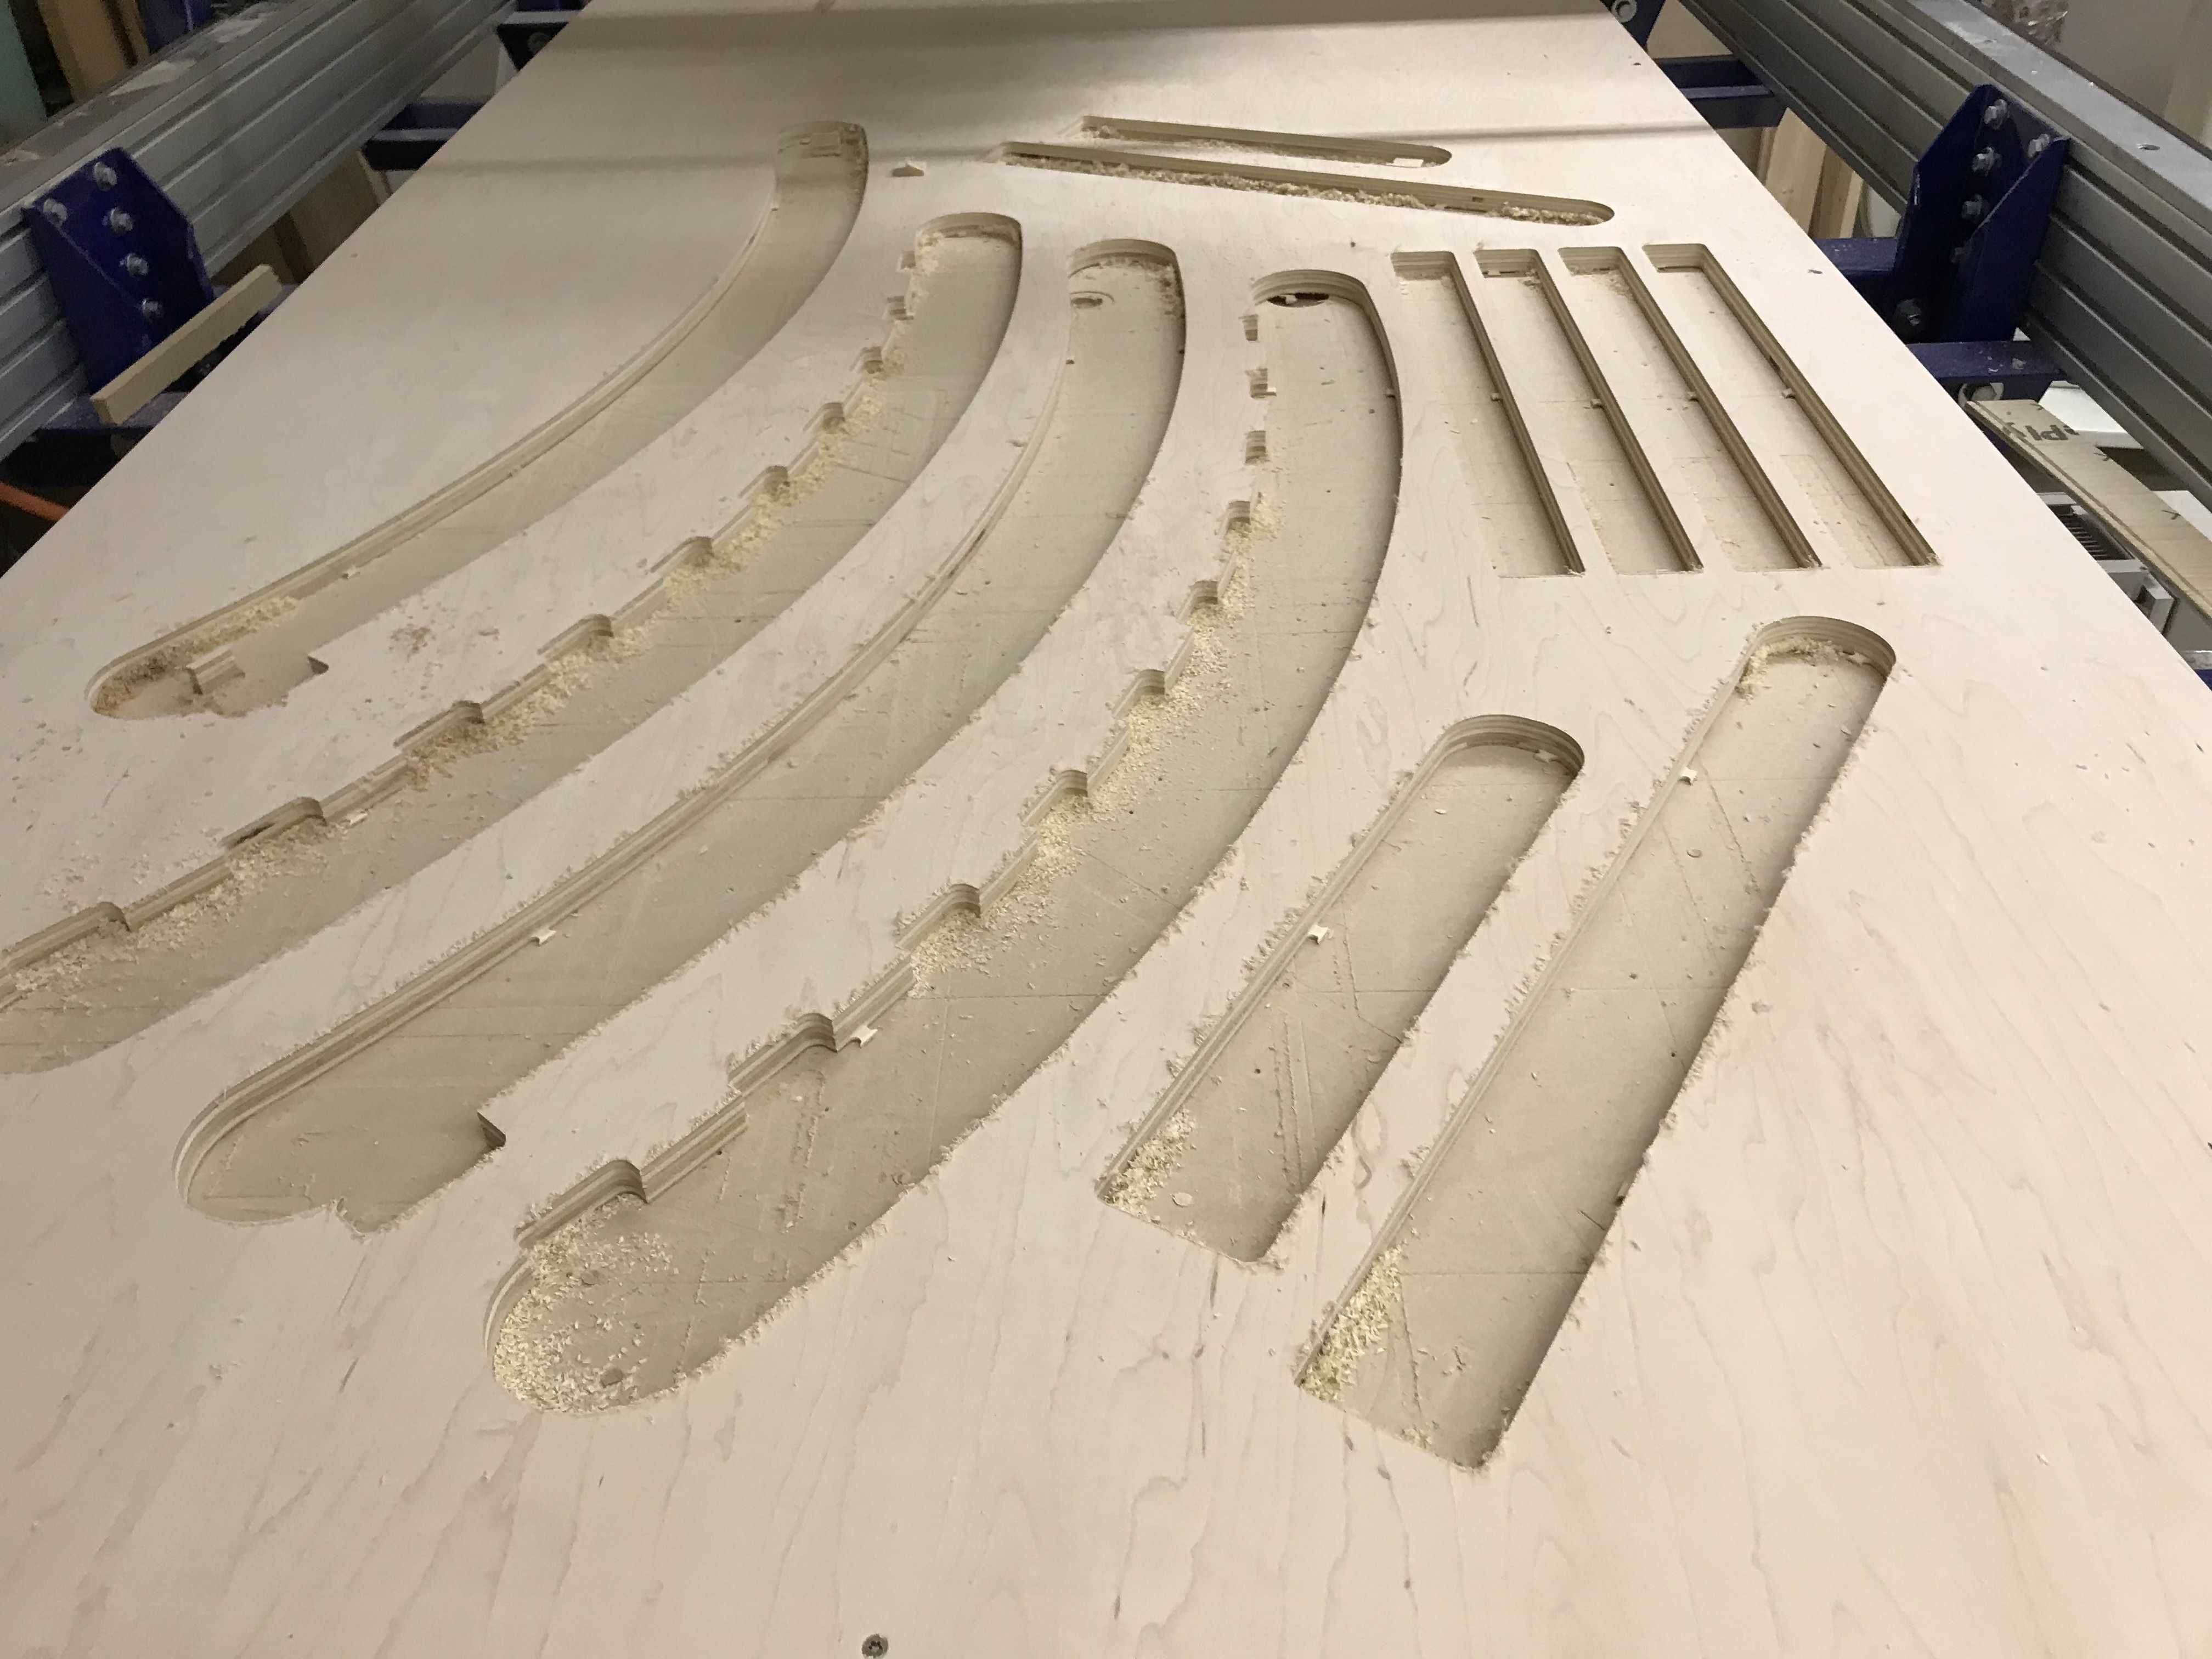
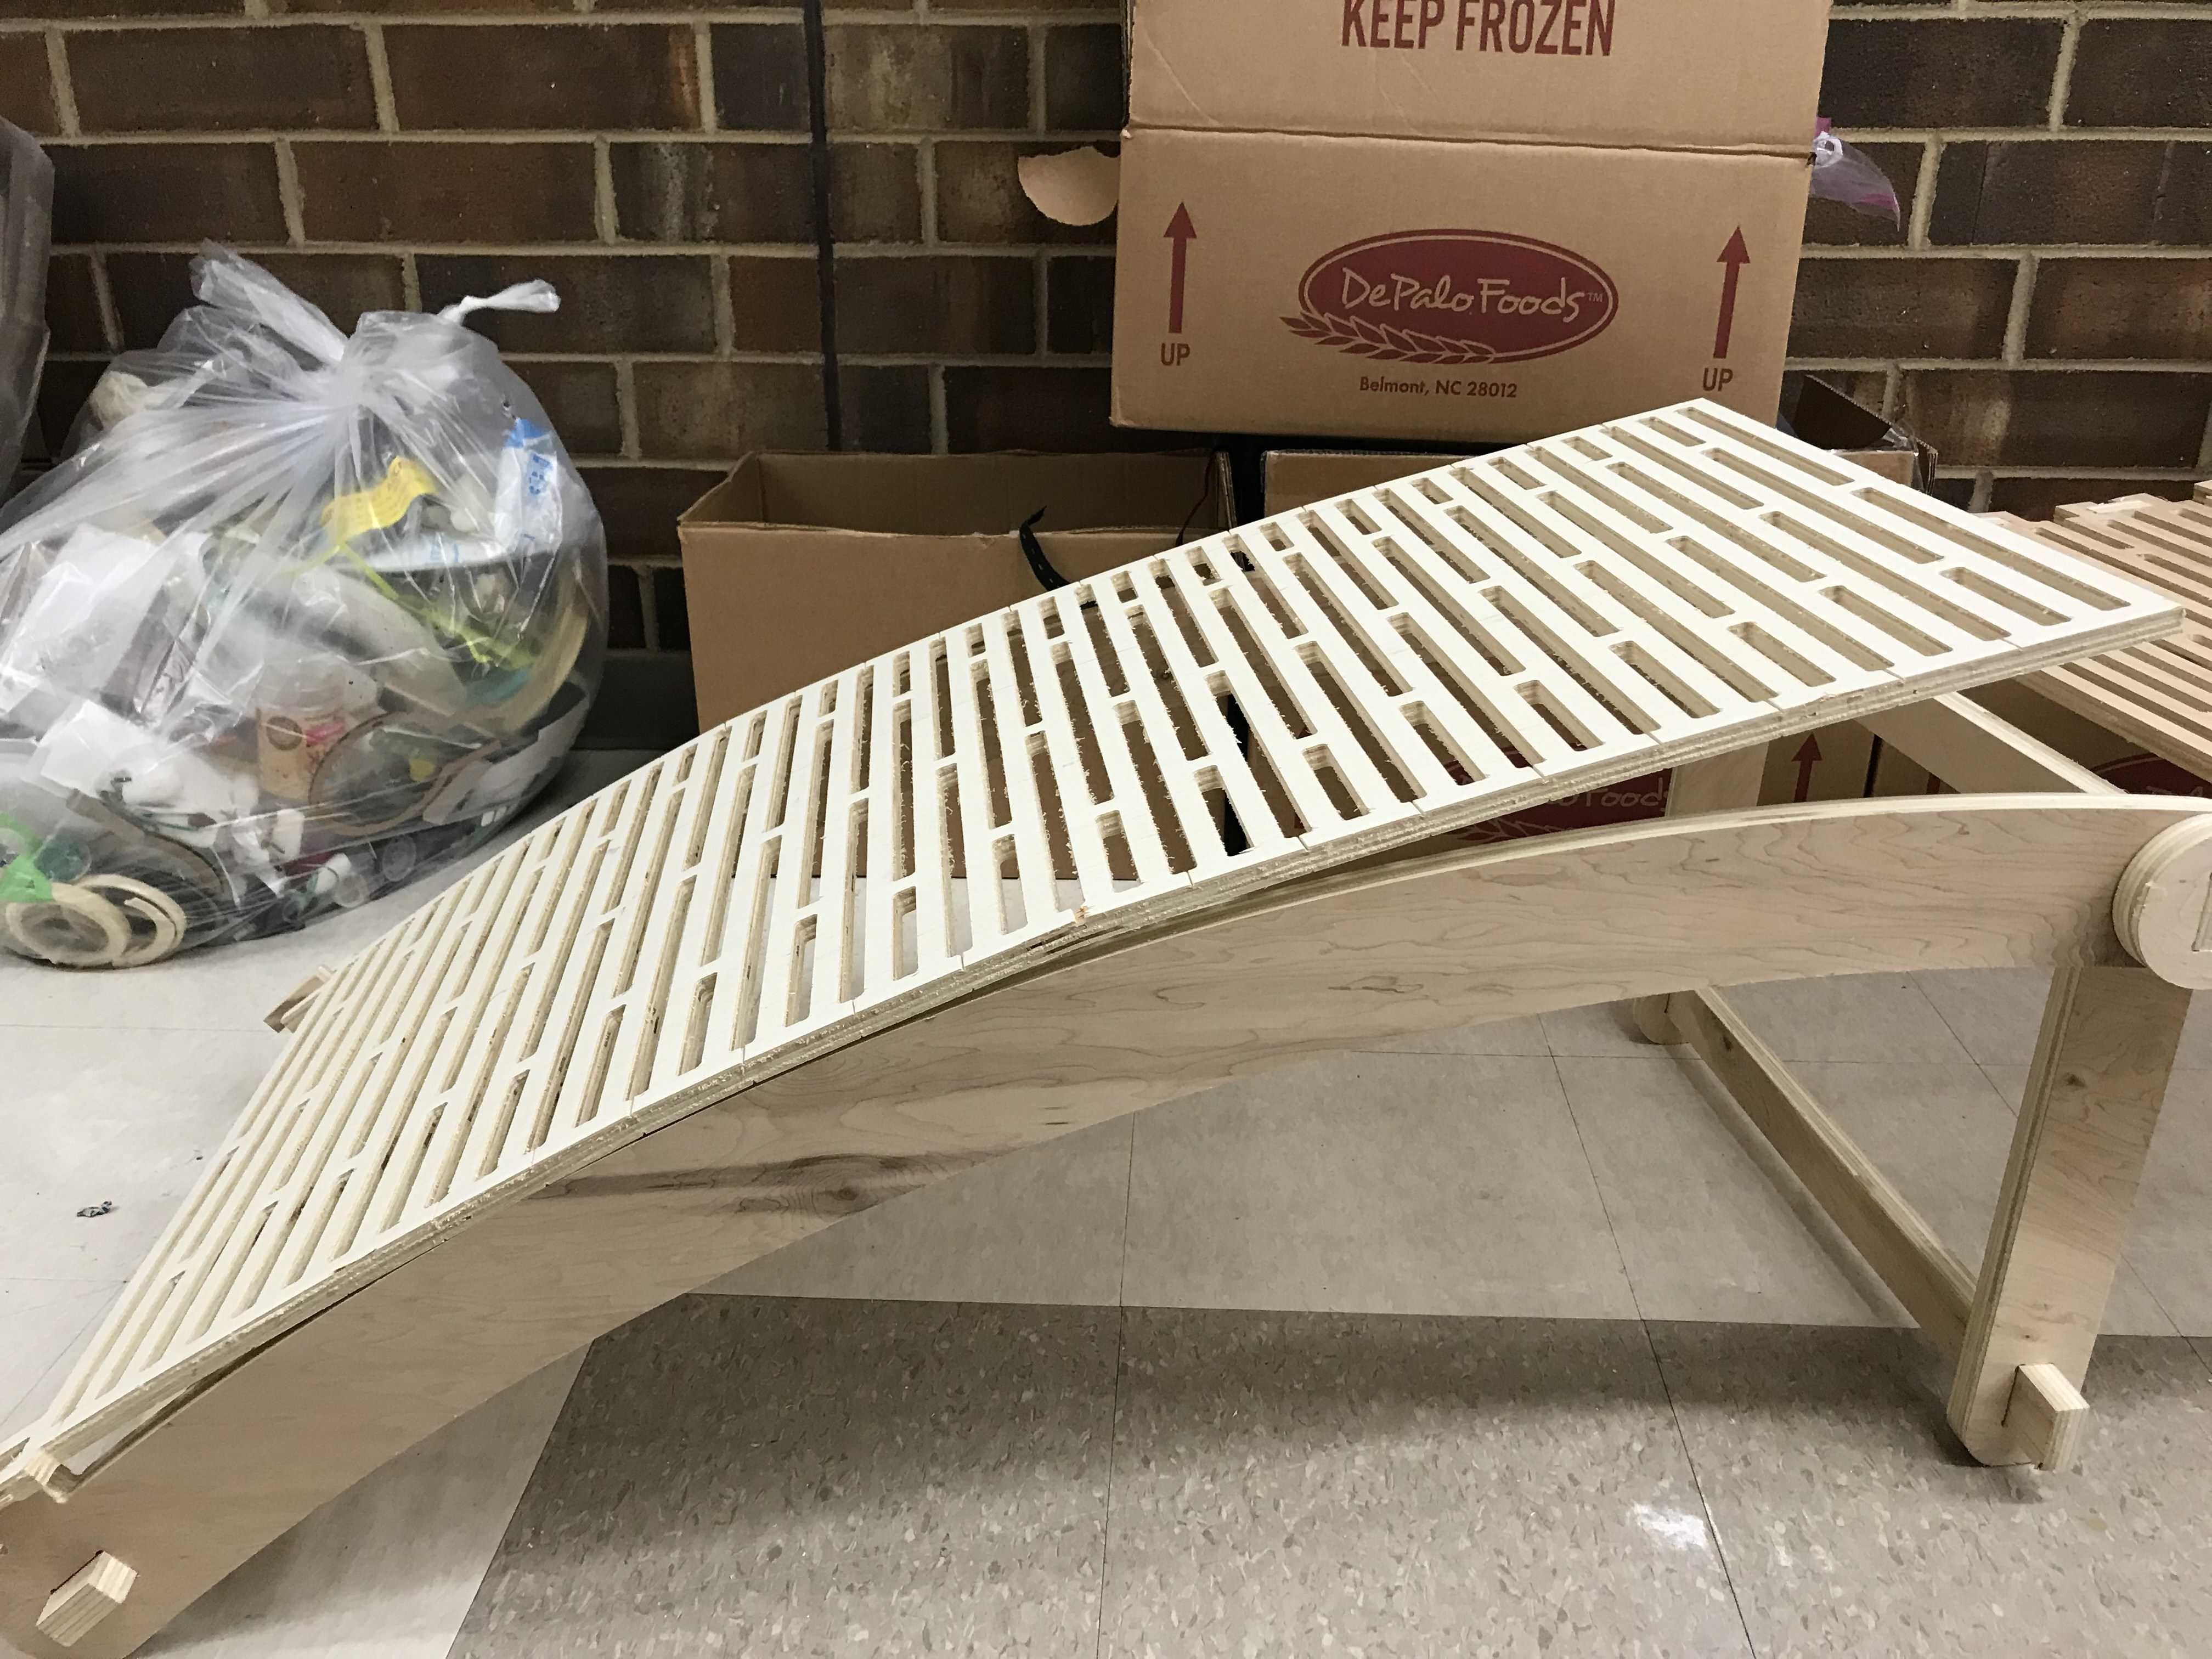
The living hinge came out really nice and now it was time to do the frame for my chair.
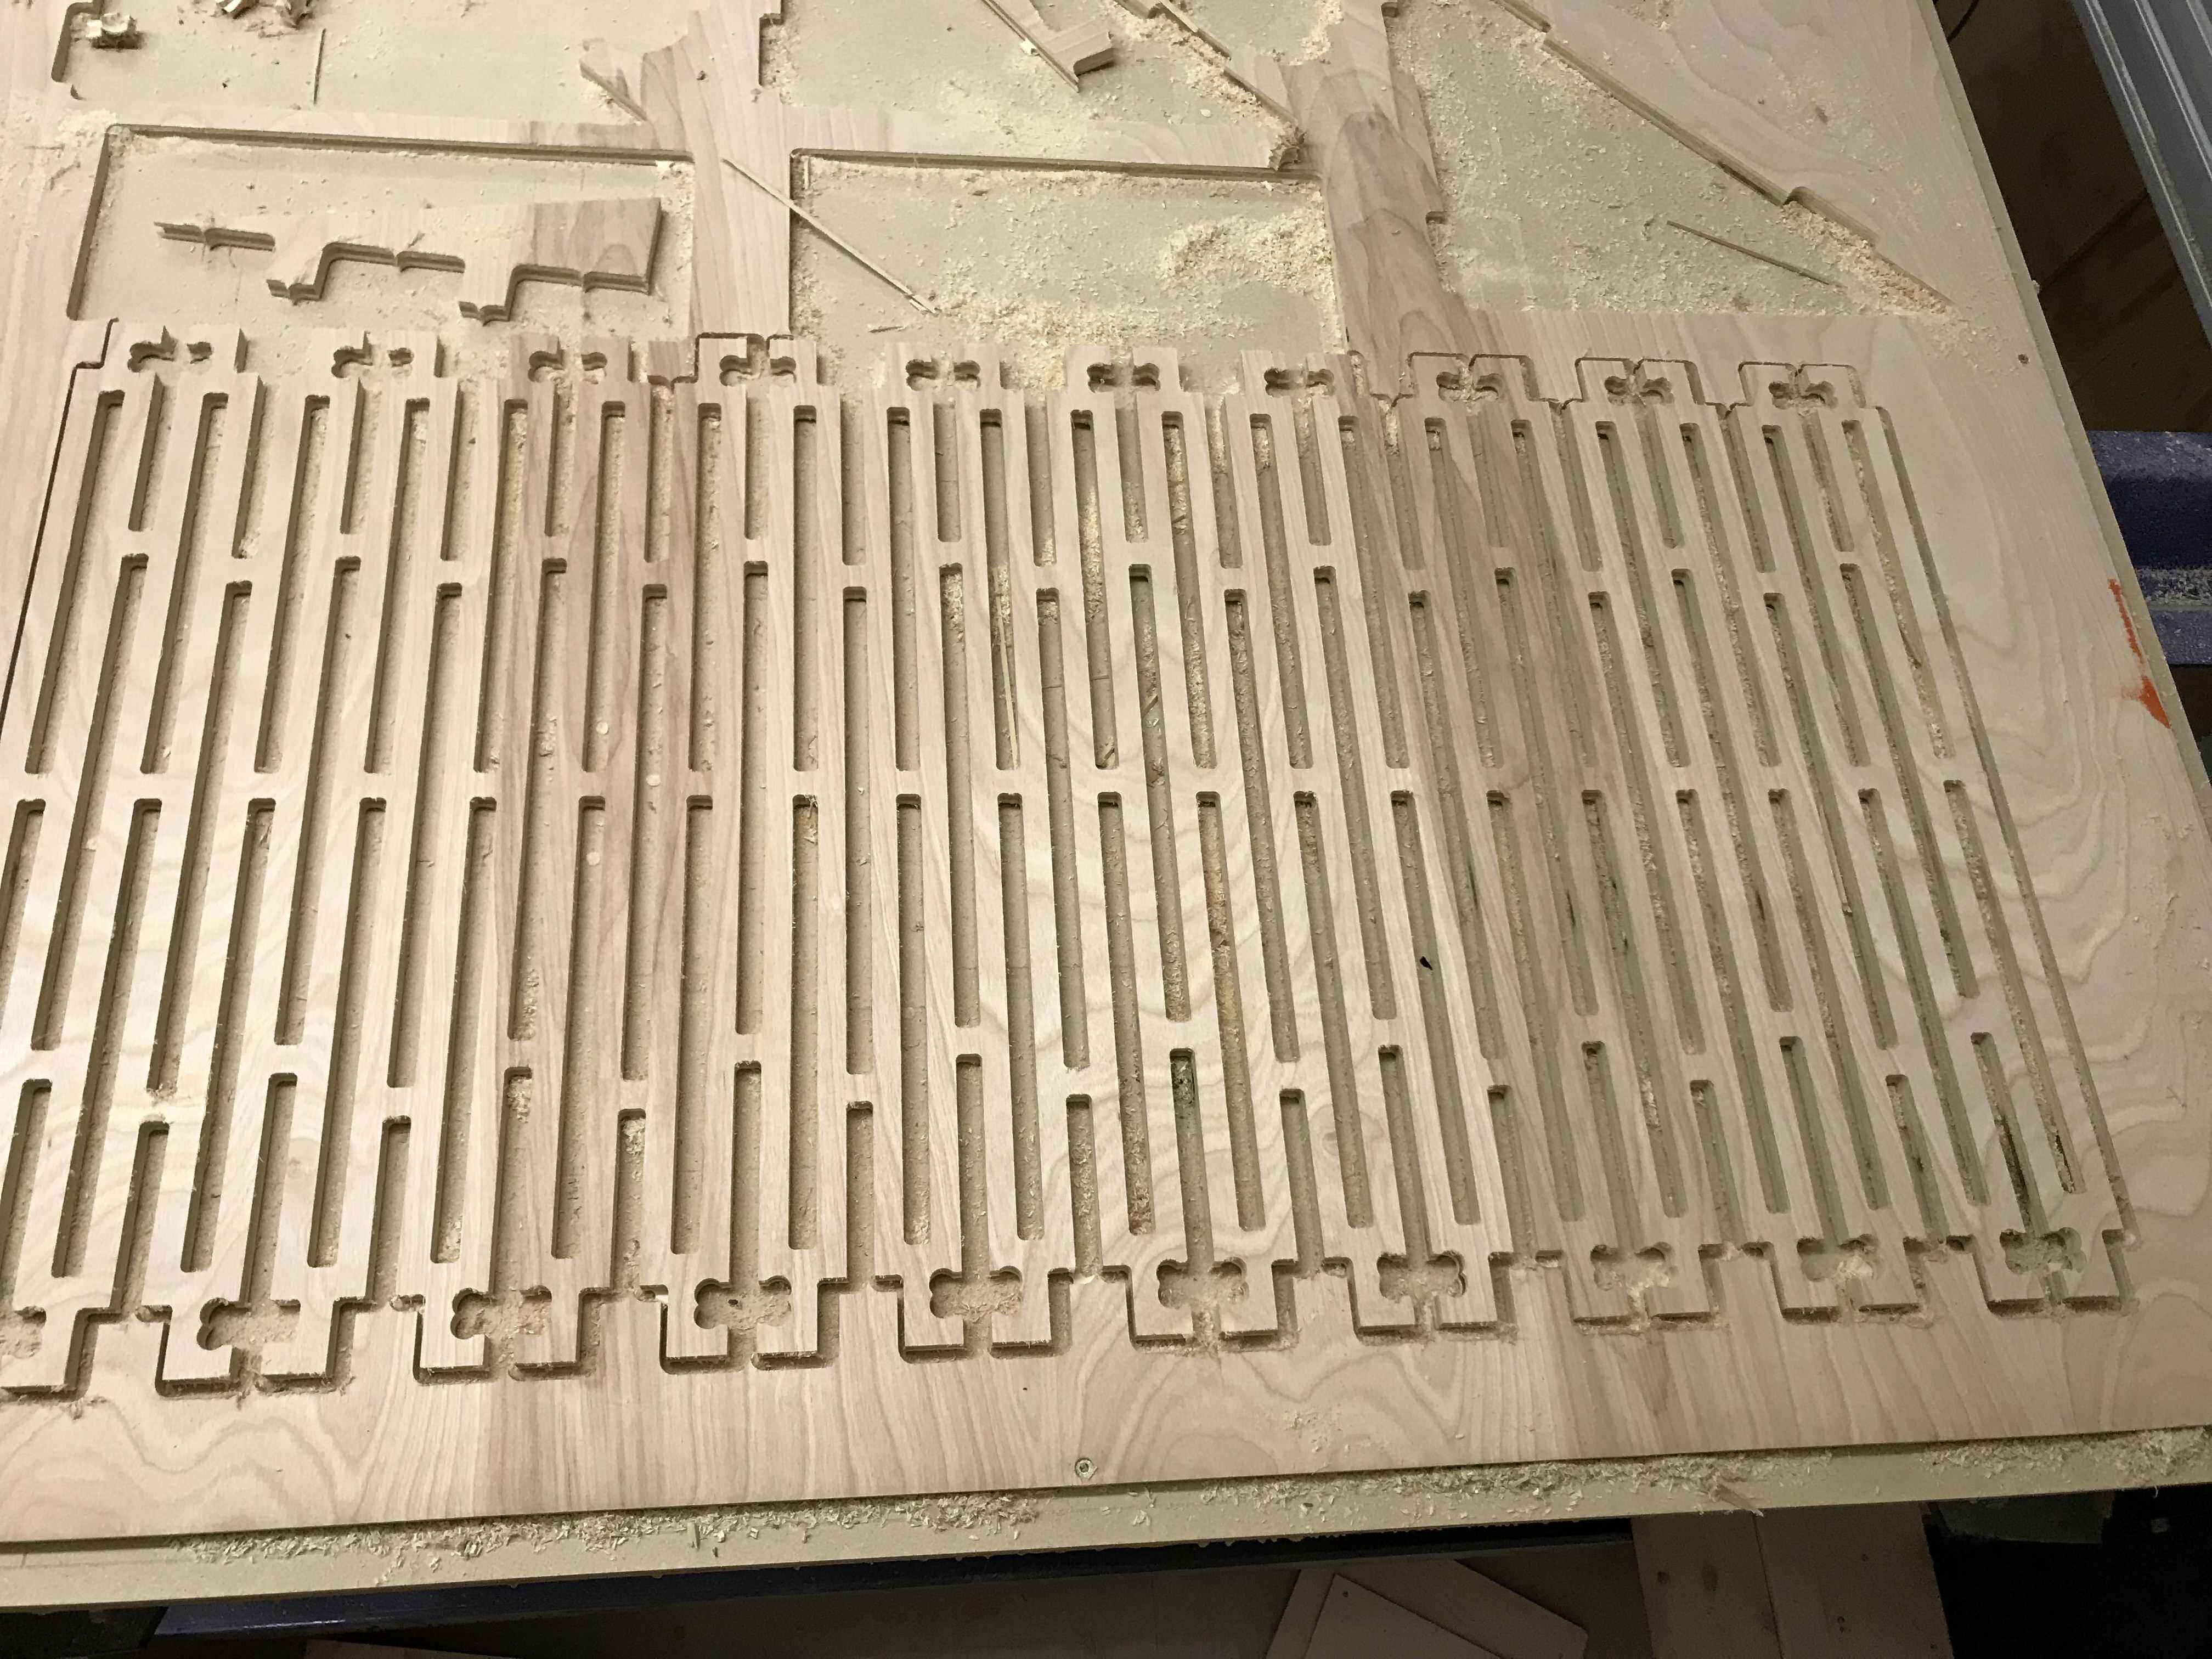
Now for the frame, I did the same thing as the living hinge. I used an outside machine vector to outline the frame and then used an inside machine vector to cut out the slots on my pieces. Dogbones were also added within the slots so that the pieces could fit together.
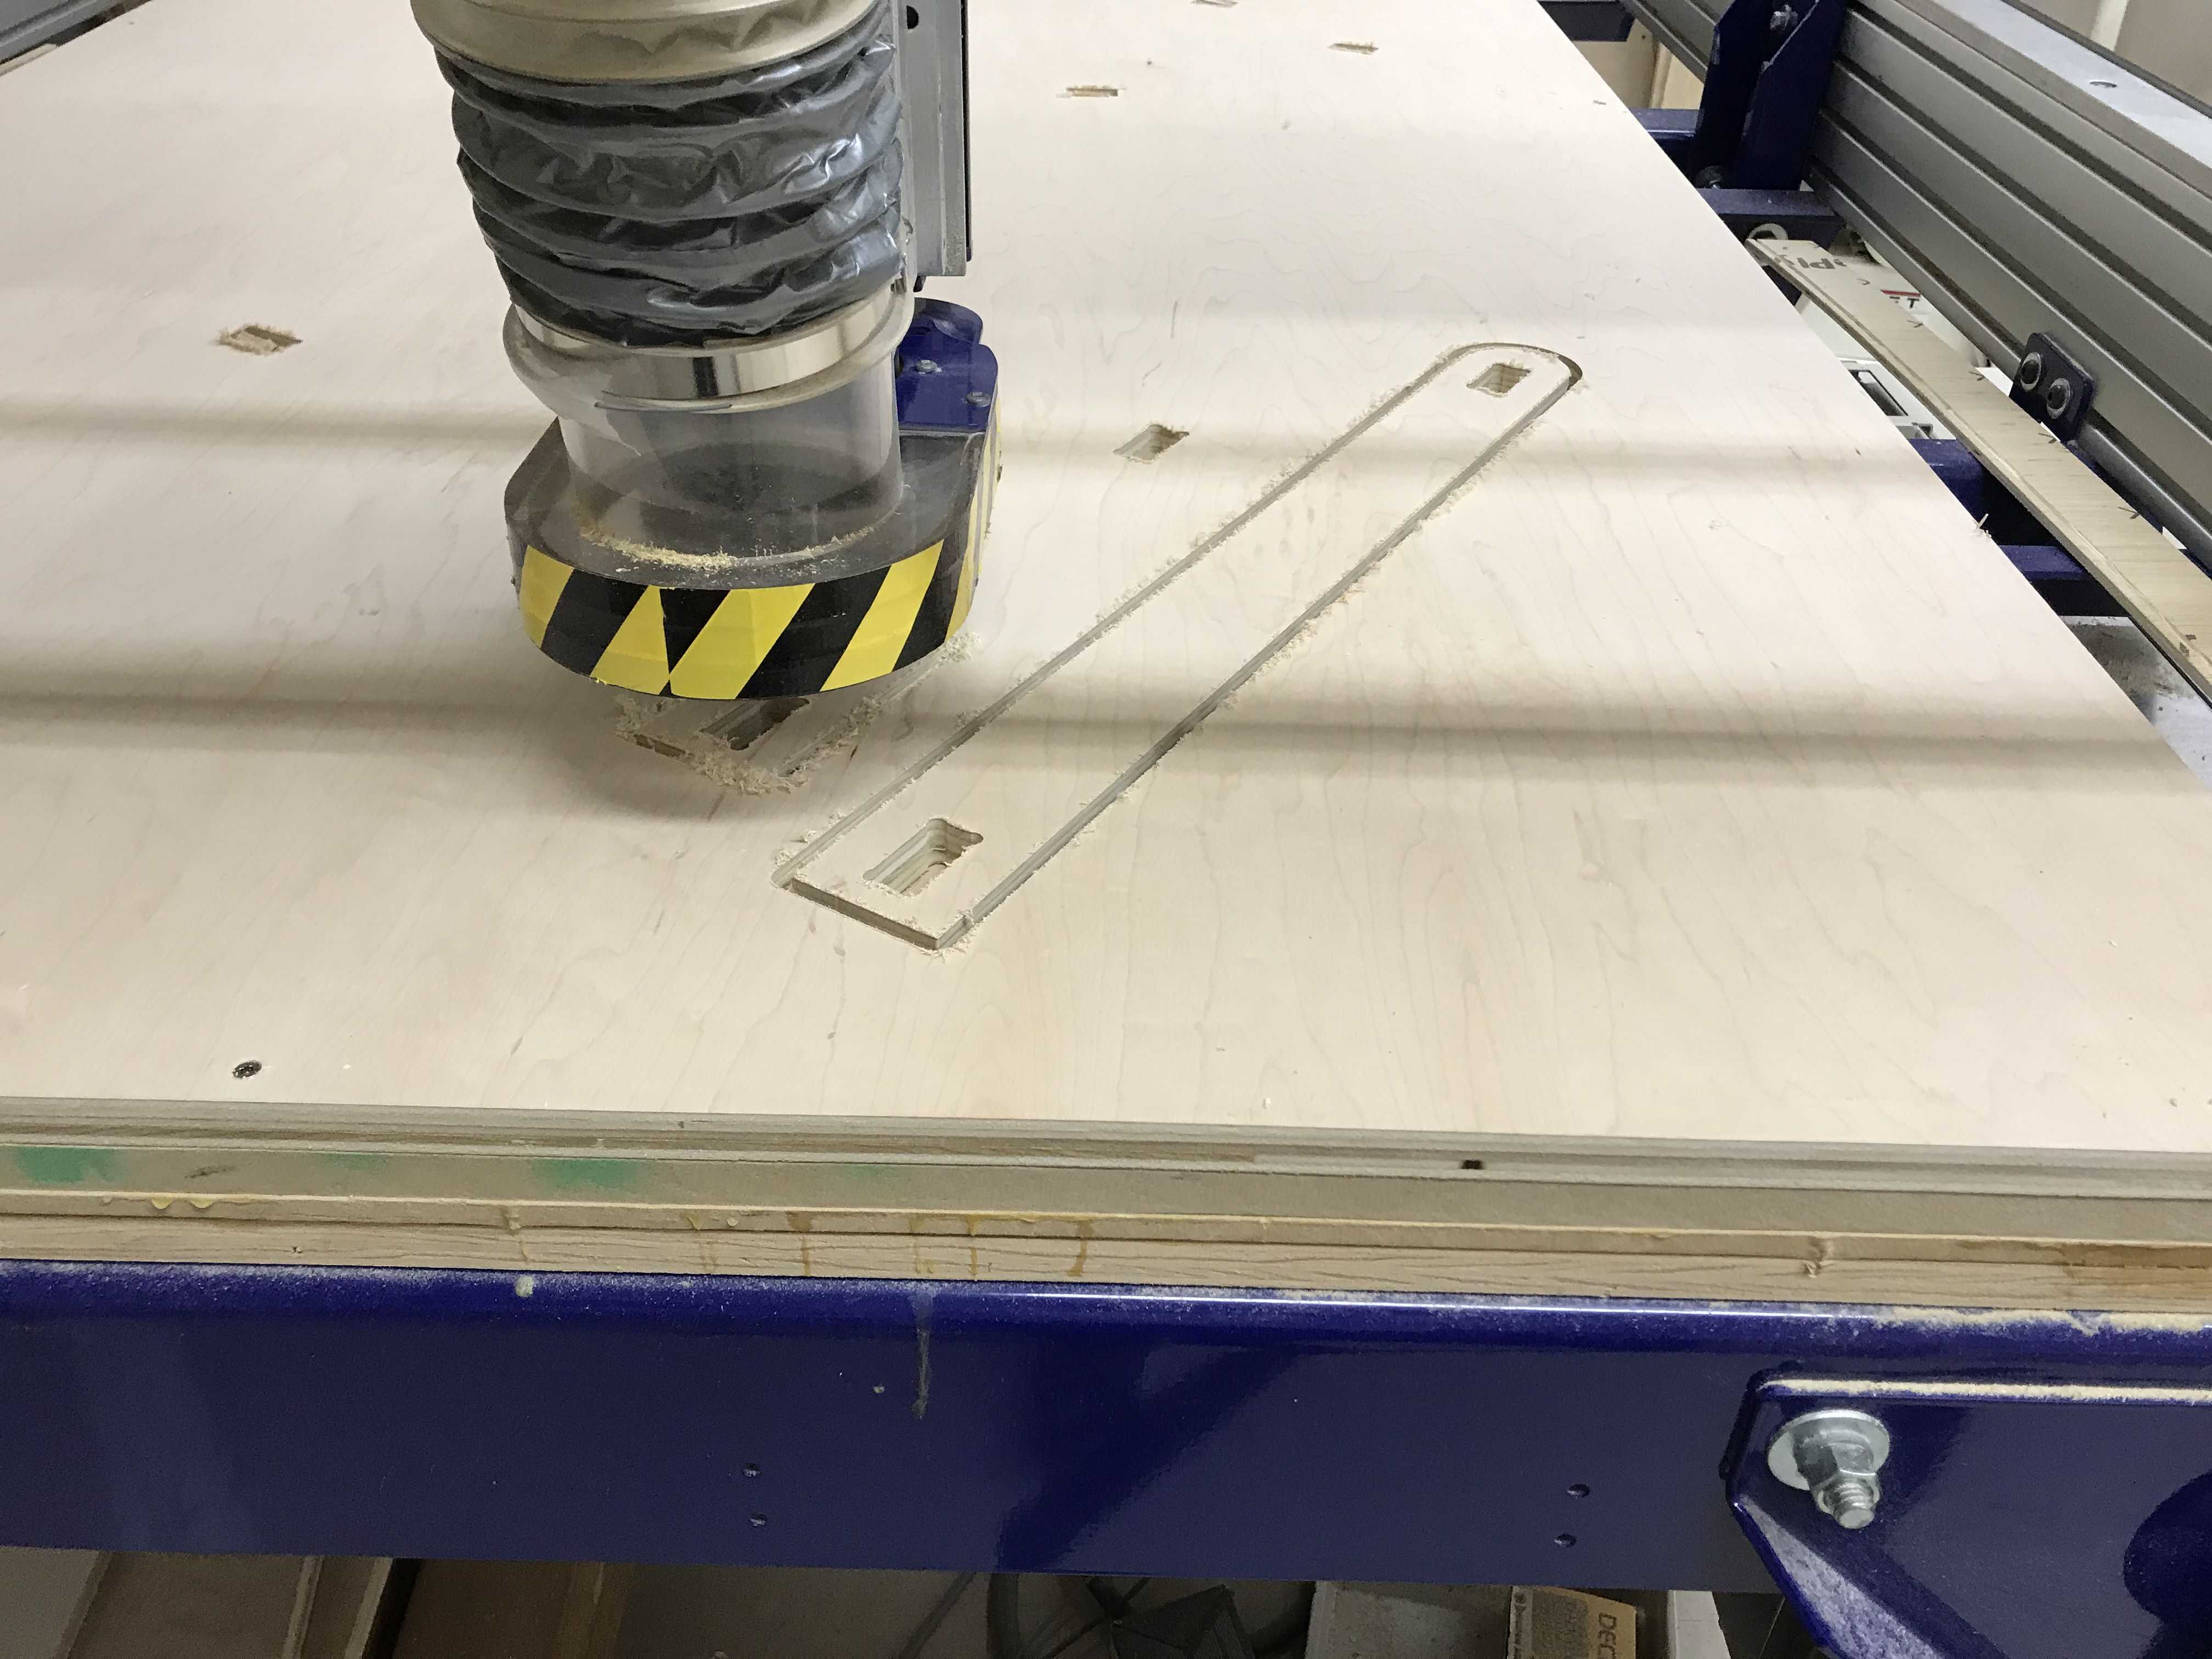
I followed the same steps as with the living hinge and cut them out on the CNC.
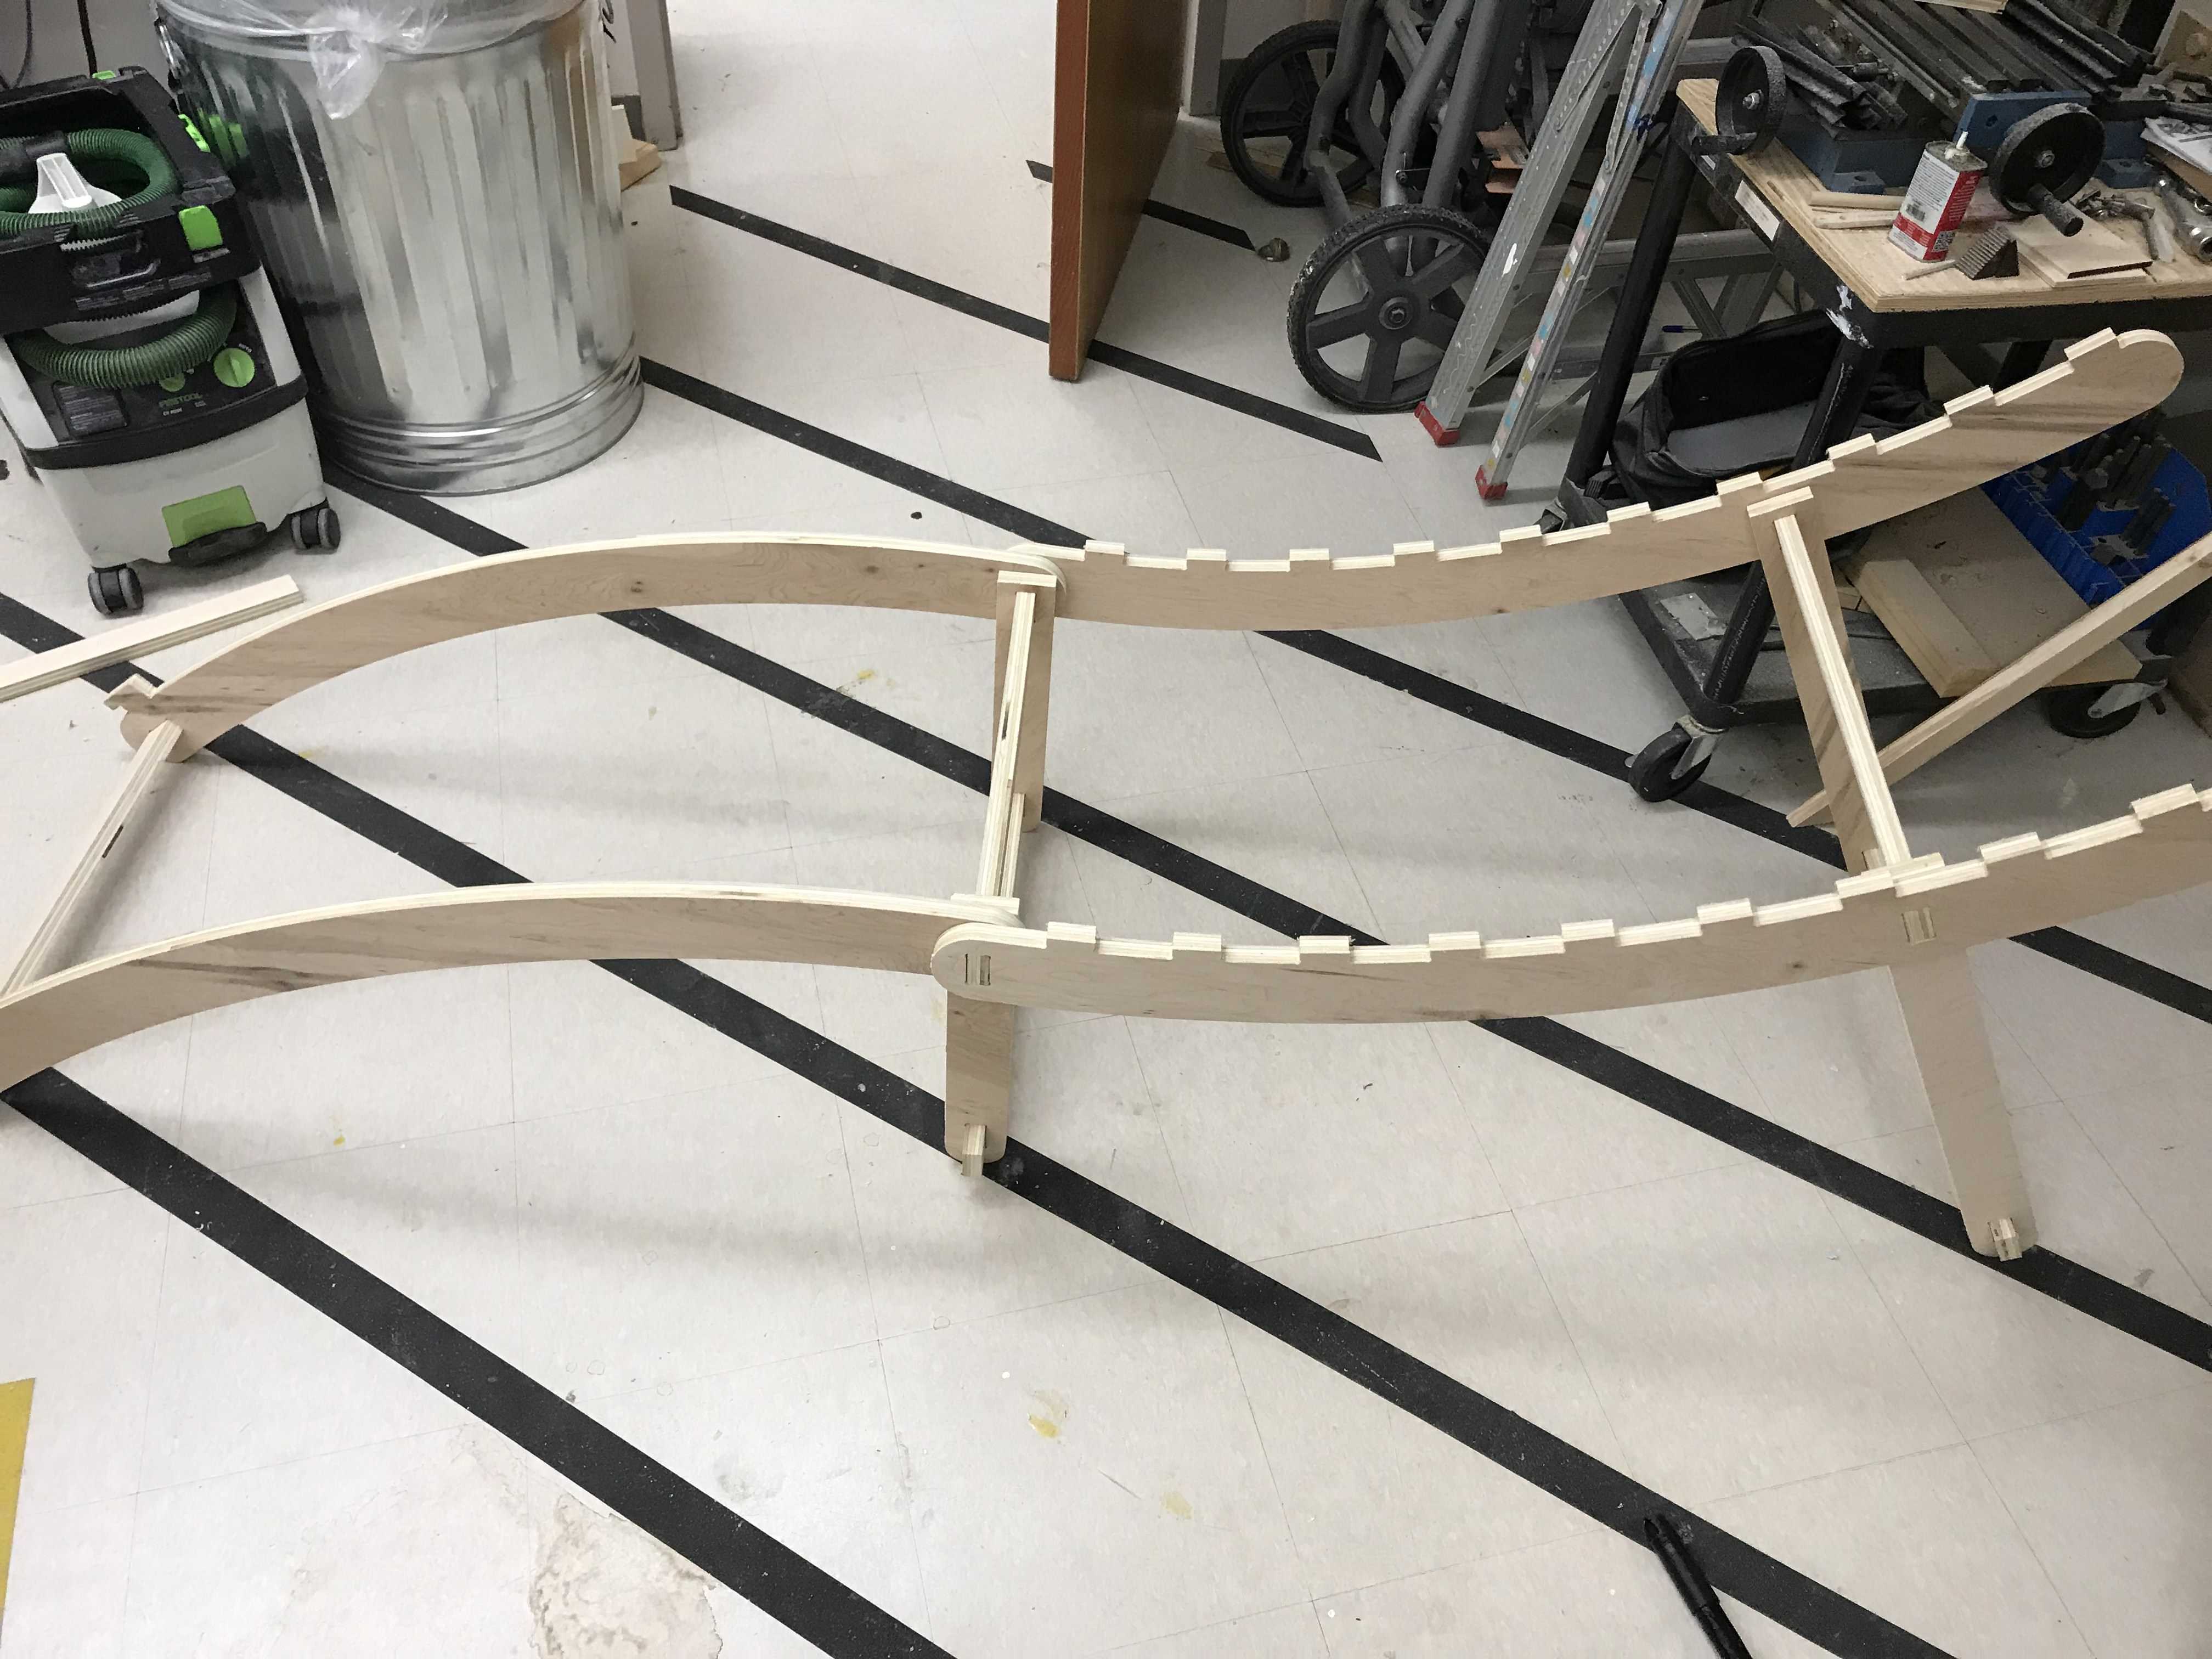
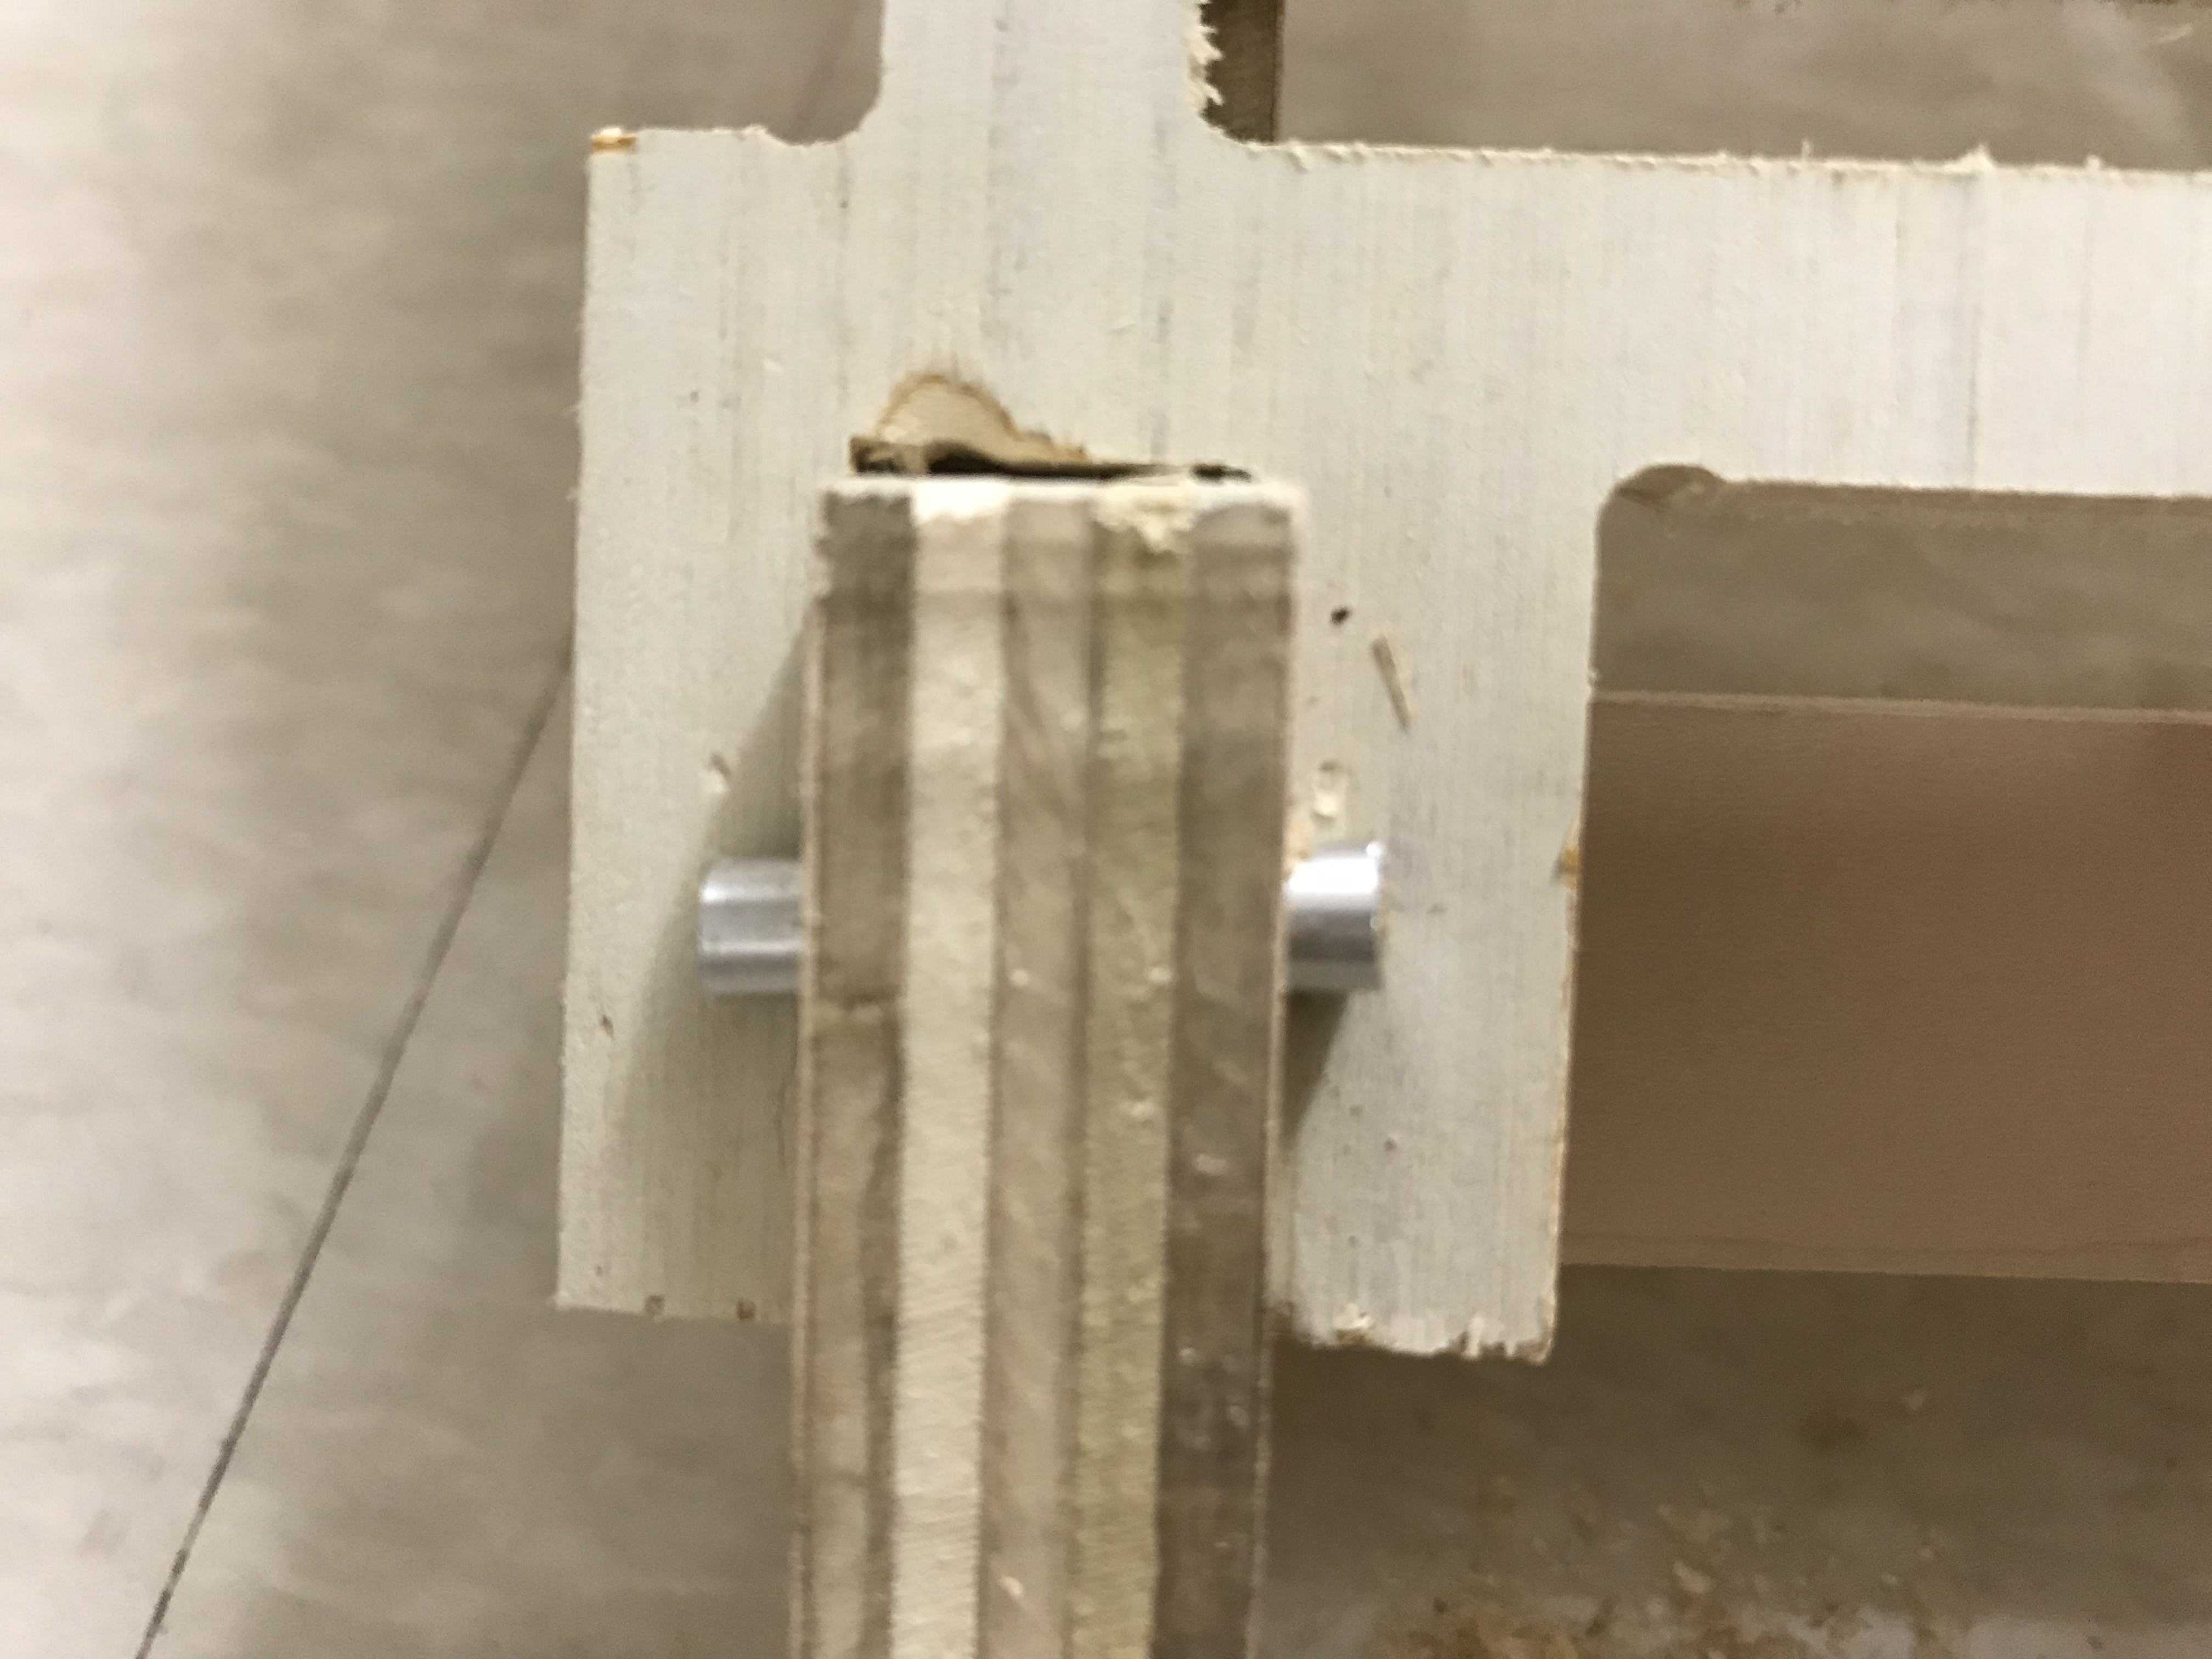
Now with my freshly cut out parts, I first assembled the frame of the chair. The pieces fit very tightly together so I had to use a mallet and hammer my connectors into their slots. I was able to get all the pieces to fit into each other and here is how the frame turned out.
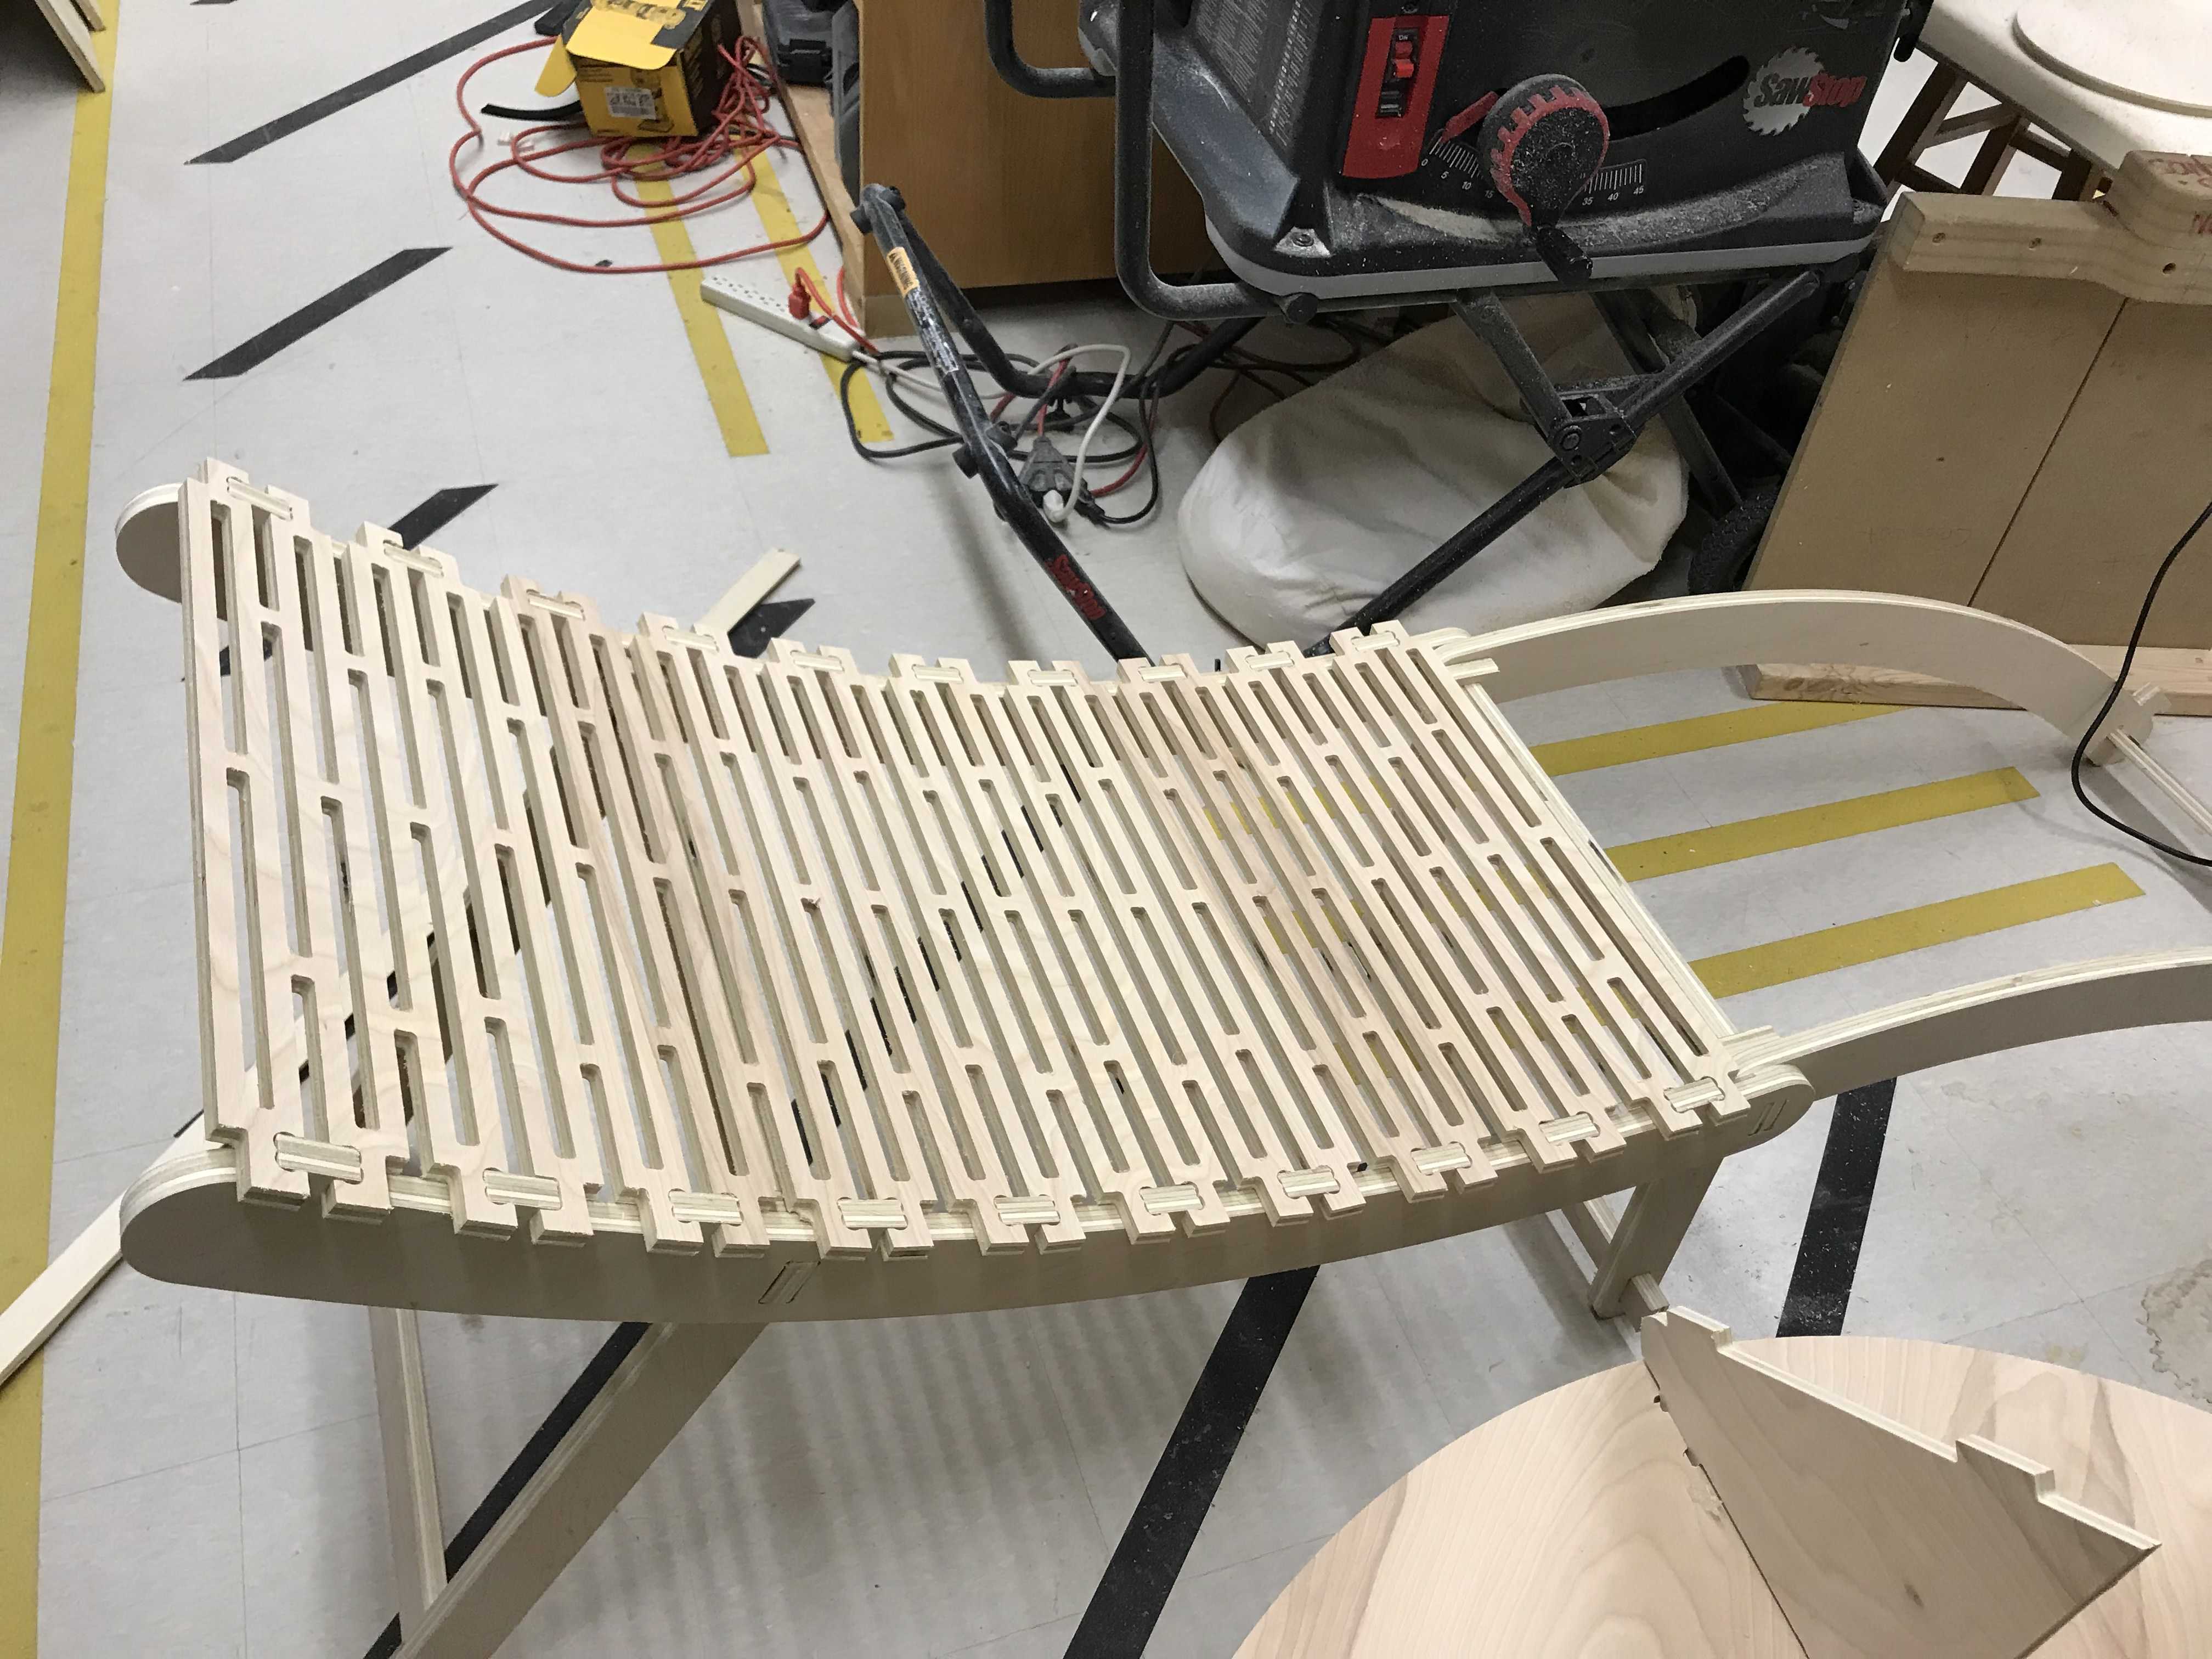
Now, I added on the living hinge and the back of my chair was fully assembled.
For the bottom half of the chair, I wanted to use another living hinge but a little more sturdy. I closed off the sides of the living hinge so that it was fully bordered by wood. However, later I came to realize that this was a bad idea.
Before that, to make this living hinge, I followed the same steps as before, using a profile cut with an inside machine vector to cut the holes and an outside machine vector to cut the oultine.
I exported this as a .sbp and cut this out on the CNC machine.

Now there was a major flaw in my design, and it was that I tried to make it more sturdy. By fully closing in the design, it was too stiff to bend enough for my chair. To fix this problem, I cut slits into the sides of the living hinge.
While this wasn’t a perfect fix, it allowed the living hinge to conform just enough for me to fasten the bottom half of the hinge to my chair with a dowel and screws.
Here is my final product:

Here are the files for this week: download
Group Project
The group assignment can be found here.