Charlotte Latin 2020 Week 7 Group Assignment
Computer-Controlled Machining
Introduction
This week our assignment was to test runout, alignment, speeds, feeds, and toolpaths for our machine. The machine that we have in our lab is called the Shopbot Alpha which has a bed size of 96 x 48.
Workflow
We used this workflow for our CNC machine throughout this week. This workflow was made by our teacher, Mr. Dubick.
Definitions
| Term | Meaning | |
|---|---|---|
| Runout | a rotation inaccuracy which occurs when the tool is no longer aligned with the main axis. In drilling applications, this can result in a bore diameter that is actually larger than the drill’s nominal diameter. | Source |
| Alignment | Orienting the z axis and setting the origin for the x and y axis in order to differentiate which object is the base vector or reference object. | Source |
| Speeds | Speed refers to the surface speed that the cutting edge of the tool is moving and is needed to calculate the spindle RPM. Speed is measured in Surface Feet per Minute (SFM). | Source |
| Feeds | Feeds specifically refers to the feed rate the tool advances through the material. It is how fast the physical tool is moving across the material. This is generally measured in Inches per Minute (IPM). | Source |
| Toolpaths | The path through space that the tip of a cutting tool follows on its way to producing the desired geometry of the workpiece. | |
| Chip Load | The chip load is a measurement of the thickness of material removed by each cutting edge during a cut. This is a valuable piece of information that can then be used to calculate new set ups. The calculation is as follows: Chip Load = Feed Rate (inches per minute) / (RPM x number of flutes). Example: Chip Load = 500 inches per minutes / (15,000 RPM x 2 flutes) Chip Load = .017". | Source |
Measuring
Before beginning our tests, we first had to warm up the spindle. We did so by:
- Turning on the machine
- Opening the ShopBot software
- Clicking 'Move/Cut' as opposed to 'Preview'
- Selecting [C]uts -> Spindle Warmup (or **C5**)
- Pressing the green Start button to start the spindle
Runout
We used this link to see how to measure runout before we started. Measuring runout required using a tool called a dial indicator. Here is a video that helps visualize how this process will go.
To measure this, we will use a dial indicator. The steps for using the dial indicator are as follows.
- Put the bit upside down in the collet and lightly tighten it using your hands. You do not want to break the flutes on the bit.
- Fix the dial indicator to a stand
- Lightly brush the dial indicator to the upside down bit and zero your dial indicator.
- Slowly spin the collet while recording the highest and lowest values on the dial indicator.
- The difference between these is the runout.
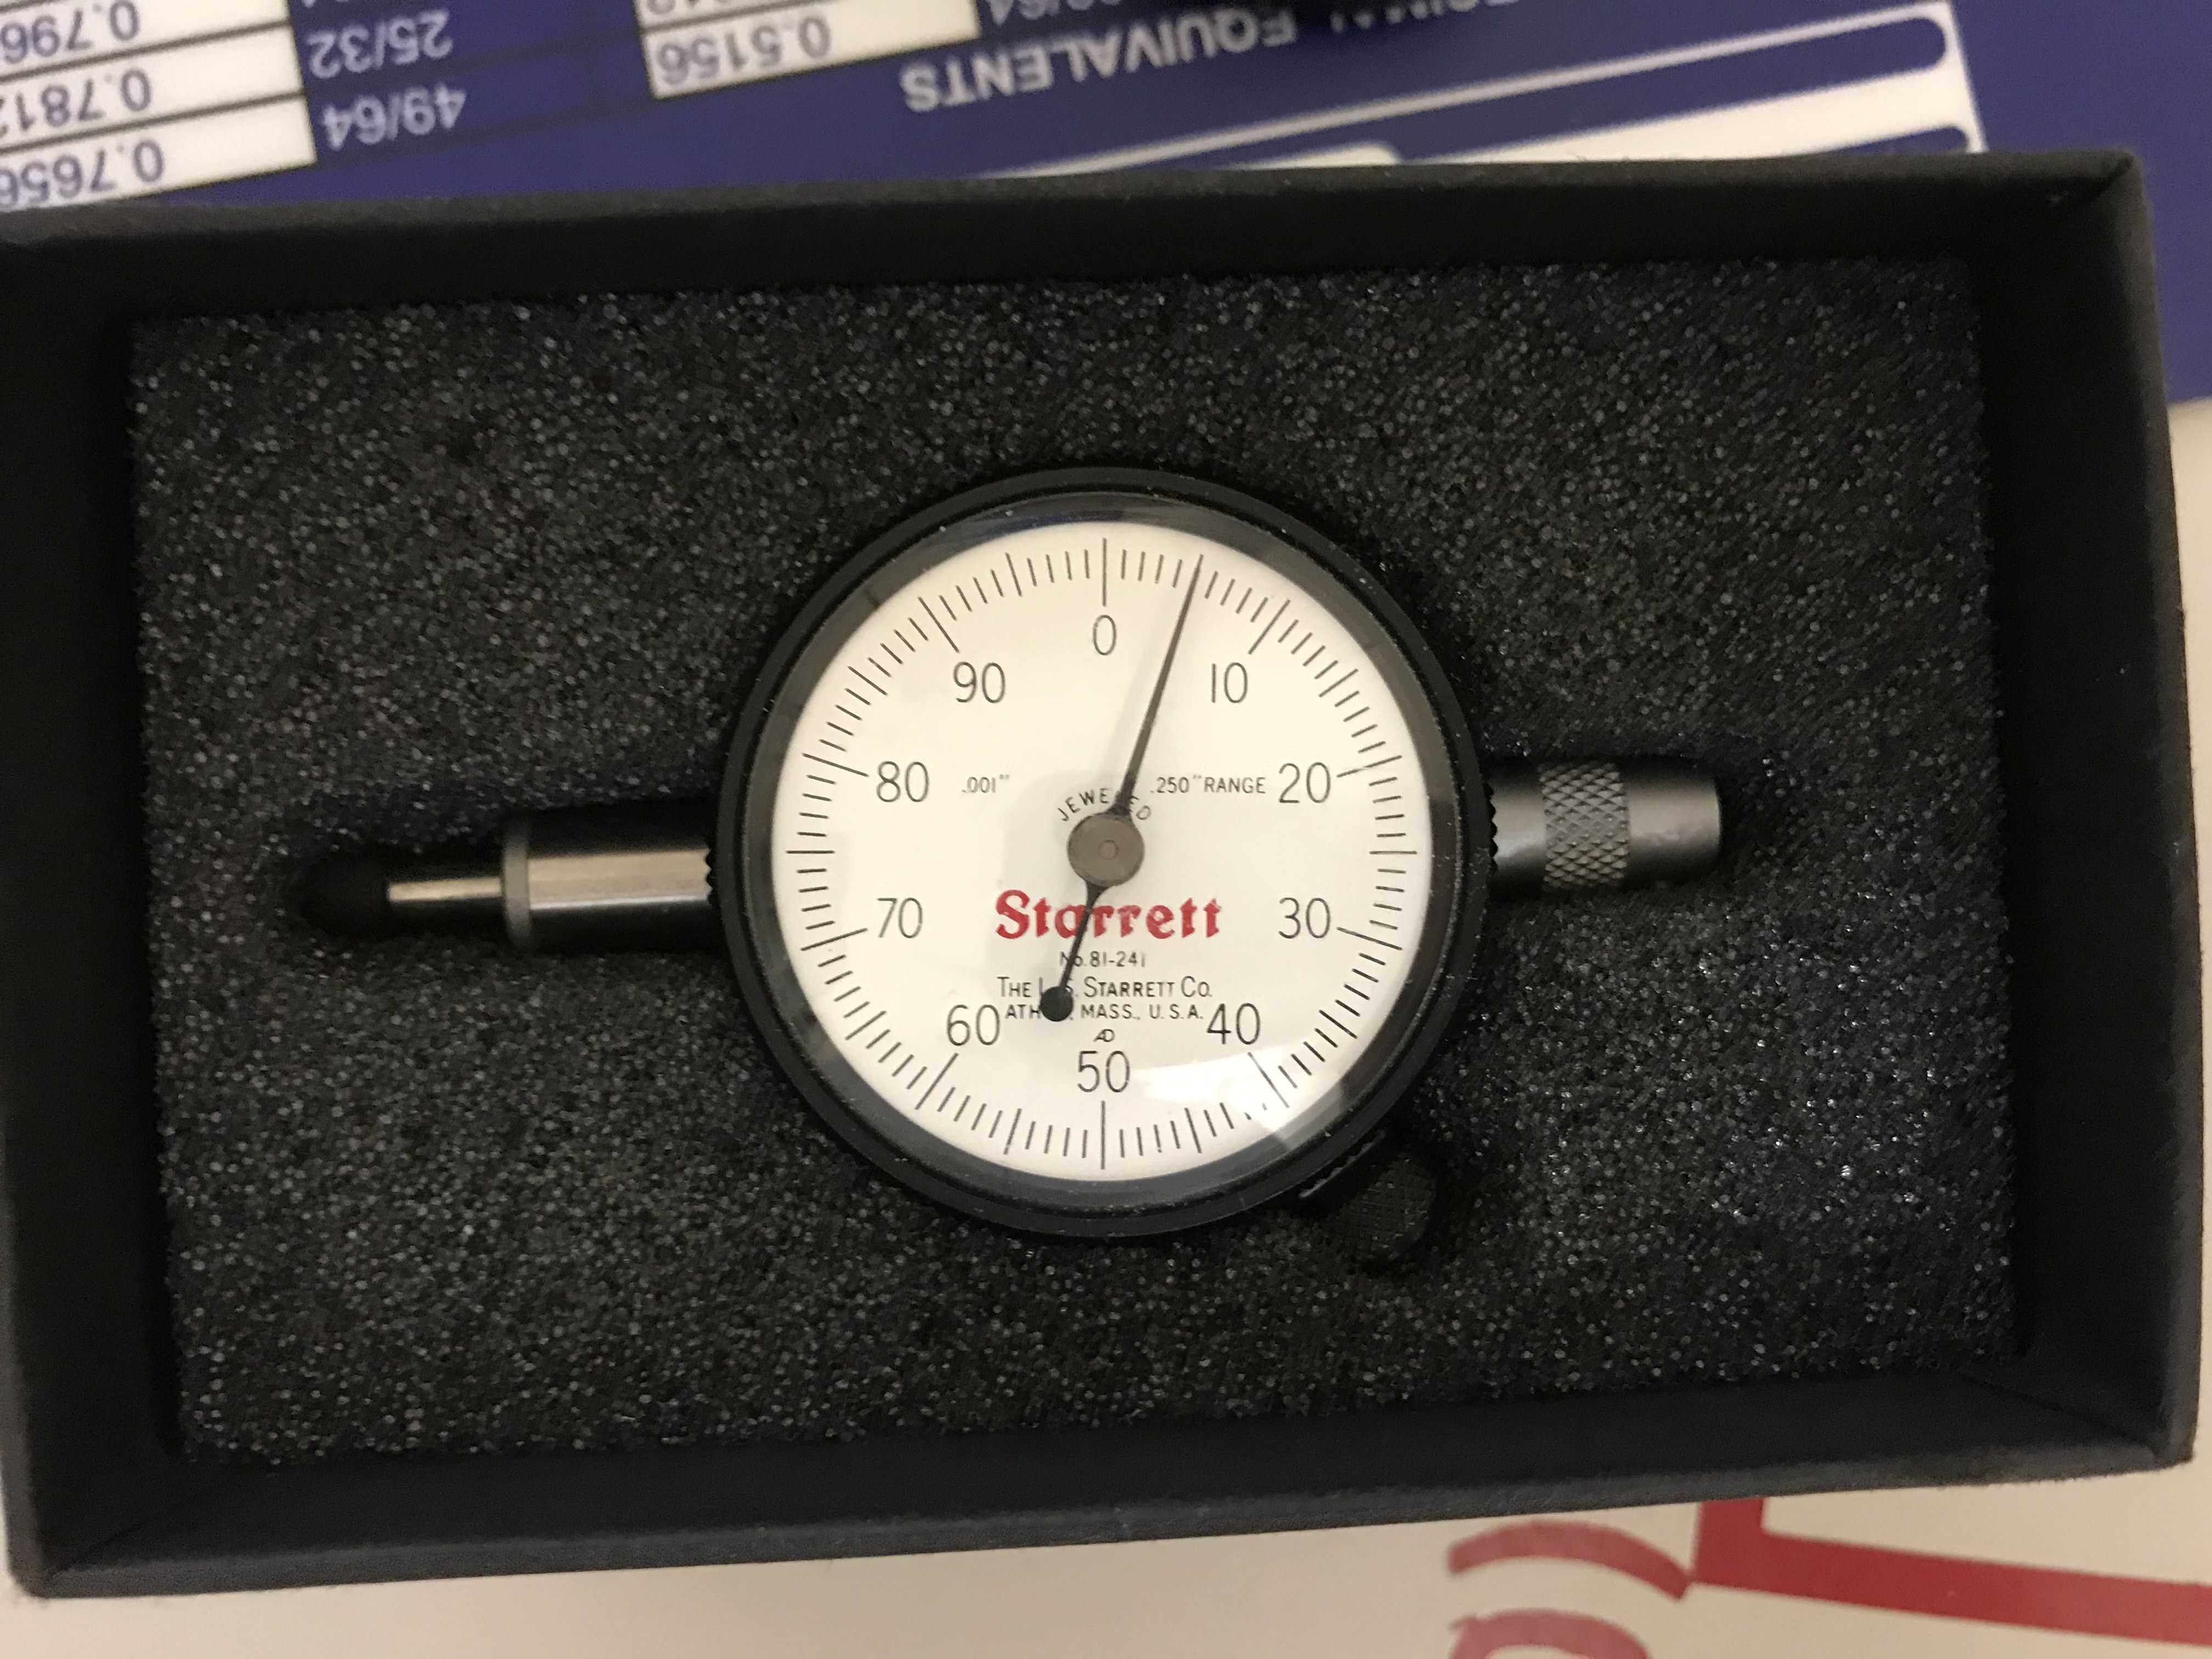
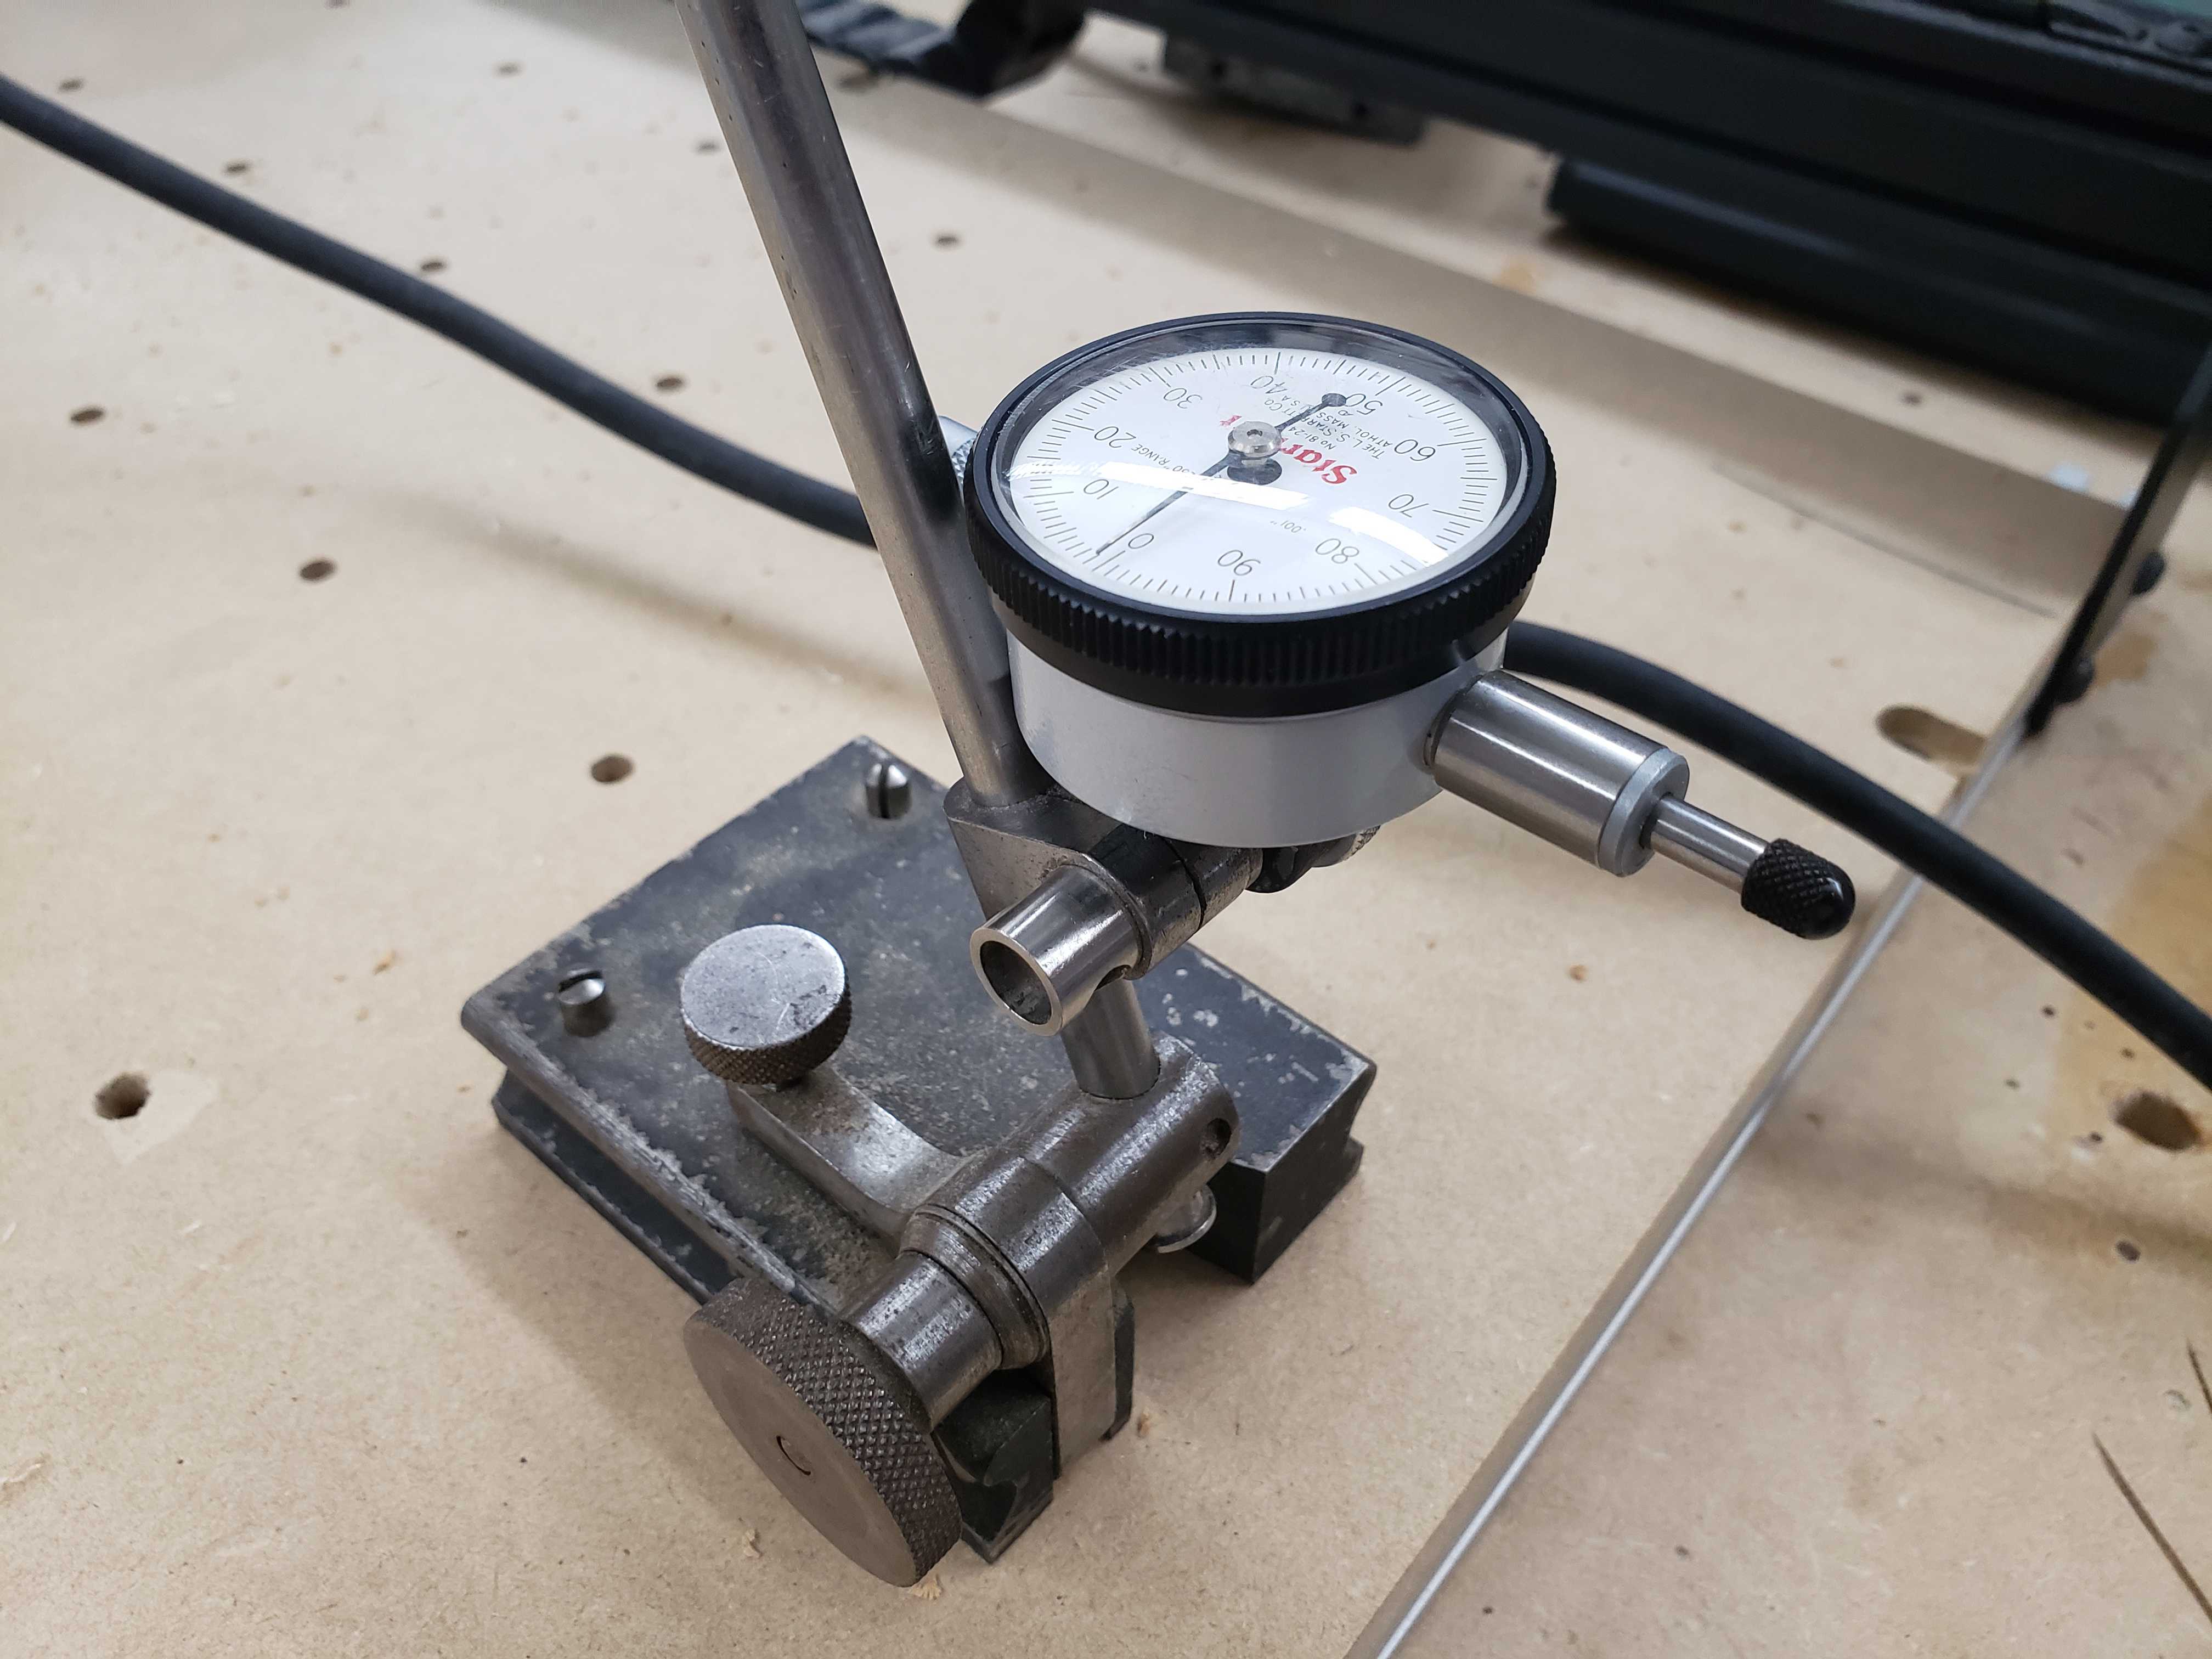
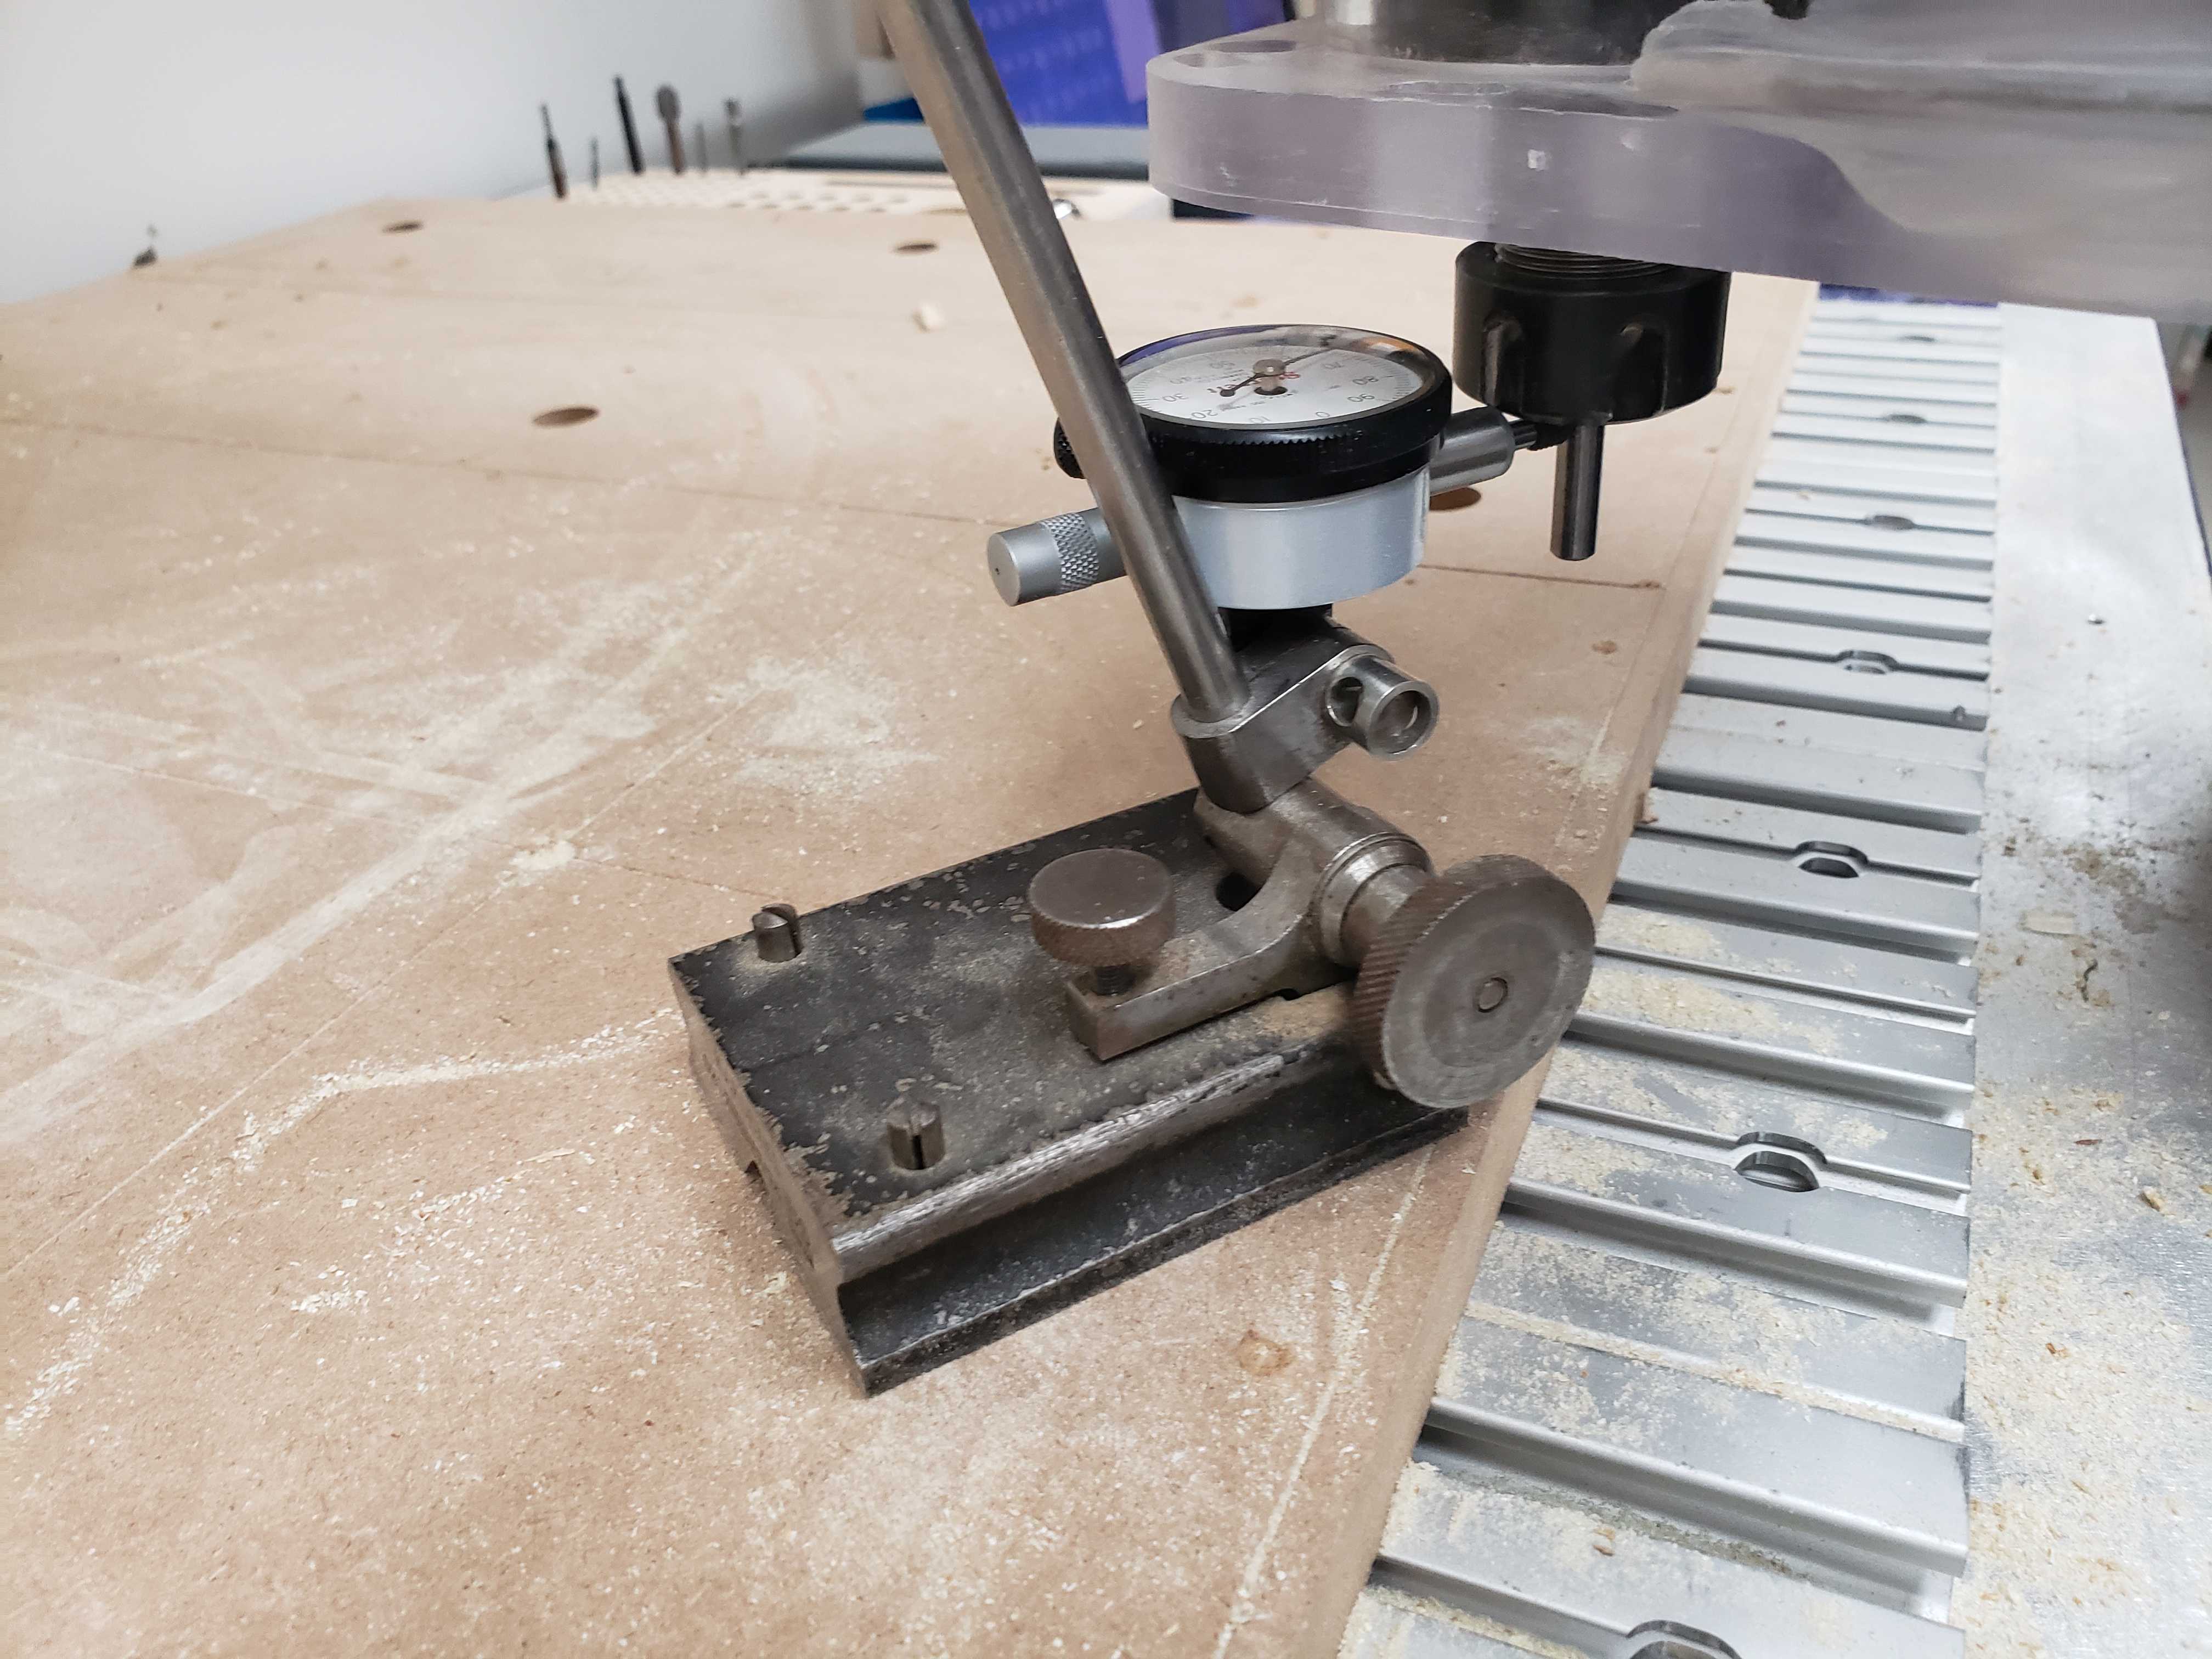 We calculated that the runout for the big Shopbot is 1/3000” and the small Shopbot is 1/2000”.
Alignment
The shopbot provides two very useful commands to align its axes. The command C3 will home the x and y axes of the shopbot, utilizing proximity sensors to accurately position itself. The command C4 will home the z axis with the assistance of the z plate. First plug the z plate in and place it directly under a bit inside the shopbot. Once you are ready to home it, press C4.
Speeds and Feeds
Shopbot provides a speeds and feeds chart. We used this to see how to measure speeds and feeds. These were the steps they provided for optimizing feed rates and speeds:
- Start off using an RPM derived for the chip load for the material being cut (see charts).
- Increase the cutting speed (feed rate) until the quality of the part’s finish starts to decrease or the part is starting to move from hold downs. Then decrease speed by 10%.
- Decrease RPM until finish deteriorates, then bring RPM back up until finish is acceptable.
- This optimizes RPM and speed to remove the largest possible chips.
Toolpaths
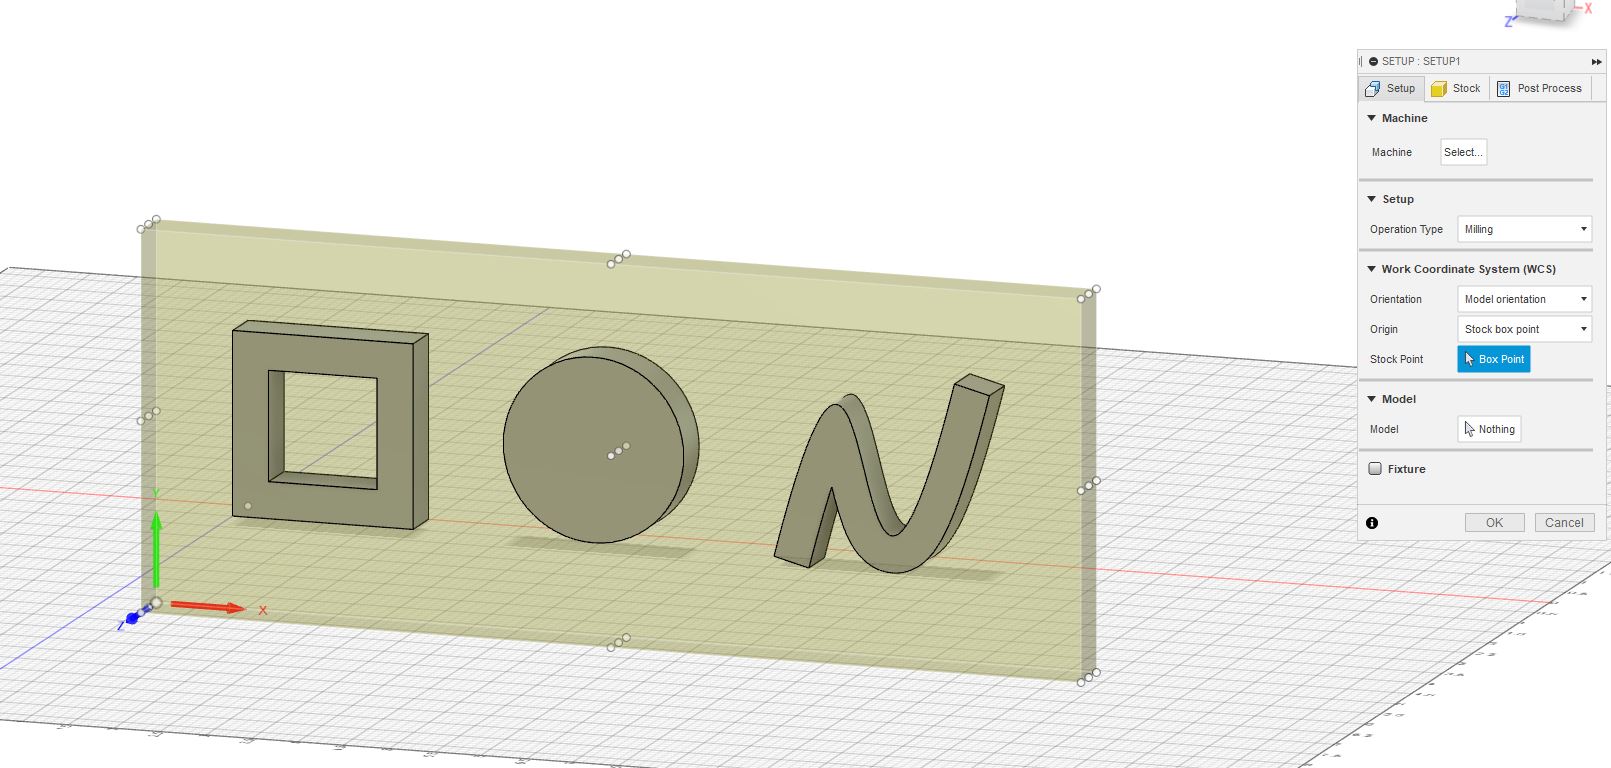
We first made four designs that would test different design capabilities of the CNC on the XY plane. First was a square outline to see the effects of cutting inside and outside a line. Then a circle to see how smoothly the mill could cut curves. The third squiggle shape would test the mill’s ability to mill sharp corners, as well as curves.

Then we used Aspire to make the toolpaths.
When cutting the files on the Shopbot, we encountered several errors.
First, the wrong origin (or datum position) was used in Aspire, so when the Shopbot began the aircut, it went the wrong direction and the machine stopped abruptly. We were unable to use C3 to send the Shopbot to its home position because it has gone too far out of its “proximity zone” and the origin was completely messed up. Thus, we had to manually move the axes so they were within the zone, and then re-home all three axes.
Second, the X and Y axes were rotated 90 degrees from what we thought they were, so the spindle started trying to mill off the board. To fix this, we rearranged the shapes on the file.
This is what the cuts looked like:
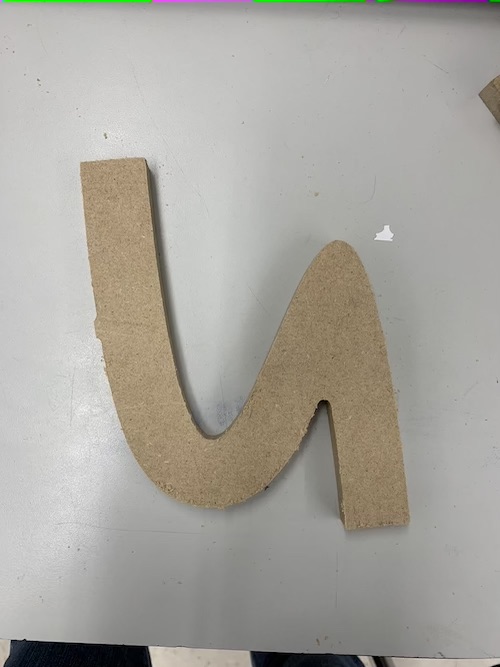

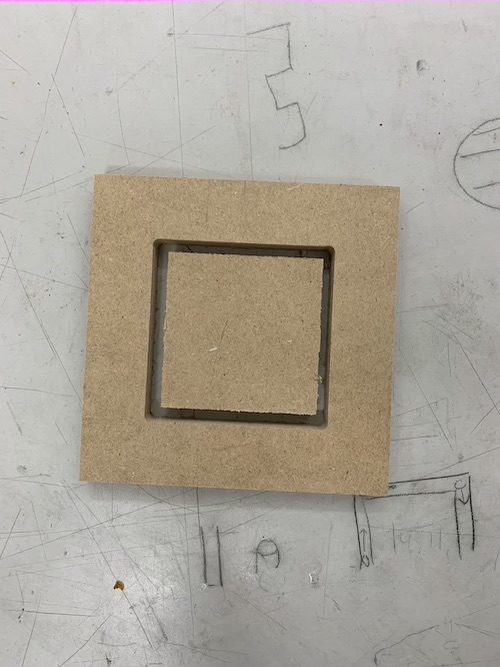
The Shopbot cut the circle and squiggle well. We also cut the square with the dogbone tab on the inside to show how the Shopbot would perform. Additionally, we cut several rectangles of different sizes to calculate the joint clearance or kerf.