2. Project management
This week I worked on starting to getting used to the documentation process.
Signing the Agreement
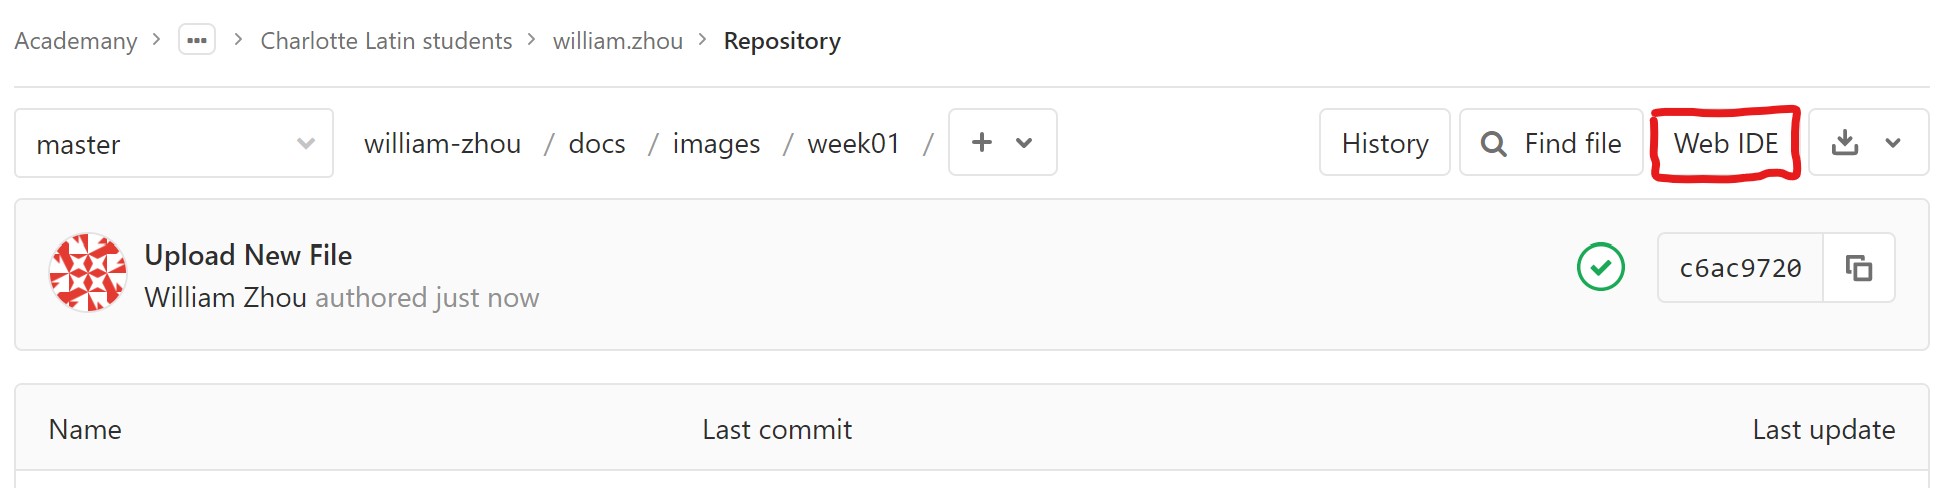
We were first introduced to GitLabs and allowed ourselves to familiarize ourselves with the website. Using GitLab’s useful Web IDE, we were easily able to access and edit files within our repository.
Before we did anything else, we signed the FabAcademy student agreement by accessing agreement.md and pasting in the student agreement. For this change to take into effect, we had commit to something called the master branch and not create a new separate branch.

Exploring Markdown
On the second day, we were left alone to explore and customize our websites using Markdown. Markdown is a very simple language that is used for website development. In my case where I have no prior experience in creating websites, Markdown gives me a baseline for what my website should look like. I utilized the documentation for MkDocs in order to help guide myself on how to code with Markdown. A FabAcademy graduate recommended that we change the theme of our websites and I accepted his advice. First, I stuck with the material theme and explored around with it, changing the color palette of my website to amber, and changing the font.
mkdocs.yml:
  theme:
    name: material # Theme Name
    palette:
      primary: "amber" # Primary color
      accent: "amber" # Accent
    font:
      text: "Gentium Book Basic" # Font
requirements.txt:
  mkdocs
  mkdocs-material
  # python package goes here
The pipeline was very useful in allowing me to see every commit I make and whether it is pending or has been completed.
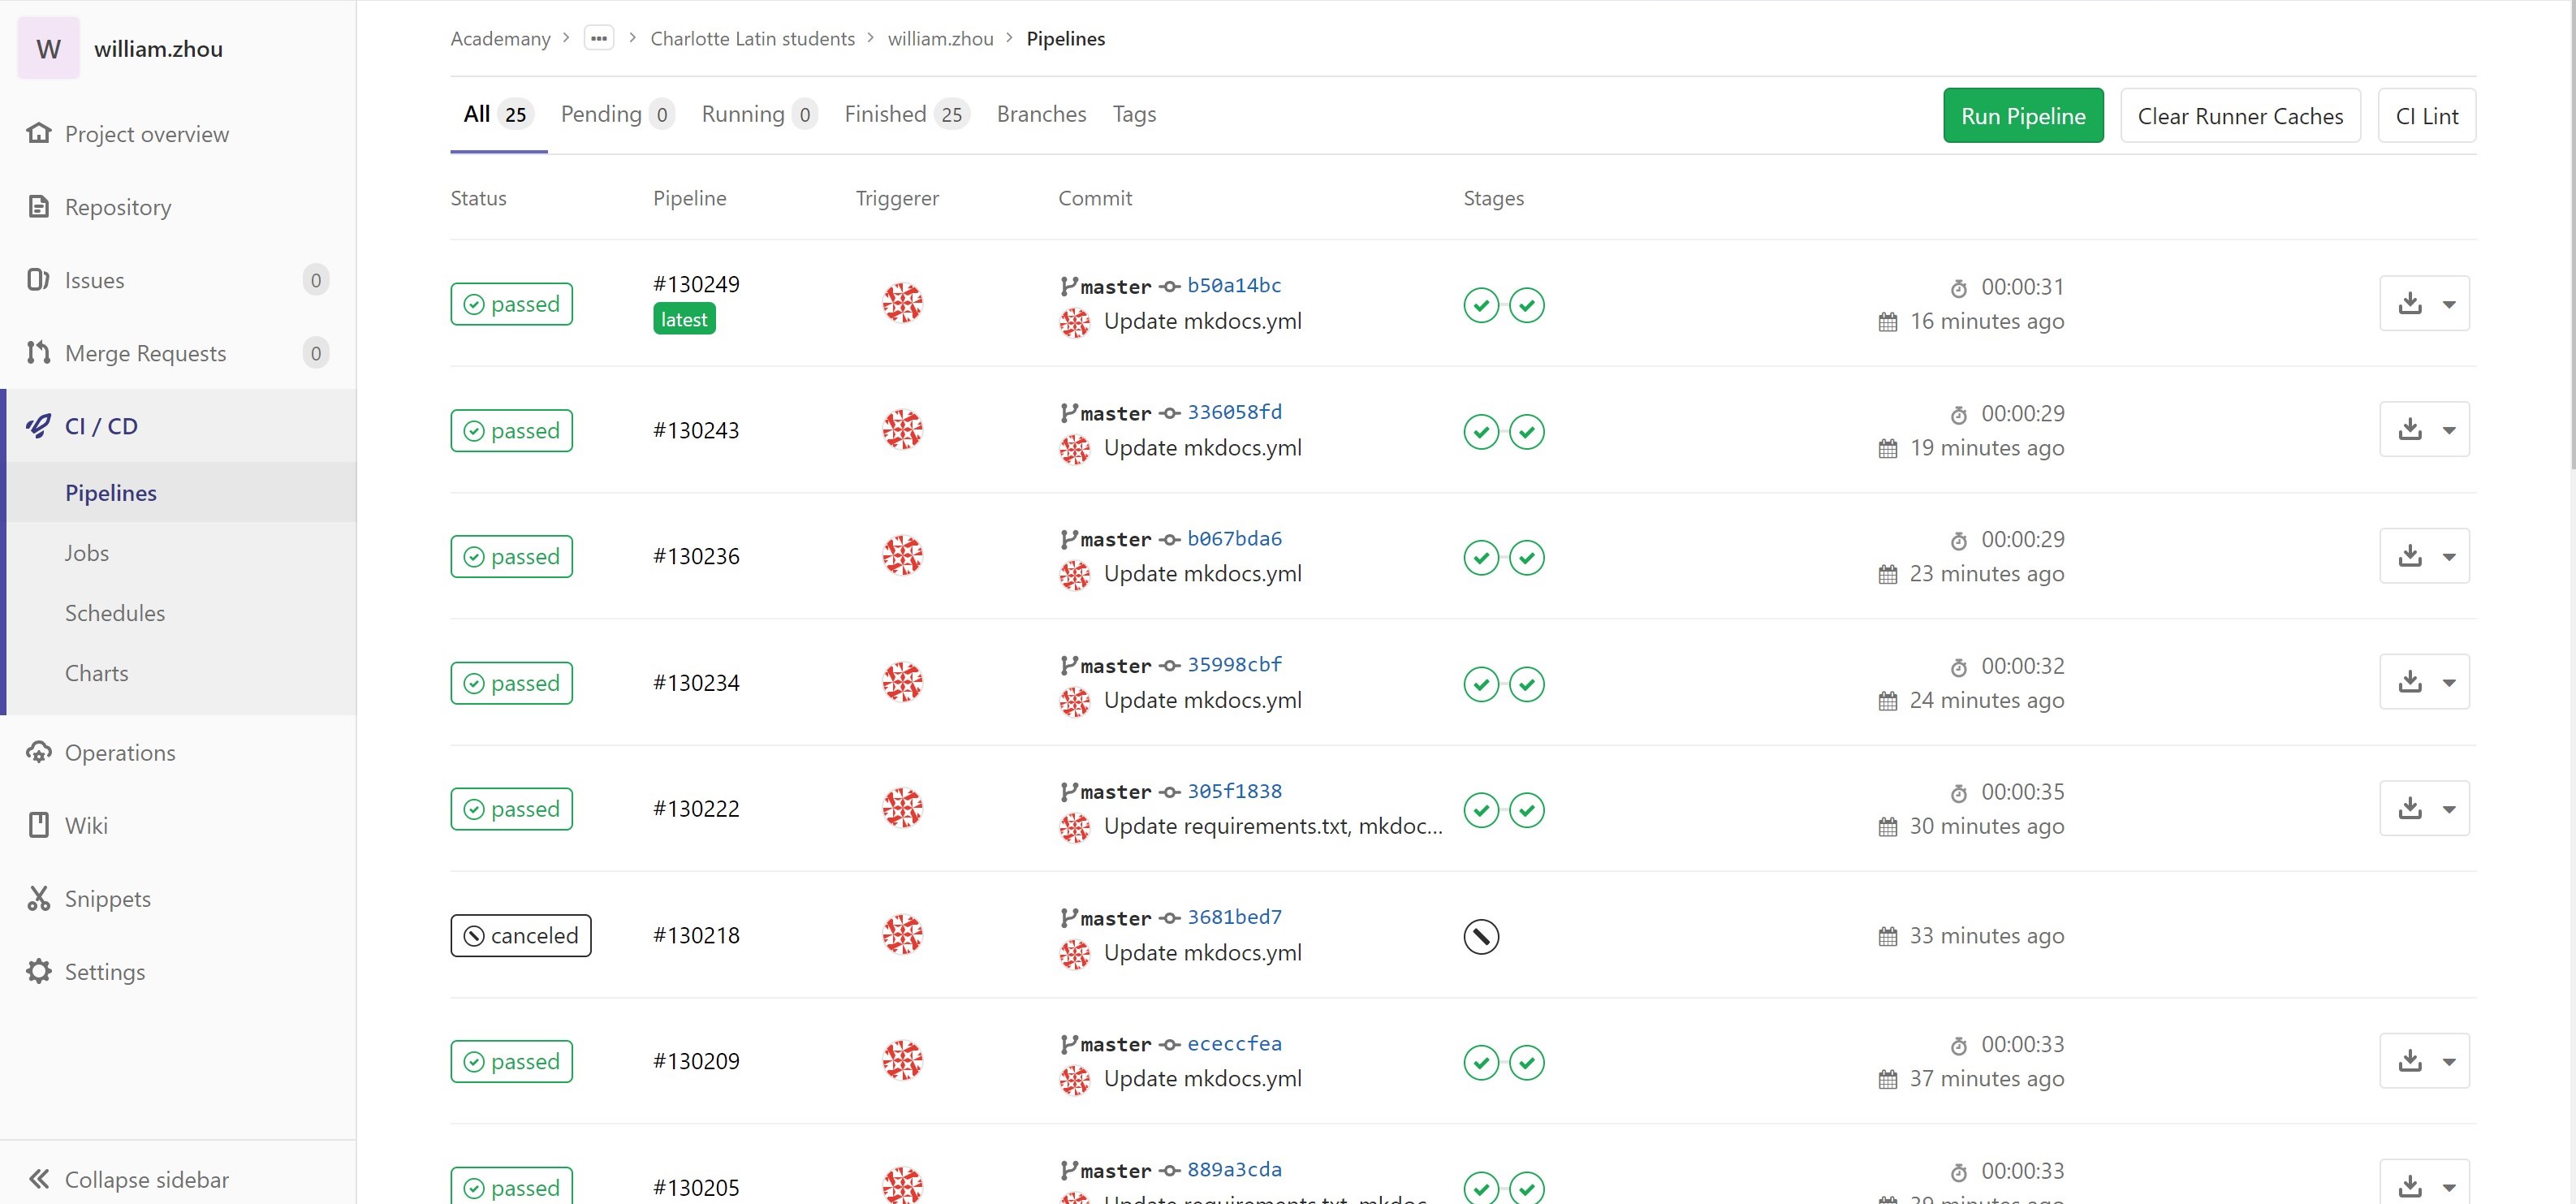
This is an example of version control where every change to your code is documented and is one of the sole reasons why people use Git. Originally, Git needs a bit of installation and setting up, however, GitLabs provides users with a friendly interface that ignores all that hassle.
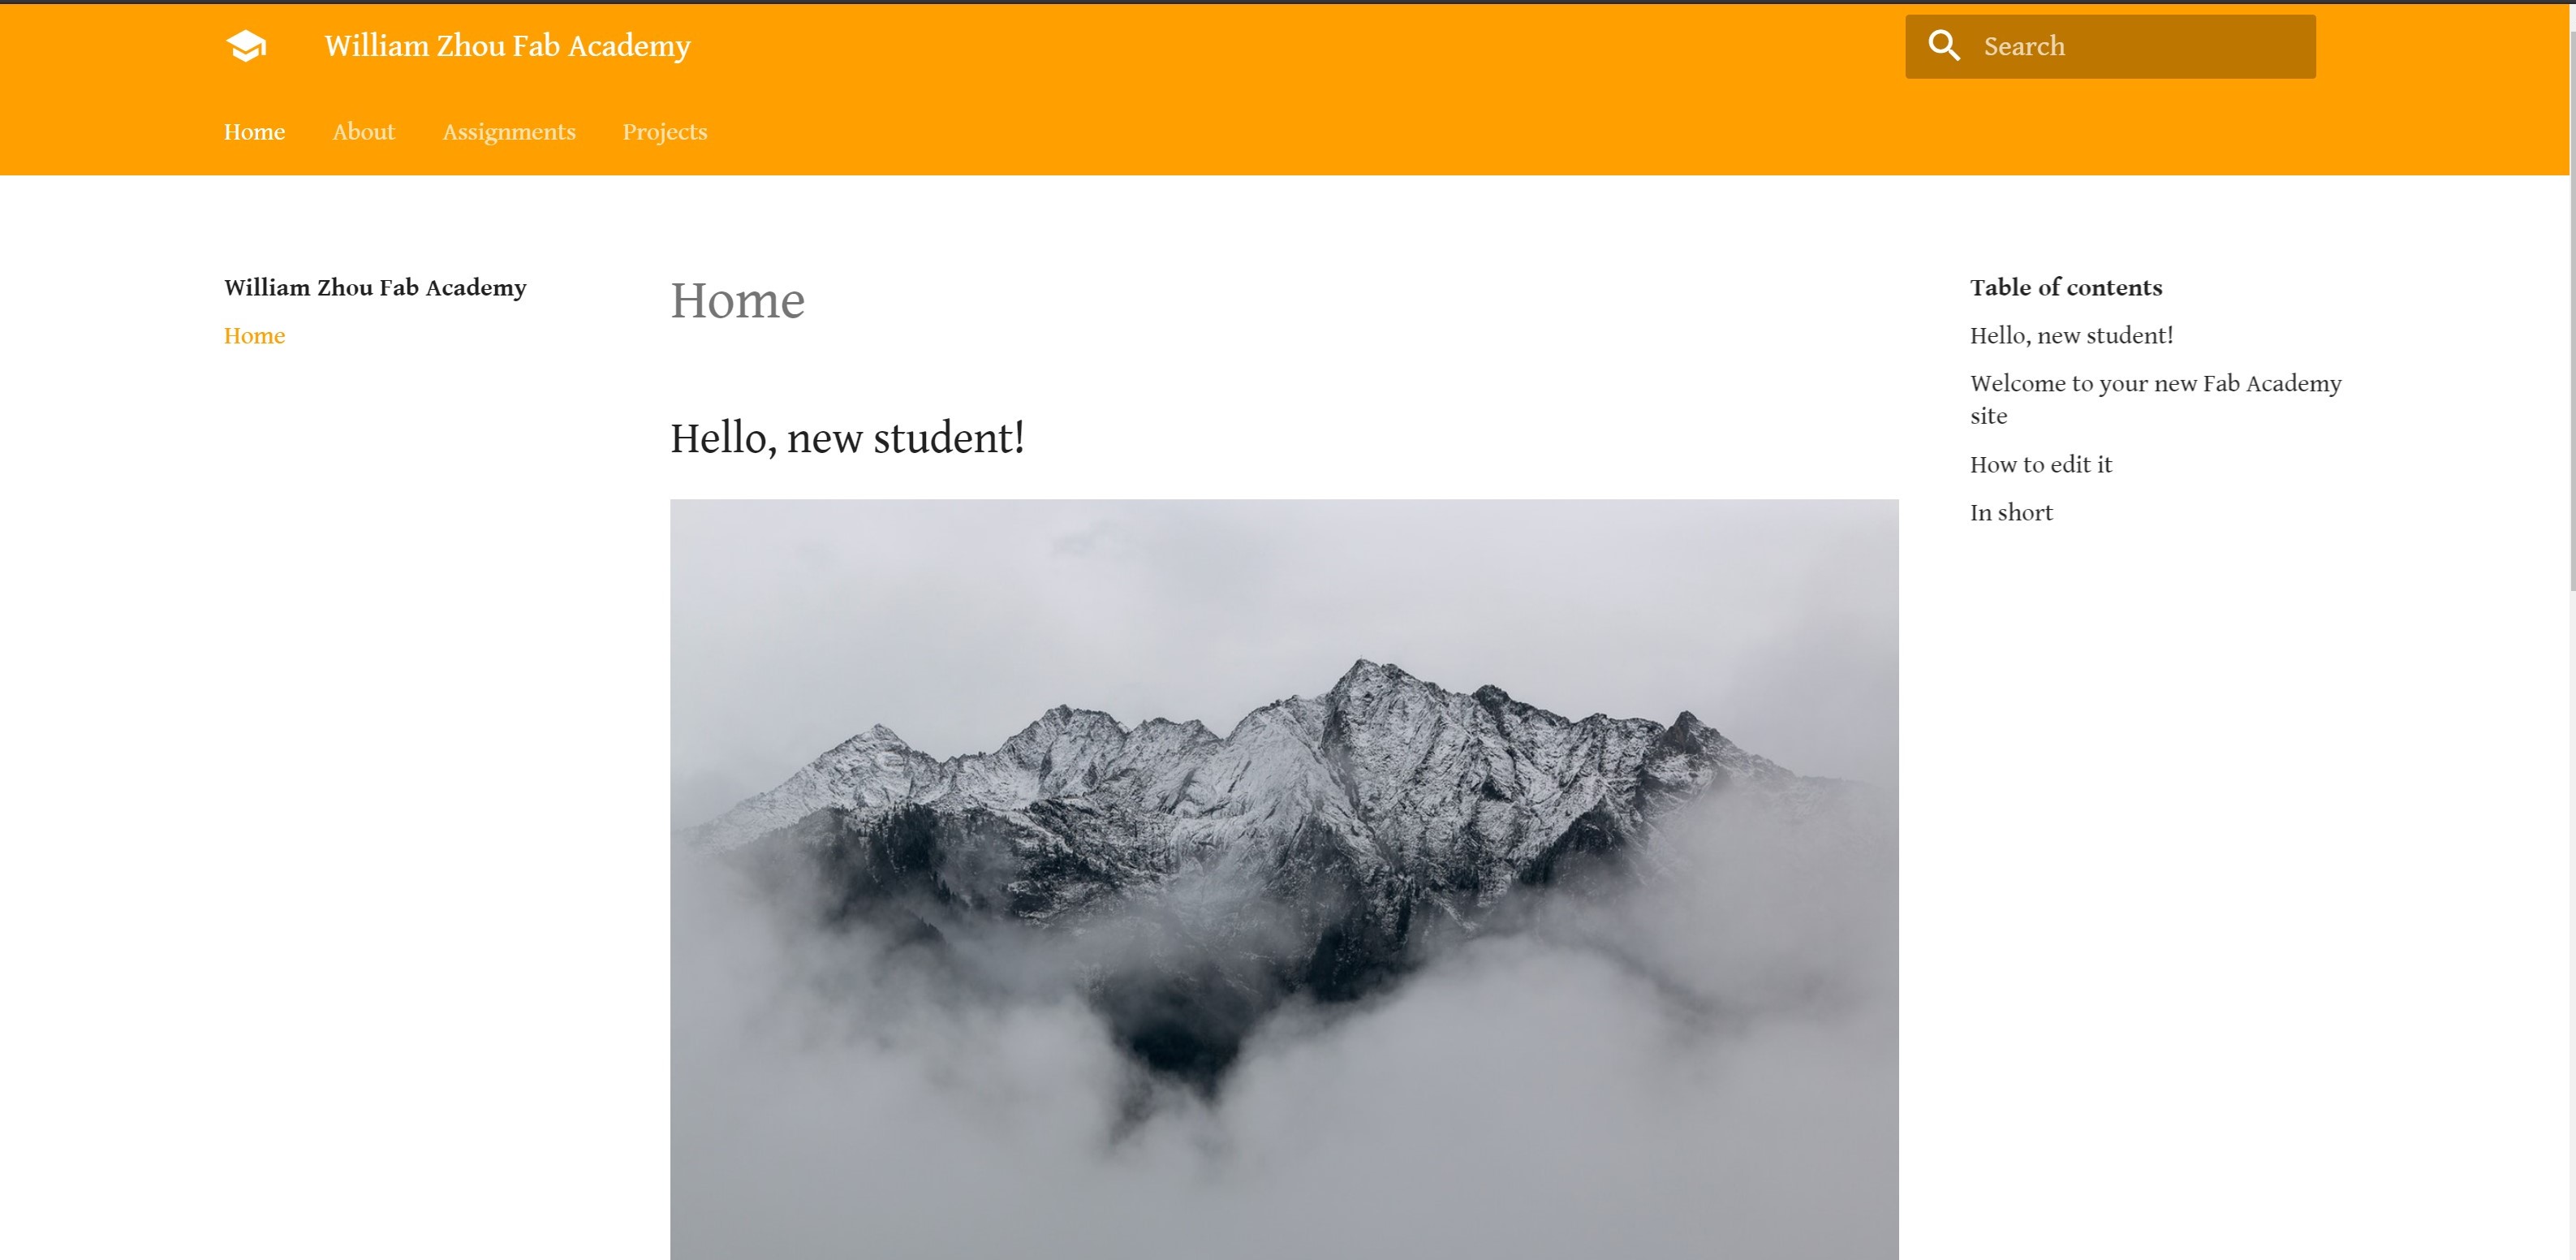
This is what my website looked now:
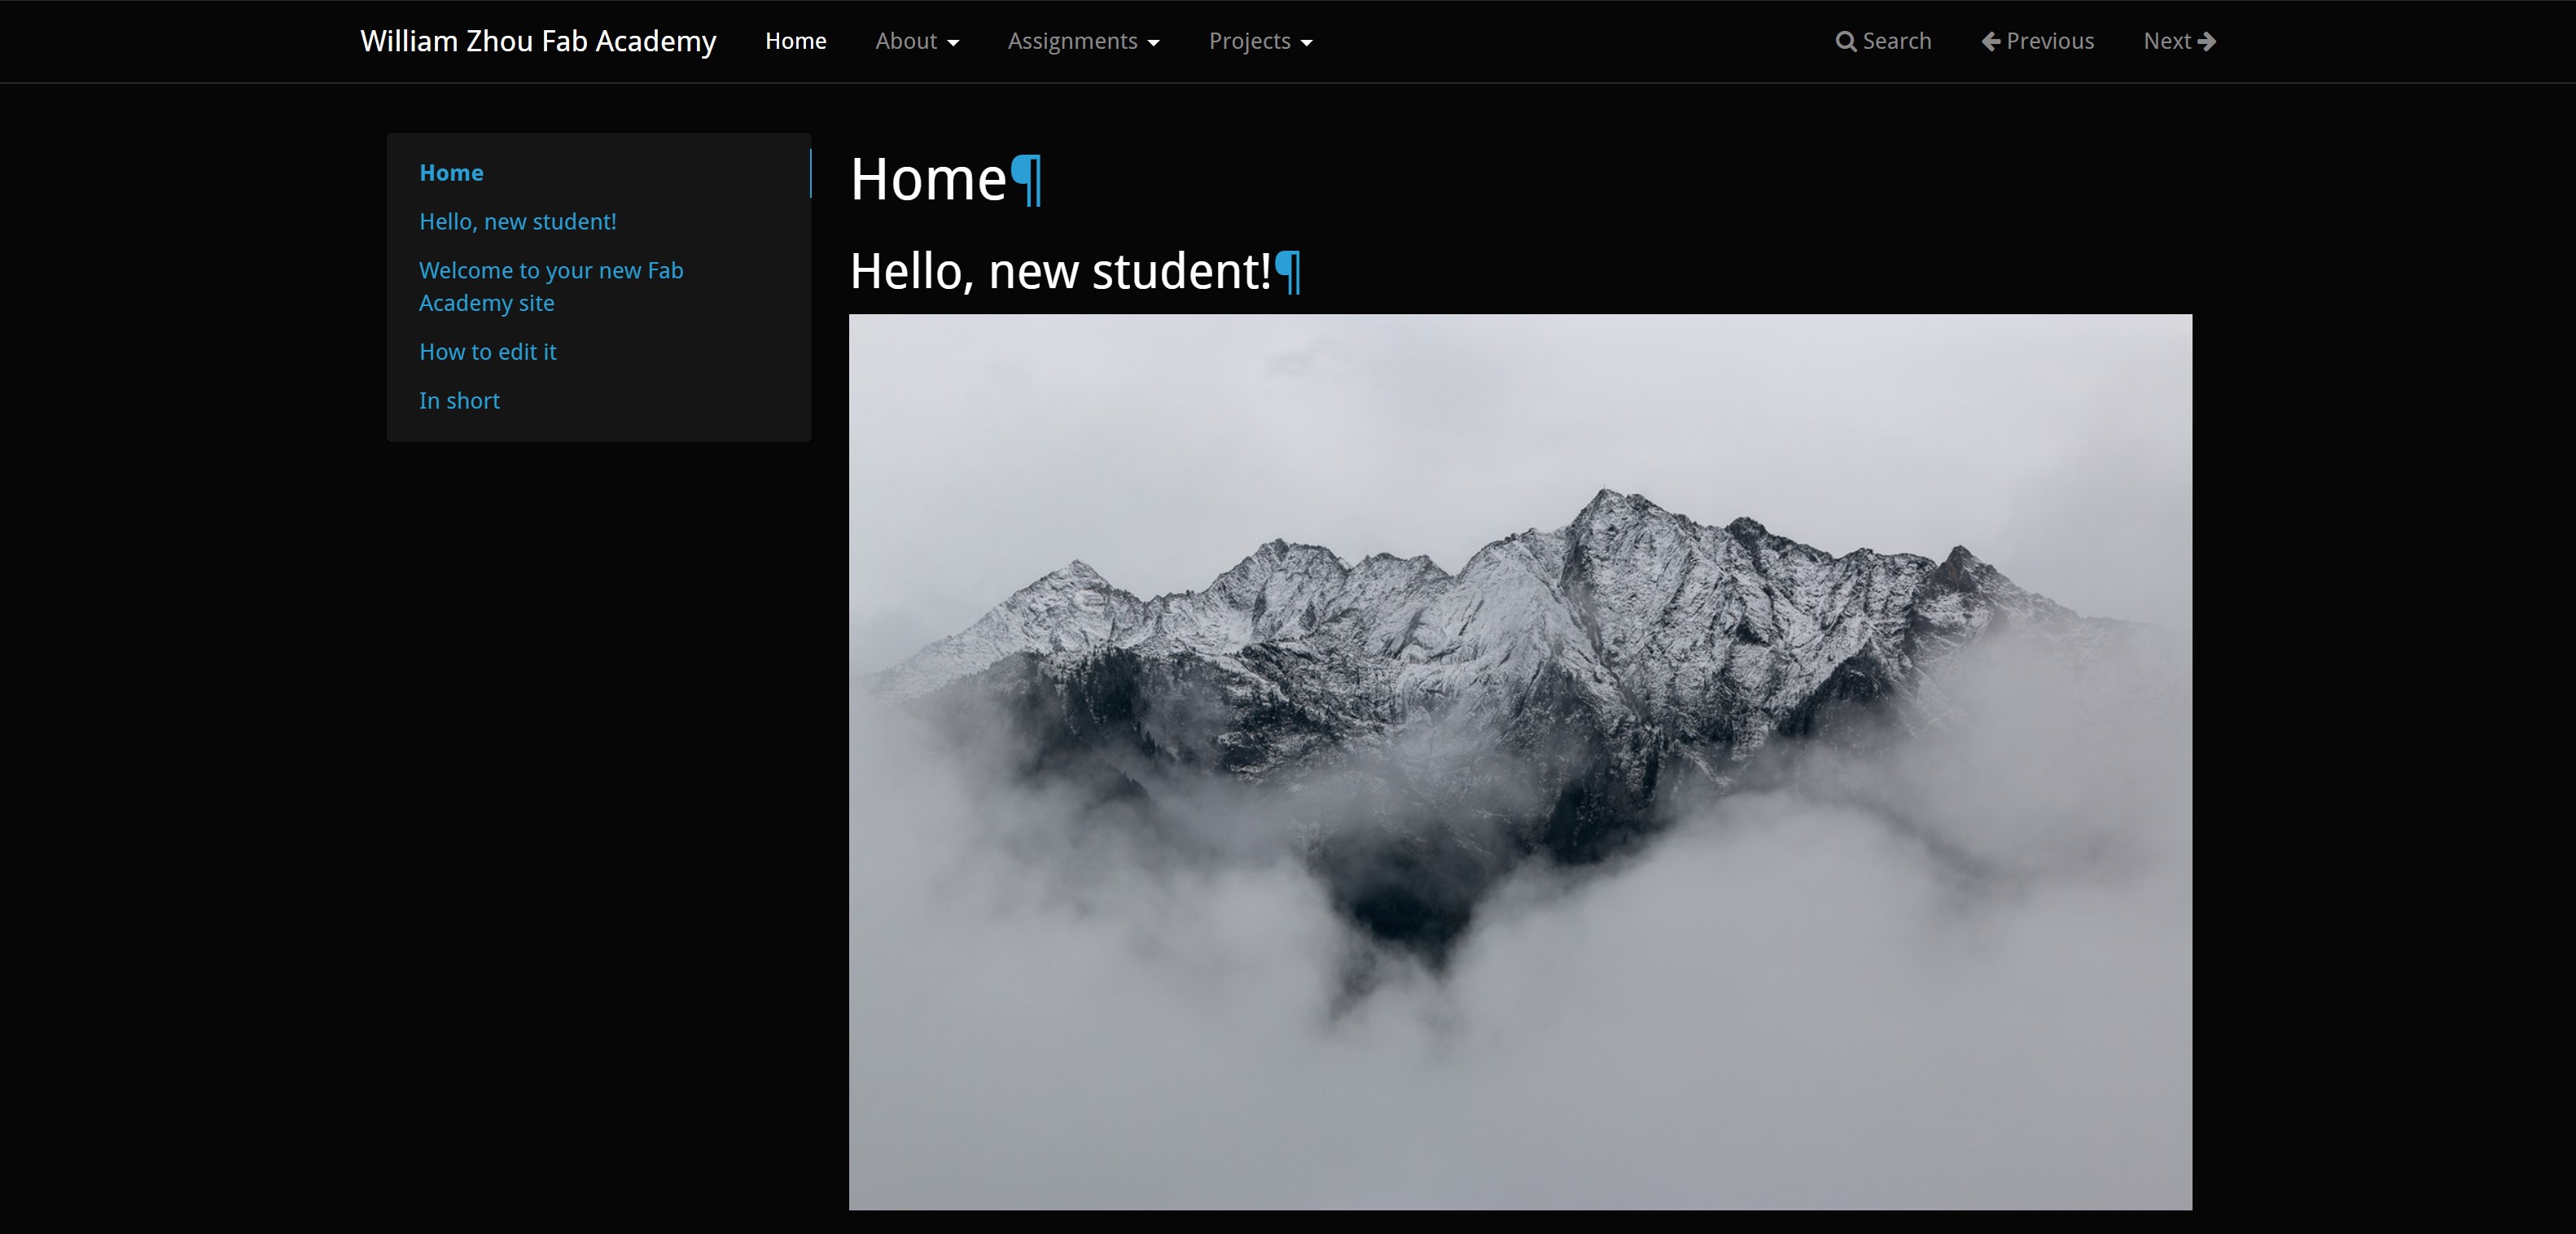
To get a bit of variety in my website, I tried using one of the bootswatch themes by importing mkdocs-bootswatch in requirements.txt and changing the theme to cyborg.
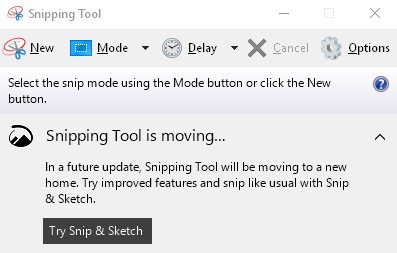
It looks good but now we have to document this. When documenting, screenshotting is a must when trying to get an image of what you are doing. On Windows machines, you can use the Windows Key + Shift + S to use the new screenshotting tool as the original snipping tool is being deprecated.
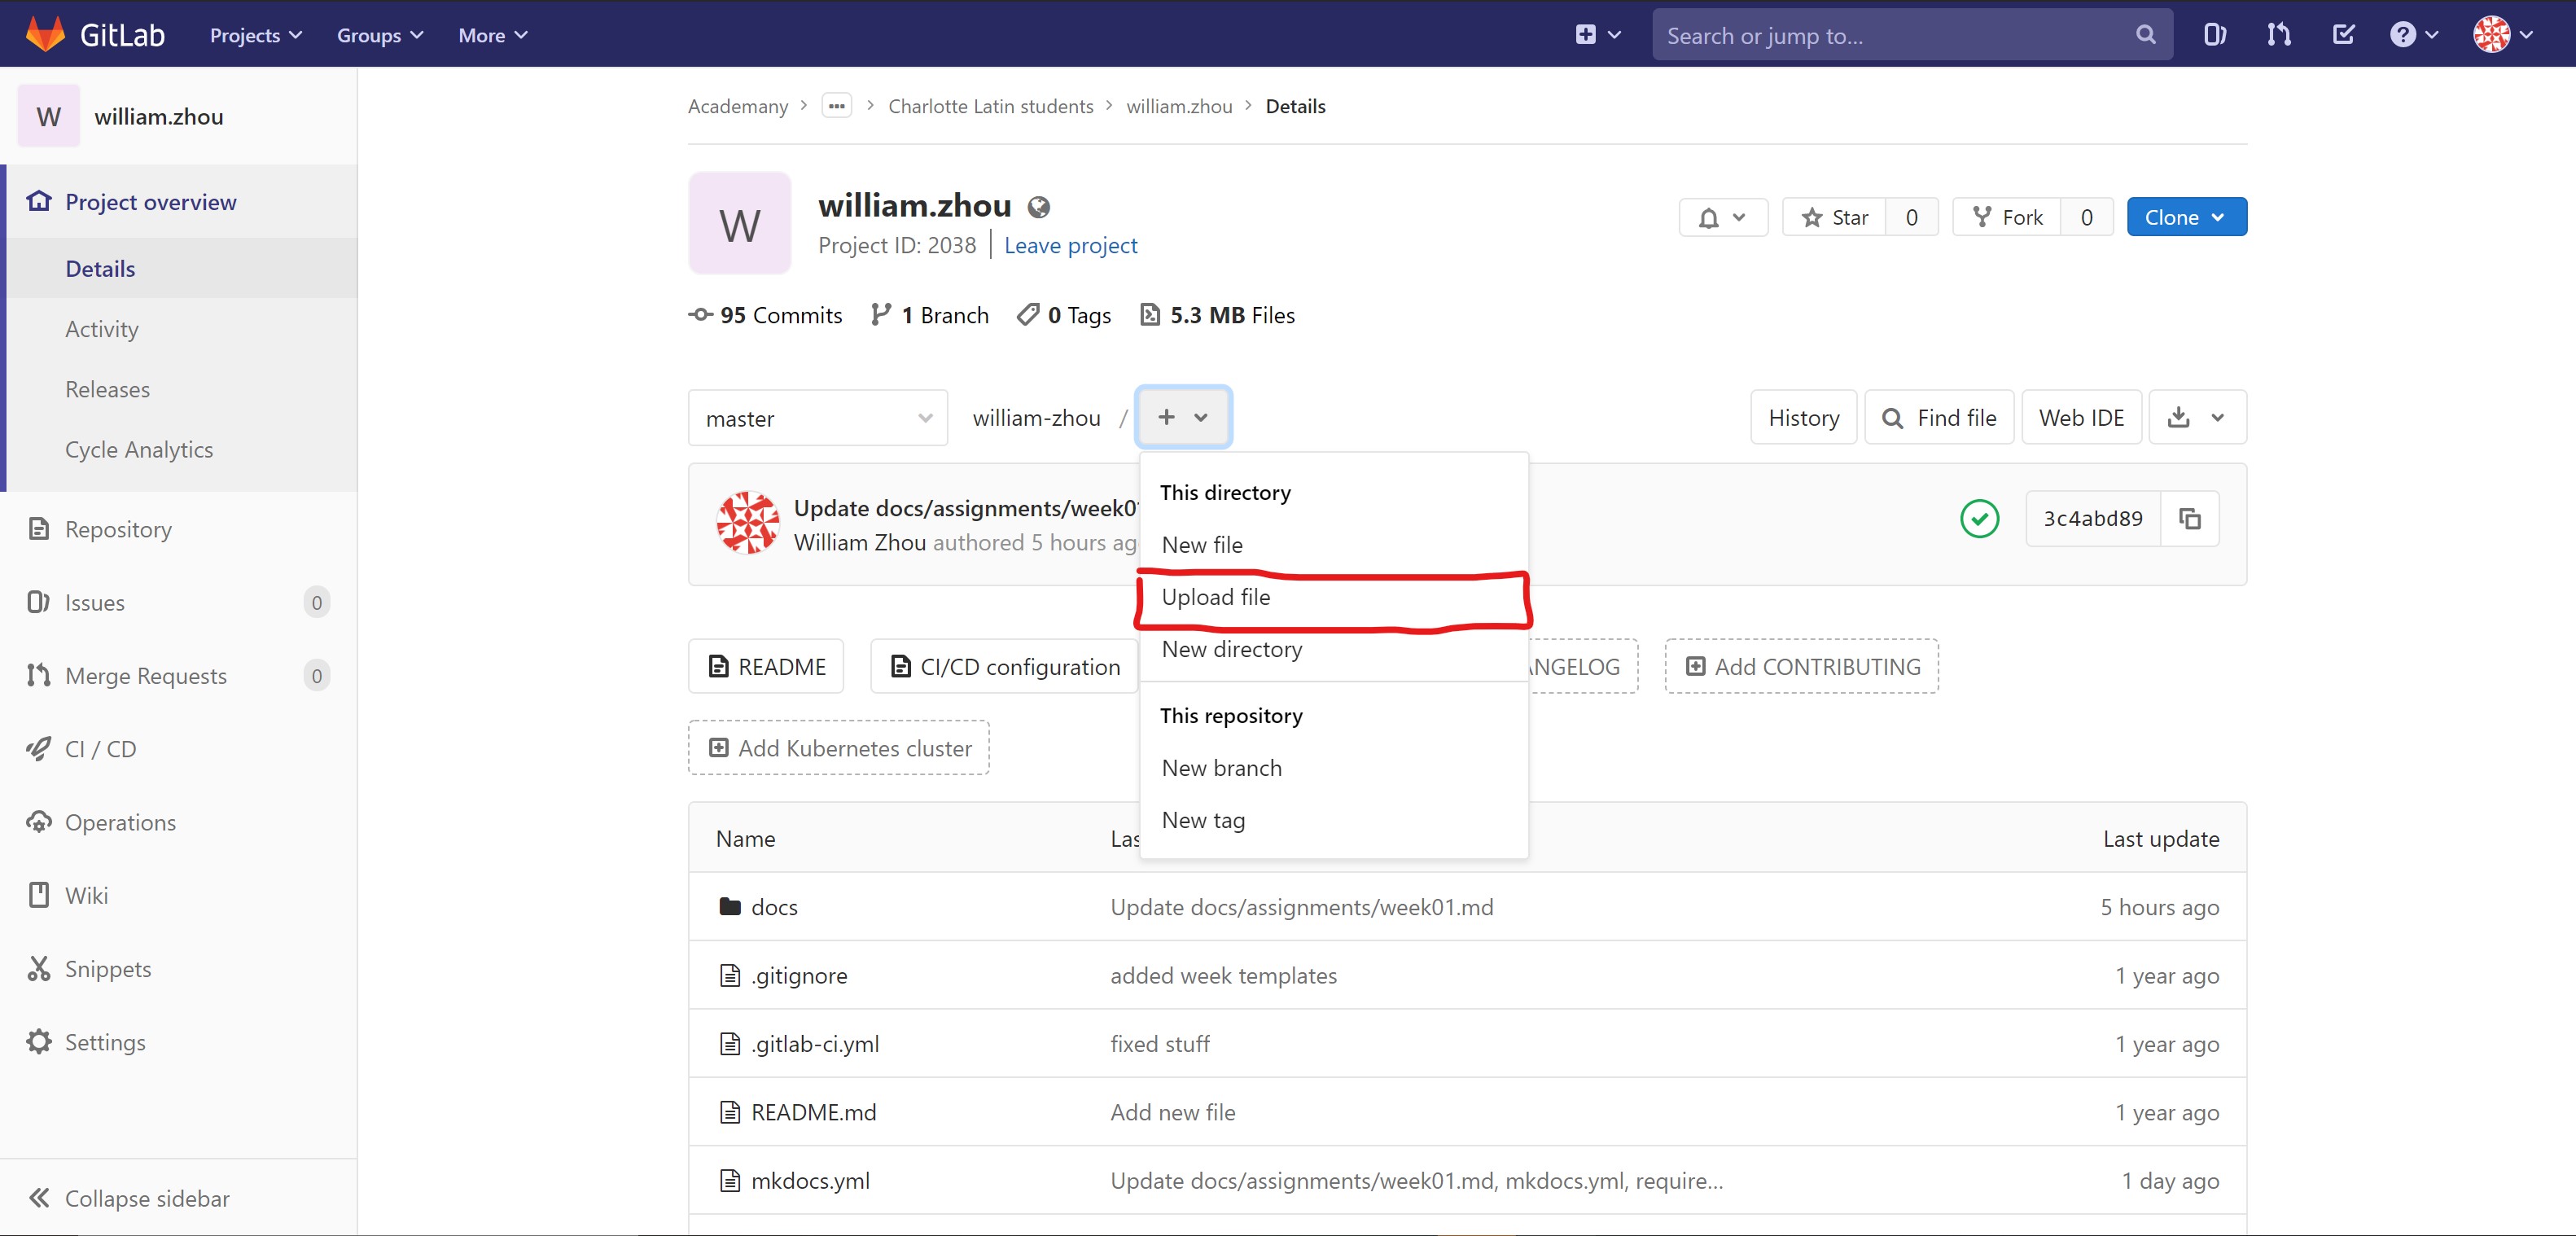
Now, I need to be able to import images into our website. First, I had to upload my images as a jpeg into the images directory so that I was able to access the file within GitLabs. Once it was uploaded, to display the image I added ![] and then the file path of the image. For example, If I wanted to use an image named GitLabs_WebIDE.jpg, I would use this:

Importing the image or file into the repository is simple. After navigating to the desired repository for your image, select the + dropdown besides the file path and click upload file.
Setting up your SSH key
Eduardo Chamorro provides a simple starter guide on how to add an SSH key and set up Git. Git is a way for users to track changes to files that they may upload to their repositories. By checksumming every file, Git will display every change a user has made to a file no matter how small or abundant it may be. This can be especially useful for larger groups where each person may edit the code in their own fashion.
The SSH key allows for a computer to create a secure connection between itself and GitLab. Since I am using a Windows machine, I downloaded GitBash which emulates a Unix style command-line environment.
Next, I used these commands to generate an RSA key pair:
git config --global user.name "USERNAME" # Adds your Git username

git config --global user.email "EMAIL" # Configures your email

ssh-keygen -t rsa -C "EMAIL" # Generates the RSA key

cat ~/.ssh/id_rsa.pub # Once you have a key, use this command to display your keygen.

clip < ~/.ssh/id_rsa.pub # Use this command to copy your keygen to clipboard
Paste your keygen into the SSH Keys tab in your GitLab settings and click Add Keys.
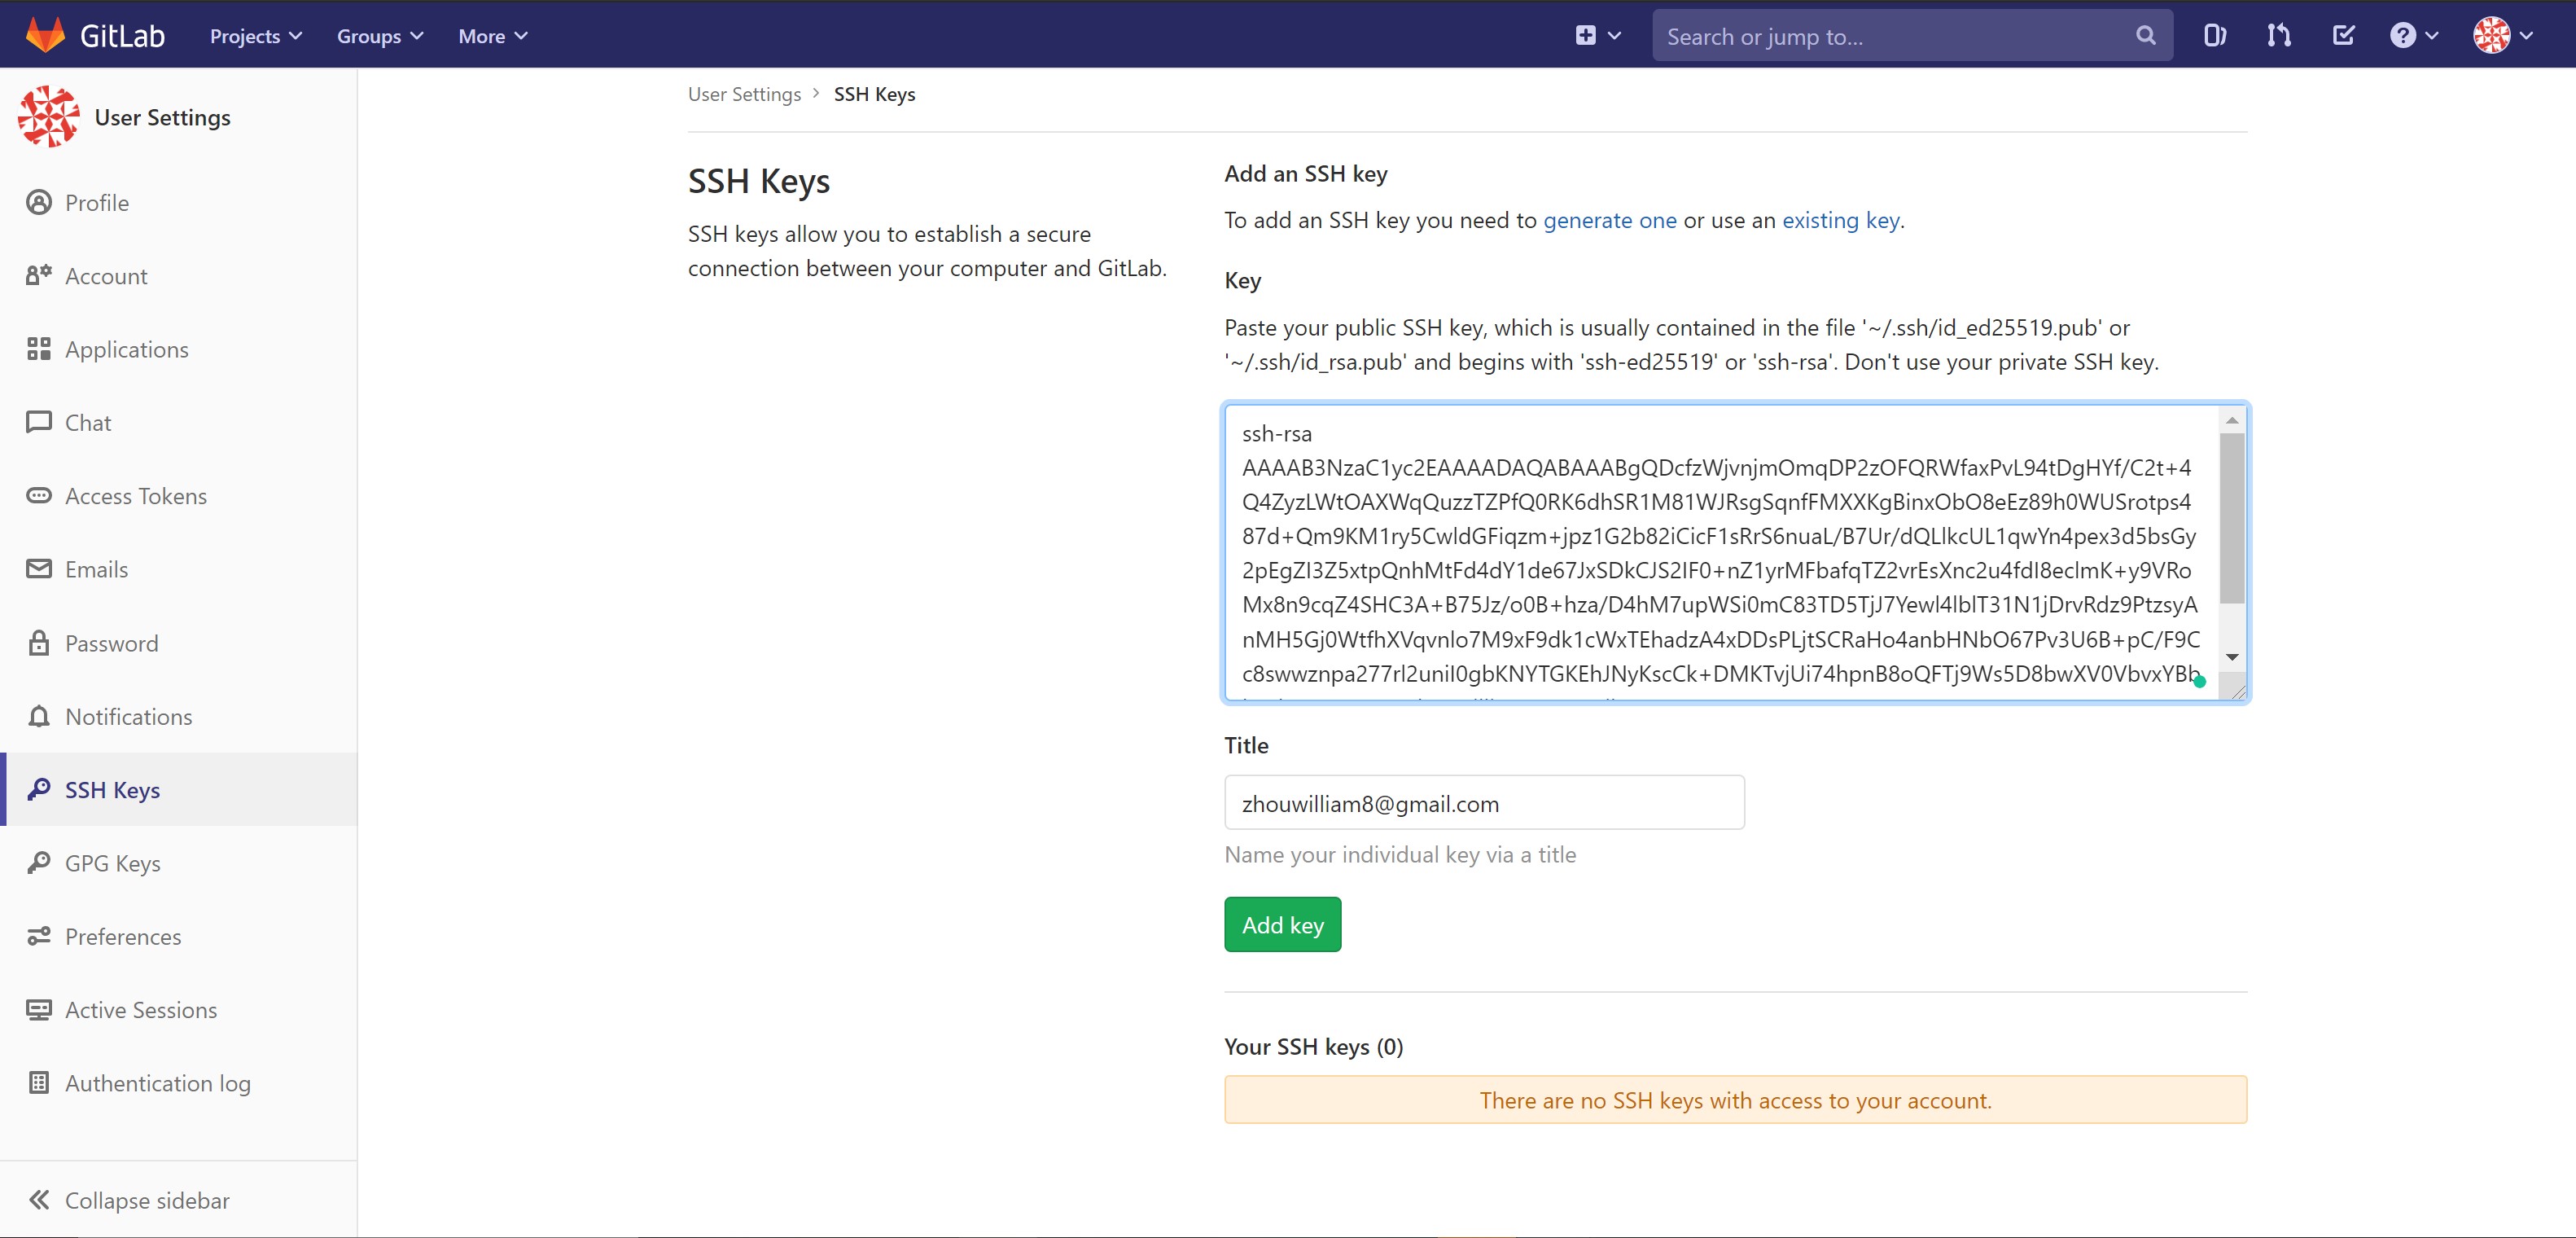
Now your SSH key is done.