16. Molding and casting
   group assignment:
      review the safety data sheets for each of your molding and casting materials,
         then make and compare test casts with each of them
   individual assignment:
      design a mold around the stock and tooling that you'll be using,
         mill it (rough cut + (at least) three-axis finish cut),
         and use it to cast parts
Individual Assignment
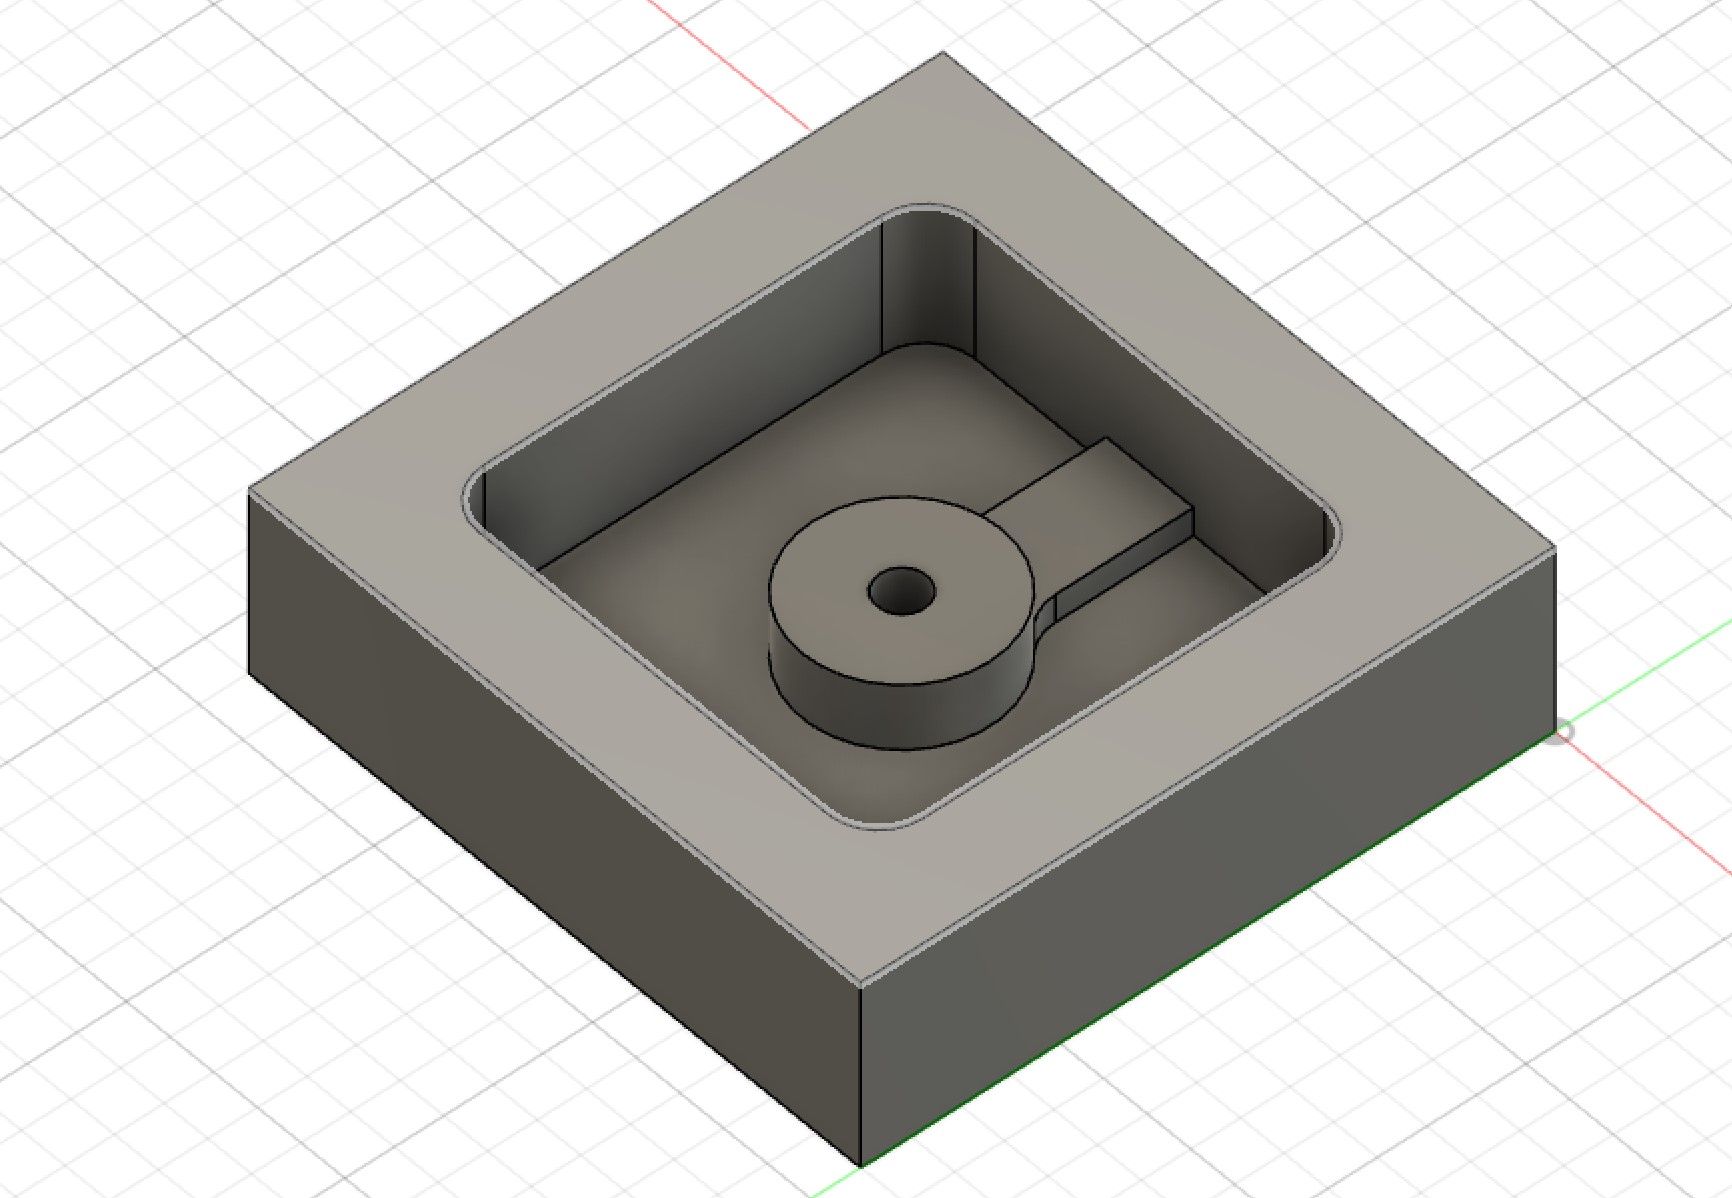
For this week, I wanted to design a mold that would encase part of my LED Fan Blade into it. The cast would be the part that stays on the shaft of my motor and part of the LED BLade would be inside part of the cast. I started off my making a pattern in Fusion 360 that I would further use to make a mold and then the casted part. To help guide me through the process of doing so, I found a helpful tutorial on Instrutables here.
Here is what my pattern looked like:
Now that I had this, I jump into CAM. First, went to the Manufacture tab. In here, I created a New Setup.
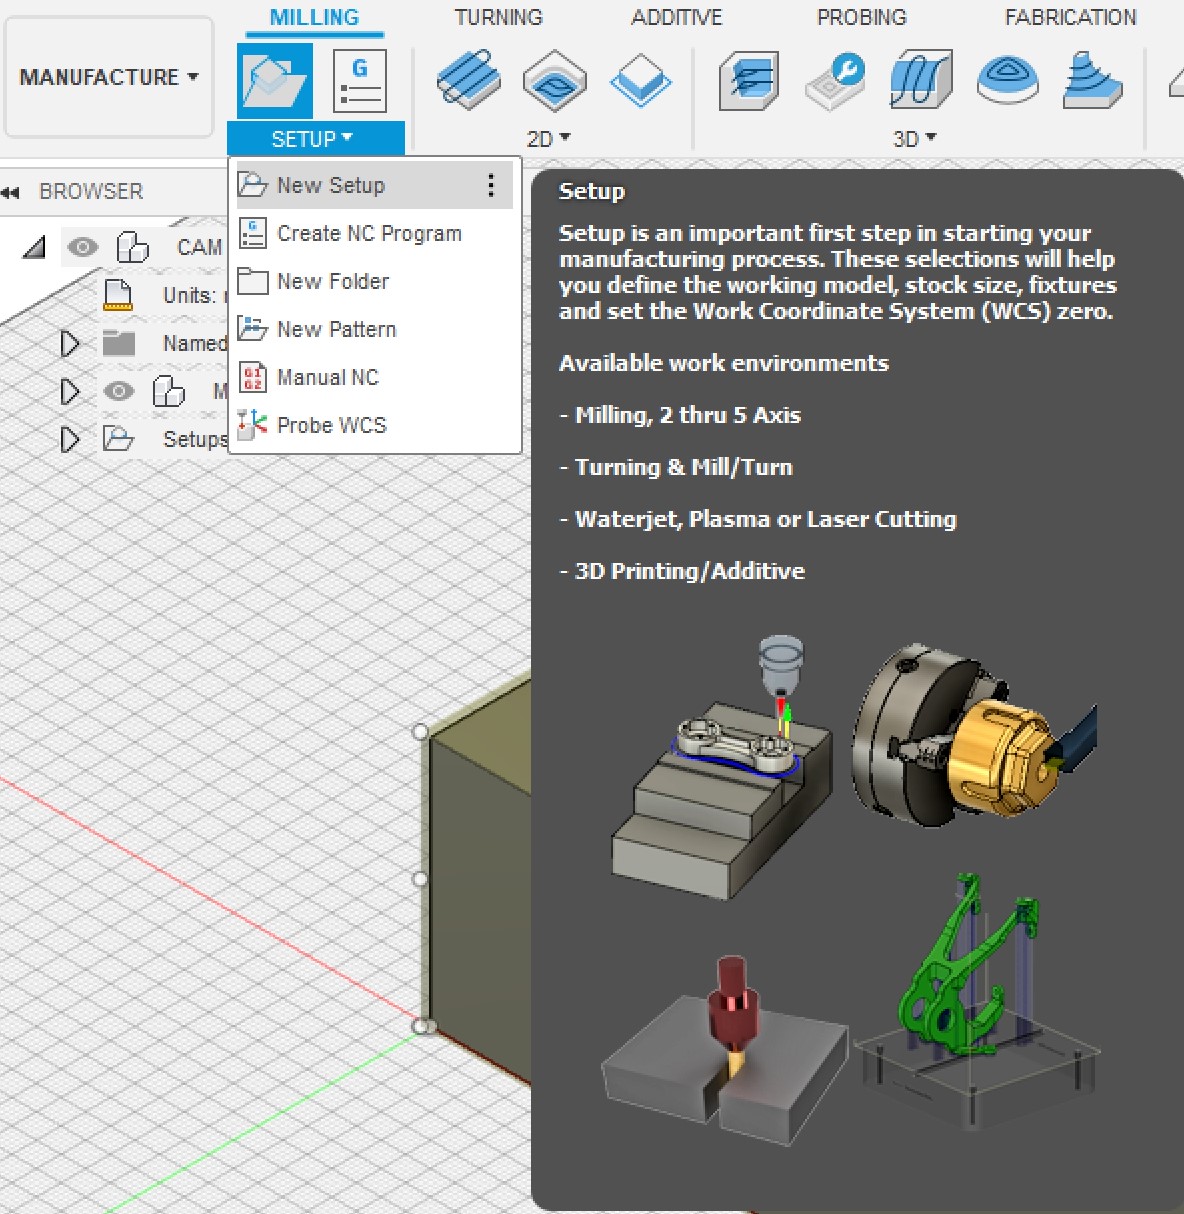
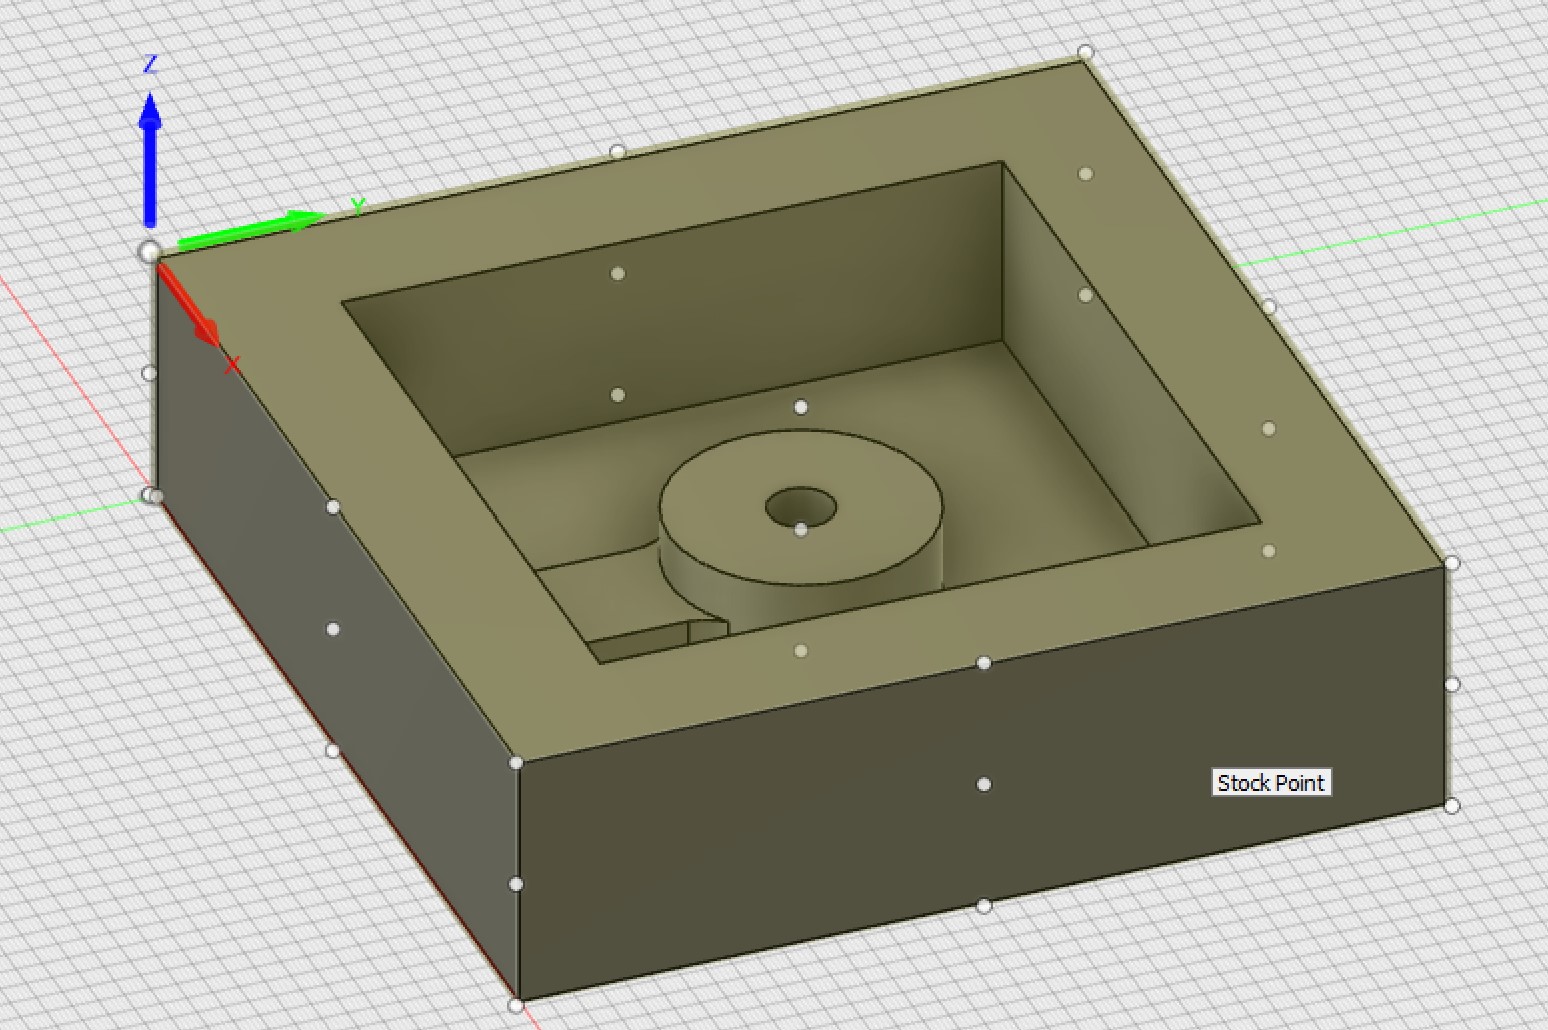
This is where I would set a few things such as the stock size, and origin.
Now in your Preferences which you can find when clicking your account name in the top right corner, in the Manufacture tab click Enable Cloud Libraries.

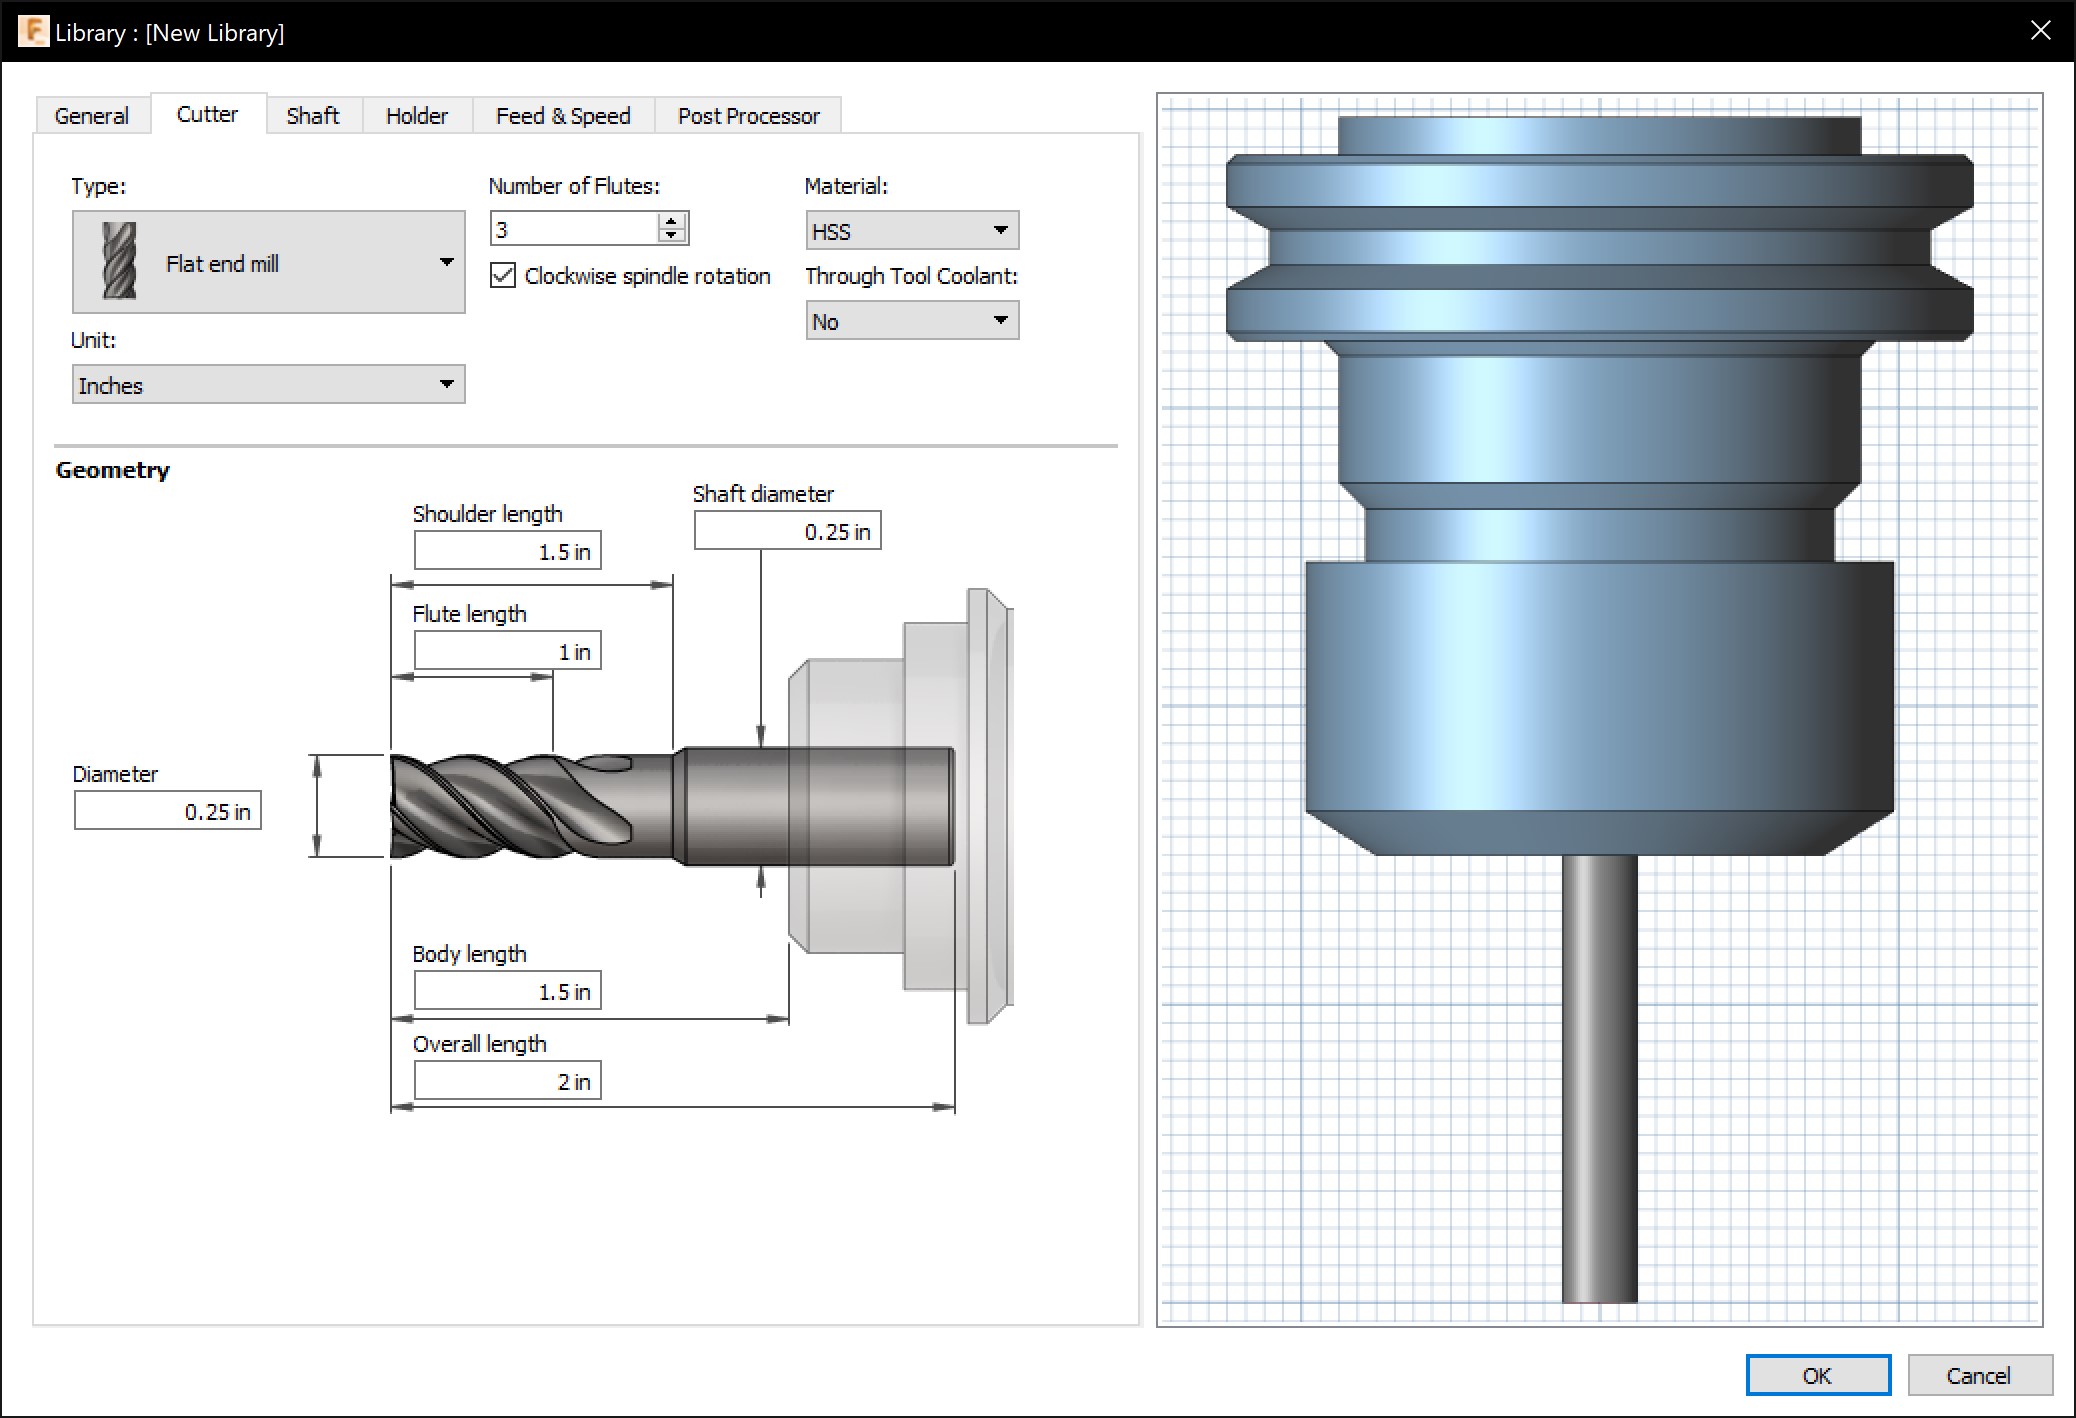
Now go to your Tool Library and inside Cloud, make a new library. In the top right corner, click Create a New Mill Tool. Set all the correct dimensions for your flat end mill bit and then the correct speeds and feeds for the material you are trying to cut out in here.
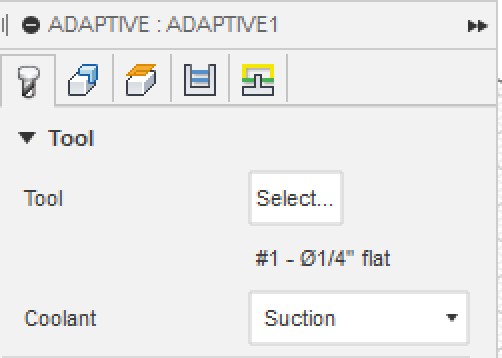
Now we can select the tool we just made and use it for Adaptive Clearing.
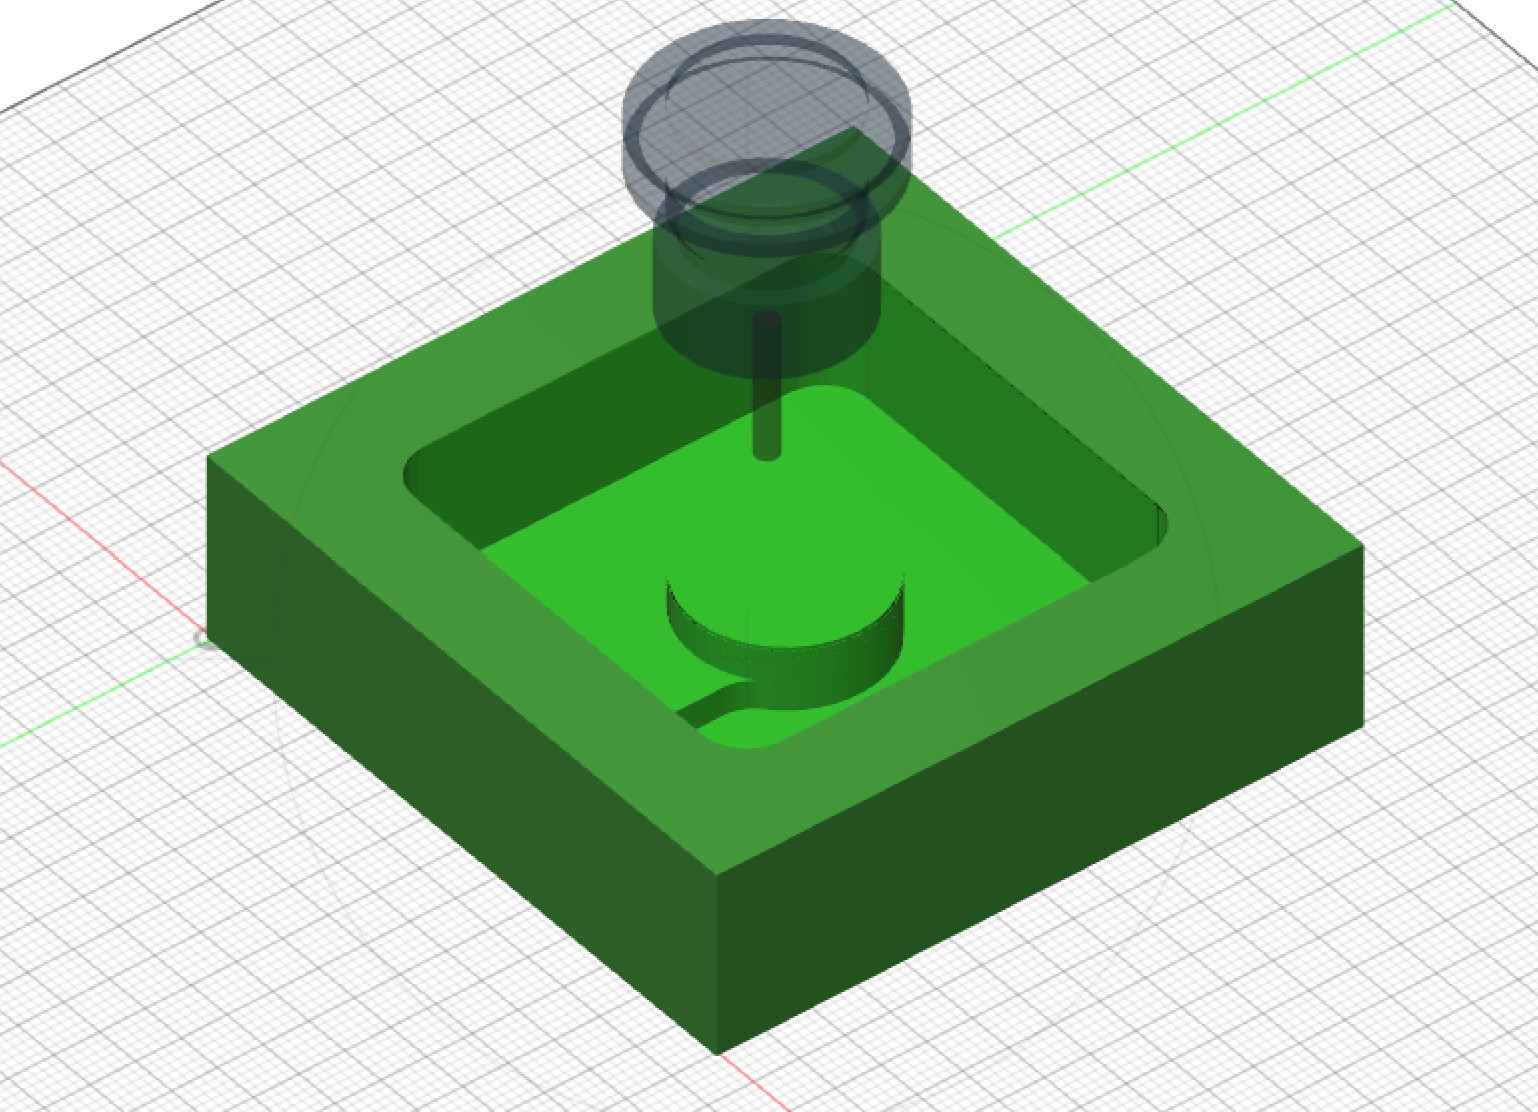
Next under the Geometry tab, we can select where we want our bit to cut. In this case, I only wanted the bit to cut inside the inside of the pattern so I selected the edge of the inside and set the Machining Boundary to Silhouette.
![]()
When you are done, a toolpath should generate in a few seconds. You can simulate this in Fusion 360 by right clicking the Adaptive Clearing event and selecting simulate.
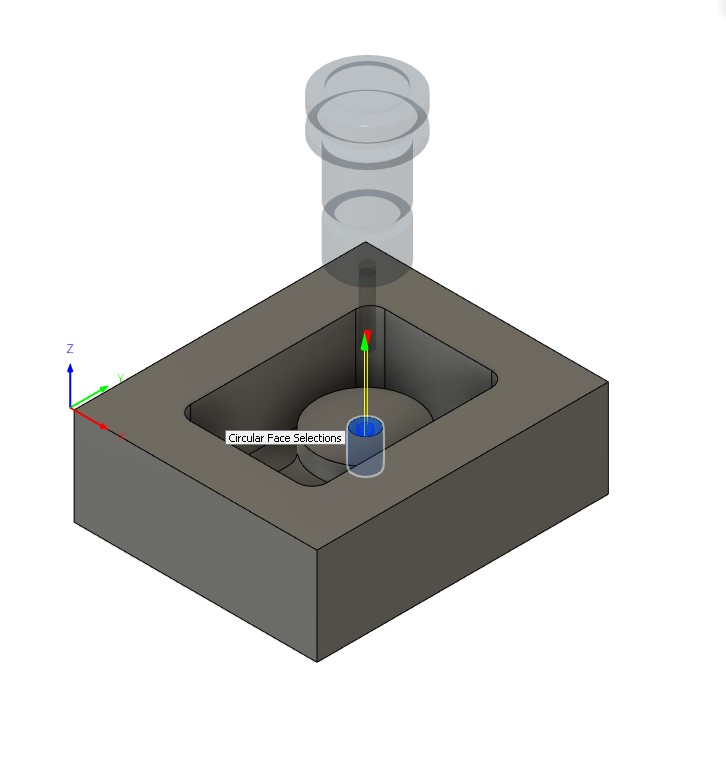
In here, I can see that the toolpath did not make the hole I wanted in the center of the stock. Thus, I used the bore tool to make a hole.
To use this newly made toolpath, I use a post process on the setup and exported it as a shopbot file to use on the CNC we had.

I chose to mill this out of foam because of the thickness of the foam meaning that I could create taller casts and because the mold wouldn’t react with the foam. Here is what the foam pattern looked like milled out:

Since I was creating a hard cast, I would need a soft mold. The soft material I used to create a mold from the pattern was called Ecoflex made from the company Smooth-On. This material required a mixture of their Part A and Part B in a 1:1 ratio by volume. After mixing Part A and B for around 30 seconds, I poured it into the pattern.

Here is what the mold looked like:

With this newly created mold, I used a hard material called Task 8 to cast my part. This also required a 1:1 ratio by volume and had a pot life of 2.5 minutes with a demold time of 10-15 minutes.
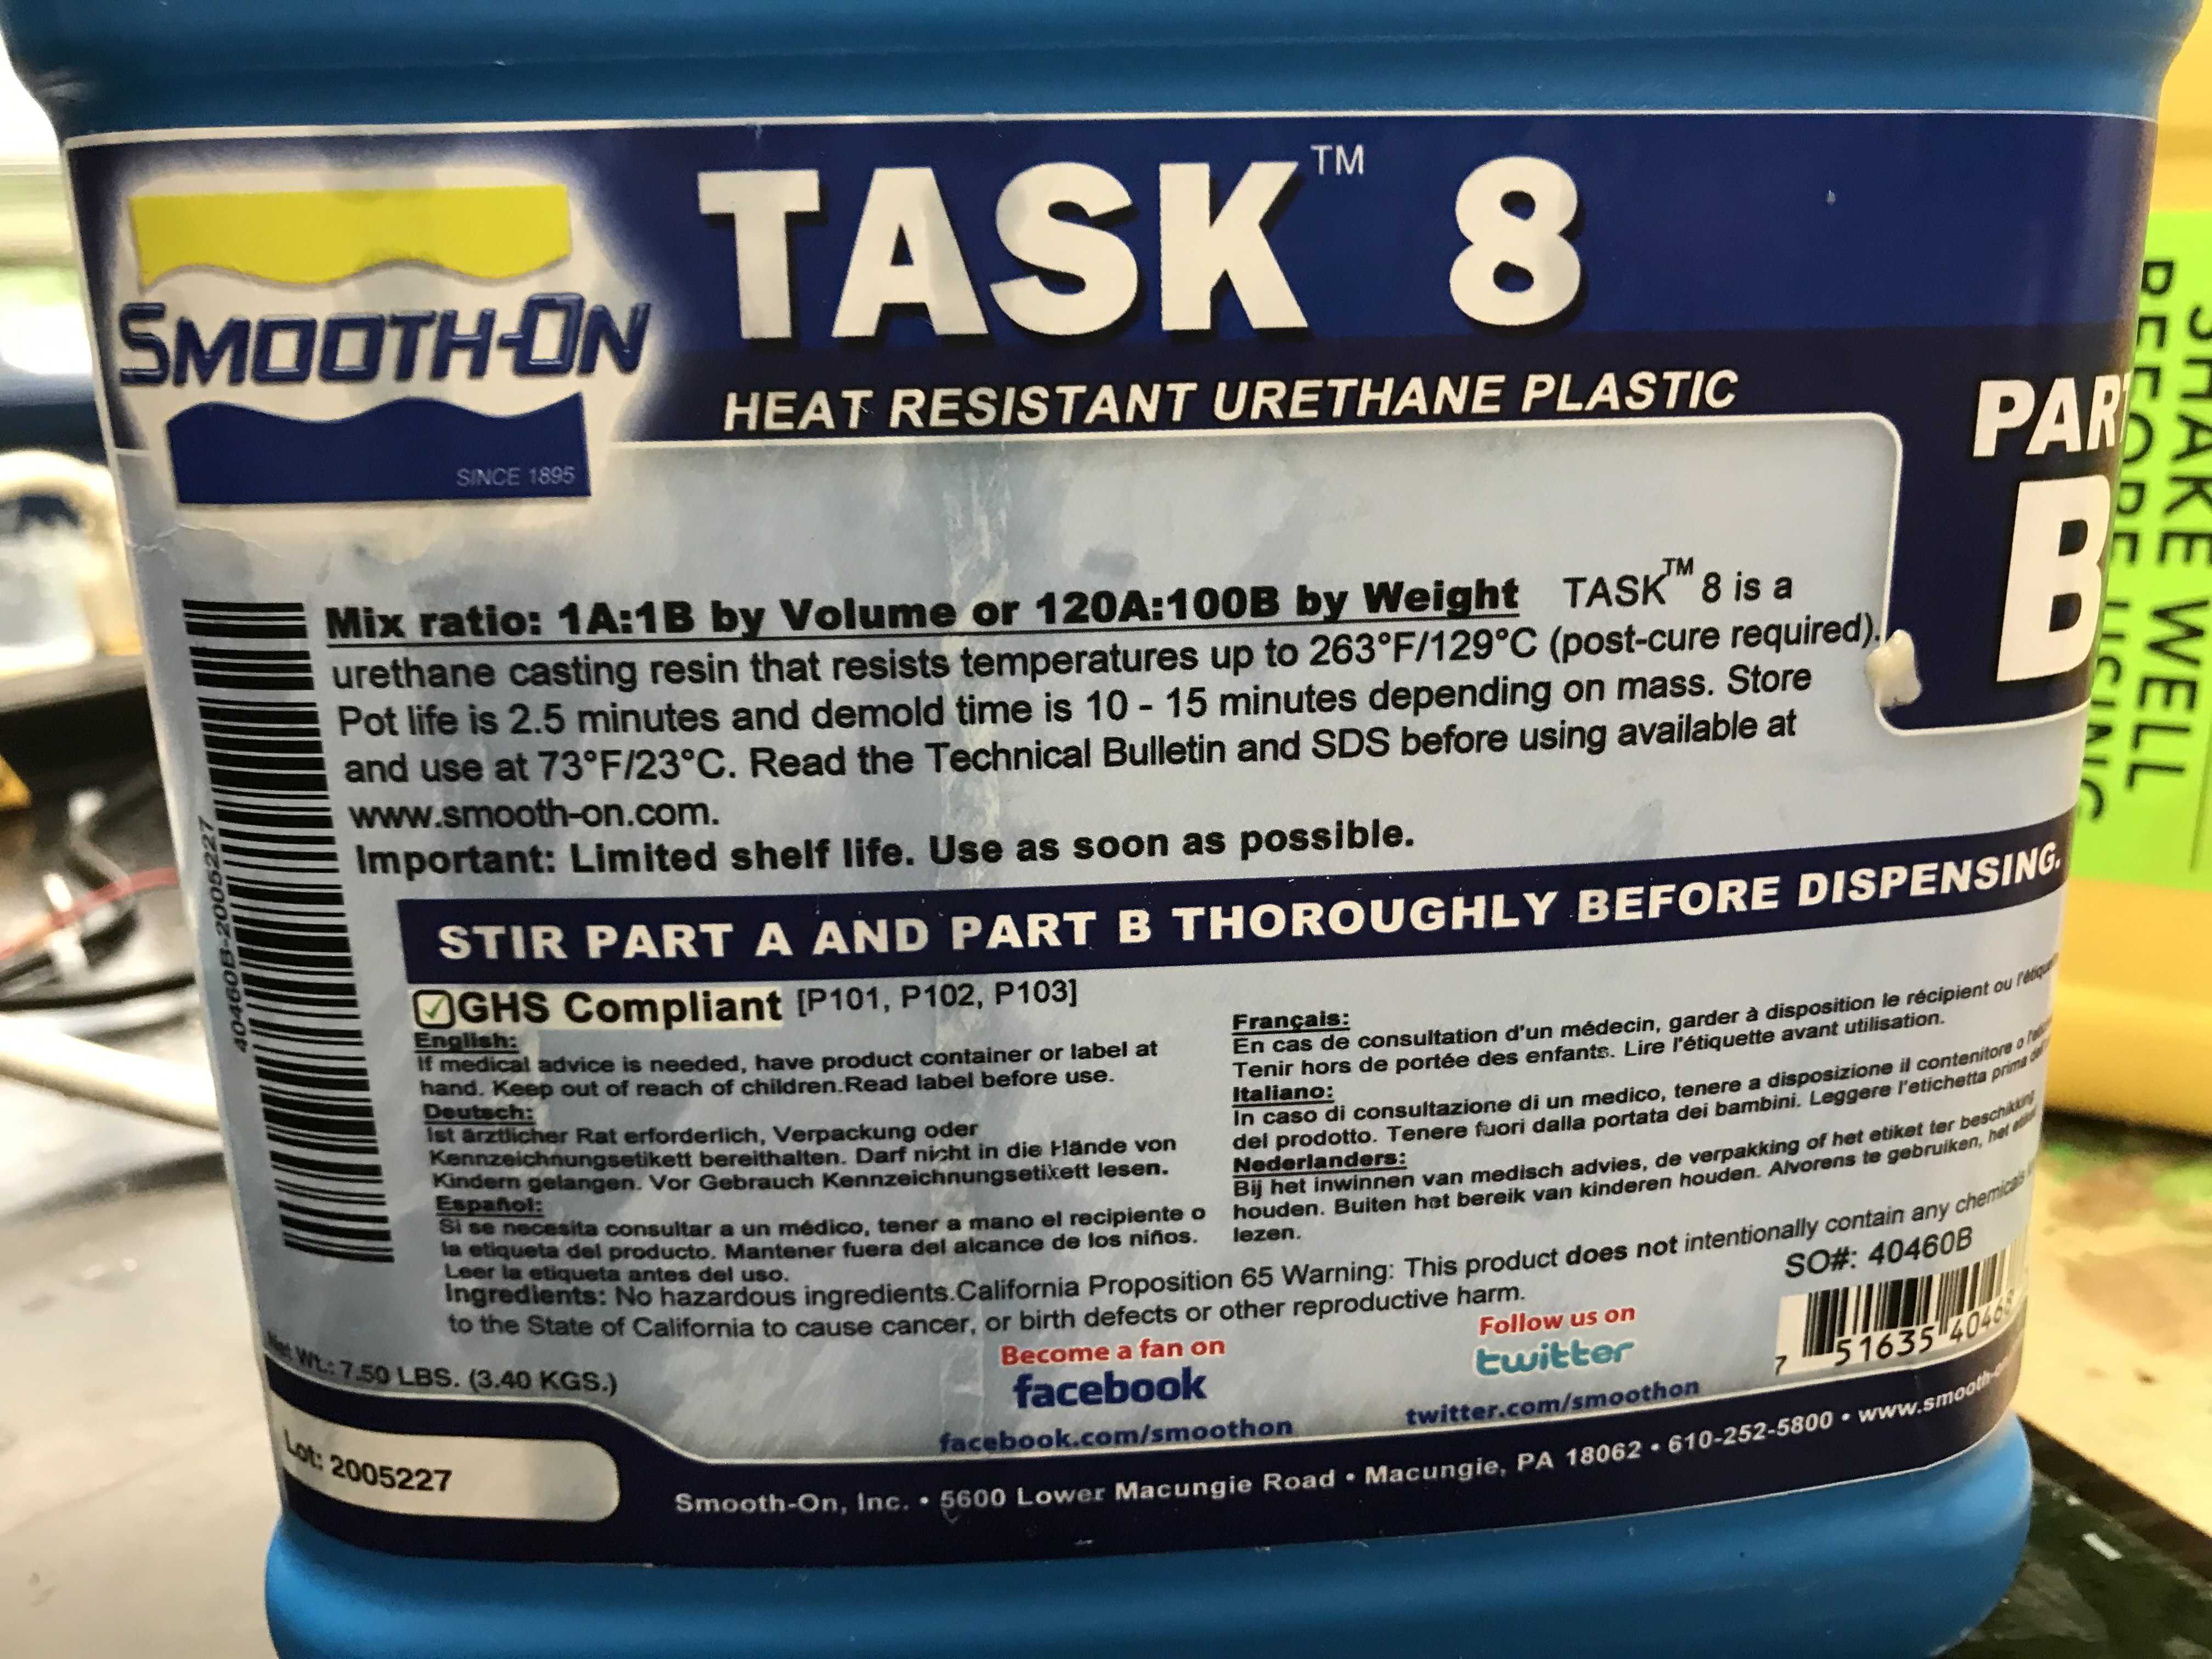

I also mixed the Part A and B for 30 seconds and then poured it into my mold.
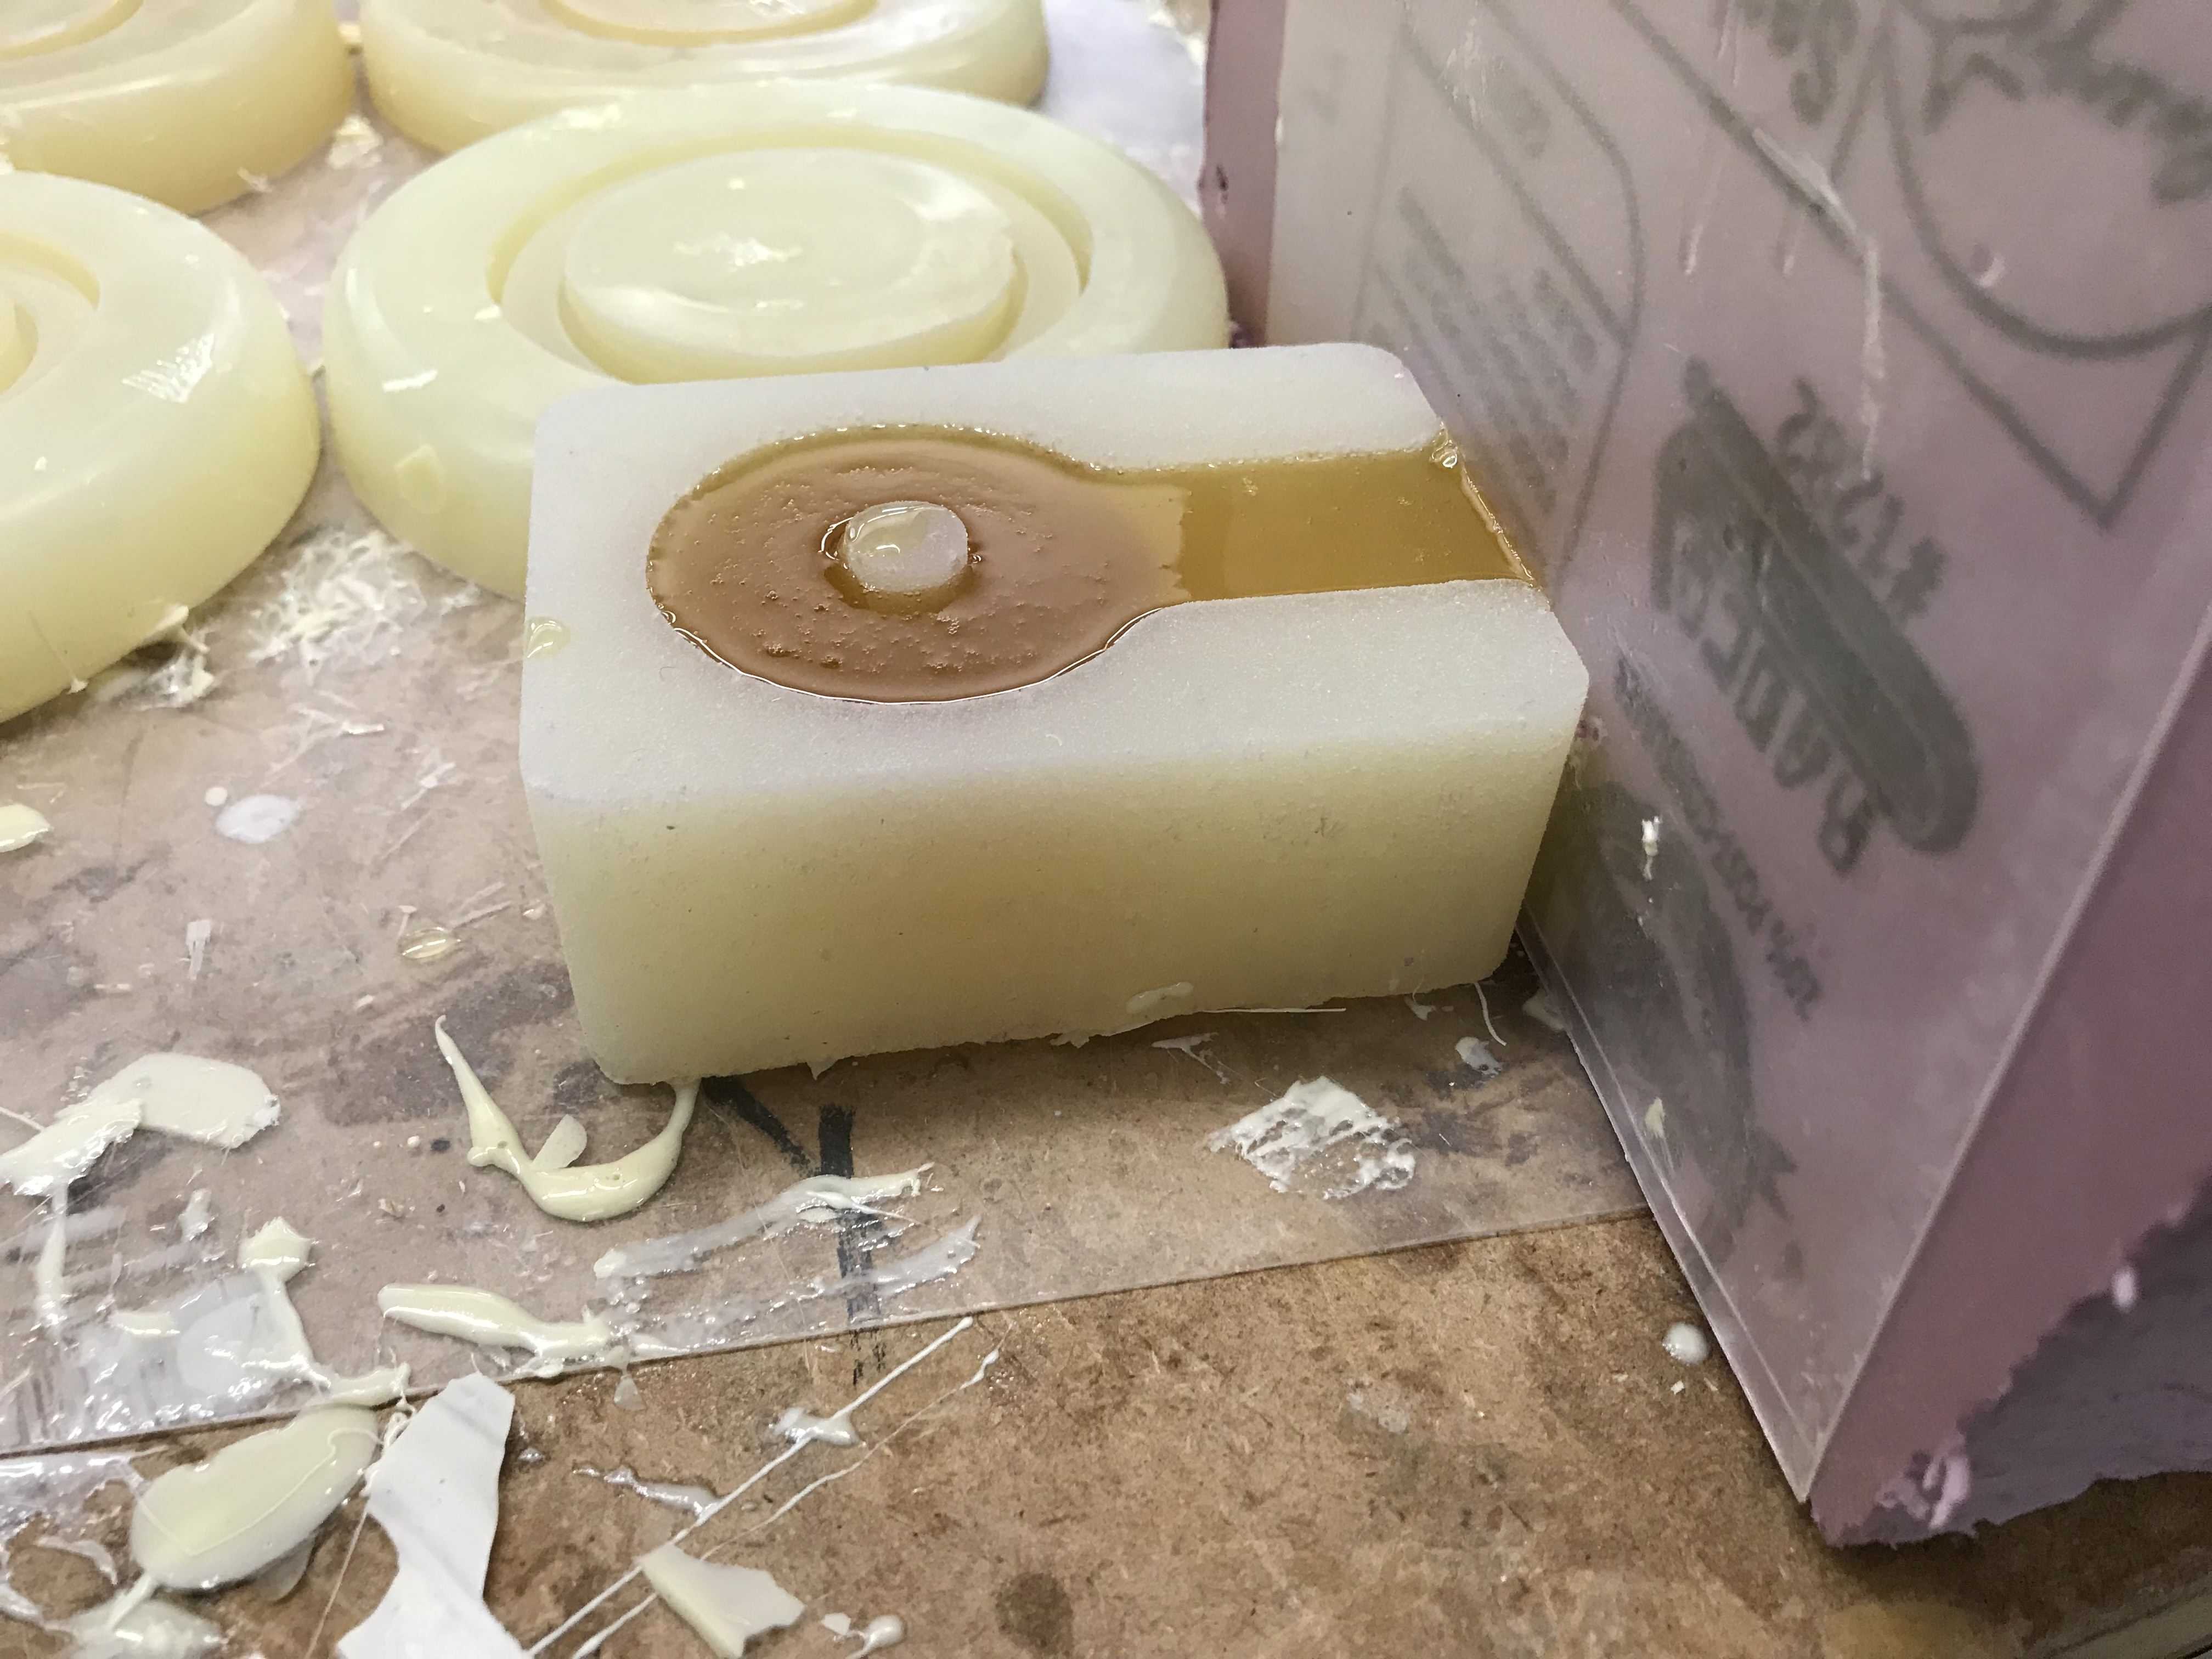
This material seemed to solidify relatively fast due to its low pot life. In addition, it got really hot as we measured it using a temperature gun.

Here is the finished product when we pulled it out:

Here are the files for this week: download
Group Project
The group assignment can be found here.